Don't like the adverts?  Click here to remove them

Body Mount Bushes Replacement

Michael Montgomery

Well-Known Member
Joined
Feb 17, 2012
Messages
2,577
Garage
Country Flag
uk
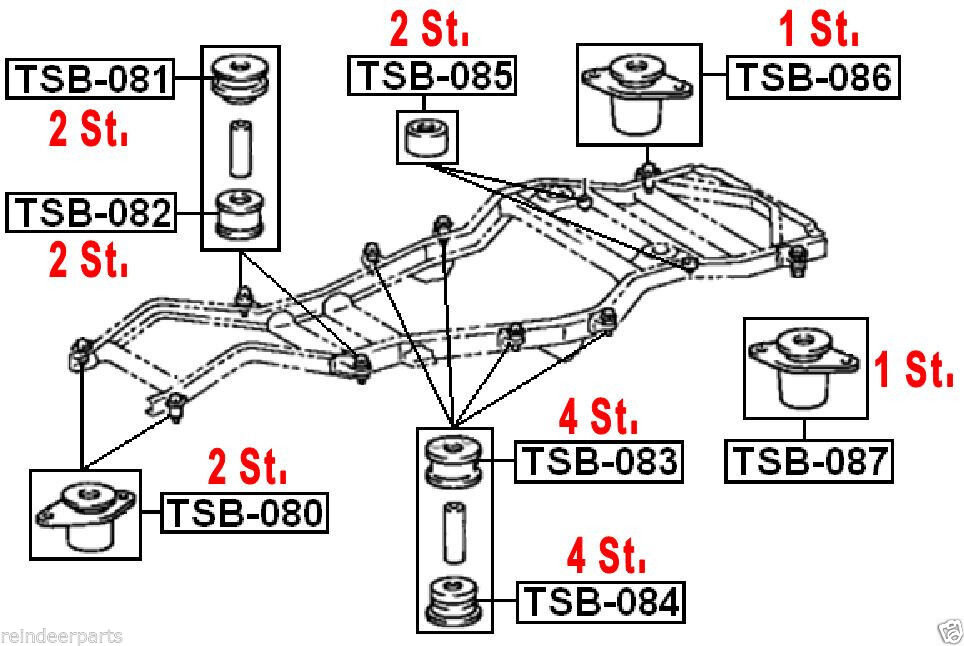
Guys with the vehicles birthday of 23 years and noticeably far from new body mount bushes well passed there beneficial use, decided to buy a whole new set. Reason noticeably vibrations in the cab that don't feel premium as it should.

Having changed all other bushes and gearbox & engine mounts this is the final edition that should yield a great change.

Has anyone changed theirs?

I know its a common thing & most owners never think to change over but I think its pretty critical.

Will certainly do a vibration video & write up showing the differences for anyone interested.

Thanks
s-l1600.jpg
 
Last edited:
The one great advantage you have with this job Dervis is that the underneath of yours is like new and all the nuts will come undone without a second thought.
 
The one great advantage you have with this job Dervis is that the underneath of yours is like new and all the nuts will come undone without a second thought.

Haha I hope so Andy not a job I can do myself but will certainly lend a hand.......tea & biscuits anyone :lol:

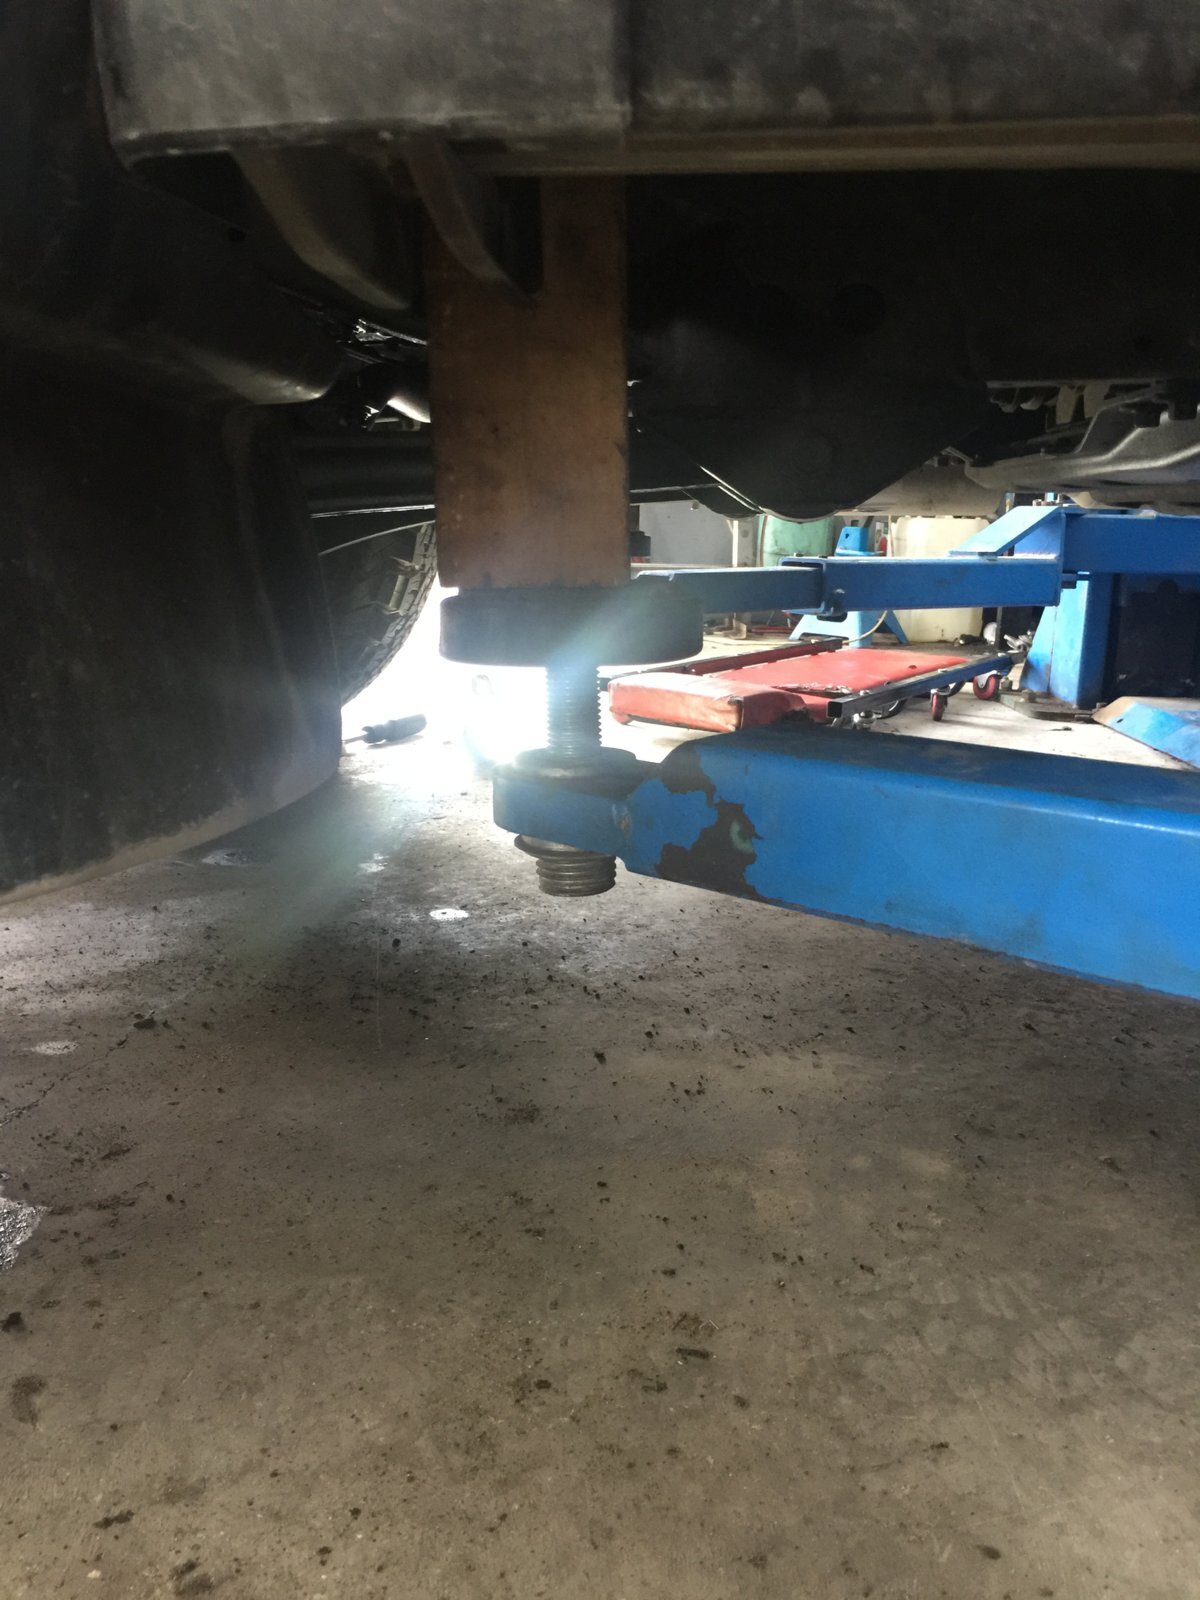
Spoke to the garage today after collecting the whole replacement kit. The body has to be lifted up by 2cm or so and then change them all over one by one. 12 in total so could take the whole day in getting it sorted.
 
Mine look a bit worse for wear I must admit Dervis and I would change them if an opportunity arose but fortunately the vibration is still fairly low and manageable.
(28 yrs old 60). Bolts look rusty Andy!!
Are the new ones rubber OEM or something else?
 
Mine look a bit worse for wear I must admit Dervis and I would change them if an opportunity arose but fortunately the vibration is still fairly low and manageable.
(28 yrs old 60). Bolts look rusty Andy!!
Are the new ones rubber OEM or something else?

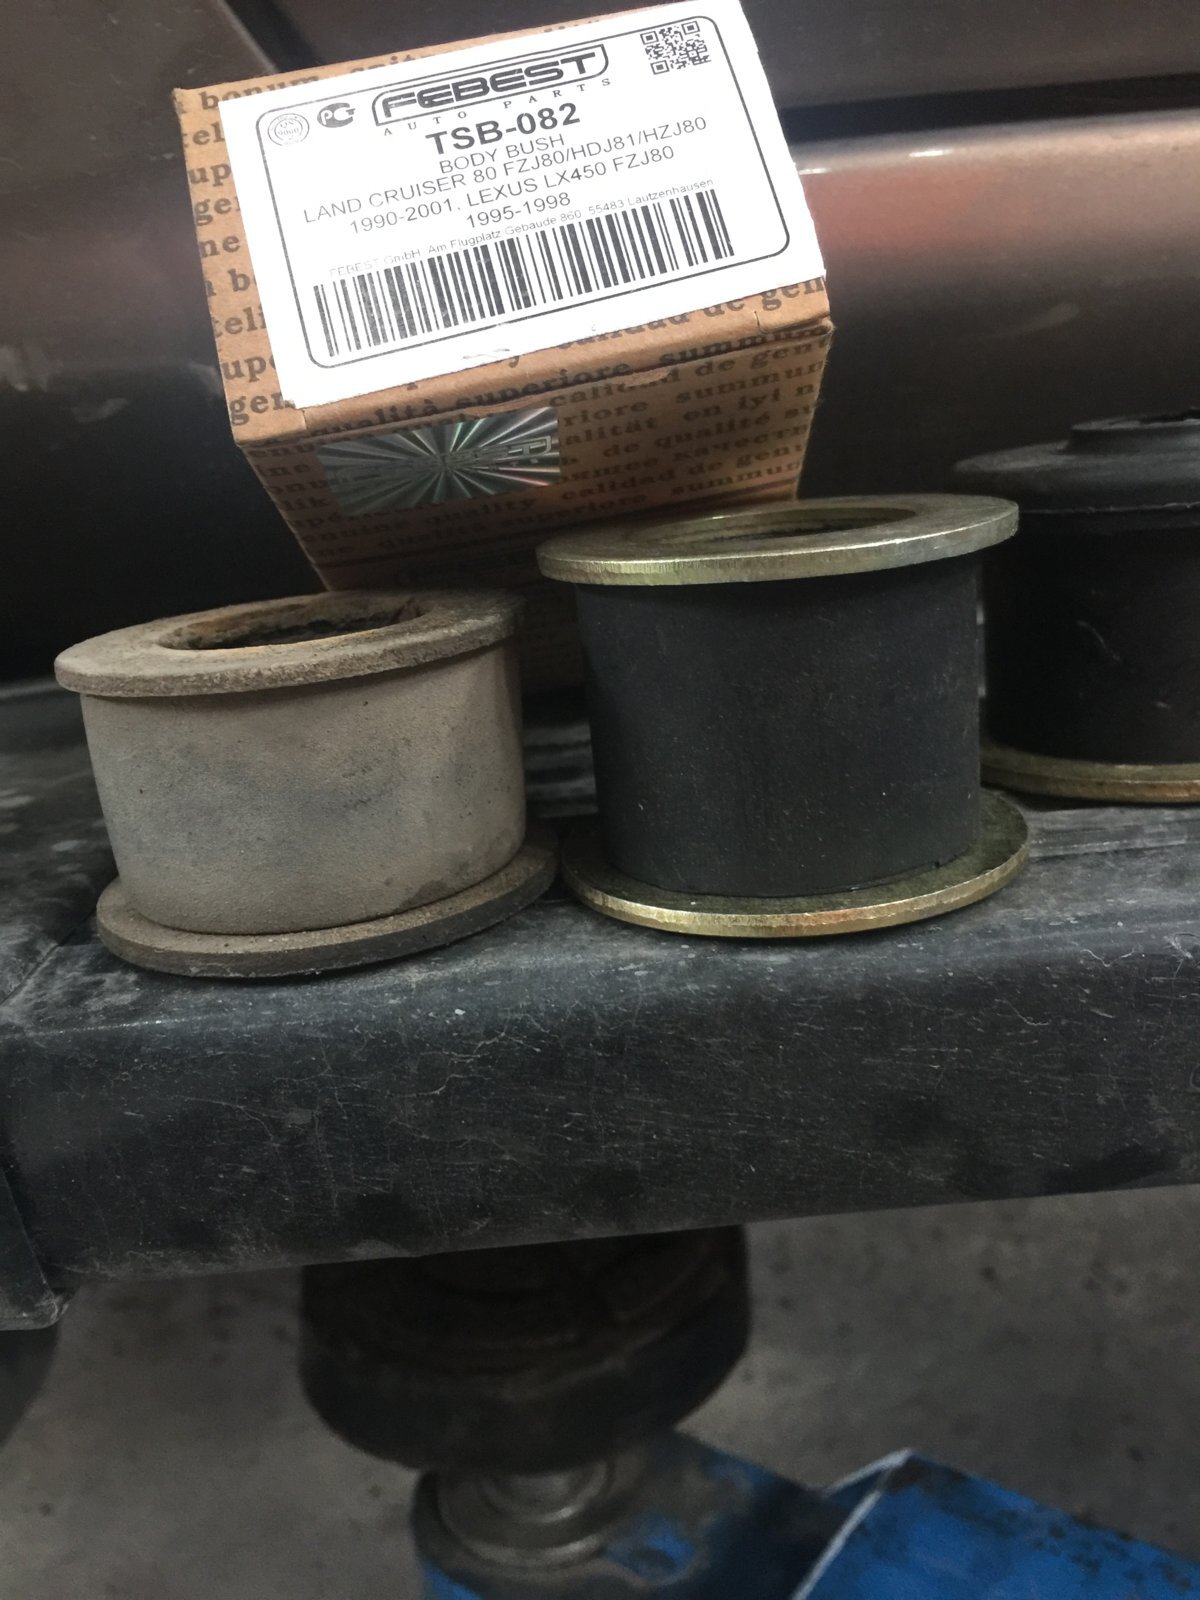
New ones OEM Ben and you'd be surprised how bad there are only realising the shire difference afterwards. Like all plastics getting hard over time and certainly adsorbing the vibration it has a life shelf.
 
New ones OEM Ben and you'd be surprised how bad there are only realising the shire difference afterwards. Like all plastics getting hard over time and certainly adsorbing the vibration it has a life shelf.
I wonder if the heat in cyprus accelerates the process of degredation Dervis? Could you post a photo of the old bushes once removed?
 
Don't like the adverts?  Click here to remove them
Heat certainly doesn't help but certainly feel its just time with wear & tear TBH Ben. Think of it as changing the suspension bushes. They don't last 23 years or even tyres on the vehicle like my last set starting to show signs of cracking after 5 years even though there were plenty of tread left etc.

Will show before & after pictures with a write up on the results soon.

Thanks
 
Yes it would be good to have a precise list of exactly what to loosen/remove before lifting the body 2 cm.
 
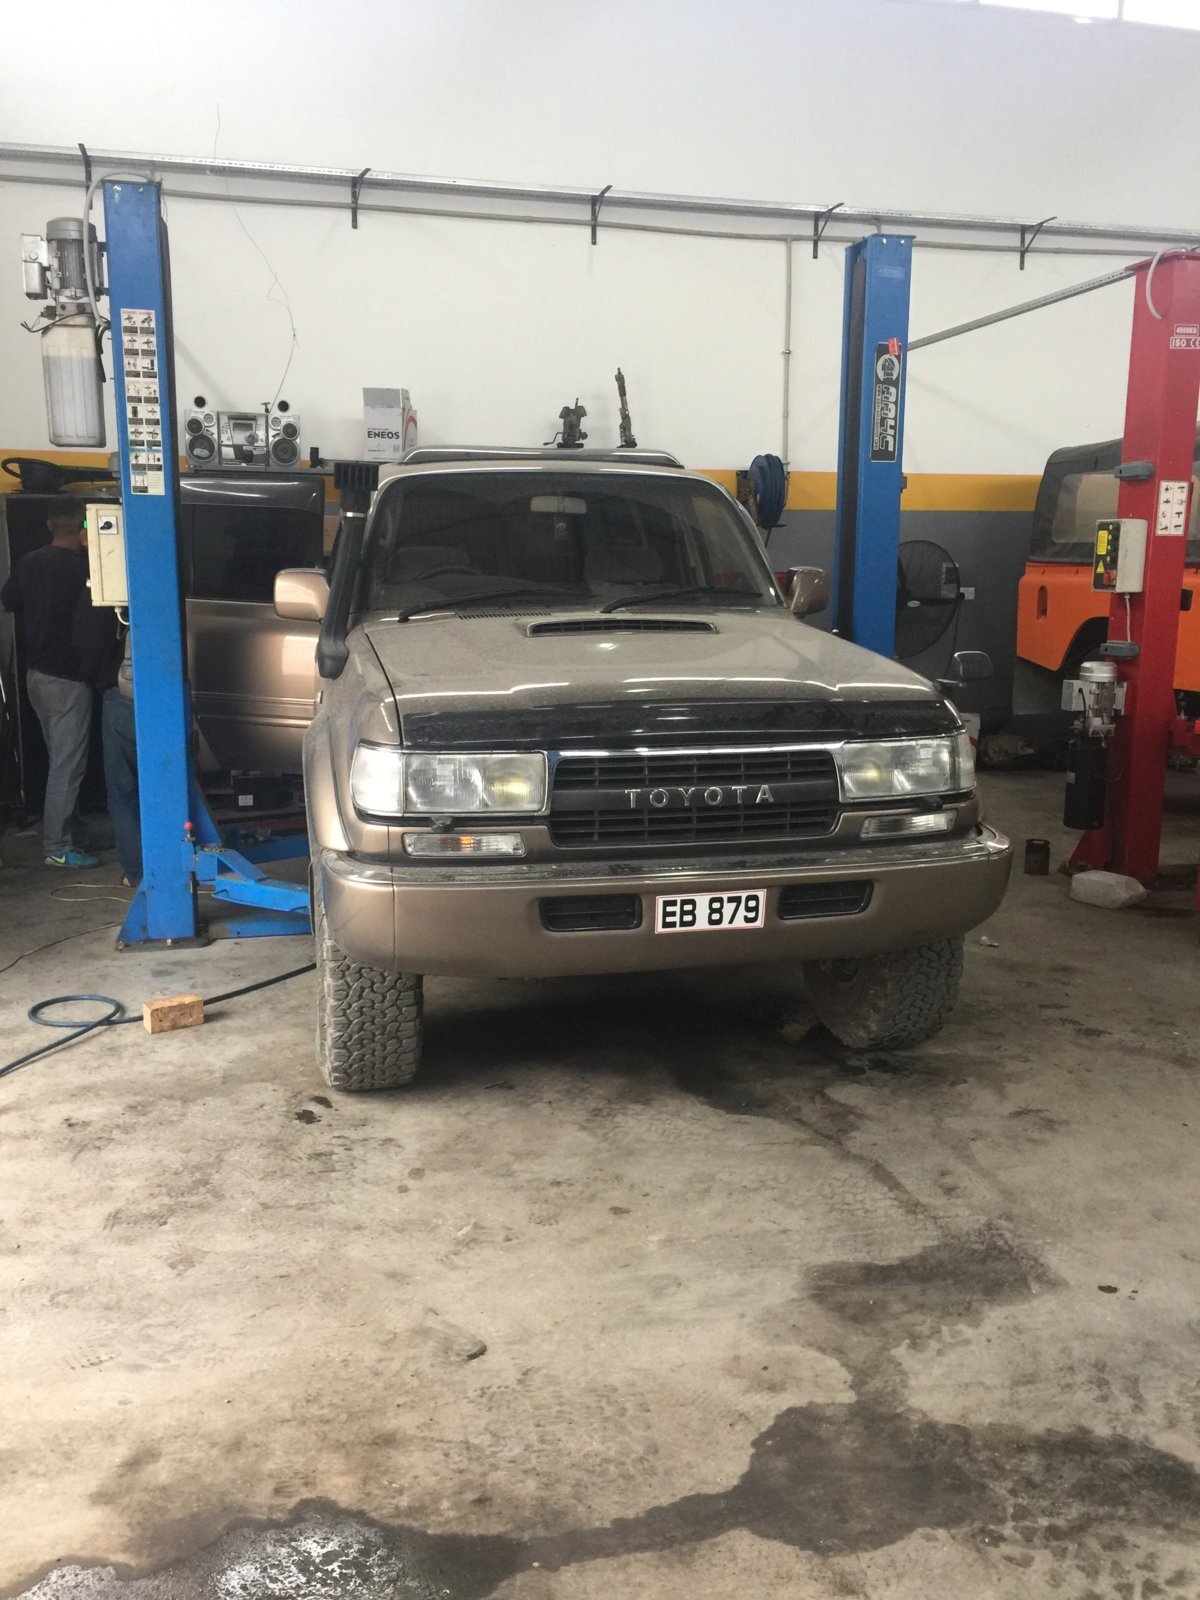
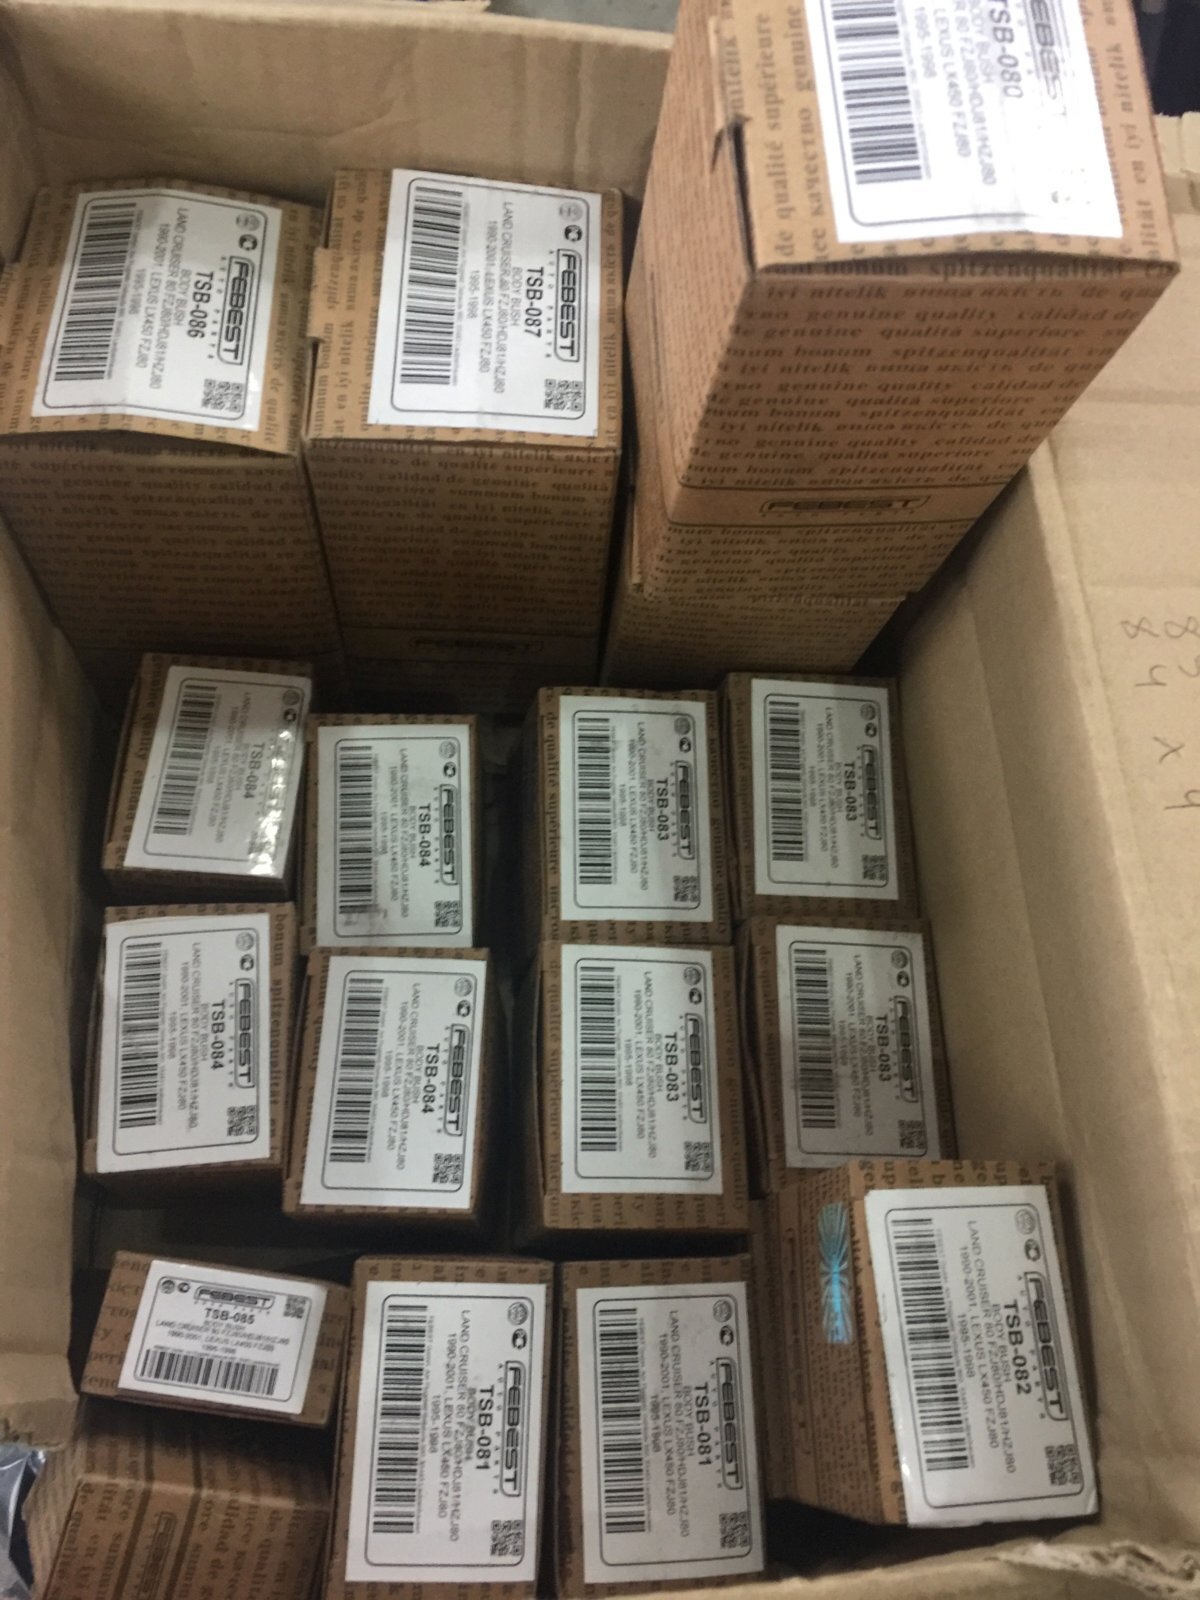
Guys started day early at the garage and swiftly making progress. Full set of OEM bushes at hand.

IMG_6199.jpg IMG_6196.jpg
 
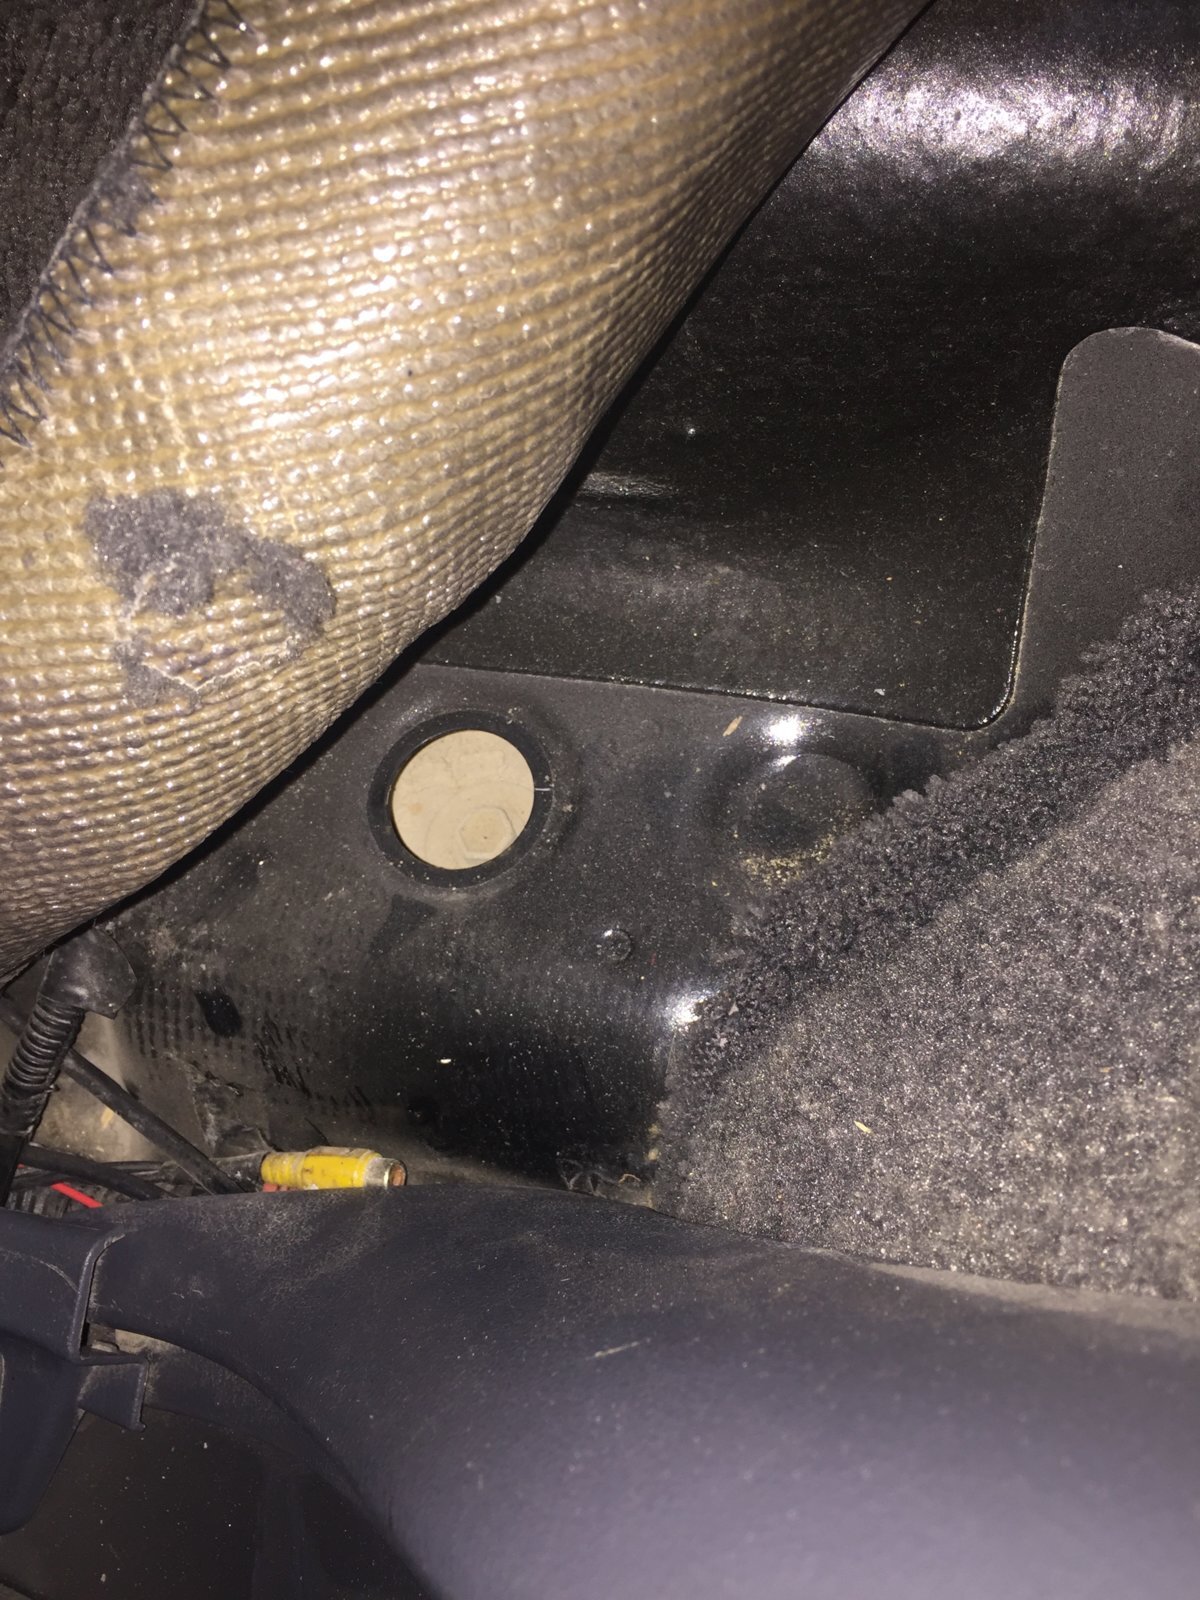
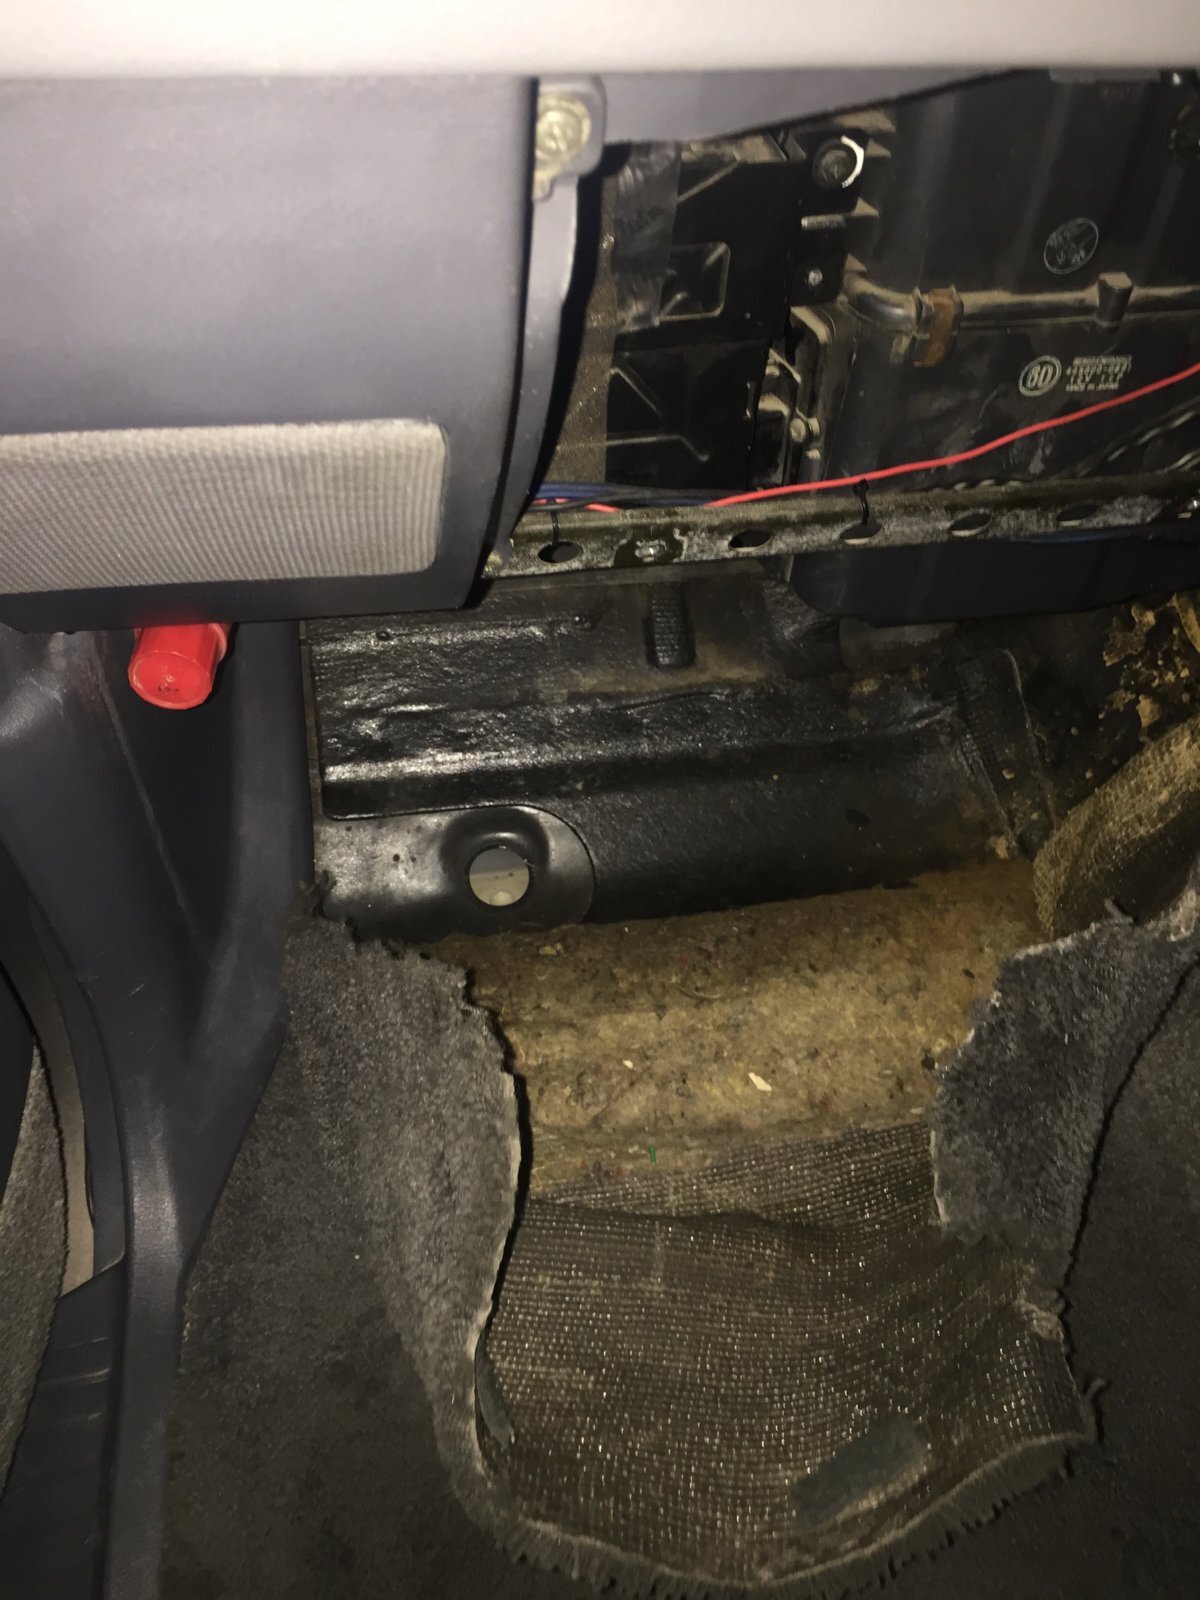
1. Remove carpet to side in front section to expose plastic caps and bolt heads.
2. Remove carpet to side in rear second row passenger side section (Near door) to expose plastic caps and bolt heads.

IMG_6197.jpg IMG_6198.jpg
 
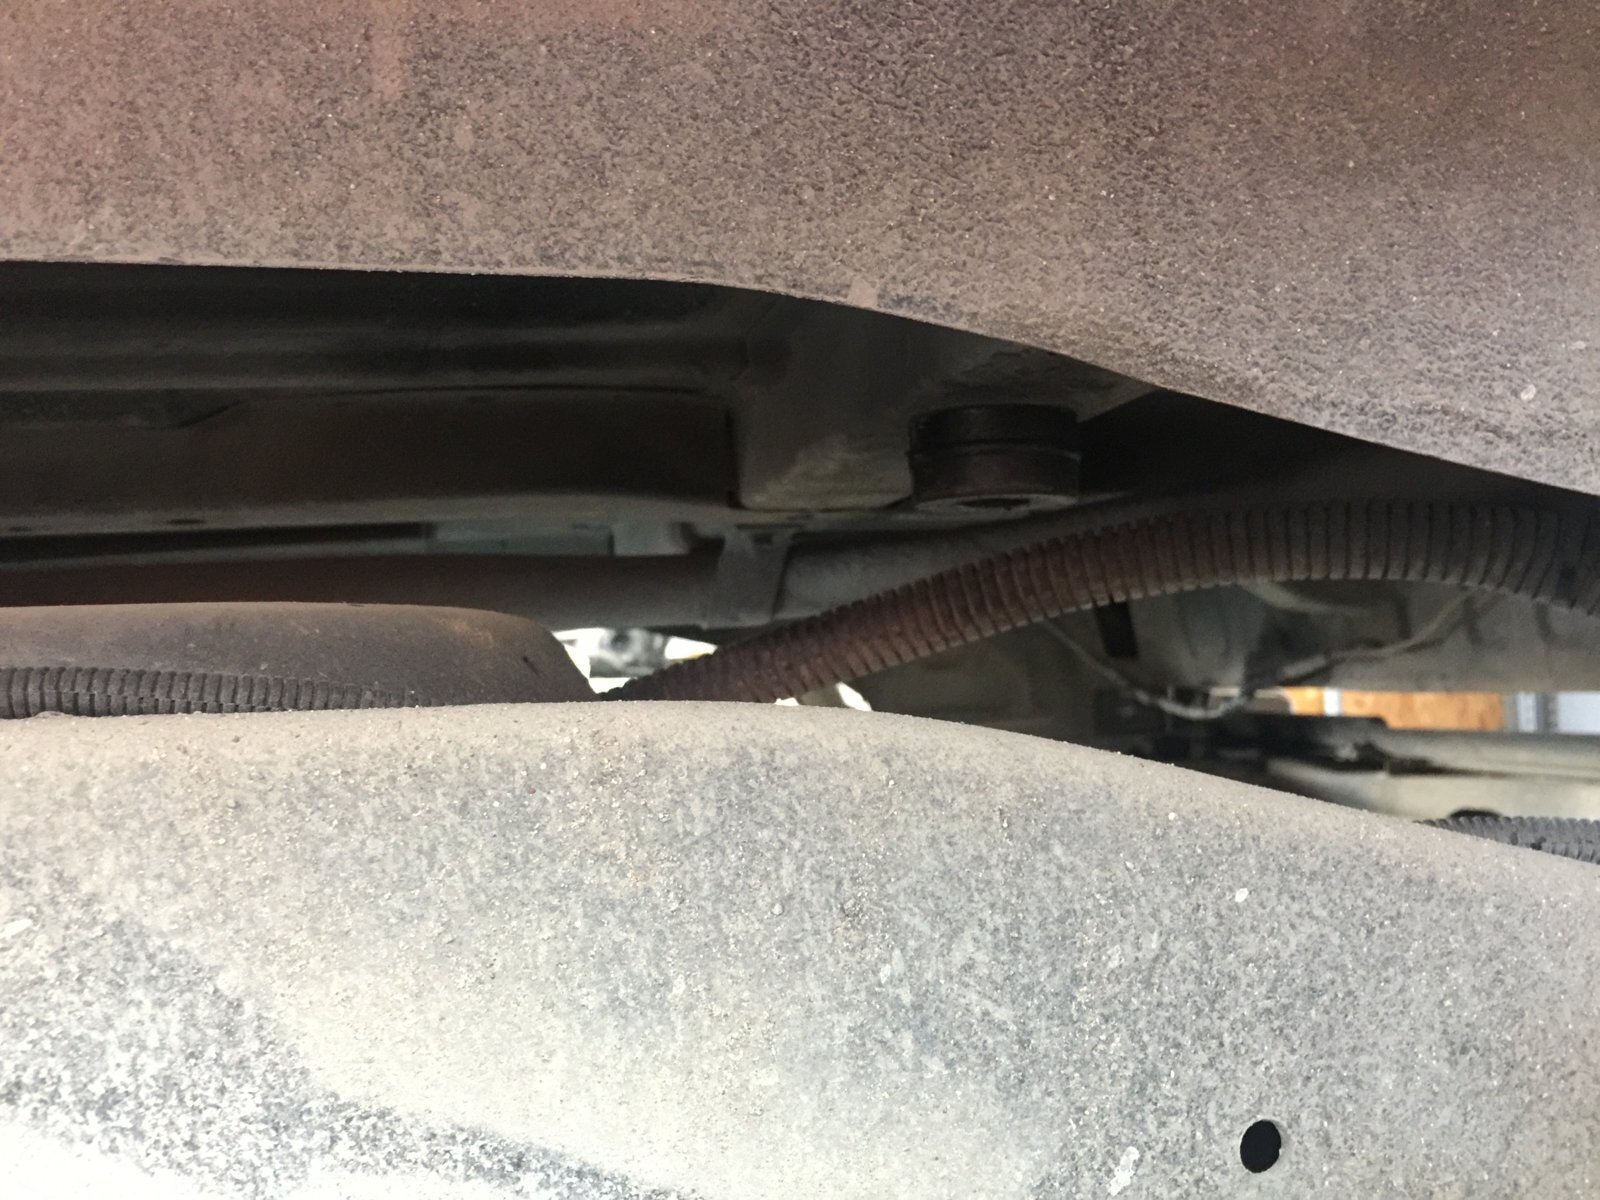
Rear inder carriage remove both side plastic door lids to expose bushes.

Undo all screws underneath along the vehicle.

Jack up and back down to loosen bushes helps.

Had no real issues other than the front two getting stuck so far.

IMG_6195.jpg
 
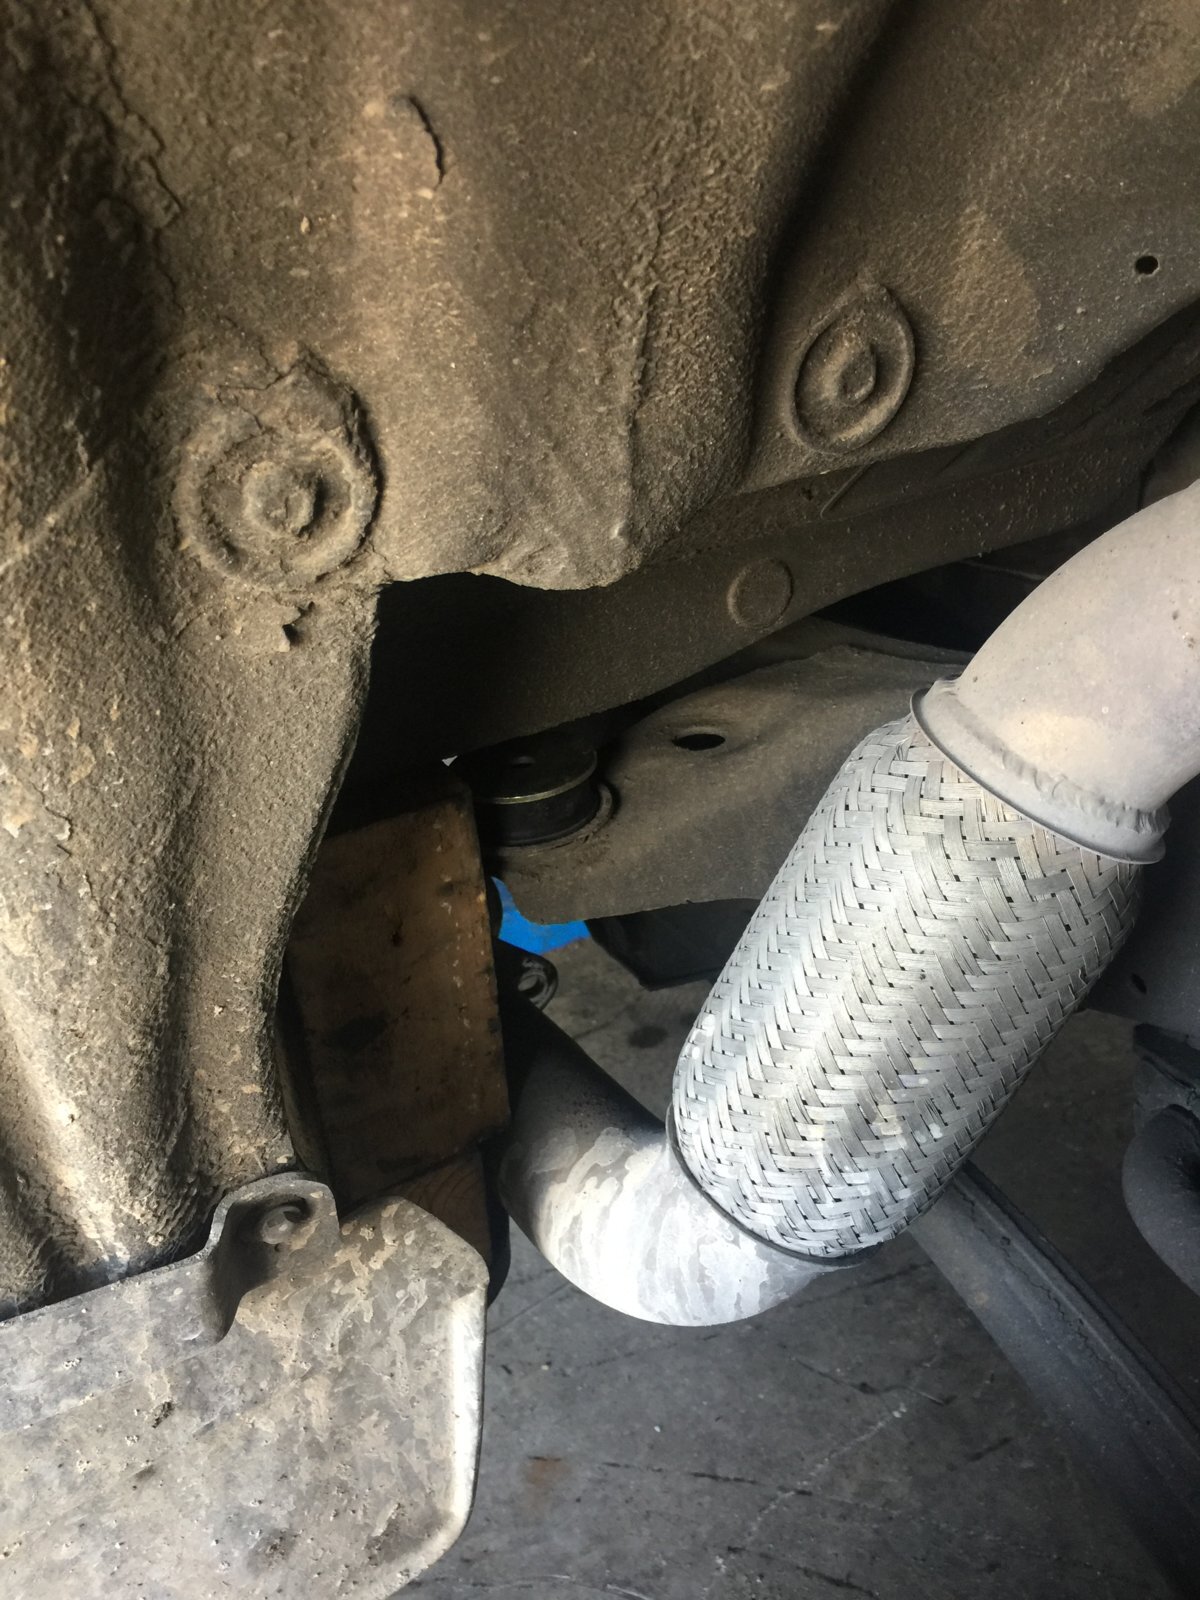
Need to loosen exhaust to get to bolt and then replace all bushing above frame.

As well as undoing it takes a ratchet gun and a wrachet to put back the bushings.

B2F59DD2-9226-462C-883E-A21E38D1DD09.jpeg F32A560B-7385-46DB-B80D-CC0E79642632.jpeg
 
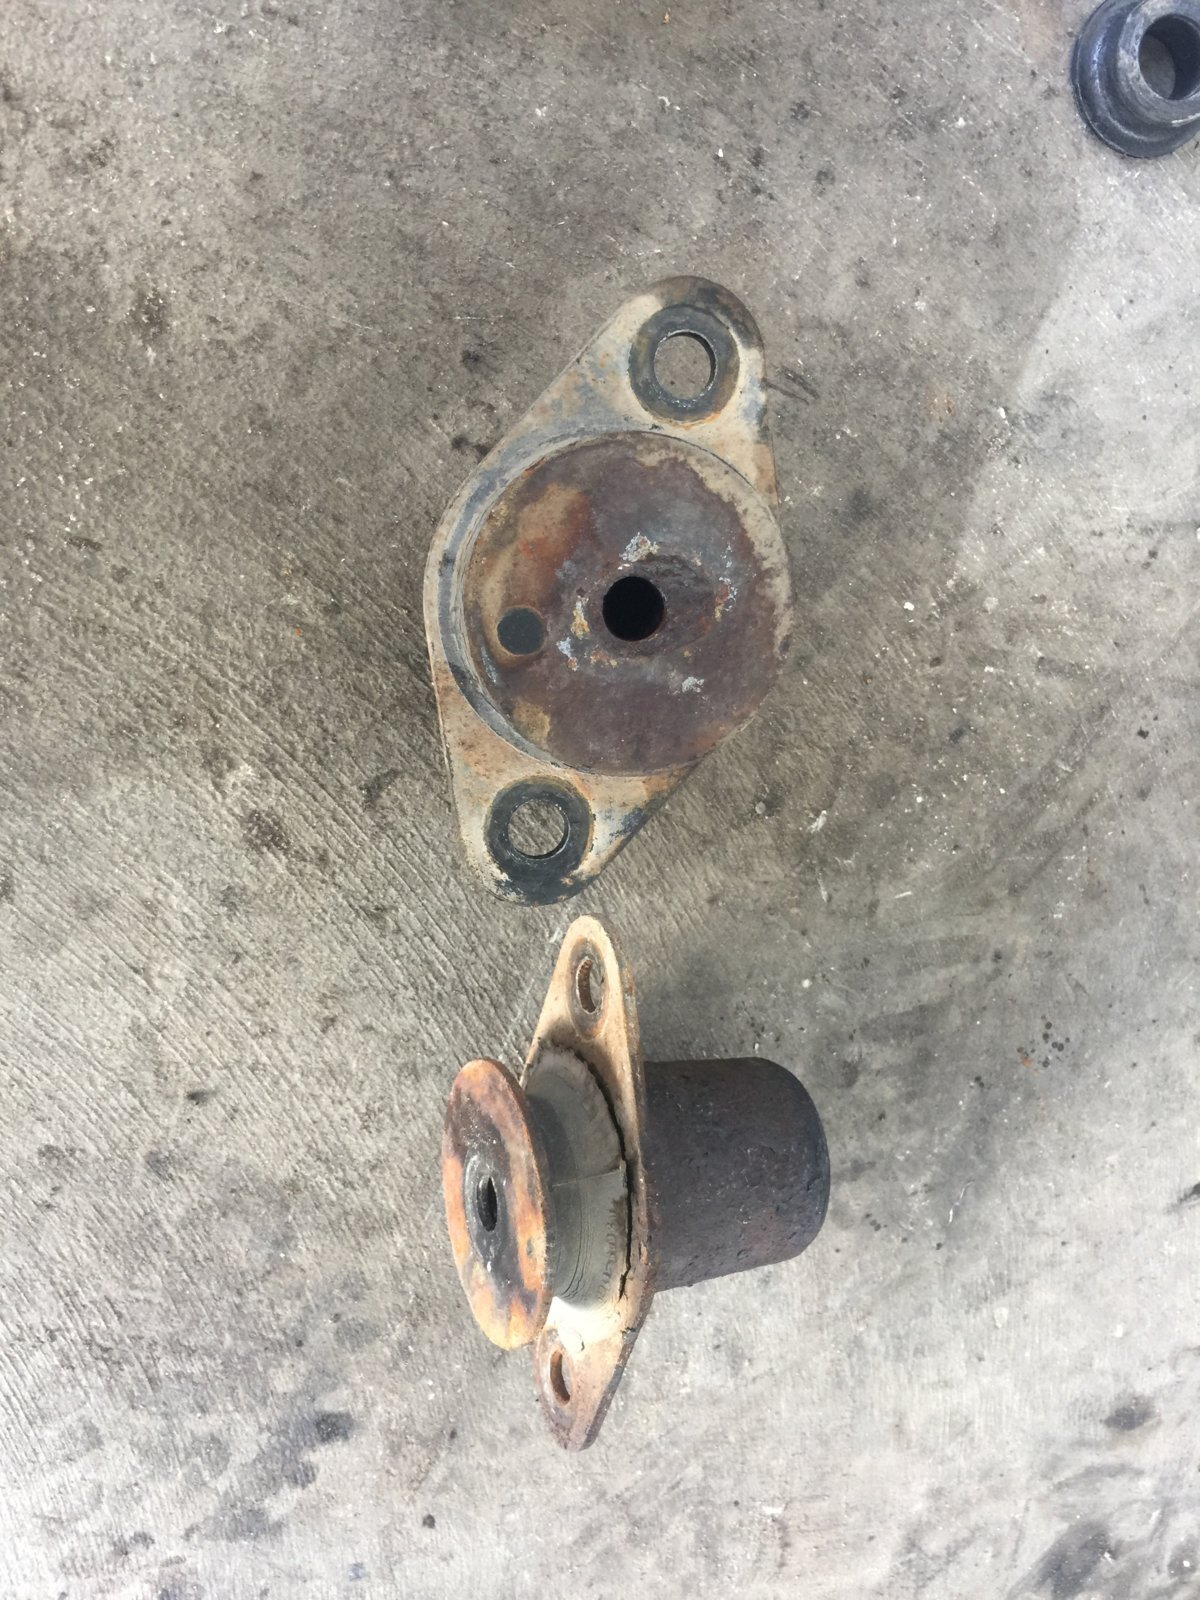
Rear bushings are the only set that are specifically differently marked as left or right. Below are the old ones.

CC8E67B4-55C7-4BD5-89F6-DB0D2CC187CC.jpeg
 
Well done Dervis, and thanks for the photos and narrative.

Is there any noticeable difference driving it?
 
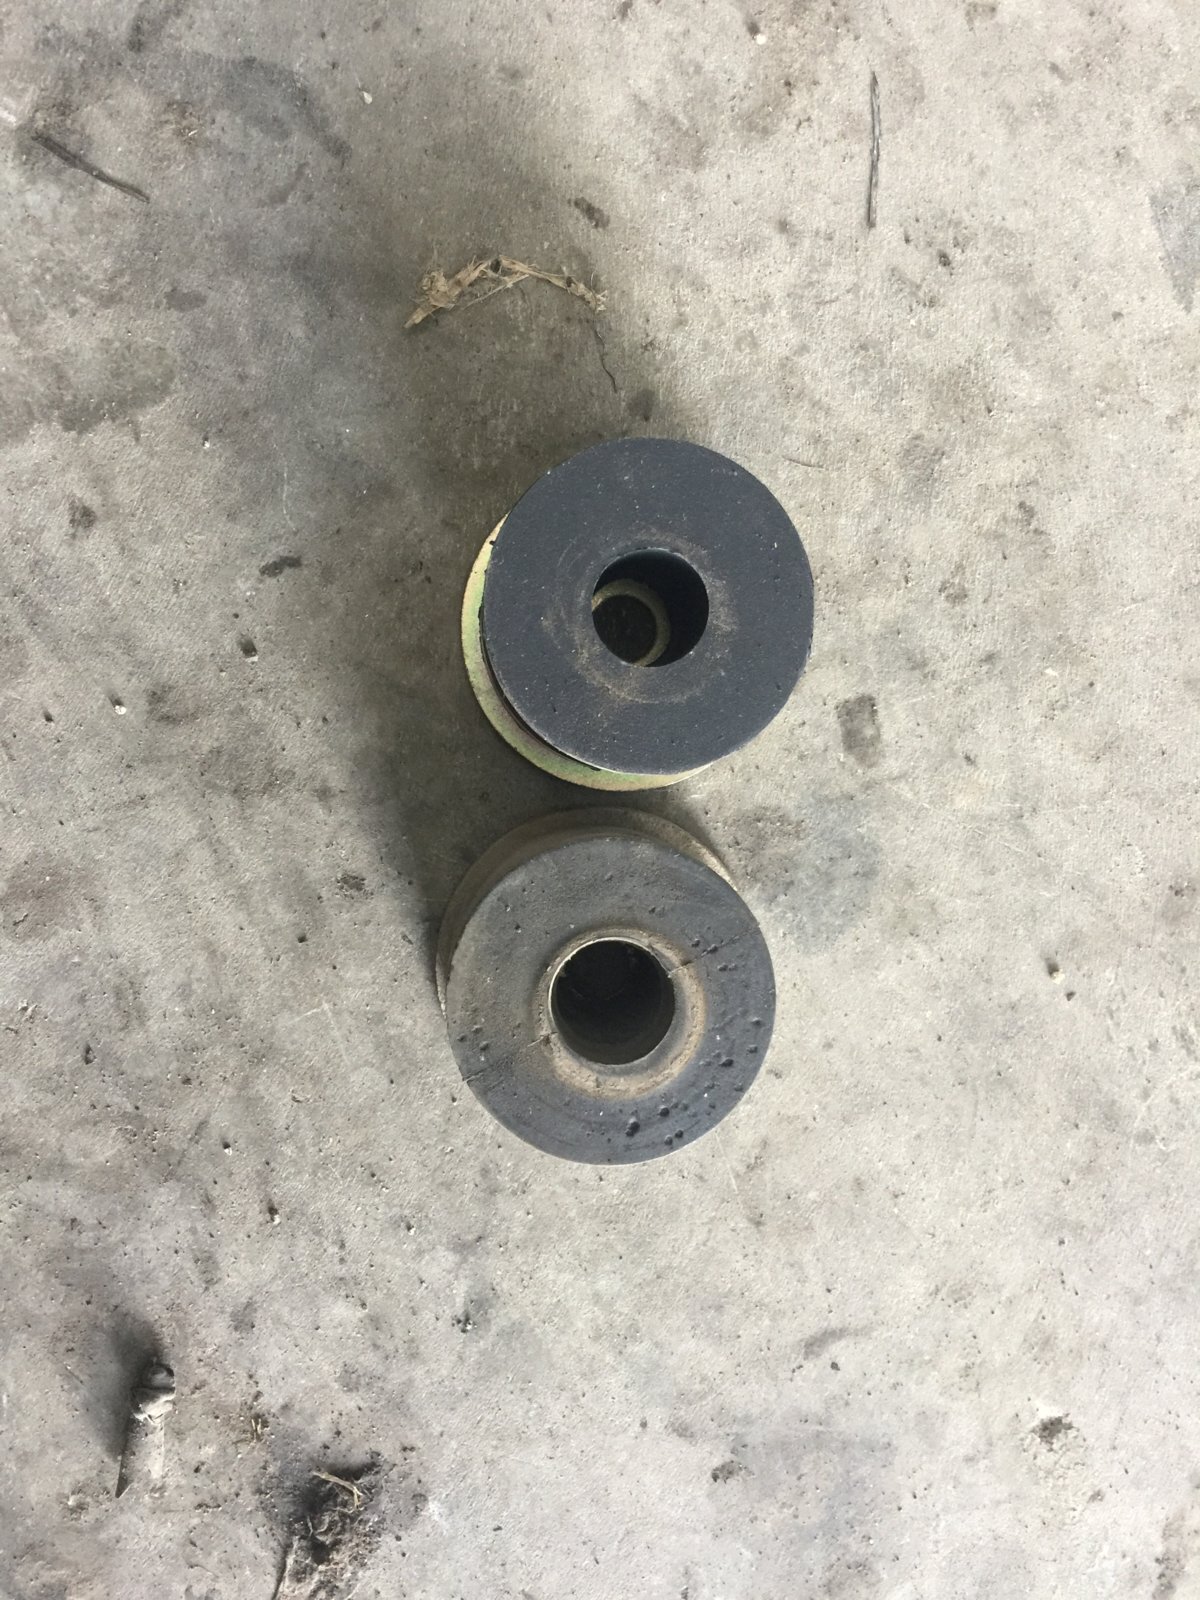
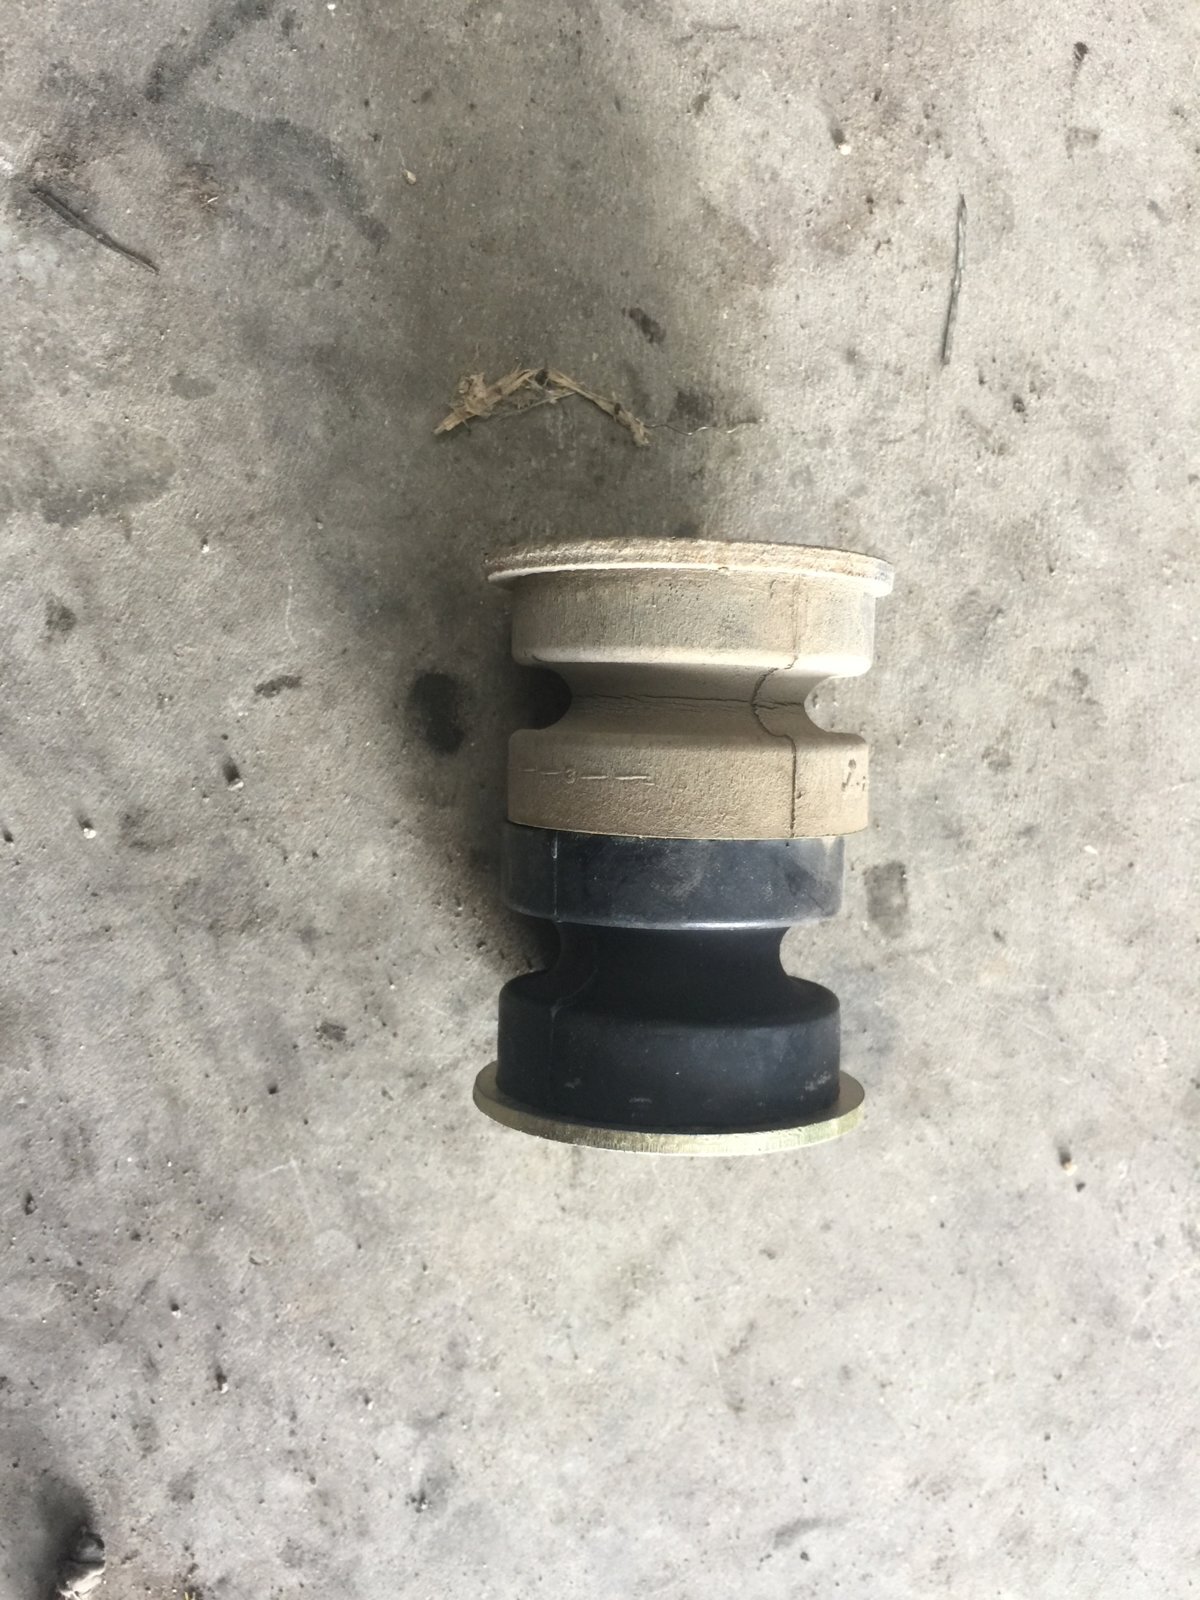
The differences in appearance is obvious with size, cracking and lasisity shown here.

9AC3B872-E0CA-4605-BAD7-0297EDE22B1E.jpeg 0CEB0EF7-4360-4E76-BBC3-A5F9716F88D5.jpeg 66BFA0BC-18E7-4C61-819B-A9B0F0A318FE.jpeg
 
Well done Dervis, and thanks for the photos and narrative.

Is there any noticeable difference driving it?

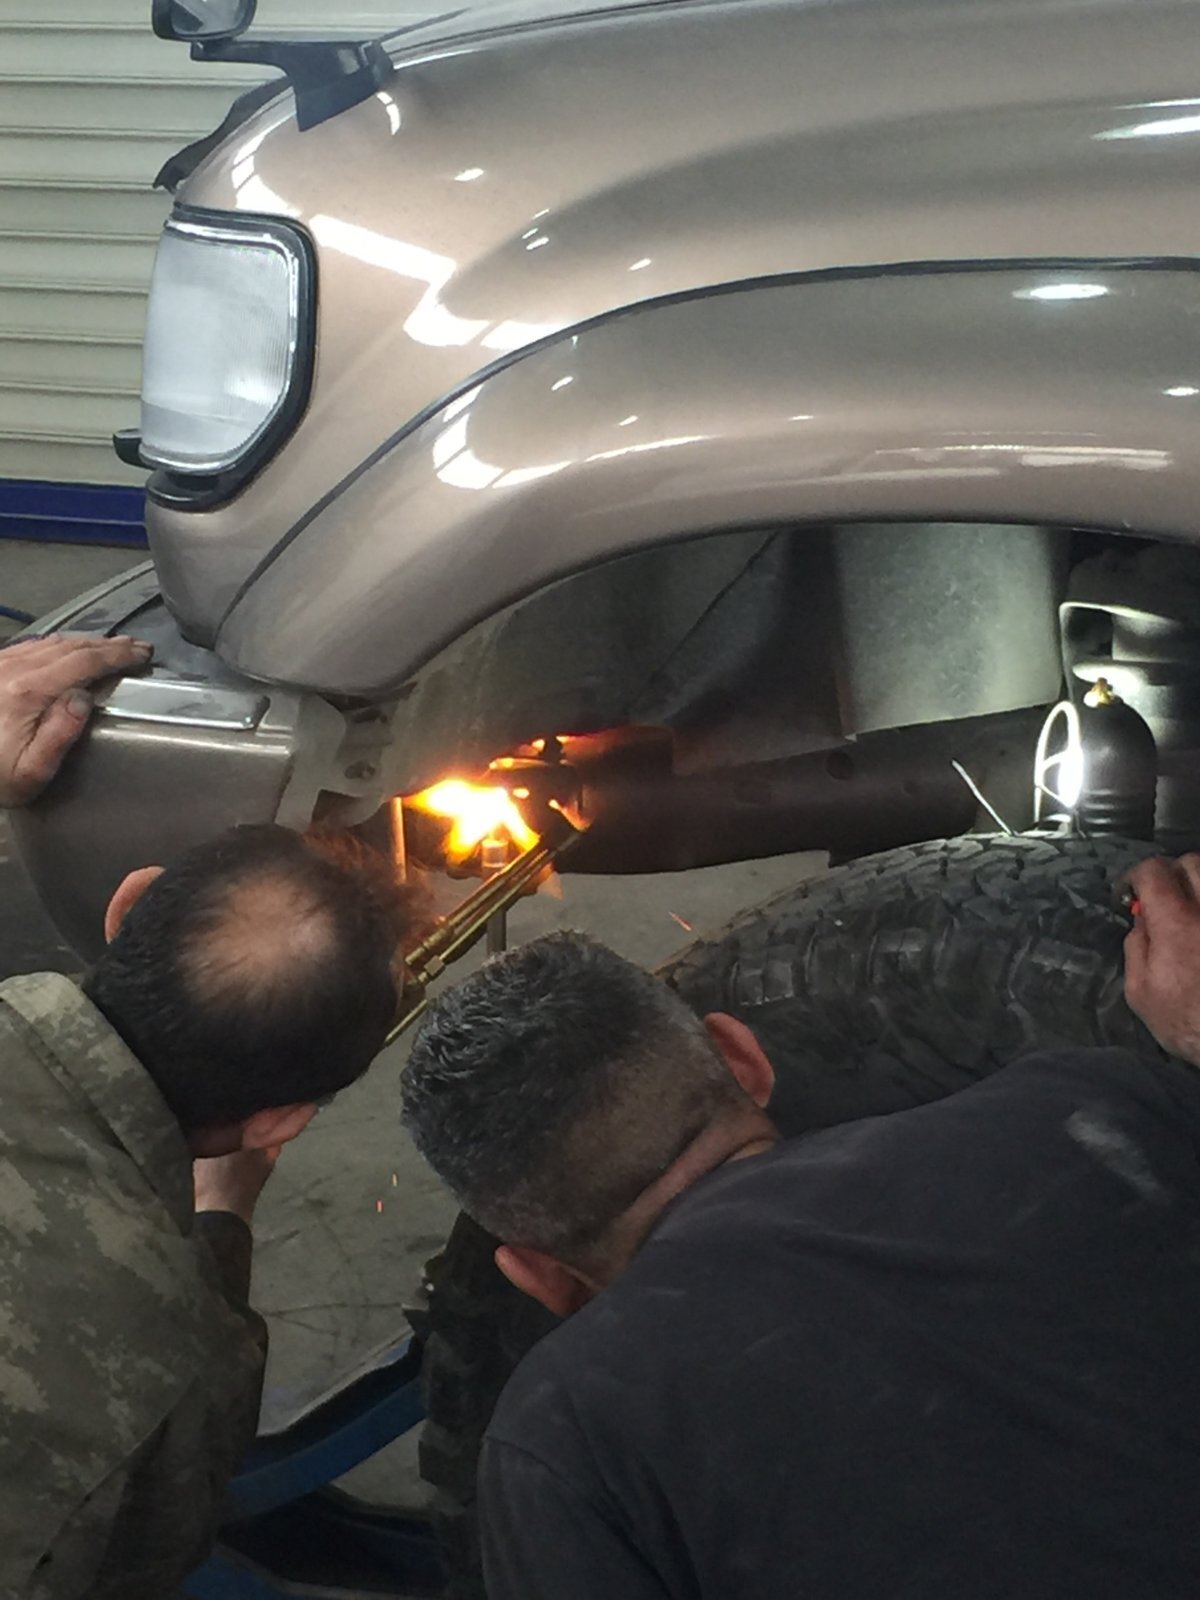
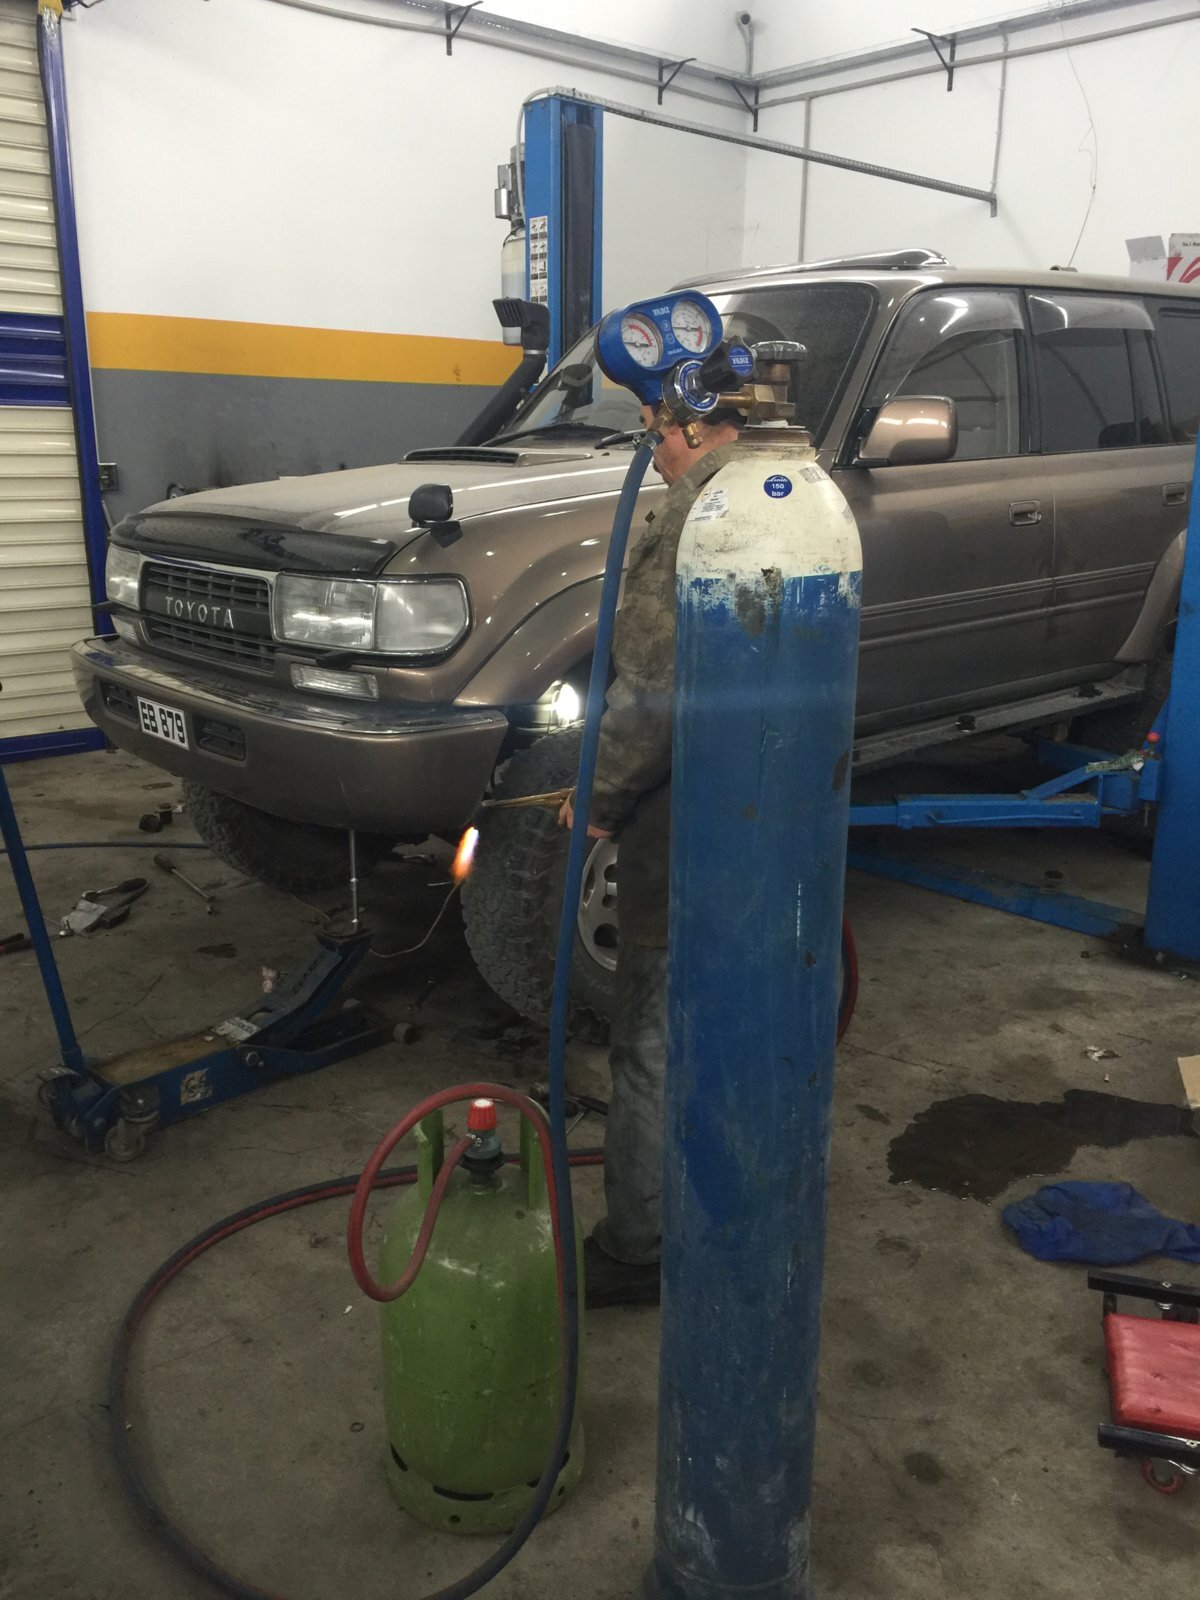
Haven’t finished as yet Clive the front bushes needed heating up to loosen. Once these are free the rest is easy to finish up on. Fingers cross :pray:

4317A23B-BB9D-450E-BF46-E2974B5C7191.jpeg A80C4D7B-DD0B-4709-9638-EFBE48154691.jpeg
 
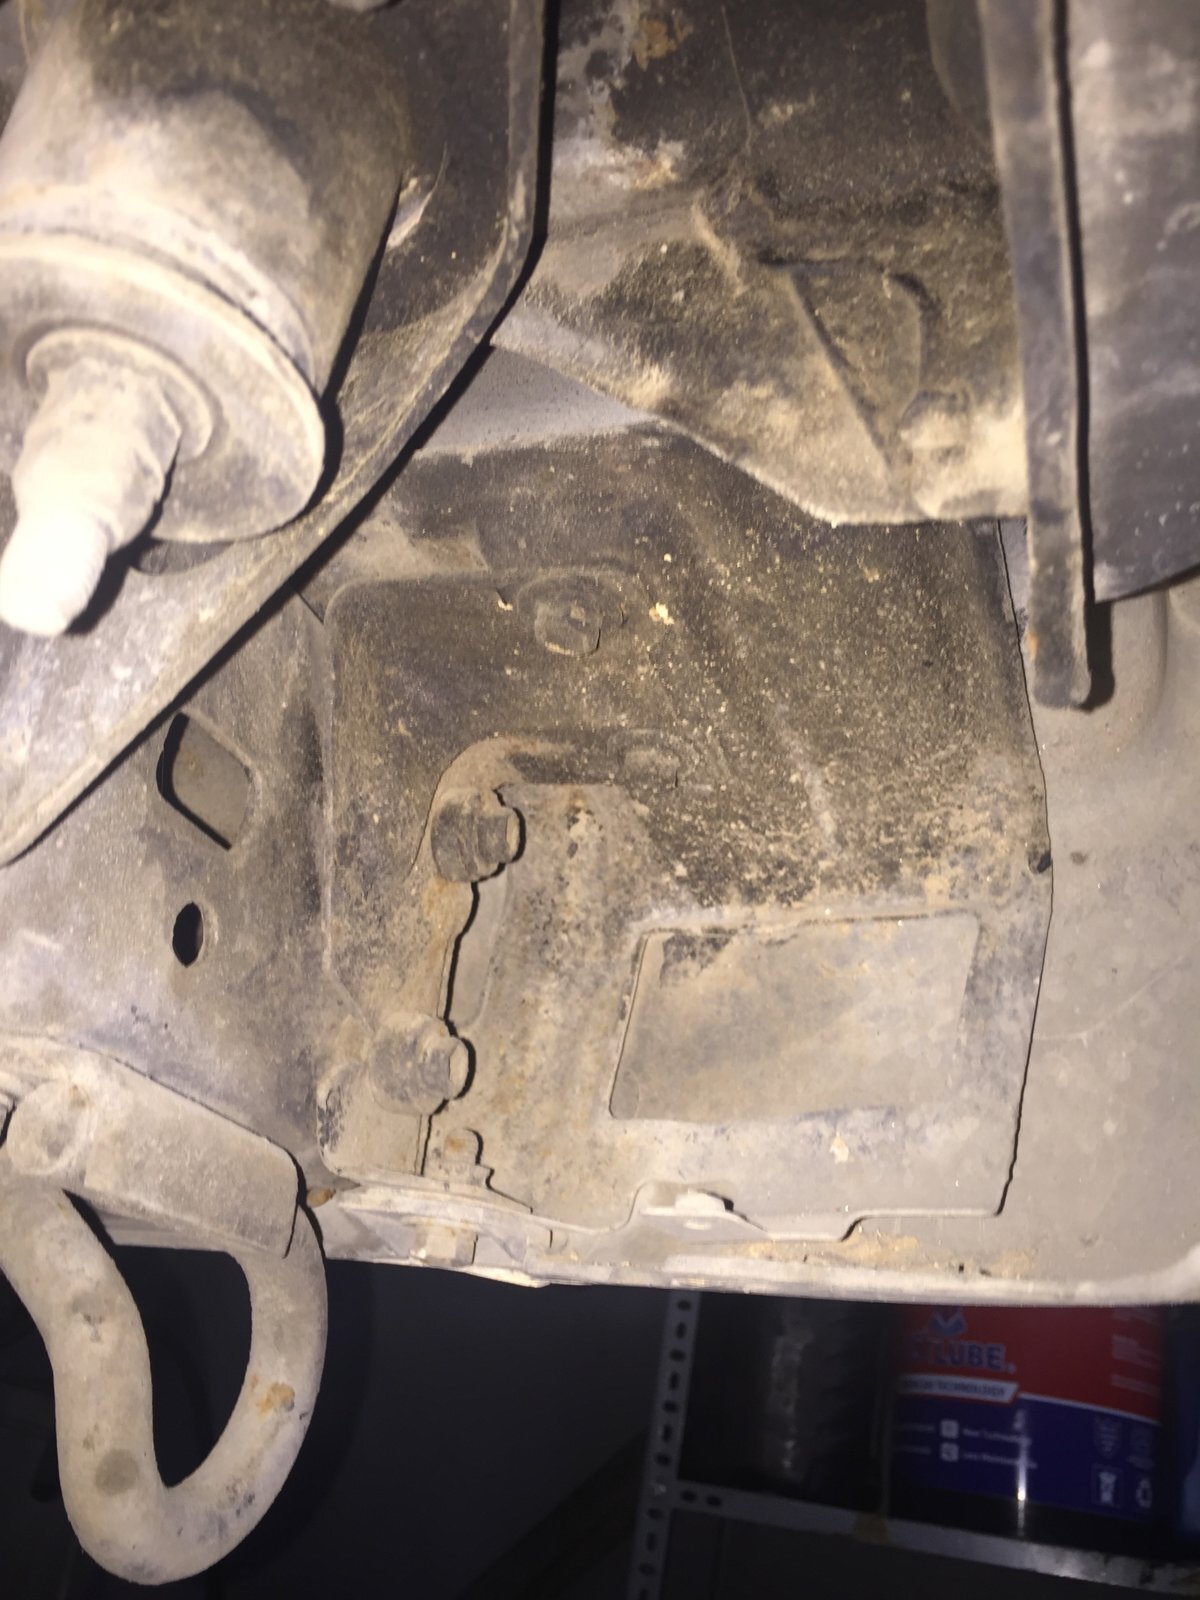
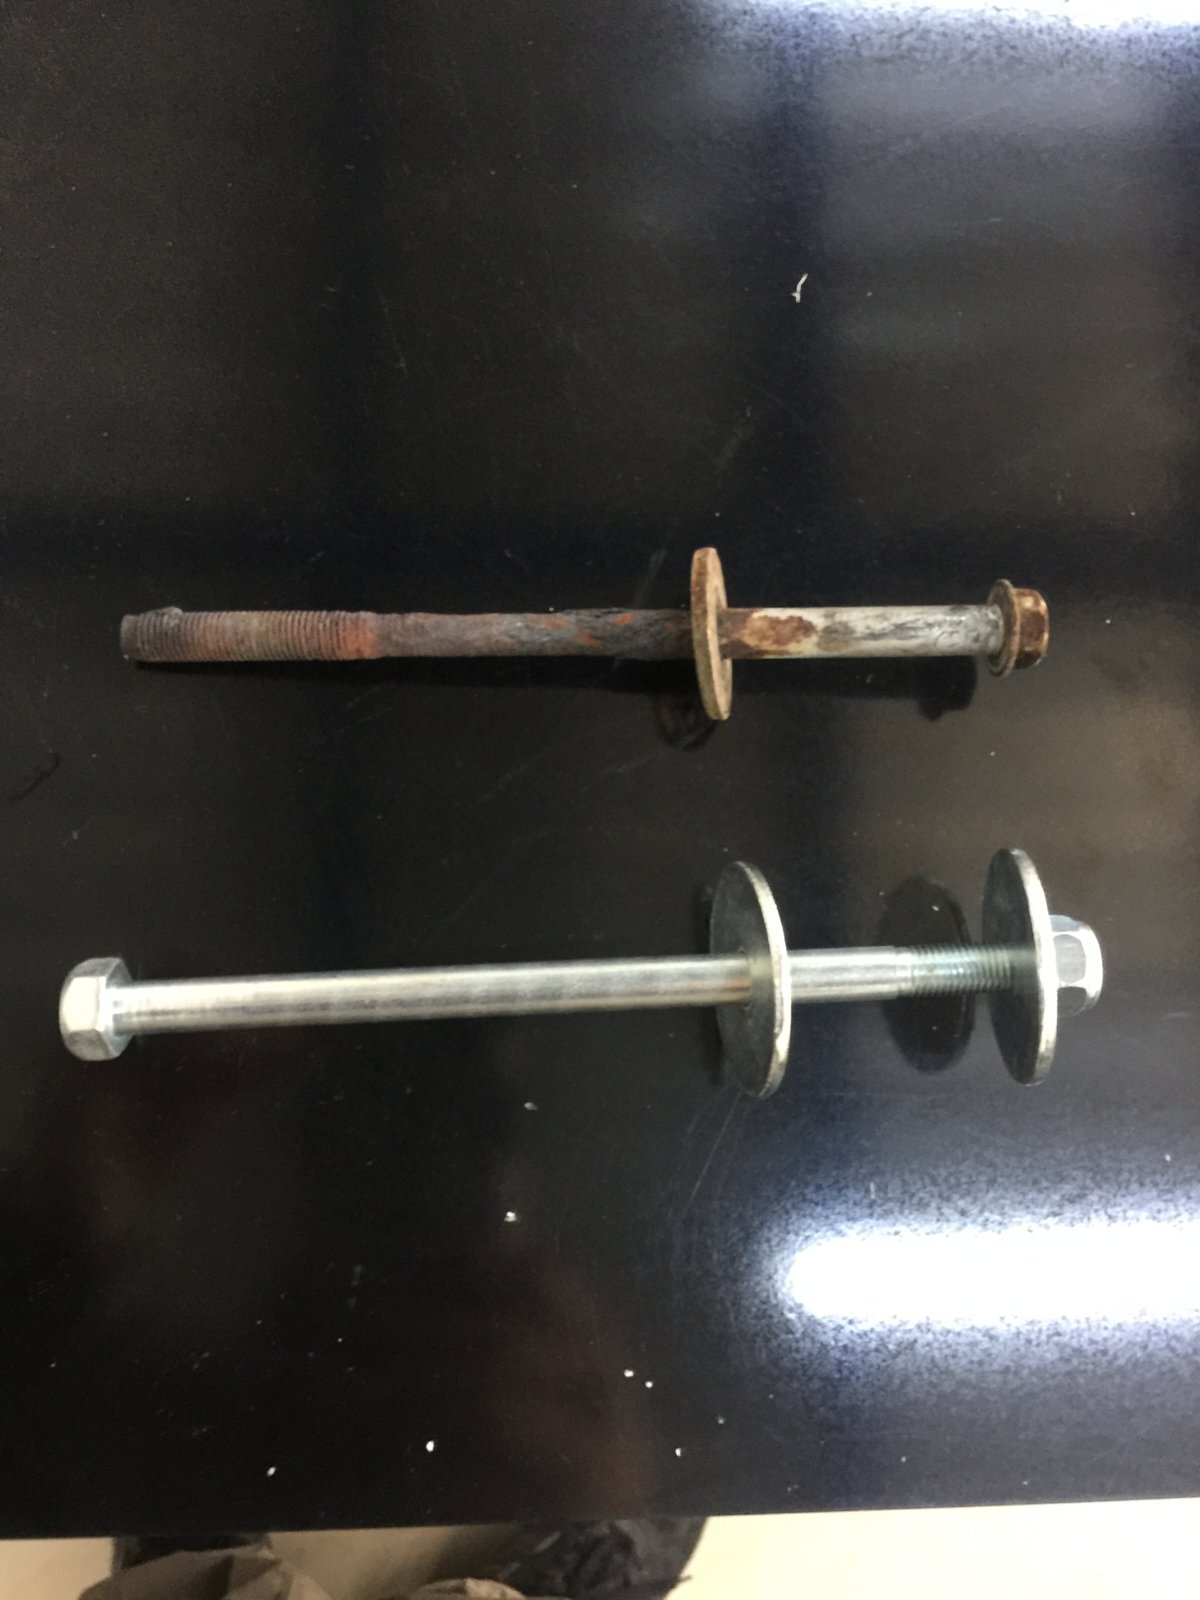
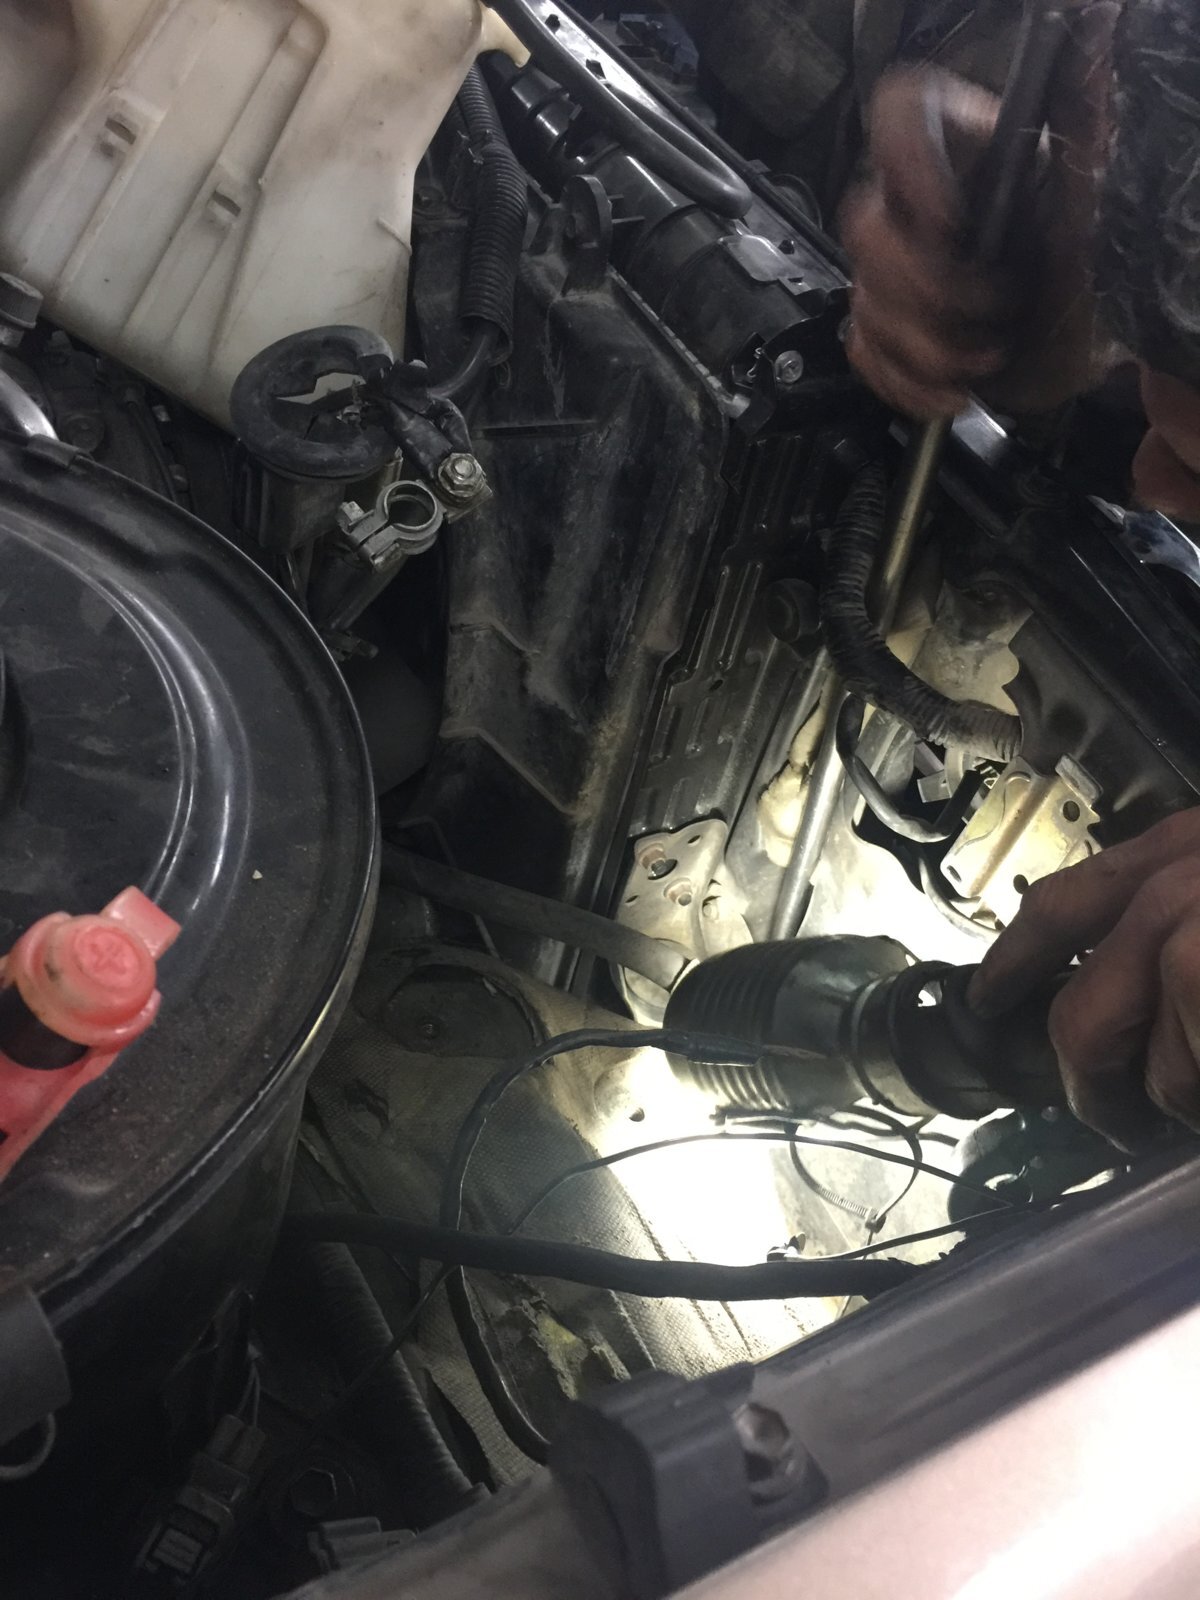
To do the job better had to take out both battery and trays. More work certainly but thankfully with the grace of God was finally able to cut loose both bolts looking worse for wear.

New bolts ready to install

CD4349F6-3217-424C-A278-BA0A2F49F809.jpeg 49864845-88E8-4693-BADF-398A1F1D9028.jpeg
 
Good work dervis, and im looking forward to feedback on the results, but the bushes are not oem are they?
 
Good work dervis, and im looking forward to feedback on the results, but the bushes are not oem are they?

Yes their OEM Mike. All done now also changed the rear shock bottom buses with super pro to finish up the job nicely.

There is less vibration in the cab but also established somehow the vibrations from the engine are still having an affect even though the engine mounts were changed before?

Will have to investigate this more it may be as simple as part of the engine rubbing on the body or chassis?

As a recommendation I would suggest for UK models having all the bolts, nuts & washers as rust would most likely have them seized or worse.

Overall I’m happy with the work & garage. Their speedy with me lending a hand to finish it up within the day.
 
Last edited:
Back
Top