Don't like the adverts?  Click here to remove them

HDJ81 Build

willthompson

Active Member
Joined
Nov 5, 2018
Messages
96
20171113_092805_IMG_6327.JPG

So i bought this 80 series off @Tommy345 nearly 2 years ago.
Its a 1993 Hdj81 with just shy of 140k on the clock, he was reluctant to let it go but after nearly buying one off his brother that needed a lot of work to get to the standard of this he let it go.
The following is just some of what tom had already done to it prior to me.
N4 winch bumper
N4 skid plate
Come up winch
Iron man 4 inch lift
Iron man snorkel
Tecinox exhaust
BIT Turbo
BIT Intercooler
Fuel pump upgrade
Injector upgrade
EGT + Boost gauges
SuperPro lift control Arms
OEM Aussie Sub Tank
Manta wheels
+ much more.

First big trip in it was to Austria for snowboarding truck performed amazingly no faults what so ever. Unfortunately after a month of being back i was driving on the twisty roads of the B6255 in yorkshire and the gear box over heated burning smell in the cab, would not select drive and was wanting to reverse instead of driving forward, after an hour of letting it cool down i managed to get it into drive and limp it to where i was going. Next day all seemed well it although it was not selecting the final drive as it was before. Dropped the oil which was all burnt and black flushed it the best i could cleaned the filter out, drove for about half hour before it packed in again, this time to get it to drive you would have select 2 then when moving put it into drive. After a month of deliberation and trying to flush the box out and clean the solenoid's with Paul at West Coast the price to rebuild the auto was silly and he had all the bits to put a manual box in it as this was something tom was eventually going to do also before buying the truck i wanted a manual so we went for it. Its drives amazingly now, after the first clutch slipped straight away we decided a heavy duty terrain tamer was in order and now it pulls like it never has done before only thing i miss is the cruise control.

Next on the list was tidying it up, although it was great condition body and chassis wise it was starting to get its age related marks. Lacquer on the bonnet was none existent, the same had started on the roof above the front and rear windows, small spots of rust had started to appear and paint bubble around windows, getting on top of this before it got worse was a priority and the dreaded slow windows and other rubbers perishing away. So over the past 6 months i have started to collect a whole load of trim bits and rubbers etc to bring it back to its former glory.
Stripped the truck down 2 months ago for some paint, found a hole in the front inner wing and outer wing so i rebuilt that and got it off to the painters. Two weeks after it was in the paint shop i broke my back so everything has been a bit slow but i got the truck back on Monday and i am pretty much back to normal as long as I'm doing no heavy lifting and nothing strenuous. I am big fan of the smooth body of the FZ's they have in the states so all the moulding was pulled off as well and filled in for a cleaner look.

20190822_194129.jpg
20190813_194310.jpg
20190817_133505.jpg
20191002_180754.jpg
20191014_173840.jpg
received_408803226340780.jpeg


Lots more to come......
 
Last edited:
Seen the truck before - looked really good. looking forward to seeing further updates.

What do you think about the Ironman snorkel?
 
gorgeous looking 80 will. well done. all the best with the back.

why no cruise control?
 
Seen the truck before - looked really good. looking forward to seeing further updates.

What do you think about the Ironman snorkel?

well built and does the job, i think Ironman, Safari, Dobson etc are all in the same league really.... your just paying for the name you like more than anything. I have had to have a new wing as my old one was rotten so i need to re drill the holes, i am contemplating having a stainless one fabricated into a custom air box that could house a 200 series filter or a duramax filter.
 
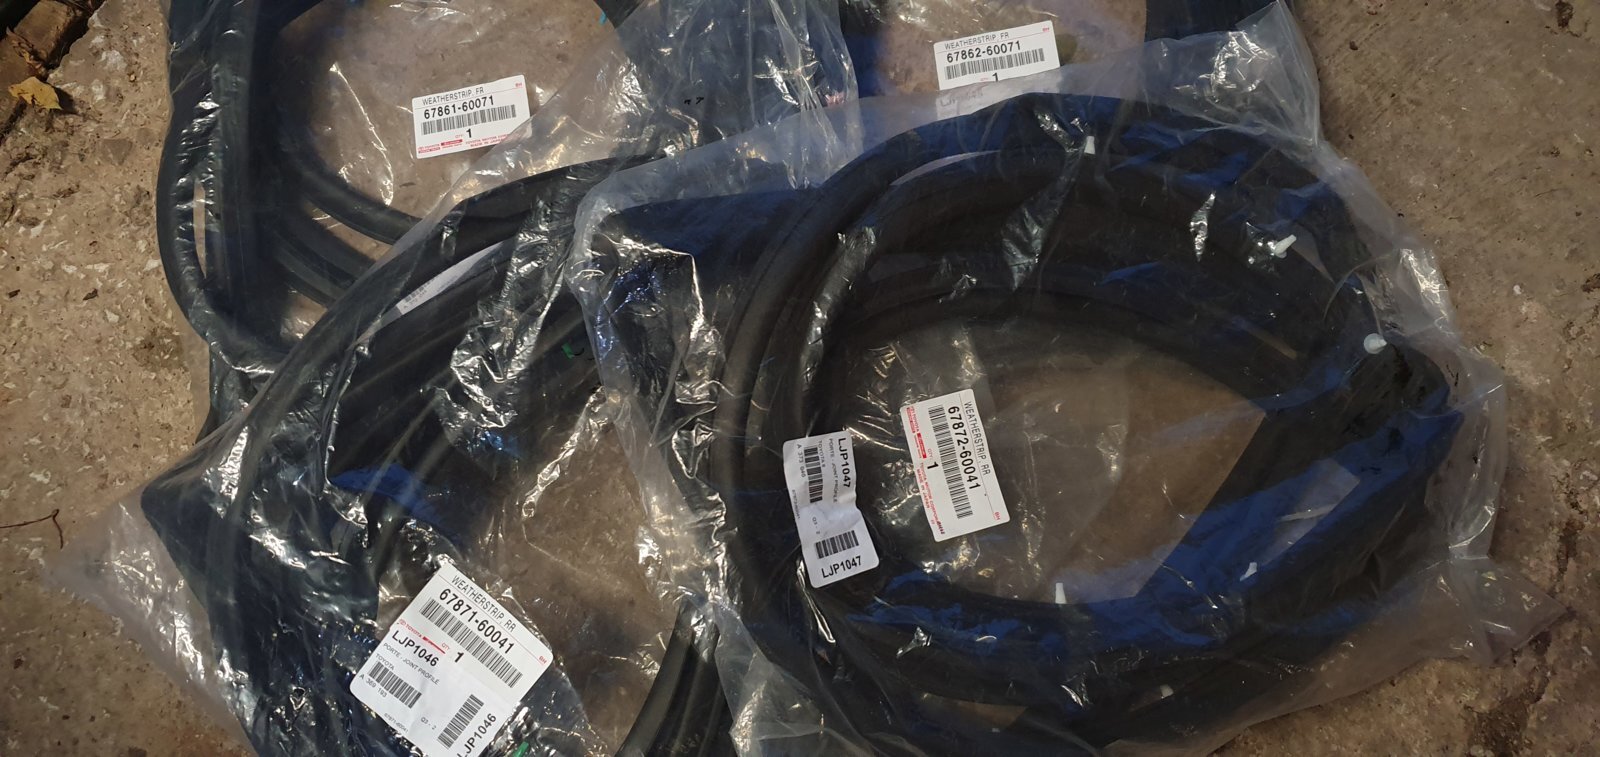
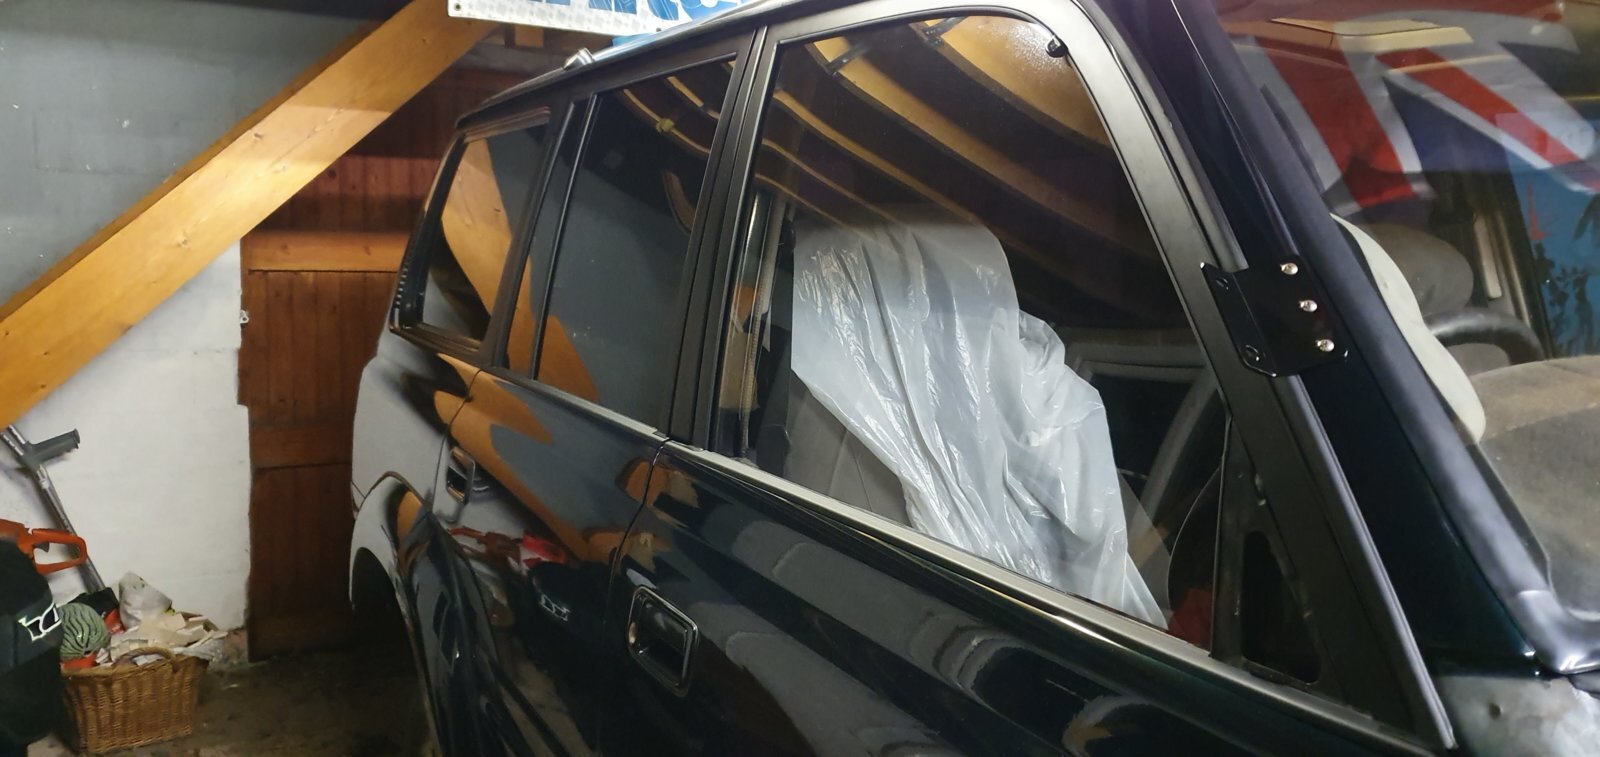
I have not been as busy with the truck as i have wanted to be due to my back and having to wait for some bits and pieces to come for it. I got all the flares on the rear of the truck fitted with new seals which were an absolute pain in the a*** not 100% happy with them but it will have to do. I have Built up all the front doors with the new rubbers all around removed the glass and gave them a good clean up. I am struggling to get the rear passenger rubbers in, Has anyone got any pointers? Is it easier to take the small window out and try that way?? i don't want to try a lubricant as i found it dragged the seal down with the window and it would seat properly.
 
Don't like the adverts?  Click here to remove them
Just noticed you are removing the wheel flares, don't you have problems with the tyres overhanding?
 
Just noticed you are removing the wheel flares, don't you have problems with the tyres overhanding?
There back on i had everything re painted off the vehicle and they have had all new fittings and rubbers, what a pain they are to fit.
20191021_222408.jpg
20191021_175020.jpg
 
Front wing time but i have had an amateur moment, i didn't realise that 12v/24v wings have holes in different places for the flares....
I got a wing off garry while my car was in the paint shop so i did not check if they where the same only presumed.
He also told me it was a good conditioned one and primed ready for paint, his good condition meant a welded up one i was okay with this as it looked half decent but when it was painted revealed that it had a massive kink in it that you couldn't see before. I'm at a loose end now do i try and drill holes in it and make the flare fit or start again.. its no good to someone else unless you have demoulded your truck like me as the holes have been smoothed.
20191102_153120.jpg
 
Goods not as described from Garry? Well I never. I have a 24v wing from him which looked immaculate. On the photo just the ends of the wing were missing. When it arrived - the ends of the wing were actually missing.
 
And what did Garry say when you phoned and complained about the wing?
 
Front wing time but i have had an amateur moment, i didn't realise that 12v/24v wings have holes in different places for the flares....
I got a wing off garry while my car was in the paint shop so i did not check if they where the same only presumed.
He also told me it was a good conditioned one and primed ready for paint, his good condition meant a welded up one i was okay with this as it looked half decent but when it was painted revealed that it had a massive kink in it that you couldn't see before. I'm at a loose end now do i try and drill holes in it and make the flare fit or start again.. its no good to someone else unless you have demoulded your truck like me as the holes have been smoothed.
View attachment 161172
I know a few people who have re drilled the holes.
It's getting to the stage where condition takes precedent over colour/year.
In all fairness the wing I ordered from Gary last week was as described.
I'm expecting the two I'm picking up from toyota tomorrow to be as described..
 
I know a few people who have re drilled the holes.
It's getting to the stage where condition takes precedent over colour/year.
In all fairness the wing I ordered from Gary last week was as described.
I'm expecting the two I'm picking up from toyota tomorrow to be as described..

Its my own fault regarding not specifying i needed a 12v i really did not realise they had holes in different places for the flares i will hold my hand up there. I'm hoping the flare will cover the kink and when i drill the holes i don't ruin what has been fixed.

View attachment 161193 View attachment 161194 View attachment 161195
 
And what did Garry say when you phoned and complained about the wing?

I haven't spoke to him...
the fact its wrong is my fault as i didn't realise they were different, the big old dent/kink is the annoying bit but its just more hassle to try and get hold him of to deal with it, its all painted ready to go on....
 
I can relate to fitting the incorrect arches to in my case 24v to 12v! Really hard going! I've just spent too long fitting 24v arches to a 12v body that has had all the holes filled in.

Drilling the oval holes are a challenge to say the least and as I read what you said that the rear parts you're not happy with.... I'm not happy at all with the rear door parts on mine but very happy with the ones on the rear quarter panel.

Don't loose patience with the marking out and use some galvanizing spray paint on the fresh holes. It'll turn out good in the end!

Nice truck it'll be sweet with all the effort. :thumbup:

How did you find drilling and marking the holes out.... any pointers? I am not looking forward to it and are you happy with them now?
 
If you can get some A1 drawing paper that's similar to tracing paper, it's like a mix between plastic and paper kind of. You can lay it on the upside down flare and press the paper over the holes. Then draw around all the flare edges to give you the outline of the flare with a sharpie.

The thing I noticed with the 24v front flare is that the beginning and end have a direct reference to the 12v wing holes. So you already have a very good reference point. The front of the 12v wing has 2x four sided holes that a plastic thread part goes in first.. the furthest one to the front of the truck is the correct location!

The difference is that you're going 12v flare to 24v wing but there has to be this similar thing in common there.

To tape on the template with masking tape and then trial fit the flare and see it it lines up with the holes in the template and check the first and last holes, a good one is the shape in the body profile in the wing and doors to get a good line.

Just drill and refit one hole at a time, slowly you'll get it!

I'm happy with the front ones but 1 hole is a bit high and made a gap between the wing and flare.
Rears are great and strongly fixed but the rear door ones need the metal work that you pop rivet on for the lower mount! Did you manage to buy these parts?

Generally happy with the job but it really pissed me off drilling holes in my f'ing truck lol!!!

Slow and steady wins the race on this job! Good luck with it :thumbup:


i will give it ago and see how it goes.... and not i didn't buy those brackets i took them off and gave them a tidy up but they are available...

https://partsouq.com/en/catalog/genuine/unit?c=Toyota&ssd=$*KwGNuajM2-_31PjTlM-TpdXB4eb4iYaLipiGtMSczZqFnOOZysqXnYSKxcHL0N-mk9bc192ahY2VmYCBkJ2Em46Oi4iZysqd0ZyDmomPjI7X2bWdw8fO1tr5wMSLl52EmZqIh4iK0tjWk56b0cucg5vEuLXt__Sak56b1oXKzp-c8fz1hojty7q67_nhmpOem82Fys6f0MzU05KZmYCBkJ2EmYmLwwAAAAAG7qQA$&vid=0&cid=3&uid=342658&q=
 
slow going.... I'm waiting for raptor paint and other bits to come in the post to finish off my inner wings and re paint the part of rear chassis/bumper.

I got some pre cut masonite cards from australia for my door cards as mine had got damp and warped plus they had a ghetto speaker conversion that i wasn't into so I've had all the the plastics cleaned up and swapped by a local interior guy and he has thrown some new leather on for me as well. I also managed to get hold of some OEM moisture barriers for each door and new inner window seals which sit against the inside of the window, i just need to cut the leather back for the rear speakers, i will be using dynmat on the inside of doors as well to try and reduce some noise.
20190528_190830_IMG_7274.JPG
20190916_090741.jpg
20191107_180729.jpg
20191107_180830.jpg
20191107_180520.jpg
20191107_180605.jpg
 
Back
Top