Don't like the adverts?  Click here to remove them

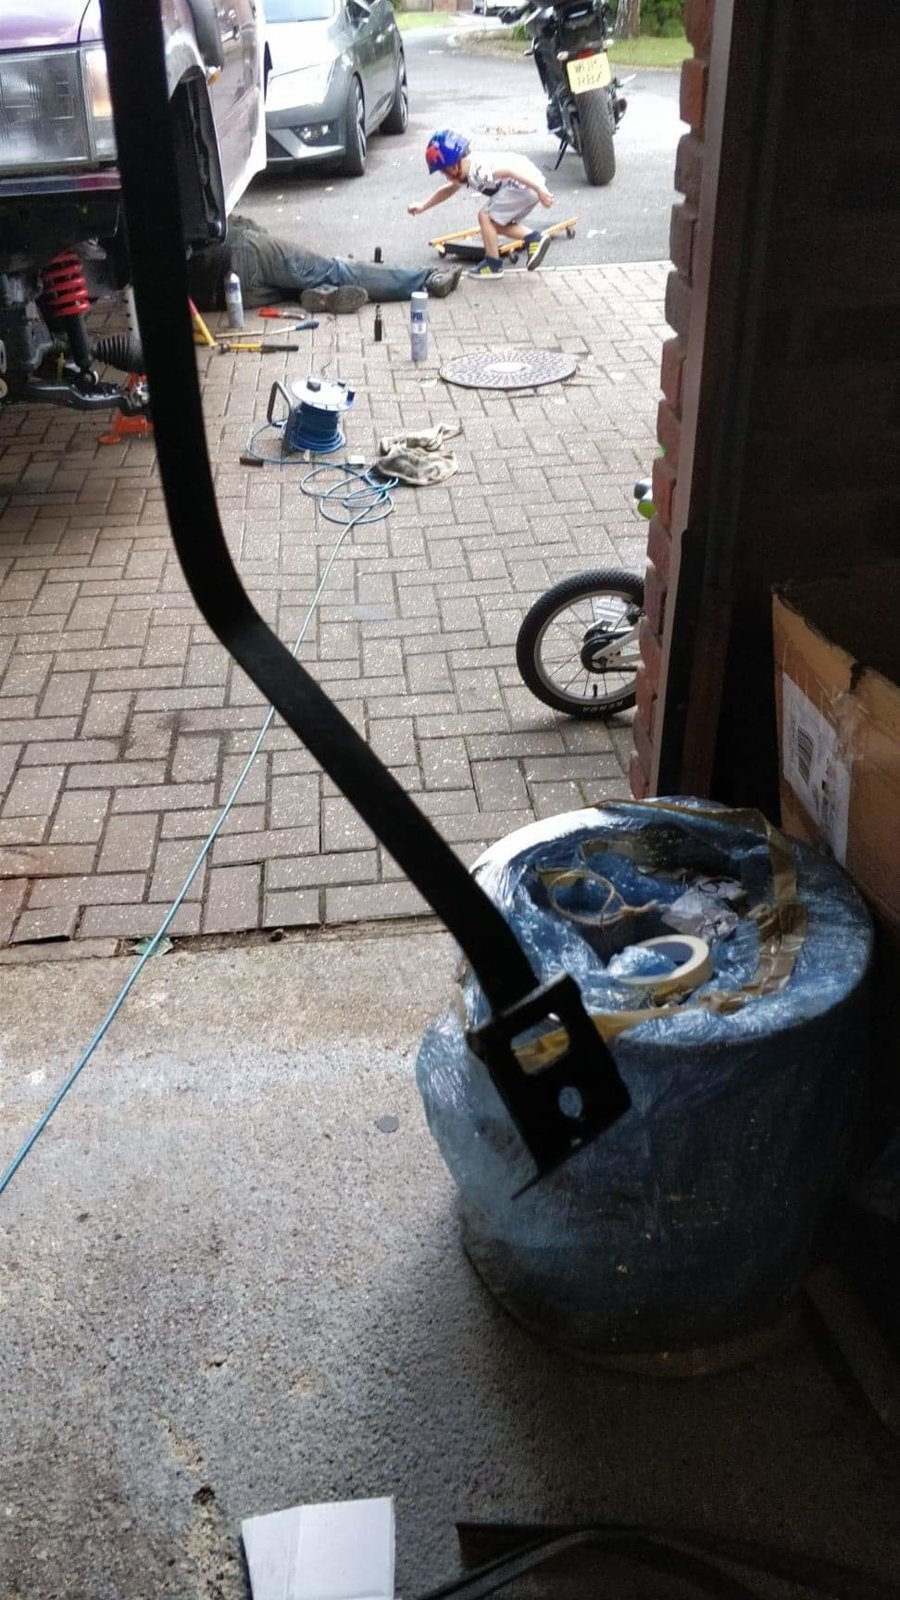
Project 'red van' (says the 4 year old) build thread

Anyone had any experience with LineX - https://linex.com/specialty-automotive

Yes. Every part of my 80 is covered with Line X. Just the other day I side swiped a pine tree branch..there should have been a massive scratch down the side...the branch came of worse. Haven´t quite worked out how to clean Line X..power wash is the way but it leaves zebra stripes if you miss bits. Definitely a dirt magnet.
 
Yes. Every part of my 80 is covered with Line X. Just the other day I side swiped a pine tree branch..there should have been a massive scratch down the side...the branch came of worse. Haven´t quite worked out how to clean Line X..power wash is the way but it leaves zebra stripes if you miss bits. Definitely a dirt magnet.
Wish I could afford the stuff but too pricey for me! Raptor will have to do.
 
Fruits of this evenings labour..

IMG_20190805_212205__01.jpg IMG_20190805_212228__01.jpg
 
GRRRR fesking caliper piston rubber boots! Anyone any tips for how to get them on? New ones have arrived and trying to fit but I'll be fooed if I can work out how to get the b*****d things on. Starting to think they're too small... They say they're 45mm but no idea if the right ones... This is them http://japan-parts.eu/toyota/eu/199...ssis/4705_front-disc-brake-caliper-dust-cover 47731a and the boot to go with... This is the ones I got.... https://m.onlinecarparts.co.uk/autofren-seinsa-8256560.html

Any thoughts welcomed!
 
Look on you tube, I've done loads of Cruiser calipers but did see a clip somewhere how to do it easily. When you see it becomes easy.
 
Don't like the adverts?  Click here to remove them
I don't as I can't remember where I saw it. From memory I think you put the top of the boot just over the bottom of the piston, then just put the bottom of the boot in place on the caliper. Push the piston into place, the top of the boot slides up the piston and snaps into place as the piston gets to the bottom of its travel. I did the pistons on my 80 calipers the other week and fitting them was a minutes job each piston.
 
I don't as I can't remember where I saw it. From memory I think you put the top of the boot just over the bottom of the piston, then just put the bottom of the boot in place on the caliper. Push the piston into place, the top of the boot slides up the piston and snaps into place as the piston gets to the bottom of its travel. I did the pistons on my 80 calipers the other week and fitting them was a minutes job each piston.
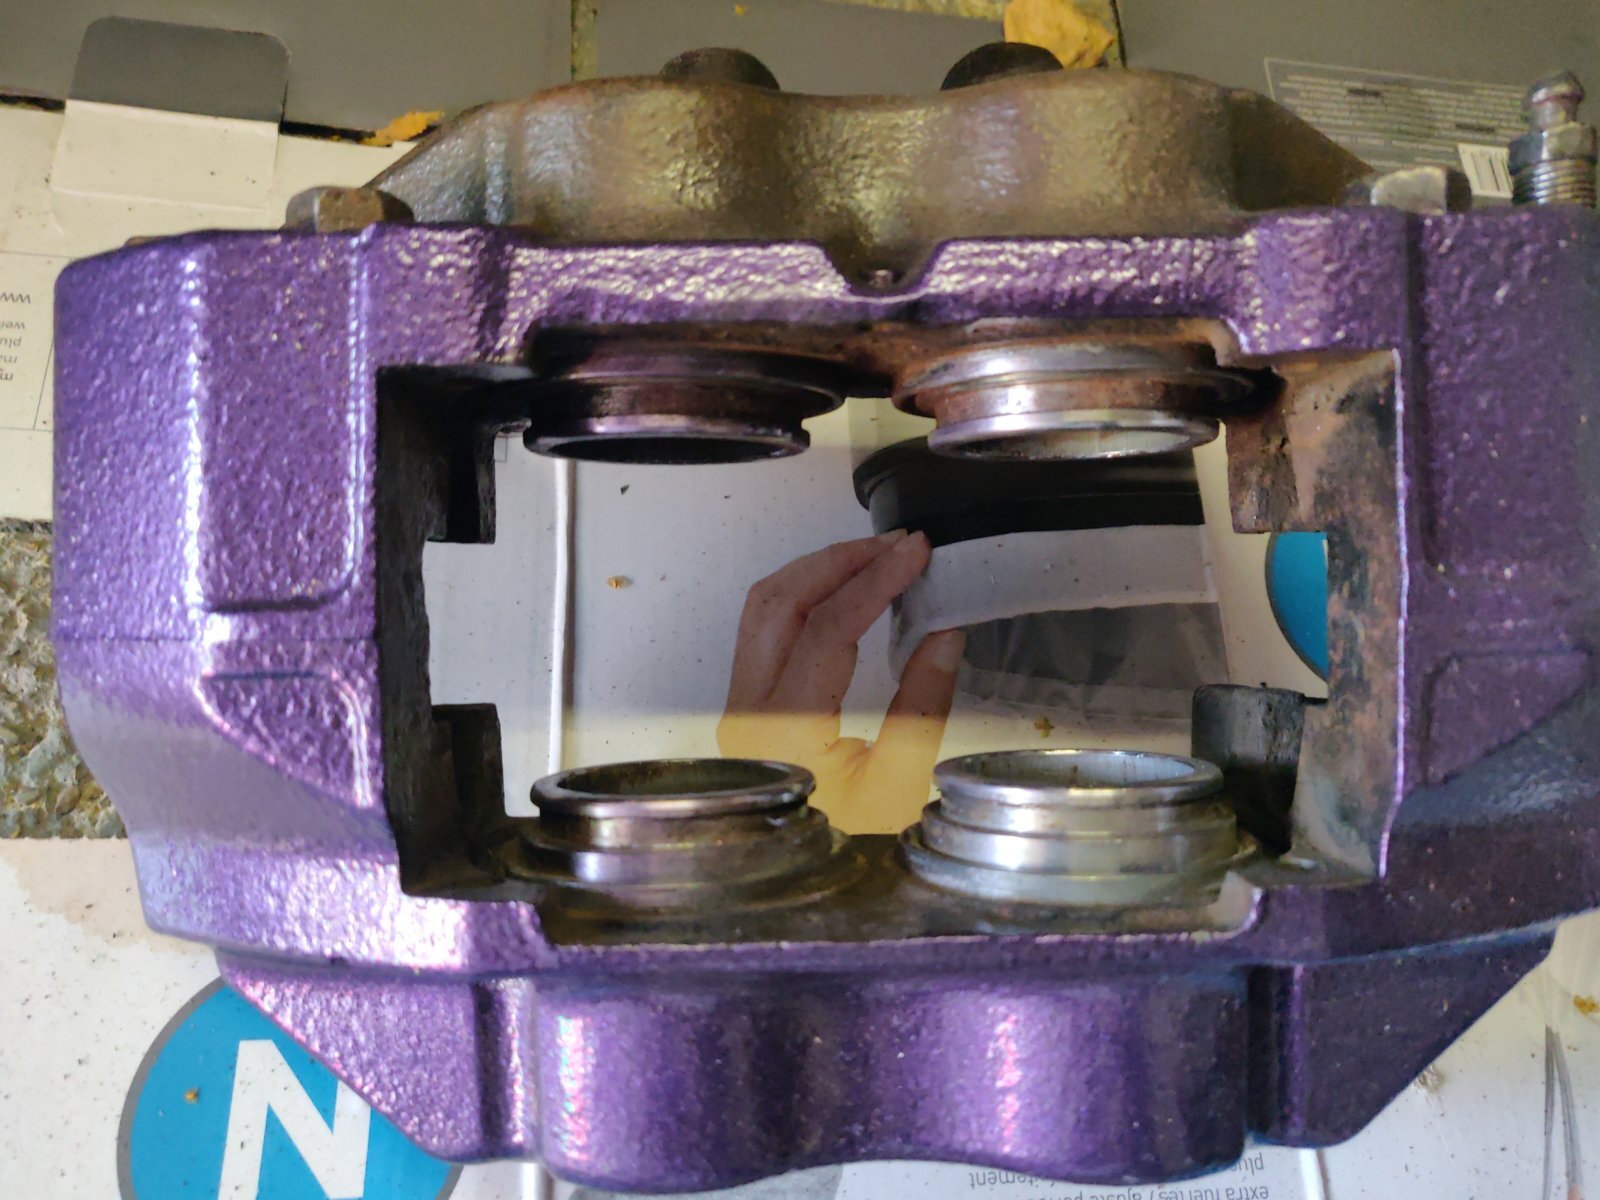
Hey Andy... My pistons aren't out... They look like this..

Do they need to be out to fit the.rubber dust seals?

IMG_20190810_180228.jpg
 
Hey Andy... My pistons aren't out... They look like this..

Do they need to be out to fit the.rubber dust seals?

View attachment 158030

Ah, good luck with that then. I've never tried putting them on in that position, every time after a piston out refurb. I assume you have checked the calipers for correct operation and that all pistons move equally when the pedal is pressed? Just one thing to bear in mind, if you want to remove the pistons with pedal power ( as I do) the pistons can be pressed out to just below their limit with the disc inbetween with the pads removed. This makes a lot easier job on the bench.
 
Ah, good luck with that then. I've never tried putting them on in that position, every time after a piston out refurb. I assume you have checked the calipers for correct operation and that all pistons move equally when the pedal is pressed? Just one thing to bear in mind, if you want to remove the pistons with pedal power ( as I do) the pistons can be pressed out to just below their limit with the disc inbetween with the pads removed. This makes a lot easier job on the bench.
Tbh mate I really don't know. The old discs seamed evenly worn. The brake system is not in a state where I can plumb the calipers in at the minute so if you could advise me on how to do the job I'd be greatly appreciative (I've never stripped calipers down).
 
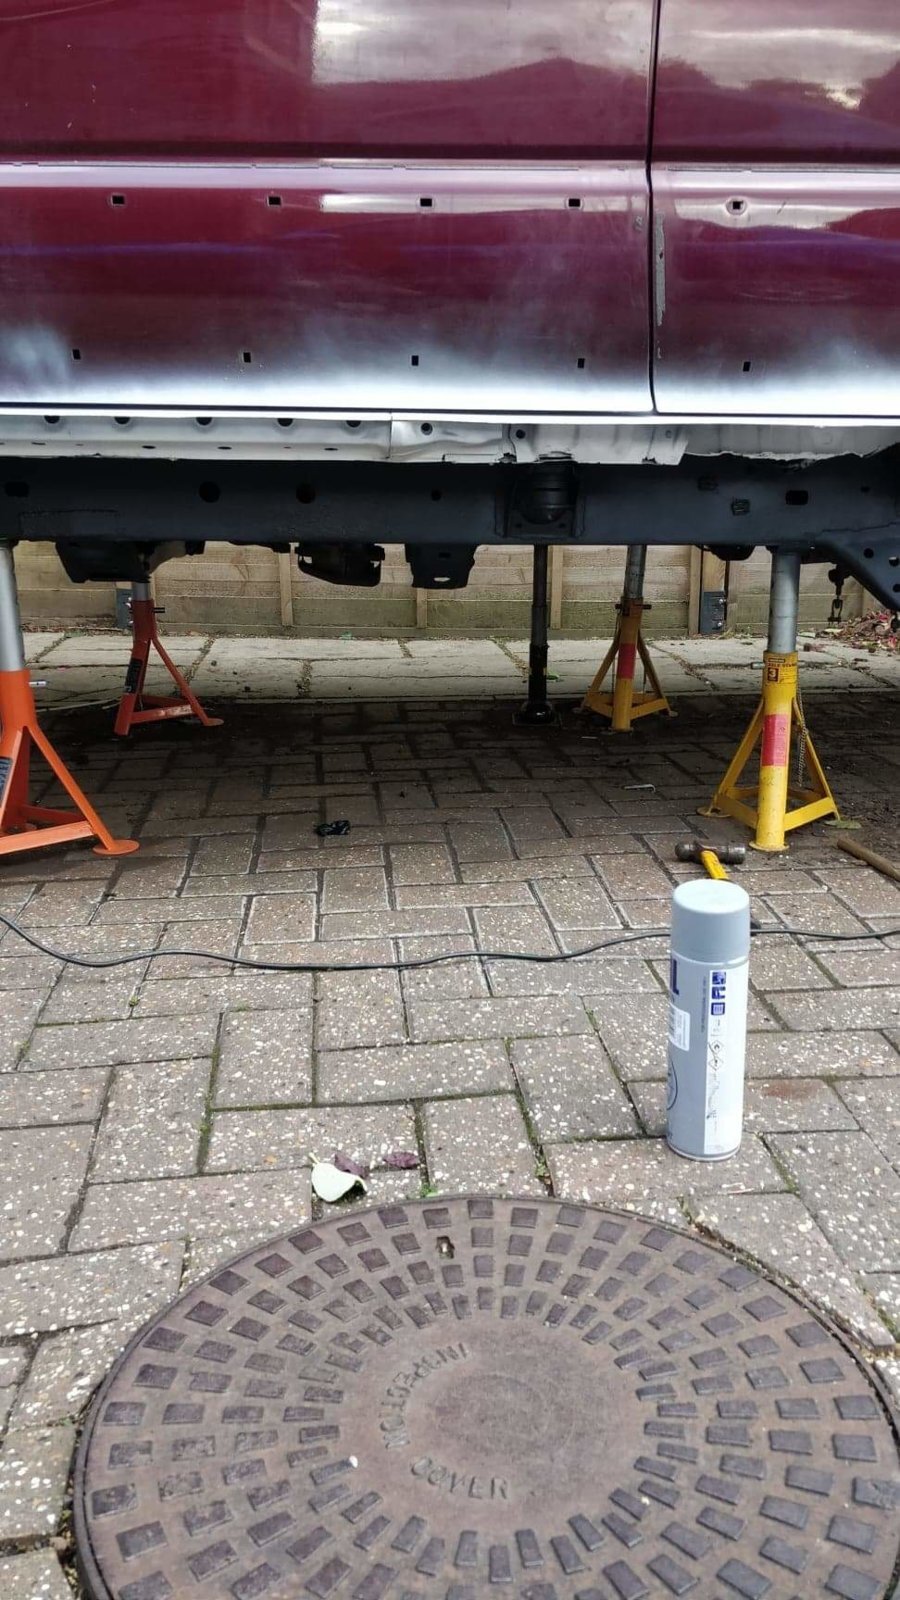
So today...

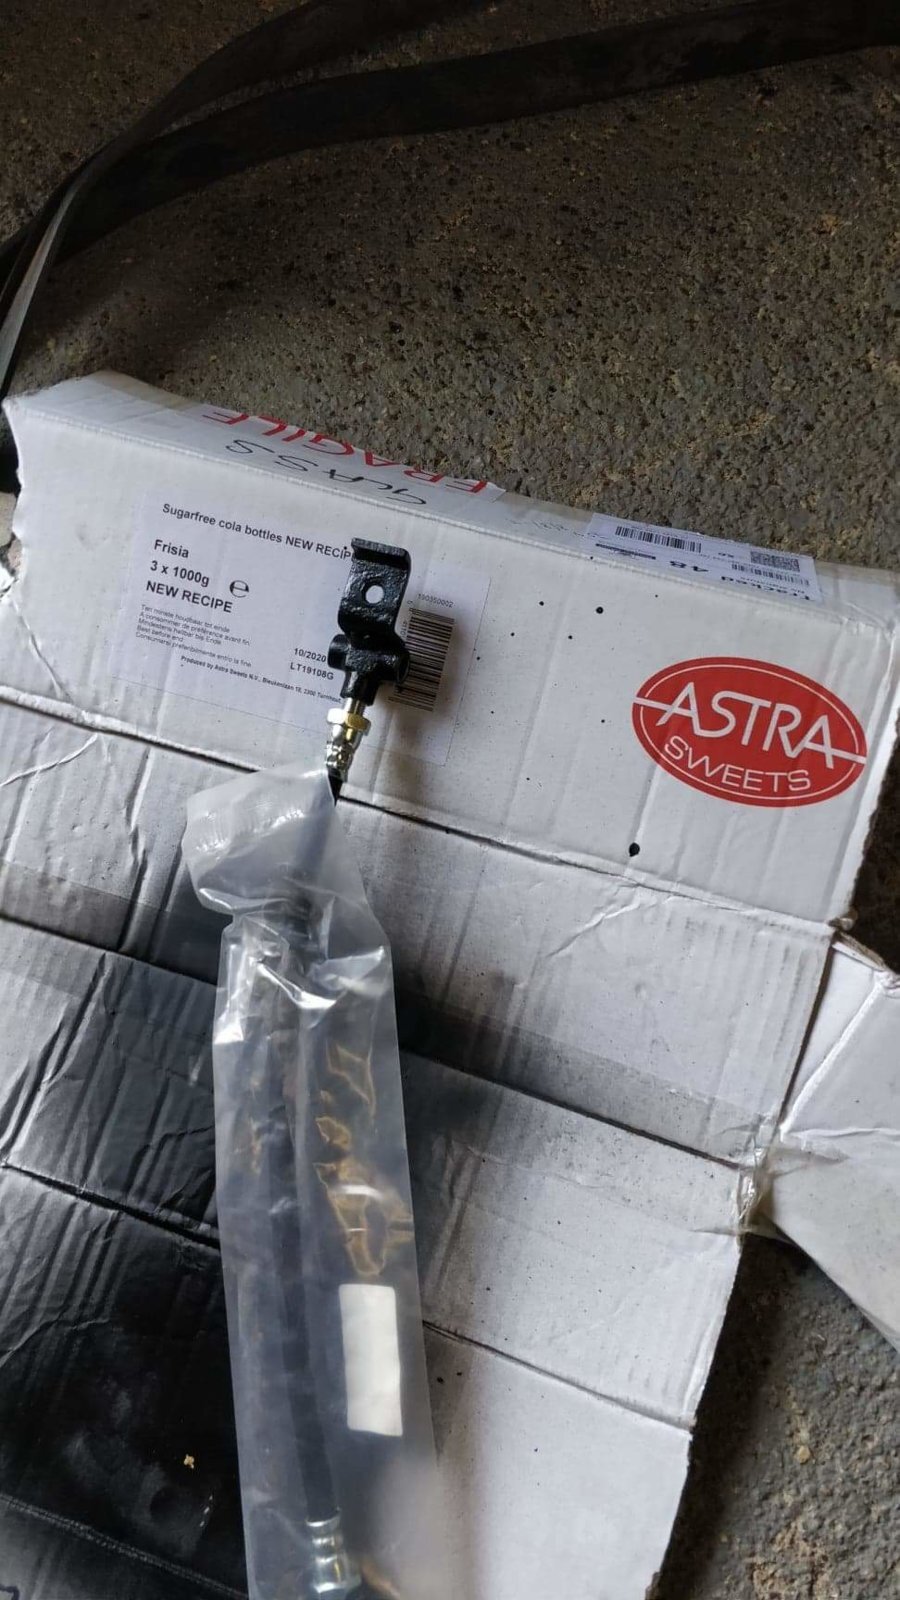
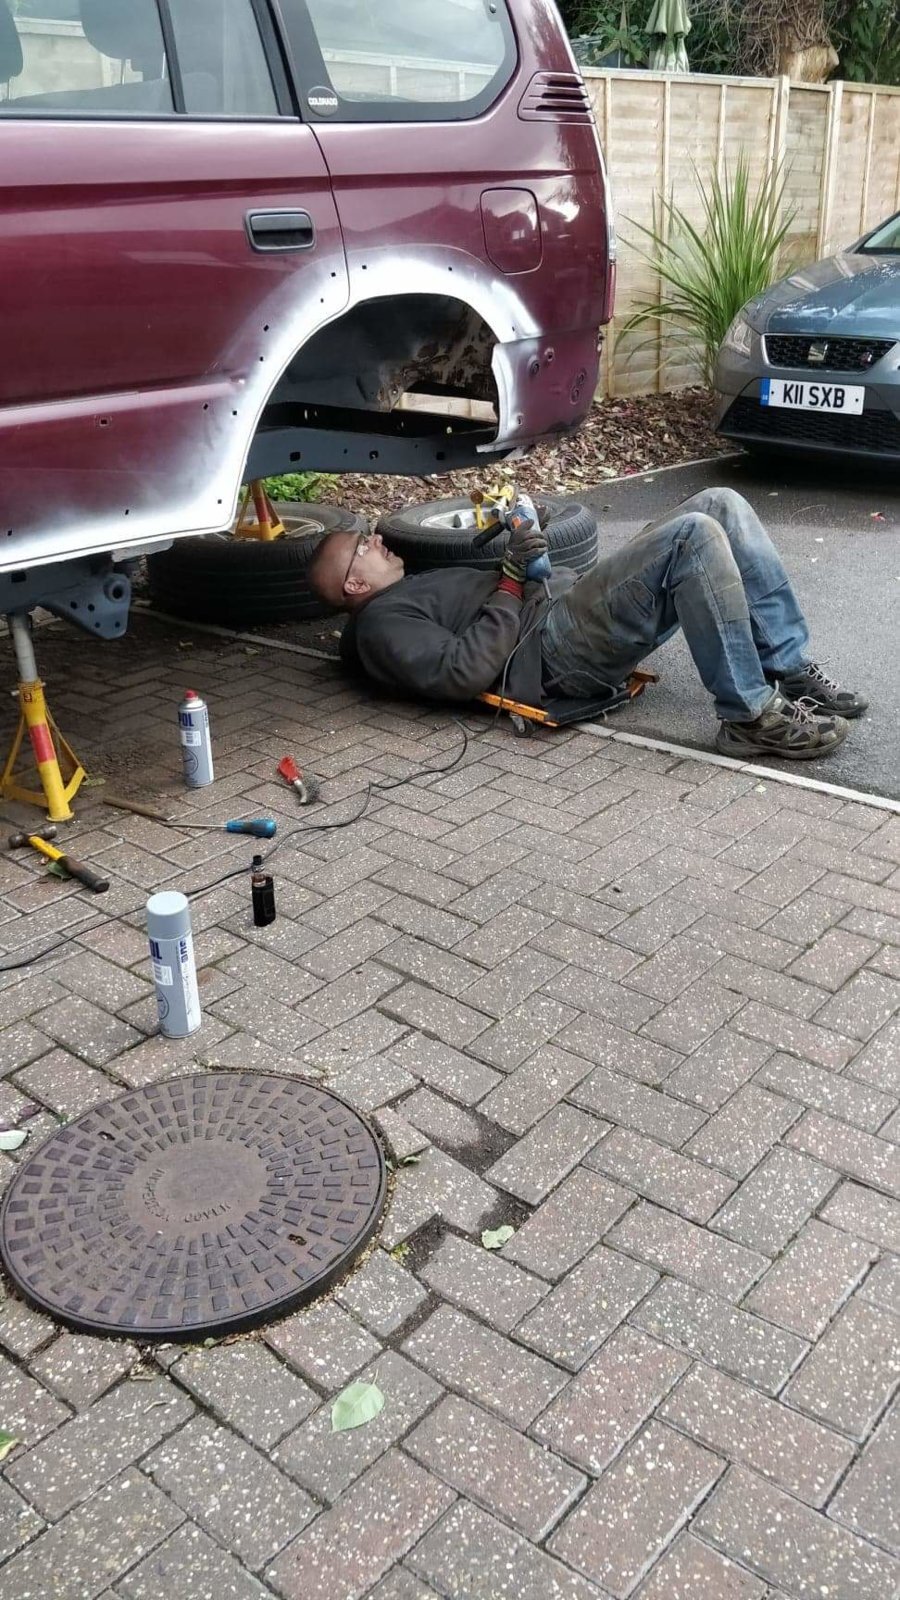
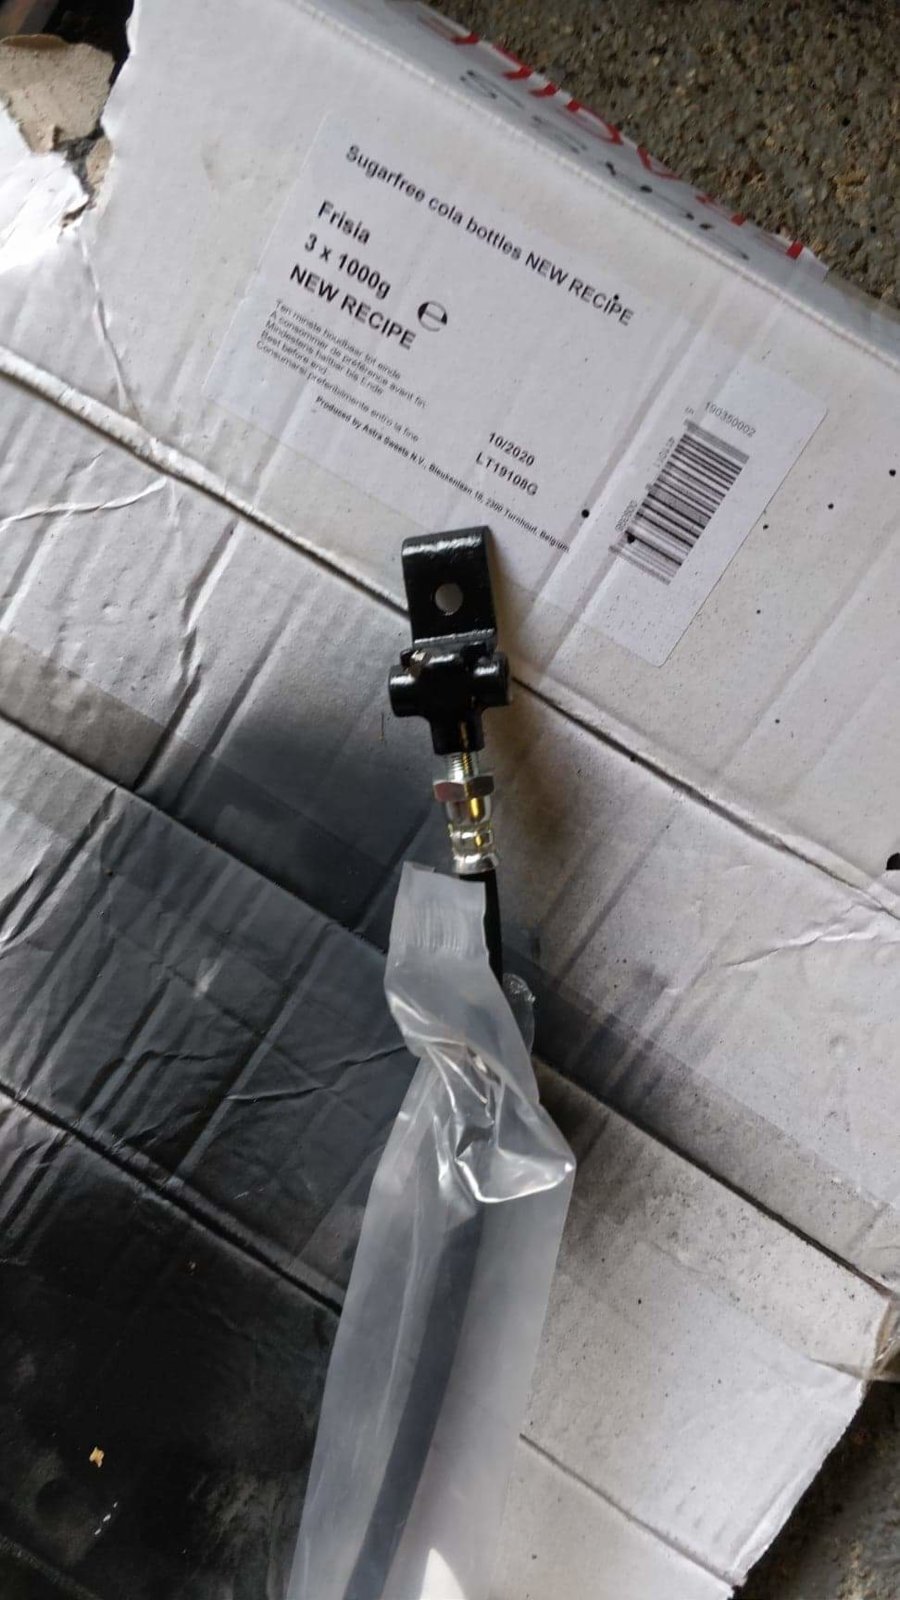
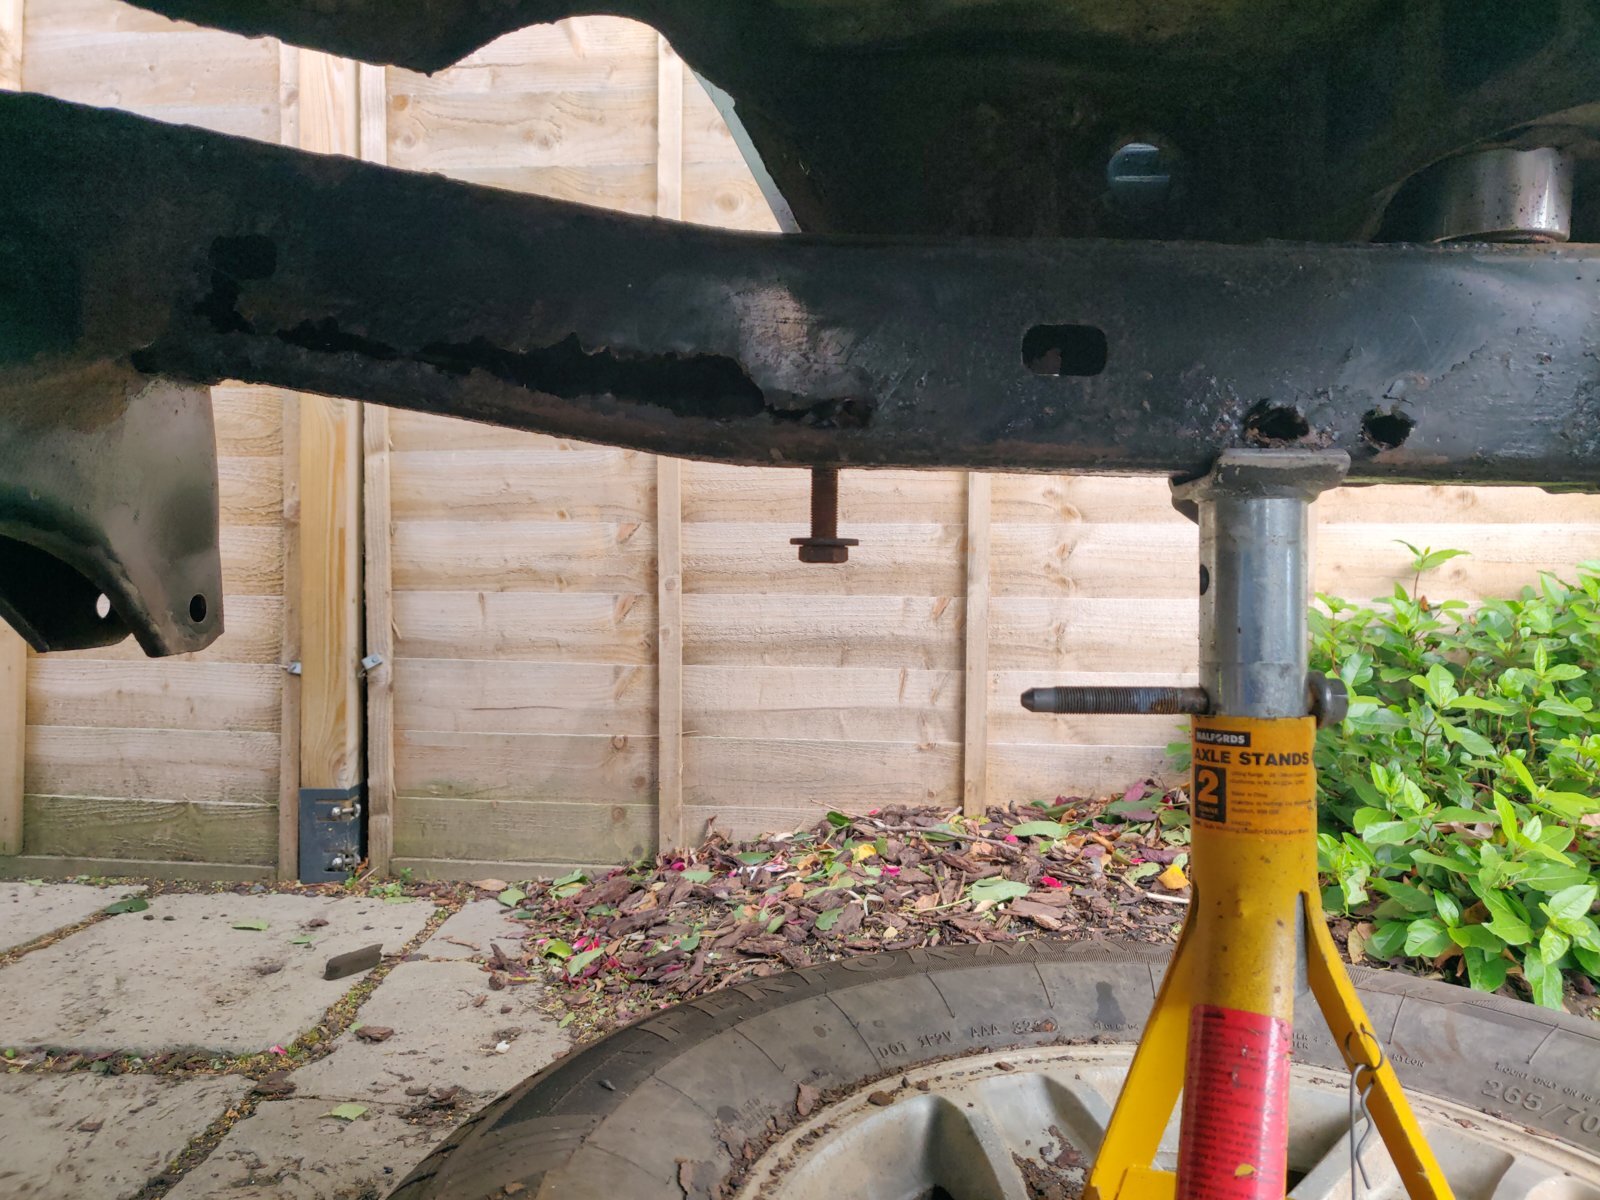
N/s of chassis and floor pan cleaned up (more angle grinder fun), etch primed and ready for raptor. Decided to do the fuel lines while I'm at it so sanded them back and primed up. The wife prepped and painted the tank straps, brake hose Union and fuel hose bracket.

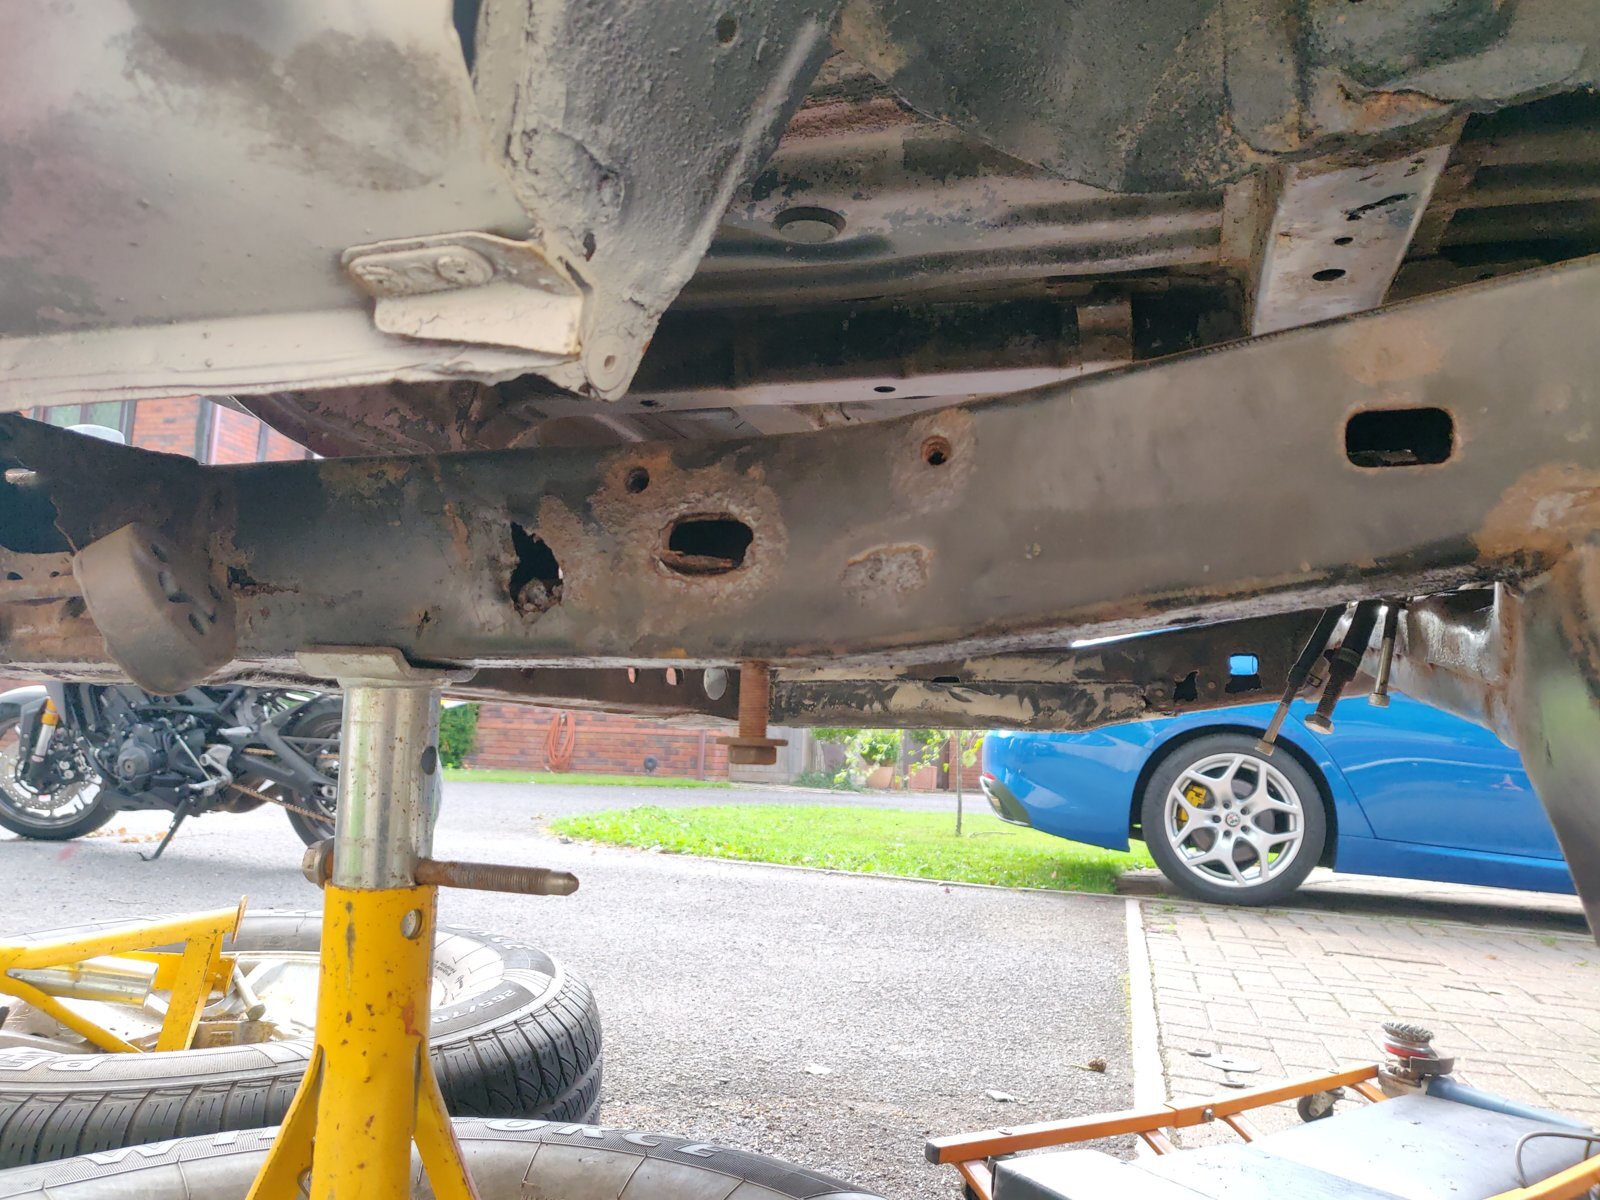
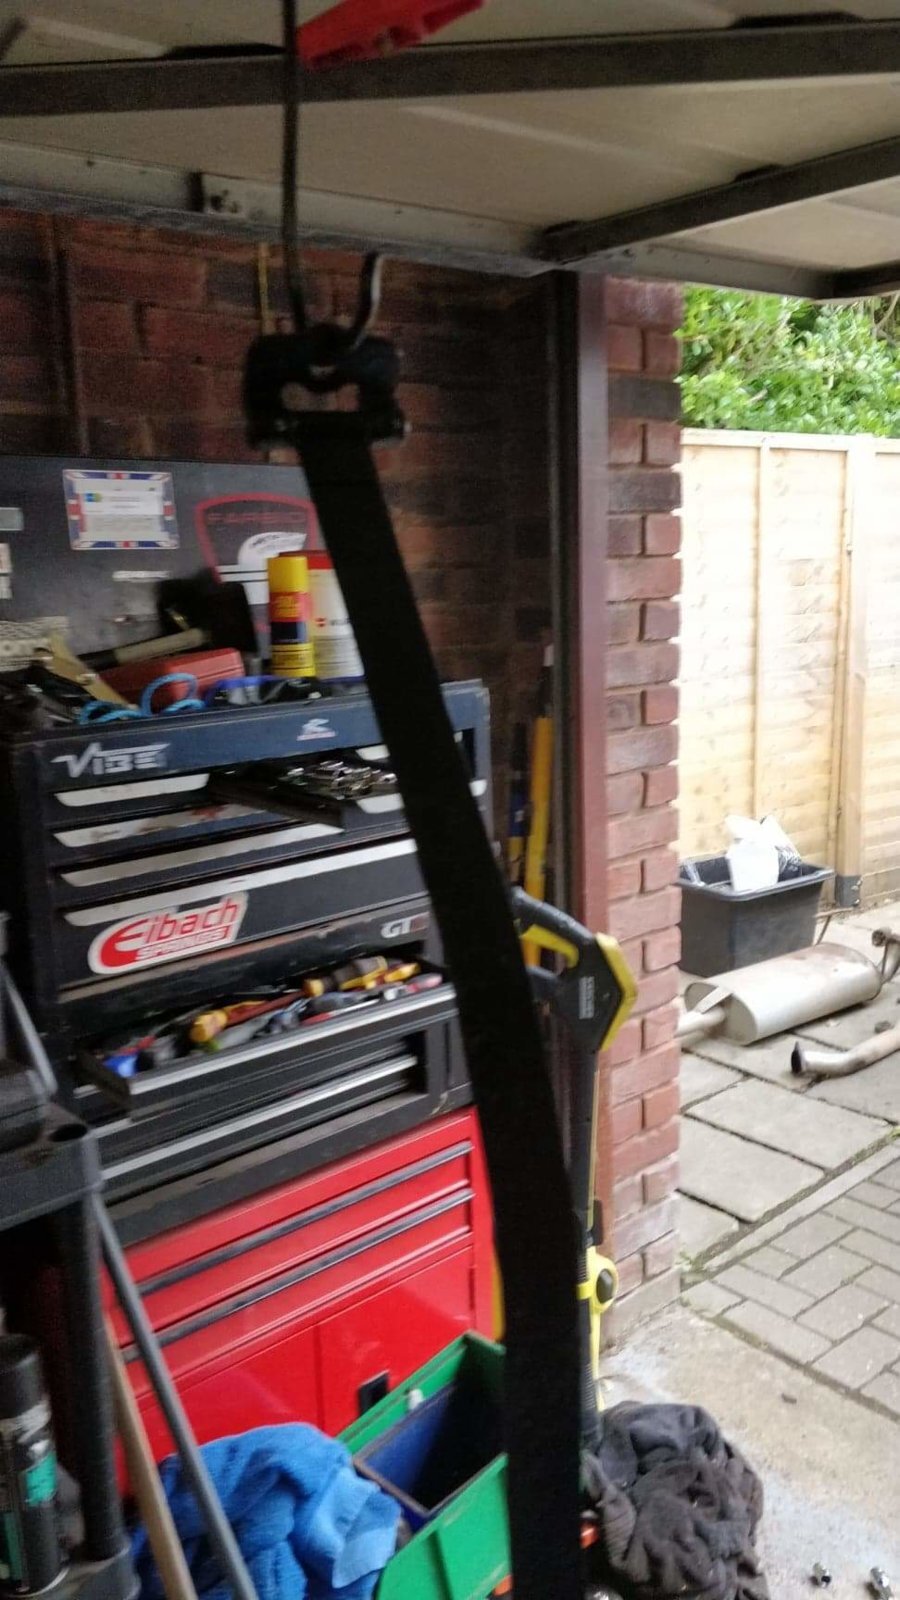
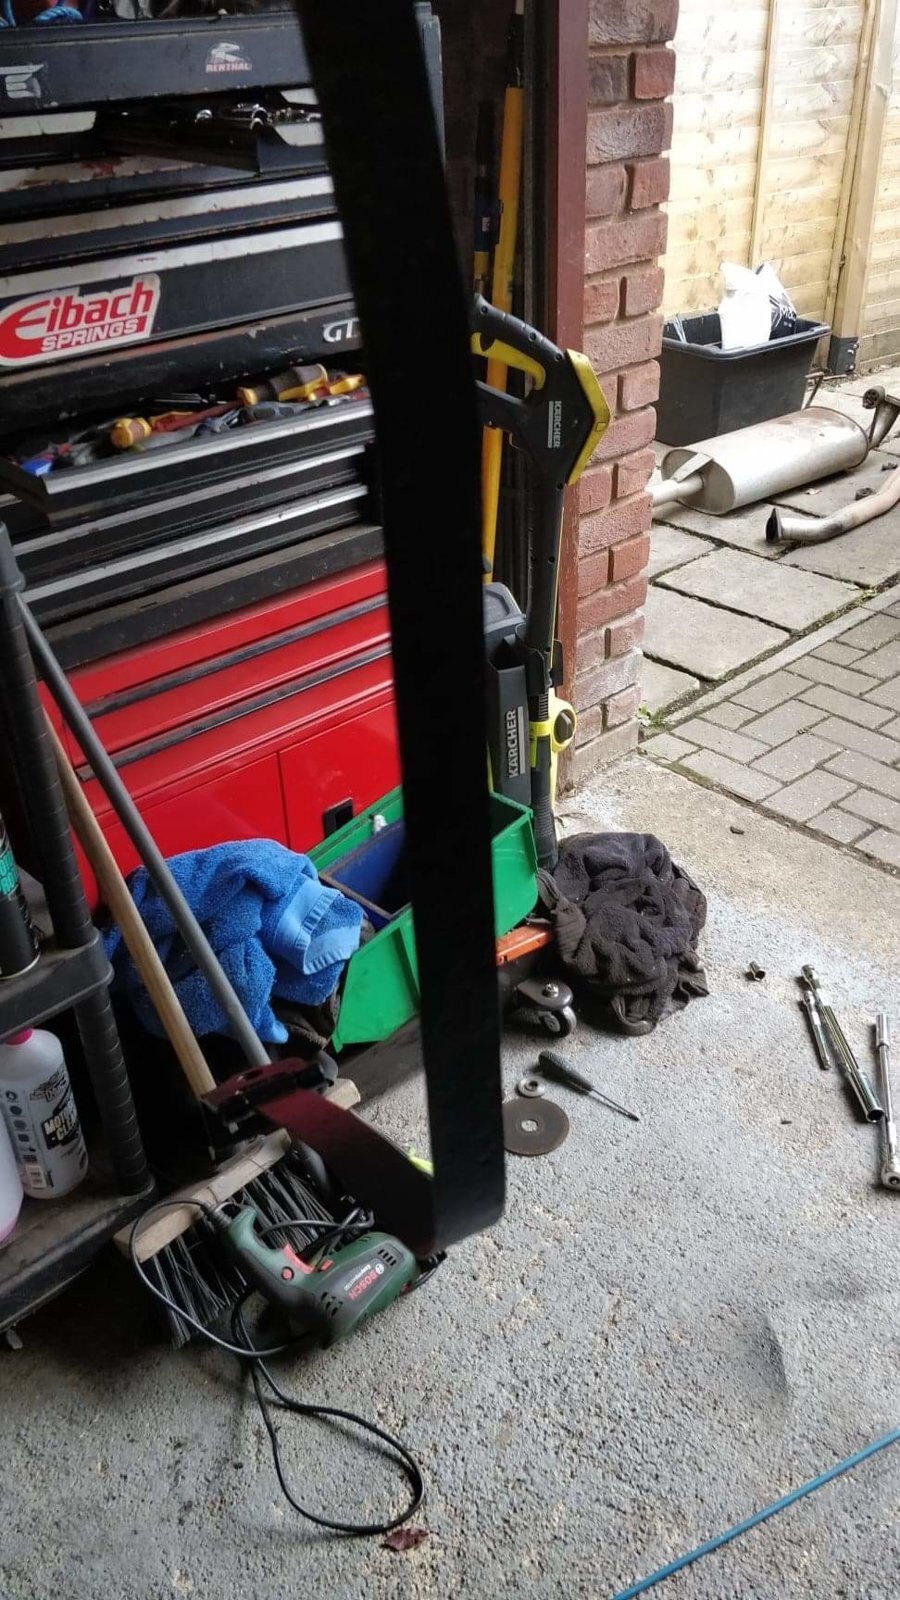
Tomorrow... Prep back the o/s chassis and underside, etch prime... Oh and cut the rear half of the chassis off as after finding more rot we've decided to just replace it... Only holds the rear two body mounts anyway and is too low with the lift in place!

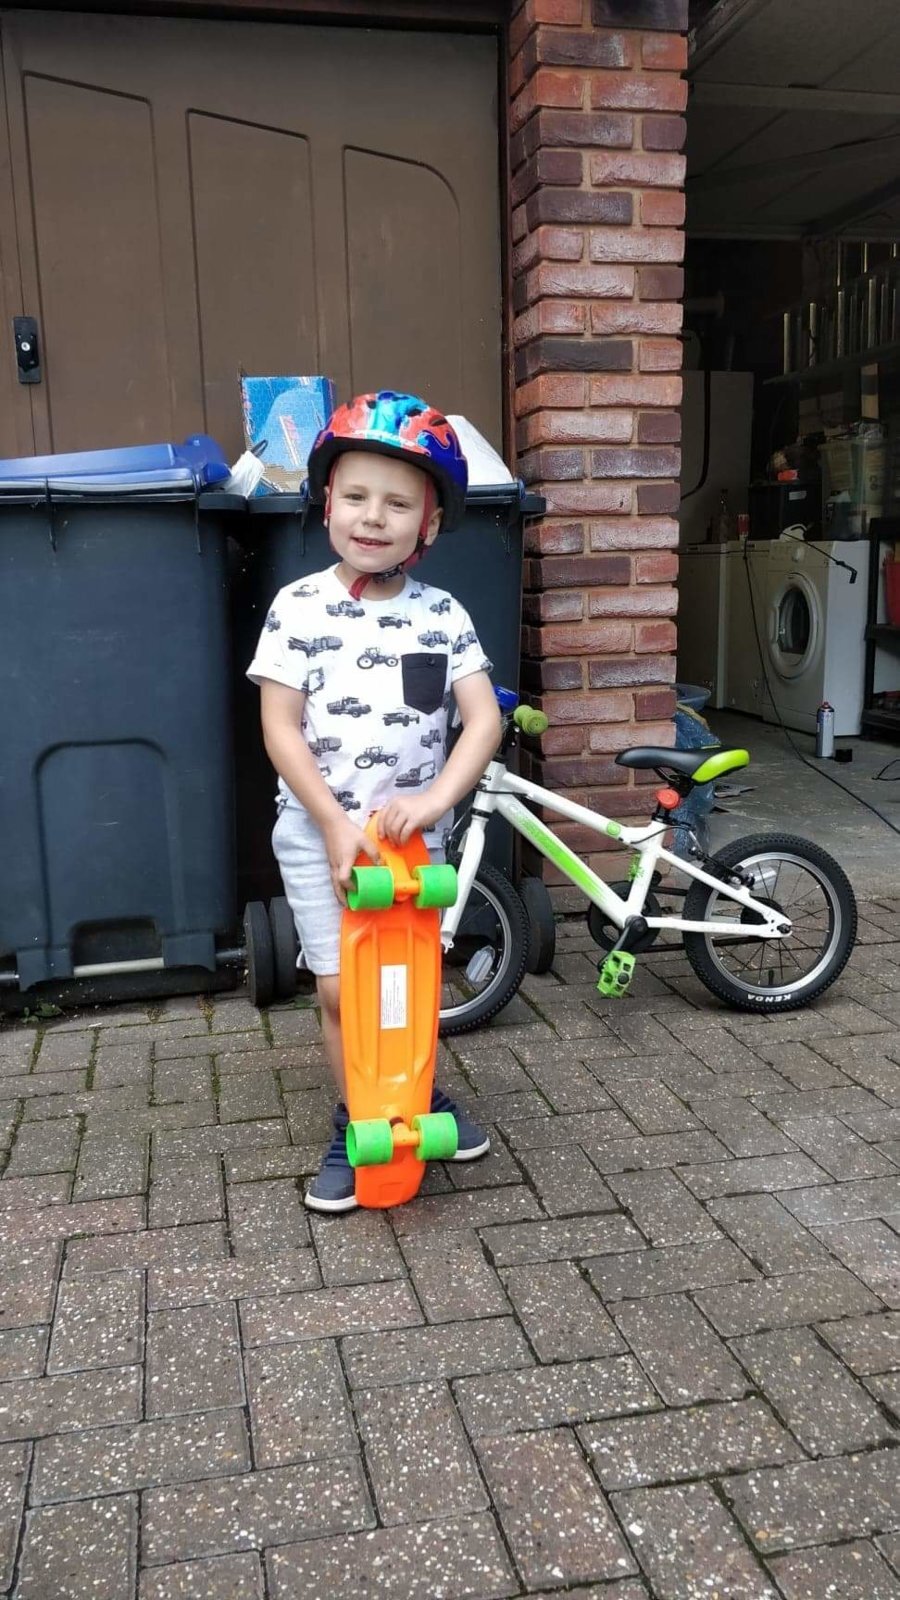
Oh and George learnt to skate while I was working. Kids eh!

IMG_20190810_184916.jpg IMG_20190810_184936.jpg received_904131753286134.jpeg received_488006105078221.jpeg received_1331041090385957.jpeg received_2161525477289088.jpeg received_2883531581674396.jpeg received_524192291680870.jpeg received_2321652084768153.jpeg received_366016754072839.jpeg
 
Yikes , but then i suppose it only supports the body for load carrying and its main constant load is the fuel tank . I've always said a good weld is stronger than the steel its on .
 
Yikes , but then i suppose it only supports the body for load carrying and its main constant load is the fuel tank . I've always said a good weld is stronger than the steel its on .
Indeed mate. We figured tank attaches to body... Body to that bit of chassis. Only other thing on it is the brake balance valve. As josh is gonna make new bumper anyway he figured easier to just run two new legs socketed from the rest of chassis... New bumper will act as cross member.
 
chassis back end is a know weakness.

I was alarmed when recovering a rally buggy to the finish line of this years Morocco Desert Challenge, the side I thought was better cracked and bent. Rusted through from the inside. The other side was held together by rust proofing and paint!
 
chassis back end is a know weakness.

I was alarmed when recovering a rally buggy to the finish line of this years Morocco Desert Challenge, the side I thought was better cracked and bent. Rusted through from the inside. The other side was held together by rust proofing and paint!
Sounds much the same as mine mate!
 
Back
Top