Don't like the adverts?  Click here to remove them

Rebuild of 2004 1HD FTE 78 Series Troopy for overlanding

Joined
Mar 9, 2010
Messages
113
Garage
Country Flag
south_africa
This has been ongoing since purchased in Nov 2019

I will do a cut n paste from my LandCruiser Club SA thread

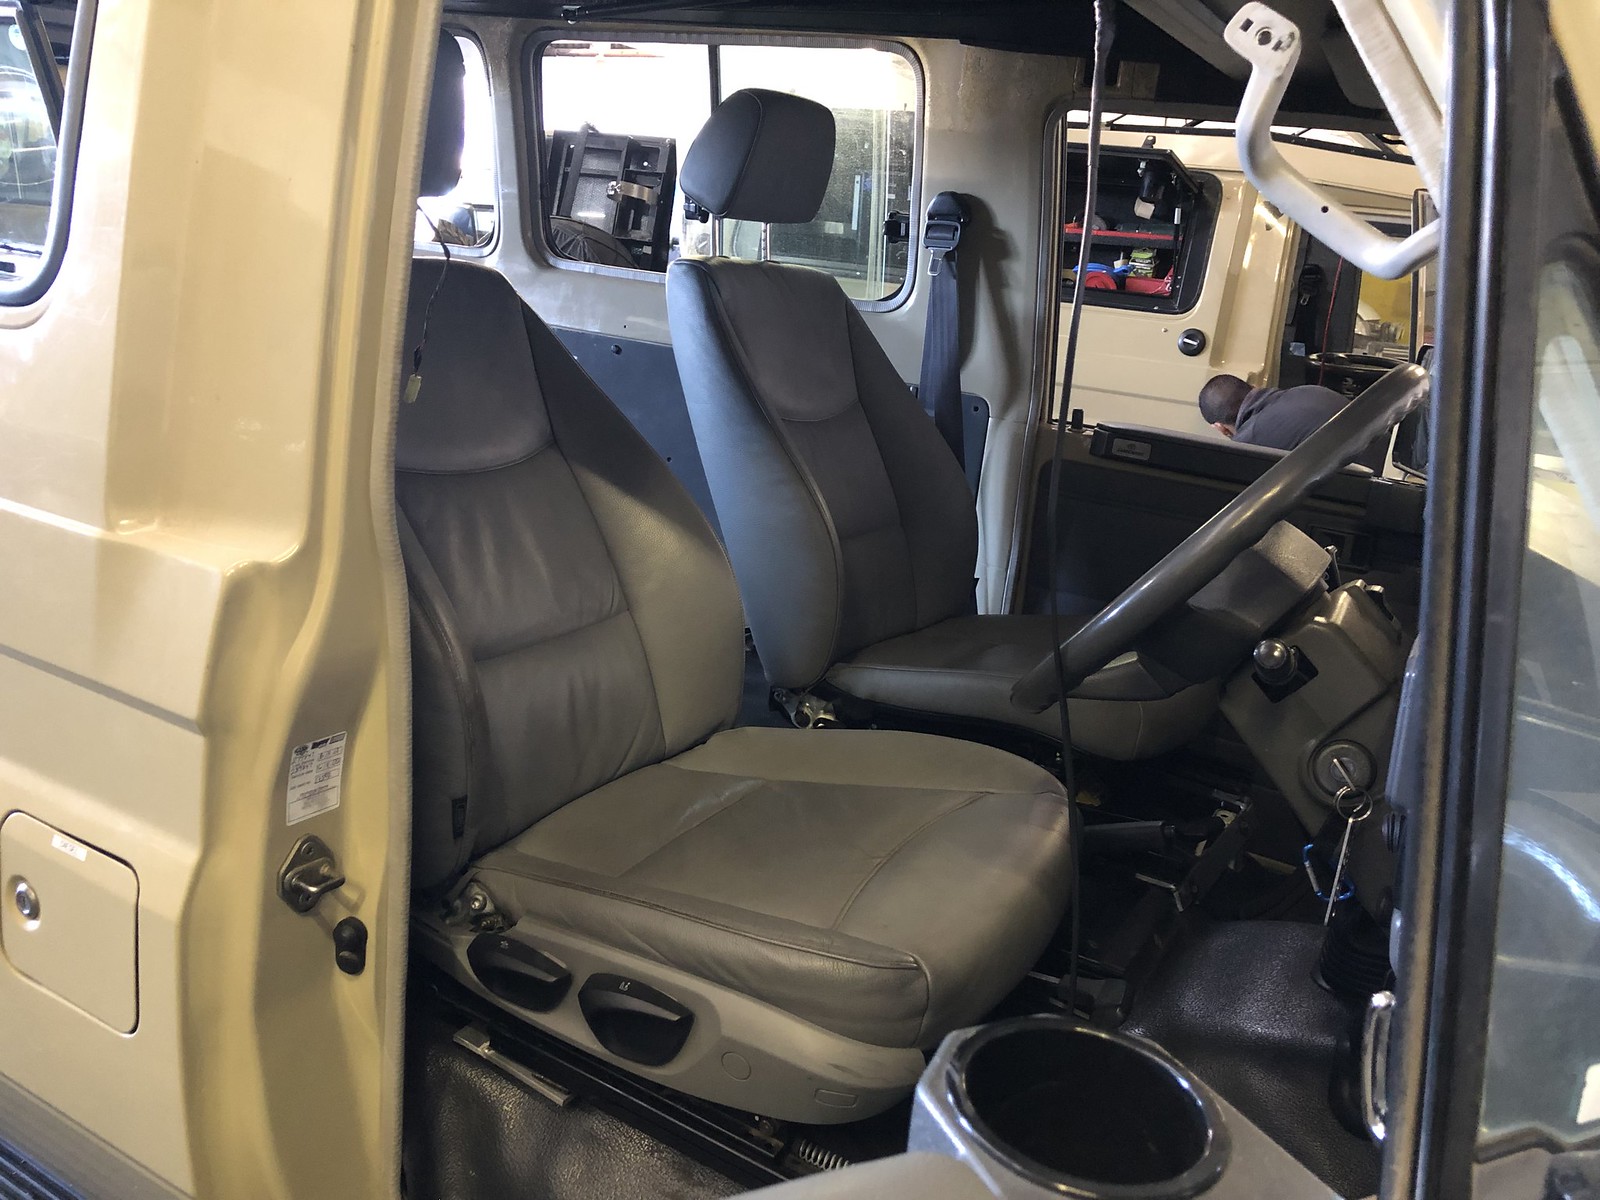
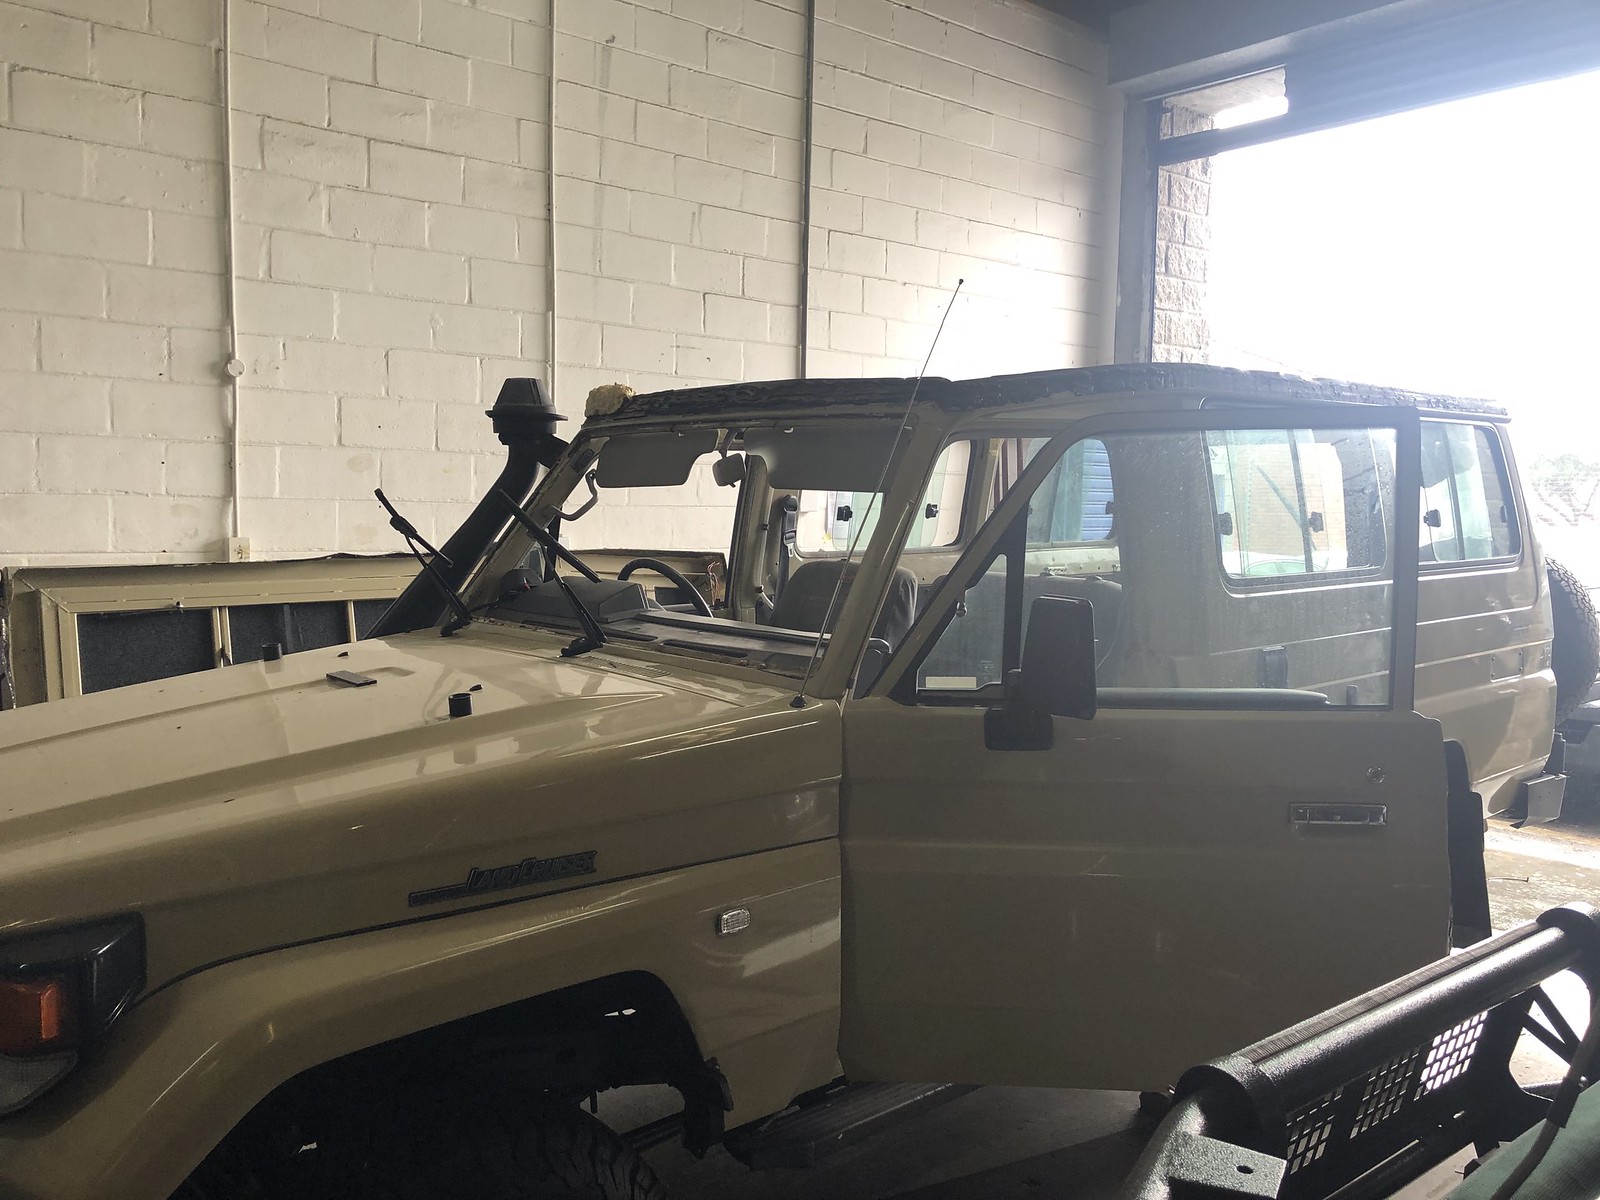
this is what it was when I got it
51973860856_1e93557350_h.jpg


The First thing I did was to fit some arm rest cup holders
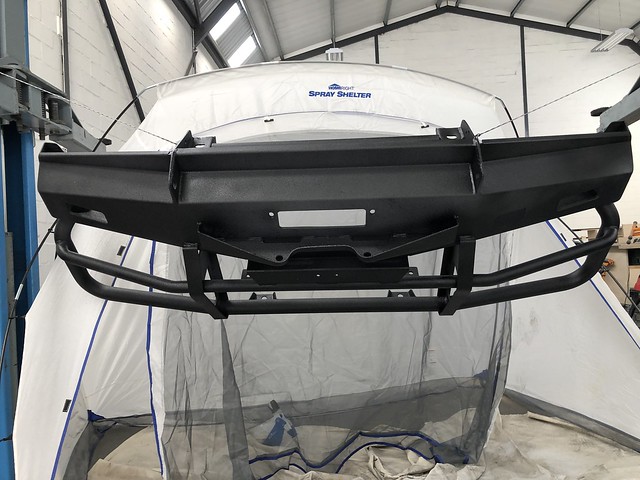
And removed the FUGLY Plumbing down the side of the truck

51974169054_5ba0c0698e_h.jpg


51973955088_4e6c922a0b_h.jpg


Then I had a nightmare when fitting the thermocouple for a EGT Guage
When drilling into the manifold (post turbo) the 3.5mm drill just didnt feel like it punched thru, then all of sudden thru. So i changed to a 5.5mm drill and started drilling, the CRAK and then the drill bit broke off in the manifold with a piece falling into the turbo (AARRGGGHHH)
Somehow i was drilling into an internal reinforcing rib on the inside of the manifold. So the manifold had to come off.
Then the cr@p started - broken studs, stripped nuts etc etc etc - You just cant make this sh1t up

51972855697_5fd478f251_b.jpg


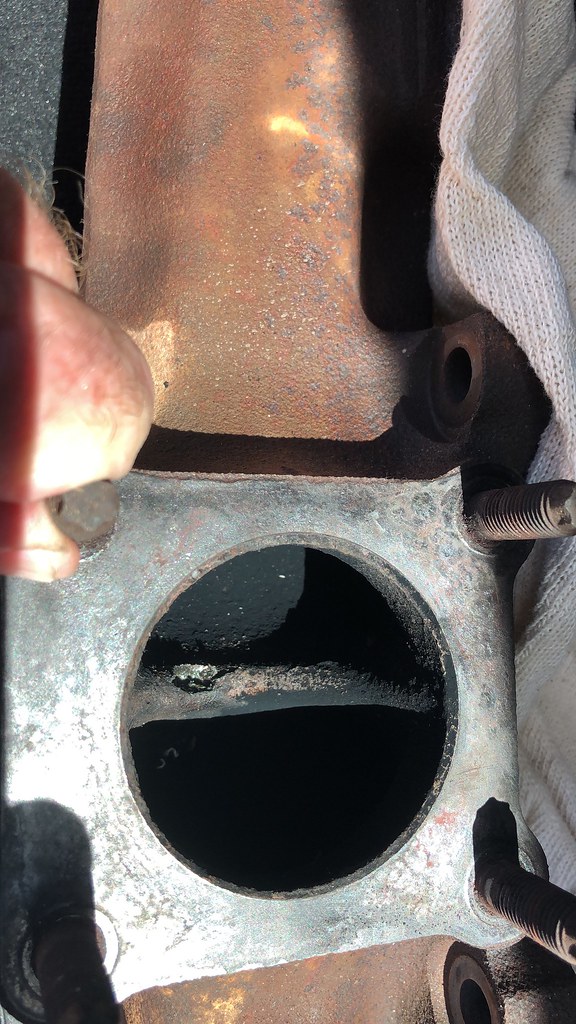
Eventually I got the original hole welded up and drilled and tapped the thread for the thermo couple.
BTW trying to find a 1/8inch Tapered pipe thread tap in Cape Town was like looking for rocking horse poop.
Reinstalled turbo and manifold.
Notice the HeliCoil

51974146174_531ca3d30d_k.jpg


51972855747_b6de164b65_b.jpg


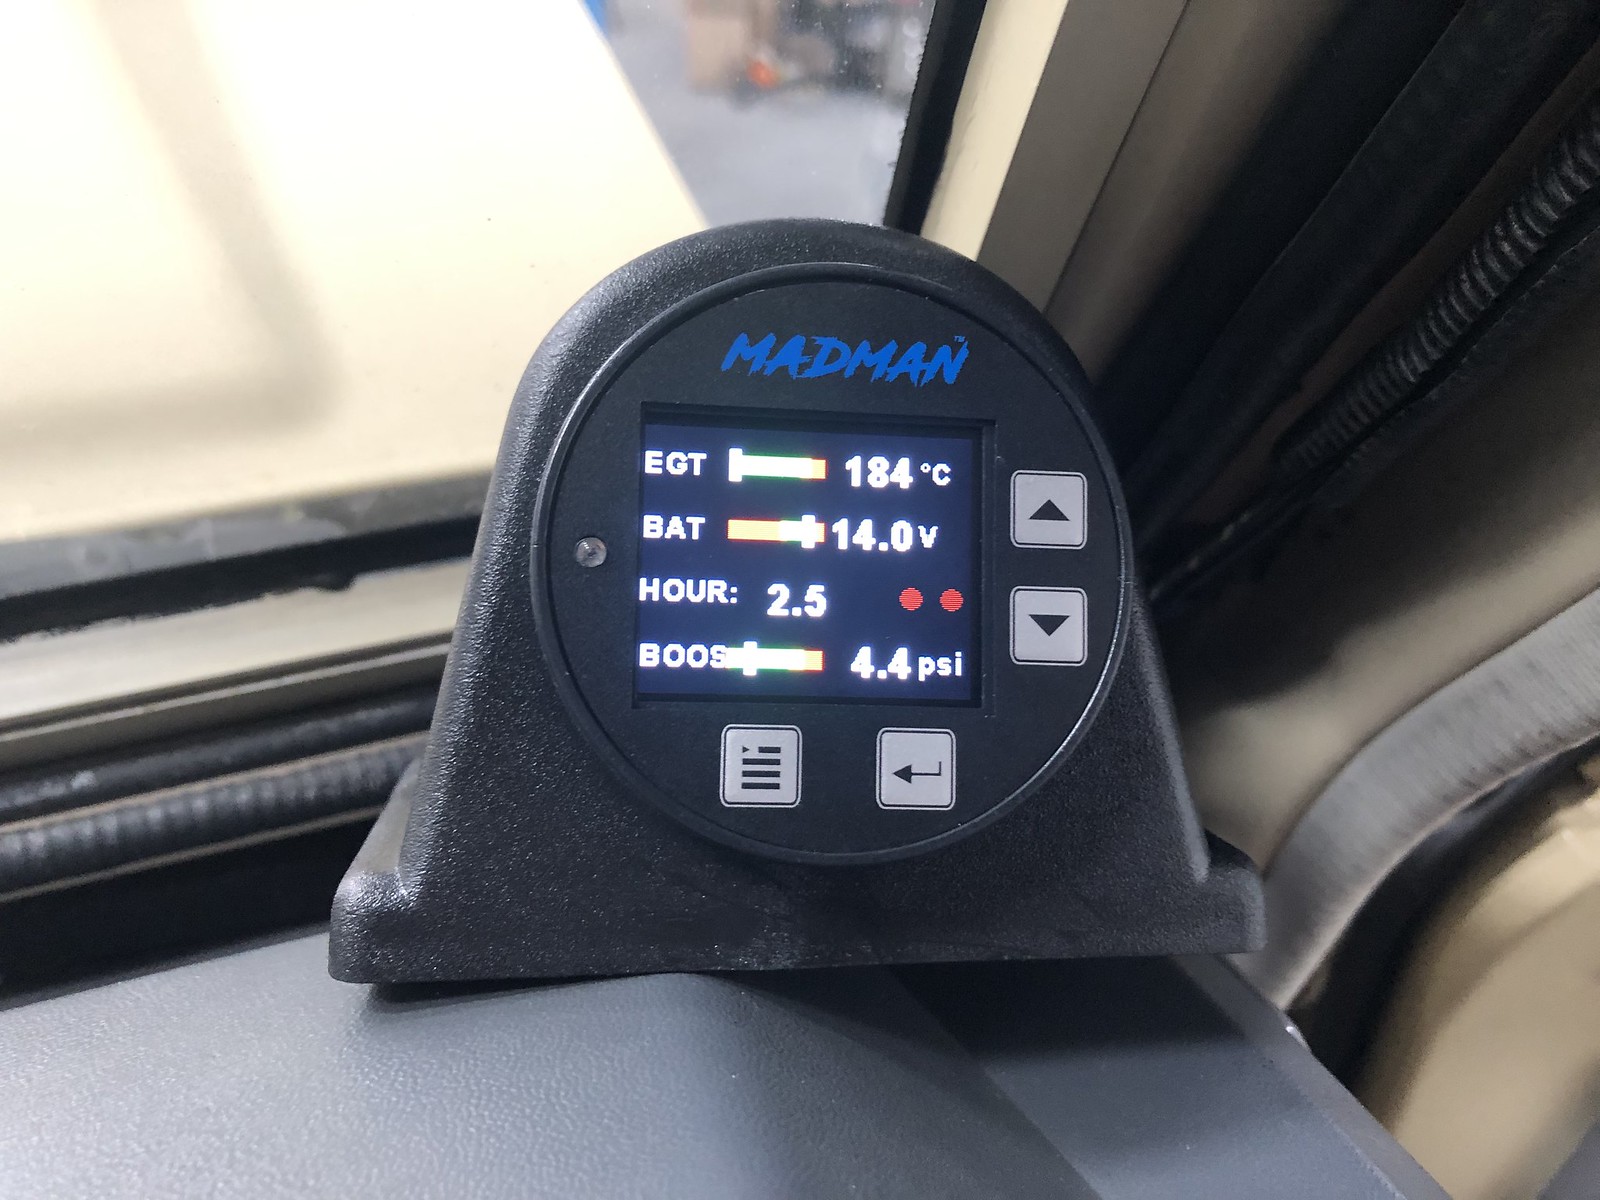
Then when the thermocouple was finally fitted I had serious issues with the setup of the MadMan Engine Management System (EMS) that took nearly 2 days on the phone to the manufacturer to get it working. You just cant make this sh1t up
The gauge is mounted temporarily as Im still awaiting an OEM Dash Pod ordered from Yota to arrive.

51973860626_bc0073c7ec_h.jpg


Then I decided to change out all the old incandescent bulbs to LED. I did front, rear and side all LED. Click on the video link

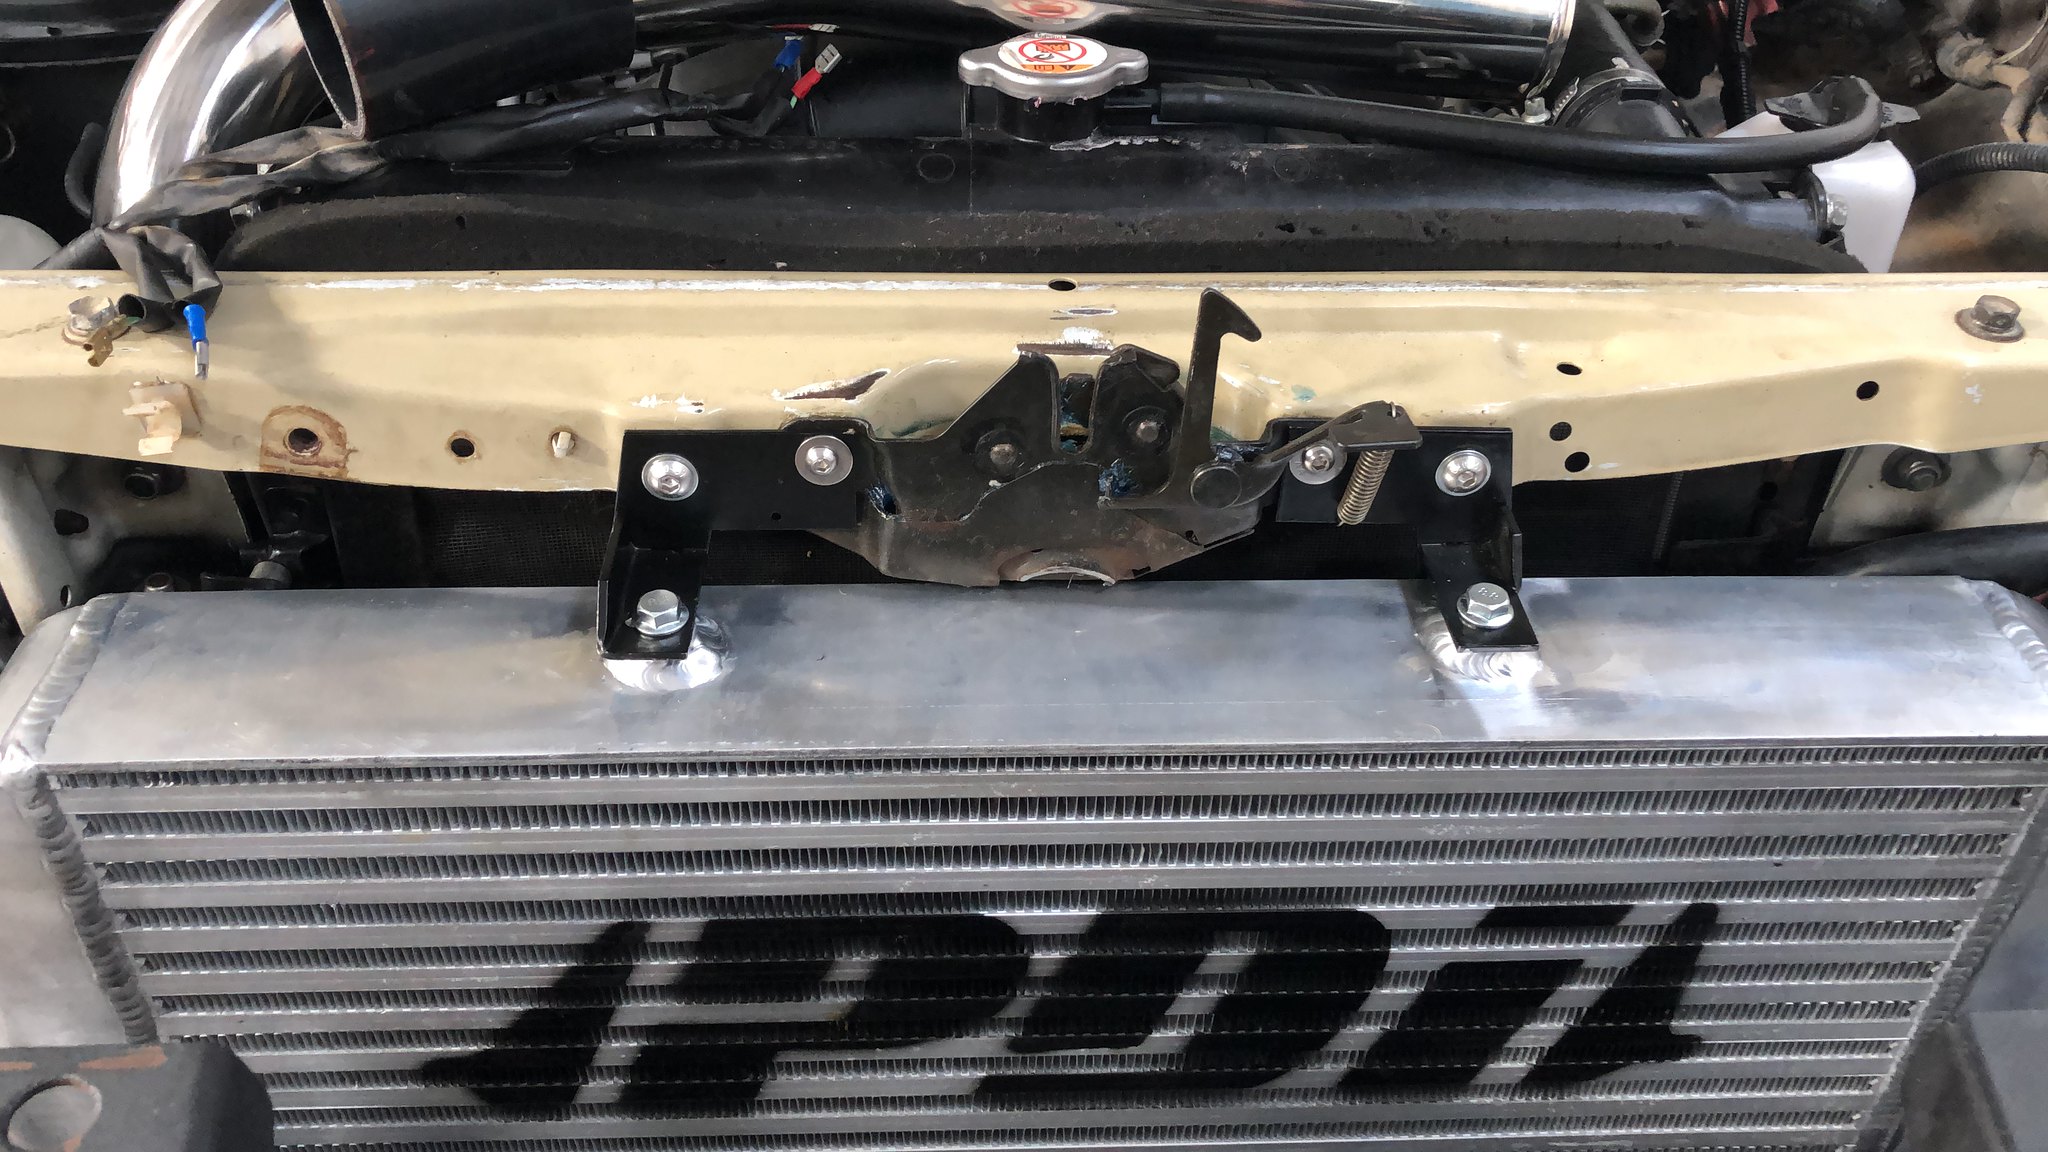
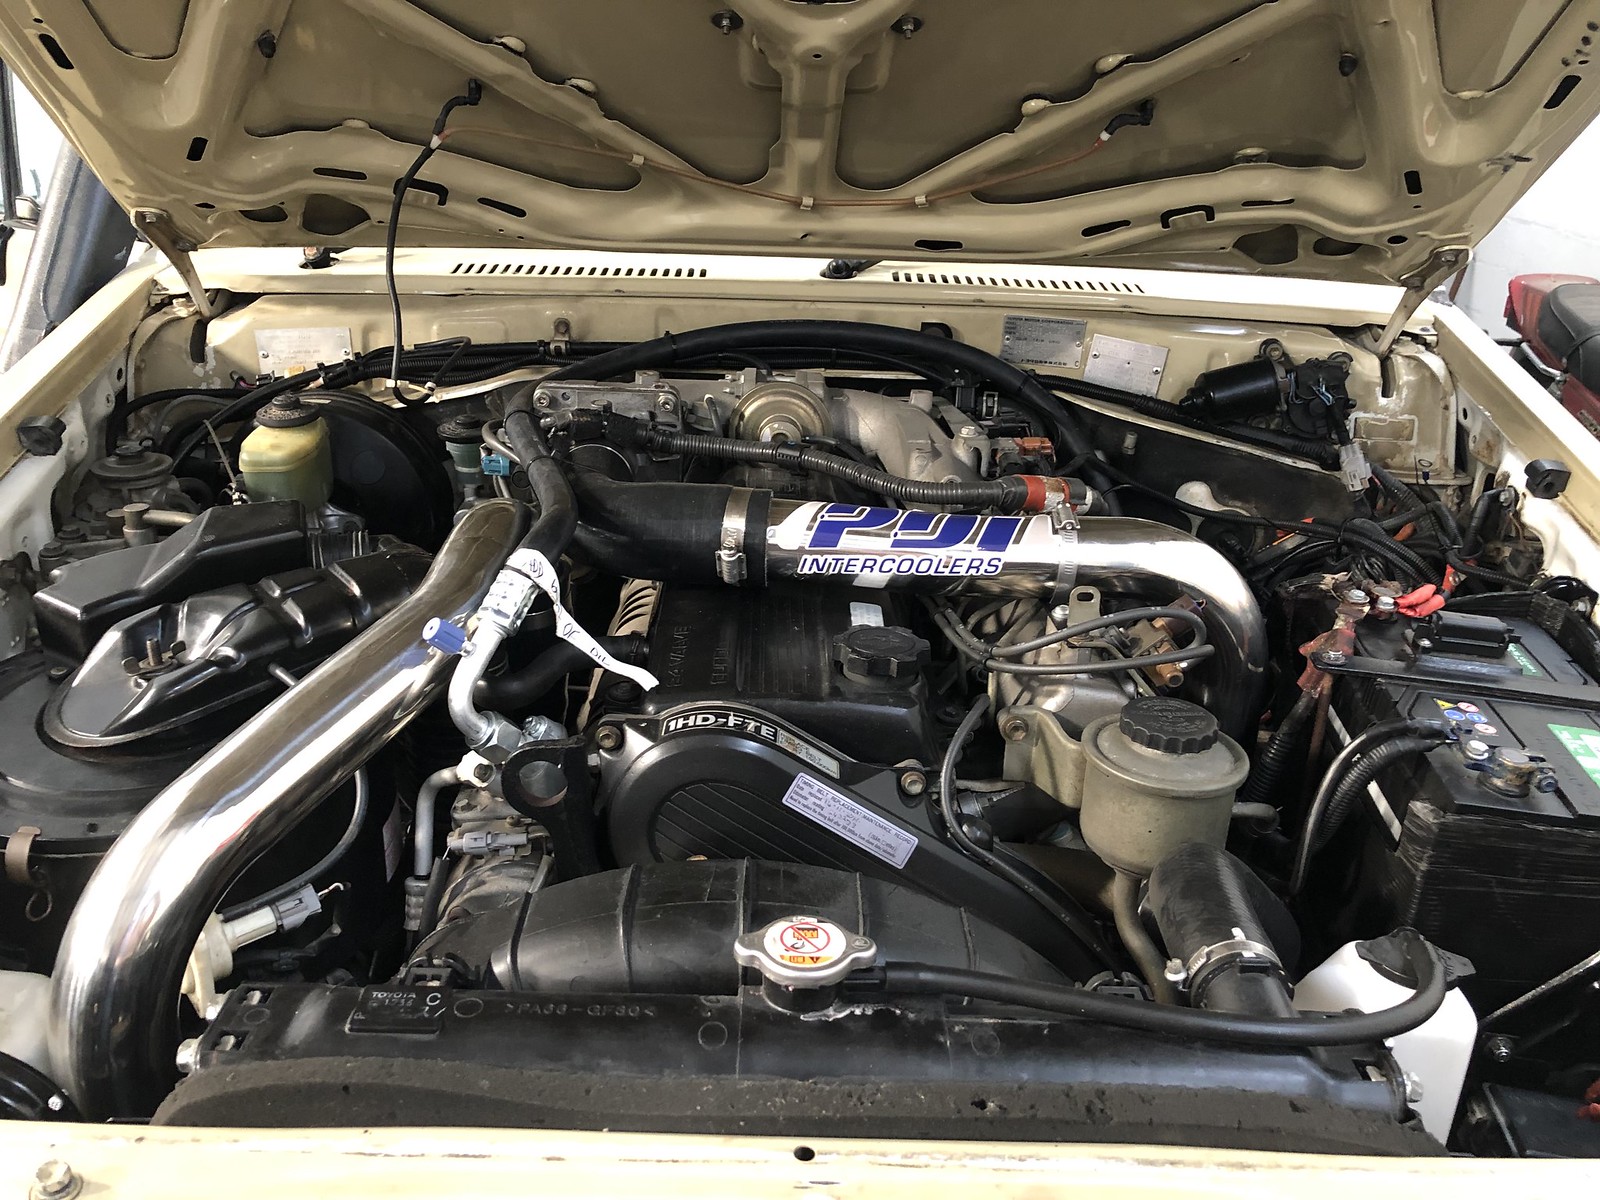
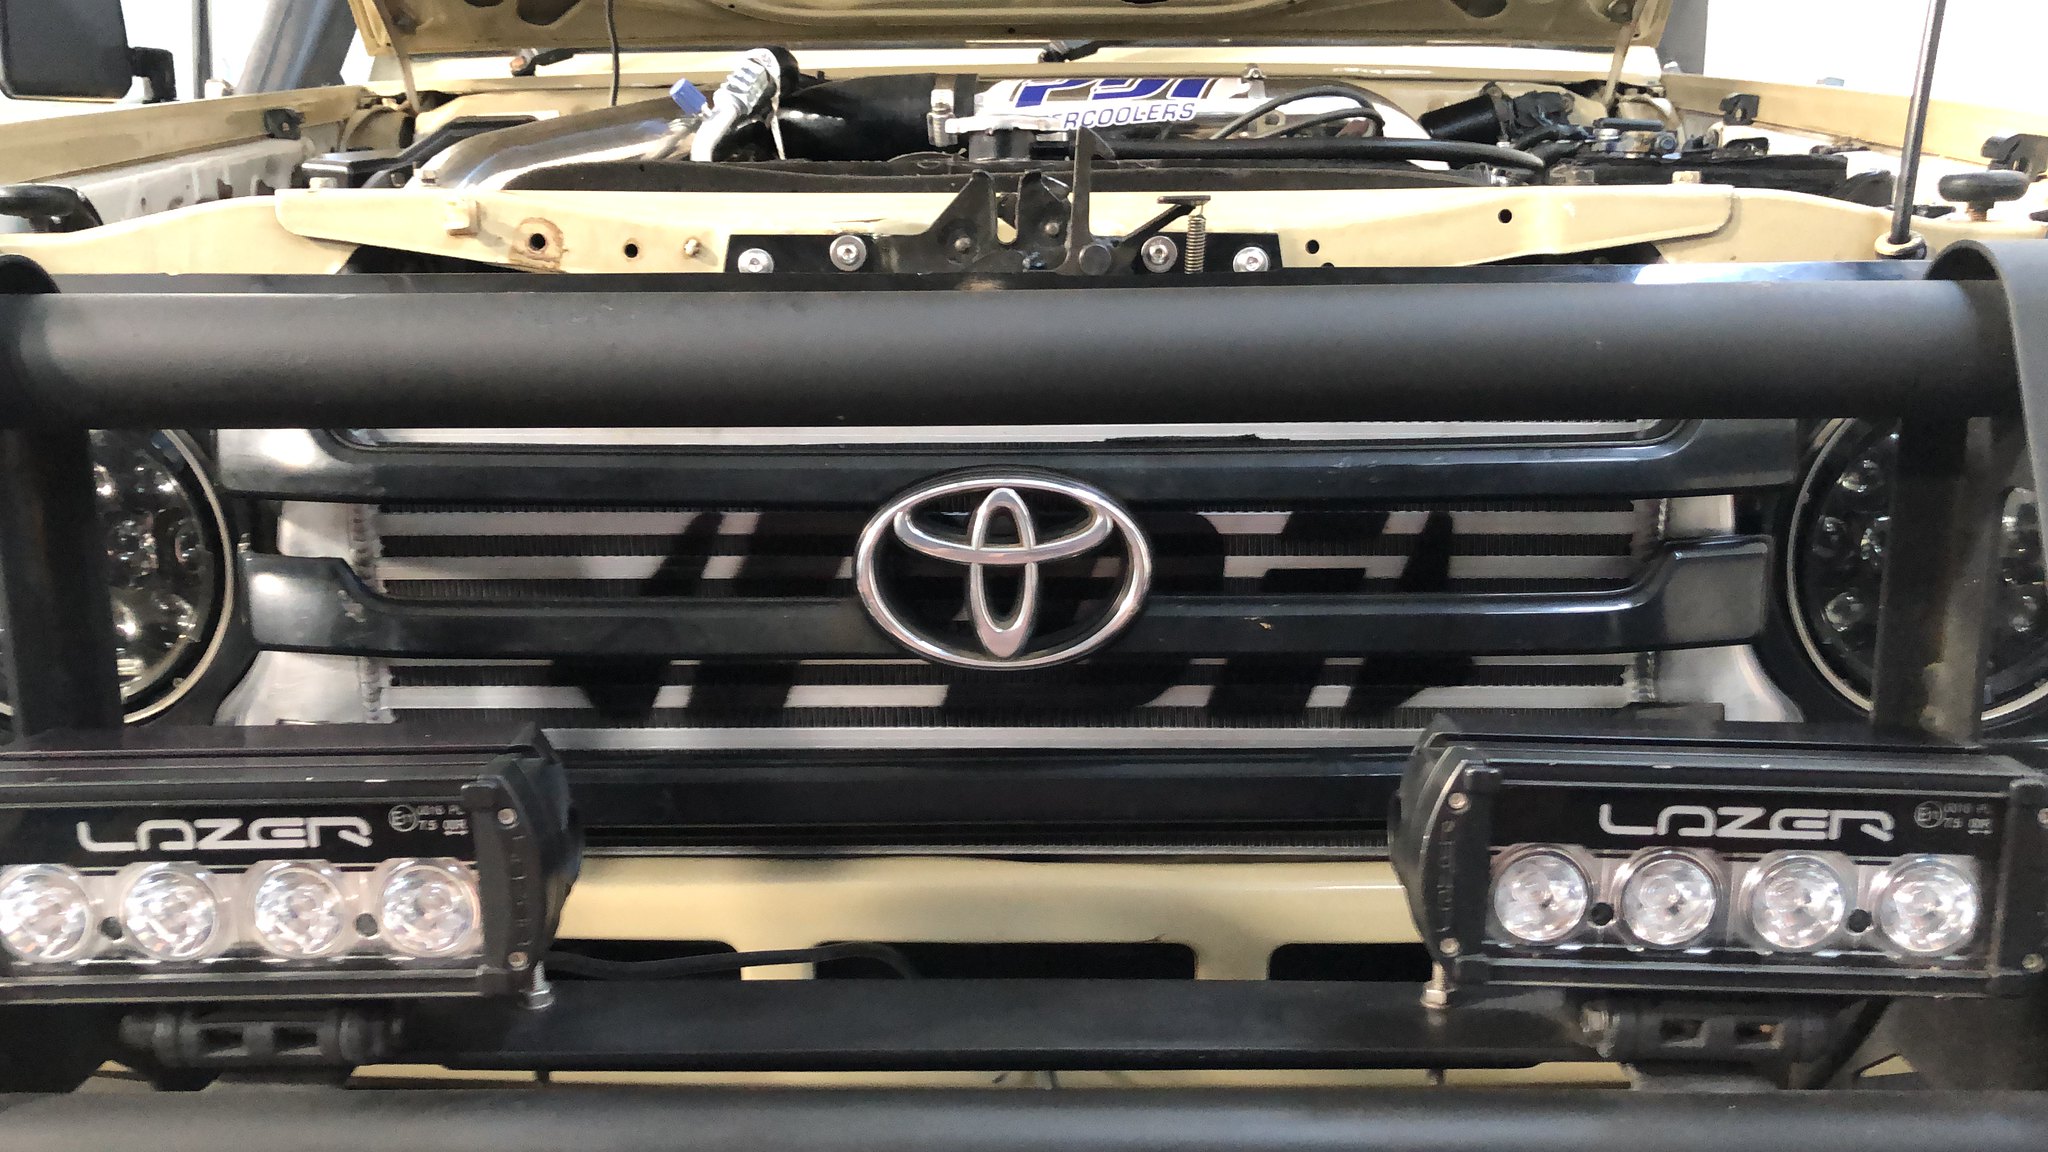
While all this was going on i was studying in detail the instructions for the installation of the front mount Aussie PDI Intercooler
Doing pre intercooler and post intercooler EGT runs I can confirm that the fitting of the intercooler reduced the EGT's by 80-100deg.

51974145979_b7c41aa4e9_k.jpg


51973860746_862d376aa3_h.jpg


51973933063_22e71502eb_k.jpg


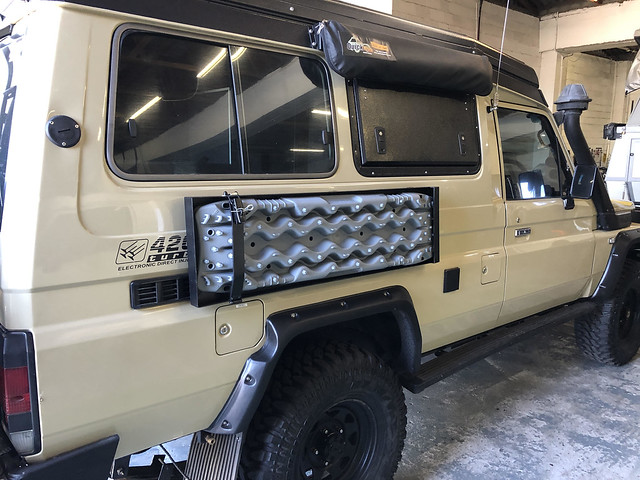
Had some OEM Yota side stickers made up

51974146454_4185ae38a6_h.jpg


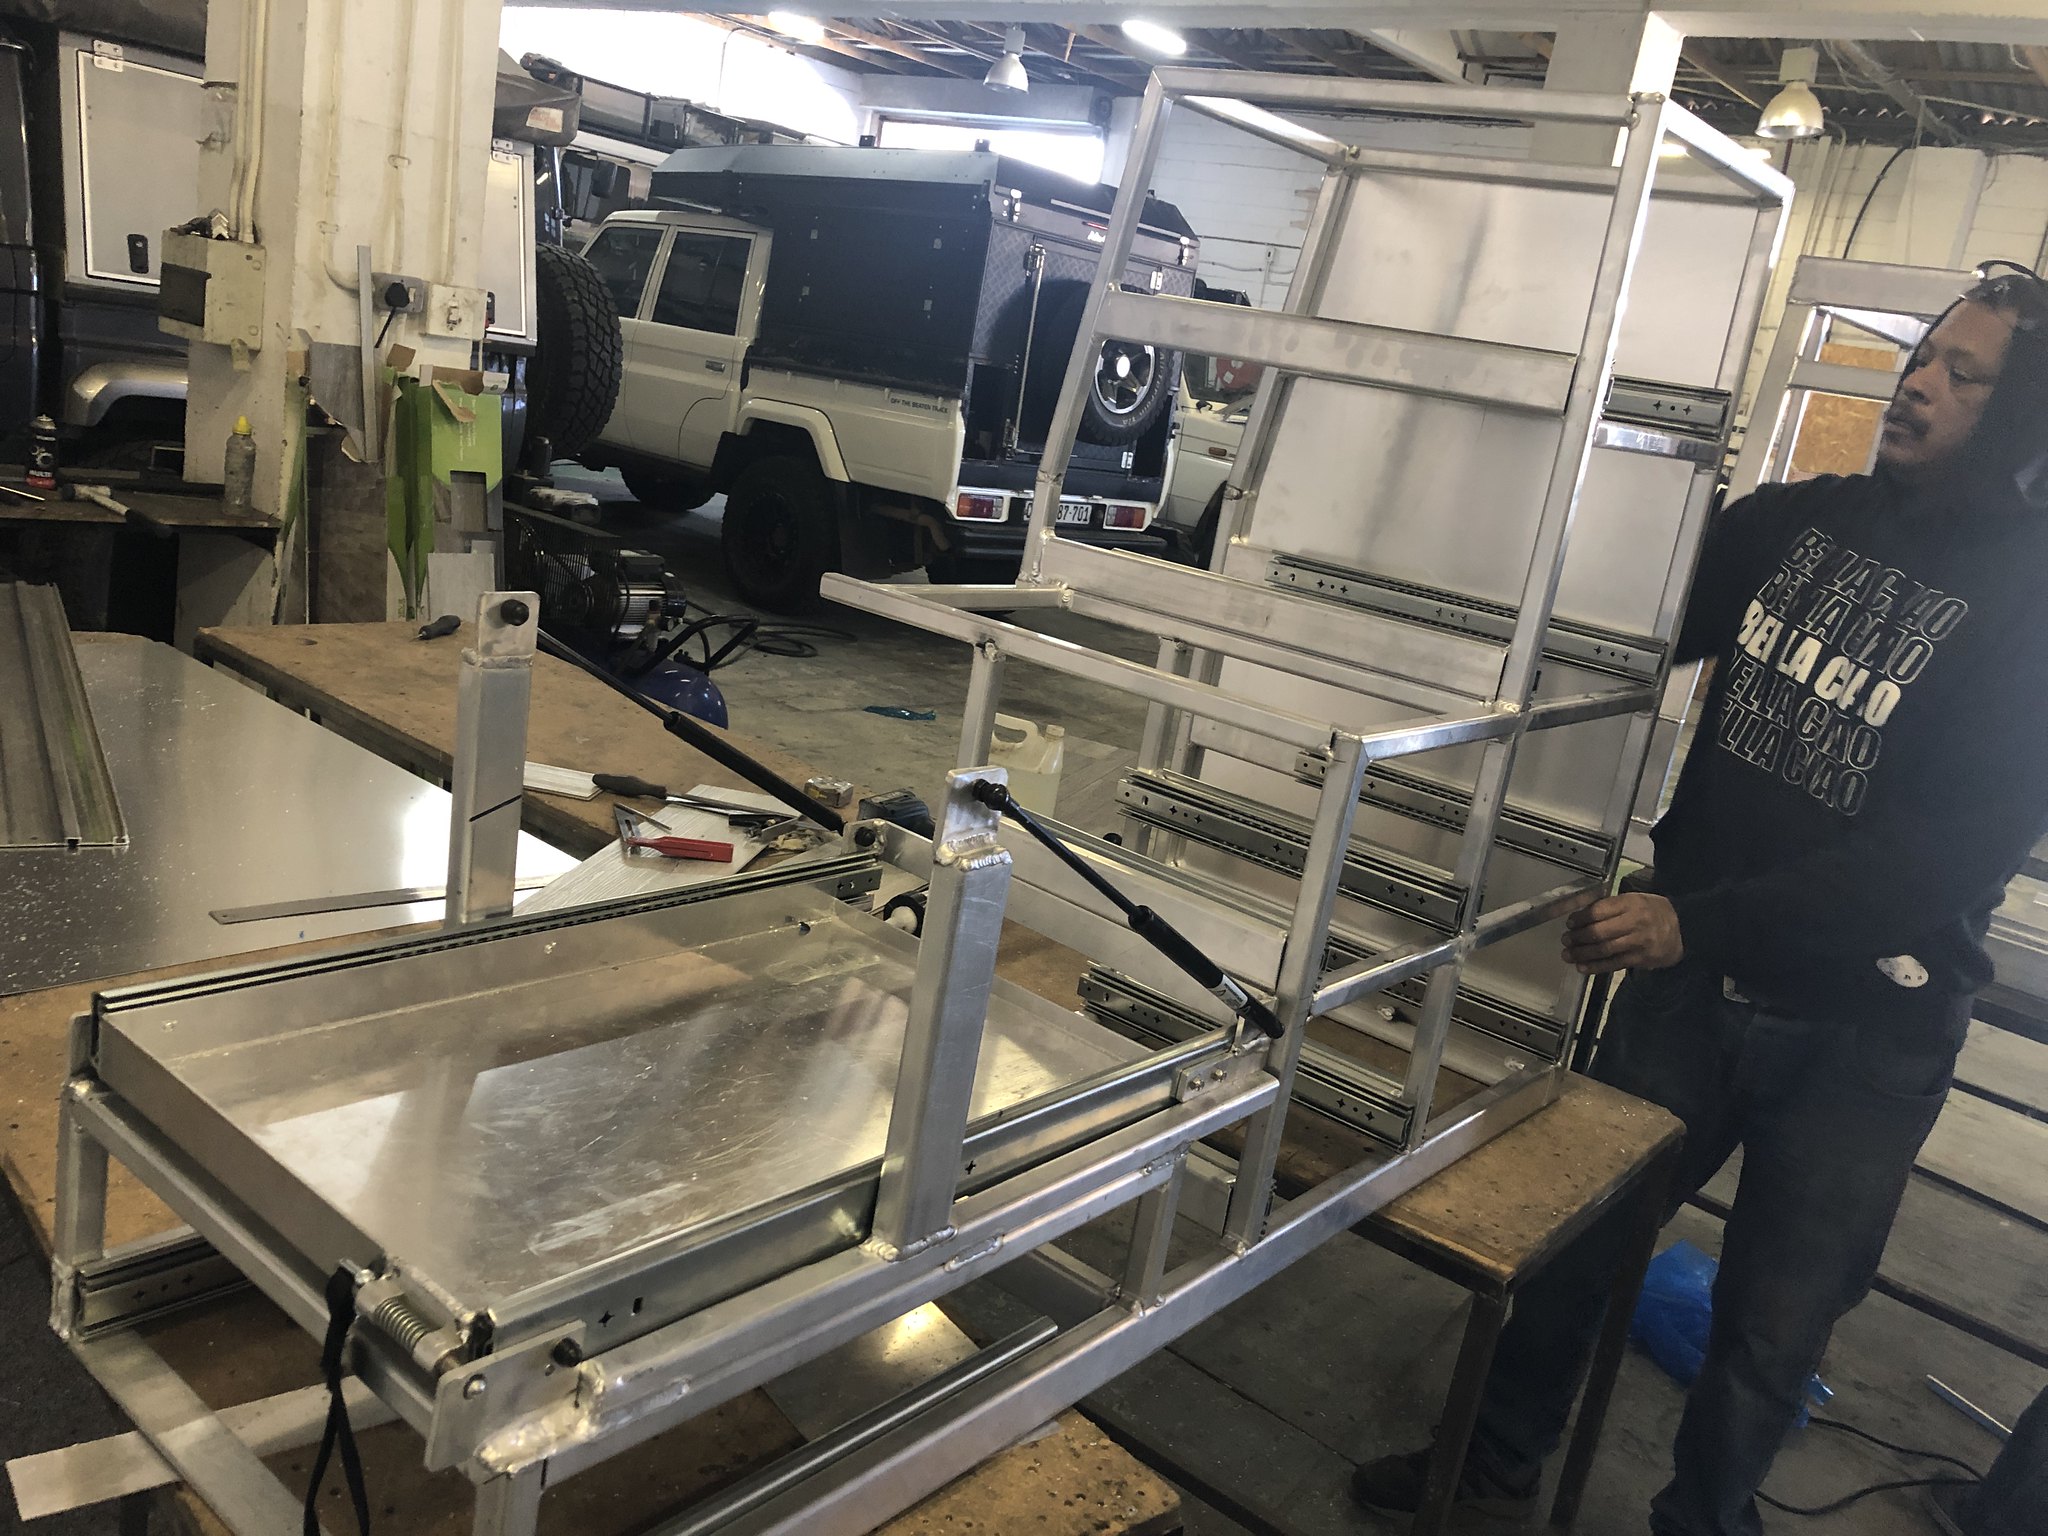
Now its time to commence the MAJOR make-over
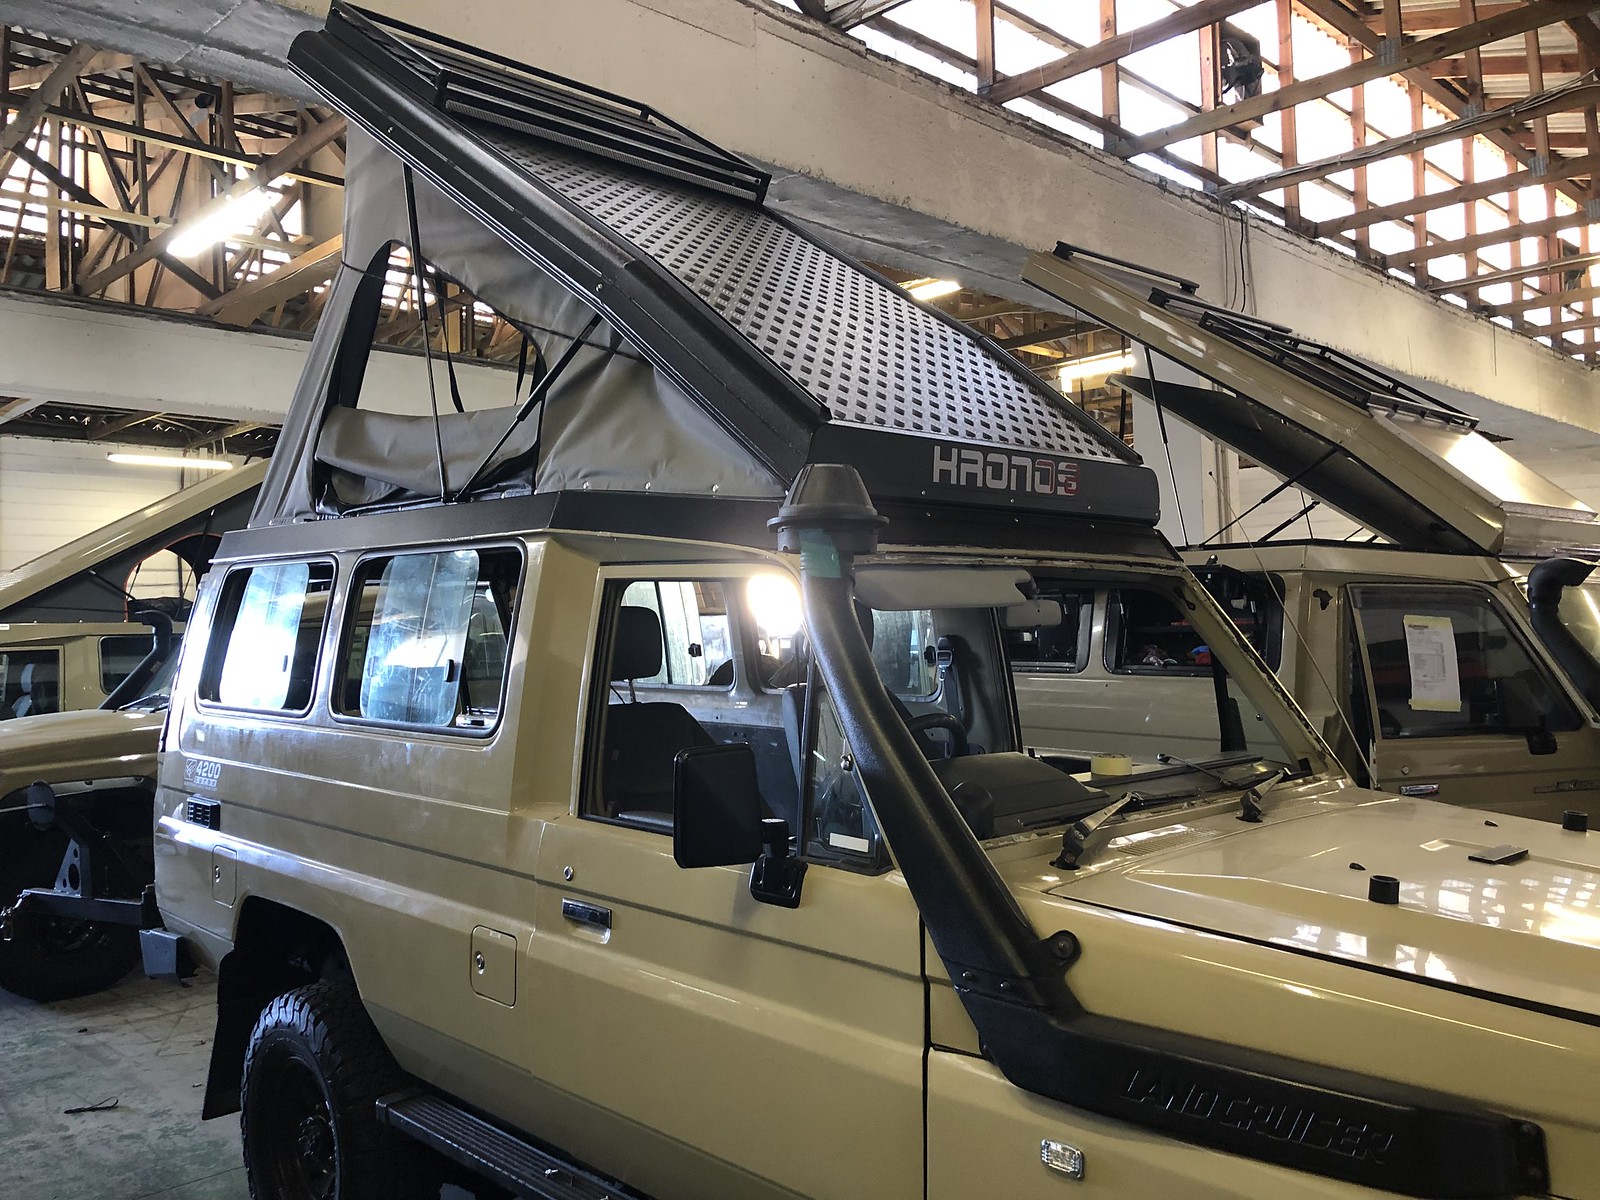
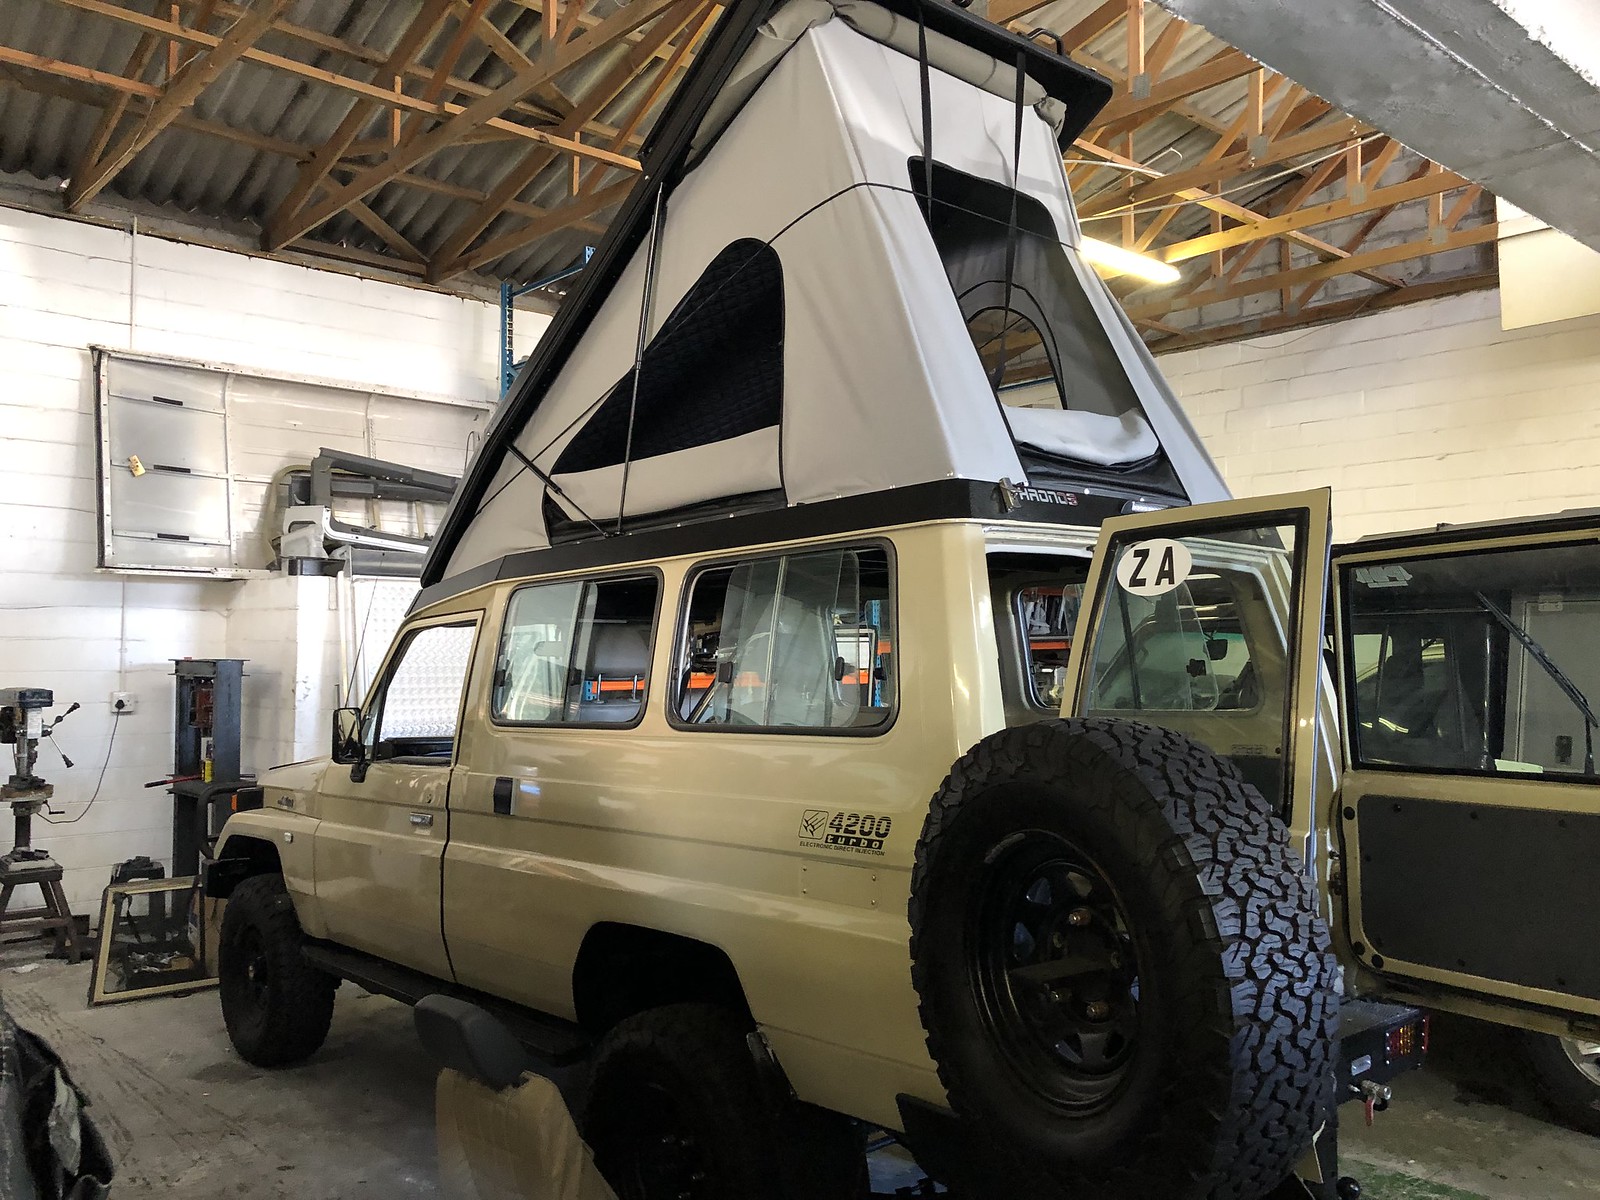
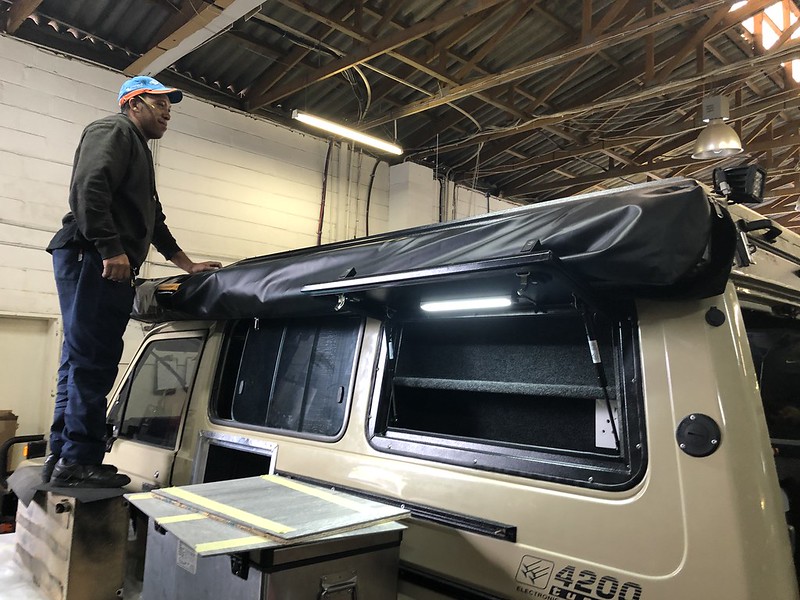
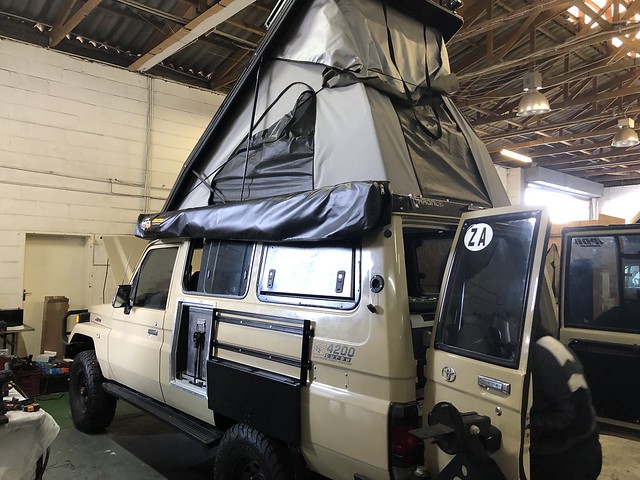
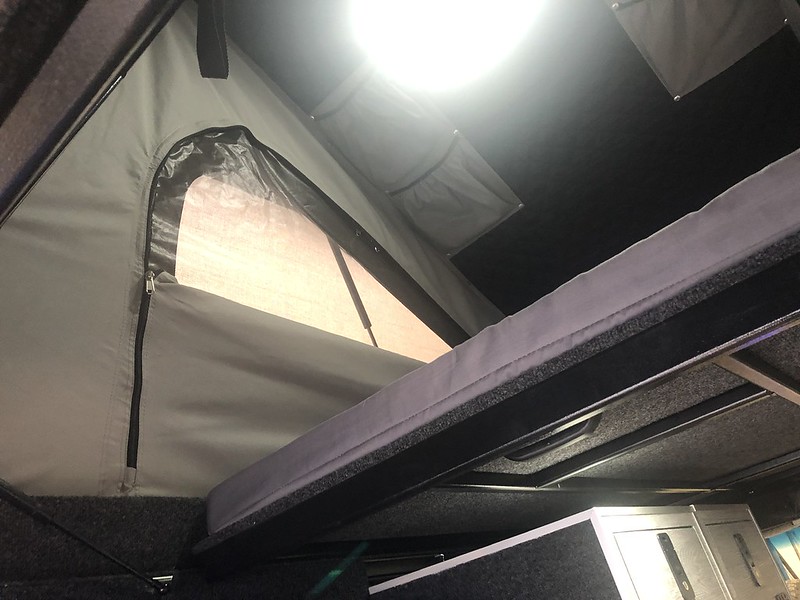
I dont like the look of the existing AluCab Hercules Pop top conversion - so it is being removed and the Alu-Innovations Pop Top is going to be fitted.
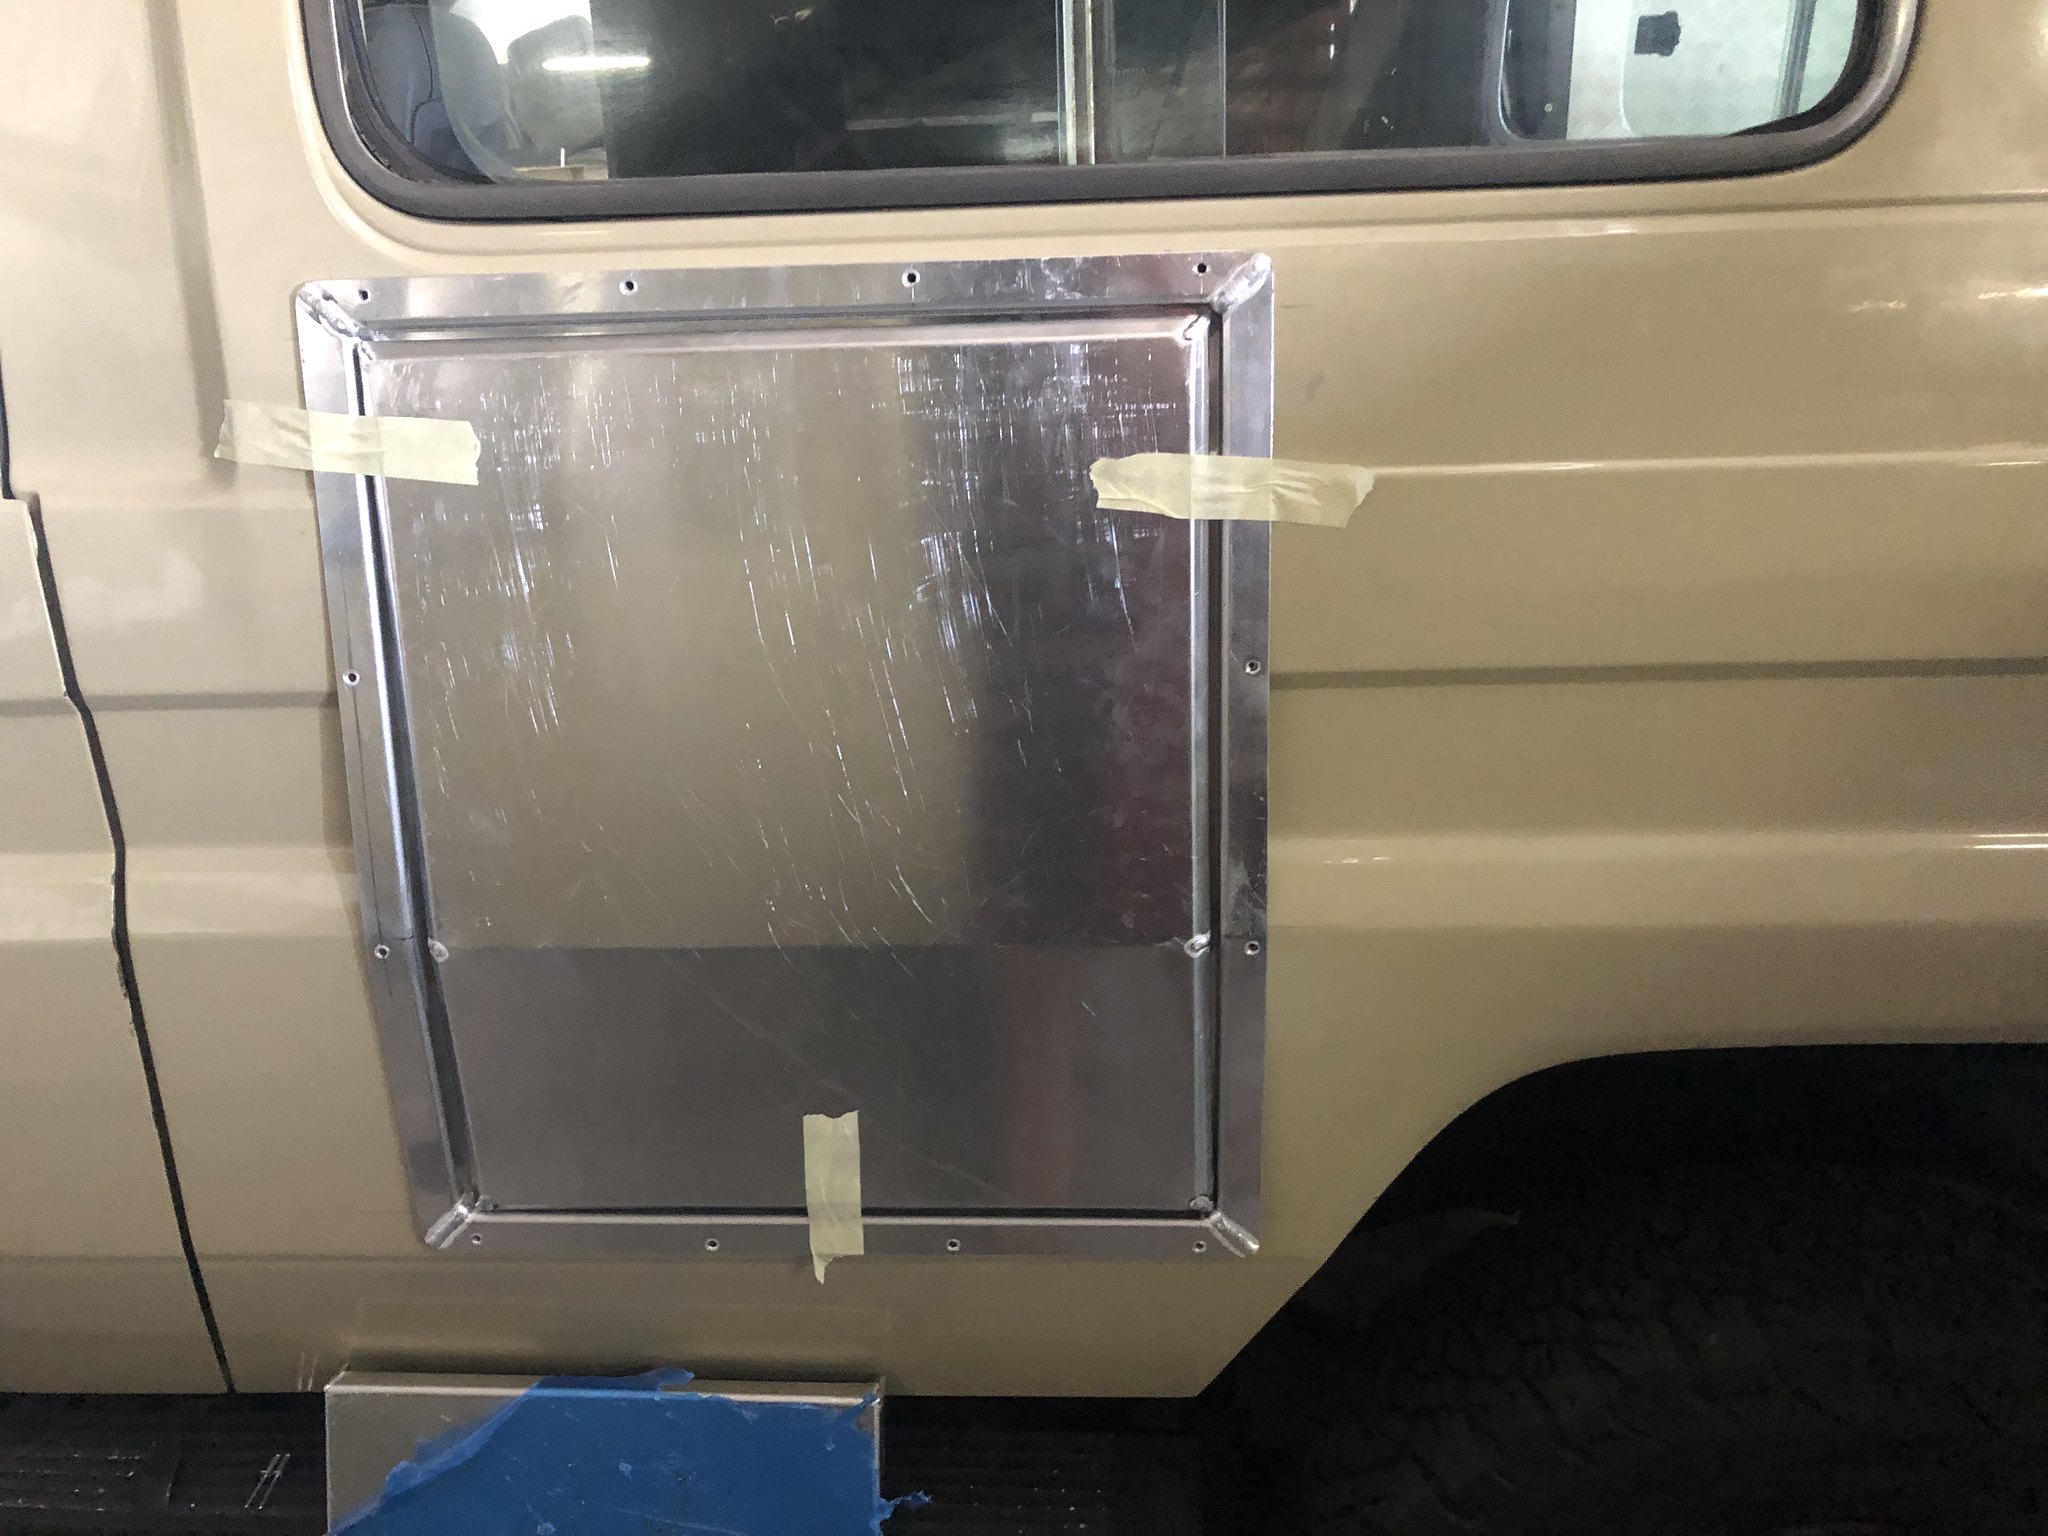
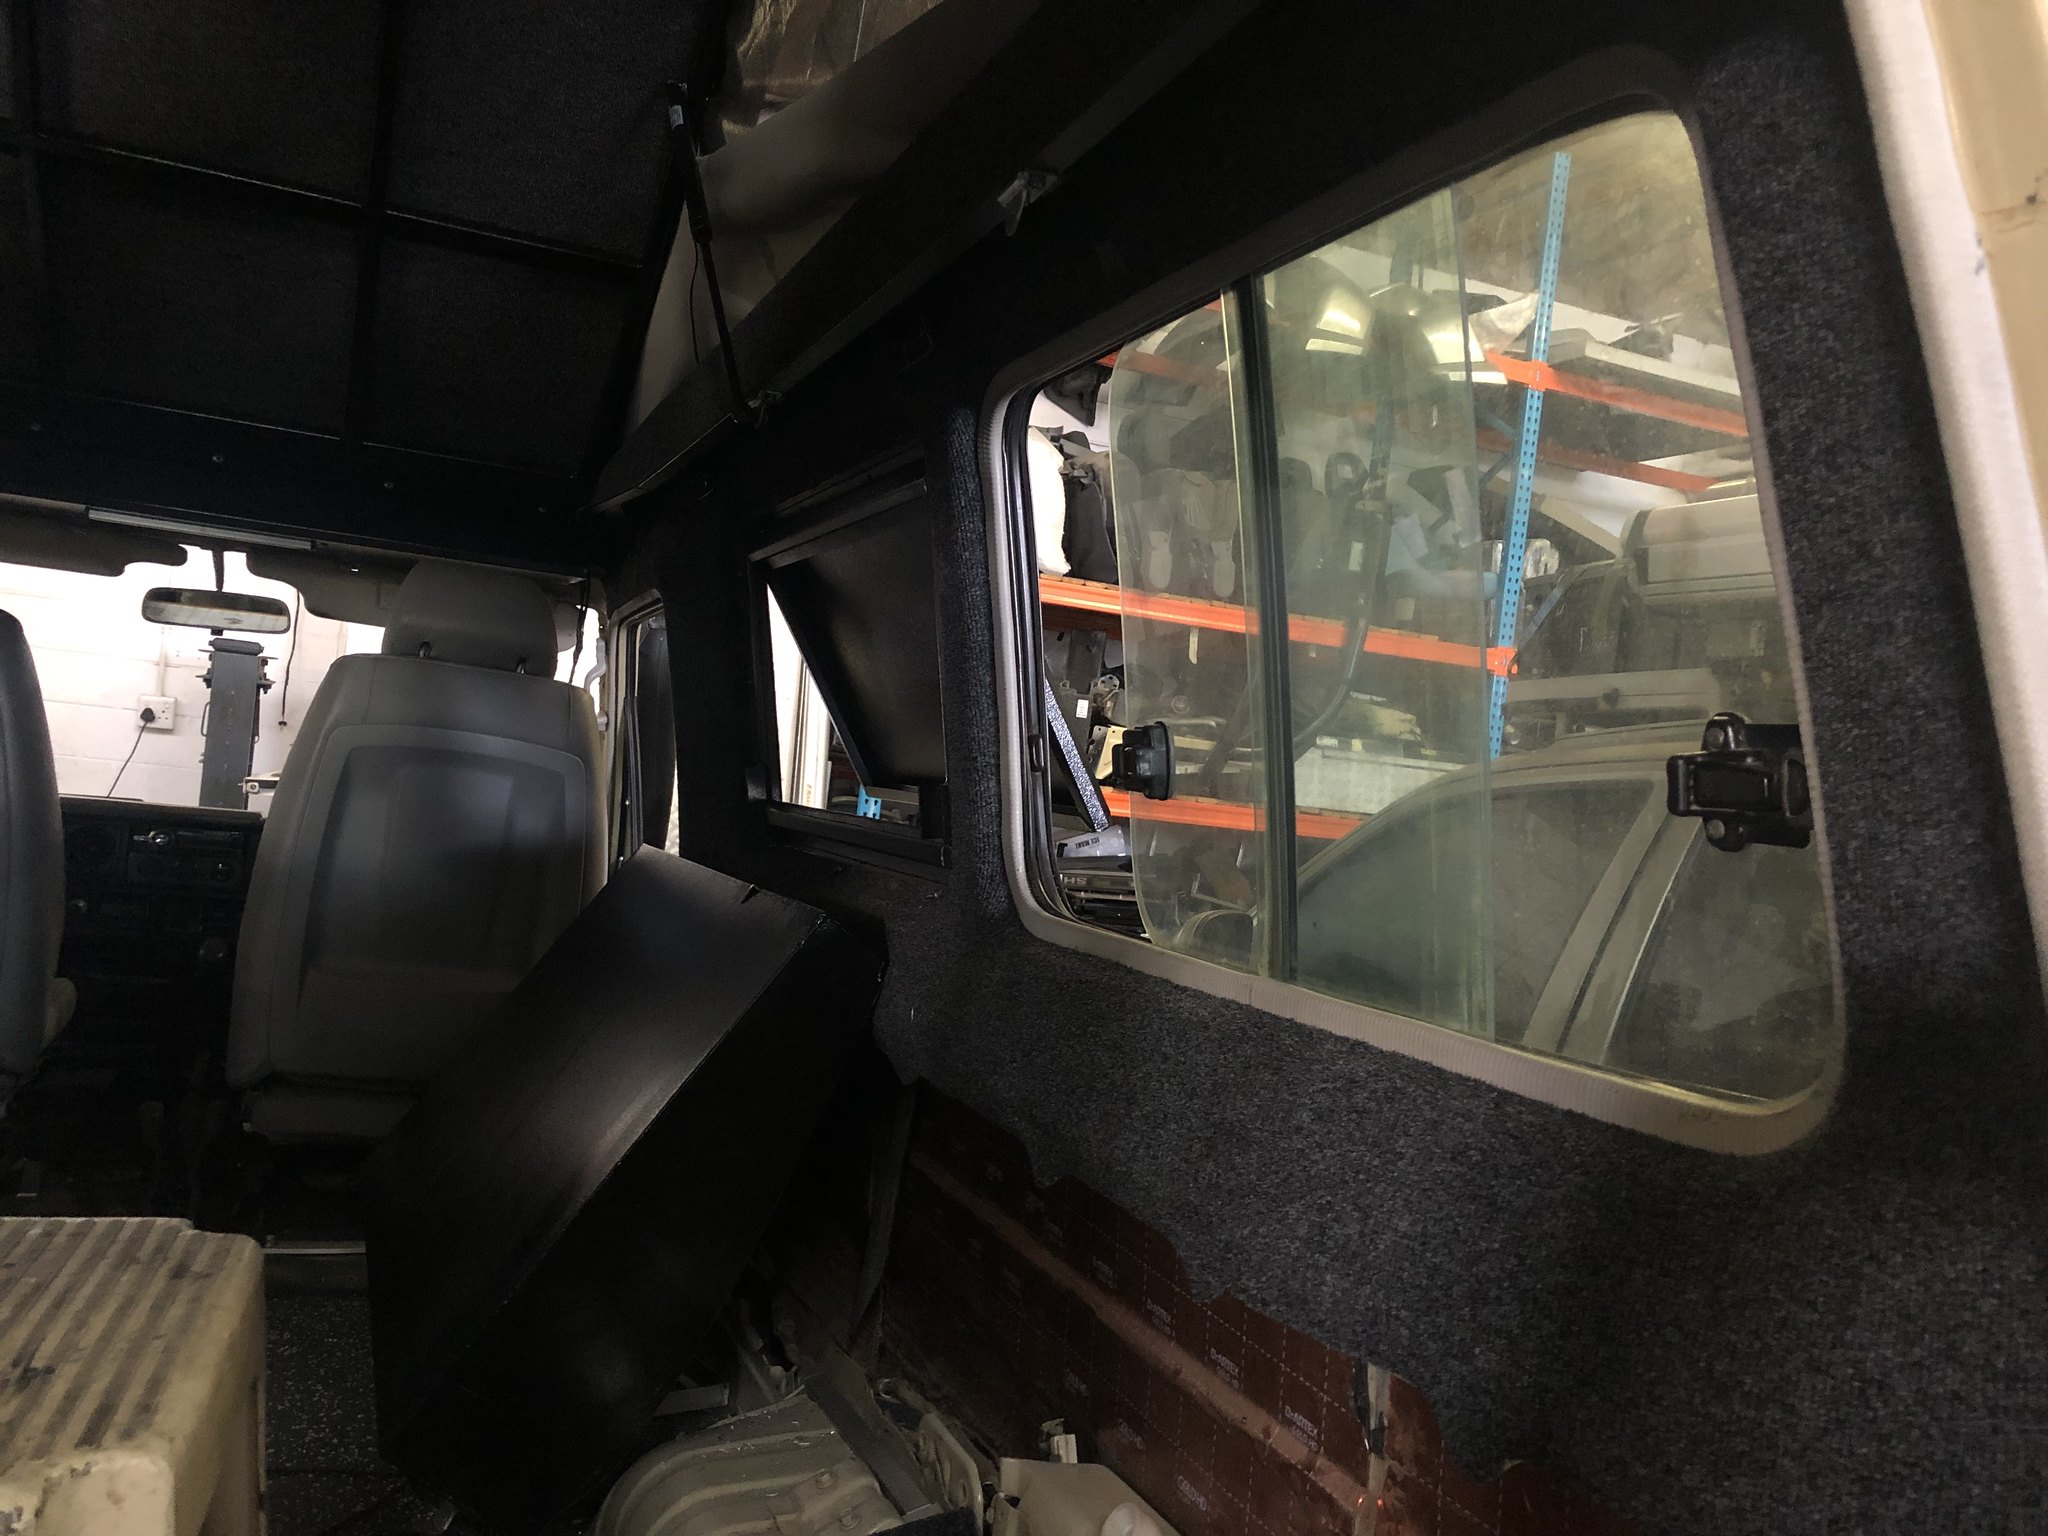
The Troopy is presently at Alu-Innovations have a hair cut, its windscreen returned to OEM and internal open heart surgery
The previous owner was a Wildlife Photographer and fitted a fold down front windscreen, this is being removed and returned to OEM Yota windscreen

51974420790_6dbb794a9f_h.jpg


51973860281_3a49671049_h.jpg


51973933213_881b482370_h.jpg


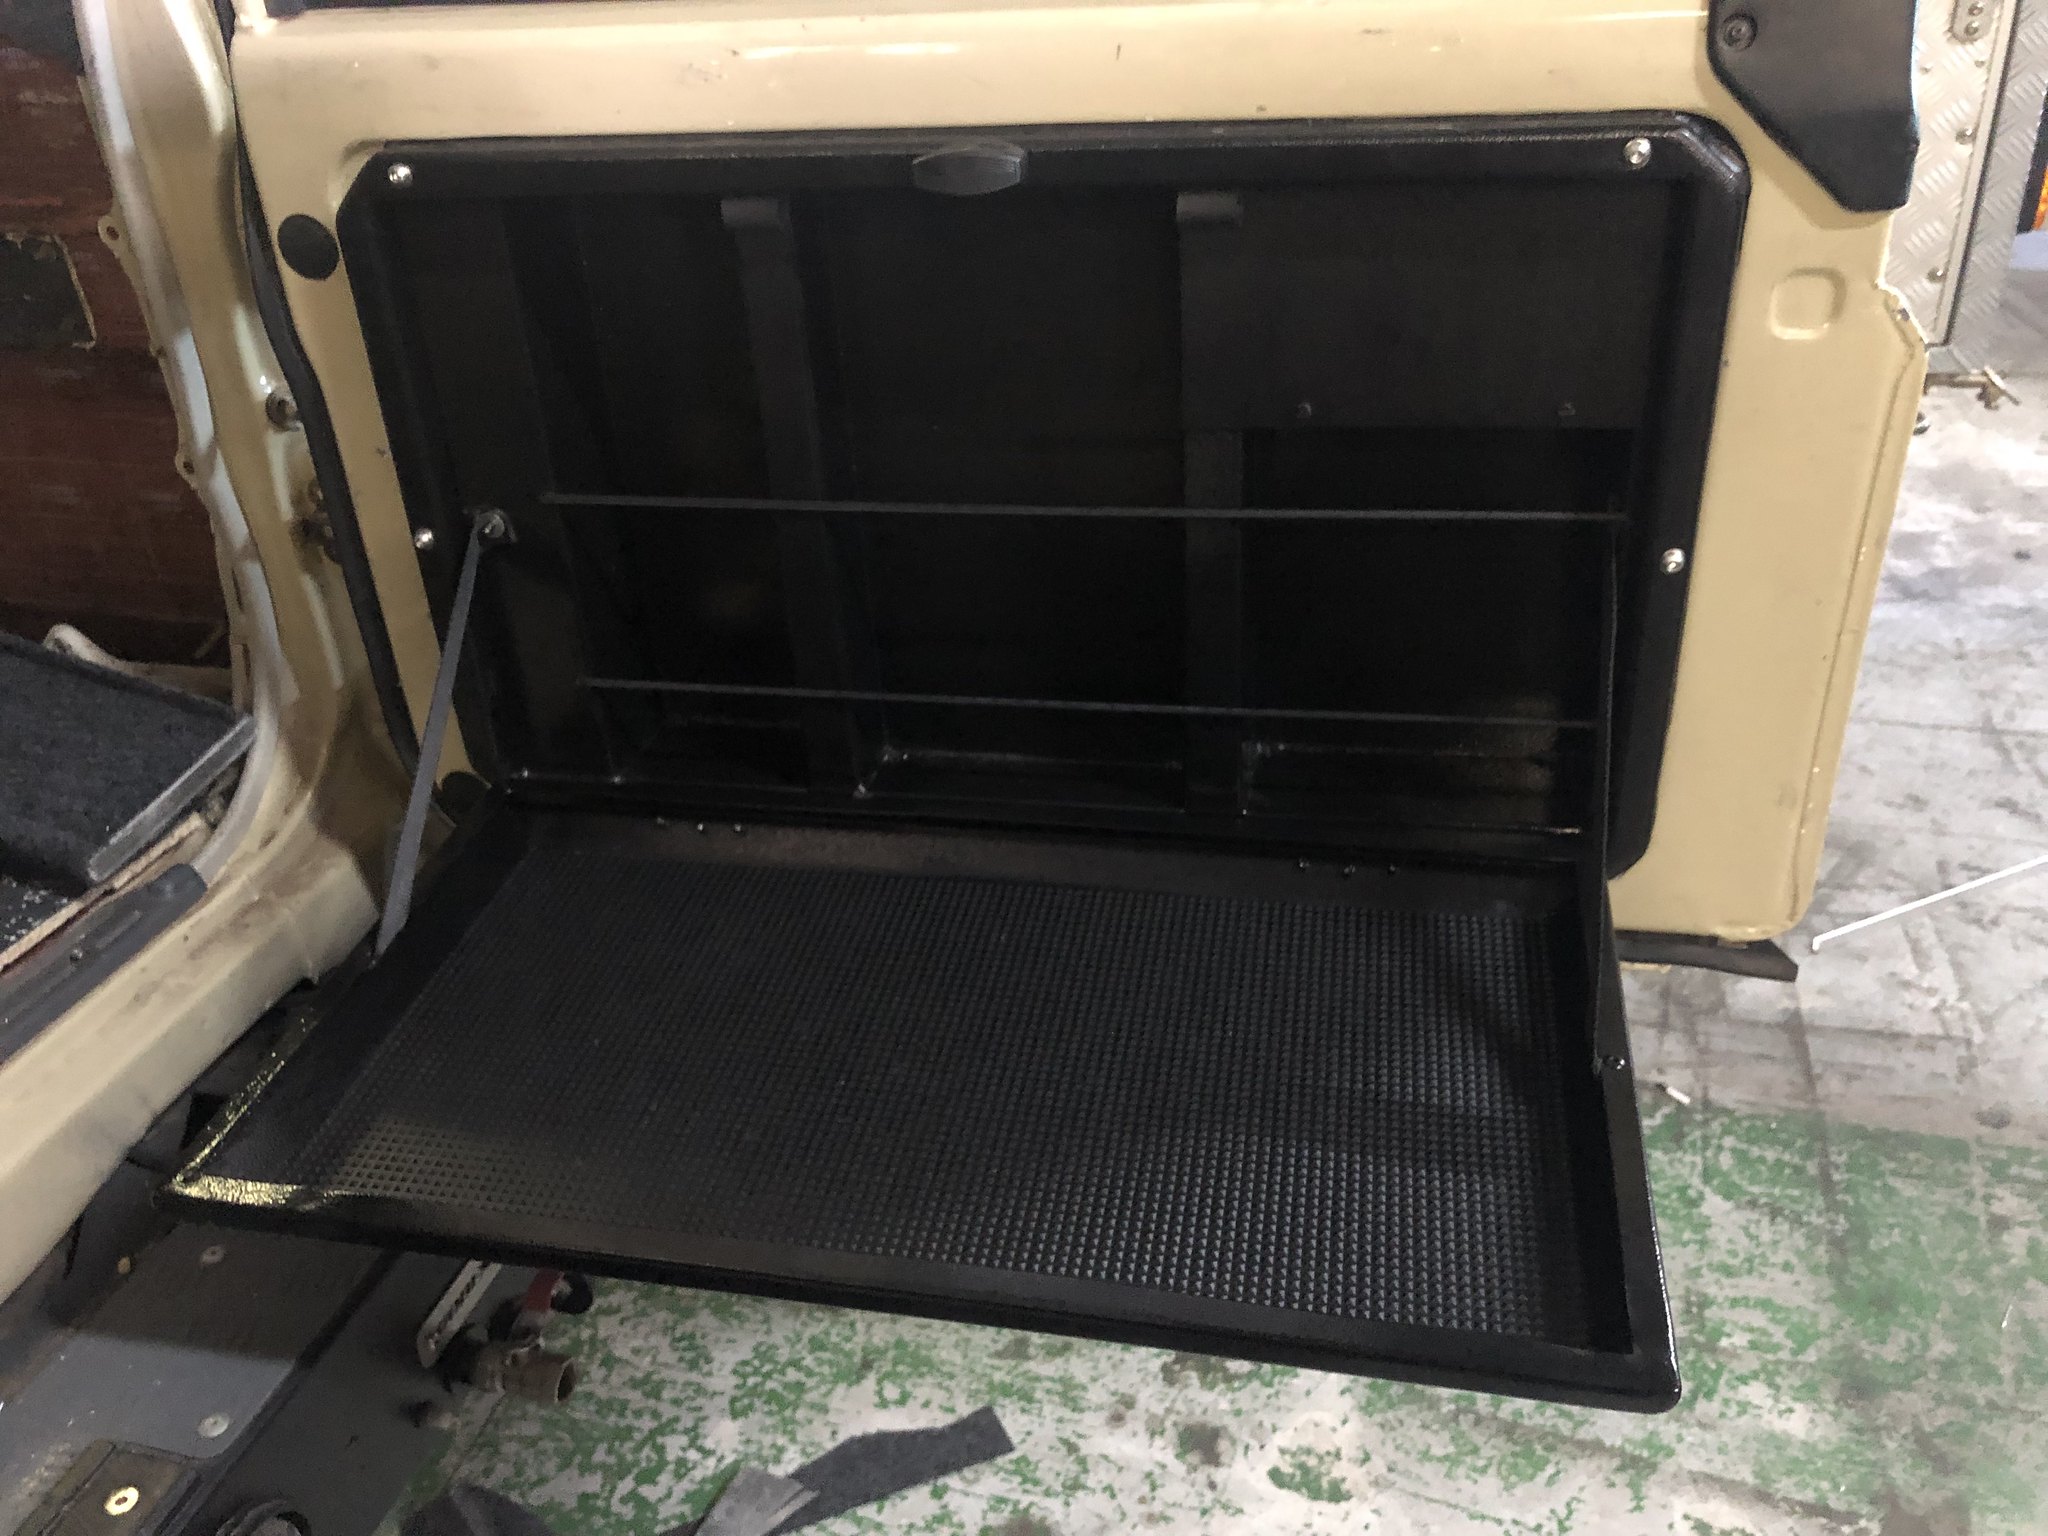
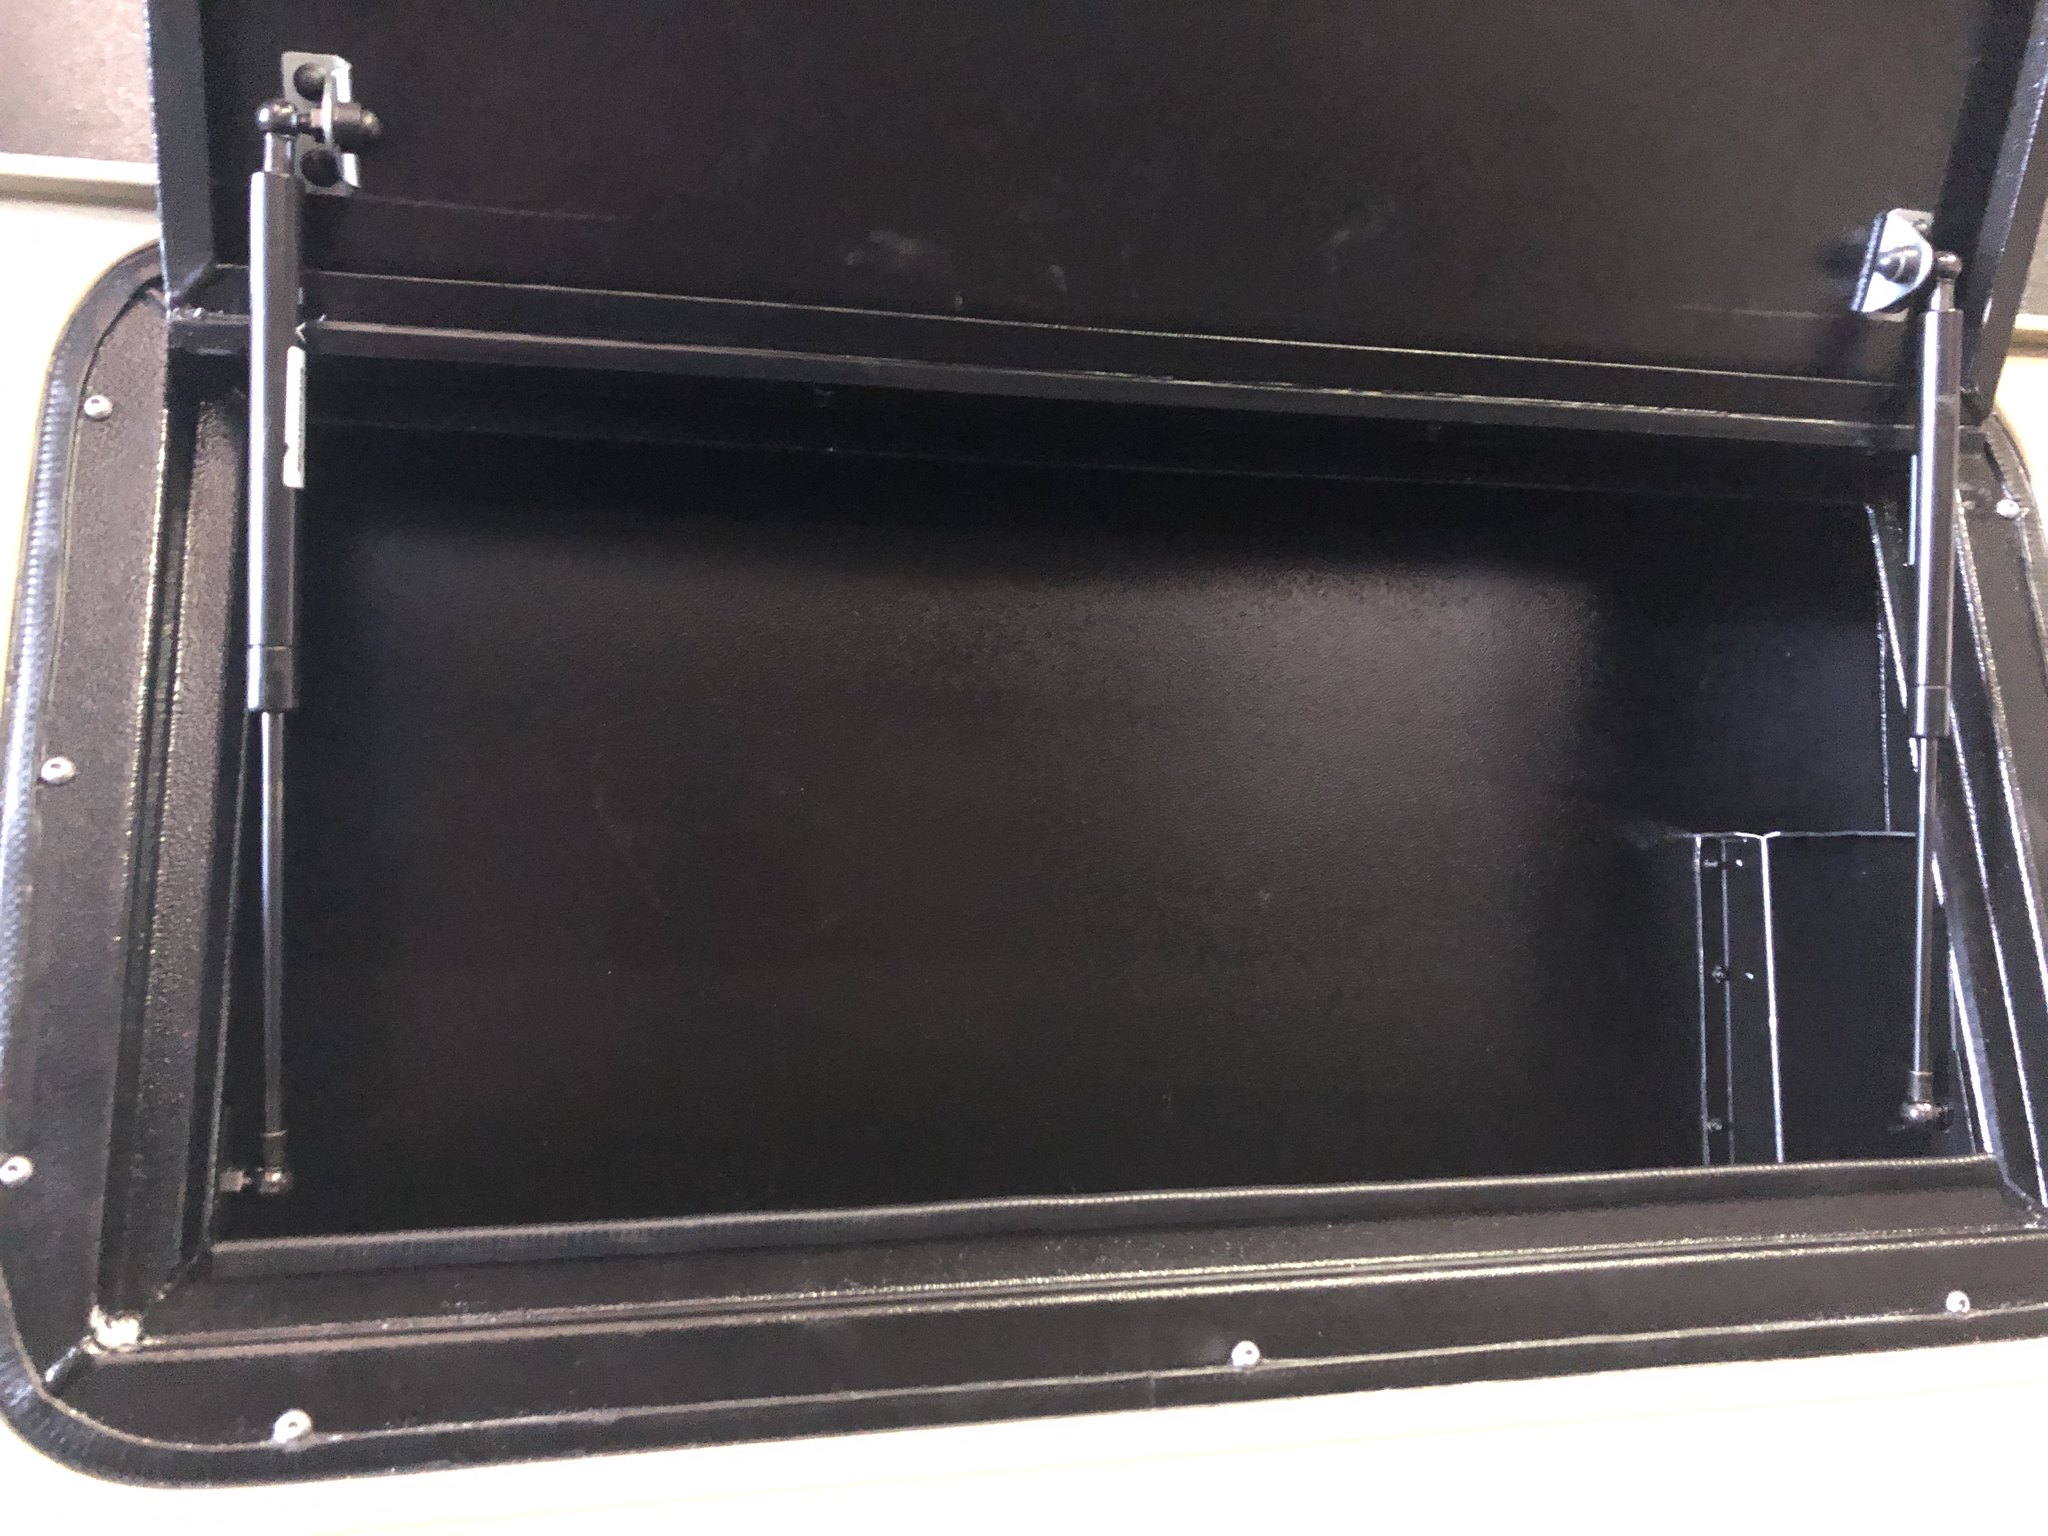
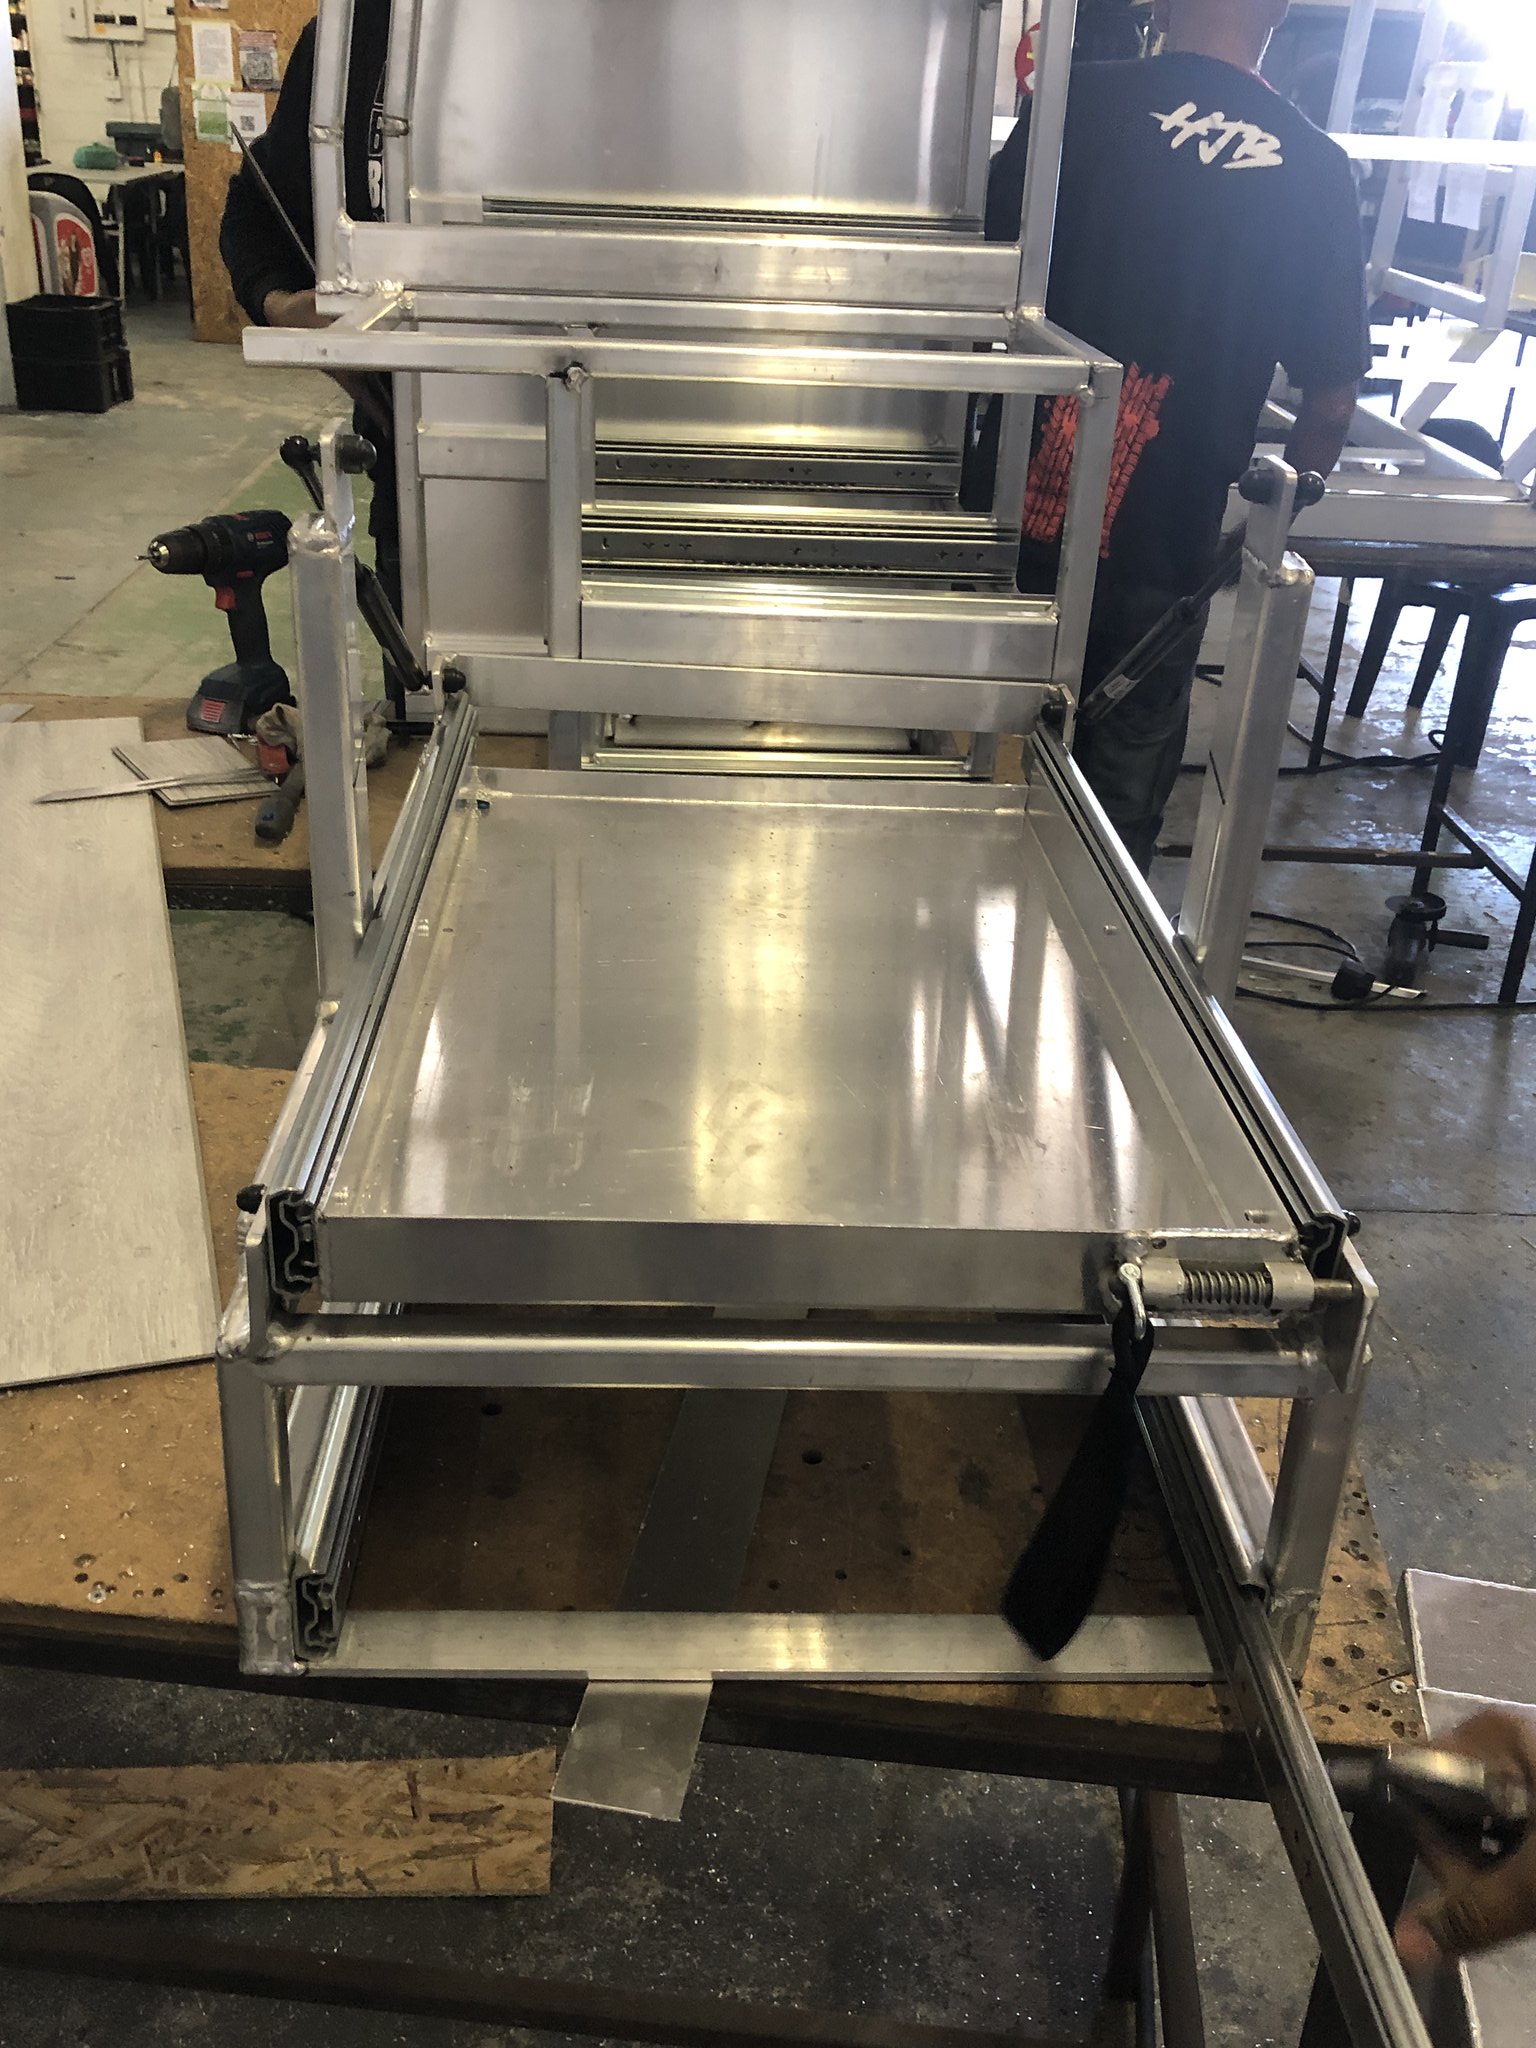
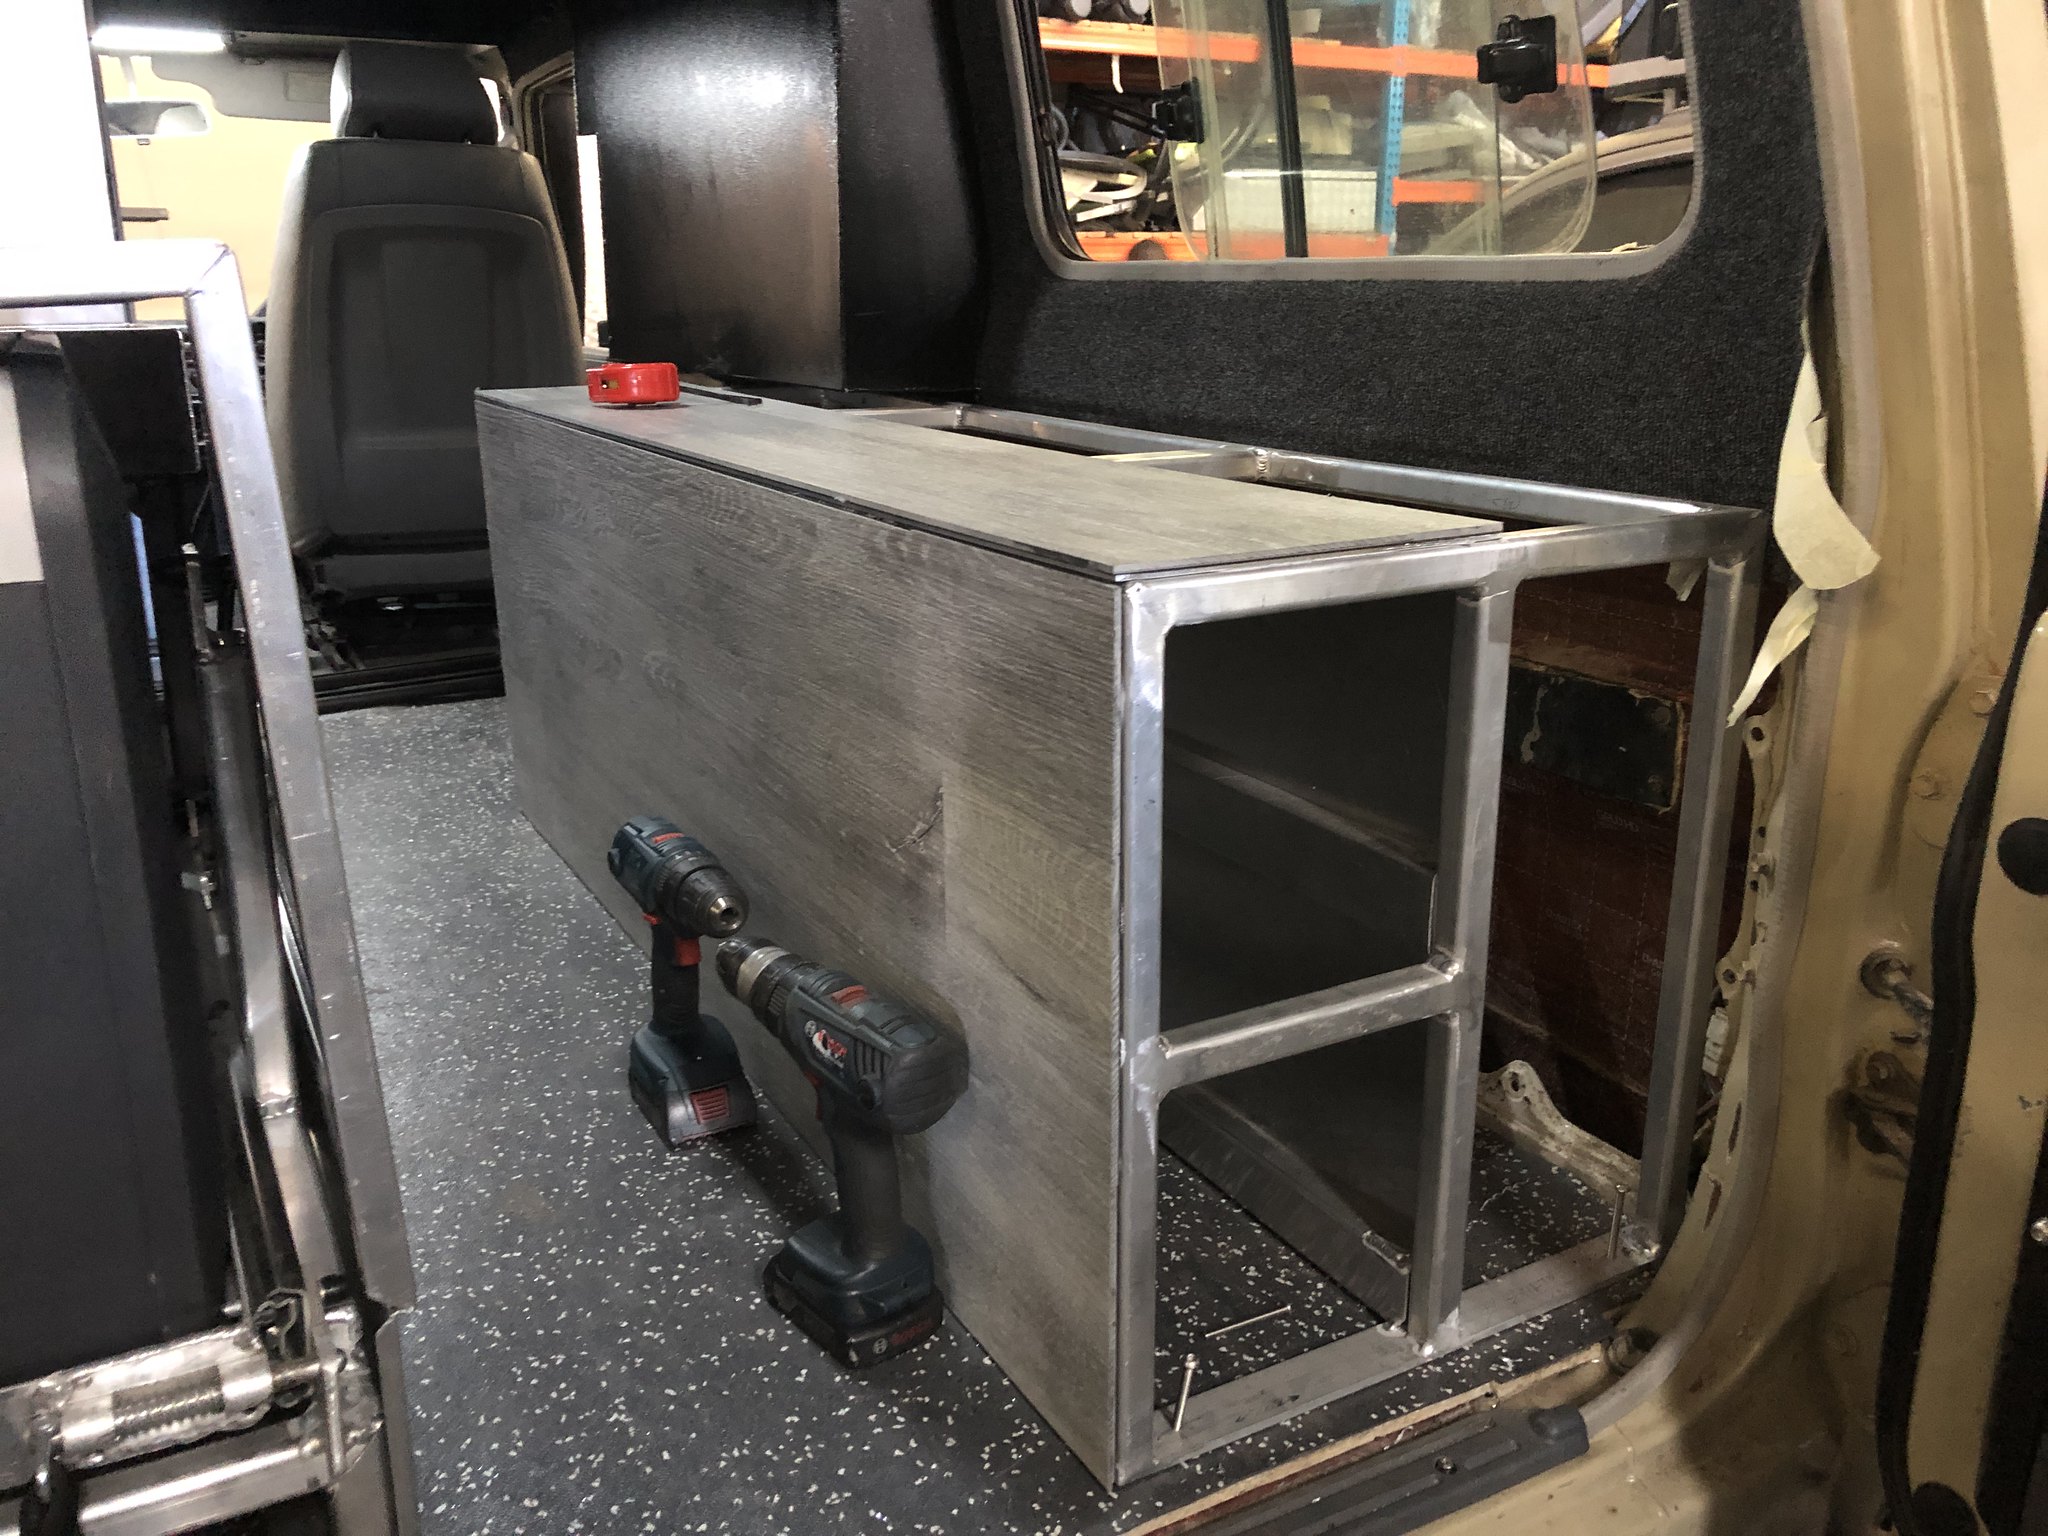
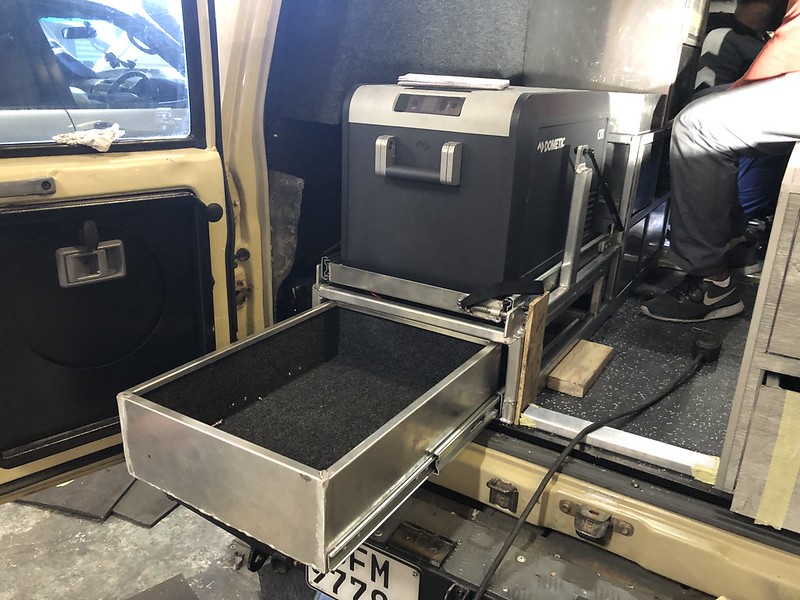
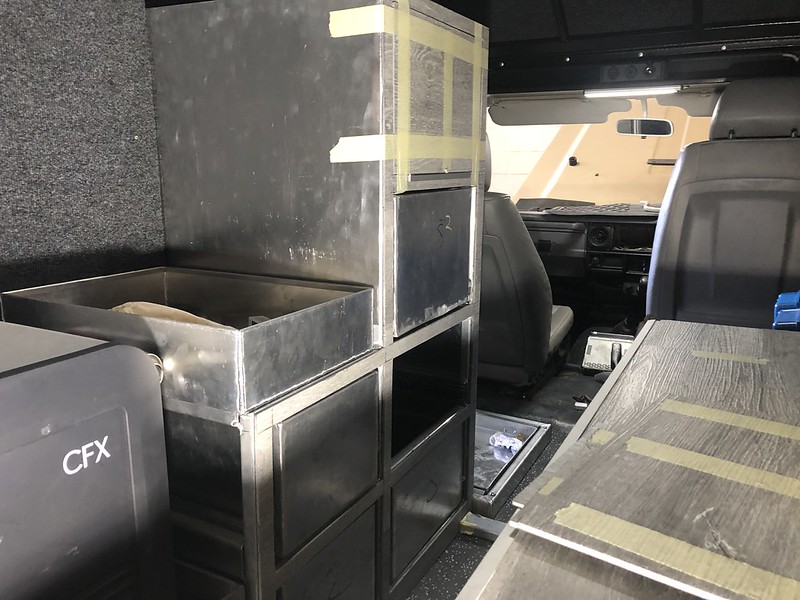
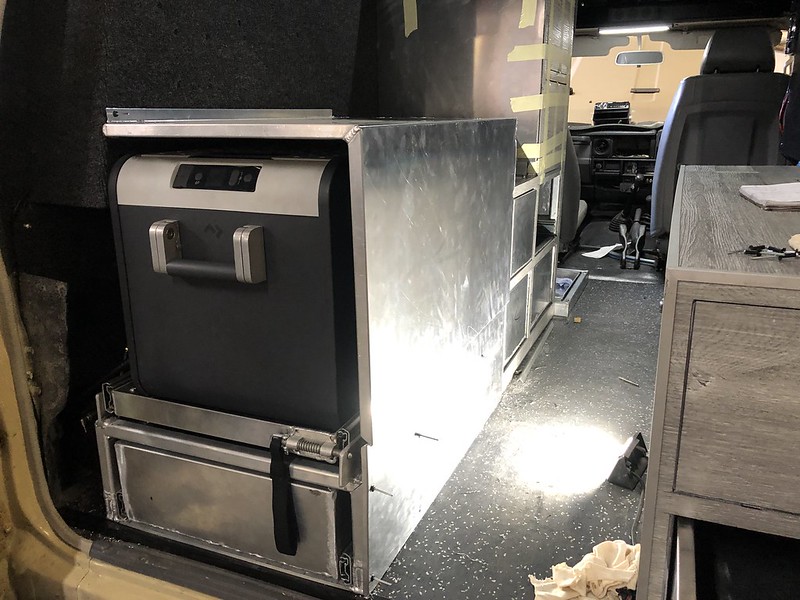
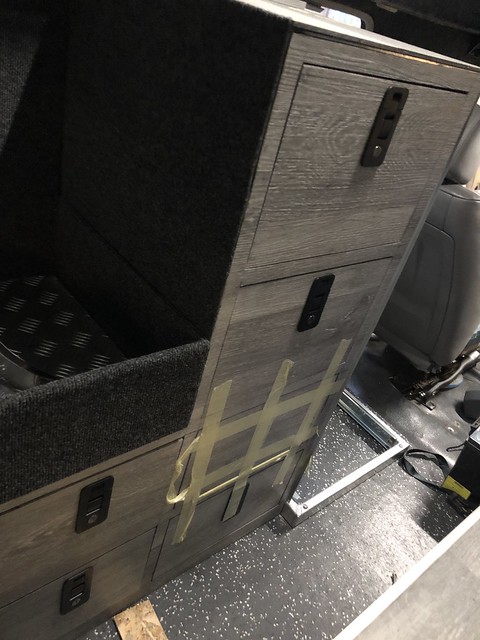
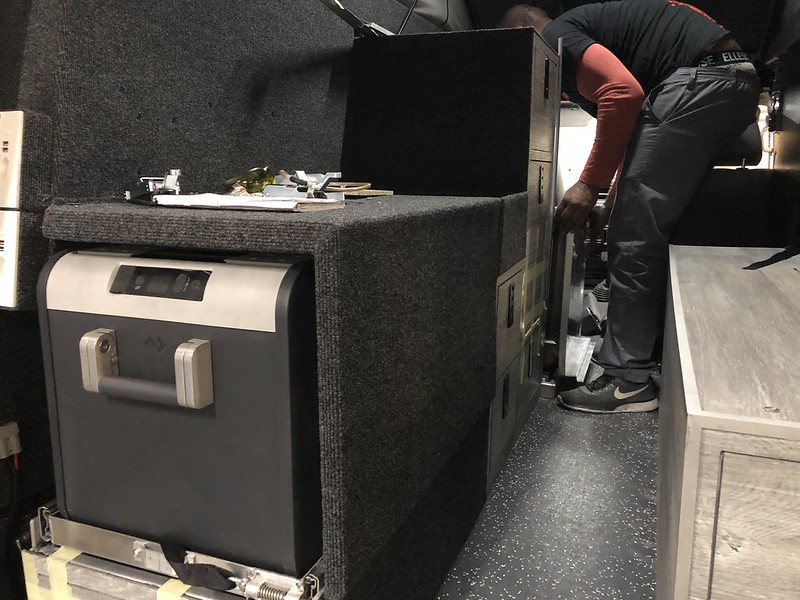
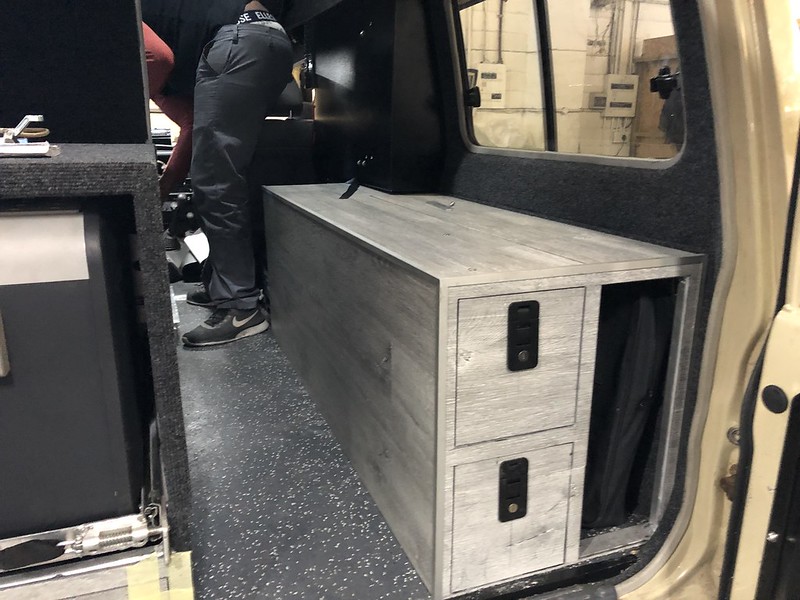
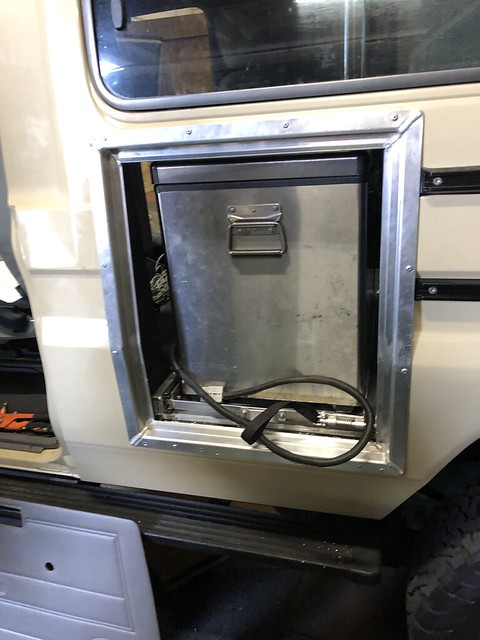
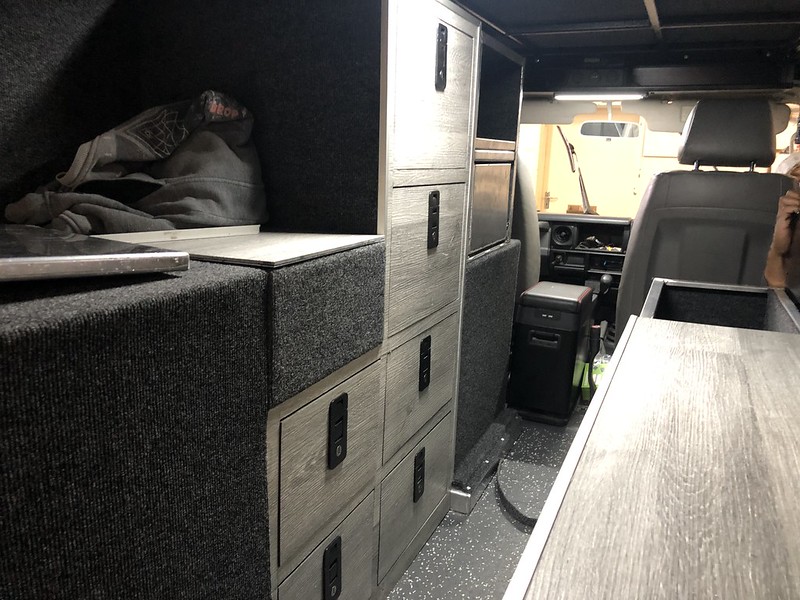
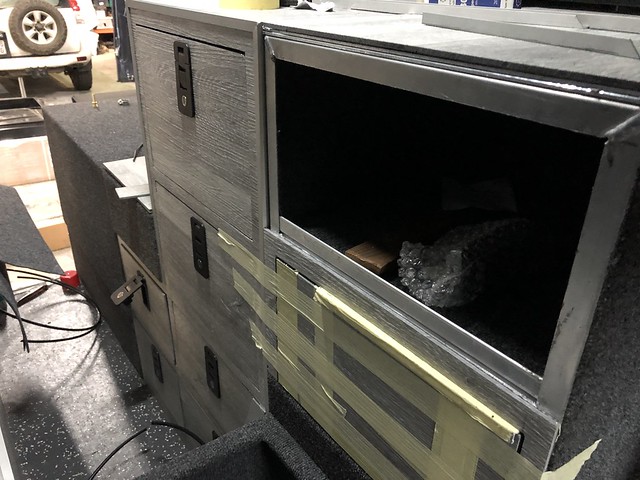
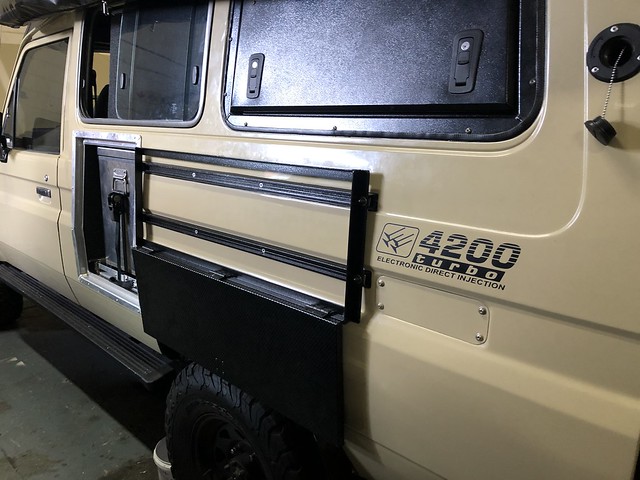
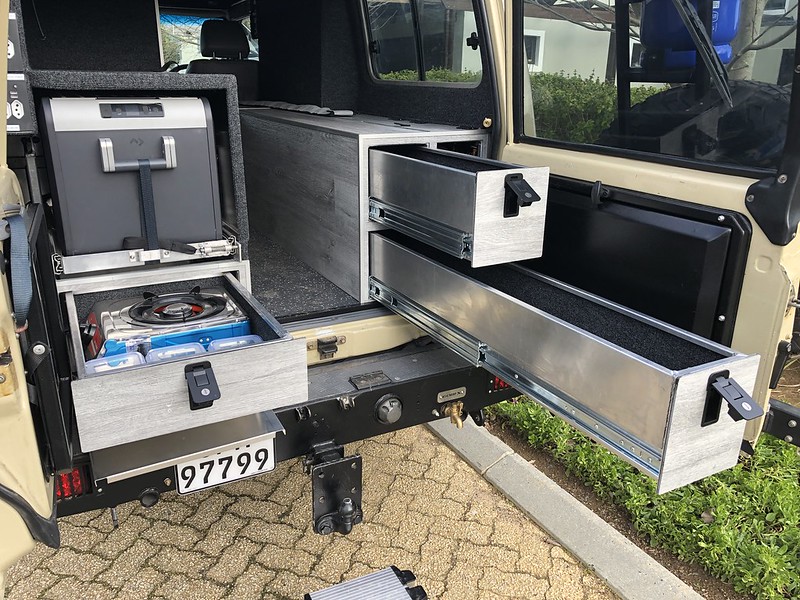
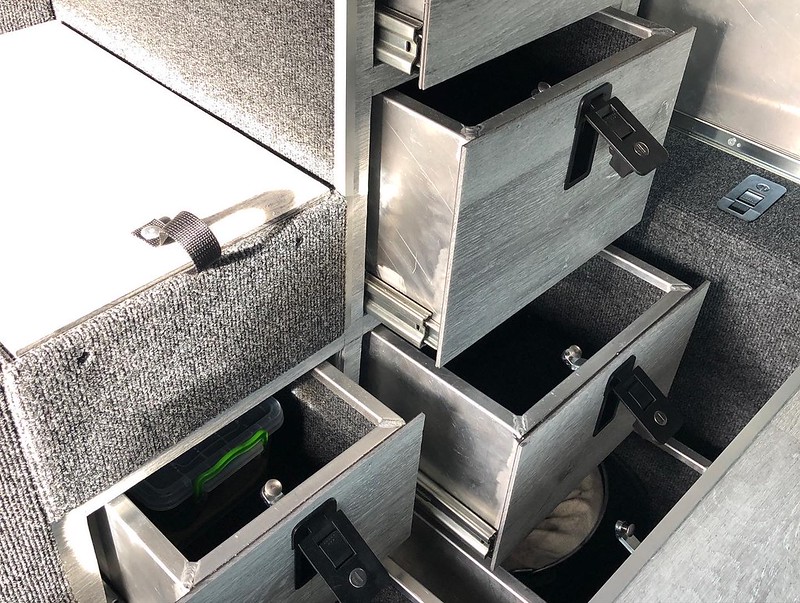
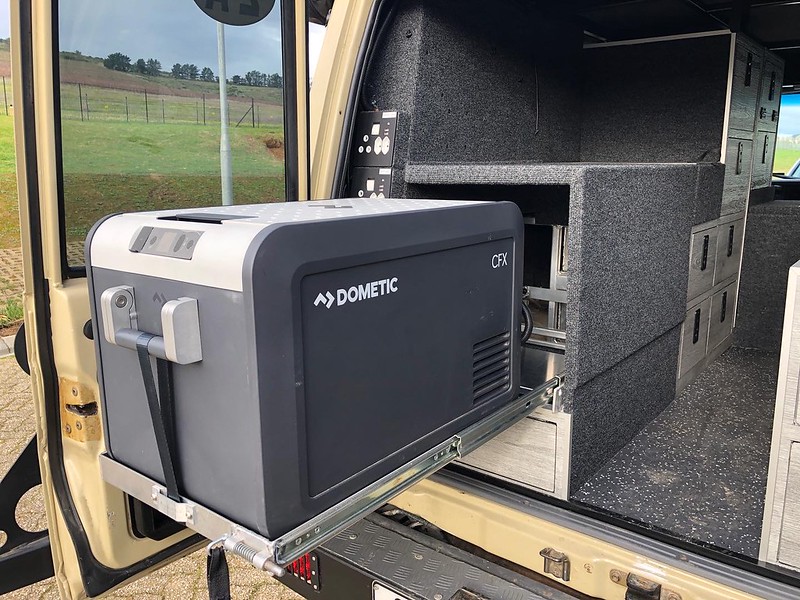
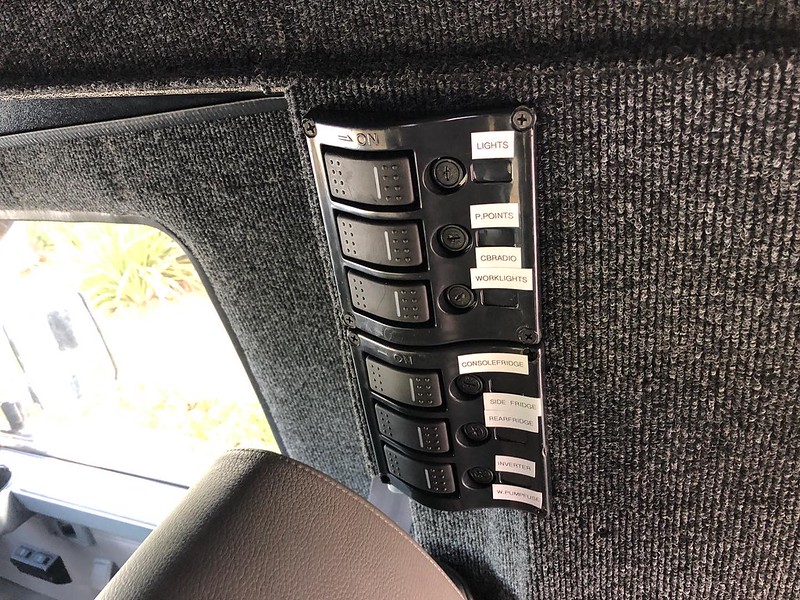
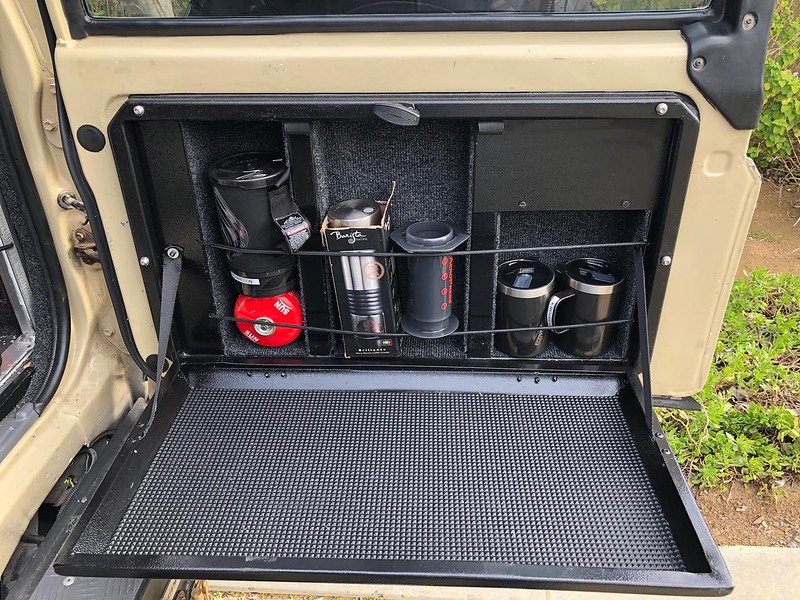
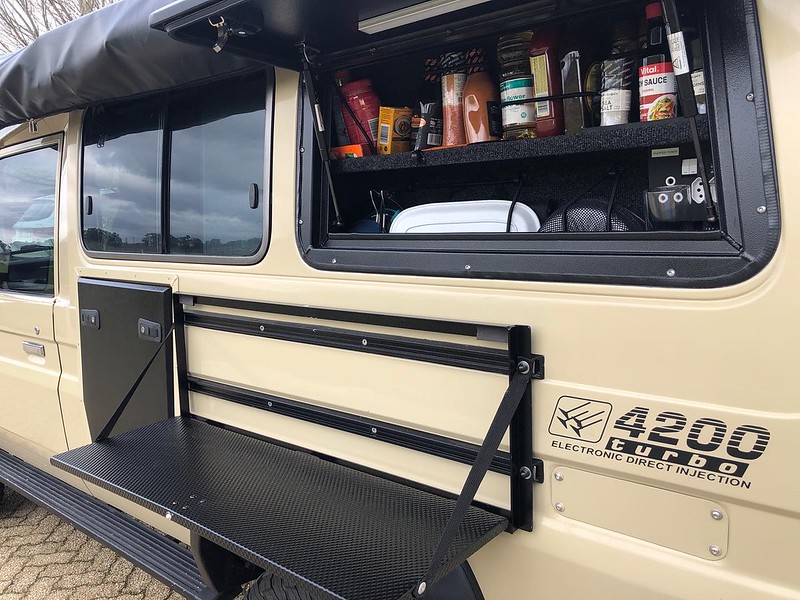
The rear of the troopy will also have a complete makeover

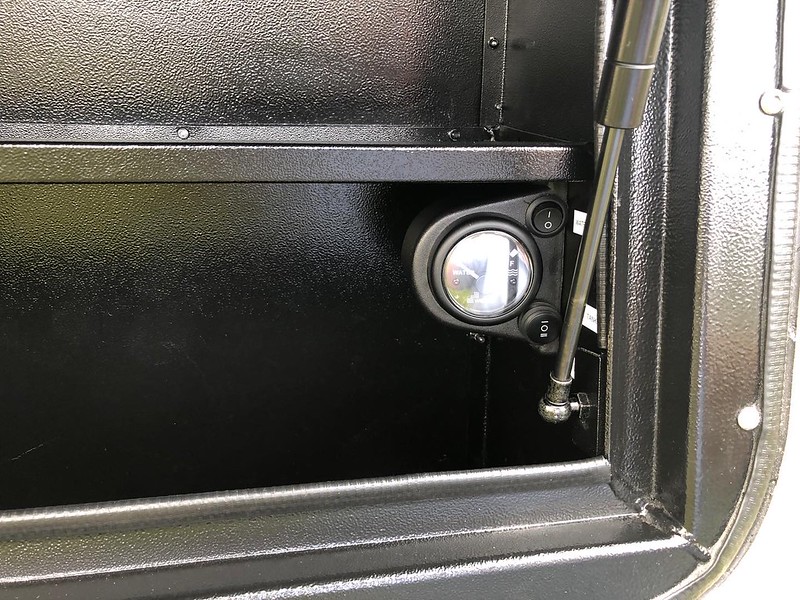
And..... Also fitted a Catch Can - still to fit a diesel Pre-Filter

51973860681_f82d4ec705_b.jpg


More to follow....
 
Been away on the Skeleton Coast jaunt

went to see the progress

The BMW 3 Series seats have been fitted
52016960891_8ce9d65231_h.jpg


The Troopys got a new hat
52015924672_256c304051_h.jpg


52017211989_059a59869b_h.jpg


Most of the other accessories and gull wing windows to be fitted are out for powder coating, the replacement windscreen has been ordered, the internal side panel water tanks were being welded up when I was there.
So work is progressing albeit slowly.
 
Update

Decided to cut a big chunk out of the side of the Troopy - slide out fridge....

52043595387_40790e1b76_b.jpg


52043595247_3f10e03cff_b.jpg


Work is progressing with haste now, the Left Rear window Gull wing (Kitchen) has been fitted, as has the Left front window Gull Wing (shower cubicle) been fitted.
The rear door drop down coffee station was also being fitted as was the 2 x 30Ltr internal side panel mounted water tanks.

The internal layout concept was discussed and will be layed out tomorrow.
 
UPDATE PICS

The inside sides of the Troopy have been carpeted, The bathroom Gull Wing has been fitted, The Kitchen unit Gull Wing has been fitted, The rhs rear door drop down coffee station is in, the lhs rear door drop down wash-up basin is in.
And the final touches to the side pull out fridge slide are being done before it goes to panelbeater for repainting.

Pull out fridge slide
52072755390_06768bb293_k.jpg


LHS Kitchen unit Gull Wing
52071230082_7bd888b515_k.jpg


RHS Shower cubicle Gull Wing
52072505639_e8cb8c9c8b_k.jpg


Sides of interior have been carpeted
52072754555_78b8bcc374_k.jpg


52072280403_a3806b0def_k.jpg


LHS Rear door drop down wash-up station
52072280536_8311468281_k.jpg


RHS Rear door drop down coffee station
52071228962_a42f788071_k.jpg


52071228457_636322423e_k.jpg
 
Some Update Pics

2nd Fridge slide (Drop down) and Kitchen Box installed. Frame for the other drawers still to be made.
Inbetween the 2 fridge slides there will be a cabinet of drawers extending up to just below the roof line.
52079787386_d78b1dd217_k.jpg


Frame for drawers and side cavity boxes
52079793613_7200d8b9a3_k.jpg


The Freezer pull out slider with drop down door
52080271735_58a227920b_k.jpg


Shower cubicle box
52080018349_613452bf4f_k.jpg
 
Don't like the adverts?  Click here to remove them
UPDATE:

The 2 x 30Ltr water tanks are going in, one already fitted. The side of truck has been drilled for the water tank fillers
The left hand side drawer unit frame and drawers are done, the drawers internally are being carpeted.
Shelf over rear fridge needs to be attached and covered.

The sides, LHS for drop down table, and RHS for 10Ltr water Rotopax, has been drilled

Progress is being made albeit at a snails pace.

52134912017_9ac41ce8f1_k.jpg


52136431045_7882e0523a_k.jpg


52136431200_c2d2064bea_k.jpg


52135935696_a83262ff5a_k.jpg


52136431095_fe3ee750c1_k.jpg


52136431225_0cfc6f659c_k.jpg


Left hand side water tank
52136173284_59c6c16404_k.jpg


52136426780_c05ddcd105_k.jpg


52135931991_65c092731f_k.jpg
 
Ive been in Middle East and Europe for the past 2 ½ weeks so I was quite anxious to see how much progress has been made on Troopy while Ive been away

What cant be seen in the pics is - all the side and rear windows have been tinted, and I decide to add an additional 40Ltr water tank under the chassis (to supplement the 2 x 30Ltr side mount tanks)

90% of the wiring has been installed for all the power points (12v and 220V) as well as water pumps and air compressor.
1 x MPPT100/30; 1 x DC-DC charger Orion 12-12/30; 800W pure sine wave inverter; 1 x 220V-12V battery charger compatible with Li Ion: Shunt for Victron Smart Battery Monitor.
52181785154_973321bbbb_c.jpg


The drawer for underneath fridge has been done, just needs its laminate front
52181784944_b61819b970_c.jpg

52181785369_7d59d79264_c.jpg


Most of the drawers have been covered in laminate
52182025210_1a2acae3cc_c.jpg


These 2 Drawers are surprisingly cavernous (1.35mtr long) Im surprised how much they will hold
52181536521_efc609c78d_c.jpg


Power point installed into the Kitchen box
52181536376_22fb79dd79_c.jpg


The additional drawers
52181785044_8918541bd5_c.jpg

52181784944_b61819b970_c.jpg


Cover and shelf for the rear fridge
52180513017_625d48feb2_c.jpg
 
A Few Update Pics

Its starting to come together now.

Main storage unit with 6 drawers
52194663932_119dc515fe_z.jpg


Carpeted cover for drop down fridge slide
52196161215_131c792c3e_c.jpg


The two grocery / food drawers. The side cavity is for the 2 x Front Runner fold up chairs.
52195934044_c9bc92d8db_c.jpg


The drawer under fridge for gas cooker and Mandela Microwave.
52195934079_6968333e04_c.jpg


2 x 220V socket outlets, 1 fed direct from shore power, and the other fed from Inverter
52195672266_71f63bddf9_c.jpg


Fridge in slide
52194664297_2be7f89c68_z.jpg


Electric windows installed.
52195934329_e80154e2a7_c.jpg
 
ANOTHER UPDATE - we getting close to completion now.

Plan is, on friday its off to the panelbeater to have the windscreen replaced and to paint the side fridge slide drop down door.
Then it should be ready to come home

What isnt seen in the photos is the 3 x 120W PV Panels have been installed as well as the wood box that has a cool underslung table mount slide.

And,, theyre still busy with the tool cupboard that fits inbetween the batt box and the fridge slide. As well as the lockable steel safe for laptop, i-pad passports etc, mounted behind front passenger seat.
Also the left have side cargo mount slides have a drop down table - which has been sent out for painting.

Steering wheel has been recovered in grey leather - whoever did it - did a good job.
52213400938_7b7659e5ec_c.jpg


The centre console fridge has been fitted and wired.
52212378247_81d00ca4f0_c.jpg


The QuickPitch en suite shower cubicle has been fitted.
52213864970_3e2353e414_c.jpg


The QuickPitch 270Deg Awning has been fitted.
52212378127_f94c64f066_c.jpg


80% of the drawers have had their catches fitted and covers placed on
52213401263_dffec5a759_c.jpg


At the rear you can see the battery box top compartment with battery accessible under the cupboards false bottom. The inside of the shower cubicle box still has to be carpeted.
52212377997_e2fb3e9f5d_c.jpg


Inside the battery box compartment
52212377862_21b881b813_z.jpg

I had 2 extra drawers made up to fit above the NL Freezer as this will always be access from side
52213657999_e6f1be3f0f_z.jpg


The fused switch panel for all of the 12V system (lights, water pumps, air compressor, fridges, power points, inverter etc)
52212377757_24afbb882a_z.jpg
 
Small Update

3 x 120W Solar PV Panels mounted, together with wood box with underslung table mount slide.
52227007459_fbaedf284f_m.jpg


The ensuite shower - with hot water system and shelf for towel and toiletries. Also inside on the top right shelf, there will be the water level guage that will indicate the remaining water level in the 2 water tanks (1 x 30Ltr & 1 x 70Ltr)
52226746078_9e37f3a8fc_z.jpg


We have added ADDITIONAL rubber door seals, there is normally just a plastic extrusion here, this has been replace with this additional door seal available from Pro AutoRubber
52227220540_5290d9f516_z.jpg


This is the beige plastic extrusion that was removed and replaced with the additional rubber seal
52225746112_167c69e4ec_m.jpg


The bottom drawer has had its cover glued on, the top drawer is awaiting its cover
52226735846_0ee12ef719_z.jpg


I imported a C-Pillar 2 gauge Pod from Aussie to accommodate the Victron Battery Monitor and the Madman Engine Management System that monitors Turbo boost and EGT
52227235015_0f5299e36c_m.jpg


This huge box is my tools, spares and Fluids storage box - its huge - bigger than the picture portrays. It will have a hinged lid.
52226760718_7bef1d733d_z.jpg


This shows the side mounted drop down table beneath the kitchen gull wing
52226760728_8c6f1b325b_z.jpg

52227235120_67cf198b9b_z.jpg
 
Well the Make Over is finally finished.

Ill run through and explain what the pics show.

Not seen in the pics but shown in previous pics, the 12V system is mounted inside the body side panel under the Gull wing en-suite shower box comprising:- Victron 12V 30A DC-DC charger, Victron MPPT100/30, Victron 12v -800W Pure sine wave inverter, Victron 220v-12V 15A battery charger (shore power operated) BlueNova 13V 218AH Lithium Ion Battery, Victron Battery monitor. All of the Victron equipment also has Bluetooth monitoring and setting.
Mounted inside the rear body panel is a NARDI 12V 390CFM 5bar 600W air compressor. All around the vehicle there are multiple Hella, Cig Lighter, USB and 220V (inverter and Shore power) outlets.
There is also a very well concealed lockable stainless steel safe that can accommodate a laptop and an I-pad and paperwork, and passports and wallet.

These 2 long drawers are for the food stuffs;- tinned veg, tinned fruit, biscuits, rusks, cereals, etc etc
52251927974_07fe7f0eba_c.jpg


This drawer under the rear fridge houses the gas cooker and the easily accessible containers of coffee beans, Cremora, sweetener. This also has a small sliding table top.
52251927374_45f26eb5b9_c.jpg


I still need to decide what will be kept in most of these drawers but there are 8 drawers in total
52251642691_5816409e49_c.jpg

52251927664_216bf6d2a4_c.jpg


Above 1 column of drawers is a cubicle with a removable lid, this is intended for fruit
52251658993_d6e9c5a828_c.jpg


This hinged top opening box is for tools, spares, fluids etc - it is huge
52251927504_1216a9a2c1_c.jpg


Rear fridge slide extended and then dropped
52251927749_b70eea4ec5_c.jpg

The 12V fused circuit control switches
52251927464_d9cbe6c9fb_c.jpg


Stainless table mounted on slide underneath the wood box
52252142535_cd7c52b9da_c.jpg


VHF Radio and 12V power points, USB power points and Voltmeter mounted on roof console shelf
52250668702_6a07dd9a7e_c.jpg


Drop down table for wash-up bowl
52251927904_31b1dda803_c.jpg


Rear door drop down table coffee station
52251927294_24710046da_c.jpg


Gas bottle mounted to rear door (bolted for security)
52250668692_516d010550_c.jpg


Gull Wing Kitchen box, houses;- Spices, sauces, cooking oil, plates, bowls, glasses, cutlery, pots n pans. HAs built in 220V outlet, + USB and also a quick-disconnect attachment for the piped gas for the gas cooker.
52250668462_e7b5ecd88b_c.jpg


LHS showing drop down table, SIde, slide out fridge (Freezer) slider door closed
52251642201_07055c9ed4_c.jpg


Fridge (Freezer) door open
52250668512_68179b187e_c.jpg


Fridge (Freezer) slider extended
52252142020_7b1434dd7b_c.jpg


Gull Wing En-suite shower box. Has a Gas operated, 12V pumped hot water system
52250668377_4bf3cc4bc5_c.jpg


Mounted inside the en-suite shower box is a water level gauge that indicates the water level in the water tanks
Built into the side walls are 1 x LHS 30Ltr water tanks, 1 x RHS 30Ltr water tank, this tank gravity feeds into an additional chassis mounted 40Ltr water tank. Water is pumped with a pressure sensitive 12V water pump.
52252142070_88b8f38a8e_c.jpg


View into the RTT from inside the back (access hatch is open
52251642856_6c831f0955_c.jpg


Inside the tent
52250669072_2c9230c35f_c.jpg
 
Fitted a set of recovery trax - doubt they will ever be required

Also I got in before the 40% import duty kicked in on imported tyres and fitted a set of 6 x 285/75 16 Mud Terrain Radar Renegade rubbers

52457948995_e80c9cff8b_z.jpg
 
What a great write up and terrific project.
Really nice to see it all in one place at one time rather than watching it real time as you build it.
I have done something similar with my Troopy although yours is a bigger project. (I ought to do a similar write up. Just off to Algeria on a trip so maybe in the new year).
I would love to know what your total weight is with all that kit. And why you need two fridges?
Anyway will reach out to you when I get back.
thanks again.
 
Great build up - thanks for sharing. Not seen a fold down toilet seat before, very innovative.

1668365989612.png
 
Great build, thanks for sharing. I have a Kronos roof on order, interested in the rack on top, is it integral to your roof as a permanent fixture? That’s how it looks.
 
:smile::smile::smile: Ha Ha Ha - not a fold down dumper ! ! ! its for the wash-up basin :smile::smile::smile:


The rack on top of the pop up is for carrying wood, there are 2 cargo tracks and the rack bolts to the cargo track.
There is also a stainless steel table that slides in underneath the wood rack

I see youre an FJ fan, I also have an overland kitted FJ Cruiser, Mine is the Khaki one on the Left
ol3f0-U00PvqMArPZh-pla-Rb2scFCgr7RxqI6OODcCYdCg6vCPf84dZzoHN3_kWFPnnEk2G2BDCkpOk5mQMiqSiIdvGaVK29f3aS2uudNkVo5qVAXJJ85Vbl2xG251F84KI1Swyve37p0_TmKtHseWRHSR-jVhvmlG2j82eb29Y3o5HwJ39OixaZcFP4LPlFnv0FHieobLfluqmuviegZMikqlAKJ9k9I57E73gwV91RkTRp7fBulpe9kAULHOA9qeZTtB7LMAArQi-03jf-oegON_YeAzESMz8oNWpJWH9aE81BdqxyPOQfTs82ge7tU_Tw0mJ8PjGcaeU0tbyohcAK5loX3ACSlX9wLWA8lKEuayQDALpkLdHcd2ta2Vzl31hQxLyN5aoFetCASEL5R-FFlWRQ7txmBeU9fSx-9XOc3njr0xcqe-yYbuBxz5VLVtmHfnGPSJRewKYOI-VXbSKPnNkI4AUjrpI2D7yWRLXDeVHKci0li0XjZNJLCuw_KMggeOE-T_Te0qVEkTwDrz_VY1VeoXOghtT_mjJGWnziEnqXilw9OQVRQoH5nlsHfHjWnJqlzEmv1XUq0JOxwohPPA9zghoy8XxdsEzzUza2dyWe49UciYgTxZlxZIRg2jSsmnBm-m8lo4sH0sCIrGta1EY26JeC8Qh3a4moKIGYYFXpLvU-3I6tAWLCxoi_vT8NwY2zbLXzNd7sV9kp9XLGNd0WOO_7v_OuUsWbRLmOvD_m7wiNspPU4Sh4Q6BU0Va1FS4lC_B1gJ9FJ6IRot_euRqY_3YGSyuHnN_GqOrBUskw8LElAjhglBNS3RNnakLlJdkIR0er24OiwbhbDH7If4ux_yNkg9CJP2XH7ouoQNfzONMKF_lSsMLzW0yktvZ60mW9LhpTZ_8aa4eMNkn-SofVZLiYpdP02RbYLF1_gfV=w1086-h724-no
 
Last edited:
Short Update

Decided that the front Bullbar needed a spruce up - so the solution was to Raptor coat the bullbar

Rather than hours of sanding I removed the bar and sent it for sandblasting.

Then I gave it 2 coats of etch primer
52498479561_7391391109_z.jpg


Then it got 2 coats of Raptor Liner black
52498964315_d1861b7d5c_z.jpg


I dont like the lumpy finish most people get with the Raptor, I wanted a more fine textured finish, so I bought the Raptor Professional spray gun and then tested on cardboard until I got the texture that i wanted
52498481301_696cb3380f_z.jpg


Then I also fitted a Warn 12,000lb winch with Plasma rope
The finished item
52497998902_31ee6658f7_z.jpg
 
Back
Top