Don't like the adverts?  Click here to remove them

Who is doing what maintenance today?

Taking it to the mechanic (I just got out of the ICU on Sunday). My month old '69 FJ40 needs some maintenance as well as some work. Hubs will get rebuilt (Warn M47-try to find parts for THAT!); radiator flush and a PTO drip fixed. Tune-up, new steering stabilizer (Rancho 9000). Then new tires and a radio (I know=kinda a waste in an FJ). New steering wheel and seat belts installed.

Install new roof rack on wife's 4Runner. Bull bar this weekend. Schedule is flexible, so who knows what gets done when.
 
Guys decided to give the expansion tank and screen wash bottle holder a good clean. First time on a 26 year old vehicle.

The expansion tank easy to take out but narrow with only one hole which made it difficult to get in there. On the other hand the screen wash bottle was a real pain to get out and put back. (condition of my hands show this lol) and yet easier to clean. Very crabby and stained having never had the attention it has now, so using tips off youtube i.e, RICE, BLEACH & SCOURER STAINLESS PAD attempted to give it a go.
Pretty happy with the results although not squeaky white like new none the less thankful it turned out rather good. Added an extra touch on the expansion tank to give it more clarity.
 

Attachments

  • 89810750-FF79-46A4-9818-D21C78AE73AD.jpeg
    89810750-FF79-46A4-9818-D21C78AE73AD.jpeg
    265.2 KB · Views: 80
  • E51CC6B8-8533-491C-ACEE-DBCA422522C5.jpeg
    E51CC6B8-8533-491C-ACEE-DBCA422522C5.jpeg
    262.3 KB · Views: 48
  • 63CD5860-EF99-4A66-AAB0-ADEF00A0A921.jpeg
    63CD5860-EF99-4A66-AAB0-ADEF00A0A921.jpeg
    232.2 KB · Views: 64
Last edited:
I've just done this job on mine, it's a right tight job and to connect the inner tank back up that goes inside the inner wing is testing, it came out black! It's supposed to be clear! Used sharp small stones with hot water and fairy liquid.. proper amount of shite comes out of that tank! And it comes see through!

Every mot on mine there's the screen wash issue of the jets being blocked... why because the inner tank has a hole in the top to allow it to fill up.. but as the screen wash sloshes from tank to tank as you go around corners. It's breathing and drawing dust etc in... so it's not a closed system.

Really full of dirt that blocks the washer jets!
 
If it dries up fitting two new front brake calipers.
Scotch that, between the showers and hail !!! can't trust it stay dry long enough, will do the job tomorrow.
 
Last edited:
Back on my "Labour of Love" (AKA The Amazon) today . . .

The front O/S body mount has rusted through on both sides - there was no-where for the mud etc to drain out, despite me hosing it down regularly.


DSCN0047.jpg


DSCN0048.jpg


I cut out the cross-brace and ground the sides back to bare metal.

DSCN0049.jpg


The next step was to make a cardboard pattern and cut two plates out of 3mm sheet.


DSCN0051.jpg


A bit of trimming was required before they were clamped into place.

DSCN0052.jpg


Then with the MIG set to 150 Amps I made sure all sides were properly fused !

DSCN0057.jpg


Finally, a cup brush on an angle grinder cleaned-up the rusty bits before I coated everything in Frost's 'Weld-Through' Zinc Primer.

DSCN0059.jpg


DSCN0063.jpg


The next step is to make and weld-in a new cross-brace. This one will have a large hole in the bottom :icon-wink:.

I have a lot of work to do on the chassis after the sill repairs are complete, this will be all POR Black eventually.


Meanwhile, the O/S Sill repair is nearing the filling and painting stage. Then I have the wheel arch to plate before doing the same on the N/S :doh:.


DSCN0064.jpg


From a rusted-out shell to something resembling a Rock Slider. This assemblage is STRONG :lol:.

It never ends :violin:.

Bob.
 
Don't like the adverts?  Click here to remove them
Needed a new back and middle exhaust box on the Collie. Ordered all the bits in and booked a lift in a self service garage (£20 ph). I thought whilst she's in the air I'd check out the usual rust spots and treat with dintrol. Much to my surprise i used less than a quarter of a spray can. Everything is solid. She is that good that i am going to save up and have a full underbody treatment done. Well happy.
 
The joy of old cars . . .

No.1 daughter's RAV4 is back - she's complaining about the handling (though I can't find anything obvious). Its 13 years old with 219,000 miles on it so a bit 'looser' than the Police Q7s and Volvo V70s she drives for a living :doh:.

There was an 'advisory' on the last MOT - front lower control arm bushes - so I'll start there, should be straightforward as there are only two M16 bolts and the ball joint holding the lot together. This should be a doddle . . . .

The bolts were tight (Haynes says 172 ft/lbs) but the Milwaukee rattle gun sorted that out. Offer-up the new arm and . . . couldn't get the new front (horizontal) bolt to go in. I spent three hours fiddling with it, ground a point on one of the old bolts to try to align the set-up and eventually took the whole thing apart again and fetched a torch.

The captive nut has come off the inside of the cross-member :angry-screaming:.

So, cut a neat hole under the cross-member and remove the errant nut (a four-sided block). It was originally held in with a four-arm retainer on which only the lower two arms were welded. one of the welds had failed and the whole lot had bent back.

Nut cleaned, control arm in place, new bolt threaded into the nut and the lot torqued-up.

DSCN0073.JPG


New shiny bolt in place (I'll push the ball joint boot back into place !).


DSCN0075.JPG


All looking good:

DSCN0074.JPG


Today I'll MIG weld the nut to the cross member and weld a 3mm plate into the hole. grind flush and spray over.

No doubt the N/S will be the same so I'll have to do this again when the lower arm arrives (back-ordered but now on its way).

This is what happens when the bolt threads that protrude through the nut get rusty and don't wind out through the nut properly :icon-rolleyes:.

Its also a crap system.

New rear shocks and hubs to fit next (bit of play in the wheel bearings).

Surprisingly the front ball joints had quite a lot of play in them. I wasn't expecting that as I'd replaced them (along with the McPherson Struts, hubs and back plates) in

August 2017. Fortunately I'd bought new ones.

Expect the worst and you won't be disappointed :lol:.

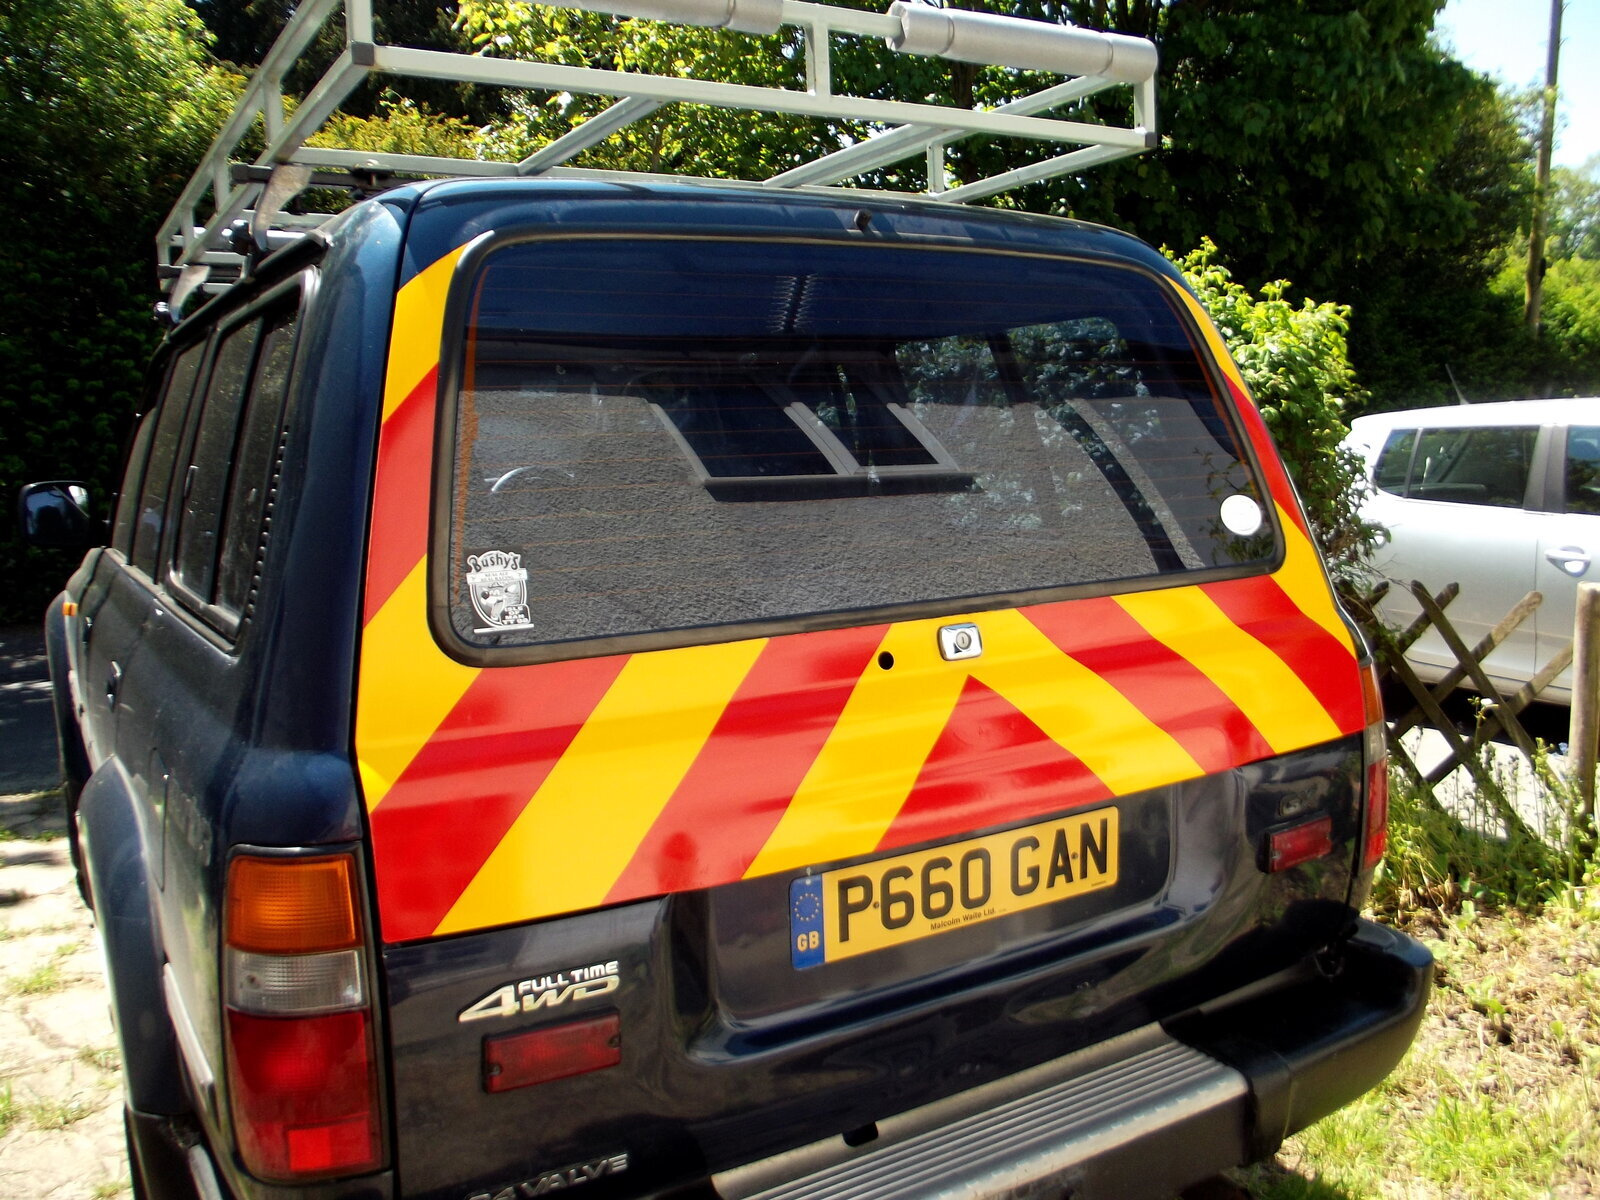
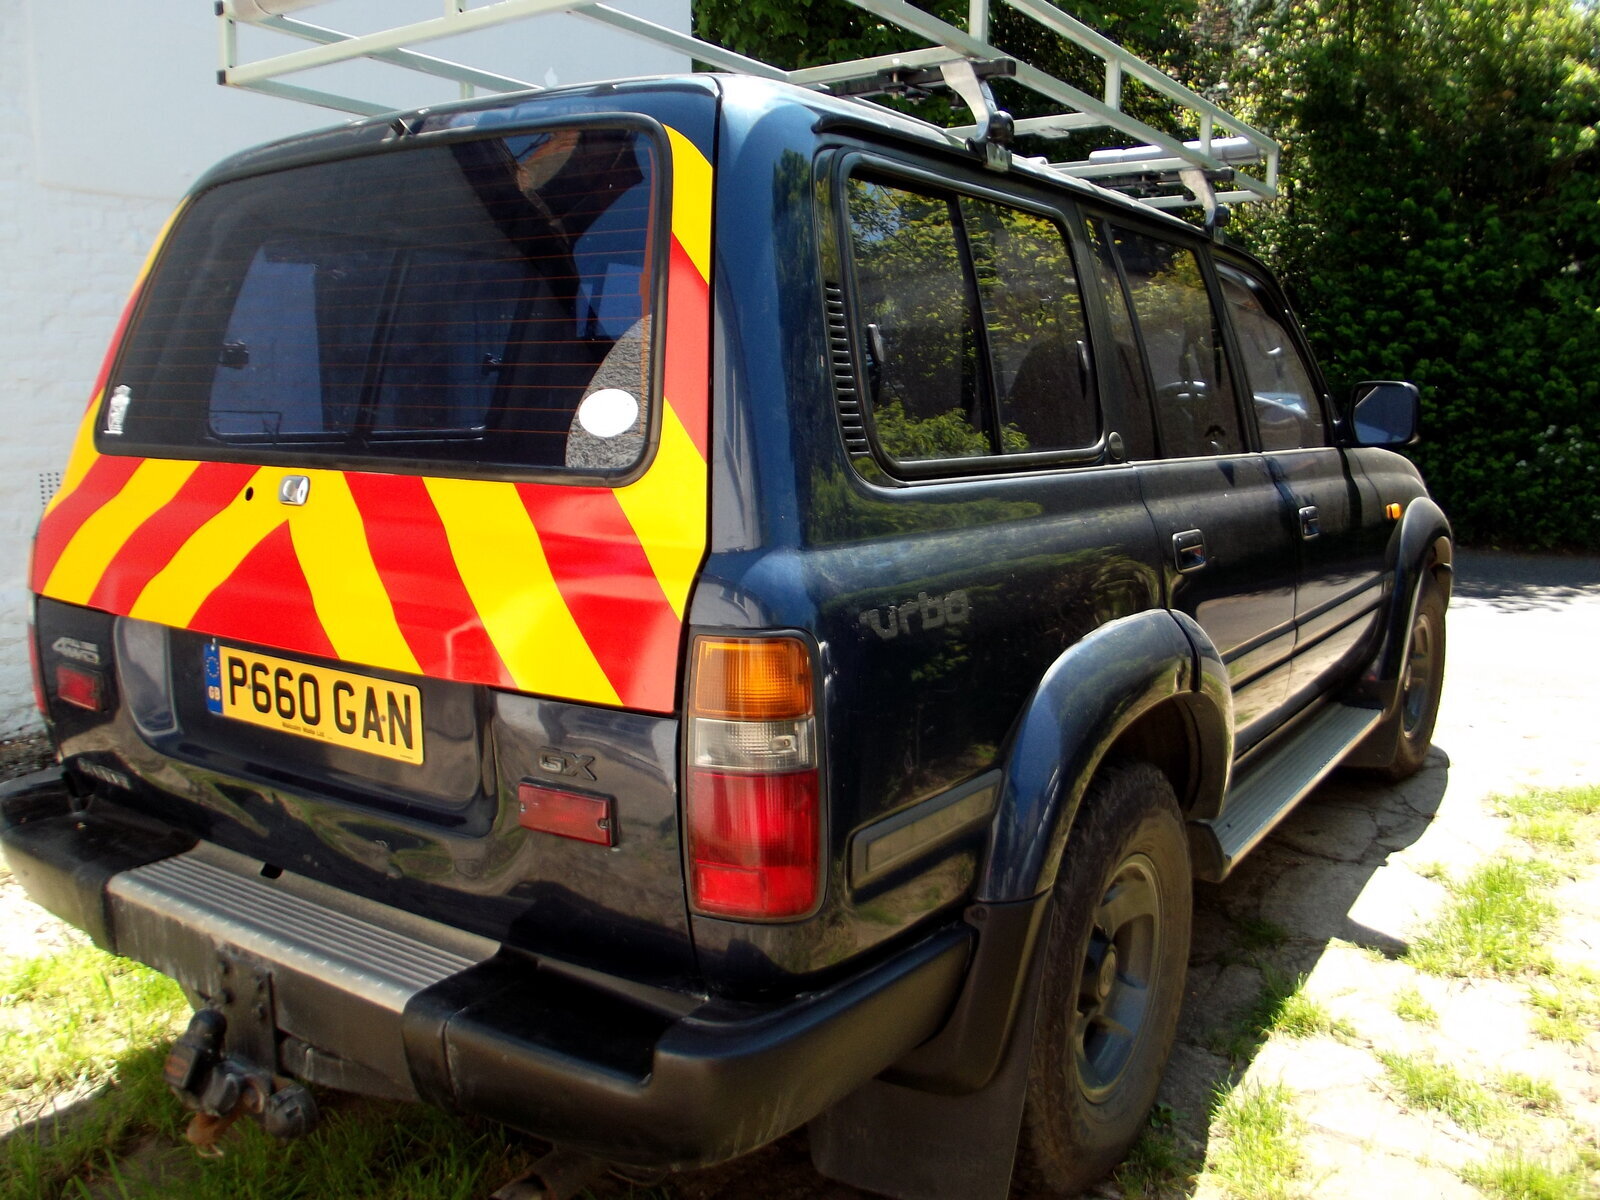
Meanwhile - nothing is being done on the '100' :icon-redface:.

Bob.
 
Most industrious work there, putting me to shame, washed and wax polished both the 120 and the Forester and gave the headlights some treatment...120 lights suffer sun damage really badly.
Would have got the 120 in the air and set about this years rustproofing top up, but daughter and her chap are coming round later for a bite to eat so best not cover meself (and the dogs who always help) in grease and ACF50, only work 3 days this week then have thurs fri off, work sat sun, mon tues off, so long as the weather holds i'll get both cars done in those 4 days, want to change a sumpful of autobox oil on the Foz too while its up in the air.
 
Had this done this morning.... Highly recommended, Hides a multitude of sins. I didnt fancy tidying it up with rattle paint, And the Professionals wanted crazy money, So went for the next best thing.. :thumbup:
 

Attachments

  • DSCF0229.JPG
    DSCF0229.JPG
    444.1 KB · Views: 41
  • DSCF0230.JPG
    DSCF0230.JPG
    385.1 KB · Views: 40
At 1030am got the spanners out then after 130pm after giving myself gravel rash and running out of energy and enthusiasm pack them up so it can go to the mechanic tomorrow
 
Rustproofing done for this year, chassis welds, inner sills etc greased up then a generous spray over everything with ACF50, its dripping outside as i type this so the dogs arn't allowe dout cos you just know they'll have to inspect every inch of the cardboard floor cover the car's now on.
Going to leave proofing the Forester for another day, cos knackered.
 
Replaced the exhaust system this morning.

20210630_102001.jpg


20210630_112824.jpg


20210630_114526.jpg


Original exhaust on it from new was patched up, and had been welded during the work I had done on the chassis in January. A bit tight to get the rubber hangers on as it's a spurious kit, but it all went together easy enough, and lines up well. No rattles or squeaks and sounds good. Truck feels a touch livelier now, but that might be "job satisfaction perception"

Put some lucas oil stop leak in the steering too to quieten down a groan, which worked a treat too.
 
Glued the magnets back in my wiper motor. It was still working, but really struggling. Quick rub down, some Gorilla glue, back together and whizzy whizzy. Then I ran out of washer fluid. Tools back in the bag, went inside. I'm done. Phew these old cruiser take some keeping on the road don't they.
 
Guys recently diagnosed a leak from the primer pump. Upon pressure testing it at 1 bar it was confirmed. Having no luck in getting a OEM Toyota replacement with appropriate inlet and outlet sizes finally bought a suitable replacement from Isuzu dealer. Thankfully the inlet was 12mm and the outlet 12mm bigger than the Toyota one being 8mm but no issues to make this work. Changed and extended hoses along with a small adapter I had from the corner of the intercooler never needed / used make the position work well. Cruiser driving better then ever now so its happy days lol


1626504708708.png


1626504870713.png

1626503809532.png
 
Last edited:
Nice one. My understanding is that the diaphragm in the plunger becomes perforated and that effectively renders it kaputt. Good to hear it's running sweetly again.
 
Manic with work and AG breakdowns and now the ride on mower has died so today will be mostly fixing balers , mowers , and the like......9 meter mower first thing and now the 1 meter ride on ...shame I can't get a 370 hp tractor and 9 meter mower in the garden/paddock ;-)
 
Did the LBJs on my Colorado today. In spite of the fact the old ones looked very crusty, the swivels actually seem pretty smooth and tight. Not bad considering people reckon it's wise to do them at 100.000 miles and these had more than double that on them. I'll clean up the old ones and keep them as spares.

20210717_181921wee.jpg


20210717_161540wee.jpg
 
Ditch the old ones and don't rely on them would be my thoughts after my lucky escape. Failed in my own yard on releasing the clutch. It was the housing around the ball that split and failed, albeit at stupid miles on the clock.

Screenshot_20210717-214510_Gallery.jpg
 
Back
Top