Wow, Over 3 months later and I have yet to update..
Following my extremely overly ambitious post from April, I discovered first hand how hard 're-sealing' a 1FZ engine,
in the chassis can be.
I spent hours, bought tools, returned tools, forgot parts, bought more missing parts, you all know how these things go, but everything I learned about this vehicle specifically is incredibly priceless, and totally worth the effort. Not to mention, all the hiccups along the way offered learning experiences for both my Father and I, he lended-hands on the re-assembly and without him this post would be weeks later.
My pictures of the process are incomplete, mostly because I concentrated on having the engine complete instead ha, Priorities!
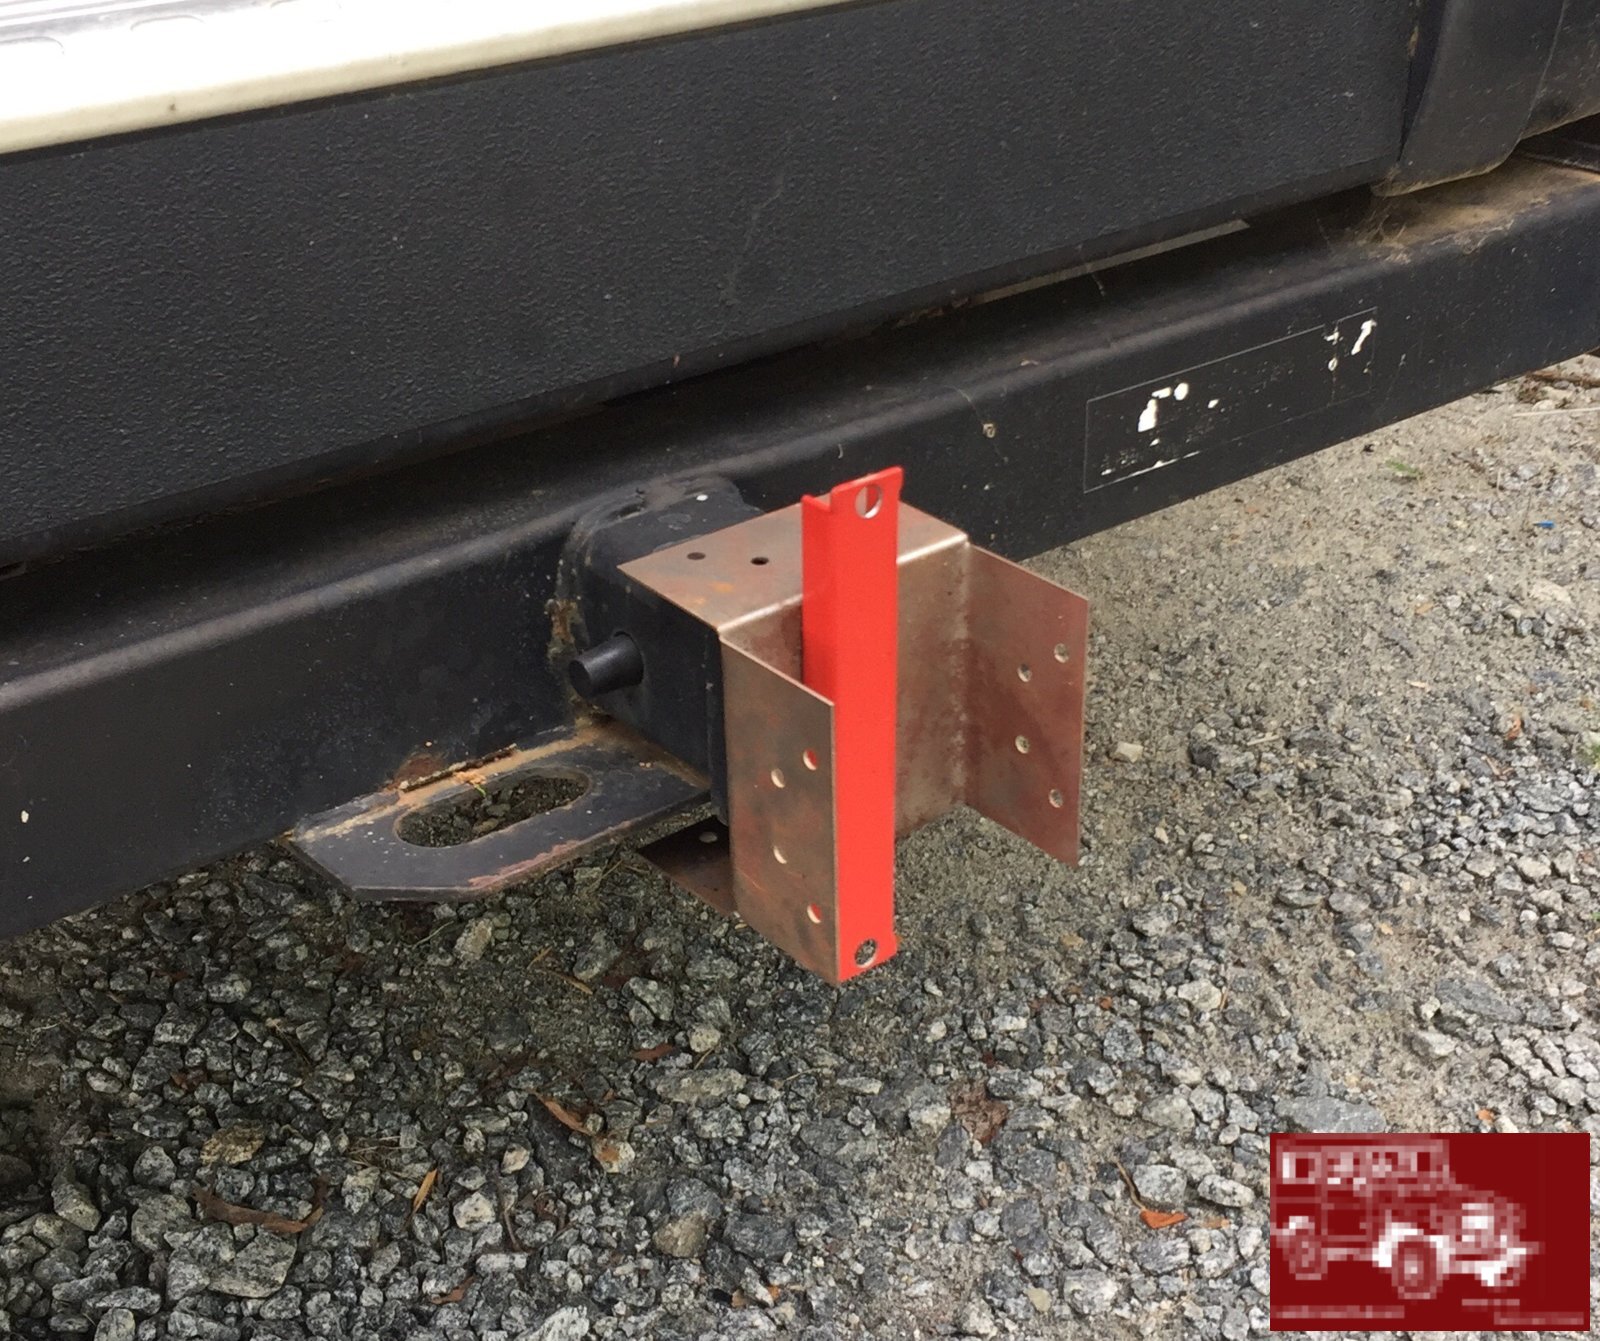
Getting to this point felt like a milestone, though I don't think it should have been so difficult, if only Toyota had made that cross member piece a bolt in member?! (you all know what I speak of, the one directly below the No. 1 oil pan) :
No. 1 oil pan out and ready for cleaning:
A little cleaner in this picture, but unfortunately, I don’t have a final cleaned picture before re-install, but I (and my sore-ass hands hah!) can assure it was clean enough to eat dinner off of.
I also took advantage of the opportunity to install the turbo oil drain fitting. I used a bulk head fitting (-10 AN), for ‘future’ use
")
. Sealed it up with a pair of copper crush washers and RTV sealant, tight as a drum! :
Only picture I have of the clean/ready to go Timing chain/Oil pump cover/housing. This got all new o-rings, F.M.S., oil pump rotor gears, drive gear, spring/relief valve, etc.. before re-install :
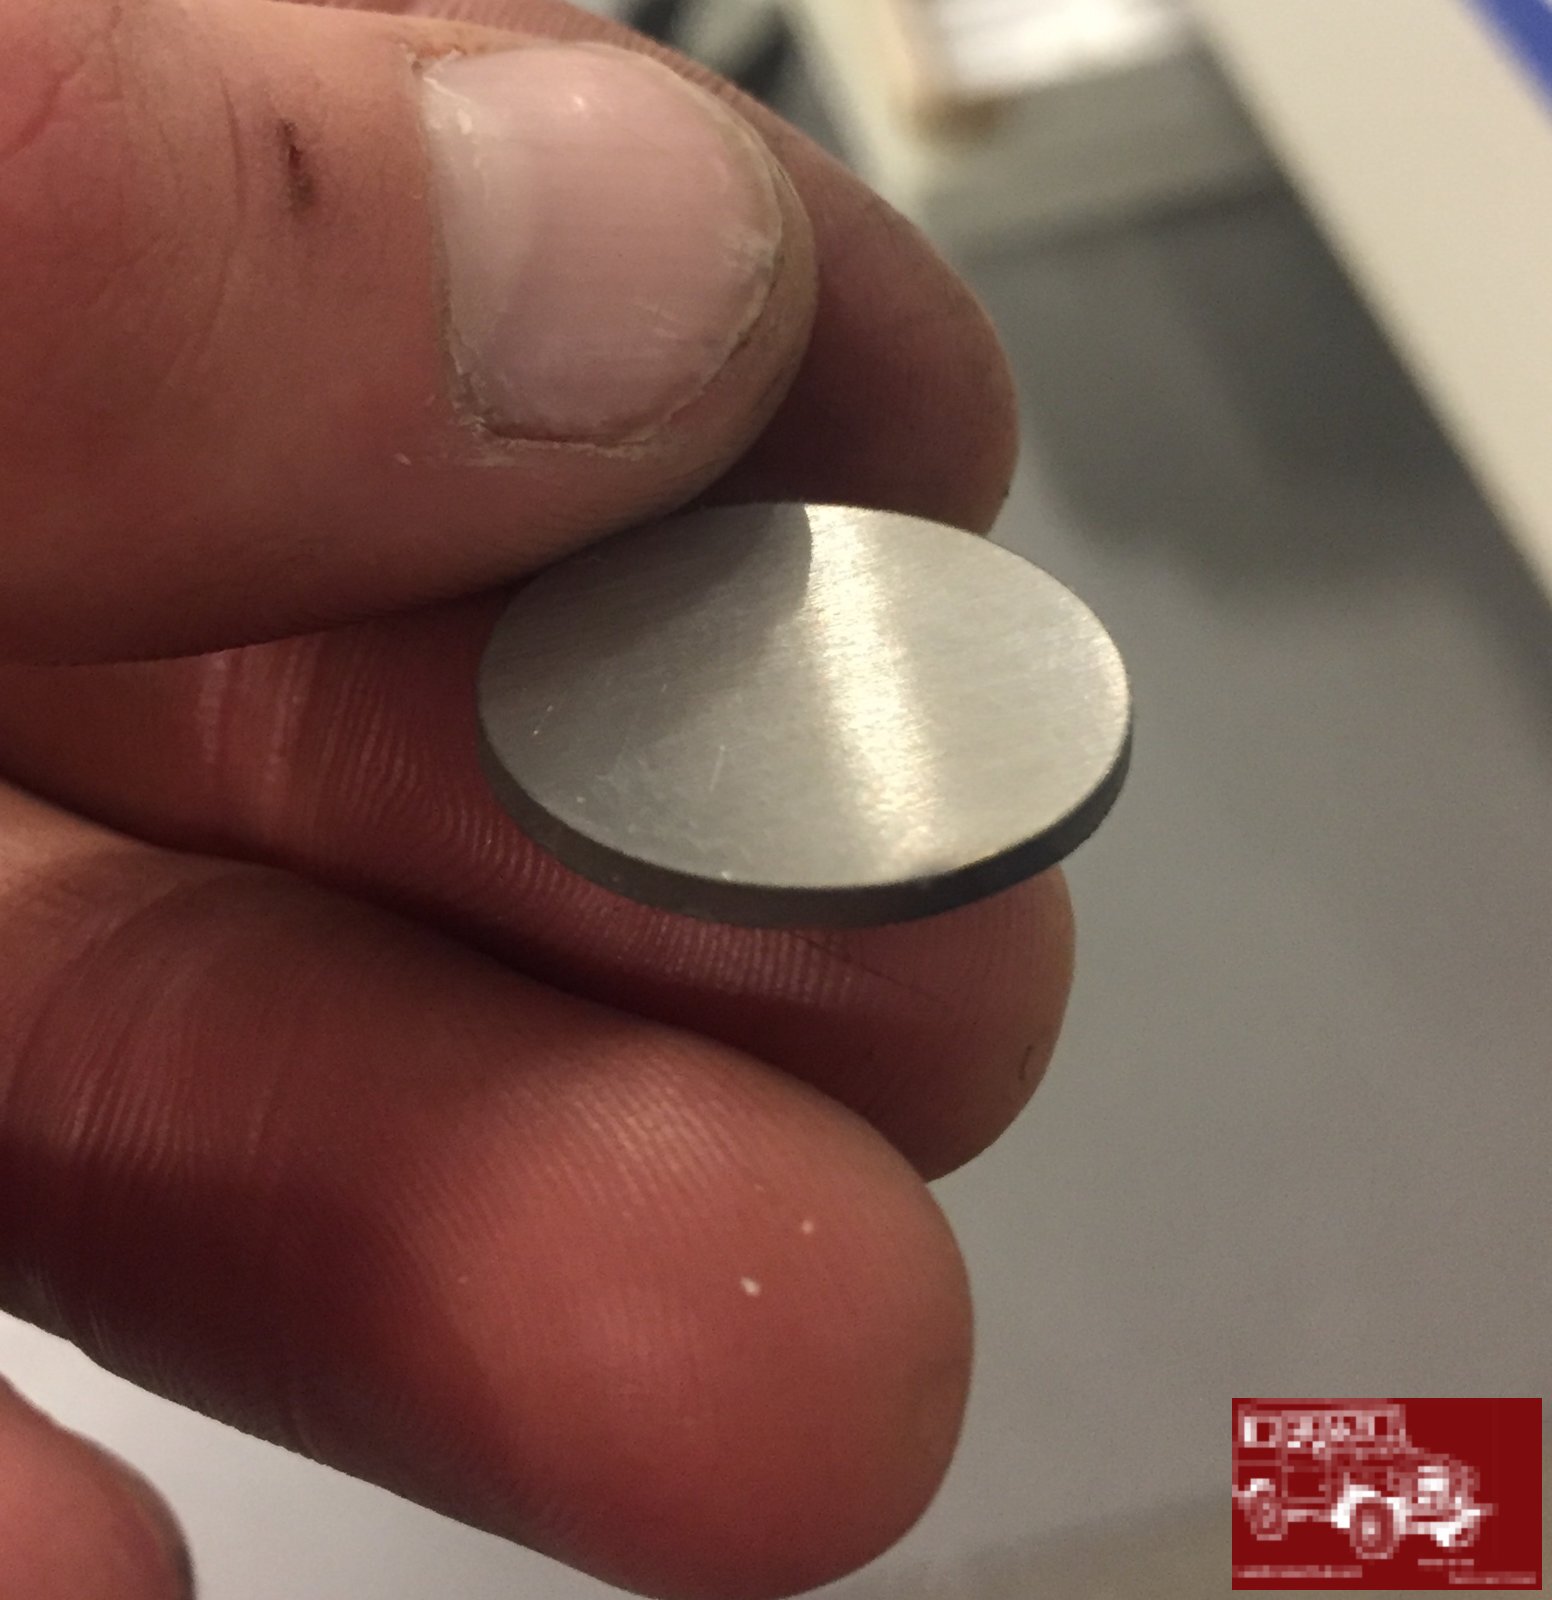
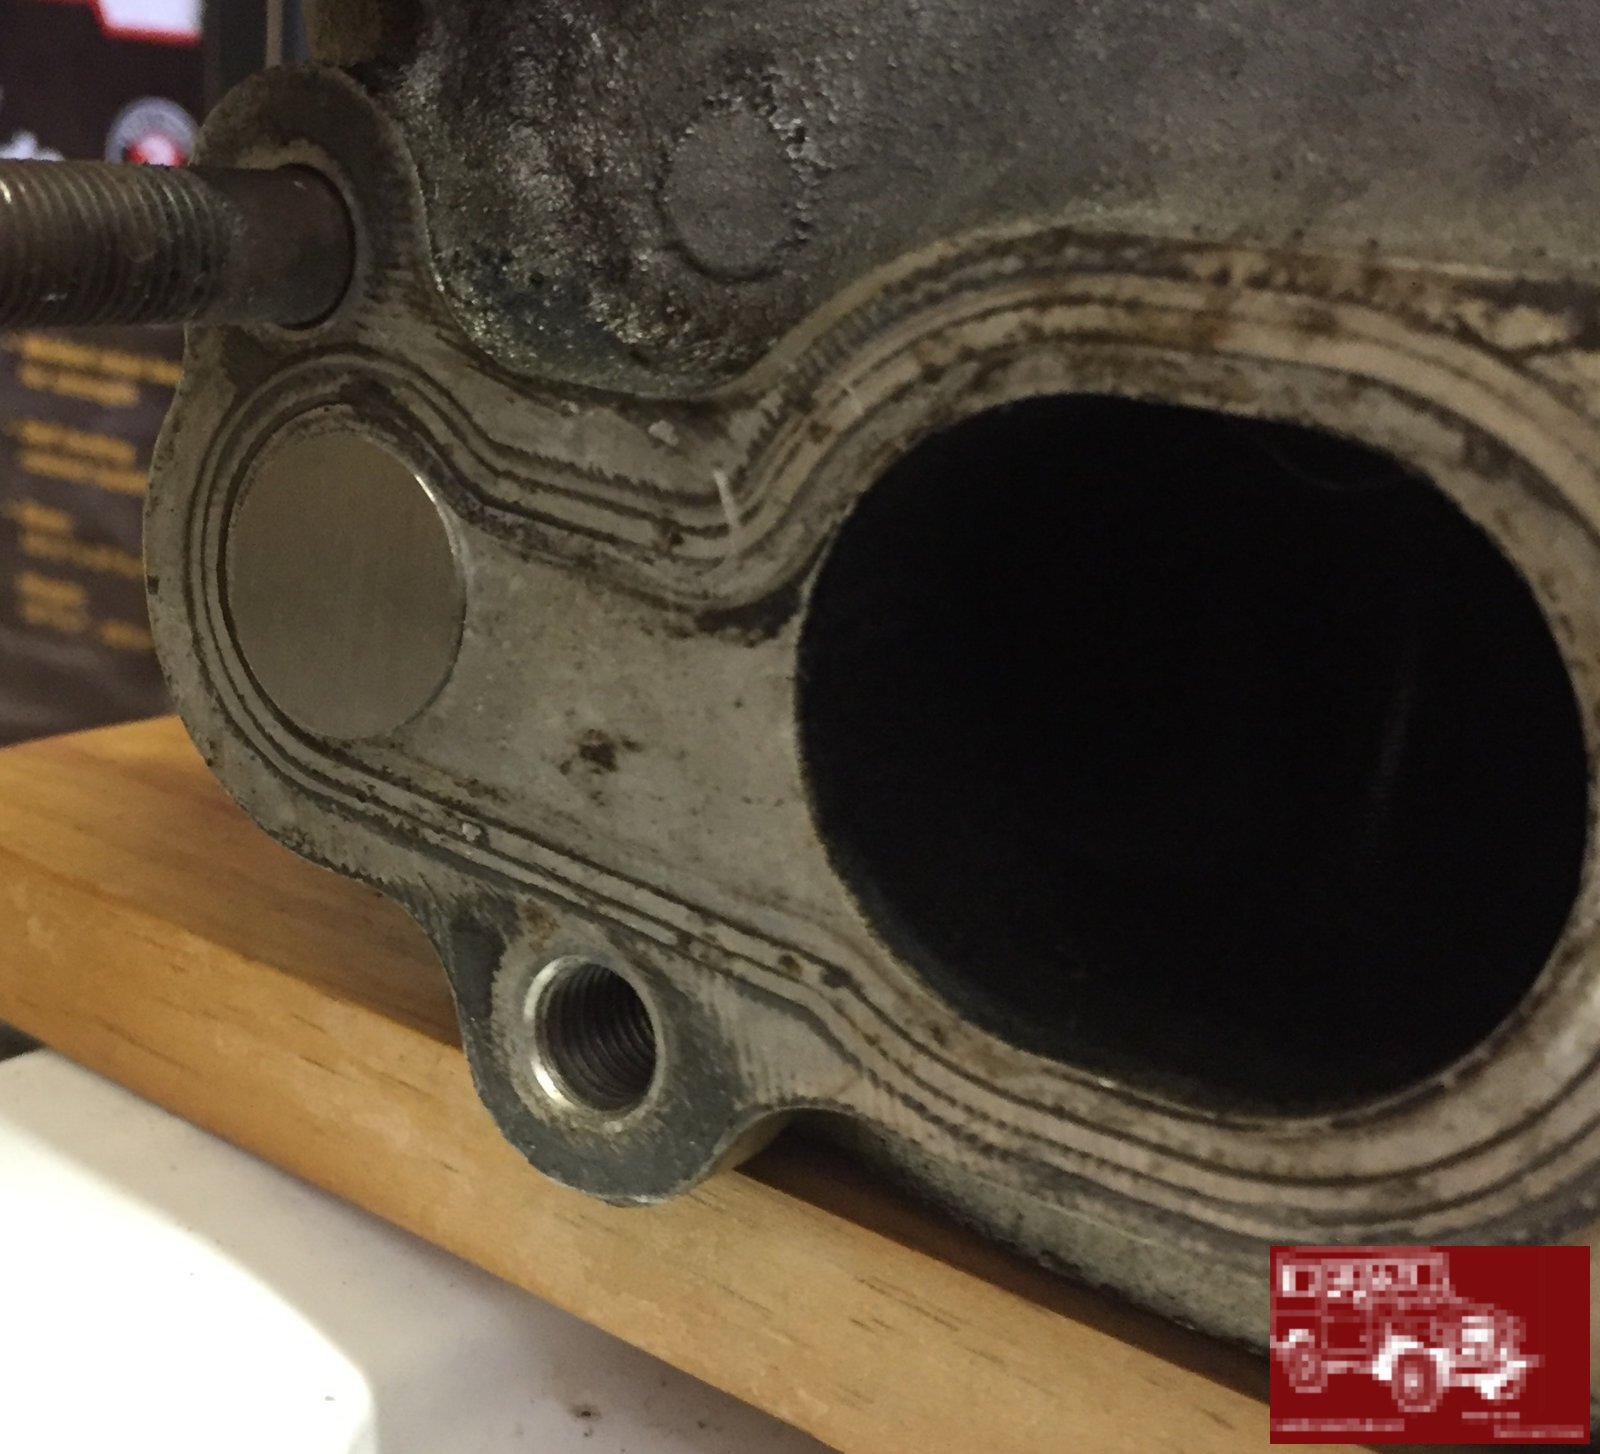
Here is the casting plug I fabricated/installed to block off the OEM EGR system routing. Went in flush, and .787” diameter was a perfect press-in fit, can’t complain. 316 Stainless for this guy as well, here it is shown in the head :
Also, I used these ARP studs :
Zero issues with fitment on these. I had heard mixed reviews/reads online, but decided if it worked for at least one person, why not for me? I used all ARP washers/nuts, torqued them to the specified rating ARP provides, and I got 100+% nut capture, along with a mm or 2 extra above the nut as well, Noice! :
Read this in the Service manual during re-assembly, my biggest Tq. Wrench only goes to 250 ft./lbs.. I hope it holds!

:
Not many ‘go-fast’ parts, but this was one I came up with.. An air-box cool-air feed. It replaces the factory resonator/air intake tubing. Should be good for a few MPGs/or HP’s :
And finally the ‘its all back together’ picture :
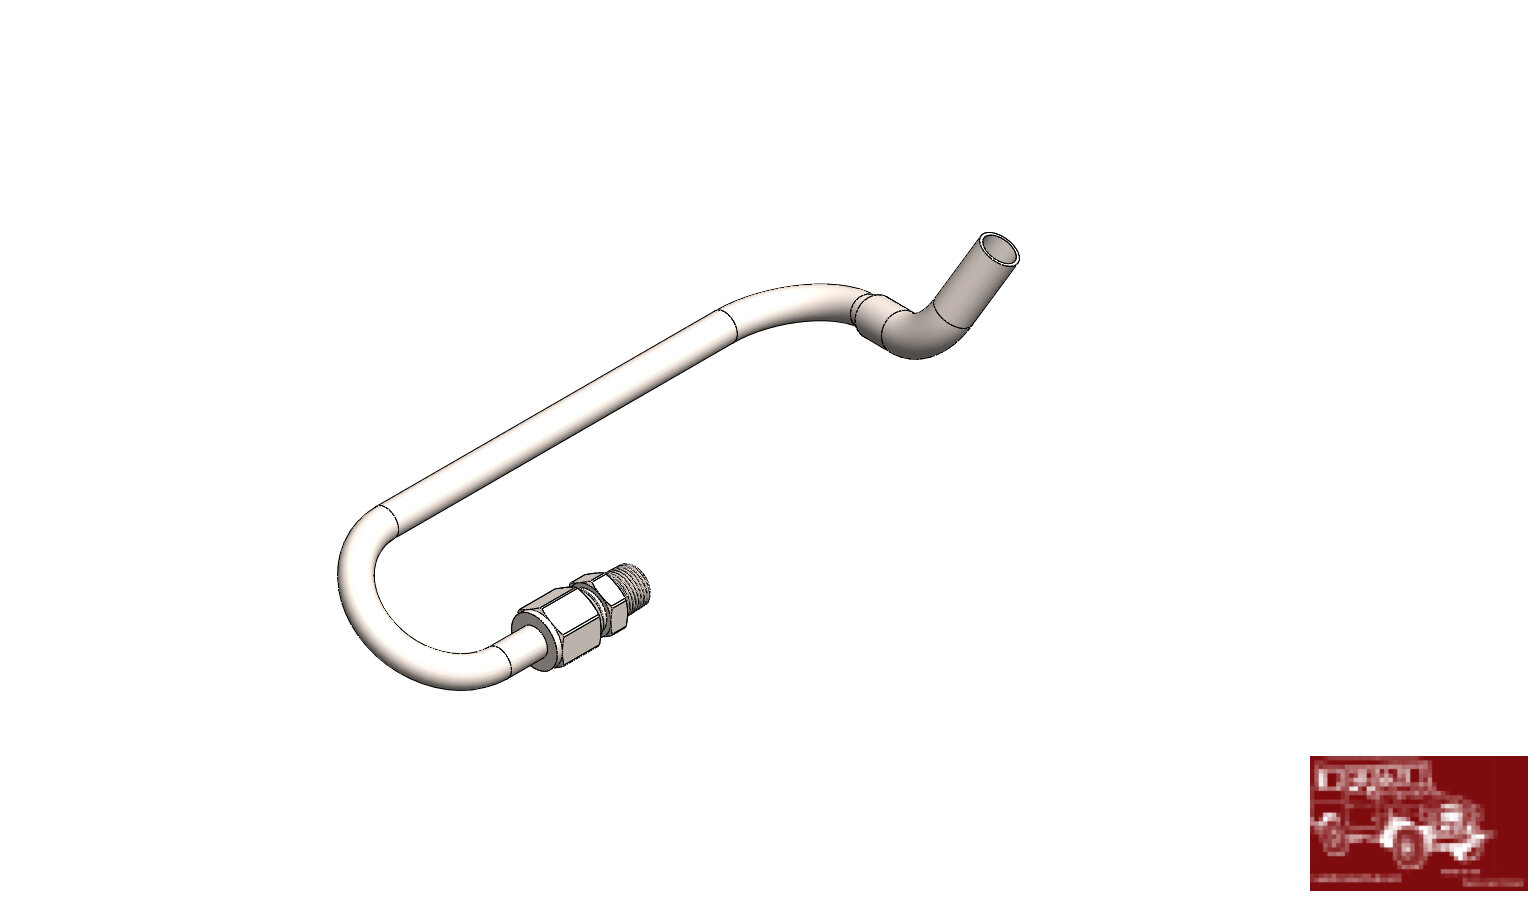
The first start-up went extremely well. I got great, fast oil pressure (65-75 psi on the first gauge readings), no strange noises and smooth running. I only got a chance to run it for a couple minutes, before I discovered a fuel leak from the filter area under the manifold (oh bother). Got the filter and hard line out, found a crack in the hard line, so I discarded it.
I am picking up a -4 AN, 19” length flex-hose today to replace the OE hose, and once I install it this evening I should be good for a start-up and actually get it to operating temp, then for a drive! A long, long, awaited drive.
Stayed tuned for updates through this weekend, I will get more pictures of the more impressive areas once I can pull it out of the car-port and clean him up.
Cheers all, and thanks for this forum and all the inspiration the builds on here have given me, its been priceless!
-Dustin


 On the wasps comment. We’re in the thick of them at the minute with fruit on the trees, a real PITA...