OK, Sloppy Bush update...
Hope a little 'how to' may save someone having to take it to a garage for such a simple job...
Here was the problem - this is the state of the passenger side wiper bush (the one which passes up through the bulkhead). Only a little worn

Having had a chat with Barry at Roughtrax when I posted up initially, he told me he was going to request a discount price from Toyota as mine (March 2001 build) was probably one of the youngest 3.0TD KZJ95's & these were only sold as complete replacement assemblies. It wasn't going to be cheap, but he'd see what he could do...
On opening the box, here was a genuine part at £139 + the dreaded VAT.
OK, on to the job...
Tools needed:
3/8" drive for ease of access
12mm socket (short)
10mm socket (short)
Extension bar
Dumpy cross-head screwdriver
'Angled' cross-head screwdriver
Short prybar
Hammer
Wooden block
As you can see, the passenger wiper would be hanging down off the screen due to wear in the pivot.
First job was removal of the clips covering the shaft nuts. Then 12mm socket to release the nuts.
A wooden block on the scuttle cover and a gently prising up while tapping the base of the arm with the hammer sees removal fairly easily (worth leaving the nuts threaded a couple of turns so as to avoid the arm springing off & scratching the paintwork).
Stepladder time for the passenger side wiper assembly unless you're taller than Edd China!
Next job (under the bonnet) is removal of the press clips at either end of the scuttle, followed by the 4 cross-head screws along the leading edge (Stubby or cranked cross-head here).
With the bonnet propped open, a gentle wiggle forward should see the scuttle cover slide free of the clips and the trim across the base of the screen (care needed as the clips - one either side & 2 spaced across the screen - are old and may be brittle by now!)
Clean out all the muck & leaves (in this case pine needles!) from the scuttle & remove the 3x black access grilles - clipped in place. This gives access to the wiper mechanism.
Undo the 3x bolts from each spindle mounting (10mm socket).
Now disconnect the wiper motor (check contacts for corrosion) from the wiring loom.
Undo the 4x motor retaining bolts (10mm socket & wobble joint may bee needed) to release the motor.
REMEMBER, THE WIPER ARM IS 'TIMED' TO THE PARK POSITION!
DO NOT REMOVE THE ARM FROM THE MOTOR!
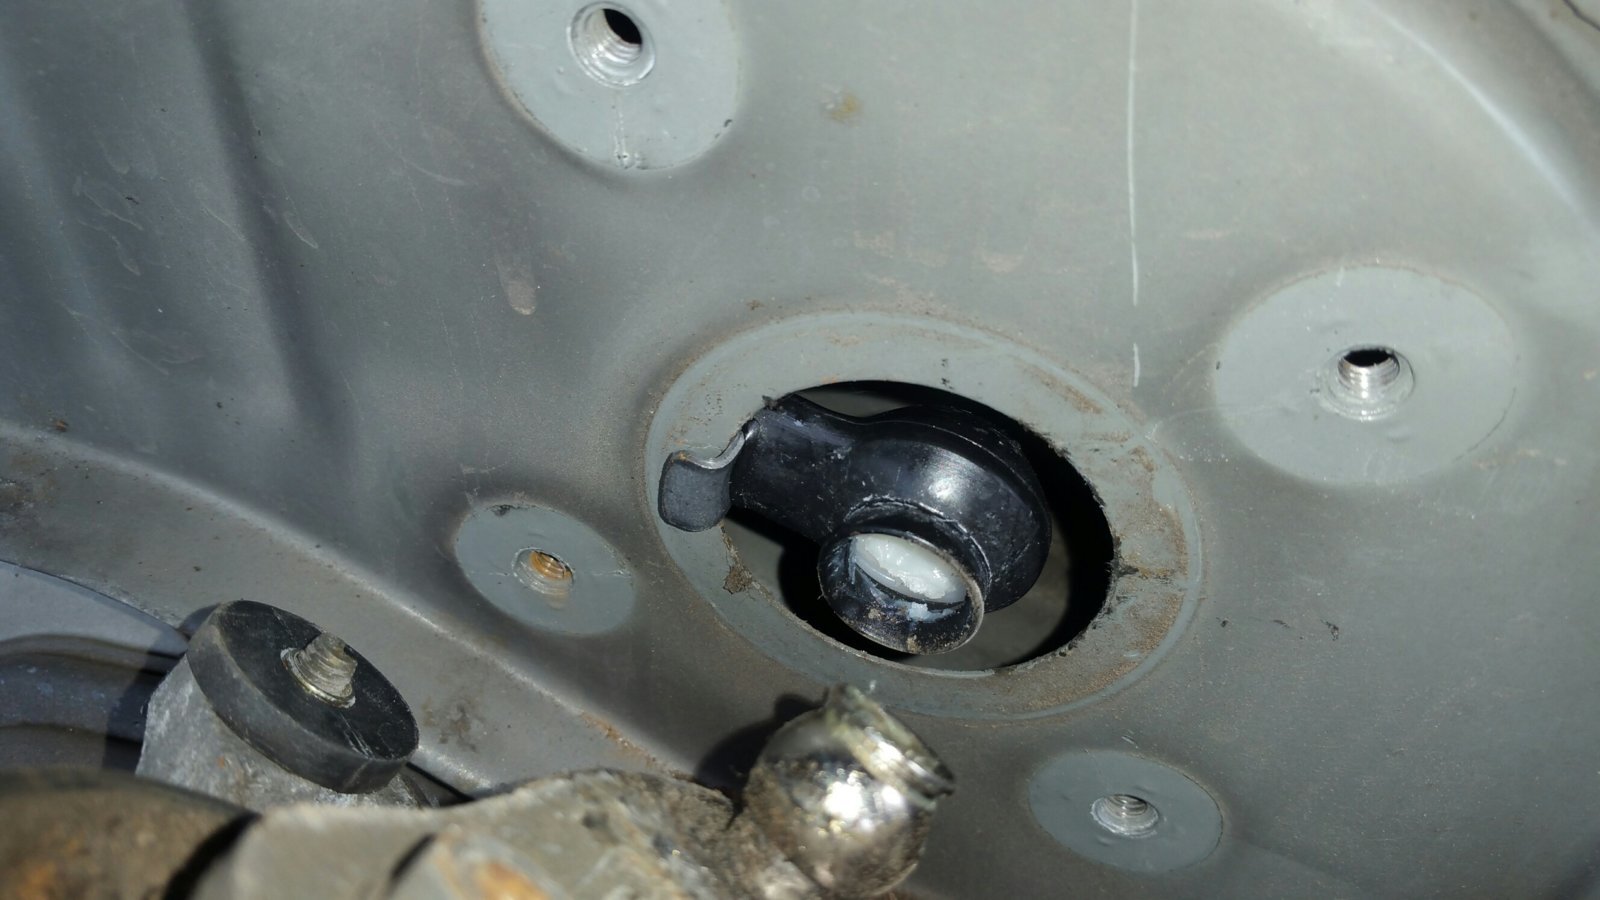
If you wiggle the mechanism around, you will see a small hook
about 40mm from the joint. This hooks over the edge of the hole in the scuttle, supporting the mechanism while you prise the ball out of the socket.
Remove the mechanism from the largest of the holes in the top of the scuttle.
Quite a difference...
INSTALLATION is the reverse of removal - insert the mechanism, sliding the clip over the edge of the motor-hole in the scuttle - the ball on the rotating motor arm clips in surprisingly easily.
There is enough room to hold each spindle in place while inserting the bolts previously removed.
Bolt the motor back into place & reconnect the loom.
Insert the grilles, then slide the scuttle cover over the spindles and up, under the windscreen trim (remember, it slides back and up to locate under the screen & is equidistant from the inner wing edges to locate in the side clips).
Test the wiper motor for appropriate operation before refitting the arms (having cleaned out the splines first).
Refit the arms, nuts & cover clips.
Happy Bunny now has wipers that don't go KLUNK!
Hope this is of use...


 , how did I just KNOW someone would lower the tone... ?


 ):
):