Don't like the adverts?  Click here to remove them

Baselining My 80 / Overland Build

Normall on the winch bumpers like you have there are six main nuts and bolts holing the bumper to the tray and then another one on each side you have to drill to stop it tipping, should be a pre drilled hole in the tray or bumper
 
If you think about the battery terminals, the +ve is always furthest away from the wing. In a shunt it would be the -ve that would most likely contact the metalwork. It's my view that this is why you need a left and right handed battery.
 
Normall on the winch bumpers like you have there are six main nuts and bolts holing the bumper to the tray and then another one on each side you have to drill to stop it tipping, should be a pre drilled hole in the tray or bumper

This design must be different as the winch tray bolts to the chassis leg using 7 bolts on each leg, 3 of which are on the side to stop the tray tipping which they do. Then the bumper bolts to the winch tray with the 3 (6) pictured bolts which slip. There isn't one to stop it tipping.
 
If you think about the battery terminals, the +ve is always furthest away from the wing. In a shunt it would be the -ve that would most likely contact the metalwork. It's my view that this is why you need a left and right handed battery.

Yep, good point. I guess Toyota's risk assessor thought the battery clamps presented a lower risk.

The 34/78 is apparently available with that config and I even went to the lengths of ordering one from from one supplier and the other from another who listed the different part number but when delivered it was the same :icon-rolleyes:
 
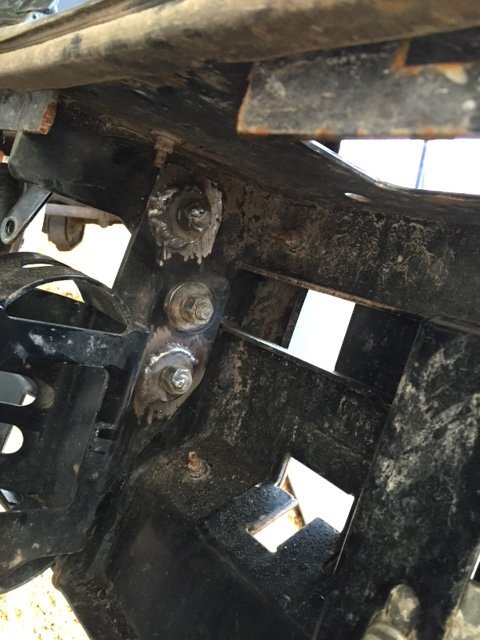
Not very exciting but on each side I welded up 2 washers on the tray side and 2 washers on the bumper side rather than welding the bumper to the tray. This fixes the holes in one place as underneath the washers are the slotted holes the bumper was moving around in. It won't move now.

image.jpeg

Quality wise, after a year of the bumper being on the truck the powder coat is flaking away from the edges and the wiring for the lights has rotted off and the bulb sockets are so rusted I can't get the bulbs out :icon-cry:. I guess it's an acceptable trade off for being half the price of an ARB one. So, now fixing these problems before it goes back on.
 
Don't be so sure that an ARB one is that much better especially in relation to coating. I didn't realise until I got one that Tippex came in black .......
 
Don't like the adverts?  Click here to remove them
Don't be so sure that an ARB one is that much better especially in relation to coating. I didn't realise until I got one that Tippex came in black .......

With you on that one Chris, I've said it before I know, but I've been bitterly disappointed with ARB finishings.

I seem to be in a cycle of a refurb every 3 years now, front and back. Not exactly a maintenance regime I'd planned for having spent over £2,000 to buy them in the first place.

And the gripe will continue....
 
The real question is - would you guys buy ARB again? Despite the coatings they do seem to be one of the best engineered?
 
Yes. Well no. Well sort of. I have a spare one in the garage so I wouldn't need to. But if I decided to mount the spare on an 80, I'd have it stripped, galv coated then done in black first.
 
Clive's repetitive treatment suggests to me it is the quality of steel rather than the quality of finish that is questionable .
 
the coating on mine starts to split and peel at almost every edge! It is obviously too thin at this point. I expect a radius on each edge would have helped the coating last longer as the rest of it is fine.

got a few more sharp edges right now as the bumper fell under the reciprocating saw yesterday :shock:

more on on that to come .....
 
Yes I would buy ARB agin, overall much better than say an Ironman bar IMHO
 
I must admit, I don't have experience of other brands, was just disappointed that's all.

On the first refurb, I had it blasted and galv'd but I can't blame ARB that after 3 years from that, I had to refurb again.

It's survived 2 years since the last, but I can see rust building under the protection again, so we'll see when it needs doing again.
 
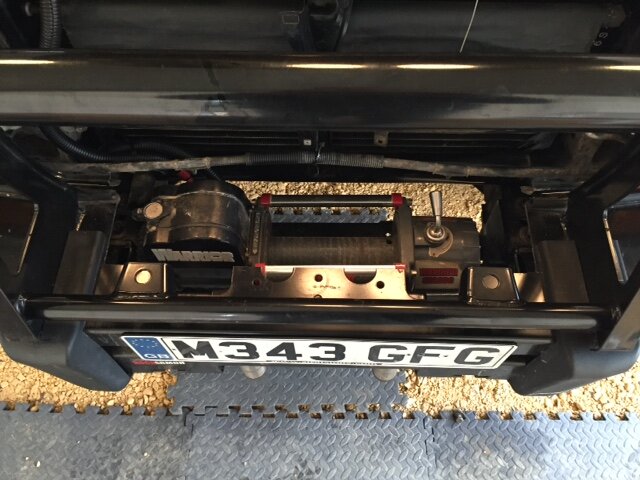
Having got the newly welded on bumper all lined up and bolted solid, the winch decided not to work :icon-rolleyes:. Given its nearly new this was a surprise, the relay was clicking but the drum wasn't turning. I had always planned sometime to make the winch accessible without having to take the bumper off and this problem just prompted me getting the reciprocating saw out and within 10 minutes I had this ......

image.jpeg

Proper full access :icon-biggrin:. Tried out the winch again and saw a spark from the underside of the motor. The Earth at the bottom was rusty as hell and once cleaned up all was well.

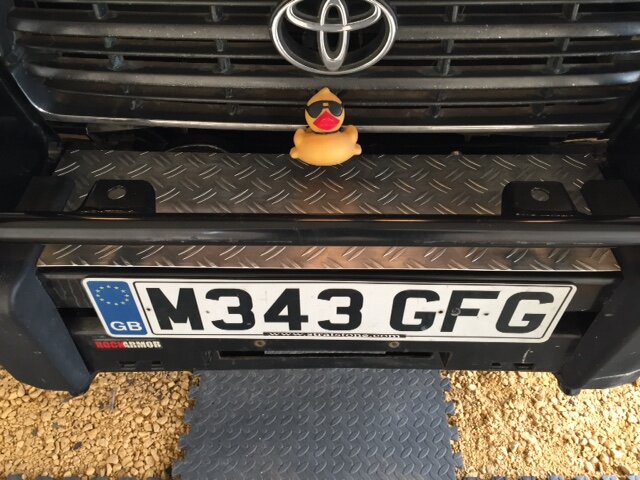
I then cut some chequer plate to make a cover but I'm waiting some Dzus fixings to arrive before painting it black......

image.jpeg

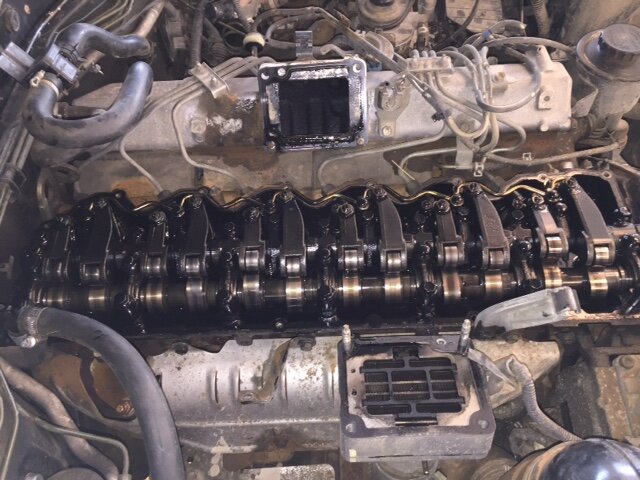
In in the meantime, I set about replacing a weeping rocker cover gasket. Got the cover off and have to say, I do love roller rockers, strong, efficient and good looking. Nothing looks too shabby for 192k miles.....

image.jpeg

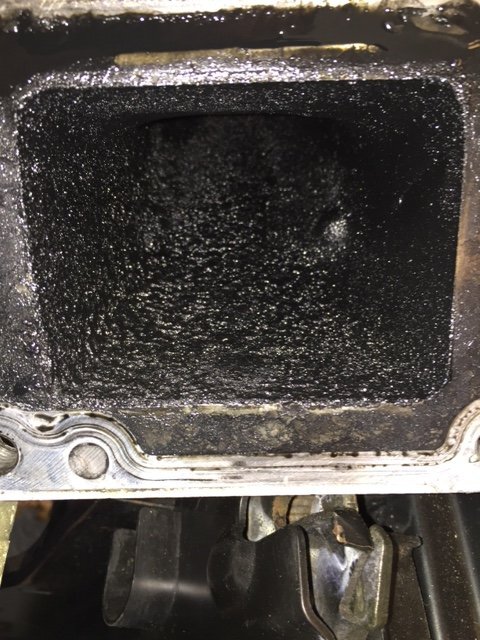
The oil deposits in the intake are truly astonishing though .....

image.jpeg
 
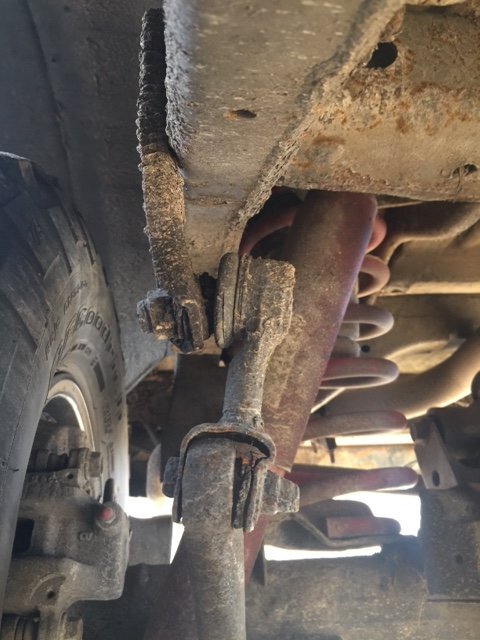
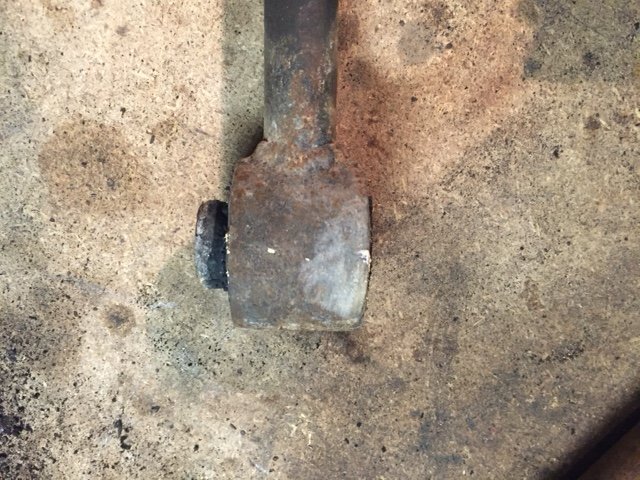
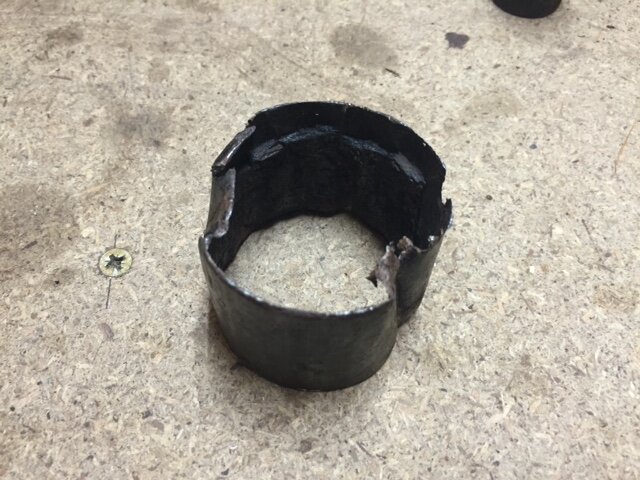
I spent a few minutes today under the car checking out bushes, joints and the like following our recent weeks away and came across this ....

image.jpeg

which seems a bit wrecked. Also noticed a number of bushes which I knew were original following the recent rebuild are now U/S ..... so, another session on the under carriage is needed to replace all the bushes and roll bar joints.

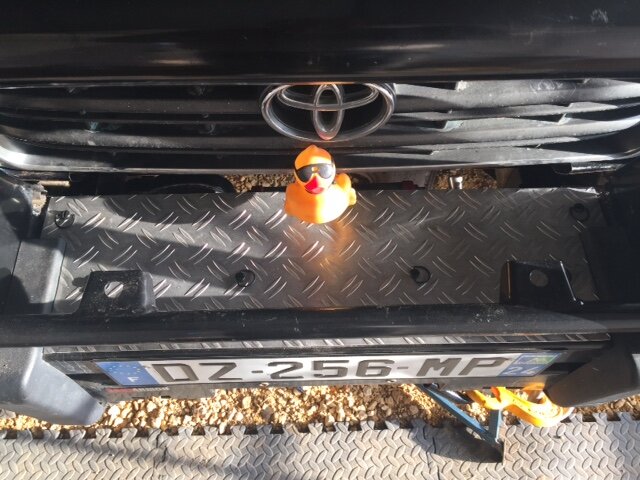
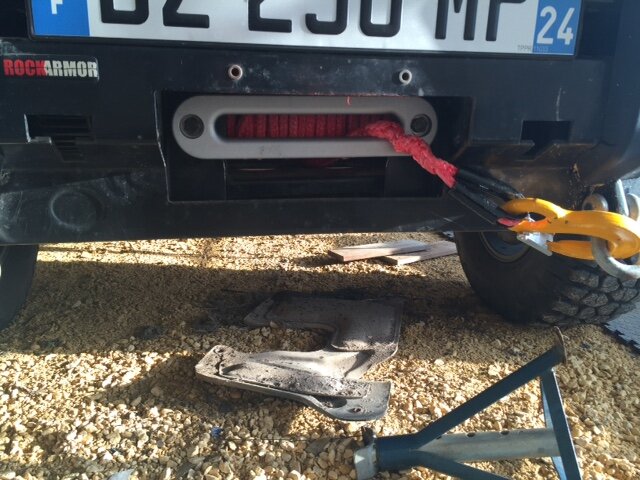
On the upside, I did get to finish the bumper mods: fit the Dzus, new ligh connectors and fit the new rope. Apologies for the duck, but he's cable tied to the grill.

image.jpeg

image.jpeg
 
Nice little update Mark. The anti-roll bar mount looks bent, canting the link over and putting a strange twist on the bushing.

My mountings are straight and vertical IIRC.
 
Cheers Clive. It seems both the hangers are bent as well. You would think the car took some enormous thump to one side, but it hasn't. The most we ever exercised the anti roll bar was on a 35 degree sideway sloping track.

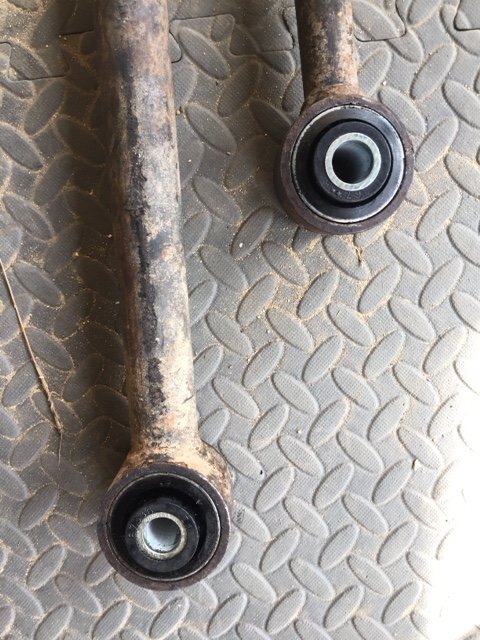
The last couple of days I've been removing all the bushes from the upper and lower trailing arms. This is a close up example of the problem on some bushes .....

image.jpeg

In in some cases the sleeve just came out easily, but in most it did not.

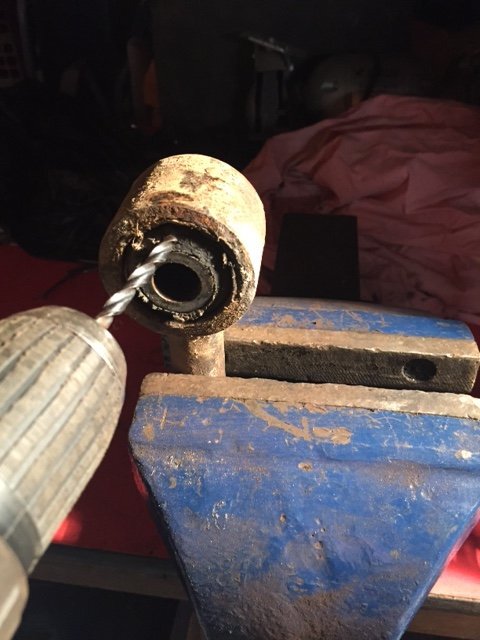
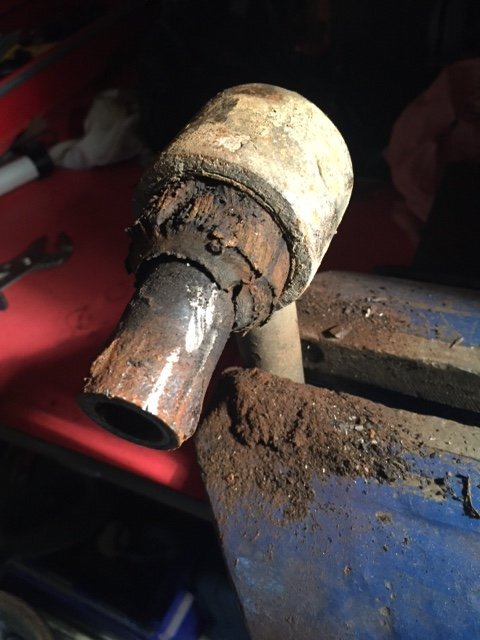
I don't have a press or significant heat source so it was back to basics. I drilled about 16, 6mm holes through each rubber then used the drill bit like a mill as well as drilling at angles to separate the rubber from the outer steel sleeve......

image.jpeg

After a a while it separates and comes out with a bit of twisting with water pump pliers ....

image.jpeg

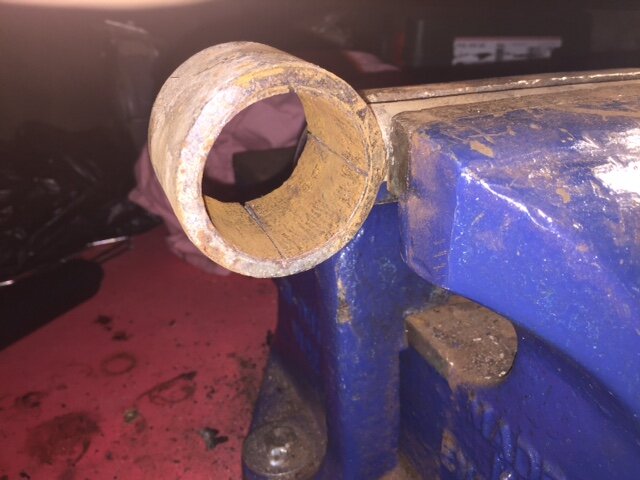
Then to the age old technique of hacksaw cuts through the sleeve......

image.jpeg

If if you are a sensitive sort, you can feel the change in material as the sleeve is softer than the bore metal (check with your partner first :icon-rolleyes:) saves on cut marks in the bore. Then the sleeve just taps out. Rusty ones like this may need a nail hammering under all the way the cut, then with a drift it just taps out. If it doesn't, you haven't cut all the way through the sleeve.


image.jpeg

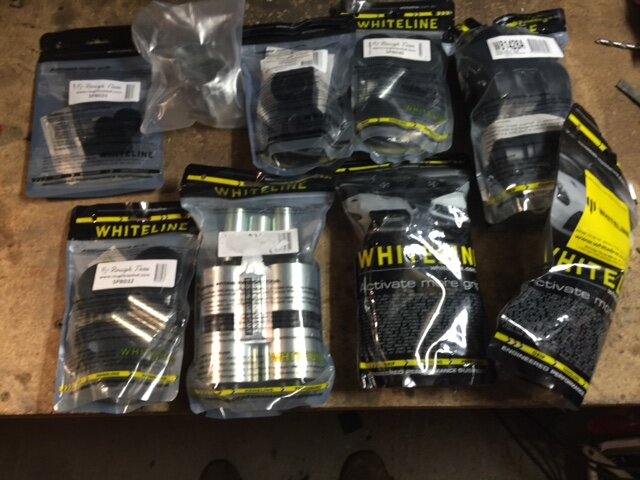
The postman arrived yesterday with the Whiteline bushes.....

image.jpeg

I popped down to my local garage where for the princely sum of 20€ they pressed the 8 bushes in for me. The lower ones have to be properly orientated.

image.jpeg

Next up, bolt them back in, replace the ARB bushes and joint and set about the fronts.

In between jobs, I also replaced the rear pads as after about 15000 they were nearly shot and would not have lasted our next trip.
 
Just by way of update, I've done about 10000 miles on the Whiteline bushes now and can't speak highly enough of them for on and off road use.

Otherwise, back on page 6, I covered the interior build. We had three big drawers in the back, the fridge, wardrobe area fixed in place of the back seats with space for 4 wolf boxes and a 55 litre water tank.

IMG_0036 (800x600).jpg


Having lived with it for 3 trips now totalling about 5 months of everyday use, we felt it was great, did everything we wanted but was too rigid. So, since getting back from our slow 3 month trip down to Greece, I've been busy changing a few things.

First job was to reduce the size of the drawers as we found that a there was a lot of free vertical space in each drawer meaning they could be shallower. So I trimmed them up a bit.....

IMG_3204.JPG


Reducing the height allowed the unit to be moved more rearwards which released enough space to re-fit the rear seats and keep the drawers fitted if necessary.

Previously, the battery and T-Max pump occupied space where the rear seats were and because I wanted to keep them while having rear seats fitted if necessary, I found a new home for them behind the fridge. They fitted with about 5mm to spare.

IMG_3212.JPG


I extended the switch on the pump moving it to the switch/fuse panel on the rear n/s inner wing. The air line is now permanently connected and lives in a compartment with a chequer plate door under the new electric box......

IMG_3206.JPG


IMG_3208.JPG


The electric box contains the investor, the solar panel controller, CTEK charger and shore hook up. The 240v supply is connected directly to the fridge and optionally to the charger to keep that topped up if lights etc are getting used a lot. It's also a storage area for electrical bits we carry......

IMG_3209.JPG


IMG_3210.JPG


With our previous set up, it was not possible to put the seats back and flat and stay in the car if the weather was really bad. So the new design simply put a box around the tank, pump and filler/breather and a small platform (on which we can put dogs). There is also stuff space under the platform and in the box. The lid of the box holds 2 wolf boxes and there are stops glued to the surface to prevent the boxes moving. If there are no dogs, the boxes will also fit on the platform. 2 or 4 wolf boxes will similarly fit on top the drawers as will a 2nd spare wheel that I will be taking to the Western Sahara in October.

IMG_3217.JPG


IMG_3218.JPG


IMG_3215.JPG


Most of the time, the boxes will live on top of the drawers as we have Gecko chairs and a camp table which will get strapped in here.

Final fitting up with all the gear will be this week, so will post some more pics then. Then, on to a service ready for the Sahara.
 
All looking really practical and smart at the same time. Very nice.
 
Back
Top