nathanrobo
Well-Known Member
- Joined
- Apr 6, 2010
- Messages
- 655
Do you ever realise that you've gone a bit too far (when it's too late)?
If you've followed previous threads, you may remember that I had planned to sell my 100 a couple of years ago and put it into a local bodyshop to sort out Tesco car park dinks and scratches etc.
Didn't get round to selling the car and last summer bought an E320CDI Avangarde Sports (didn't need the seven seats anymore). Bought a full new carpet from Aus, new underlay / sound proofing, some body trim and badges. Plus a fairly big overhaul, most of the bushes, new driveshafts, brakes, wheel bearings valve clearances, cleaned the EGR and blanked it - not that I was having problems, but when you fit new parts the truck feels a bit tighter! Also had the leather (seats, door cards and steering wheel) redone (looks like new). In Dec I agreed to have the body redone as I wasn't happy with the earlier job. Only the body guy is a complete perfectionist and doesn't accept 'no' for an answer when he decides to go a bit further than agreed
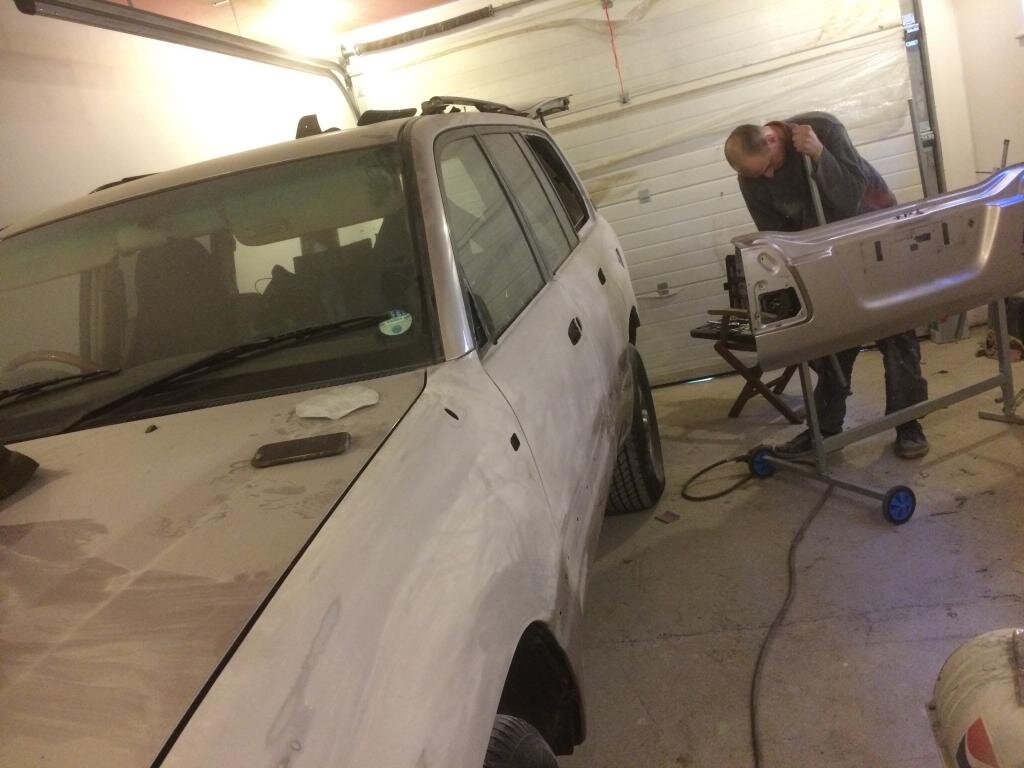
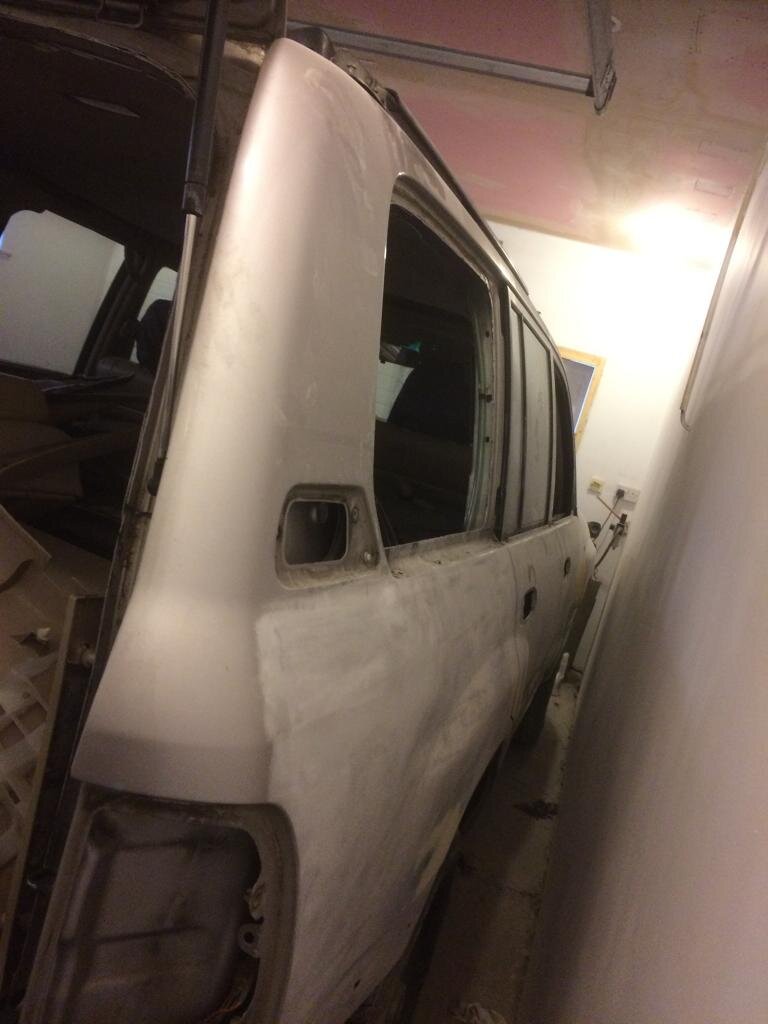
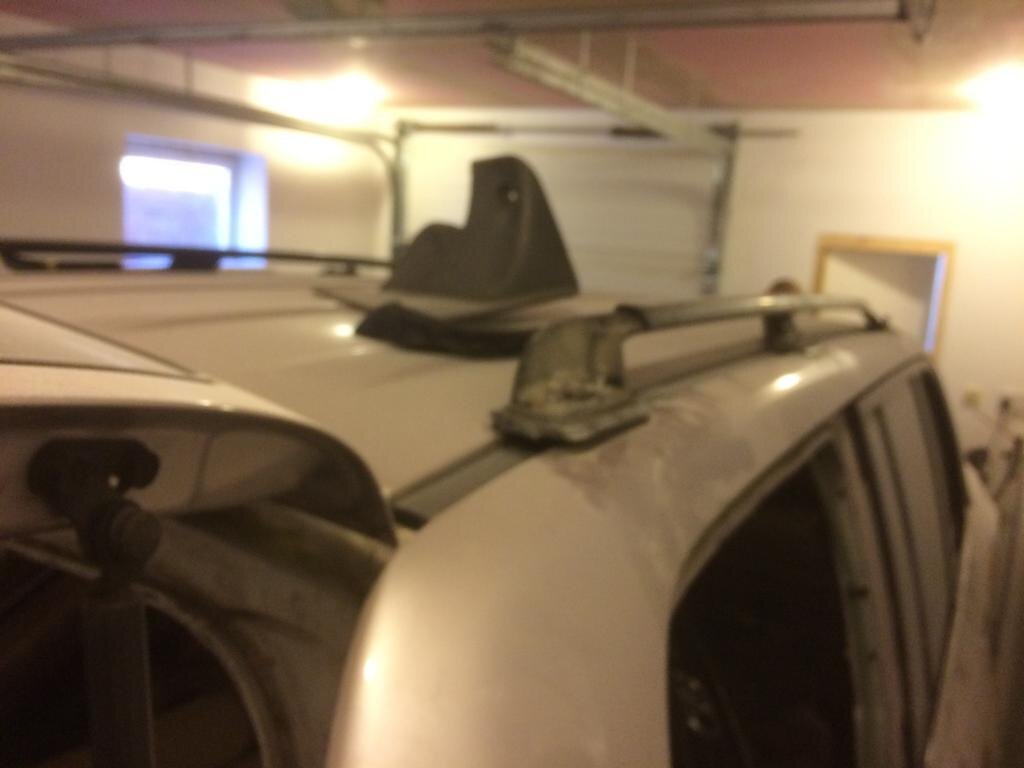
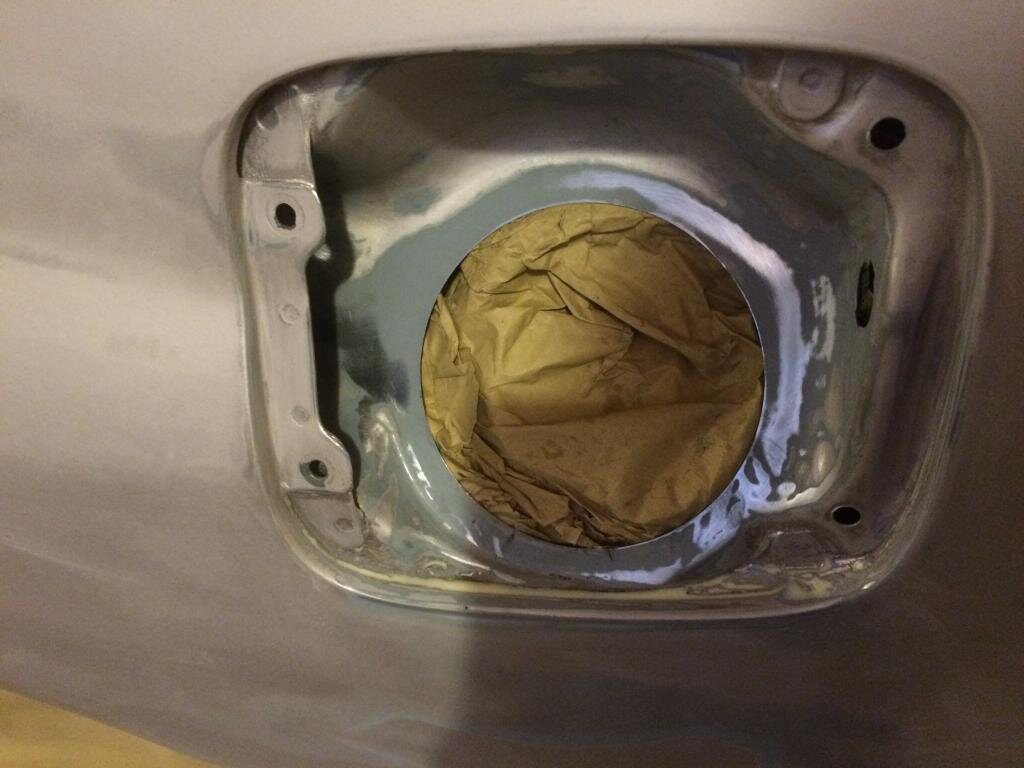
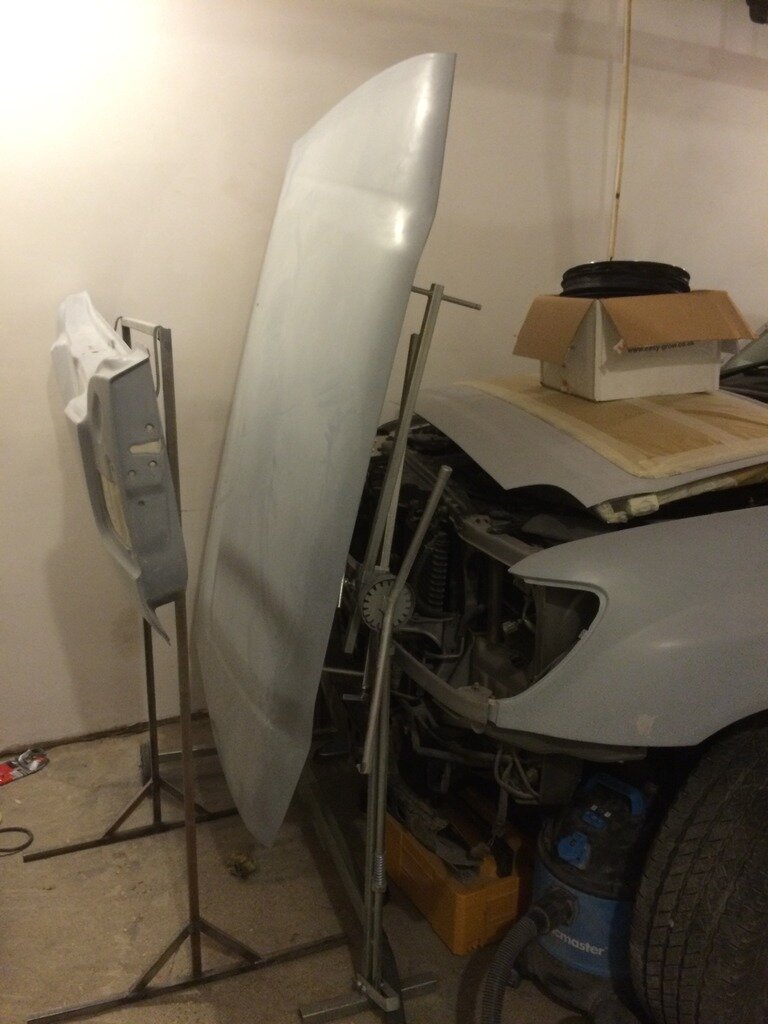
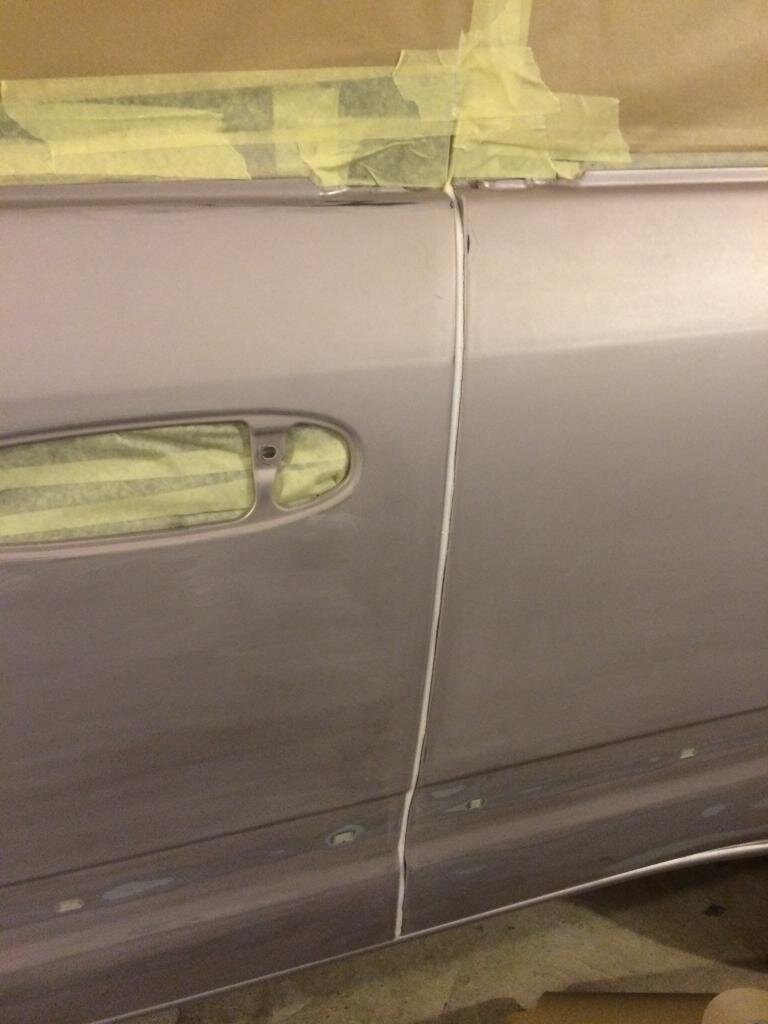
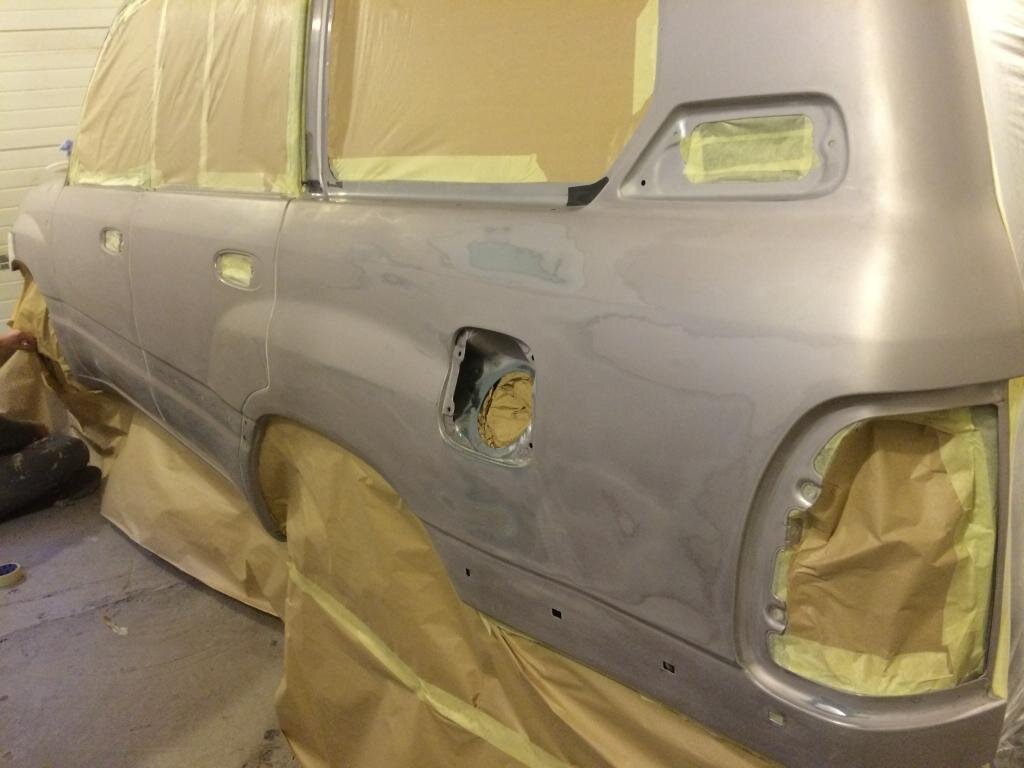
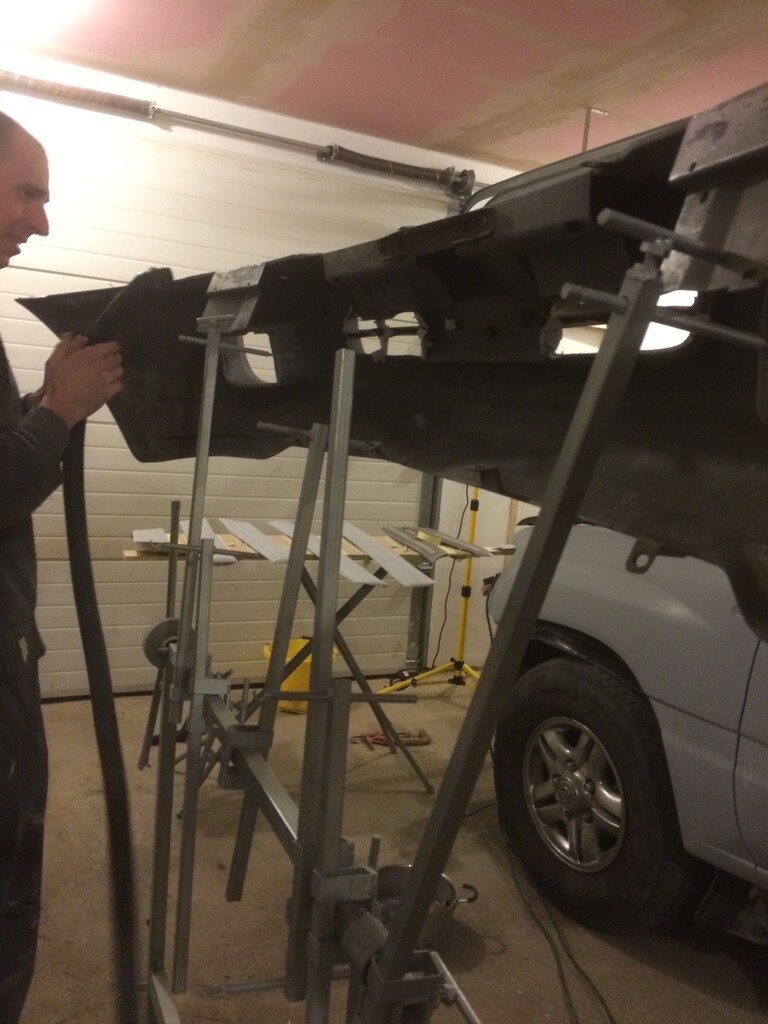
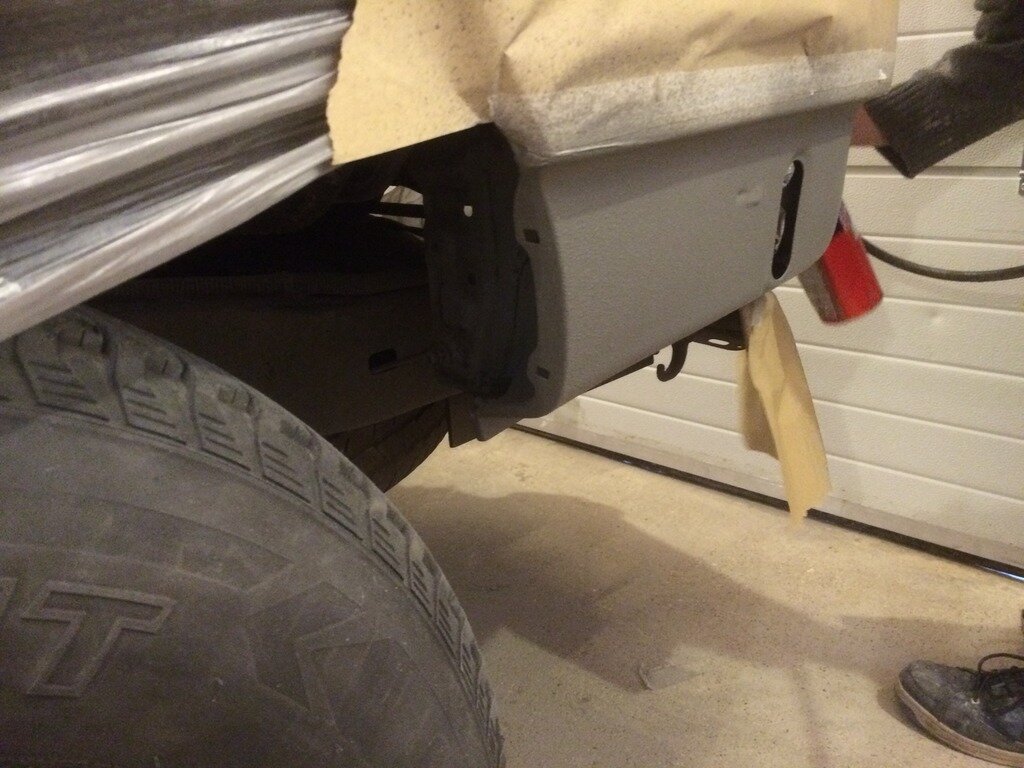
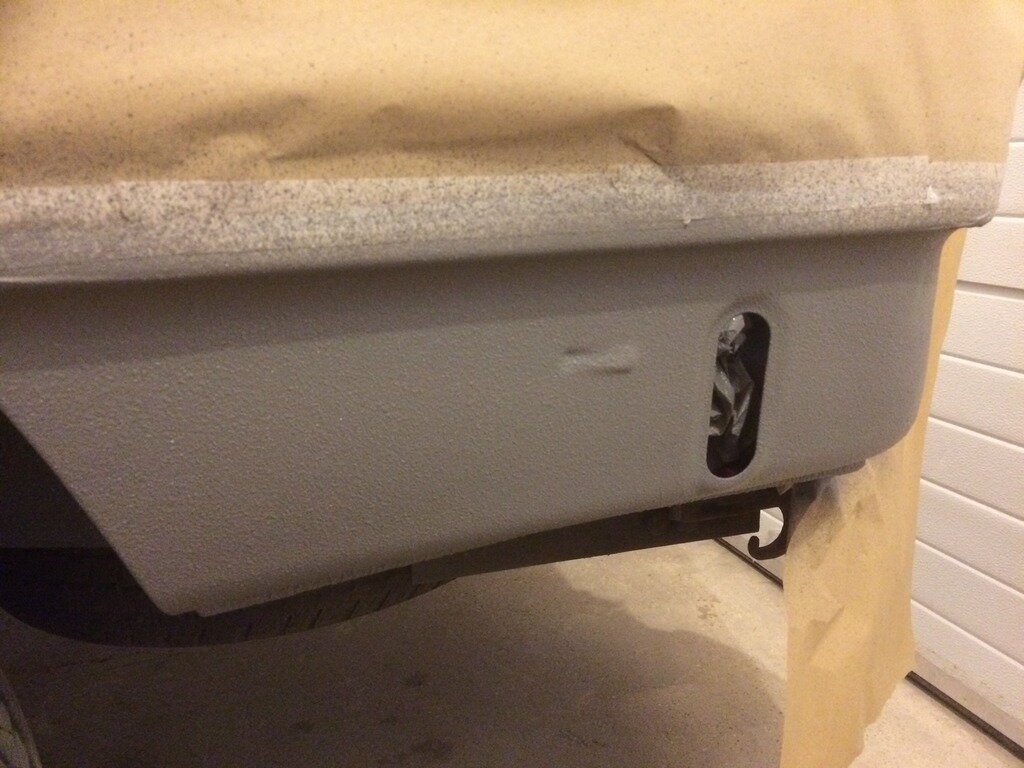
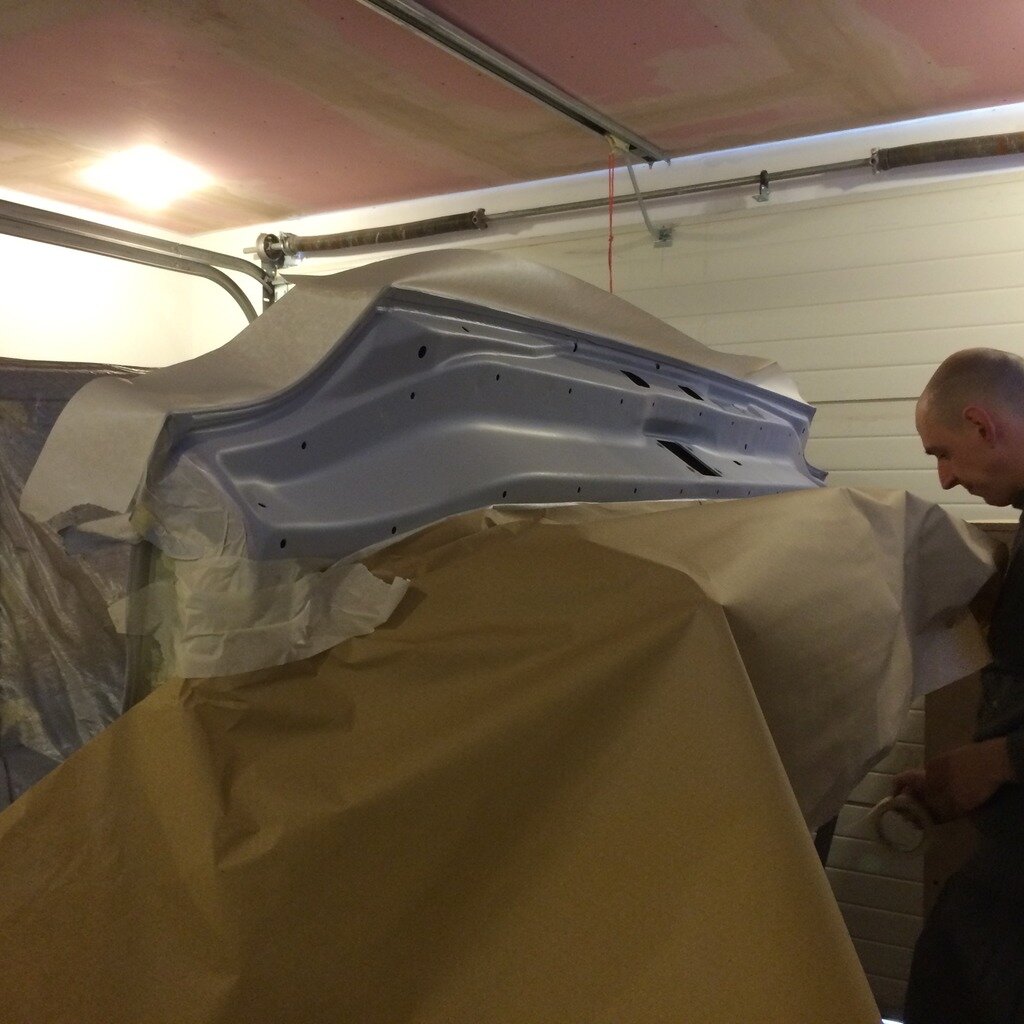
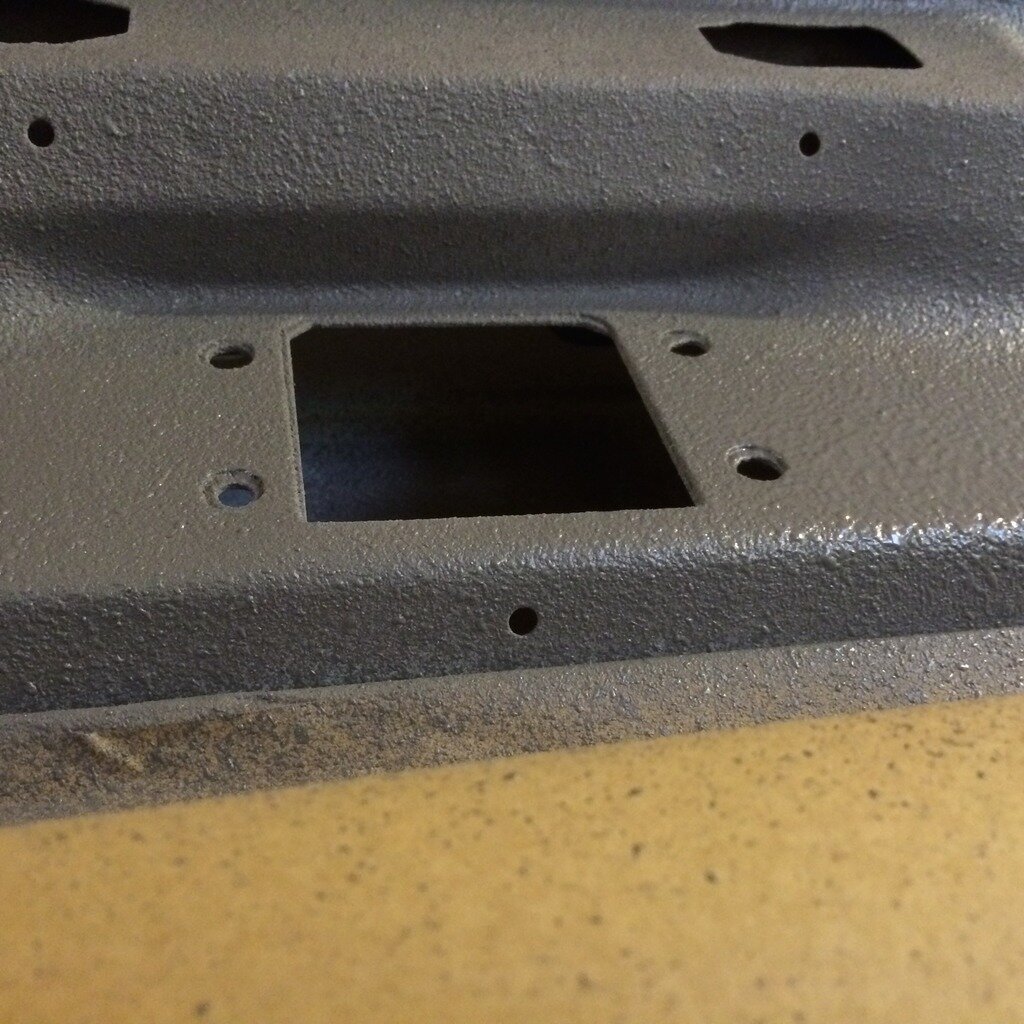
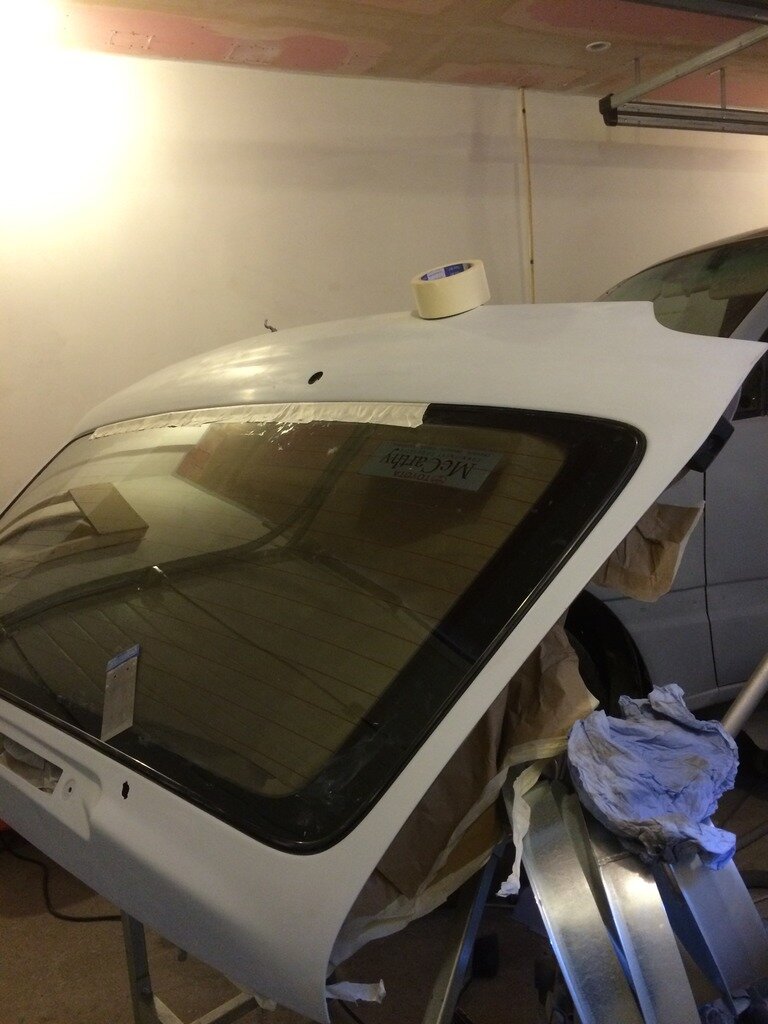
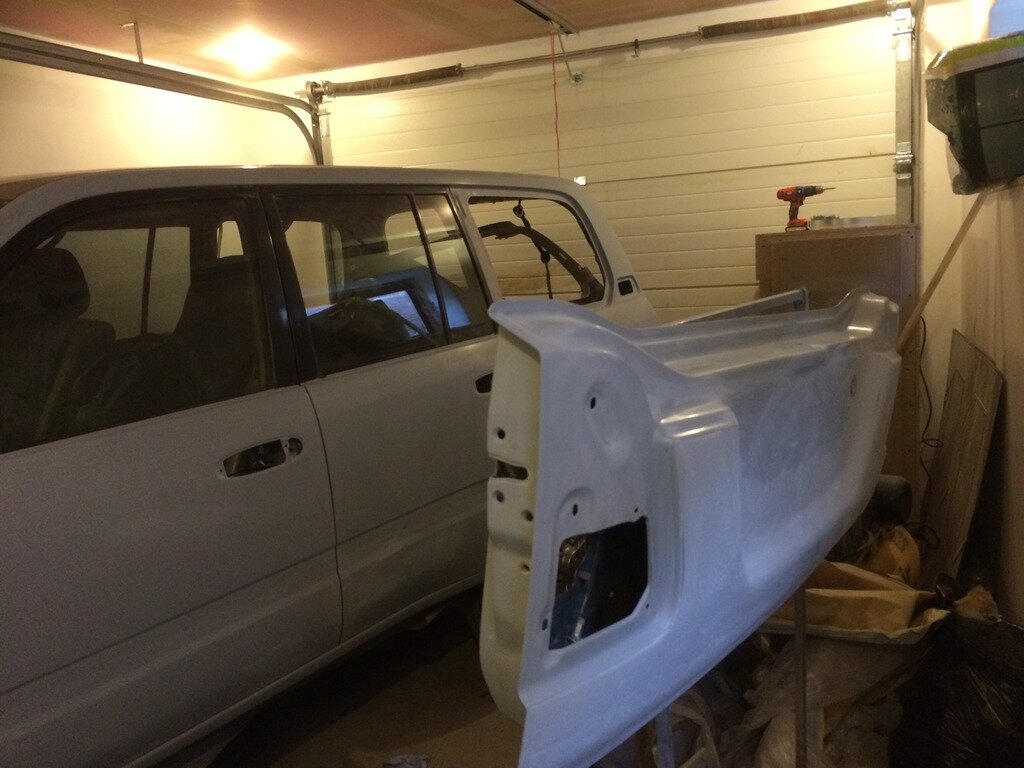
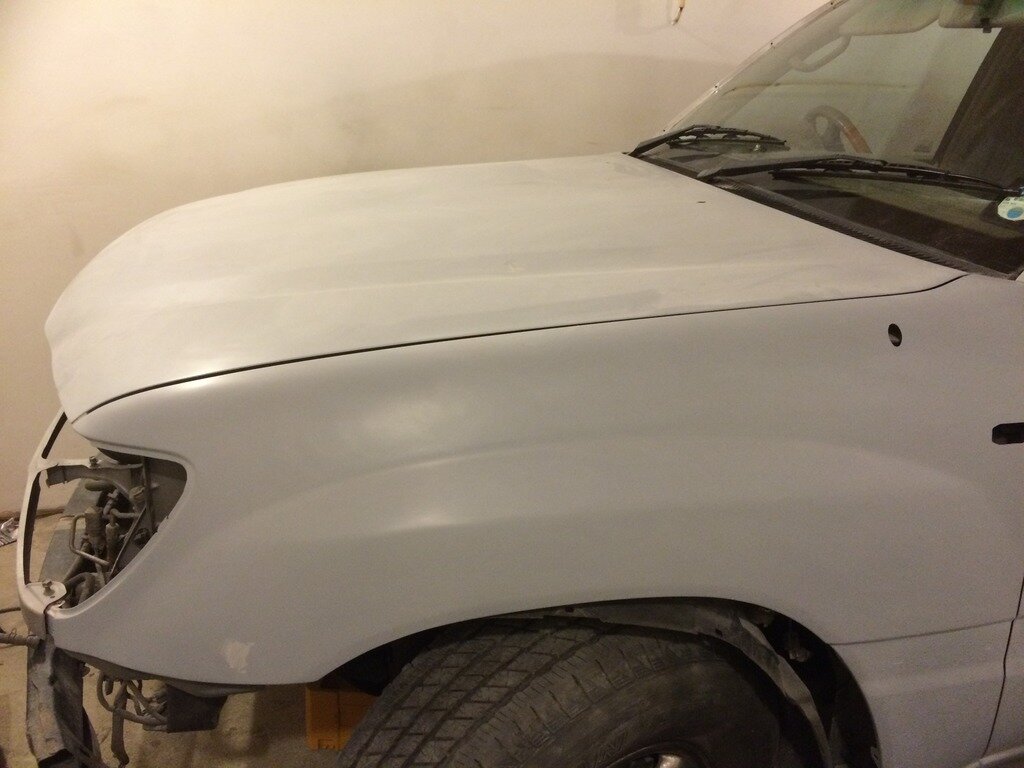
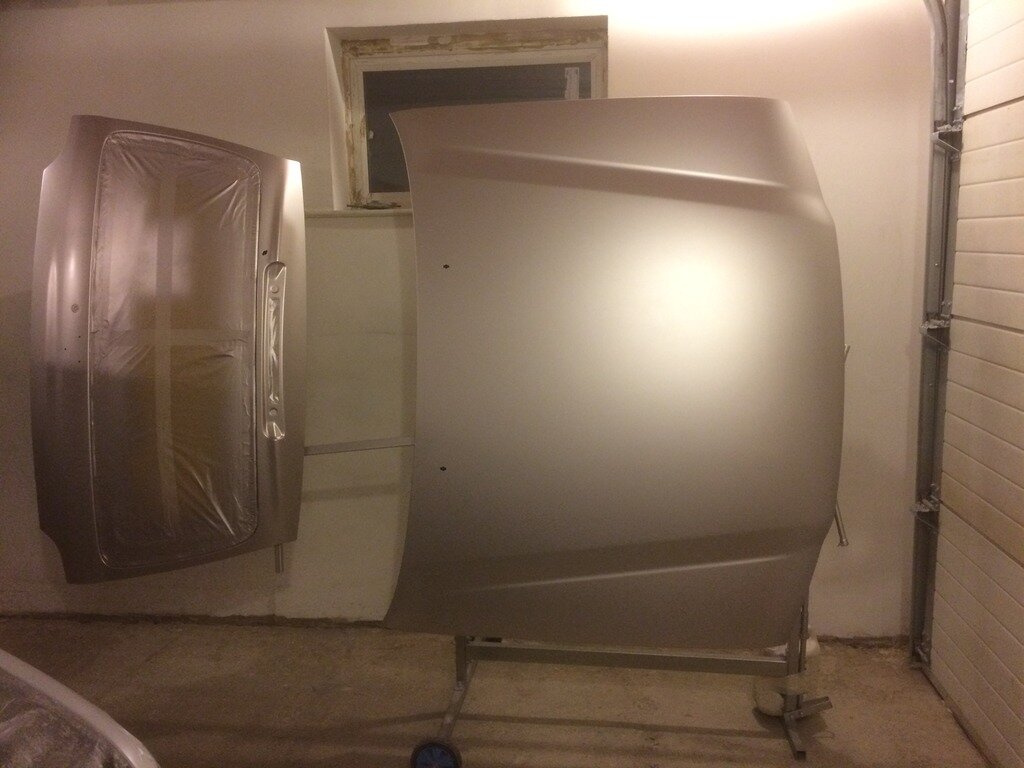
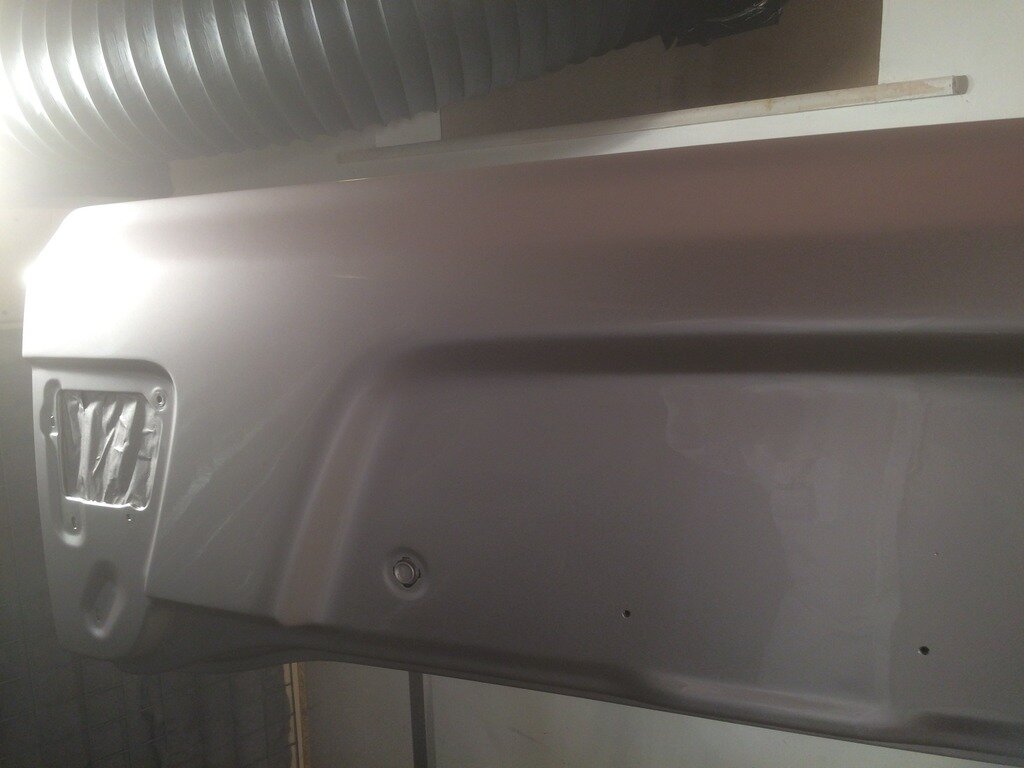
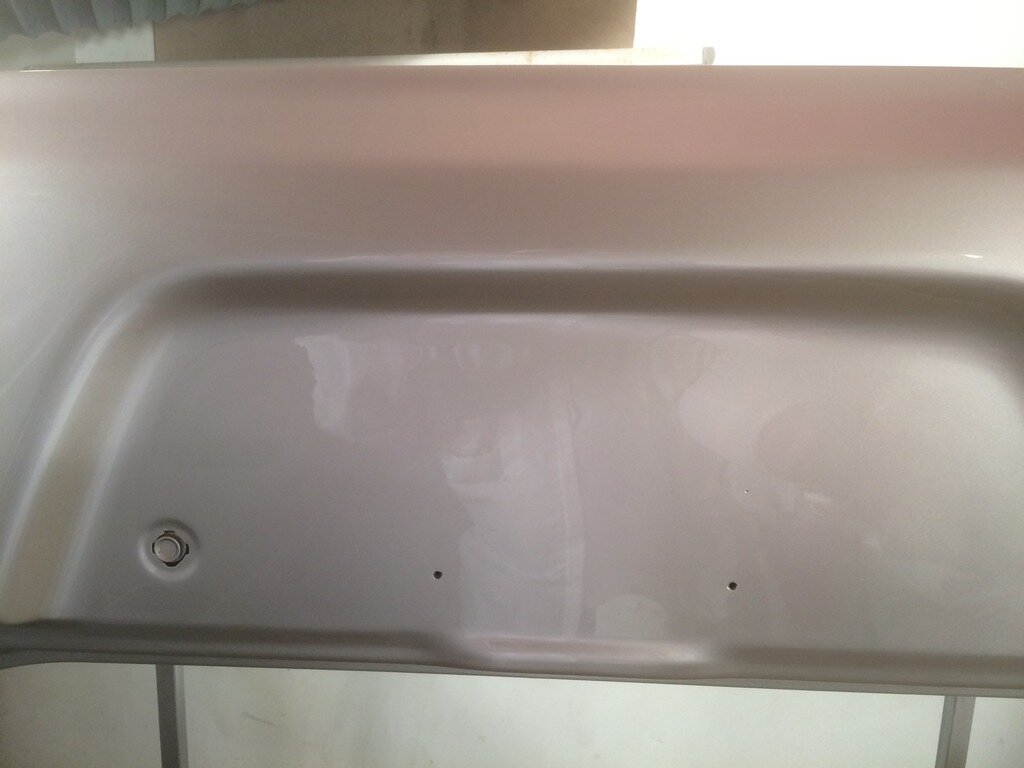
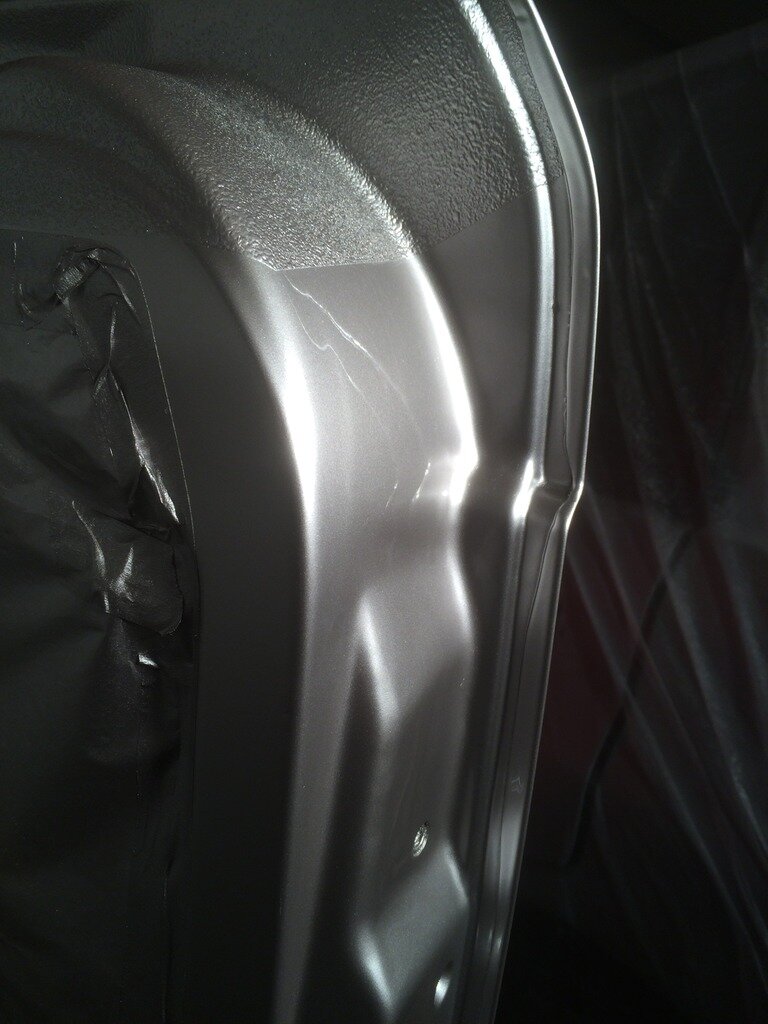
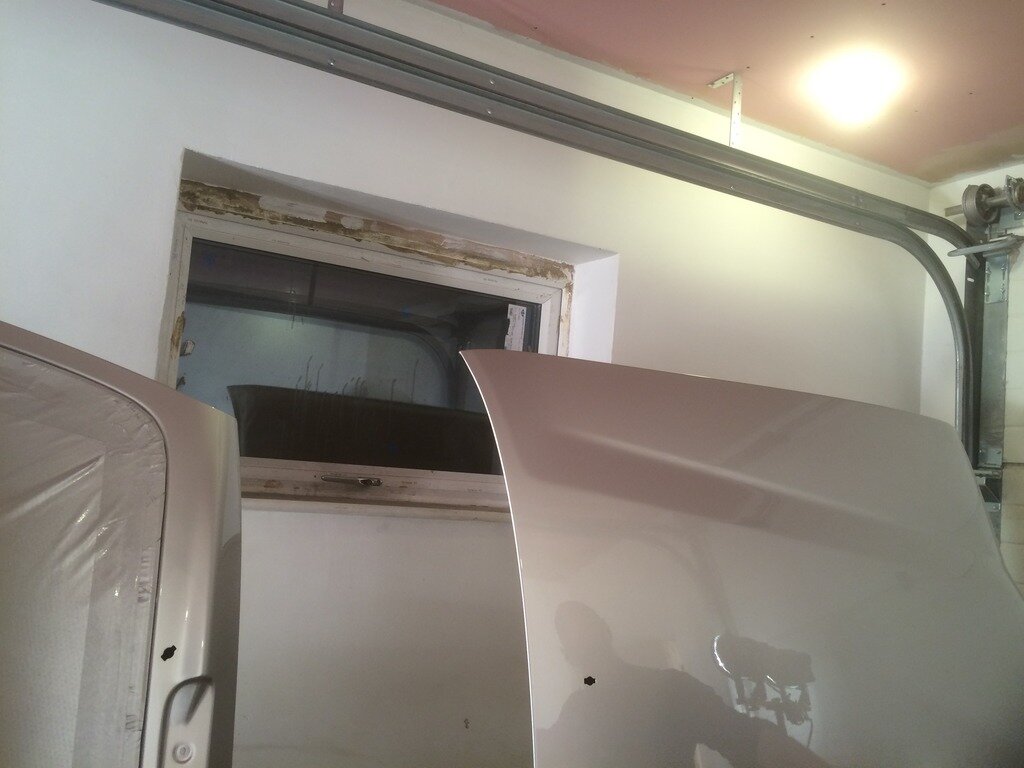
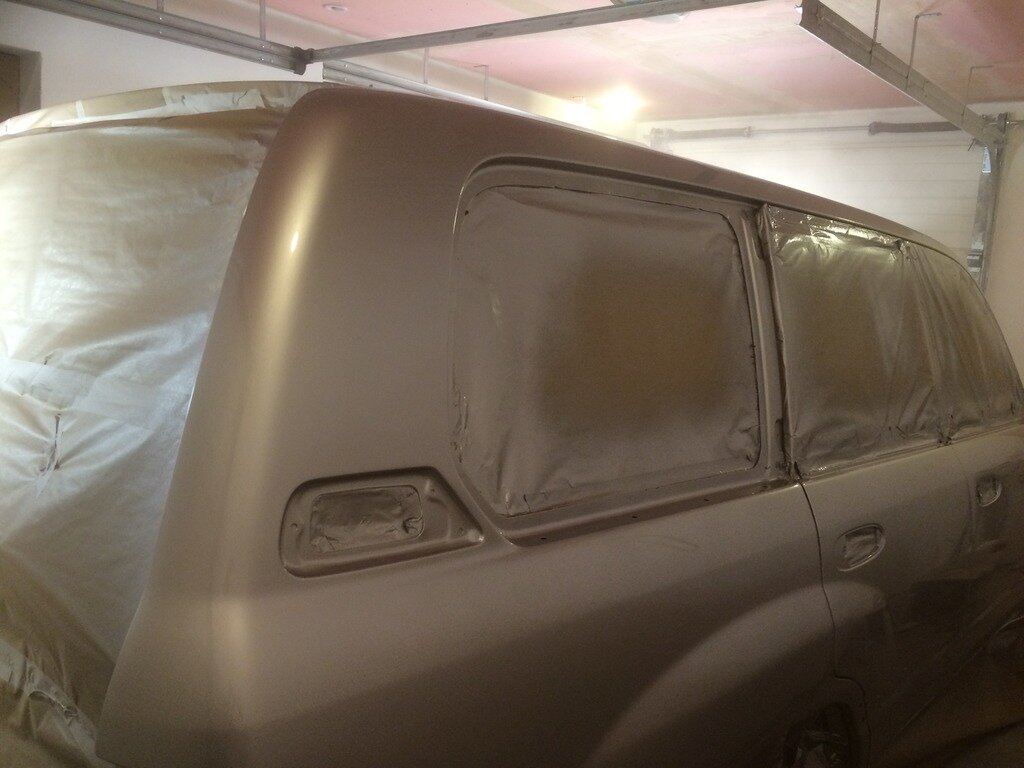
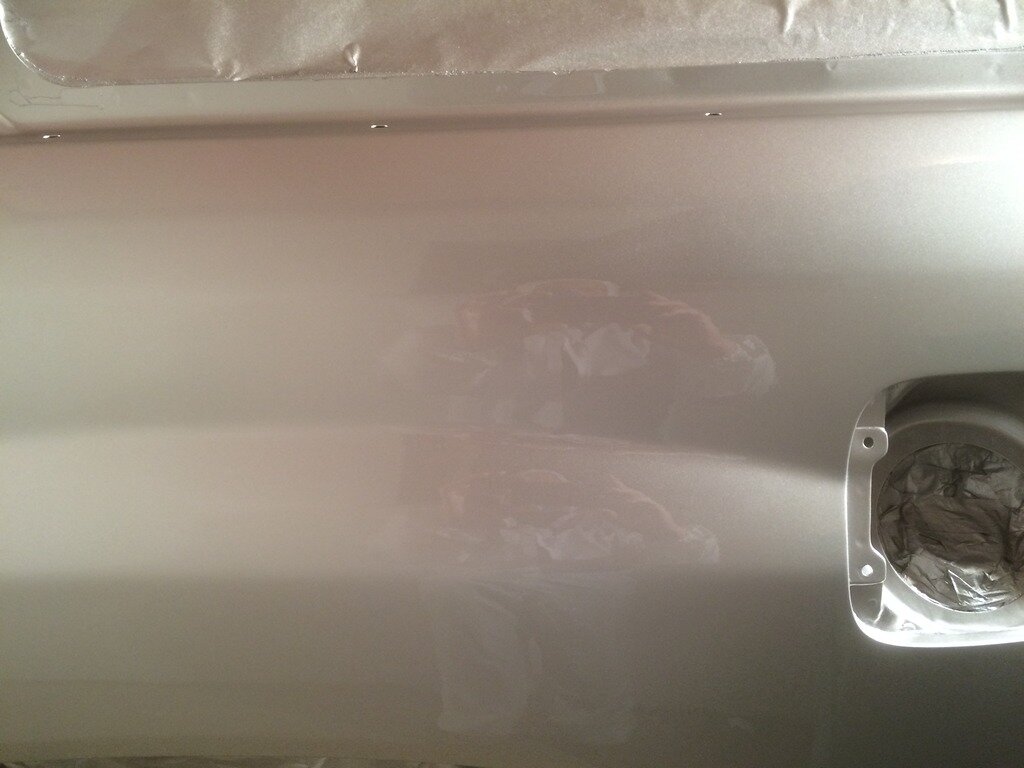
So the job went from a tidy up to a complete restore - Plus! All trim off, lights out, bumpers off, handles and locks off, tailgates off, aerial out, grill out, rear side windows out, window rubbers off, roof rails off, door cards off, side steps off, plus stuff that I'm sure I forgot. All trolley dinks sorted, stone chips and any signs of rust taken back to bare metal and two different types of primer used, then flatted from 500 grit through to 800 grit prior to colour and clear coat. The bonnet was removed for colour and clear coat as it was too big to paint in position. The thin metal panel below the grill was removed for sandblasting and the stone chip on the sills was redone and inside the sills secured with something similar to stone chip (cavity something or another) - plus he decided that areas such as the rear quarter panel and wing below the bumper line should be stone chipped along with parts of the tailgates that can't be seen from outside of the car. He sent me all the way to Leicester for some of the materials (2K primer & colour coat) and ordered the other primer and clear coat from abroad as he will only use certain brands of paint! Btw I have no idea what this is costing me
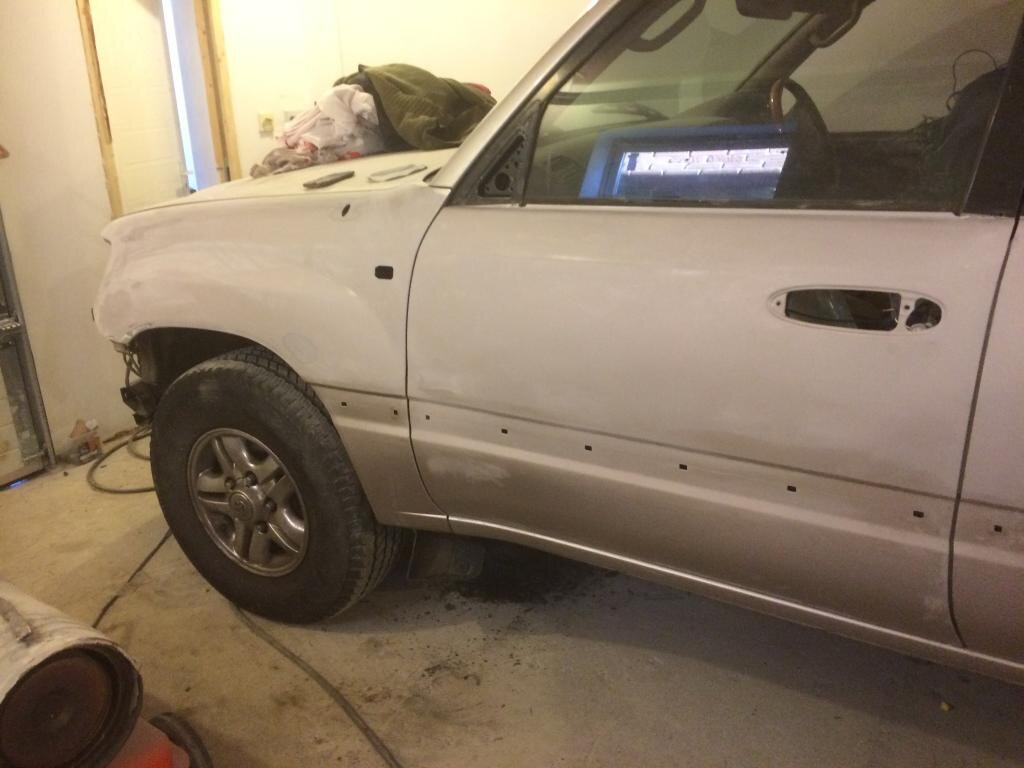
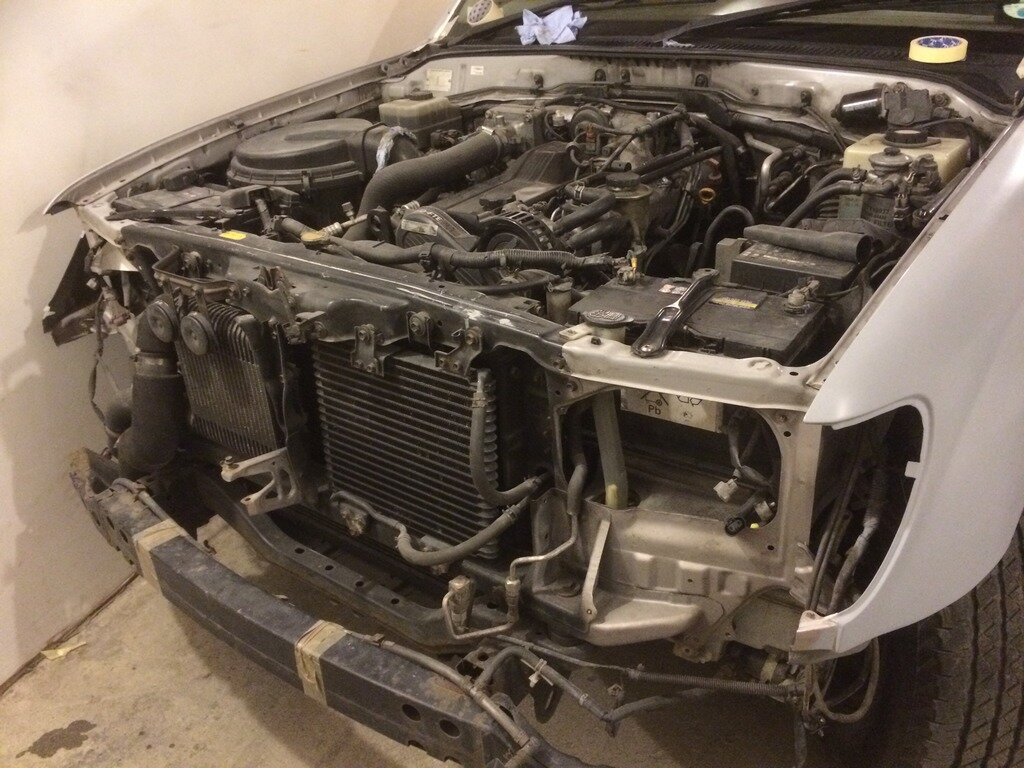
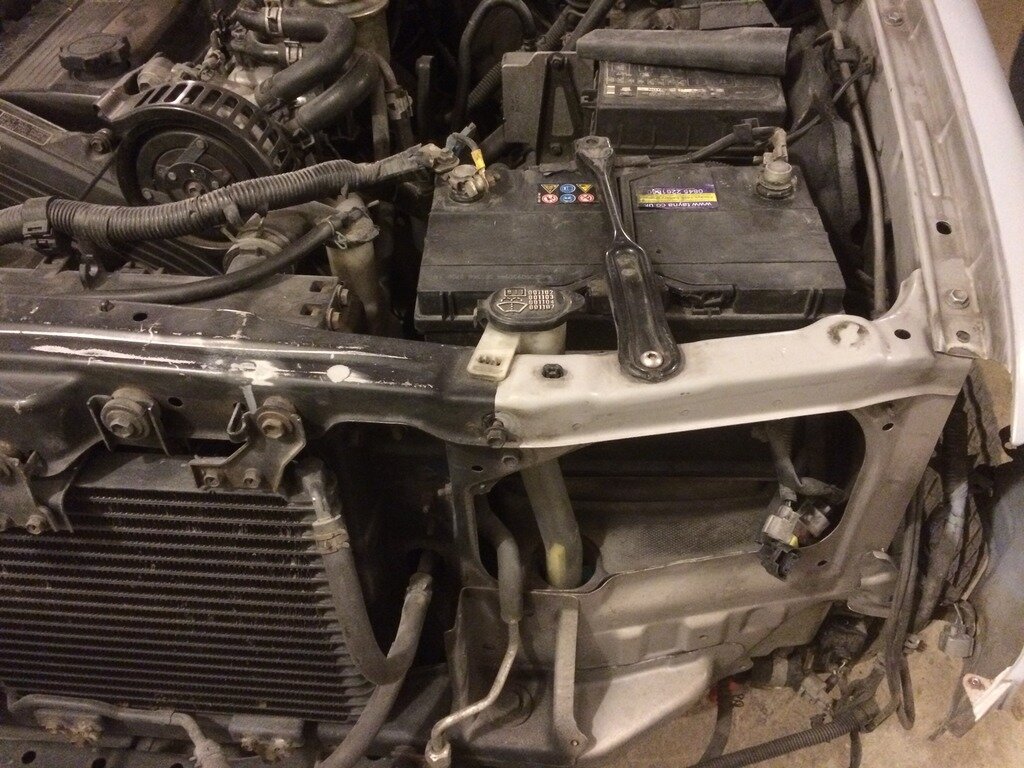
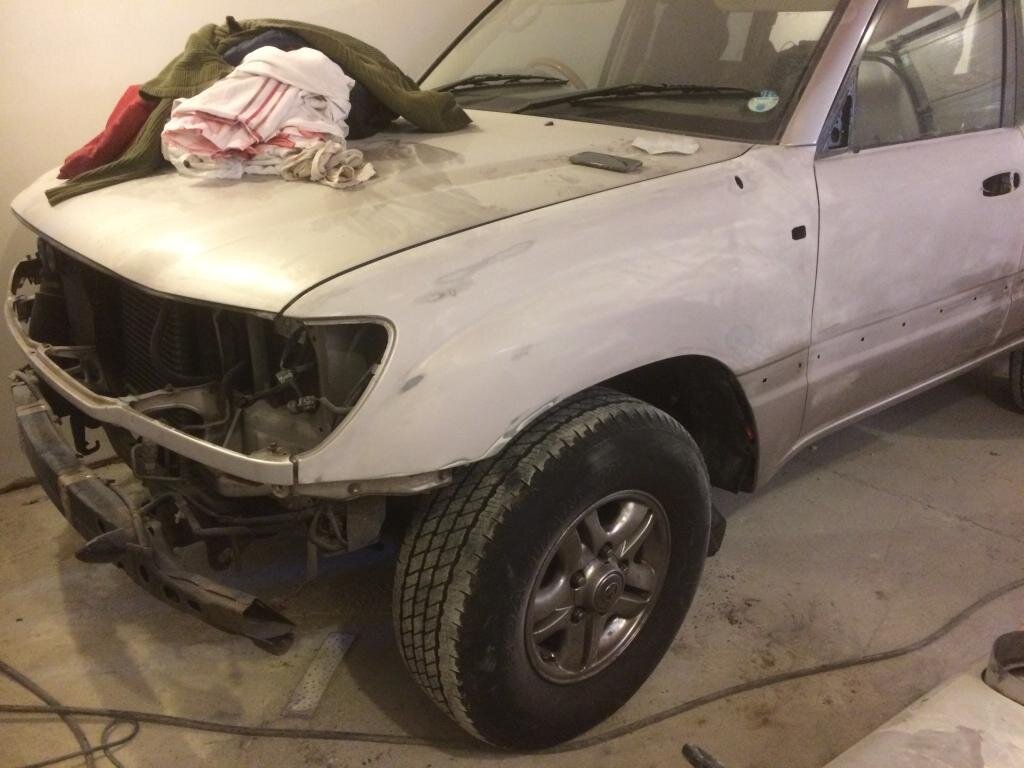
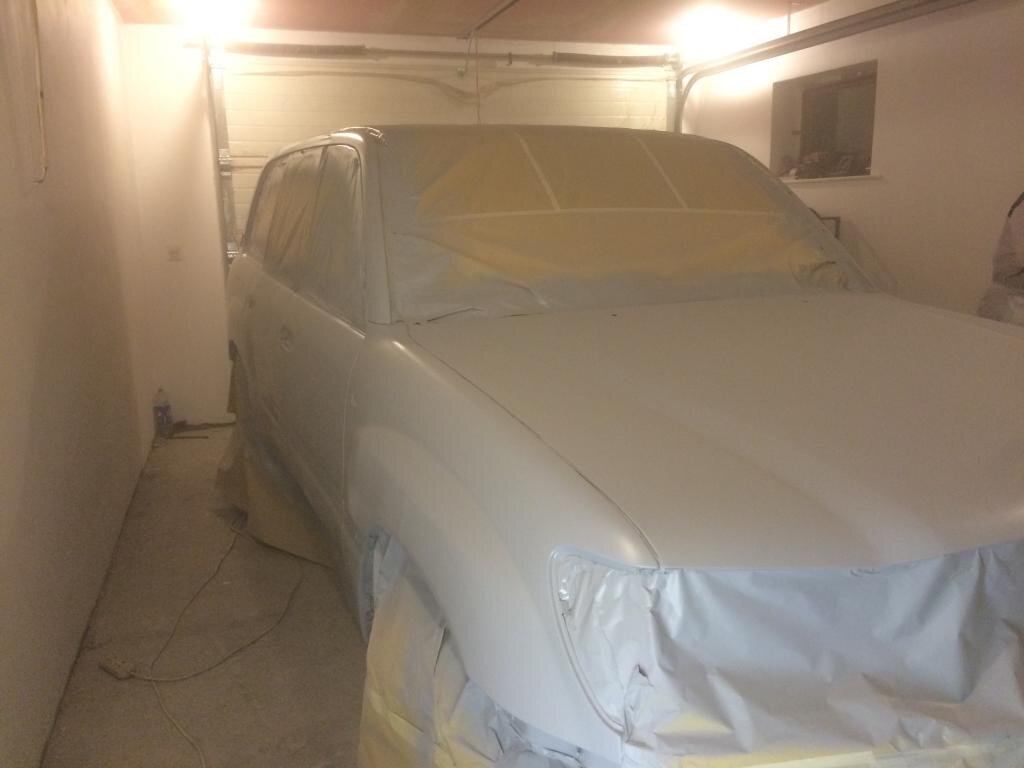
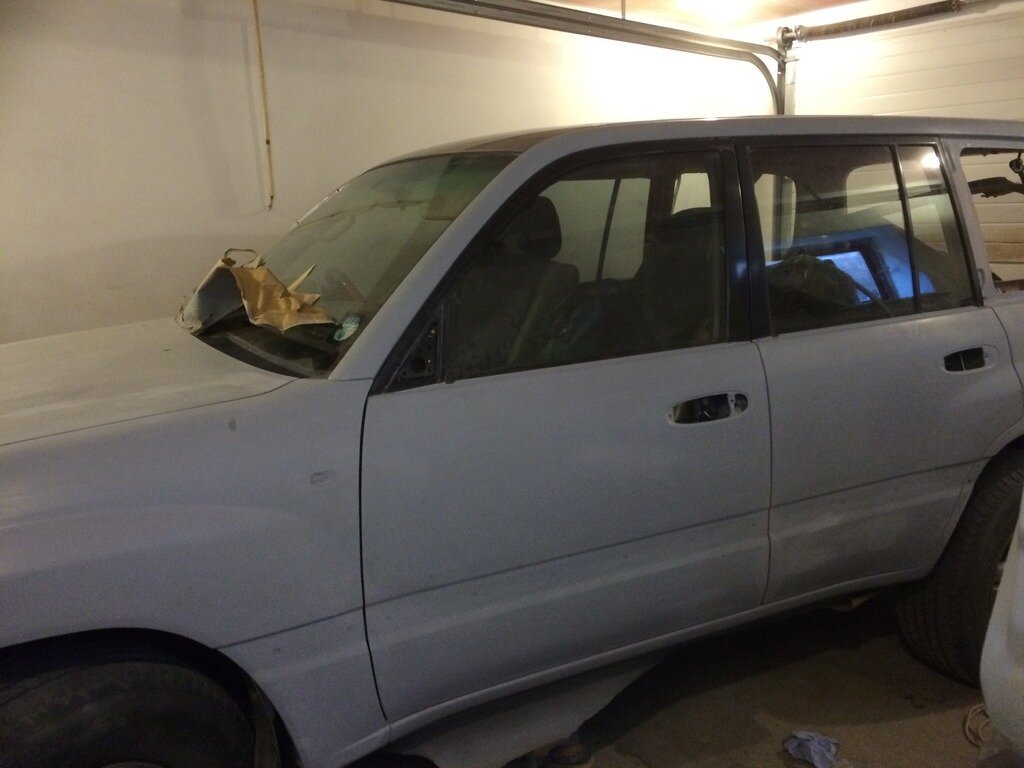
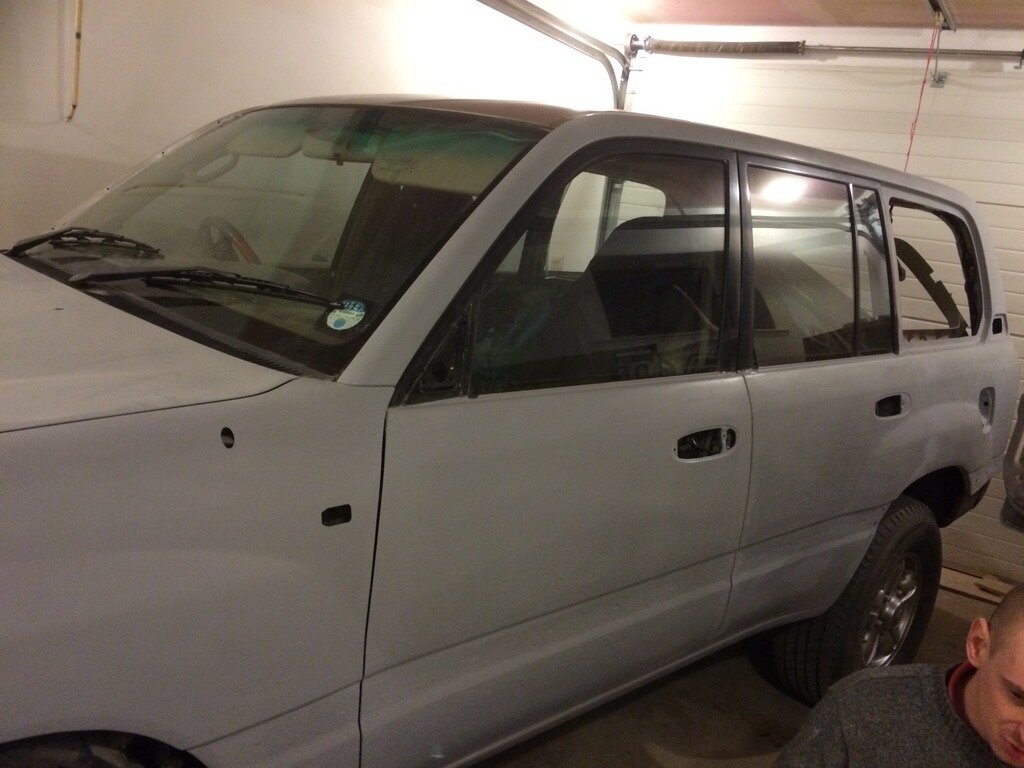
Beginning of the strip down - The body wasn't in bad shape really - just the odd scratch and a few very small carpark dings.
http://
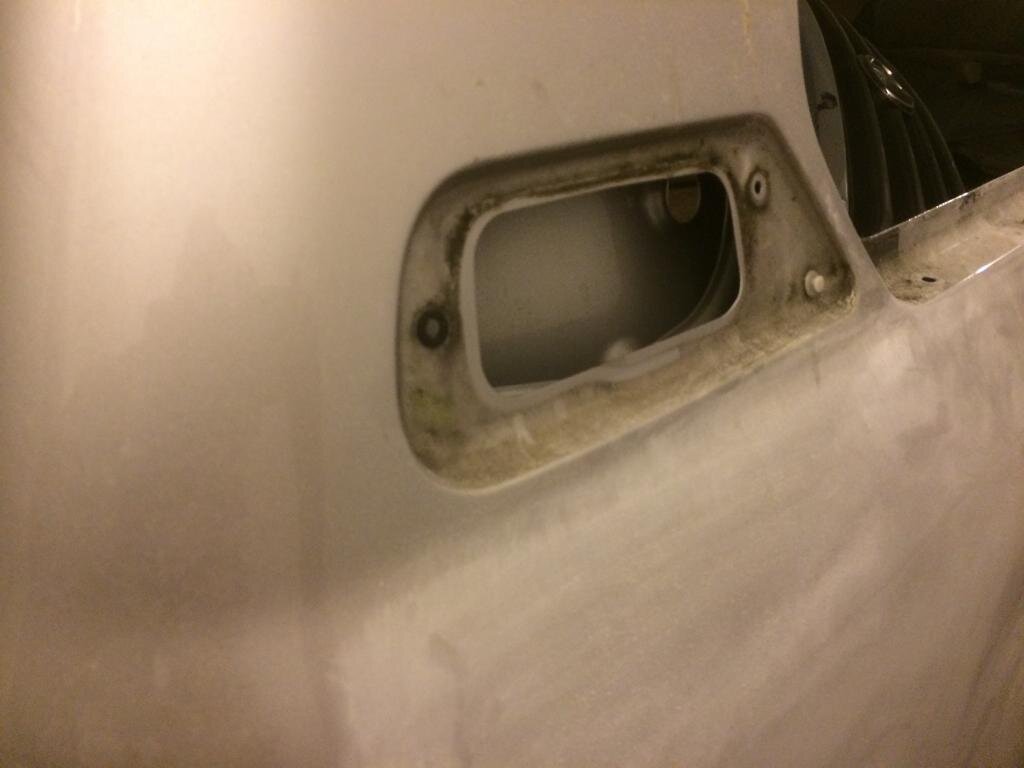
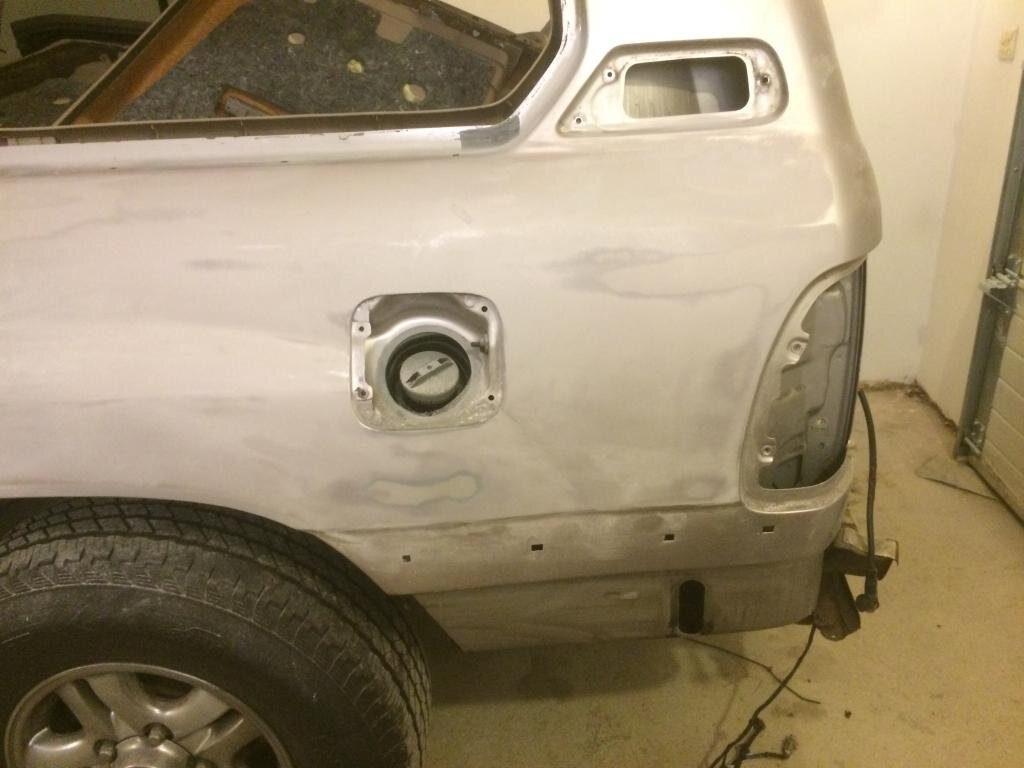
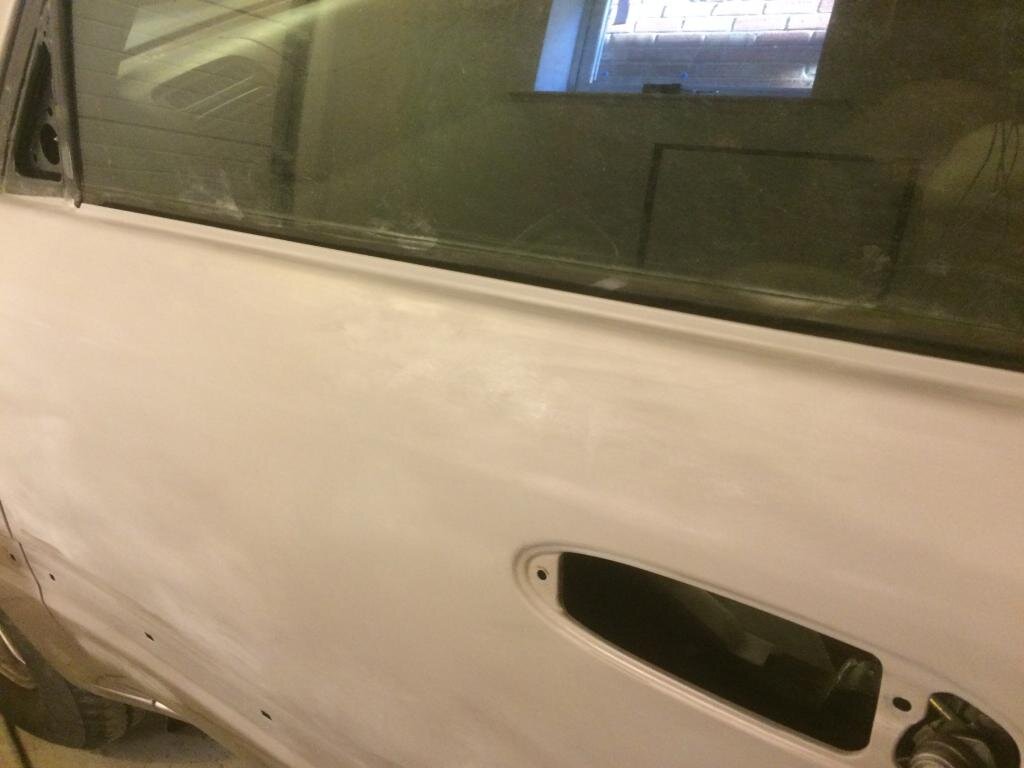
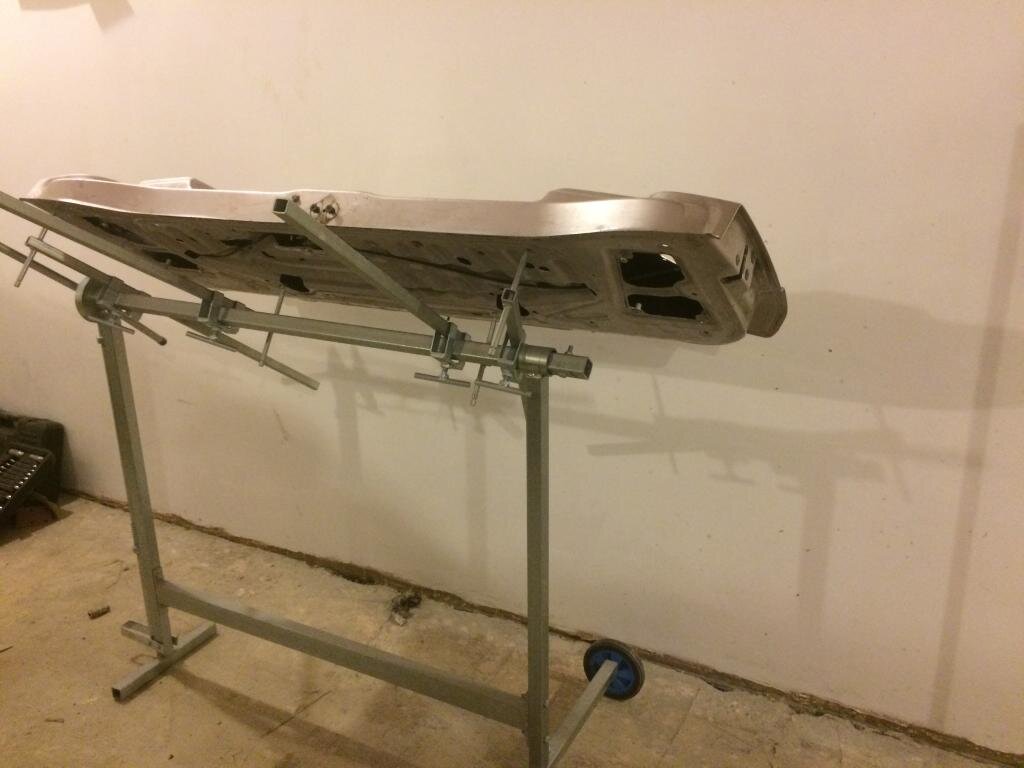
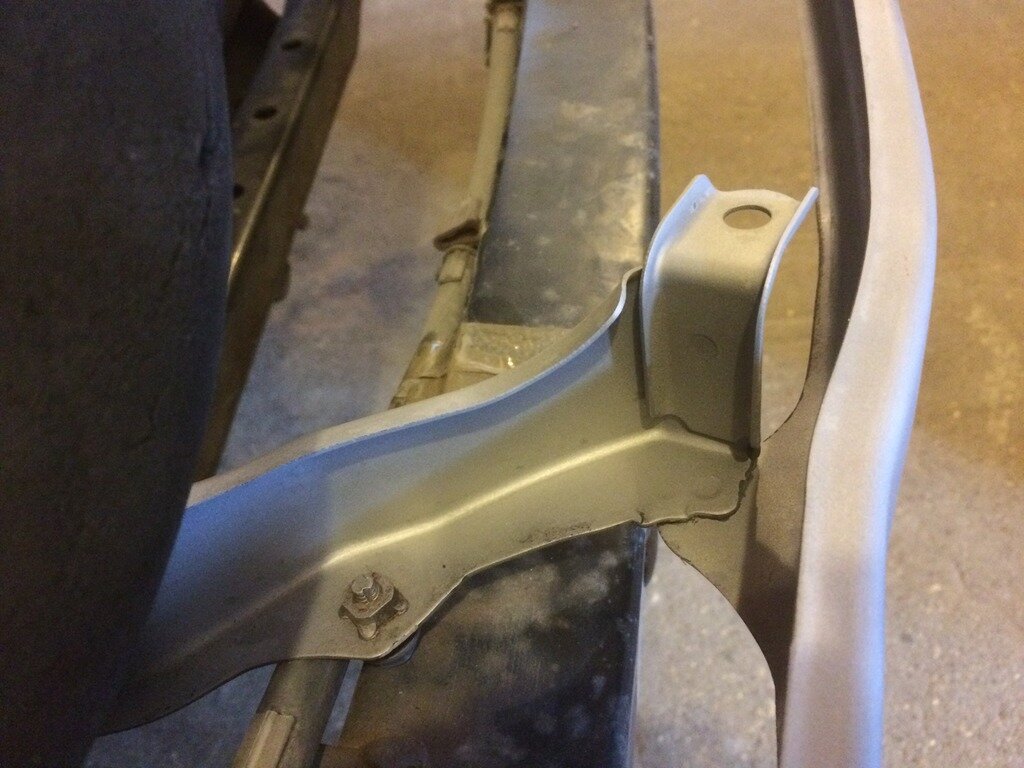
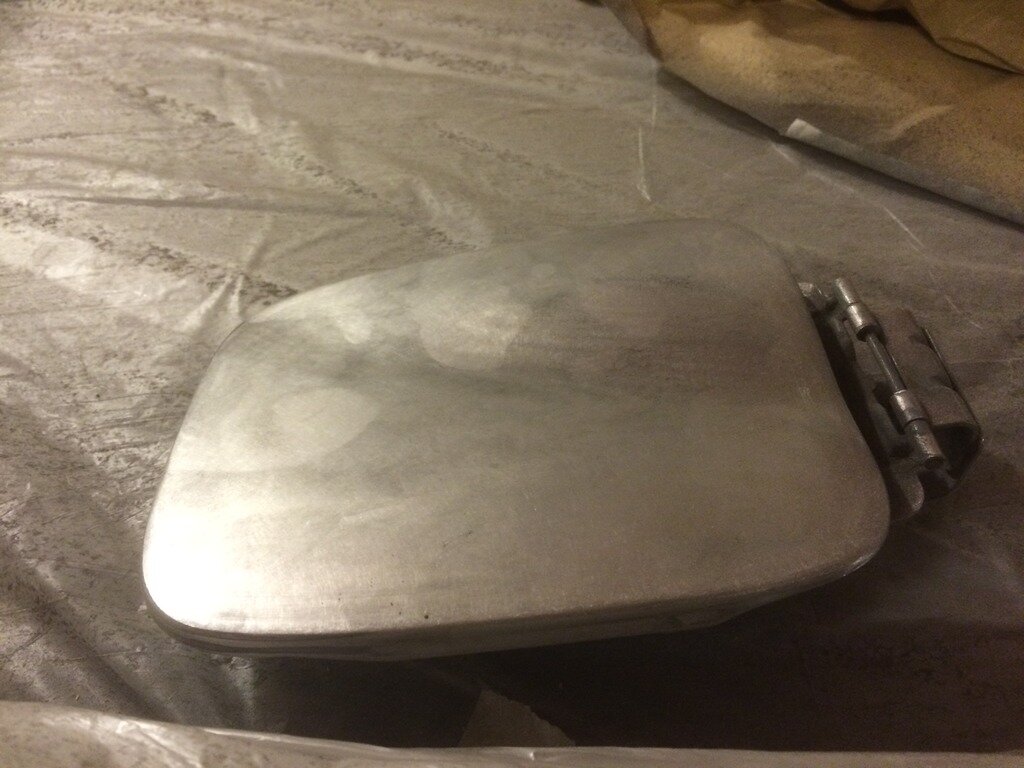
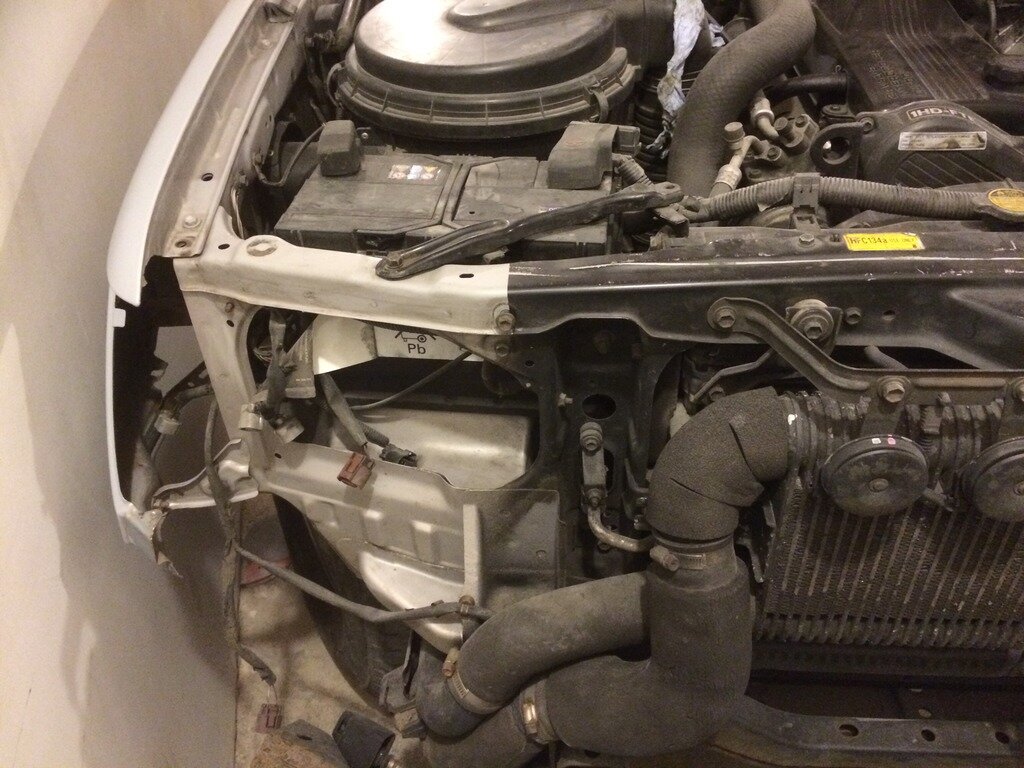
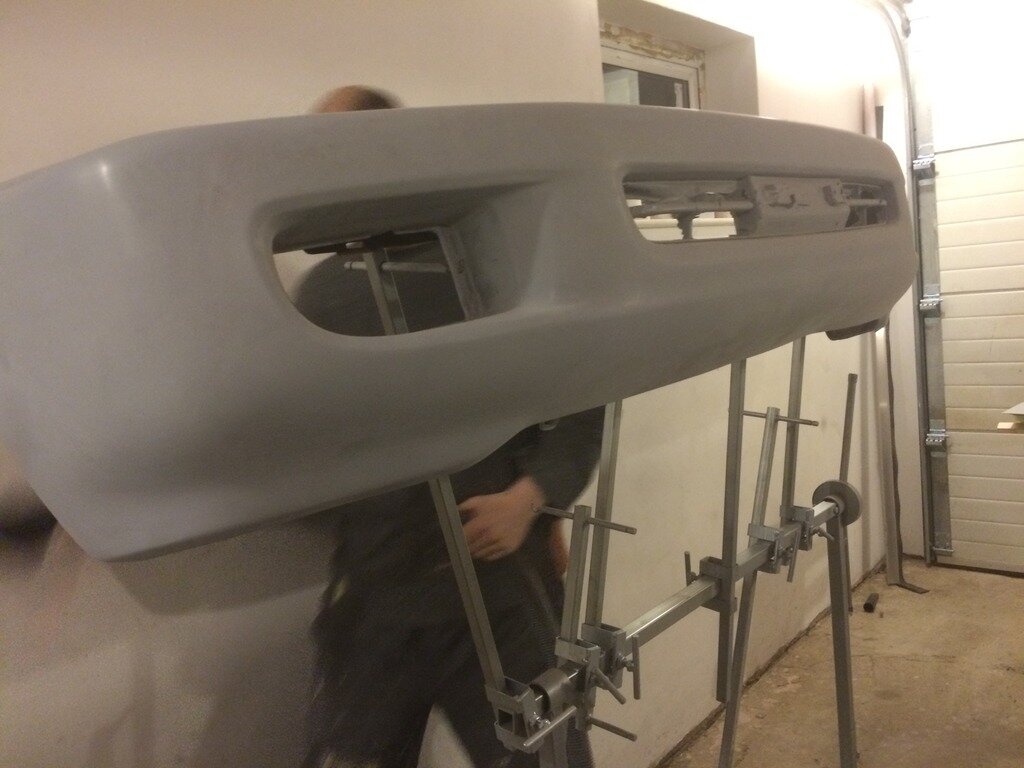
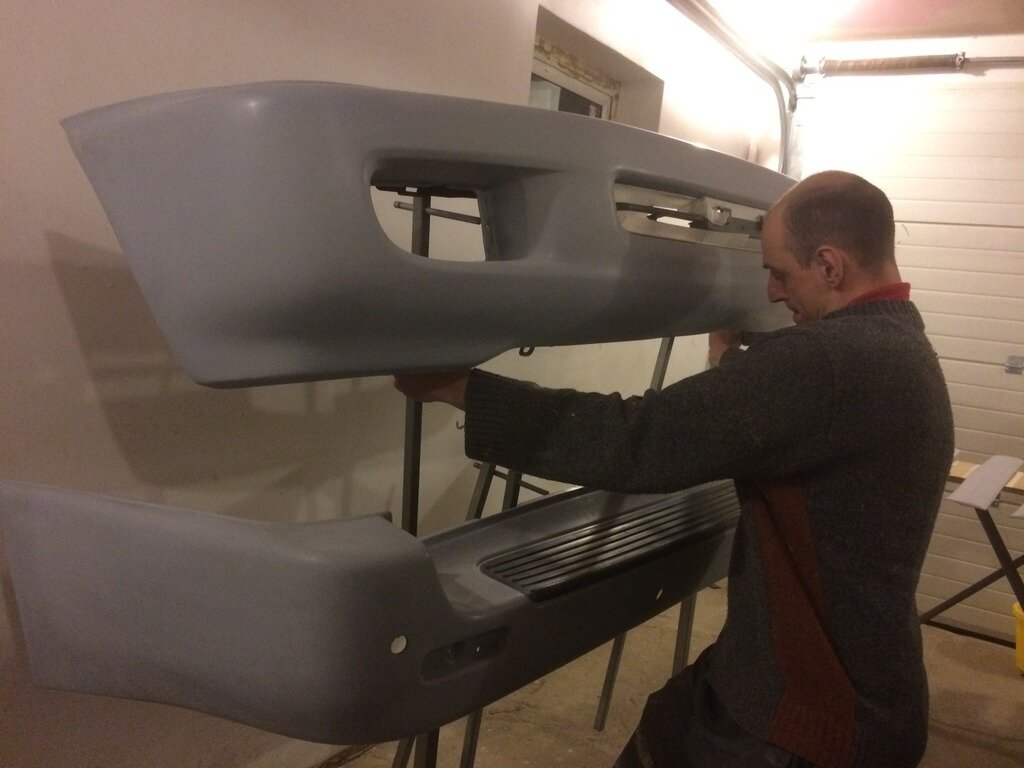
Bumpers are stripped out, along with rear side glass, all rubbers and weathers, door handles, repeaters, lights front and rear, roof rails, steps, mouldings, front grilled and the thin panel below it, the bonnet gets removed to be done separately on a frame along with both tailgates, filler cap and neck and air vents on rear quarters are removed along with inner wheel arch covers.
http://
http://
http://
http://
http://
http://
http://
http://
http://
http://
http://
http://
http://
http://
http://
http://
http://
http://
http://
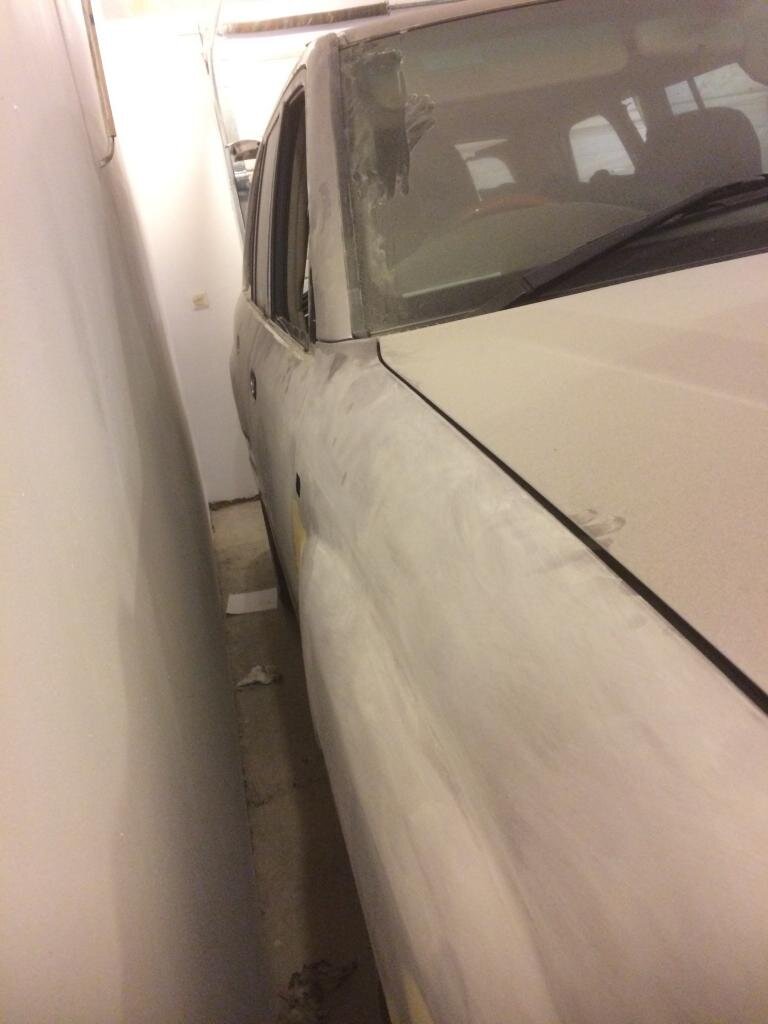
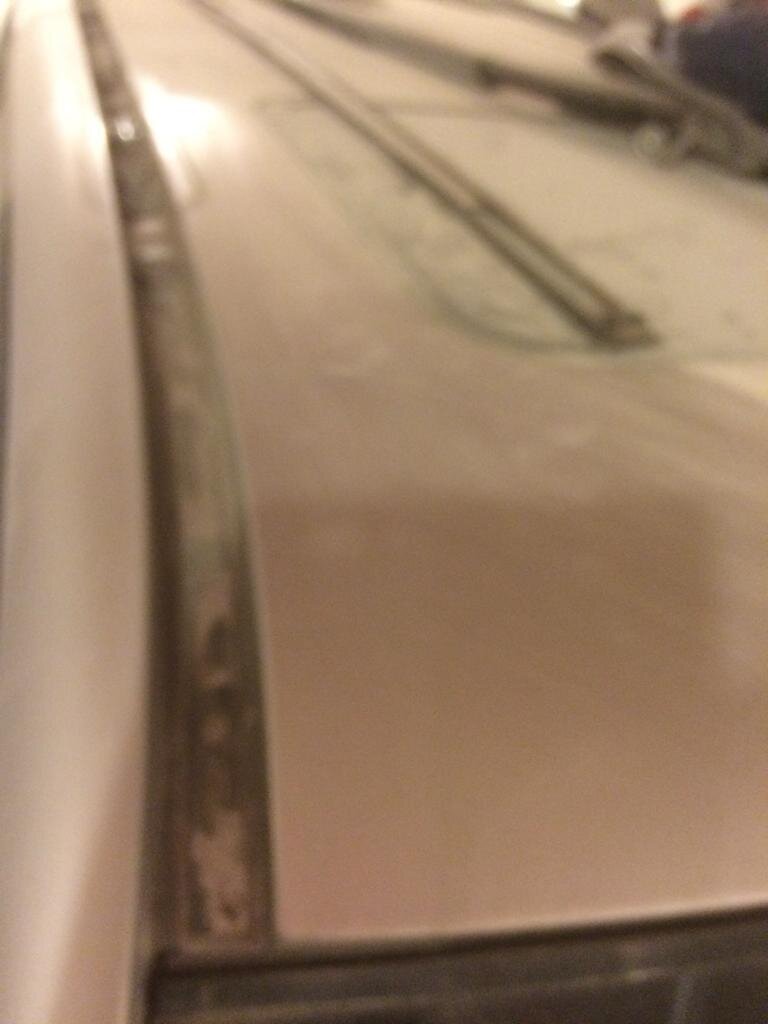
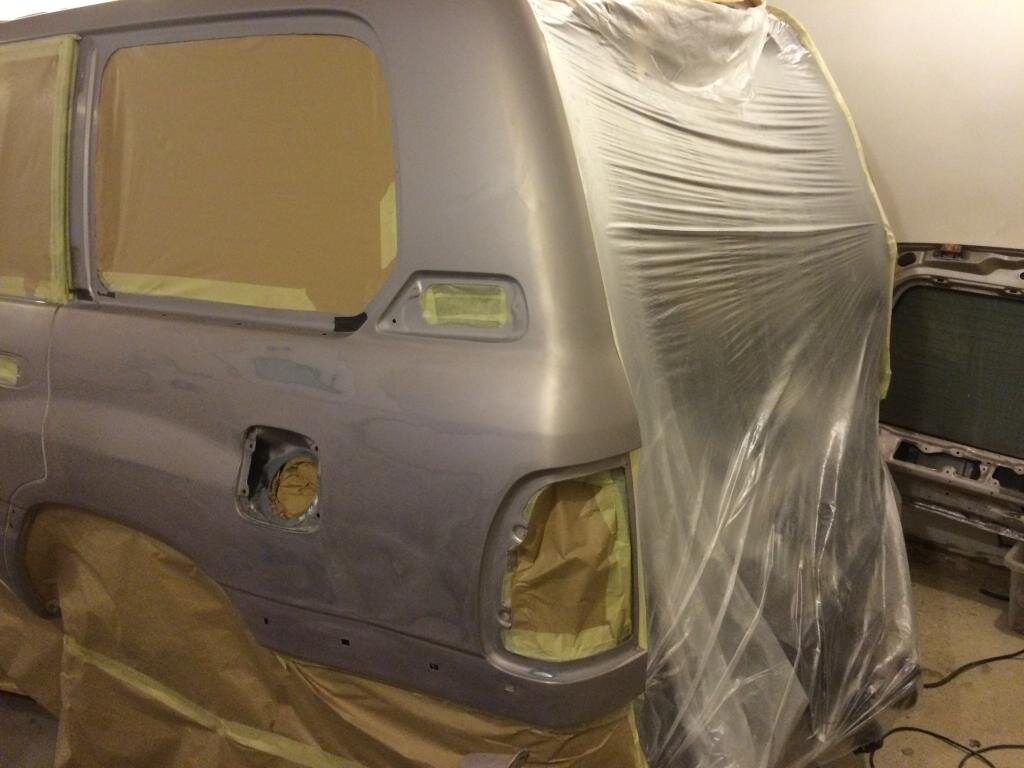
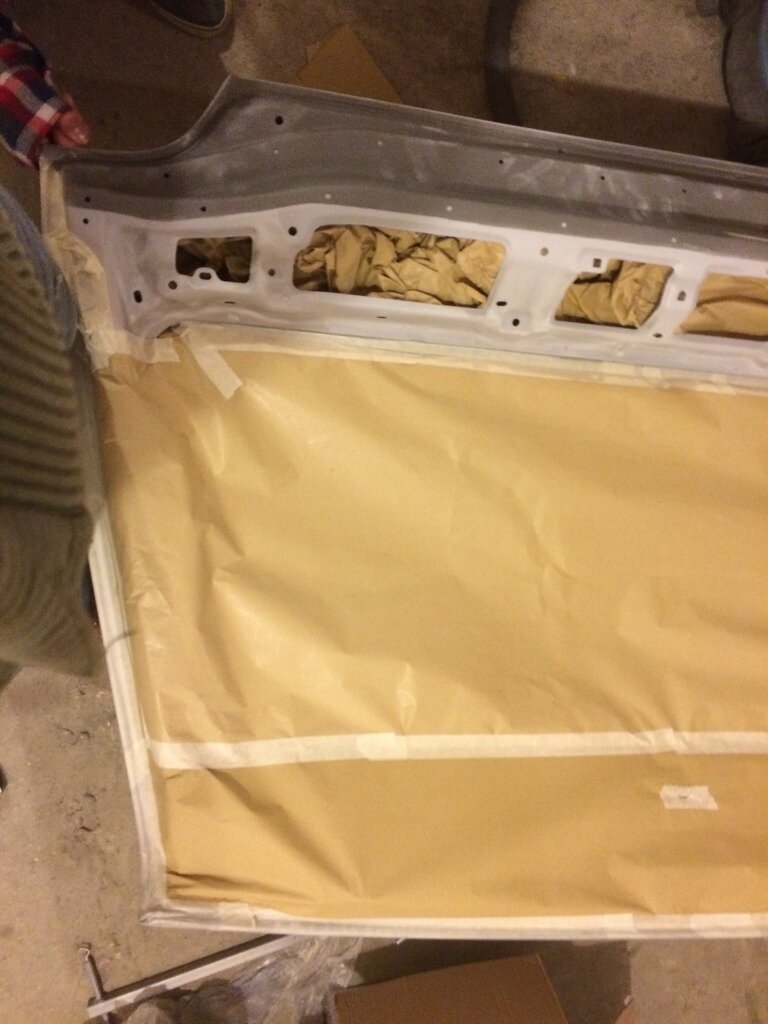
After stripping out there's the massive job of cleaning inside wings, behind weatherstrips and where bumpers, lights etc went. Then there's the longwinded job of prepping each panel:
http://
http://
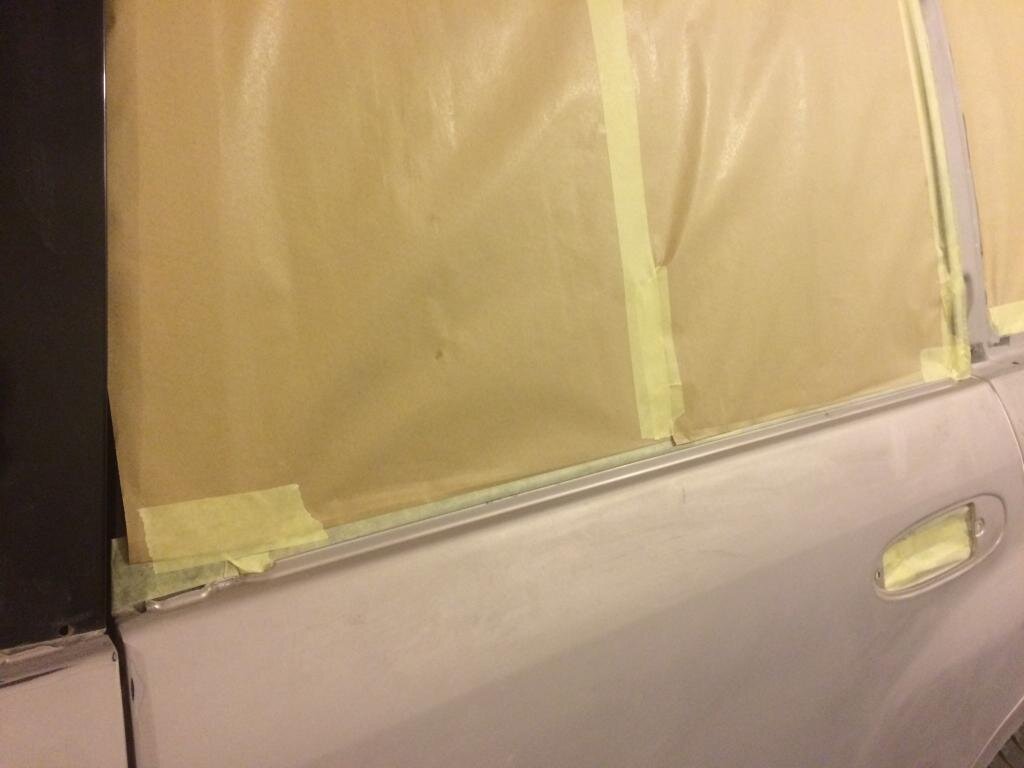
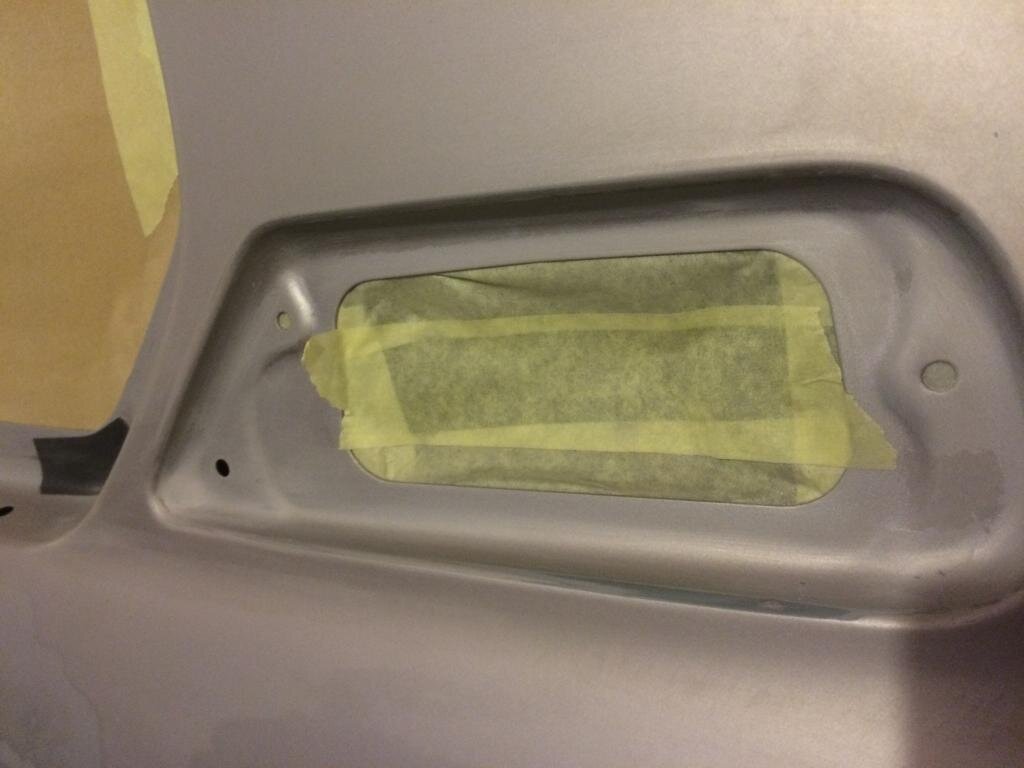
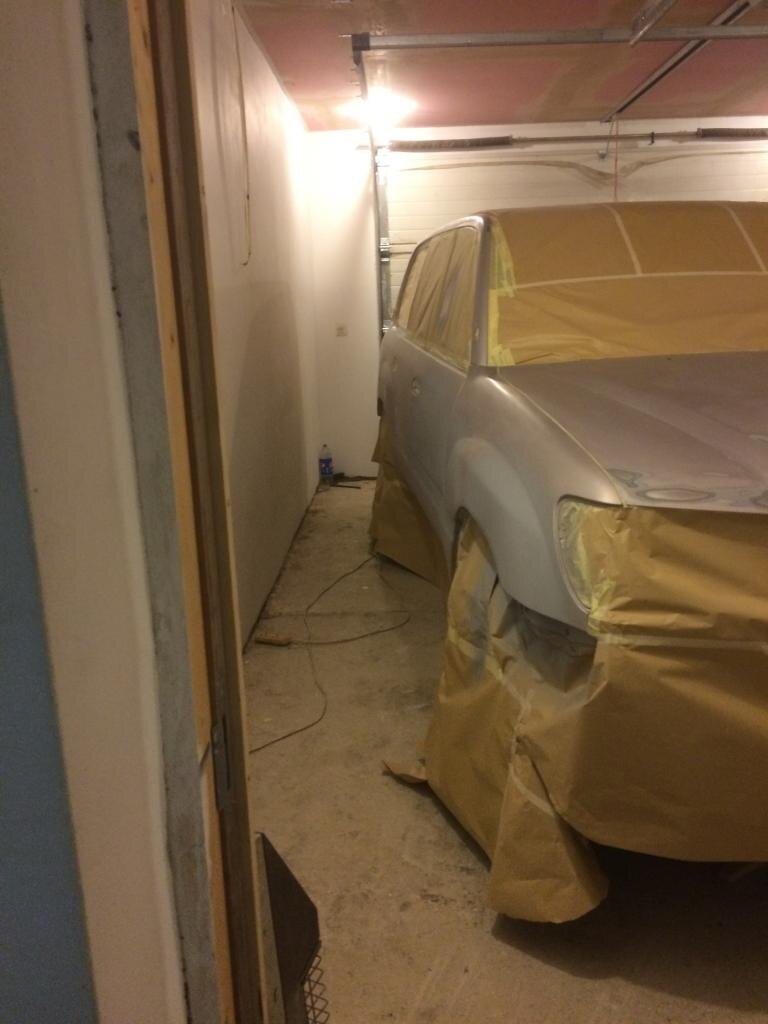
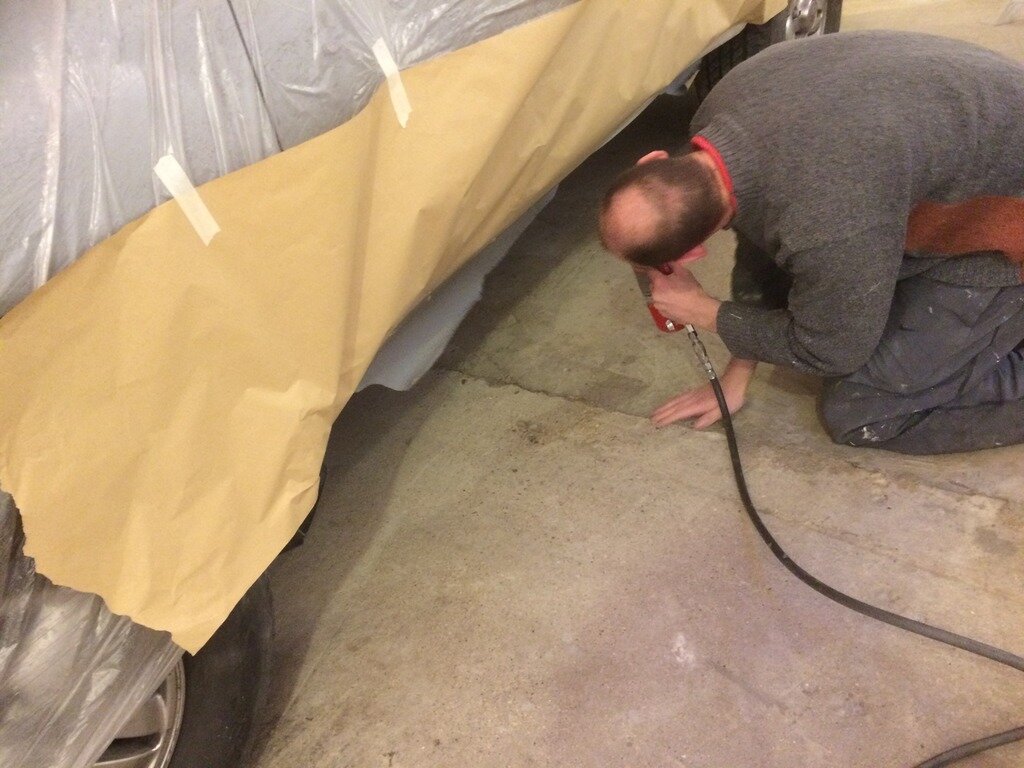
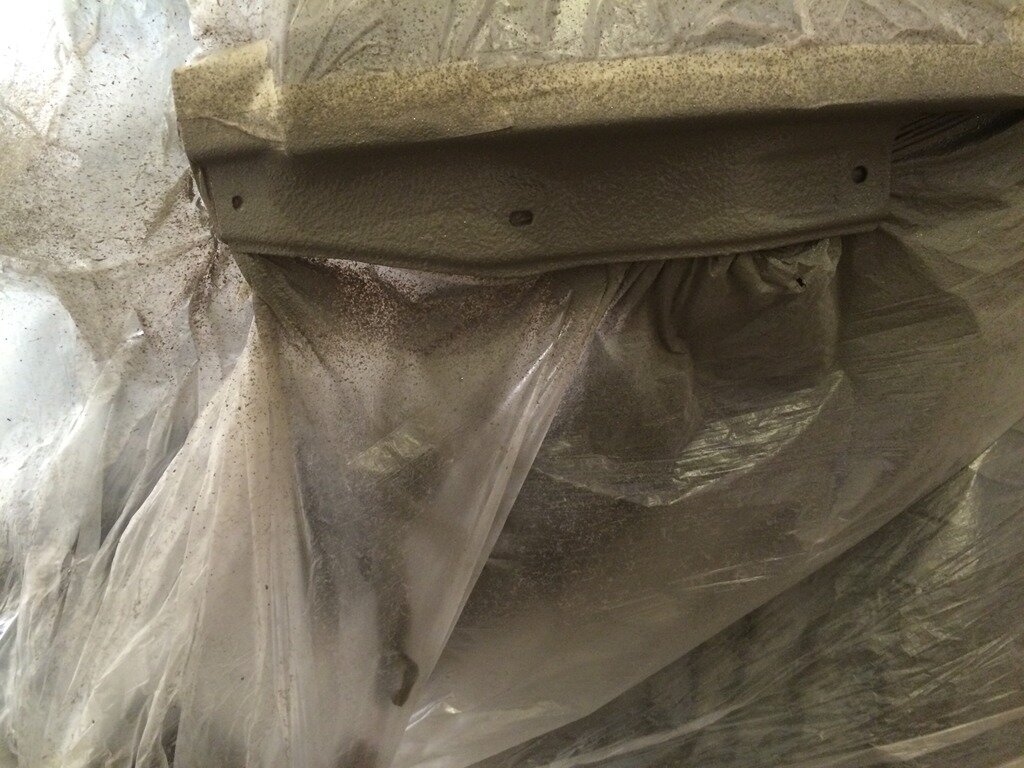
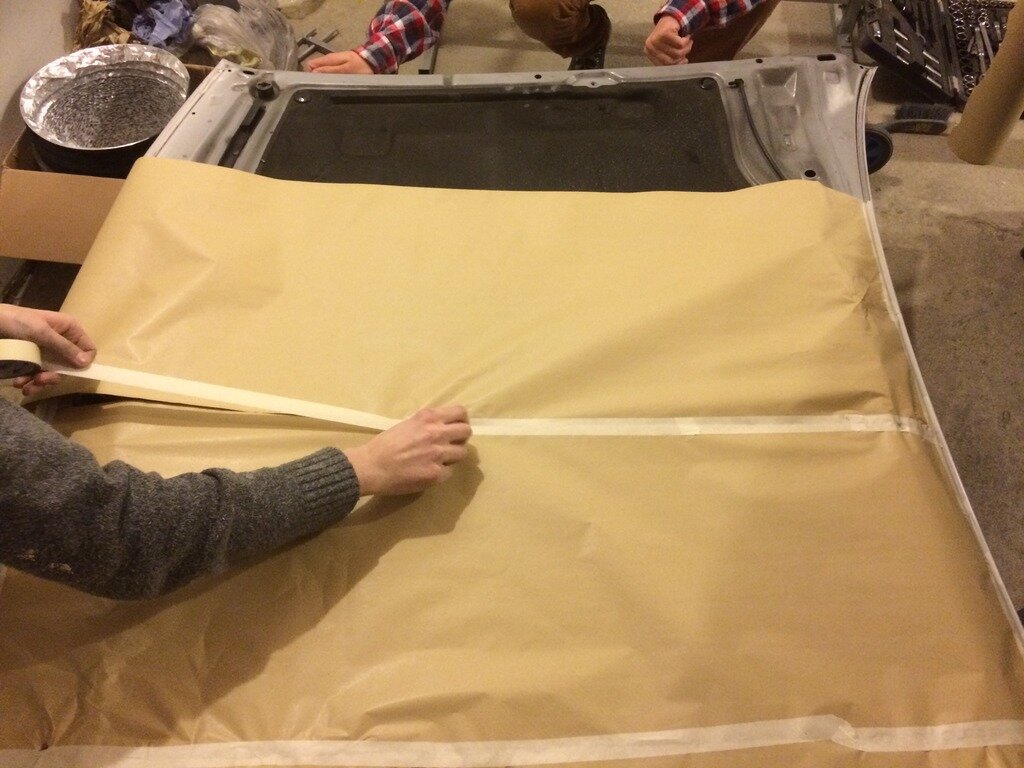
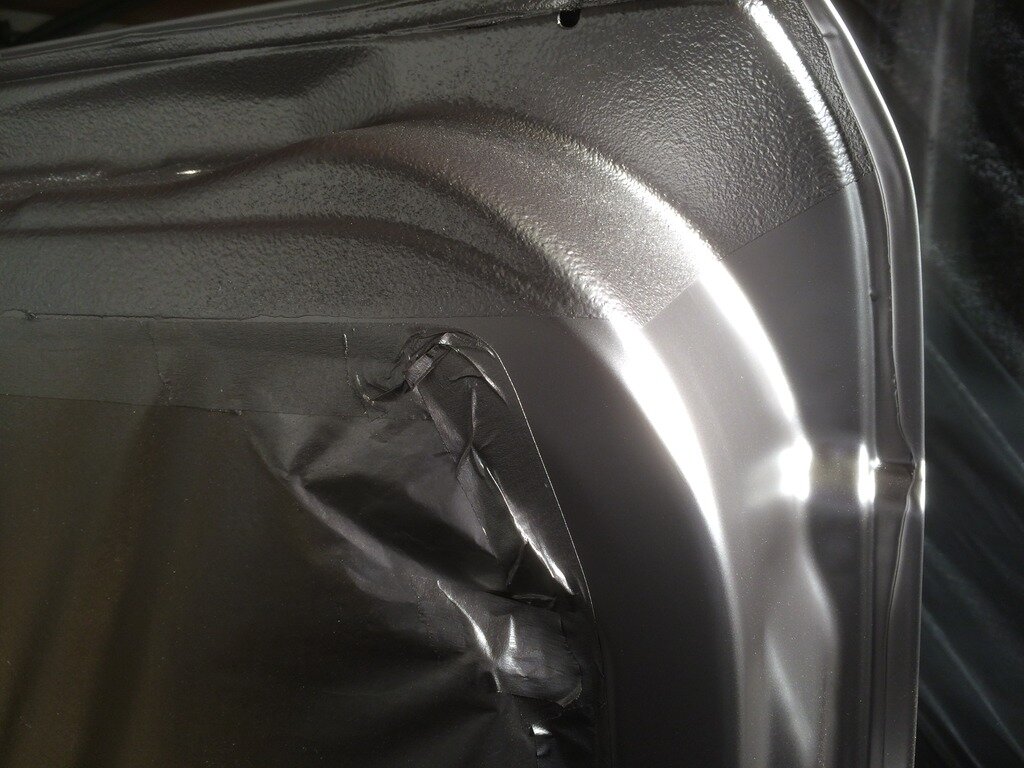
Then the first of many masking sessions (each spray session, whether primer, colour or clear coat leaves dust, as does flatting - dust is enemy #1, which means that the car and various panels are masked many times)
http://
http://
http://
http://
http://
http://
http://
Primer
http://
http://
http://
http://
http://
http://
http://
http://
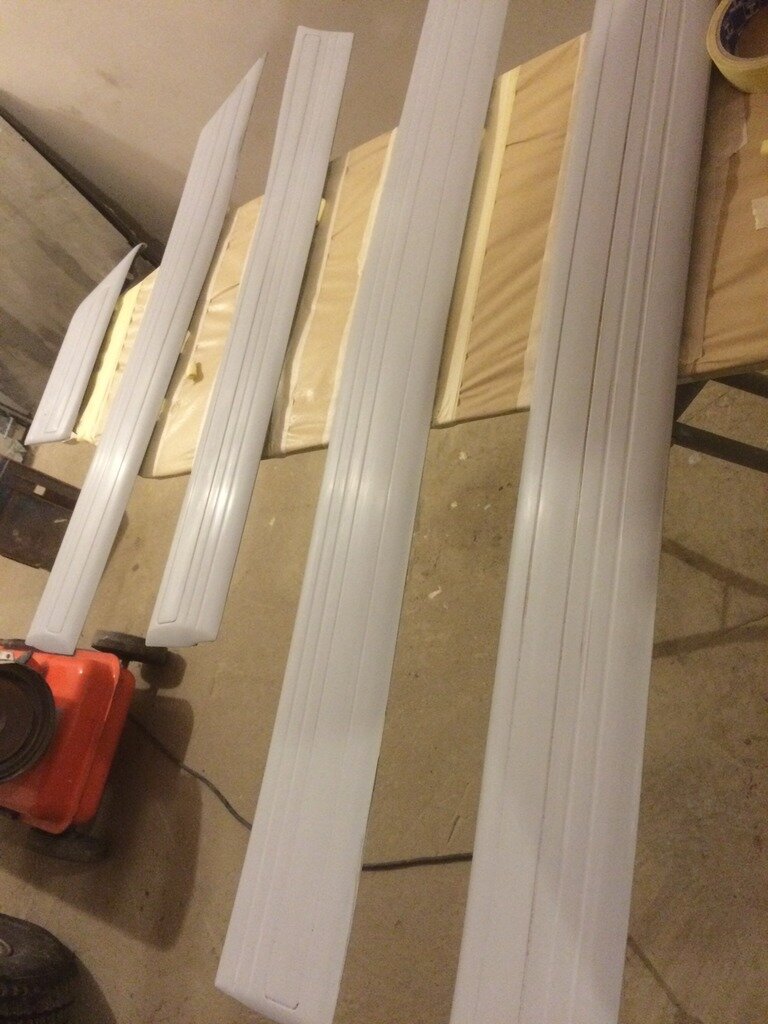
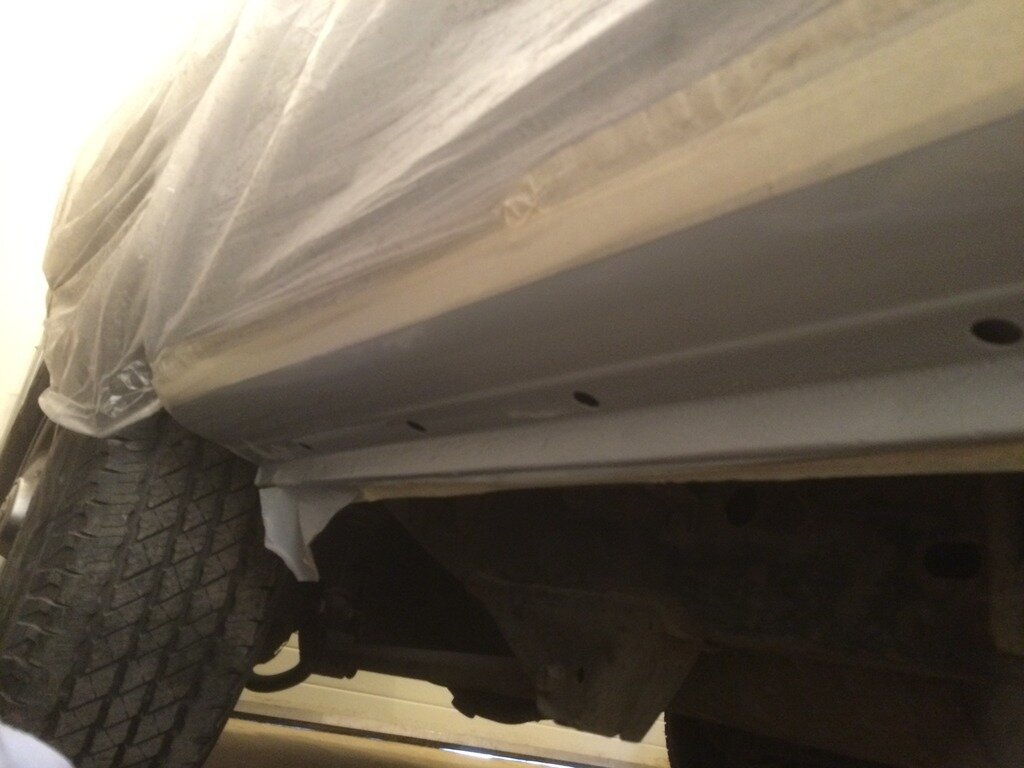
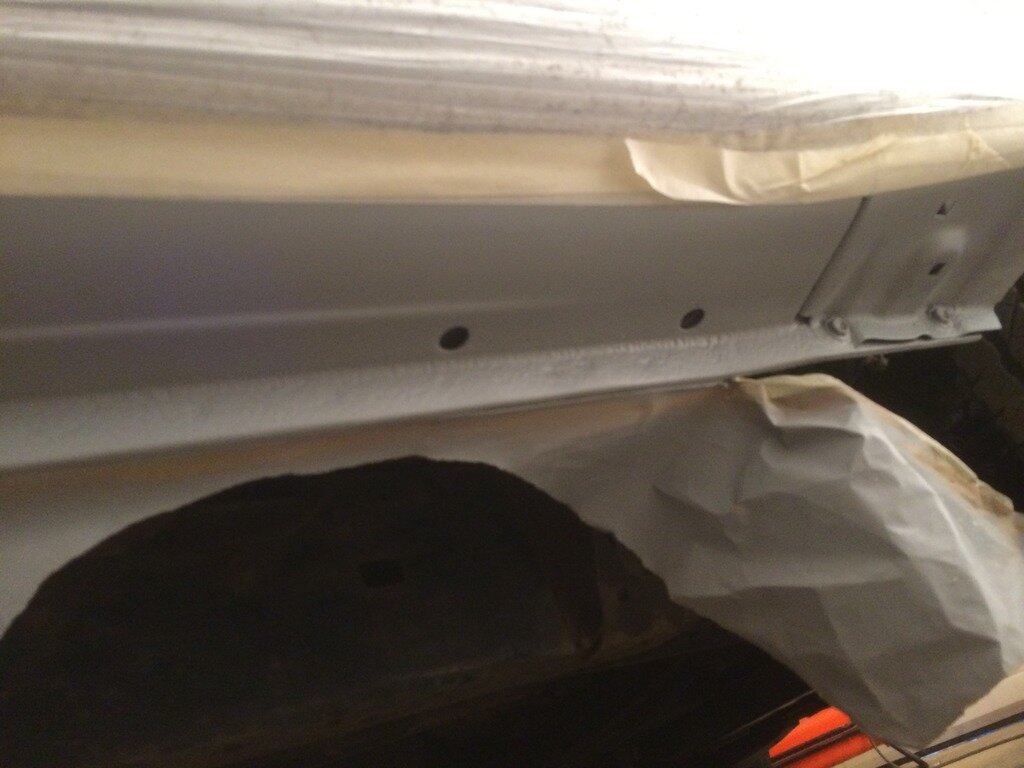
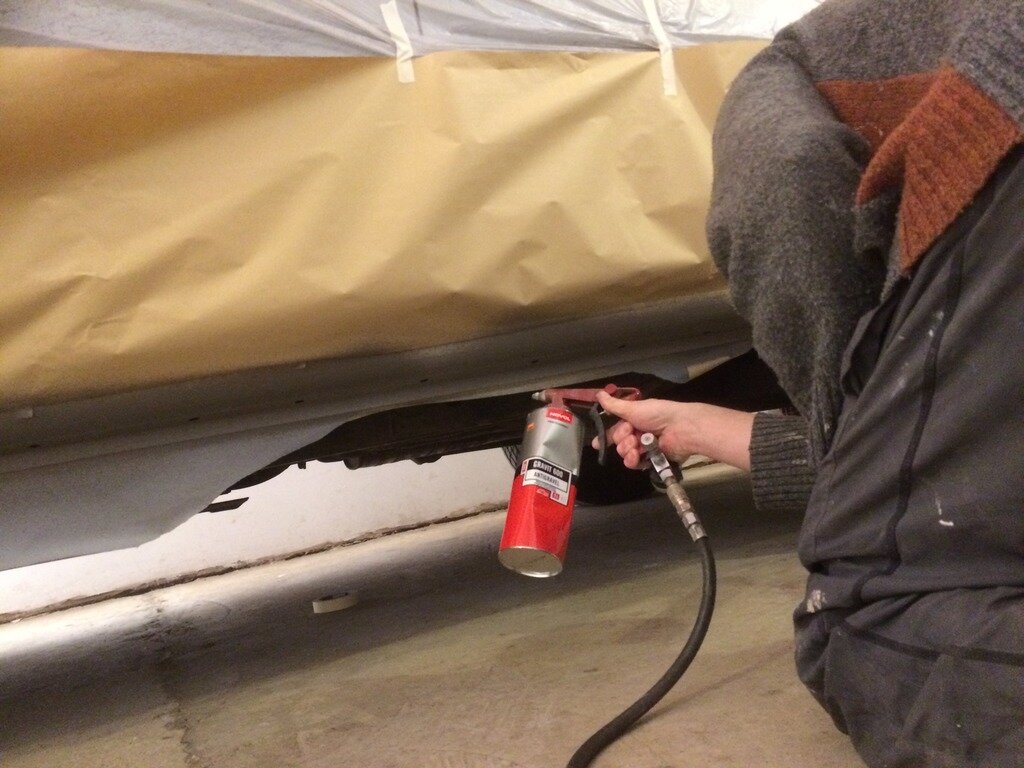
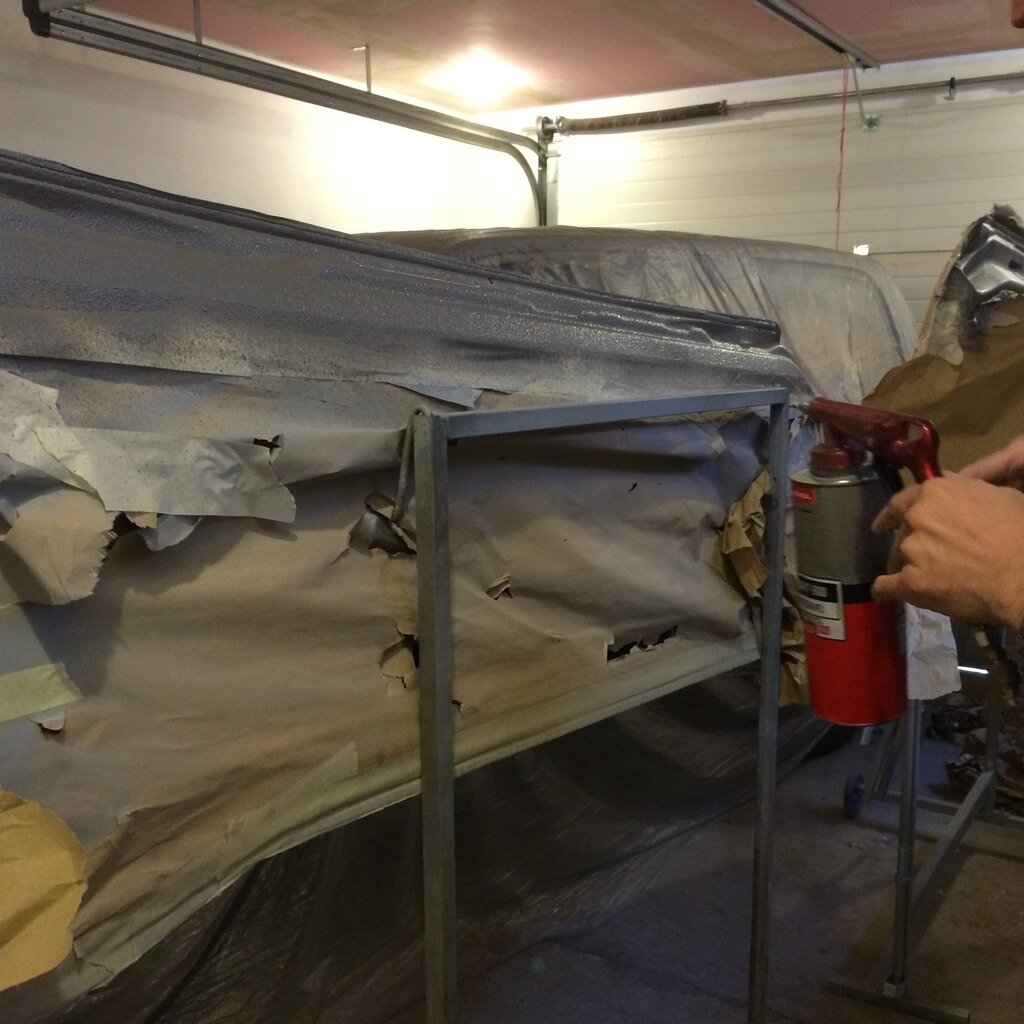
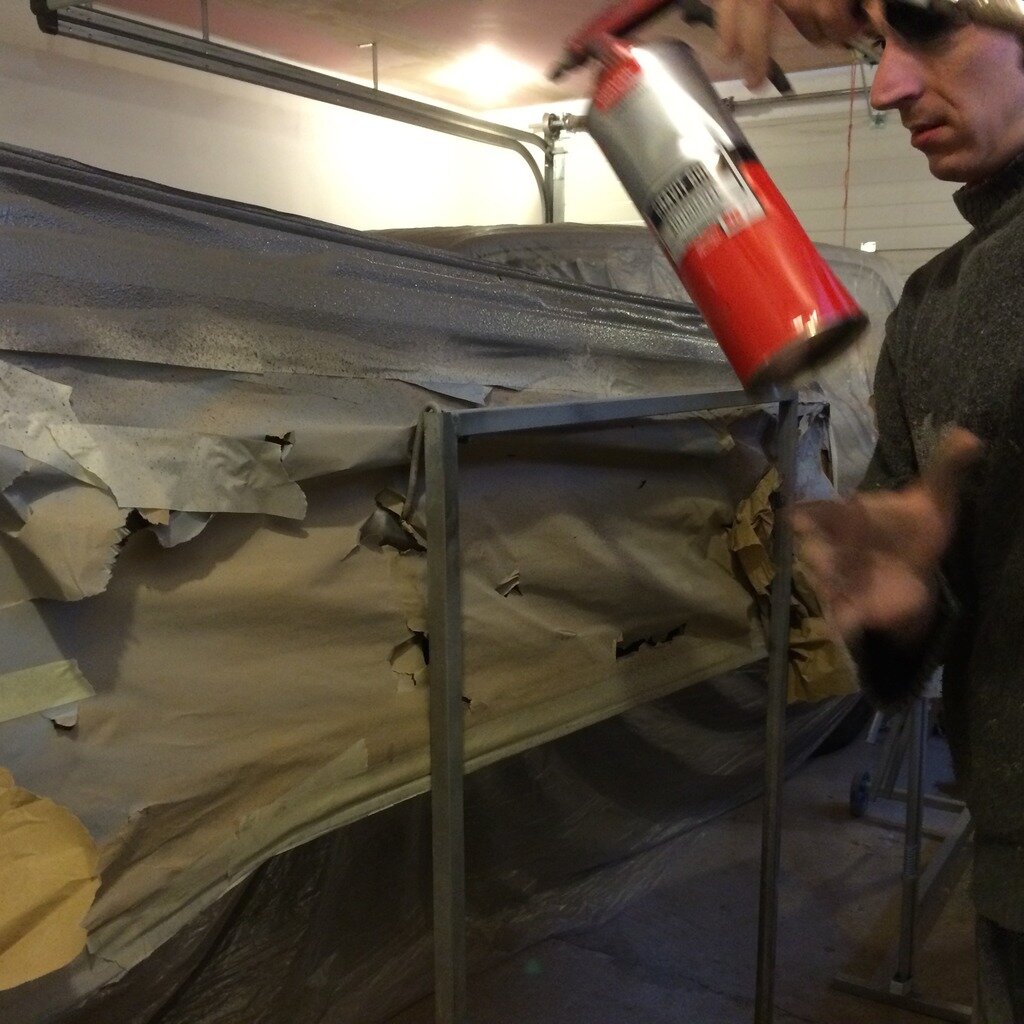
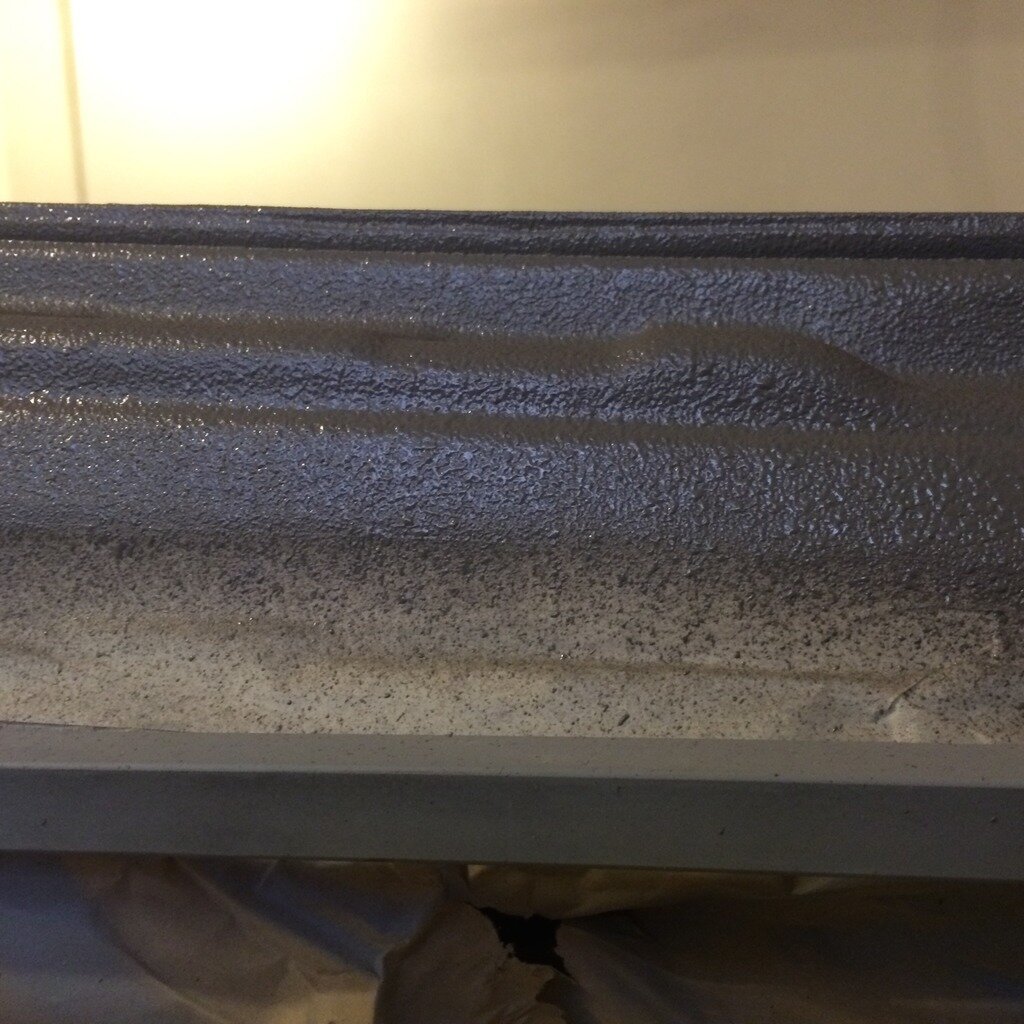
Sills are stripped and stone chipped
http://
http://
http://
http://
http://
http://
http://
http://
http://
http://
http://
http://
http://
http://
http://
http://
http://
http://
http://
http://
http://
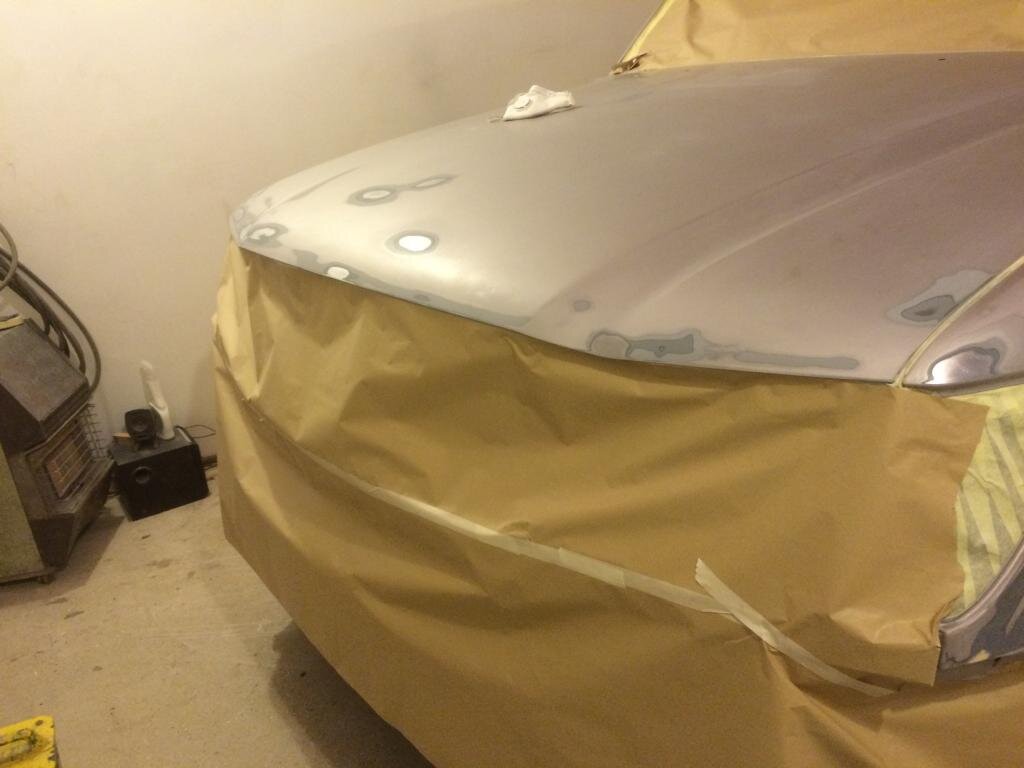
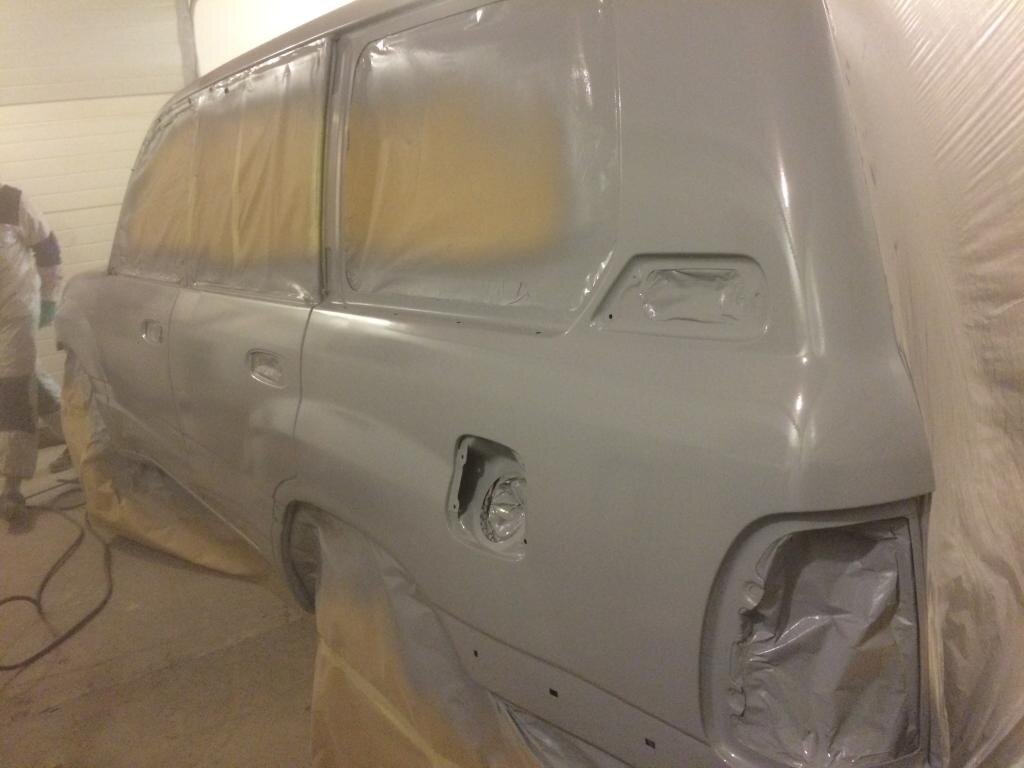
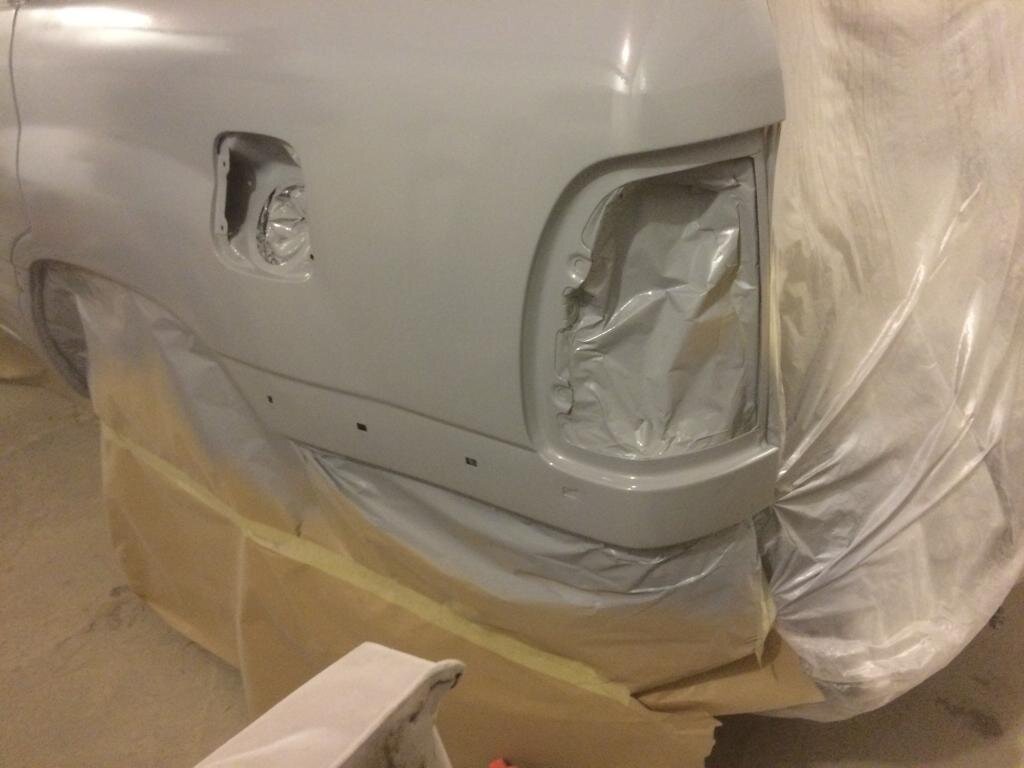
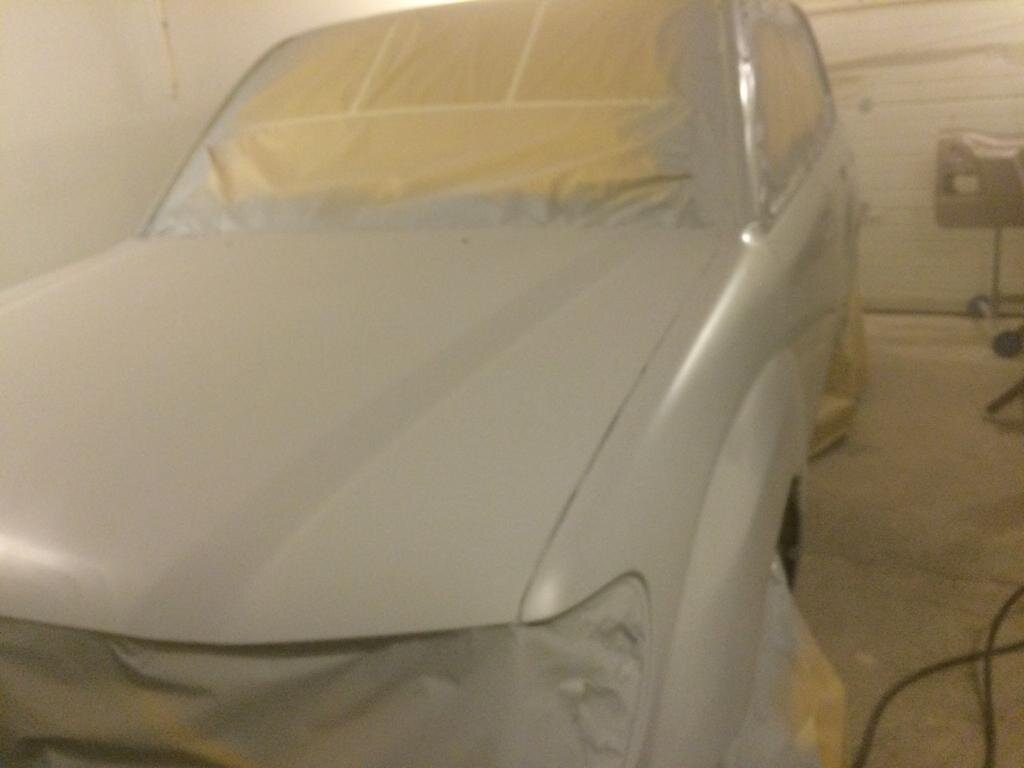
Then there's the colour coat
http://
http://
http://
http://
http://
http://
http://
http://
http://
http://
http://
http://
http://
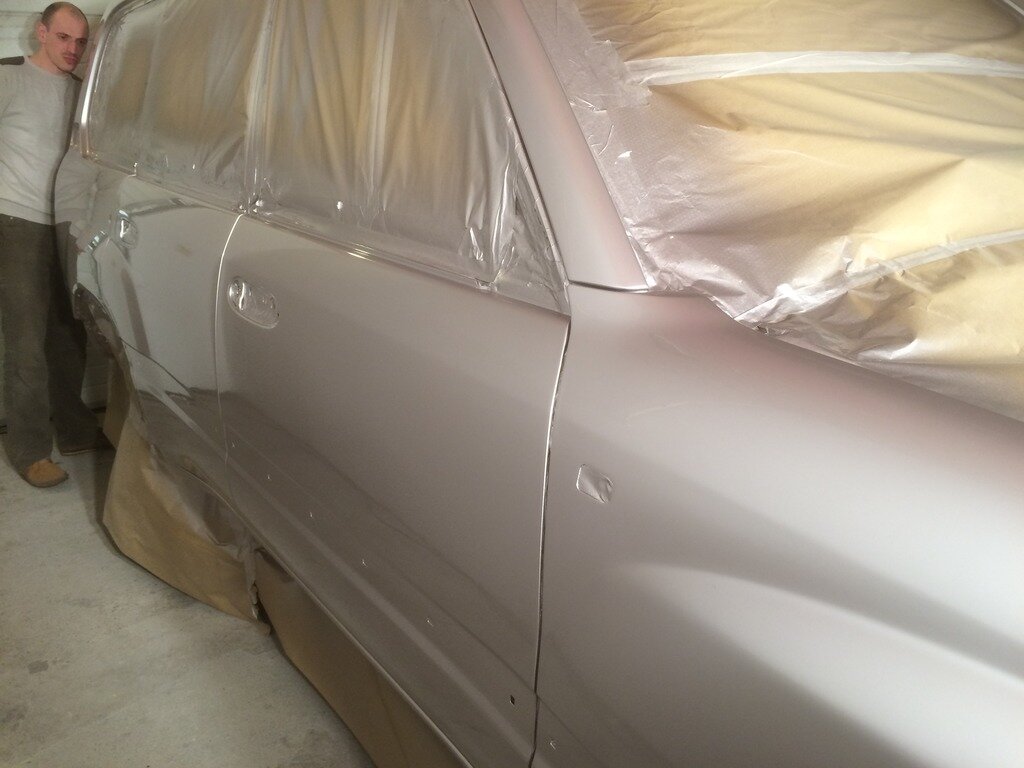
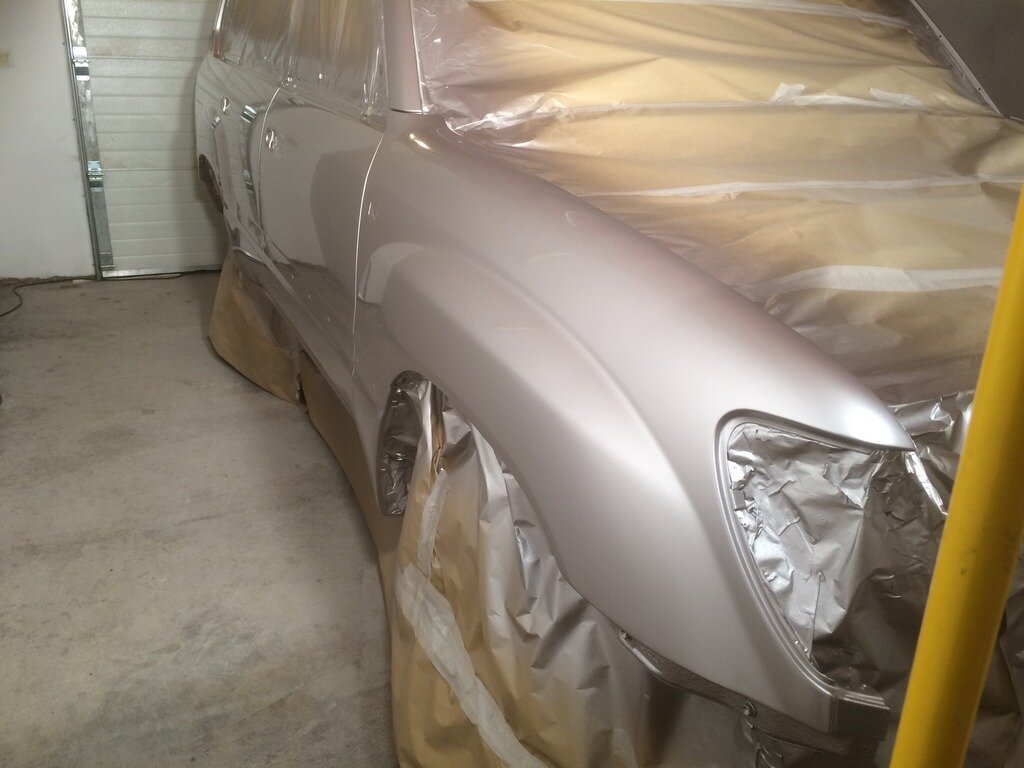
Bart, the sprayer gets a high gloss straight from the gun with no need to polish (he's got good extraction and filtration in the booth so dust particles aren't an issue). Three clear coats are used and he constantly monitors the temperature of the environment and brings paints and clear coat up to temperature before mixing.
320 hours so far and counting. I guess a total of 400 - 450 by the time it's completed and put back together.
If you've followed previous threads, you may remember that I had planned to sell my 100 a couple of years ago and put it into a local bodyshop to sort out Tesco car park dinks and scratches etc.
Didn't get round to selling the car and last summer bought an E320CDI Avangarde Sports (didn't need the seven seats anymore). Bought a full new carpet from Aus, new underlay / sound proofing, some body trim and badges. Plus a fairly big overhaul, most of the bushes, new driveshafts, brakes, wheel bearings valve clearances, cleaned the EGR and blanked it - not that I was having problems, but when you fit new parts the truck feels a bit tighter! Also had the leather (seats, door cards and steering wheel) redone (looks like new). In Dec I agreed to have the body redone as I wasn't happy with the earlier job. Only the body guy is a complete perfectionist and doesn't accept 'no' for an answer when he decides to go a bit further than agreed
So the job went from a tidy up to a complete restore - Plus! All trim off, lights out, bumpers off, handles and locks off, tailgates off, aerial out, grill out, rear side windows out, window rubbers off, roof rails off, door cards off, side steps off, plus stuff that I'm sure I forgot. All trolley dinks sorted, stone chips and any signs of rust taken back to bare metal and two different types of primer used, then flatted from 500 grit through to 800 grit prior to colour and clear coat. The bonnet was removed for colour and clear coat as it was too big to paint in position. The thin metal panel below the grill was removed for sandblasting and the stone chip on the sills was redone and inside the sills secured with something similar to stone chip (cavity something or another) - plus he decided that areas such as the rear quarter panel and wing below the bumper line should be stone chipped along with parts of the tailgates that can't be seen from outside of the car. He sent me all the way to Leicester for some of the materials (2K primer & colour coat) and ordered the other primer and clear coat from abroad as he will only use certain brands of paint! Btw I have no idea what this is costing me
Beginning of the strip down - The body wasn't in bad shape really - just the odd scratch and a few very small carpark dings.
http://

Bumpers are stripped out, along with rear side glass, all rubbers and weathers, door handles, repeaters, lights front and rear, roof rails, steps, mouldings, front grilled and the thin panel below it, the bonnet gets removed to be done separately on a frame along with both tailgates, filler cap and neck and air vents on rear quarters are removed along with inner wheel arch covers.
http://

http://
http://

http://

http://

http://

http://

http://

http://

http://

http://

http://

http://

http://

http://

http://

http://

http://

http://

After stripping out there's the massive job of cleaning inside wings, behind weatherstrips and where bumpers, lights etc went. Then there's the longwinded job of prepping each panel:
http://

http://

Then the first of many masking sessions (each spray session, whether primer, colour or clear coat leaves dust, as does flatting - dust is enemy #1, which means that the car and various panels are masked many times)
http://

http://

http://

http://

http://
http://

http://

Primer
http://

http://

http://

http://

http://

http://

http://

http://

Sills are stripped and stone chipped
http://

http://

http://

http://

http://

http://

http://

http://

http://

http://

http://

http://

http://

http://

http://
http://

http://

http://

http://

http://

http://

Then there's the colour coat
http://
http://
http://

http://

http://

http://

http://

http://

http://

http://

http://

http://

http://

Bart, the sprayer gets a high gloss straight from the gun with no need to polish (he's got good extraction and filtration in the booth so dust particles aren't an issue). Three clear coats are used and he constantly monitors the temperature of the environment and brings paints and clear coat up to temperature before mixing.
320 hours so far and counting. I guess a total of 400 - 450 by the time it's completed and put back together.
Attachments
-
 IMG_5288_zpscafd90c9.jpg76.5 KB · Views: 40
 -
 IMG_5286_zps91eb586c.jpg68.9 KB · Views: 30
 -
 IMG_5288_zpscafd90c9.jpg76.5 KB · Views: 29
 -
 IMG_5289_zpsfeecf57a.jpg55.9 KB · Views: 27
 -
 IMG_5290_zps80957a76.jpg60.3 KB · Views: 33
 -
 IMG_5292_zps24ba713e.jpg46.7 KB · Views: 28
 -
 IMG_5293_zps5ab5d91a.jpg48.4 KB · Views: 27
 -
 IMG_5295_zps89c597ee.jpg68 KB · Views: 29
 -
 IMG_5296_zps2d3383cf.jpg70.3 KB · Views: 29
 -
 IMG_5298_zpsd0eeec45.jpg54.7 KB · Views: 25
 -
 IMG_5301_zps6b3cd5b3.jpg59.7 KB · Views: 28
 -
 IMG_5358_zps053b0c29.jpg49 KB · Views: 29
 -
 IMG_5448_zps9b9f6cf2.jpg71.6 KB · Views: 31
 -
 IMG_5454_zps25c63e7d.jpg75.8 KB · Views: 28
 -
 IMG_5742_zpslhpavqyb.jpg174 KB · Views: 24
 -
 IMG_5819_zpsqtsq4mdy.jpg159.5 KB · Views: 26
 -
 IMG_5951_zpsawtqfibl.jpg130.8 KB · Views: 29
 -
 IMG_6105_zps7vojekgs.jpg227.6 KB · Views: 28
 -
 IMG_6106_zpsrhjam3bn.jpg240.4 KB · Views: 27
 -
 IMG_6107_zpseott4imc.jpg220.1 KB · Views: 25
 -
 IMG_5937_zpsoj96fjbl.jpg142.8 KB · Views: 35
 -
 IMG_5287_zps8a1452de.jpg81.7 KB · Views: 32
 -
 IMG_5374_zps00032ea7.jpg49.9 KB · Views: 26
 -
 IMG_5447_zps40ea1d3a.jpg56.2 KB · Views: 30
 -
 IMG_5452_zpsa4cbf6c1.jpg59.4 KB · Views: 32
 -
 IMG_5453_zps764f2ecb.jpg66.6 KB · Views: 26
 -
 IMG_5454_zps25c63e7d.jpg75.8 KB · Views: 33
 -
 IMG_5457_zpsadf11f6a.jpg57 KB · Views: 28
 -
 IMG_5459_zps12bcc053.jpg60.7 KB · Views: 30
 -
 IMG_5461_zps97a30ce8.jpg59.1 KB · Views: 27
 -
 IMG_5463_zpsa2c3d60a.jpg60.1 KB · Views: 28
 -
 IMG_5465_zps0b7ab6f1.jpg44.6 KB · Views: 28
 -
 IMG_5466_zpsb5155a66.jpg46.7 KB · Views: 29
 -
 IMG_5747_zpsd3qppevp.jpg163 KB · Views: 28
 -
 IMG_5750_zps1hwnuevr.jpg149.1 KB · Views: 29
 -
 IMG_5752_zpsymcgxlbq.jpg134.4 KB · Views: 28
 -
 IMG_5755_zpsubkncyha.jpg135.8 KB · Views: 23
 -
 IMG_5795_zpsv9lxdy1w.jpg118.4 KB · Views: 30
 -
 IMG_5796_zpslvwlwfor.jpg116.1 KB · Views: 26
 -
 IMG_5797_zpsuqqbp8ta.jpg180.3 KB · Views: 29
 -
 IMG_5800_zpsewjhdsza.jpg178.6 KB · Views: 28
 -
 IMG_5801_zpskpgbifbw.jpg193.8 KB · Views: 38
 -
 IMG_5802_zpsdtbnlznh.jpg184.4 KB · Views: 28
 -
 IMG_5803_zpsbaax9alf.jpg176.1 KB · Views: 27
 -
 IMG_5804_zps08bcdo1g.jpg206.9 KB · Views: 32
 -
 IMG_5888_zpsg31fl8rm.jpg170.9 KB · Views: 27
 -
 IMG_5890_zps7tenst6a.jpg203.8 KB · Views: 29
 -
 IMG_5891_zpsyiwubtsb.jpg205.8 KB · Views: 31
 -
 IMG_5894_zpsbyumkzx3.jpg228.5 KB · Views: 31
 -
 IMG_5898_zpsey5sz4lg.jpg252.6 KB · Views: 26
 -
 IMG_5936_zps0mxvdqi3.jpg163.8 KB · Views: 38
 -
 IMG_5937_zpsoj96fjbl.jpg142.8 KB · Views: 38
 -
 IMG_5938_zpsbmulsh2u.jpg140 KB · Views: 22
 -
 IMG_5940_zpsswtr6lbn.jpg149.5 KB · Views: 35
 -
 IMG_5942_zpsojwma2tb.jpg153.2 KB · Views: 28
 -
 IMG_5944_zpspzhmapot.jpg147.3 KB · Views: 34
 -
 IMG_5945_zpsab4w4lc8.jpg133.2 KB · Views: 26
 -
 IMG_5949_zpszicabxok.jpg172 KB · Views: 29
 -
 th_IMG_5776_zps15pcleqw.mp4.jpg3.8 KB · Views: 27
 -
 th_IMG_5768_zpss9wwdbj6.mp4.jpg3.8 KB · Views: 28
 -
 IMG_6026_zpsvnkj9jcx.jpg138 KB · Views: 29
 -
 IMG_6035_zpsz8x1vnpr.jpg175.9 KB · Views: 29
 -
 IMG_6051_zpspcalfu59.jpg99.9 KB · Views: 35
 -
 IMG_6052_zpsfhqyfrau.jpg85.4 KB · Views: 36
 -
 IMG_6057_zpsucycy8tz.jpg135.1 KB · Views: 39
 -
 IMG_6075_zps0swnvpta.jpg112.9 KB · Views: 27
 -
 IMG_6225_zpswkarux6i.jpg132.1 KB · Views: 29
 -
 IMG_6226_zpsg8vjqfjh.jpg108.9 KB · Views: 30
 -
 IMG_6229_zpsizjdmmw5.jpg122.9 KB · Views: 25
 -
 IMG_6231_zpsv6p8kdbk.jpg100.5 KB · Views: 25
 -
 IMG_6232_zpsrulpfxod.jpg140.5 KB · Views: 30
Last edited:

")


