Rob
Well-Known Member
Leaking power steering pumps seem to be quite common on the 80. This is not something you should ignore as the pump is gear driven of the crankshaft so if it were to seize due to a lack of oil it could cause serious damage to your engine. The fix is quite simple, all you need to get is a pump rebuild kit part number 04446-60070 for my 97 1HD-FT. This kit comes with all the internal oil seals, o-rings and copper crush washers for the high pressure pipe coming off it and a o-ring for the return pipe. As far as parts go all you need is in the kit. This guide is relevant to all 1H engines including 70 series and 100 series, but as I did this on an 80 it may be 80 specific in some cases.
You will need the following tools: socket set including an assortment of UJs and extensions, a 22mm socket (if you dont have one in your set) and a 17mm 12 sided socket (double hex). A vice is very useful.
The PSP (power steering pump) is located bottom left near the front of the engine. You have 3 access points, through the bonnet using extensions and UJs, through the front left wheel arch (remove plastic flap and turn wheel to the left or remove) and from the bottom (remove the front bash plate, the one near the steering damper).
You can either drain the fluid from the system completly or just disconnect the pipes and catch what comes out. It you wnat to drain it completely you need to disconect the return pipe that goes into the reservoir, see red arrow below.

When doing this be prepared to catch any fluid that comes out of the reservoir into a jar or something. Now take the return pipe and pull it out the bottom of the truck and place a container to collect the fluid underneath it. Now get someone to turn the engine on and turn the wheel lock to lock until there is no fluid coming out (best to do this with the vehicle on stands). You need to keep an eye on this as you could cause damage to the pump if you run it too long without fluid.
Once drained you need to disconnect the 2 pipes on the PSP. The one on the top needs a 22mm socket (high pressure) and the one underneath (return) is held in place with 2 bolts, 10mm socket. You will need to unbolt the return pipe from the bracket that holds it in place before removing it from the pump. This is the return pipe:

Now you need to unbolt the pump from the engine. The pump is held in place by 2 bolts, use 14mm sockets (green below). I could only get to these using a spanner as there is not enough space for a socket. Also I have some weird foamy material in between the PSP and the fuel pump so access is difficult. Once you get the bolts out pull the pump out and you should have this in your hands:

Now you can see you you need a 17mm double hex socket. Hold the gear with a pipe wrench (gear wrapped in rag) and unbolt the 17mm double hex nut. Now you need to pull the gear off which was rather difficult as the shaft is in the shape of a cone. Use a soft hammer or equivalent to break it free. Now split the pump by undoing the 3 bolts, 14mm sockets, taking note of how the 2 sides fit together (use match marks).
Now you will have 2 halves, one with the shaft and the other looking like this:

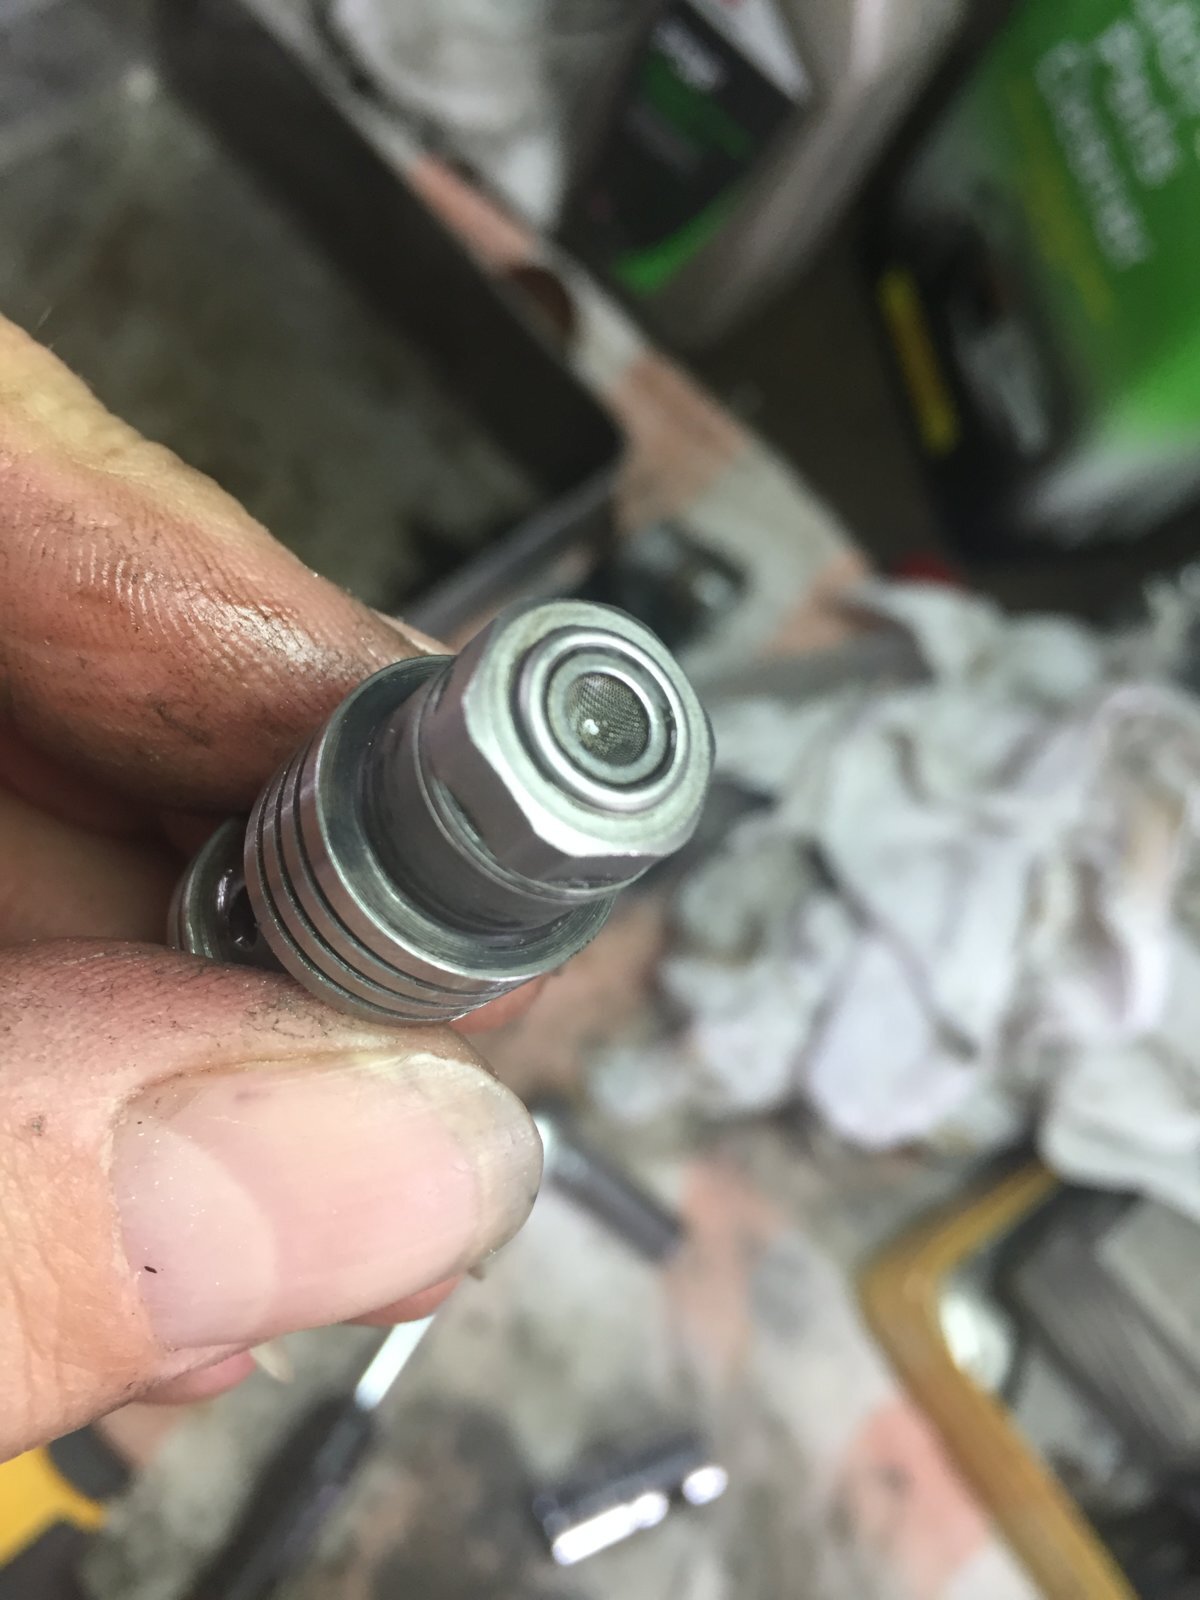
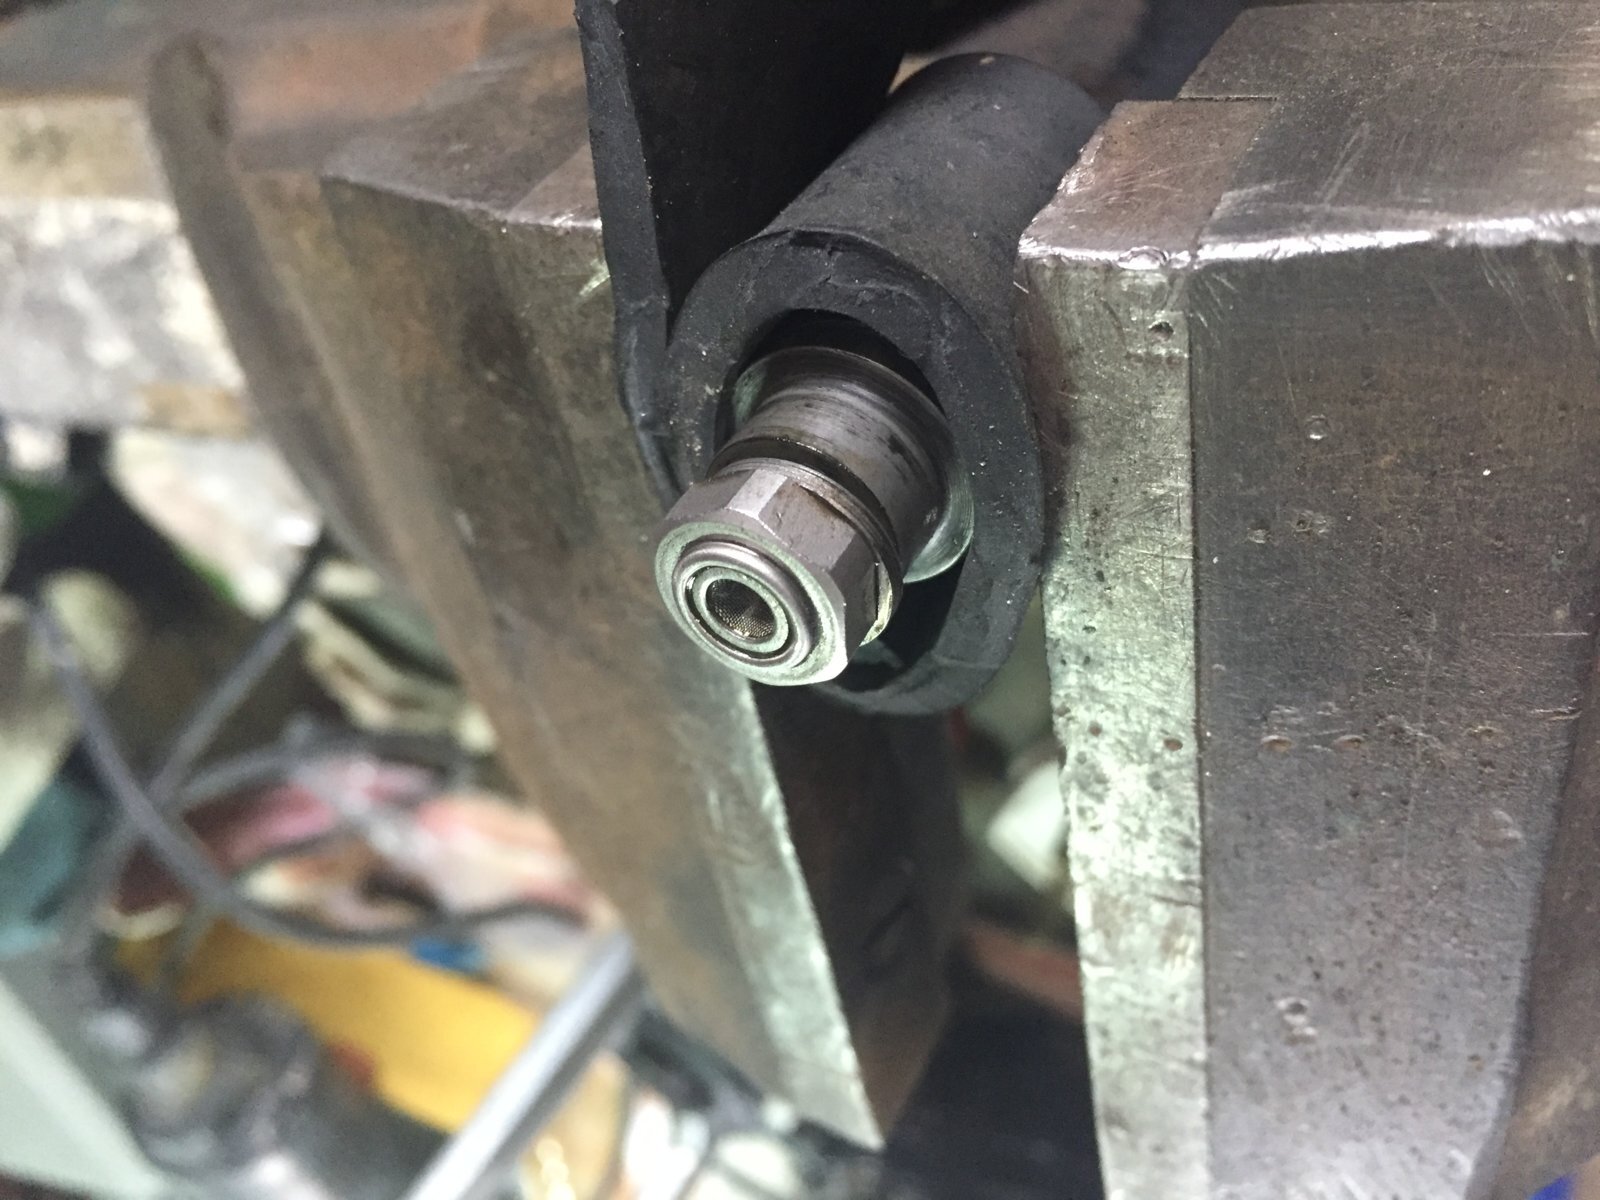
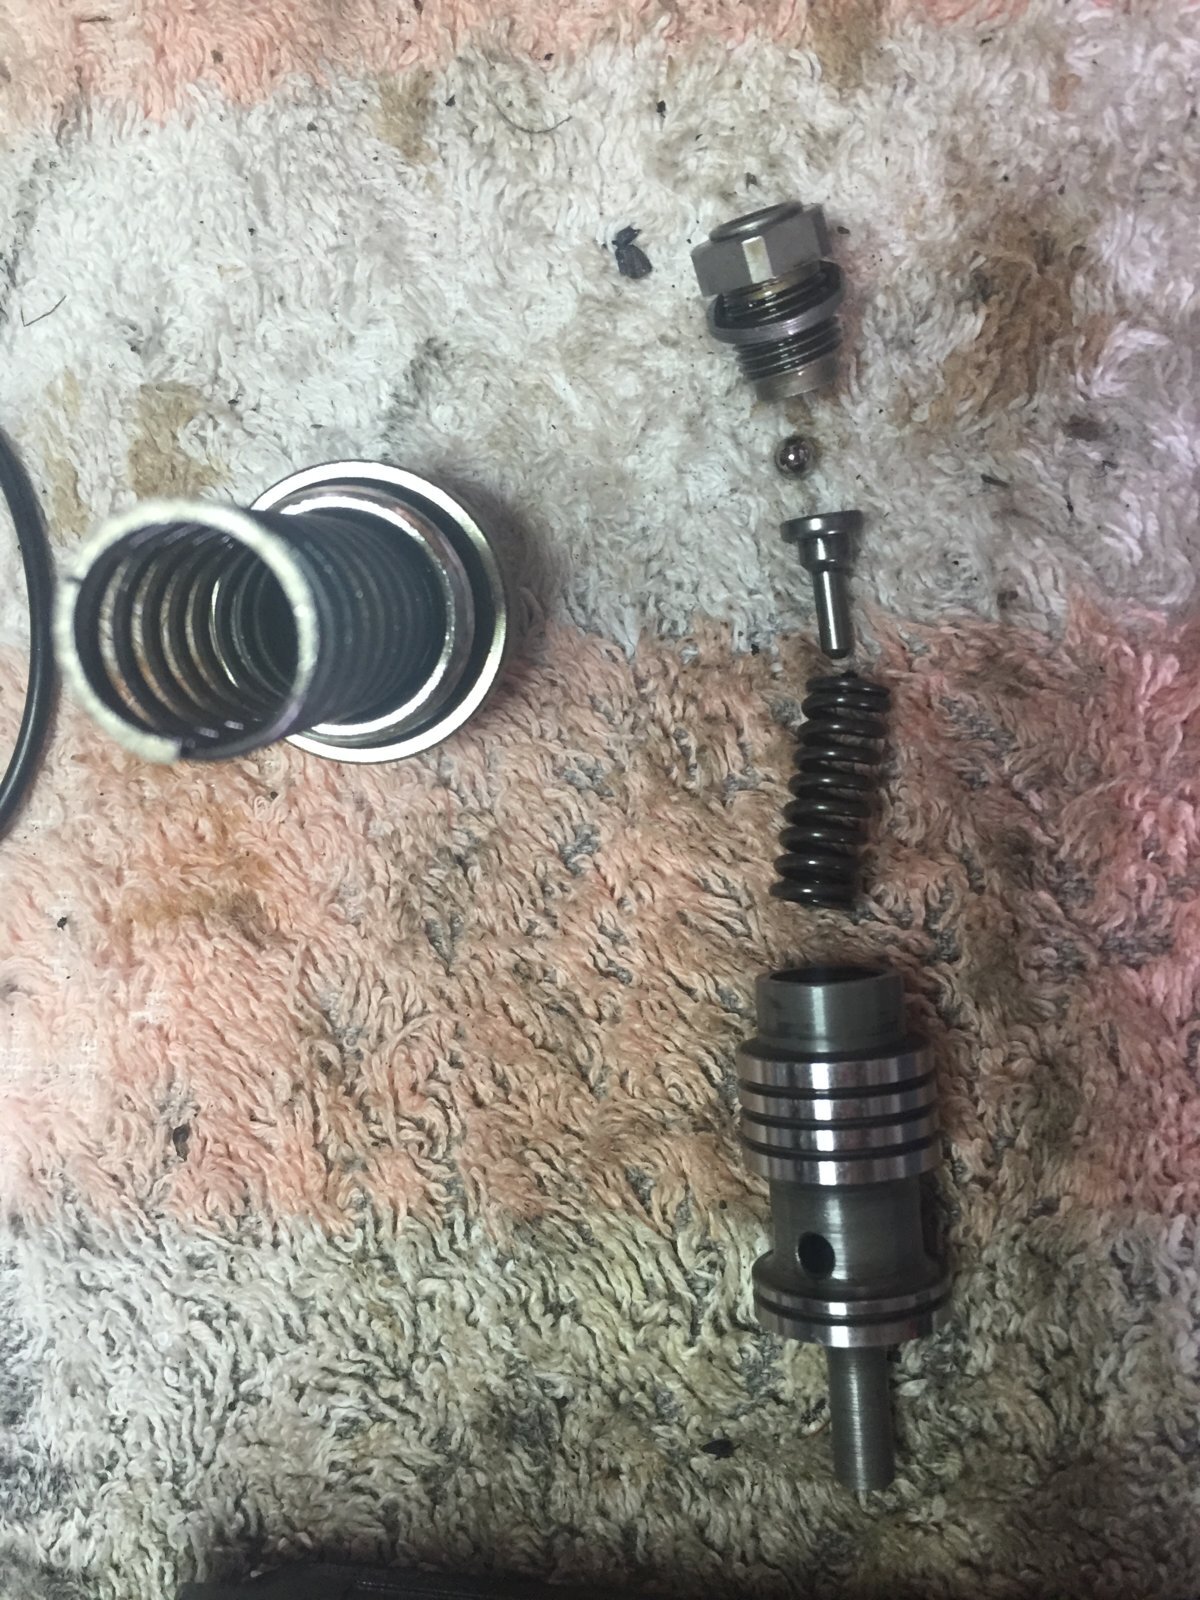
There is one seal inside the half in the above picture but i had great difficulty taking all the bits out so i passed on that. According to the FSM you need to use a hammer (at the time i did not know where the 3rd large o ring went). If you do remove it take note of how the vanes go in, round edges near the outside. Remove the flow control valve, see red above and below
The other half will have a snap ring, just behind where the drive gear was. You will need to remove it in order to remove the shaft and bearing. Be careful not to damage the bearing. Once out the shaft should come out if you tap it with a hammer. You will now see the oil seal, prise it out with a screwdriver and take note of which way round it was. You should now have something like this:

When assembling it you will need to coat all the internal parts with ATF fluid DII or DIII and the oil seal on the shaft needs a film or red rubber grease. If you managed to get the bits out that are below the vanes etc then you need to make sure it all aligns properly using the locating dowel. Once assembled put it back onto the engine and connect the pipes using new o-rings and crush washers. Do not overtighten the small bolts on the return pipe. Now connect the pipe that you disconnected from the reservoir and fill with ATF fluid (DII or DIII). To bleed the system turn the engine on for a few seconds and turn off then top up the fluid. Remember to keep turning the wheels from lock to lock when the engine is off. Once you don't need to keep topping it up let it run for a few minutes turning the wheels lock to lock to get all the air out of the system. When the fluid in the reservoir is clear (not foamy) then you know you got all the air out. Keep an eye on the fluid for a day or so and top up accordingly. For a complete drain and hydraulic winch install I used just under 2 litres of ATF.
I also changed the pipes that go between the PSP and PSB(power steering box). To do this I needed to lift the radiator up a bit to get the pipes over the front cross member.
(To admin please add this to the 80, 100 and 70 stickys)
You will need the following tools: socket set including an assortment of UJs and extensions, a 22mm socket (if you dont have one in your set) and a 17mm 12 sided socket (double hex). A vice is very useful.
The PSP (power steering pump) is located bottom left near the front of the engine. You have 3 access points, through the bonnet using extensions and UJs, through the front left wheel arch (remove plastic flap and turn wheel to the left or remove) and from the bottom (remove the front bash plate, the one near the steering damper).
You can either drain the fluid from the system completly or just disconnect the pipes and catch what comes out. It you wnat to drain it completely you need to disconect the return pipe that goes into the reservoir, see red arrow below.

When doing this be prepared to catch any fluid that comes out of the reservoir into a jar or something. Now take the return pipe and pull it out the bottom of the truck and place a container to collect the fluid underneath it. Now get someone to turn the engine on and turn the wheel lock to lock until there is no fluid coming out (best to do this with the vehicle on stands). You need to keep an eye on this as you could cause damage to the pump if you run it too long without fluid.
Once drained you need to disconnect the 2 pipes on the PSP. The one on the top needs a 22mm socket (high pressure) and the one underneath (return) is held in place with 2 bolts, 10mm socket. You will need to unbolt the return pipe from the bracket that holds it in place before removing it from the pump. This is the return pipe:

Now you need to unbolt the pump from the engine. The pump is held in place by 2 bolts, use 14mm sockets (green below). I could only get to these using a spanner as there is not enough space for a socket. Also I have some weird foamy material in between the PSP and the fuel pump so access is difficult. Once you get the bolts out pull the pump out and you should have this in your hands:

Now you can see you you need a 17mm double hex socket. Hold the gear with a pipe wrench (gear wrapped in rag) and unbolt the 17mm double hex nut. Now you need to pull the gear off which was rather difficult as the shaft is in the shape of a cone. Use a soft hammer or equivalent to break it free. Now split the pump by undoing the 3 bolts, 14mm sockets, taking note of how the 2 sides fit together (use match marks).
Now you will have 2 halves, one with the shaft and the other looking like this:

There is one seal inside the half in the above picture but i had great difficulty taking all the bits out so i passed on that. According to the FSM you need to use a hammer (at the time i did not know where the 3rd large o ring went). If you do remove it take note of how the vanes go in, round edges near the outside. Remove the flow control valve, see red above and below
The other half will have a snap ring, just behind where the drive gear was. You will need to remove it in order to remove the shaft and bearing. Be careful not to damage the bearing. Once out the shaft should come out if you tap it with a hammer. You will now see the oil seal, prise it out with a screwdriver and take note of which way round it was. You should now have something like this:

When assembling it you will need to coat all the internal parts with ATF fluid DII or DIII and the oil seal on the shaft needs a film or red rubber grease. If you managed to get the bits out that are below the vanes etc then you need to make sure it all aligns properly using the locating dowel. Once assembled put it back onto the engine and connect the pipes using new o-rings and crush washers. Do not overtighten the small bolts on the return pipe. Now connect the pipe that you disconnected from the reservoir and fill with ATF fluid (DII or DIII). To bleed the system turn the engine on for a few seconds and turn off then top up the fluid. Remember to keep turning the wheels from lock to lock when the engine is off. Once you don't need to keep topping it up let it run for a few minutes turning the wheels lock to lock to get all the air out of the system. When the fluid in the reservoir is clear (not foamy) then you know you got all the air out. Keep an eye on the fluid for a day or so and top up accordingly. For a complete drain and hydraulic winch install I used just under 2 litres of ATF.
I also changed the pipes that go between the PSP and PSB(power steering box). To do this I needed to lift the radiator up a bit to get the pipes over the front cross member.
(To admin please add this to the 80, 100 and 70 stickys)


