Don't like the adverts?  Click here to remove them

2h turbo and intercooler installation

Thanks for the cupa Iwan, it was most welcome :icon-biggrin: Next time I want to be following your 60 up the lane to adventures new :icon-smile: You've got that pushed on from when I saw it on Sunday, I guess the chap that does your sanding has been busy then :lol: Only photo I got was this one of you and Giles chewing the fat.


IMG_8890_zps138d42a9.jpg

Your most welcome for the cuppa mate! Thanks for leaving the milk and jammy dodgers!

After all the new mods to the 60 I am well looking forward to get some use out of it :) Not long now, know all that needs to be done to it!! Sorry for the late reply, been on some late ones with this mission. Its a bit much cooking dinner at 10! lol ...
 
Iwan,

great work can't wait to see finished job and hear how it goes plus bet she sounds great with the turbo and straight through 3" pipe, I had an old V8 disco with a straight through pipe sounded great it almost made the 12 mpg worth while, I think you use more fuel just giving it a little blip every time you stop.
made me smile every time I turned the key :icon-biggrin::icon-biggrin::icon-biggrin: Yours will do the same I'm sure with that lovely straight 6.

Mike
 
Hey cheers Mike!

To be honest the job has been a blast, really enjoyed the job! Its the scheming that gets me! To notice and to improve things.

60 bumper and turbo 011.JPG

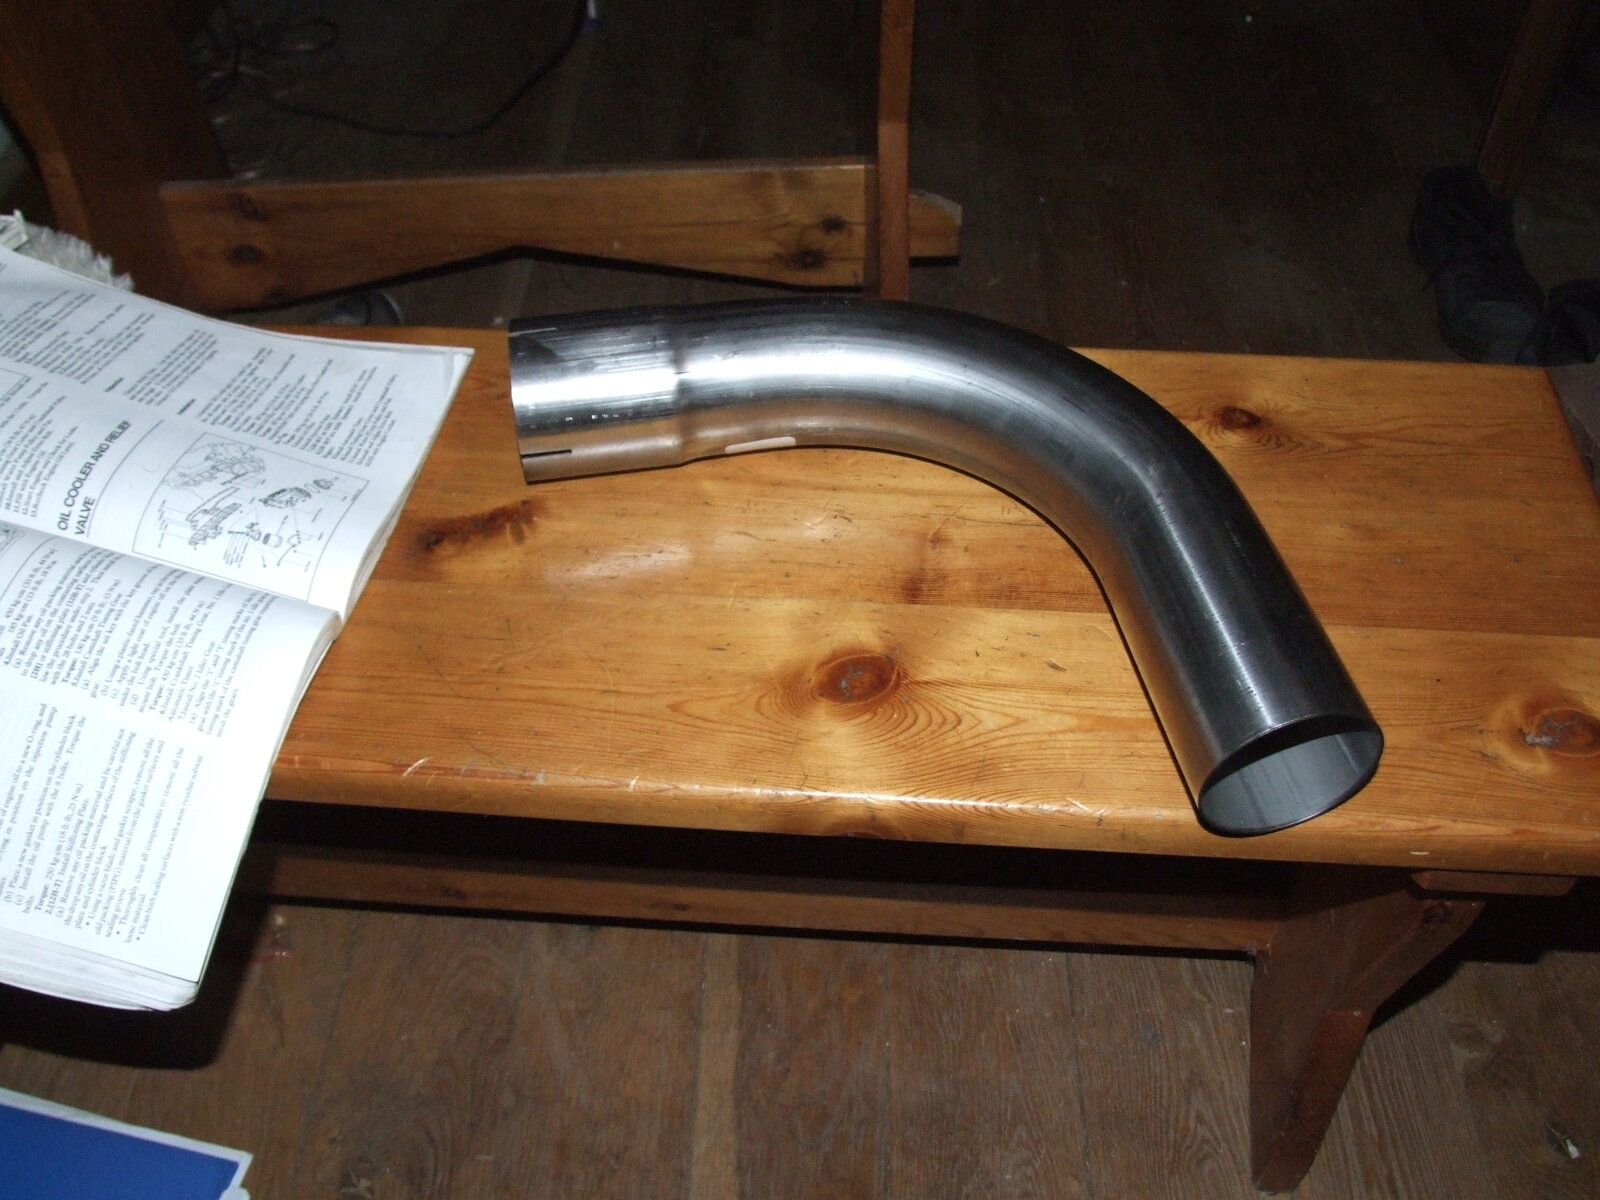
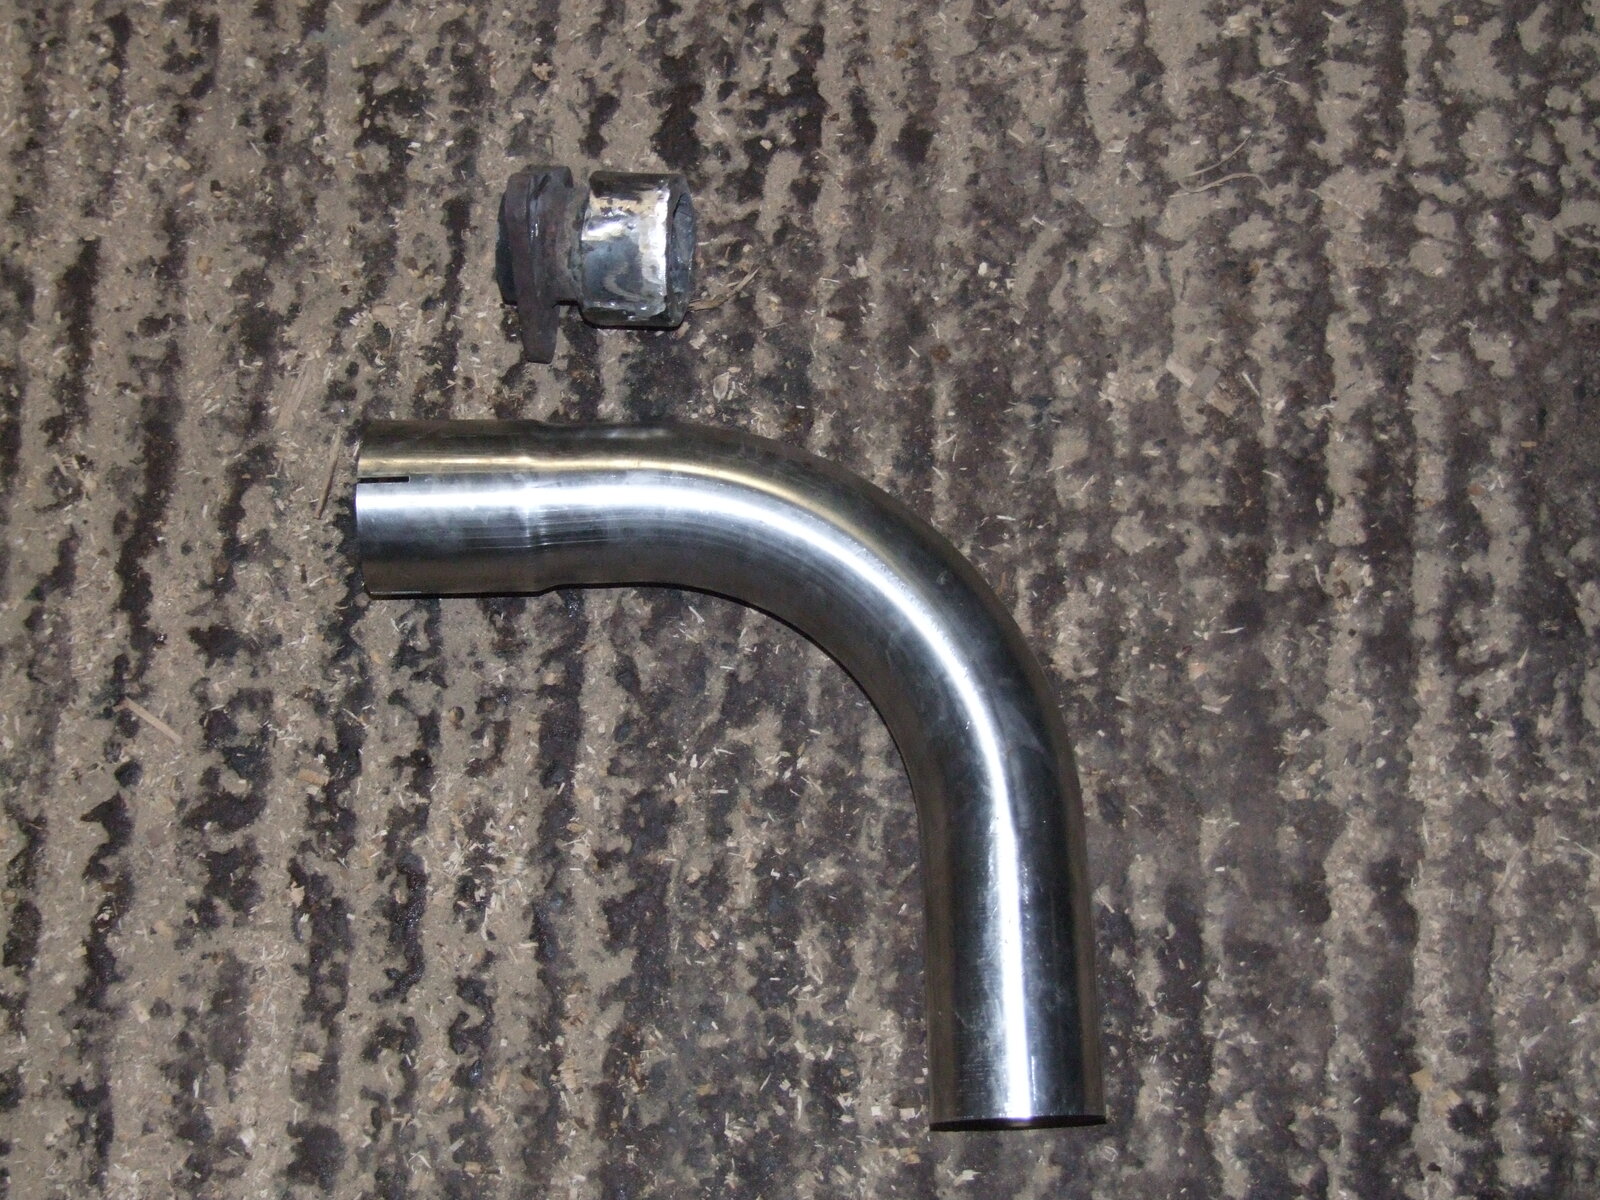
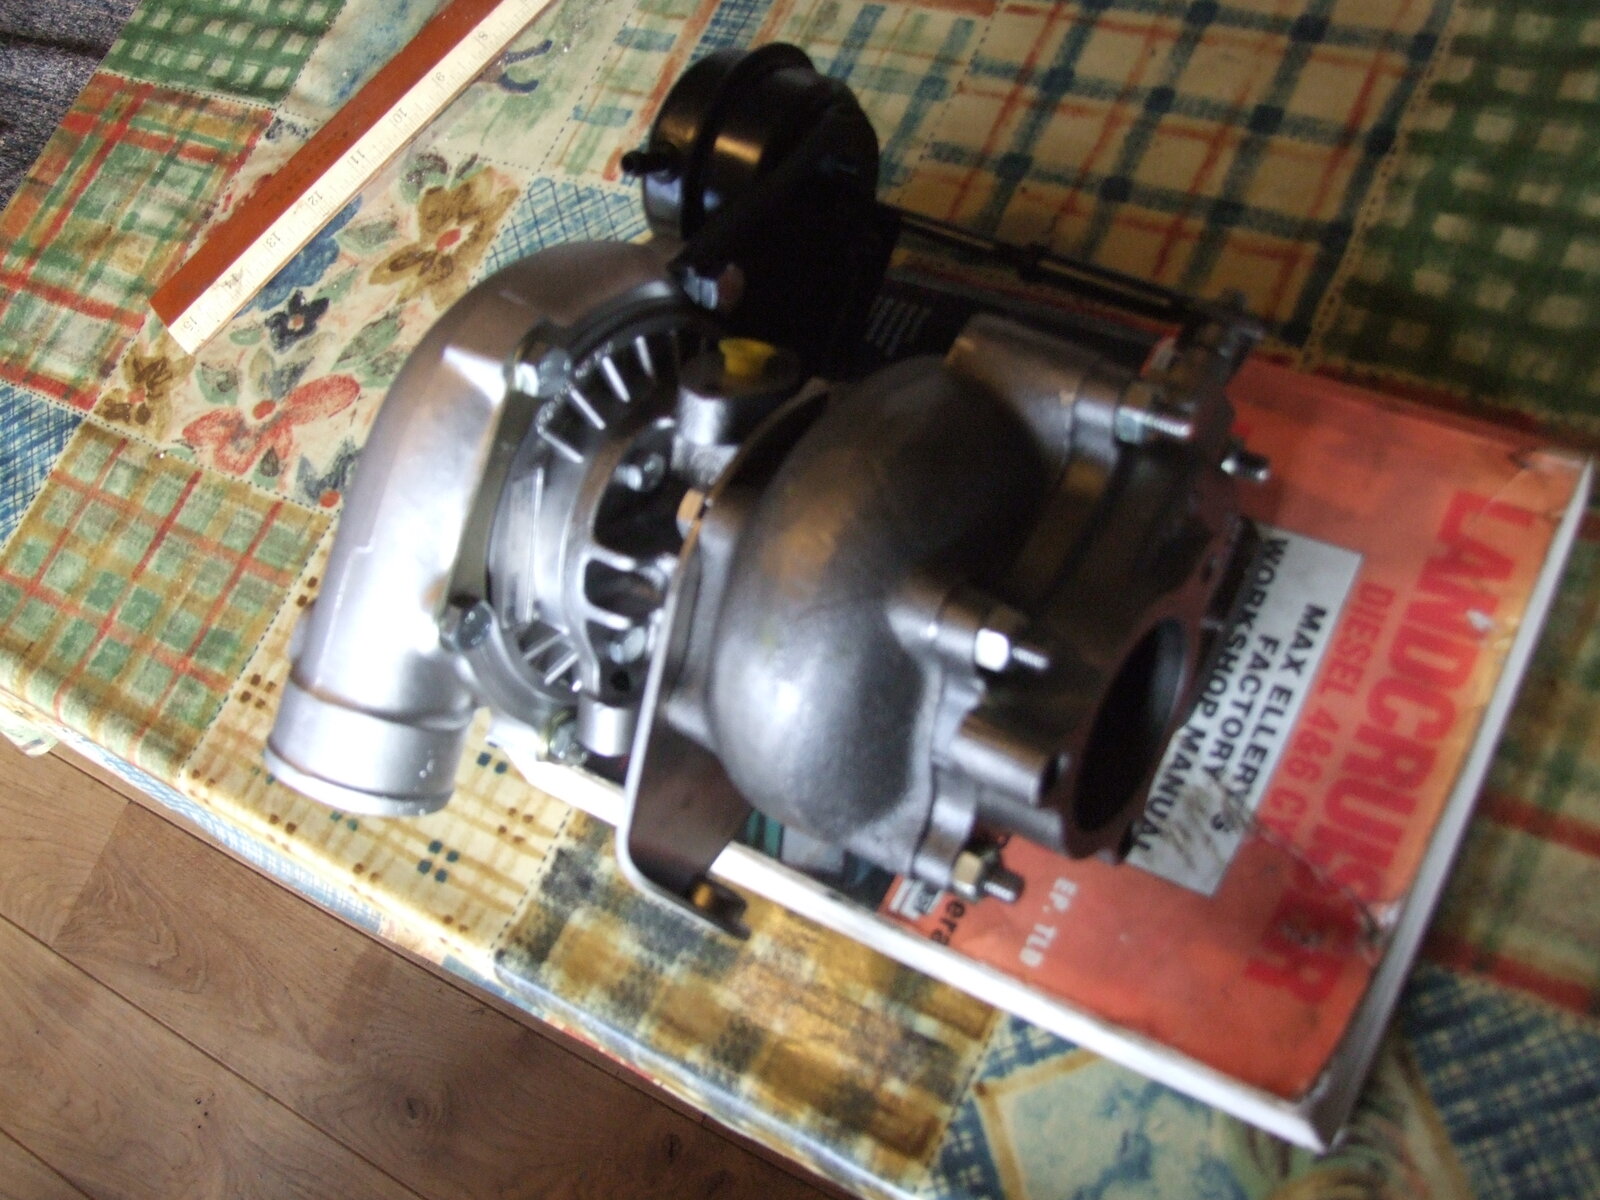
I had to go and check out a job in North Wales today and conveniently went to Demon Tweeks in Wrexham on the way there. I bought the first piece of 3" stainless exhaust pipe to start the last big job on it. Plus a few items to tie off a few other jobs. Love the look of those big shinny pipes lol!

I am aiming to get the 1st startup on Sunday...... But want to get it all done before that happens. Will have another full day on it tomorow.. Snow forcasted so it has to be done.
 
Manifold mod

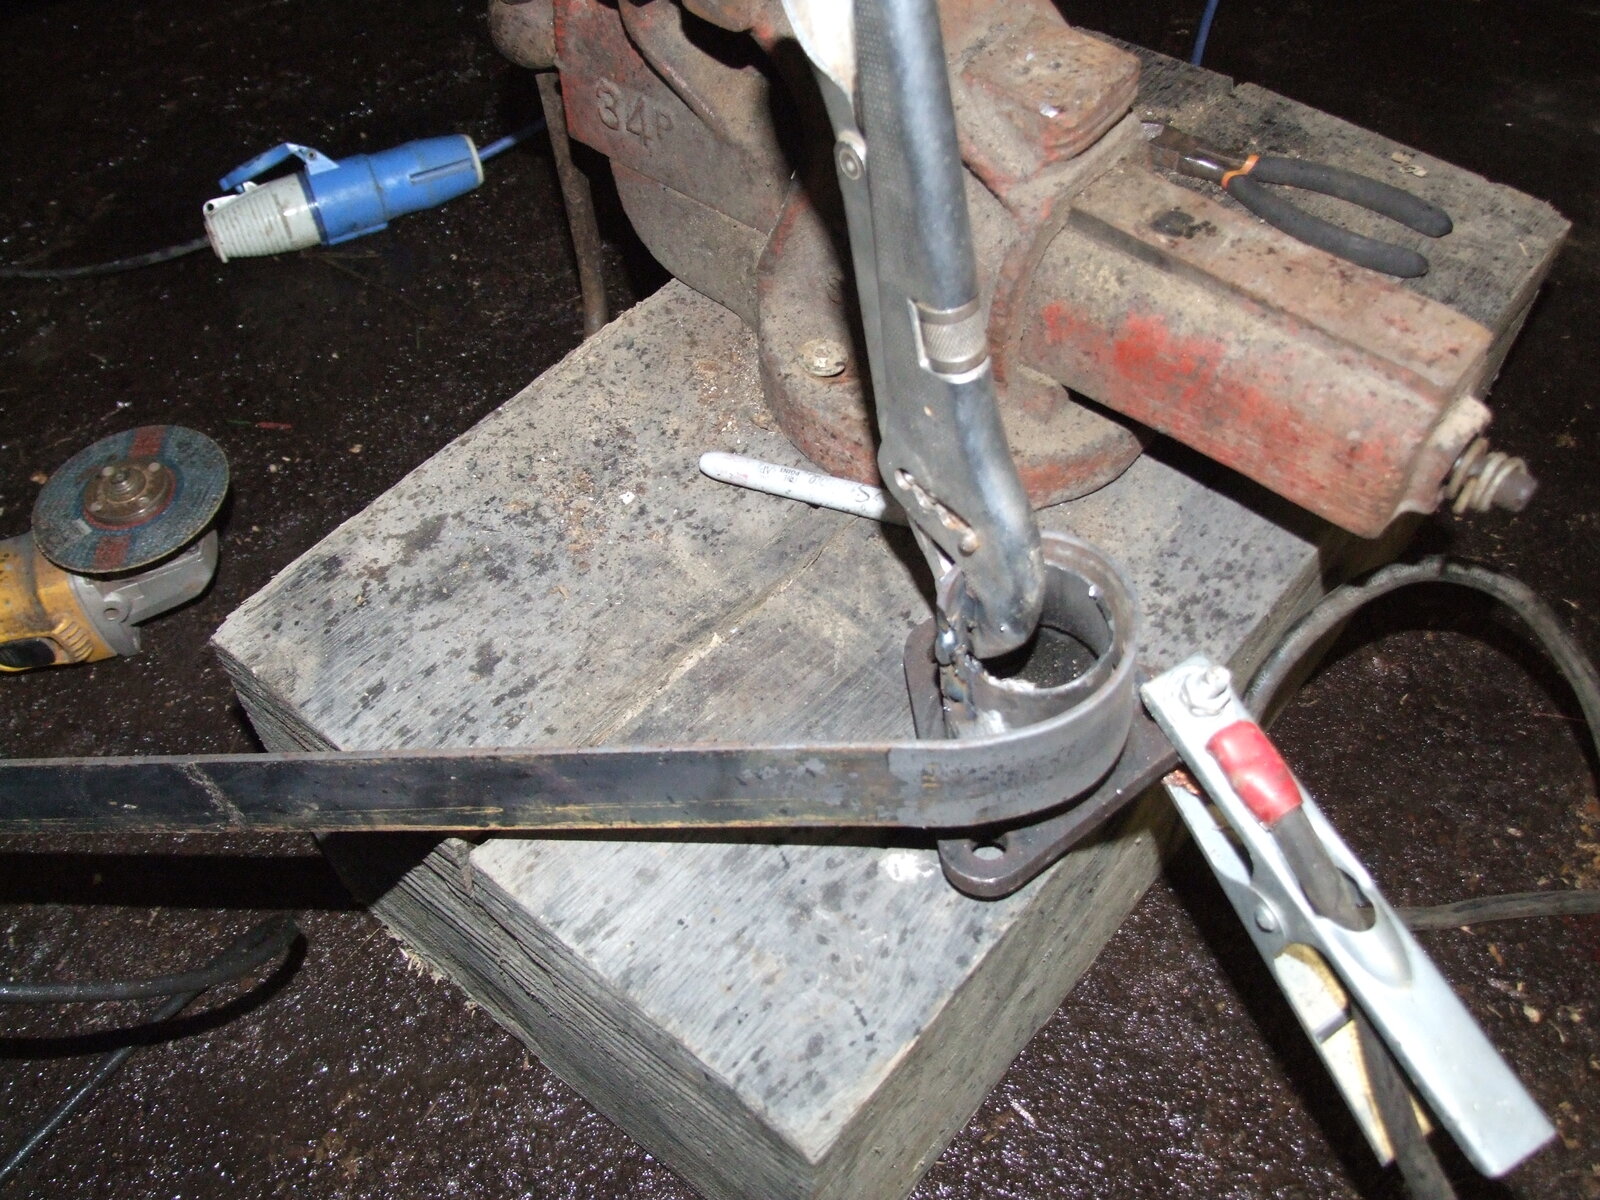
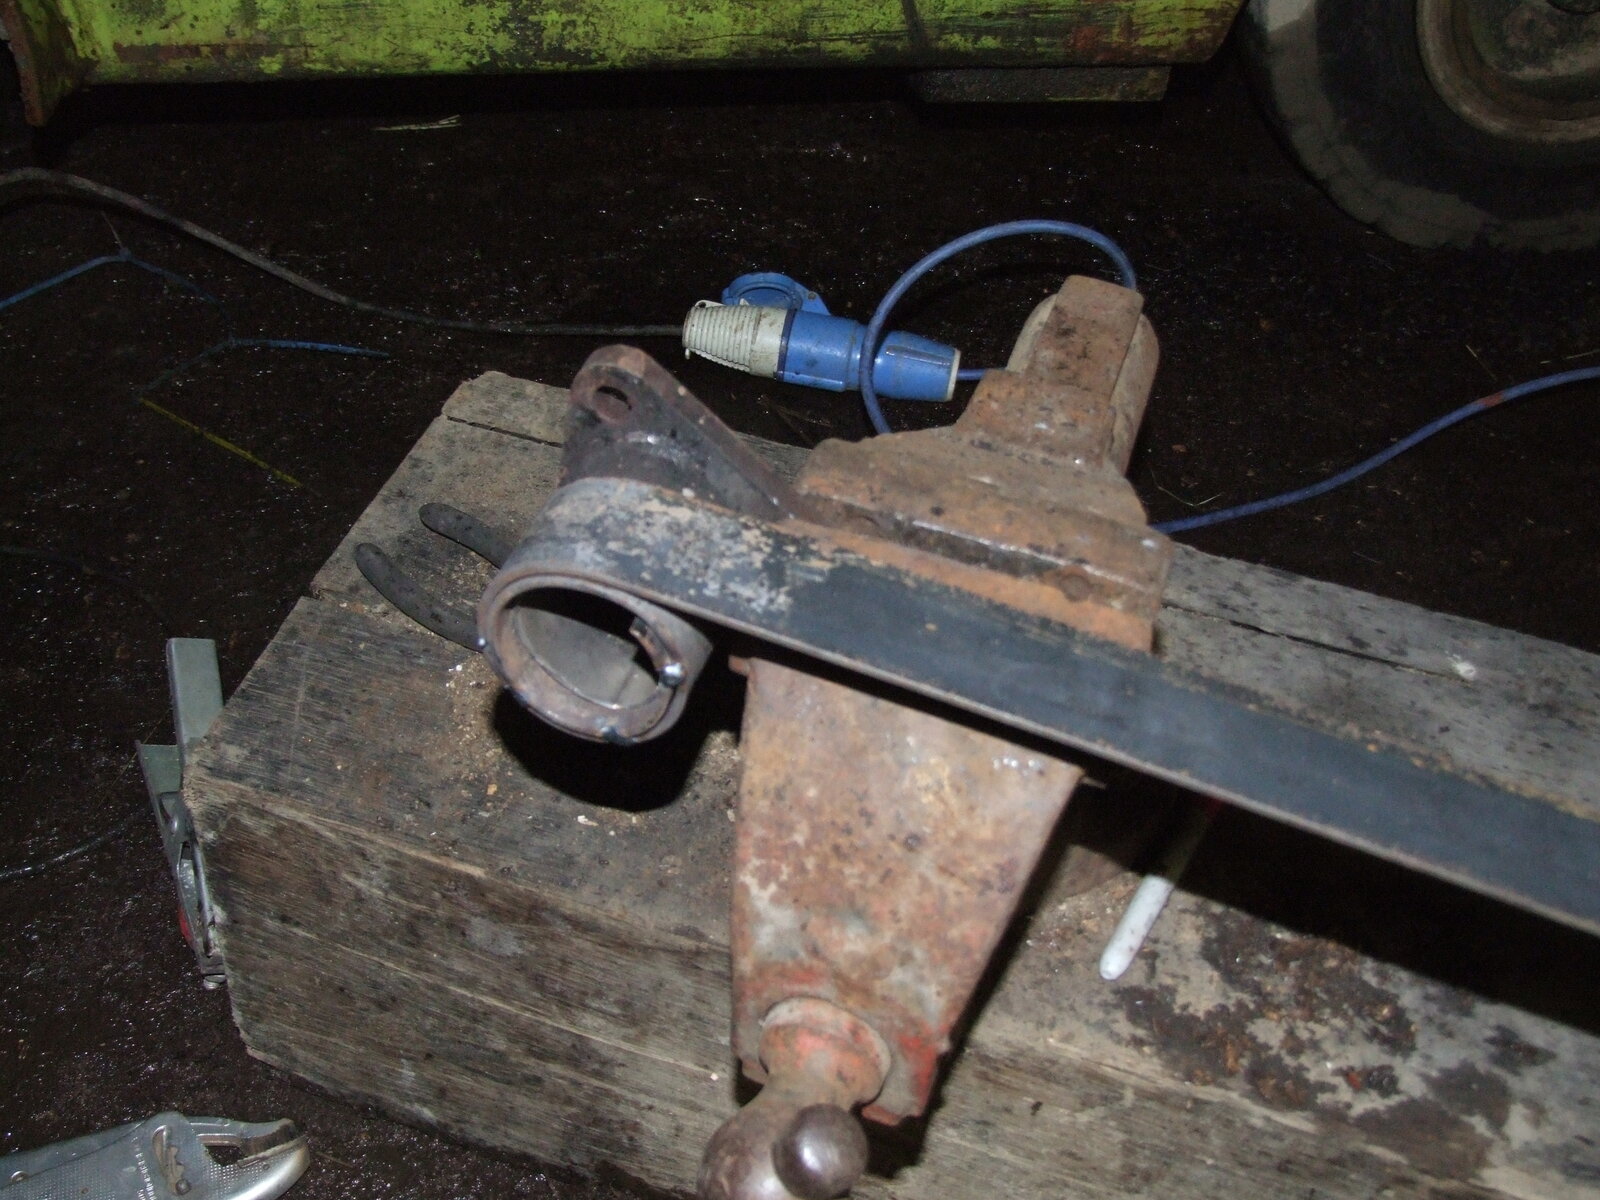
Yesterday I worked on the flange from the turbo to exhaust and other things, so I picked the one that was best suited and worked to bulk it out from 55mm to 75mm ish!

2h t flange bulking out 009.JPG


At this point I was wondering if it was going to work!
2h t flange bulking out 010.JPG


Yeah it's gonna work!
2h t flange bulking out 012.JPG


Looking at cutting the flared end of the downpipe somewhere there and will be welding the pipe adaptor to it. Pleased there is a solution here.

This morning I went over to my blacksmith mate to do the manifold mod, was aprehensive whether it would be possible.

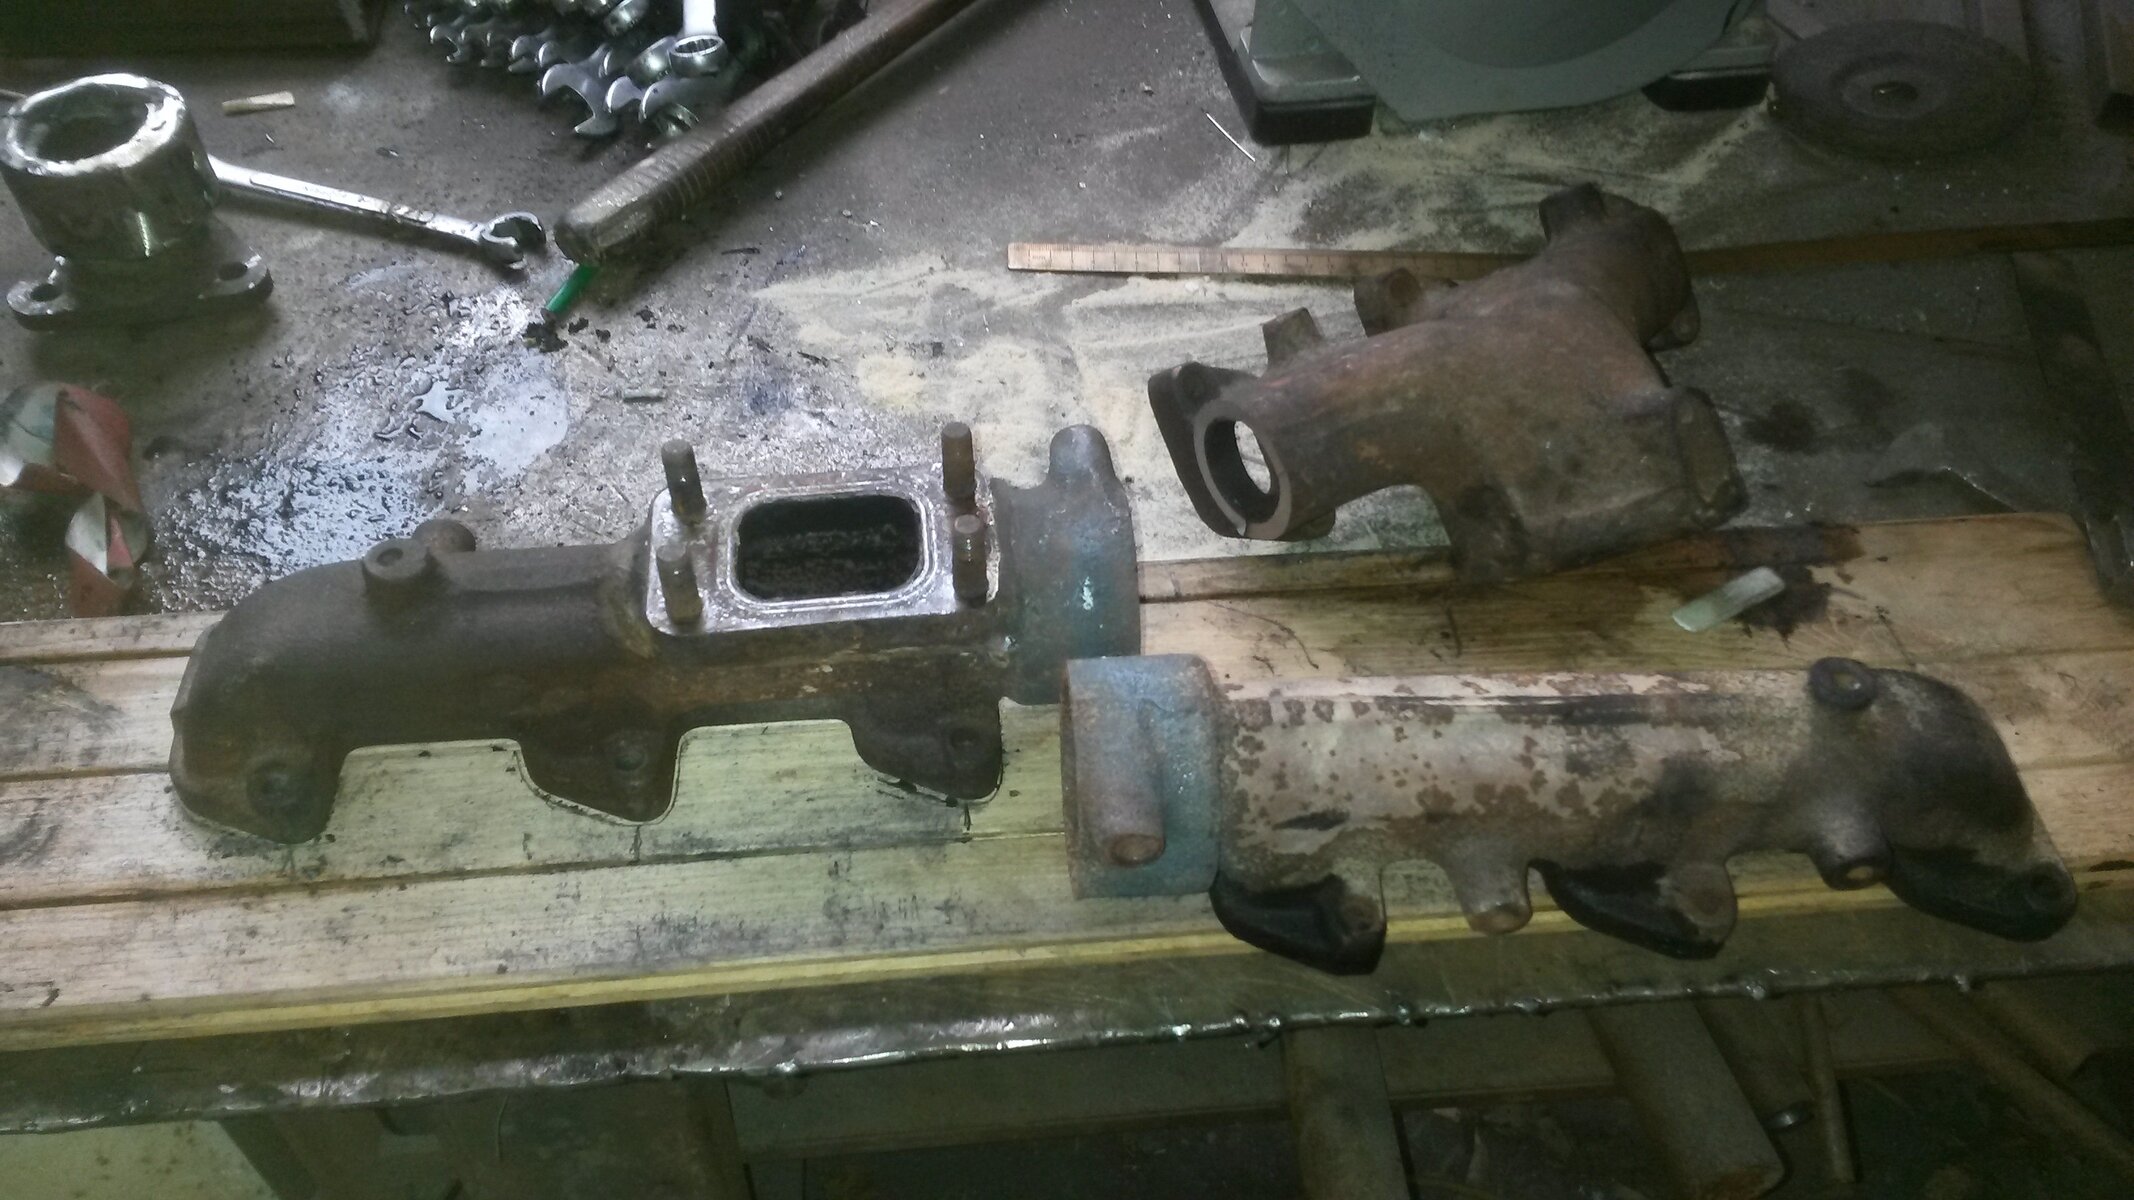
The first job was to take the turbo off the manifold, was a task as it had beeen on there since the mid 80's was a task nuts were well seized on, then to heat up both of the 2 part 2h manifolds. They are made of real good quality cast iorn as they were smacked real hard to separate!


20140215_115712.jpg
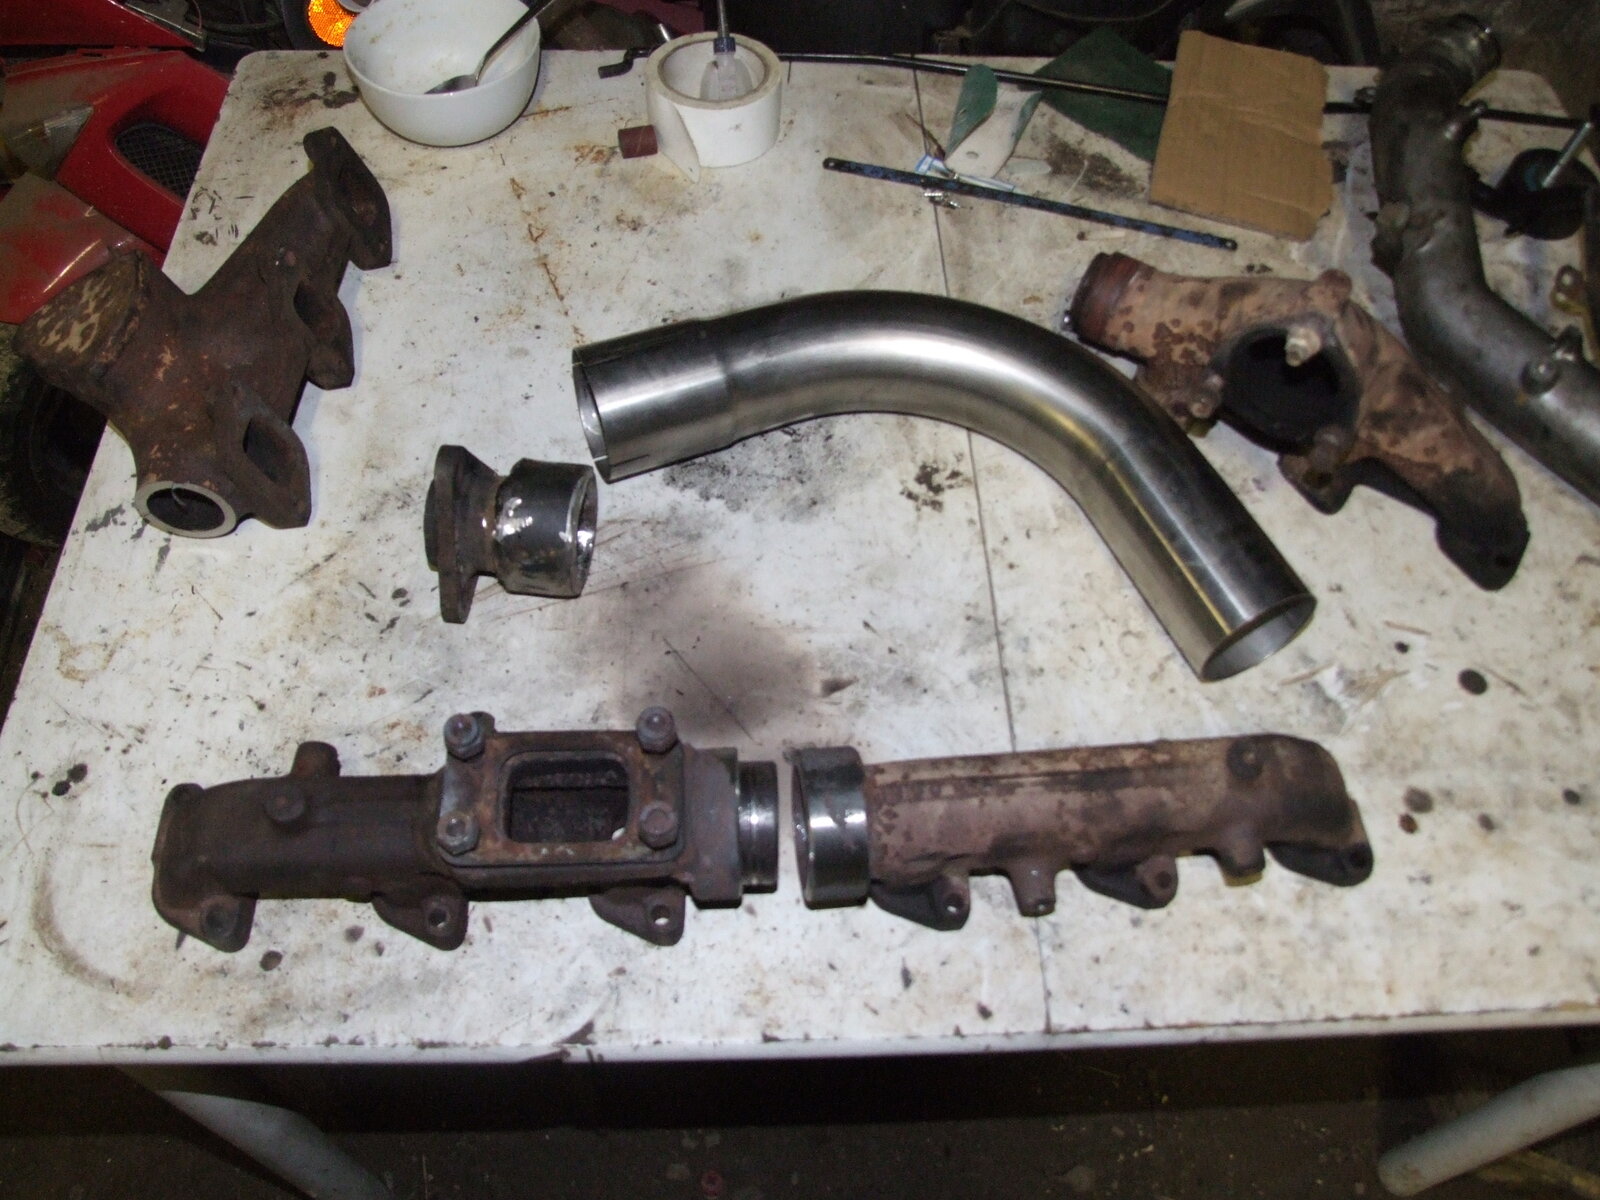
Used a piece of oak flooring to record the length of the manifold. It shows the amount that needs to be chopped off both manifold halves. The offcutt from the now redundant original outlet has been used to fit inbetween the new setup.

manifold mod 001.JPG


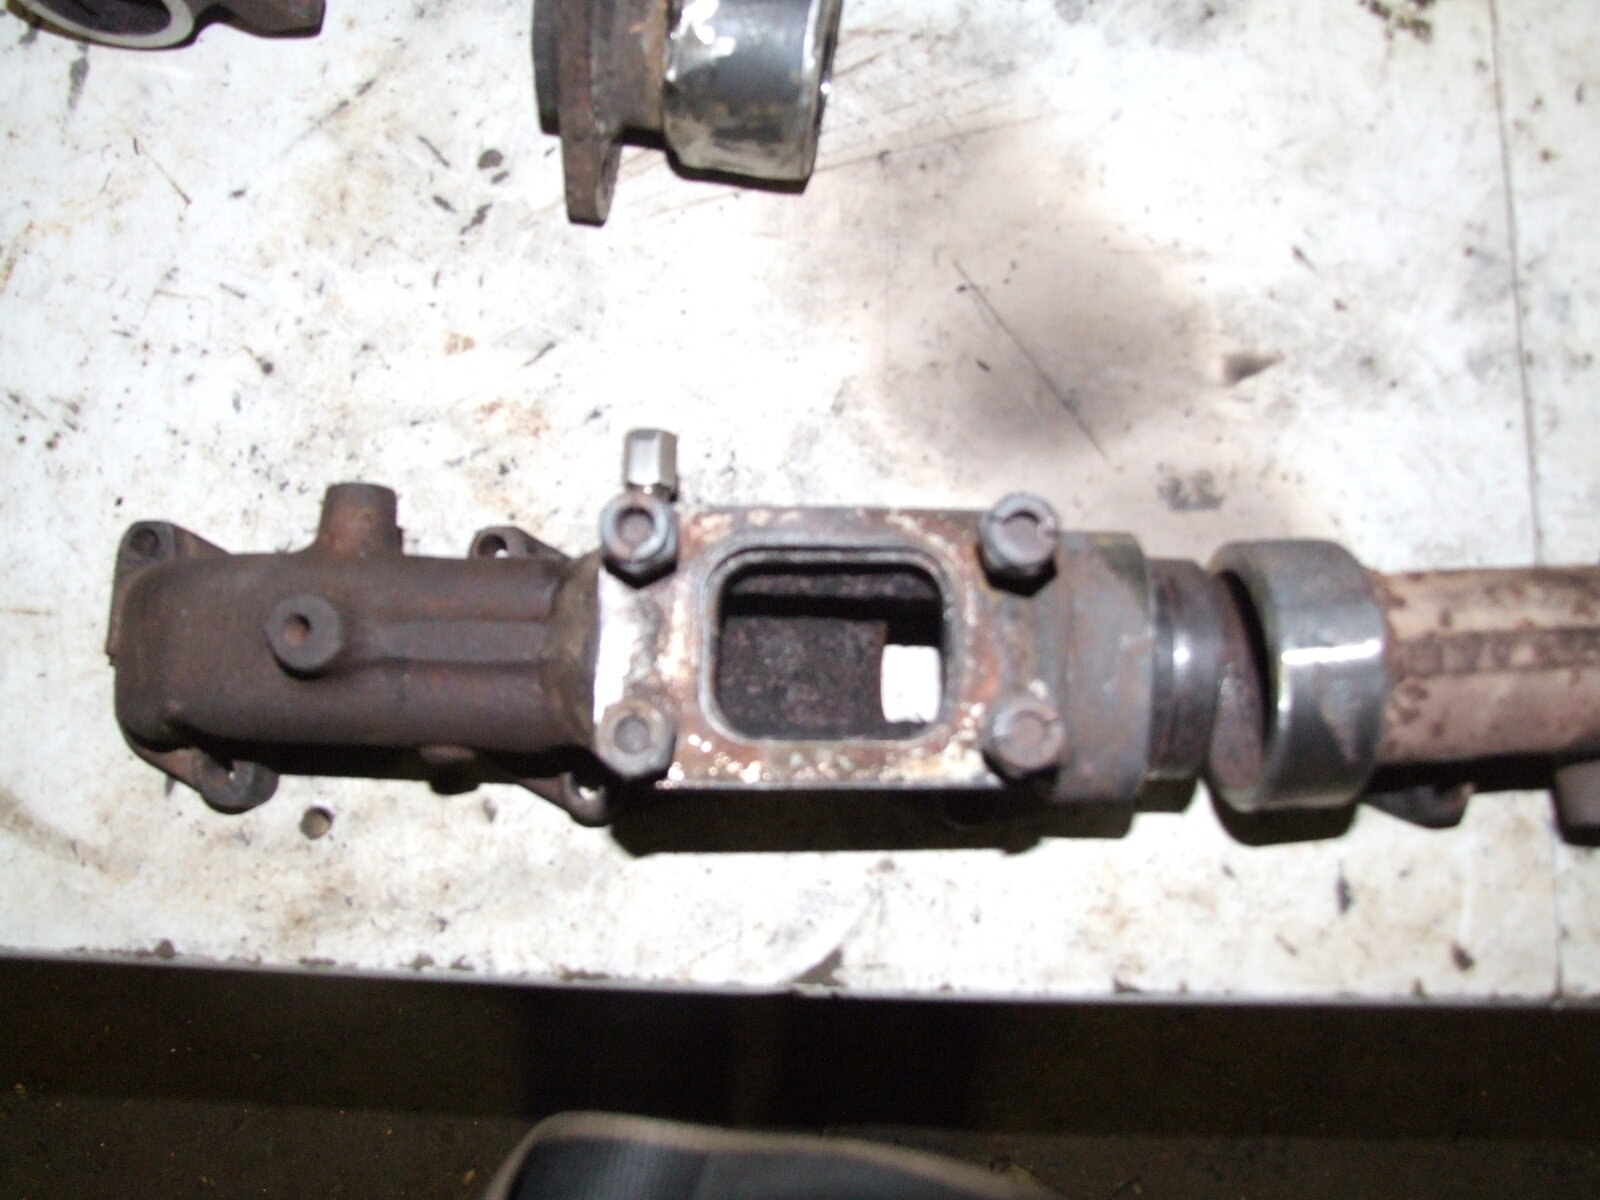
Have still left a few mm of gap for expansion. Plenty of space to fit the nice 3" pipe in now! Spent some time sorting out the port for the EGT sensor to be fitted. With what I bought it had a 1/8npt (taper) fitting, you need to use a 3/8 bsp tap to accept it and and a drill bit to match (didn't see the size) but best to do your own research.
manifold mod 002.JPG


Noticed there was a nasty step in the fitting of the turbo flange on the upper and lower. So spent a while with the 2nd die grinder of the day. The first was a makita and the 2nd was an air tool. Makita was more constant and much faster.
manifold mod 009.JPG


Much better, its all about air flow here these days! Also with the better manifold setup it's all looking good! You can also see the EGT sensor port., good to know whats going on under the hood...
 
Last edited:
3" exhaust

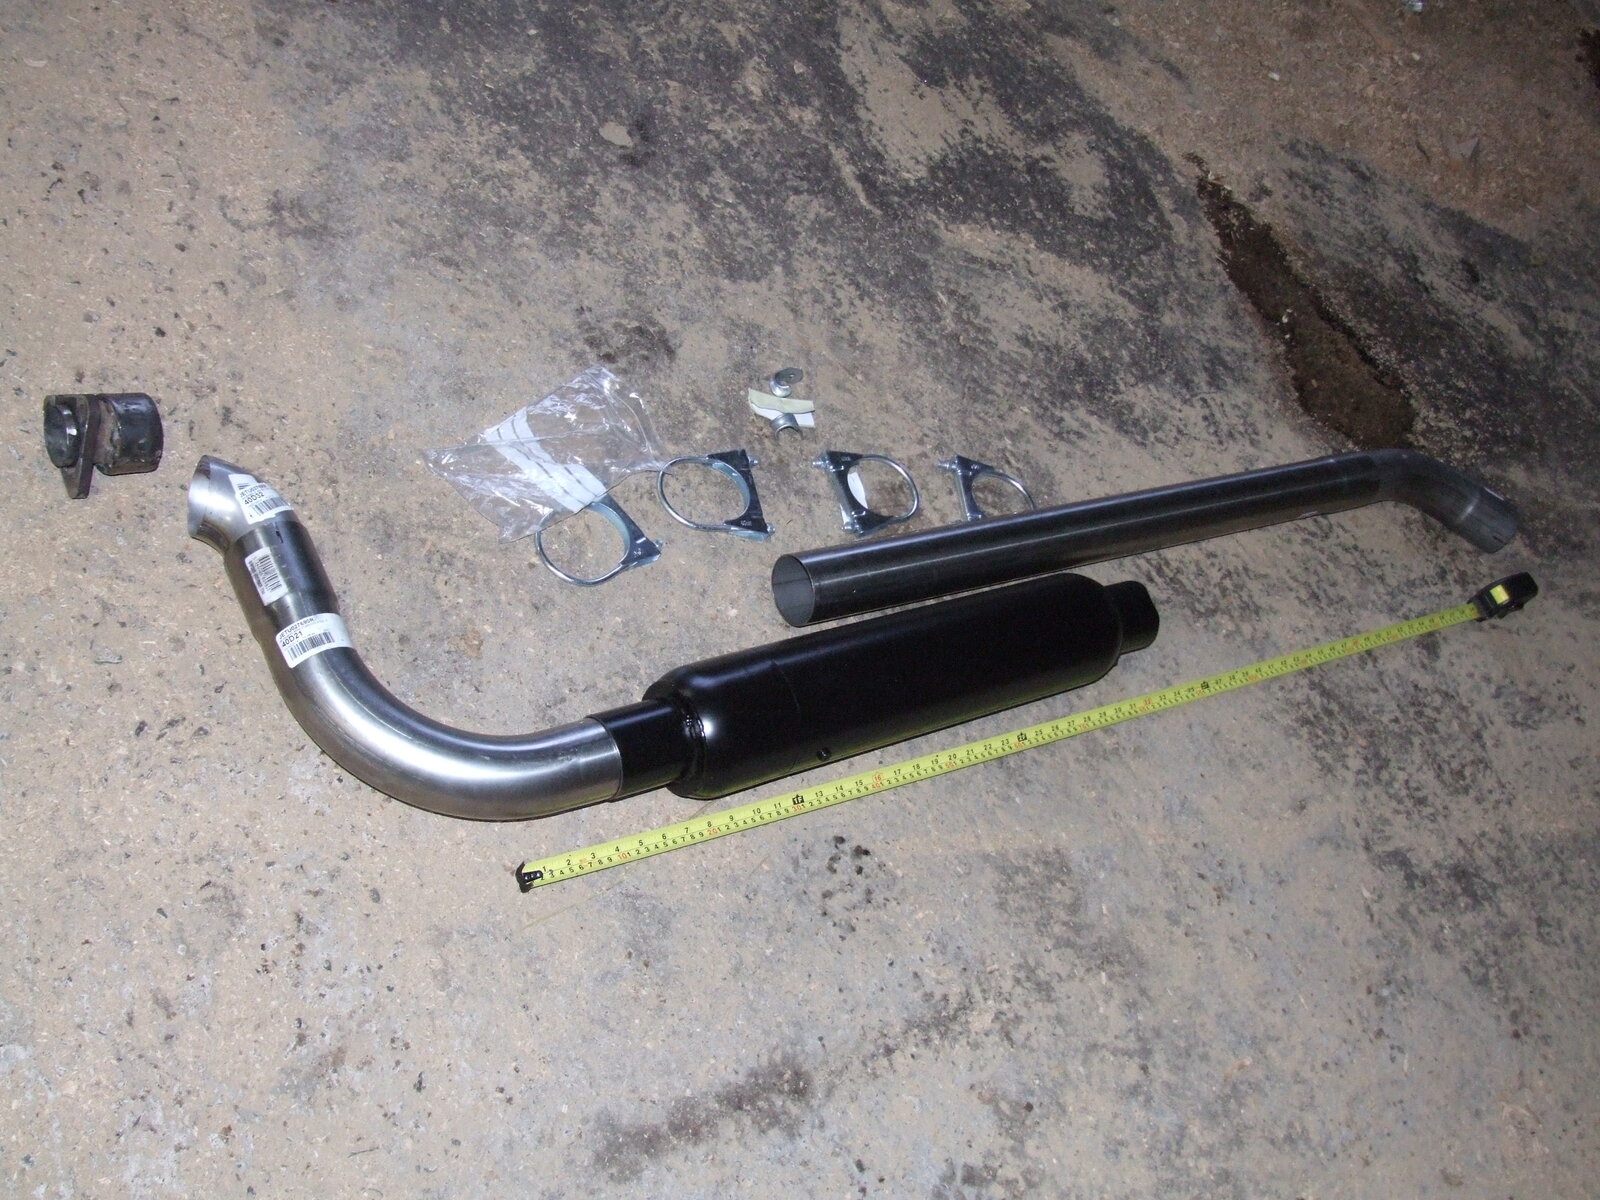
Woke up this morning feeling fine, had a 3" stainless exhaust on my mind!
60 stainless exhaust 2 002.JPG


So I went back to demon tweeks to invest in some shiny pipework! I stopped off at my mate Chris's garage who does my Mot's. I mentioned and described the system I wanted to do and then told him of the new mod's to the truck (as he knows it well). He looked at me and said "its cool but if its too loud can't pass it"

So after thinking about previous long runs in the truck a too loud exhaust is very tiresome. So I have bought a 5" case high flow re packable silencer. Couldn't justify buying it in stainless as it was 50% more! Tut
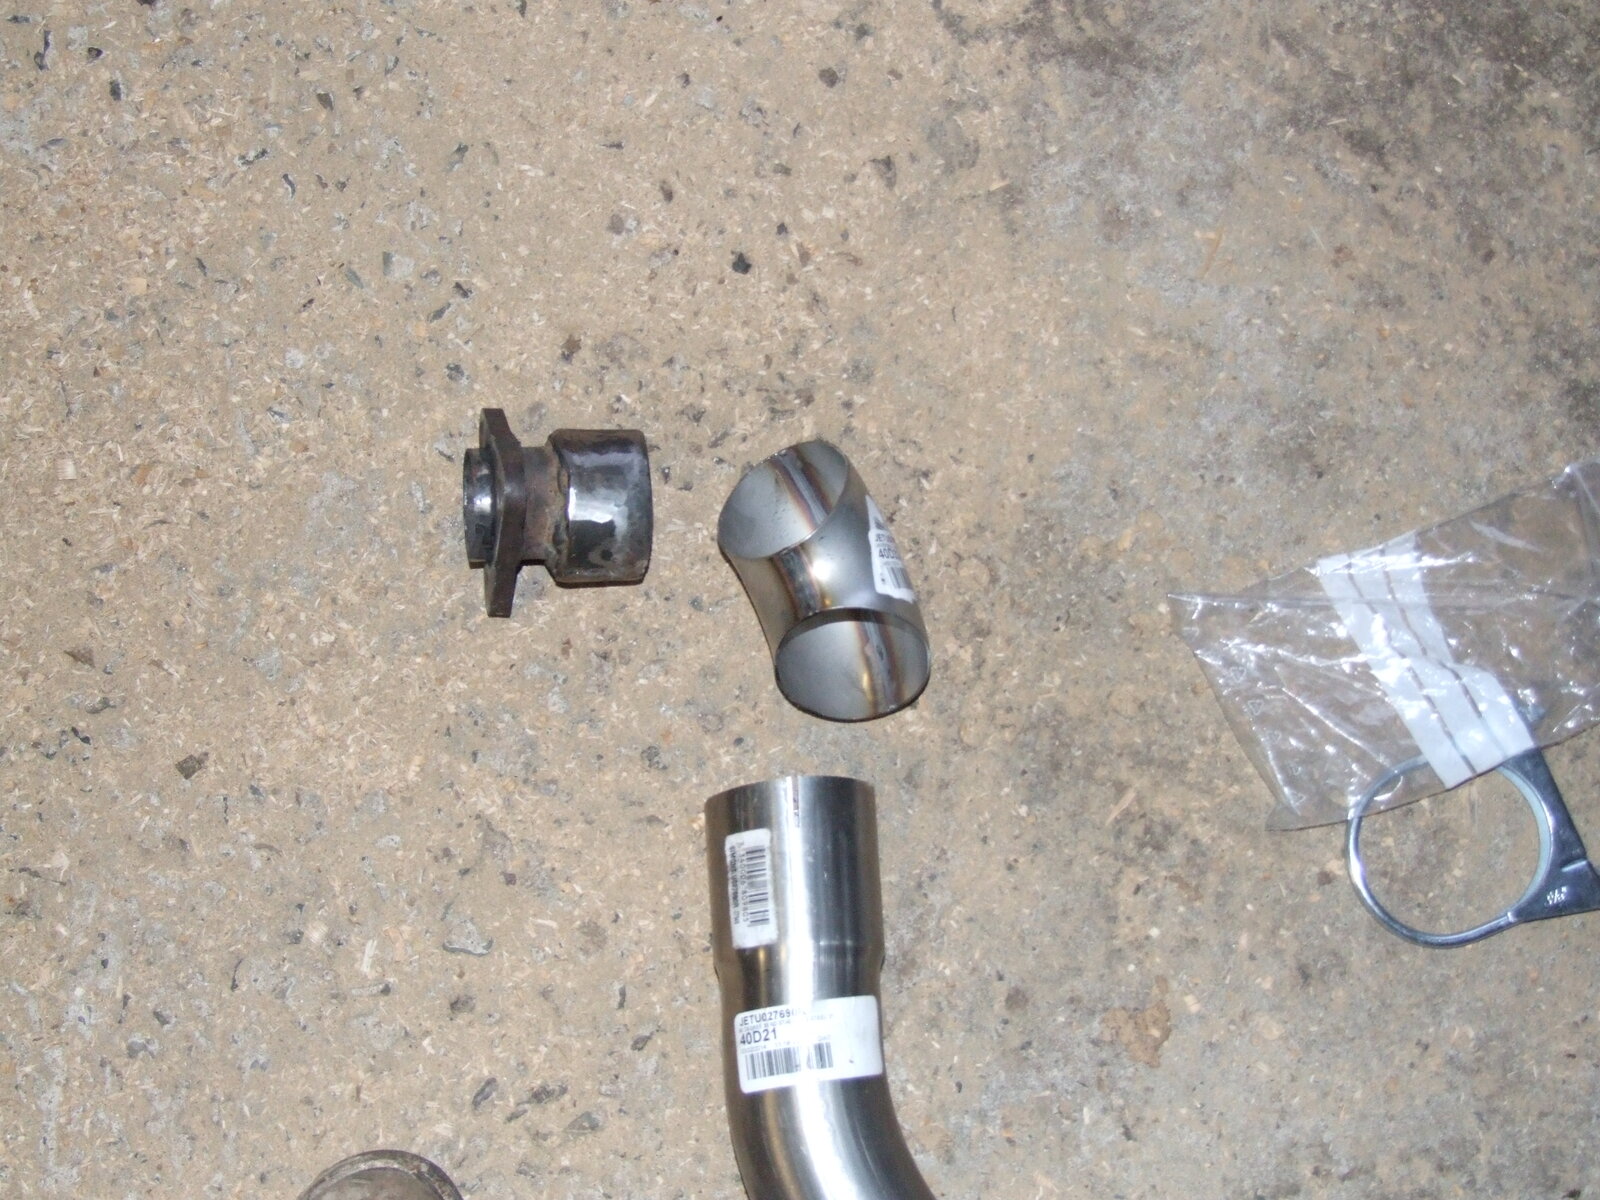
60 stainless exhaust 2 004.JPG


The tight 90deg stainless bends are a handy bit of kit to get out of the engine bay.
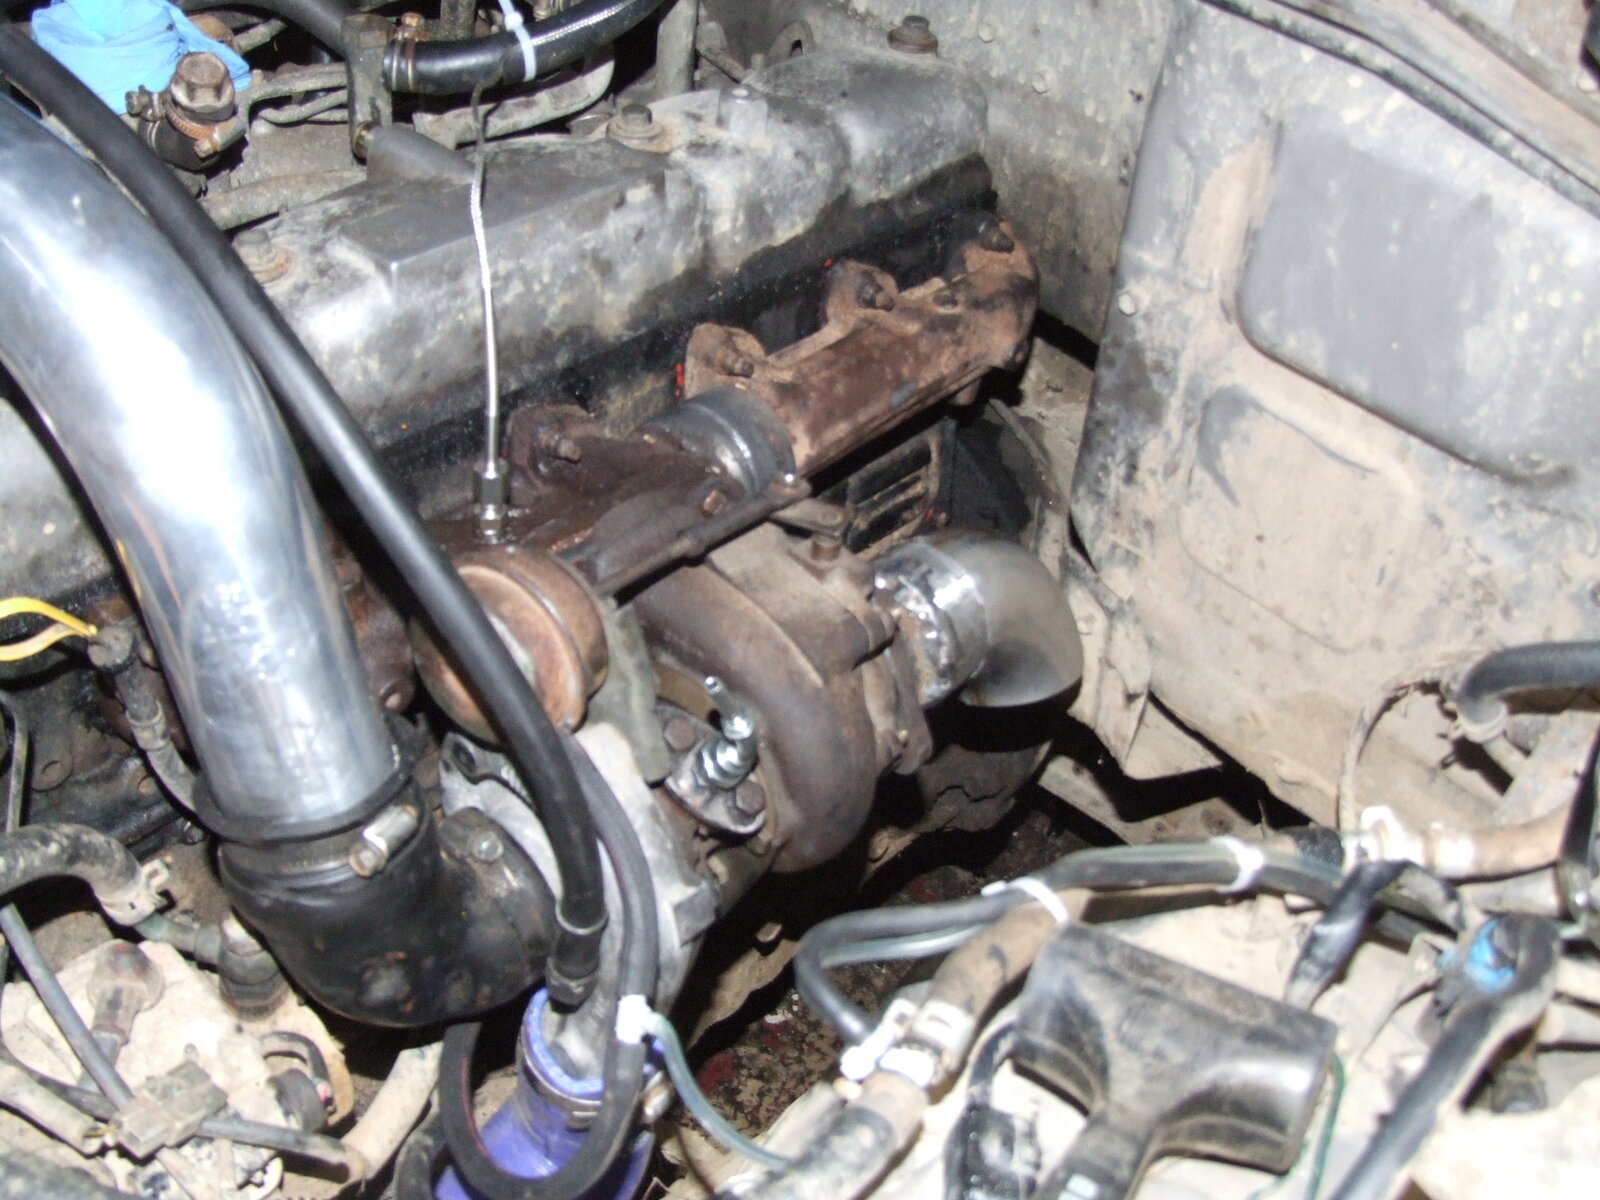
60 stainless exhaust 2 005.JPG


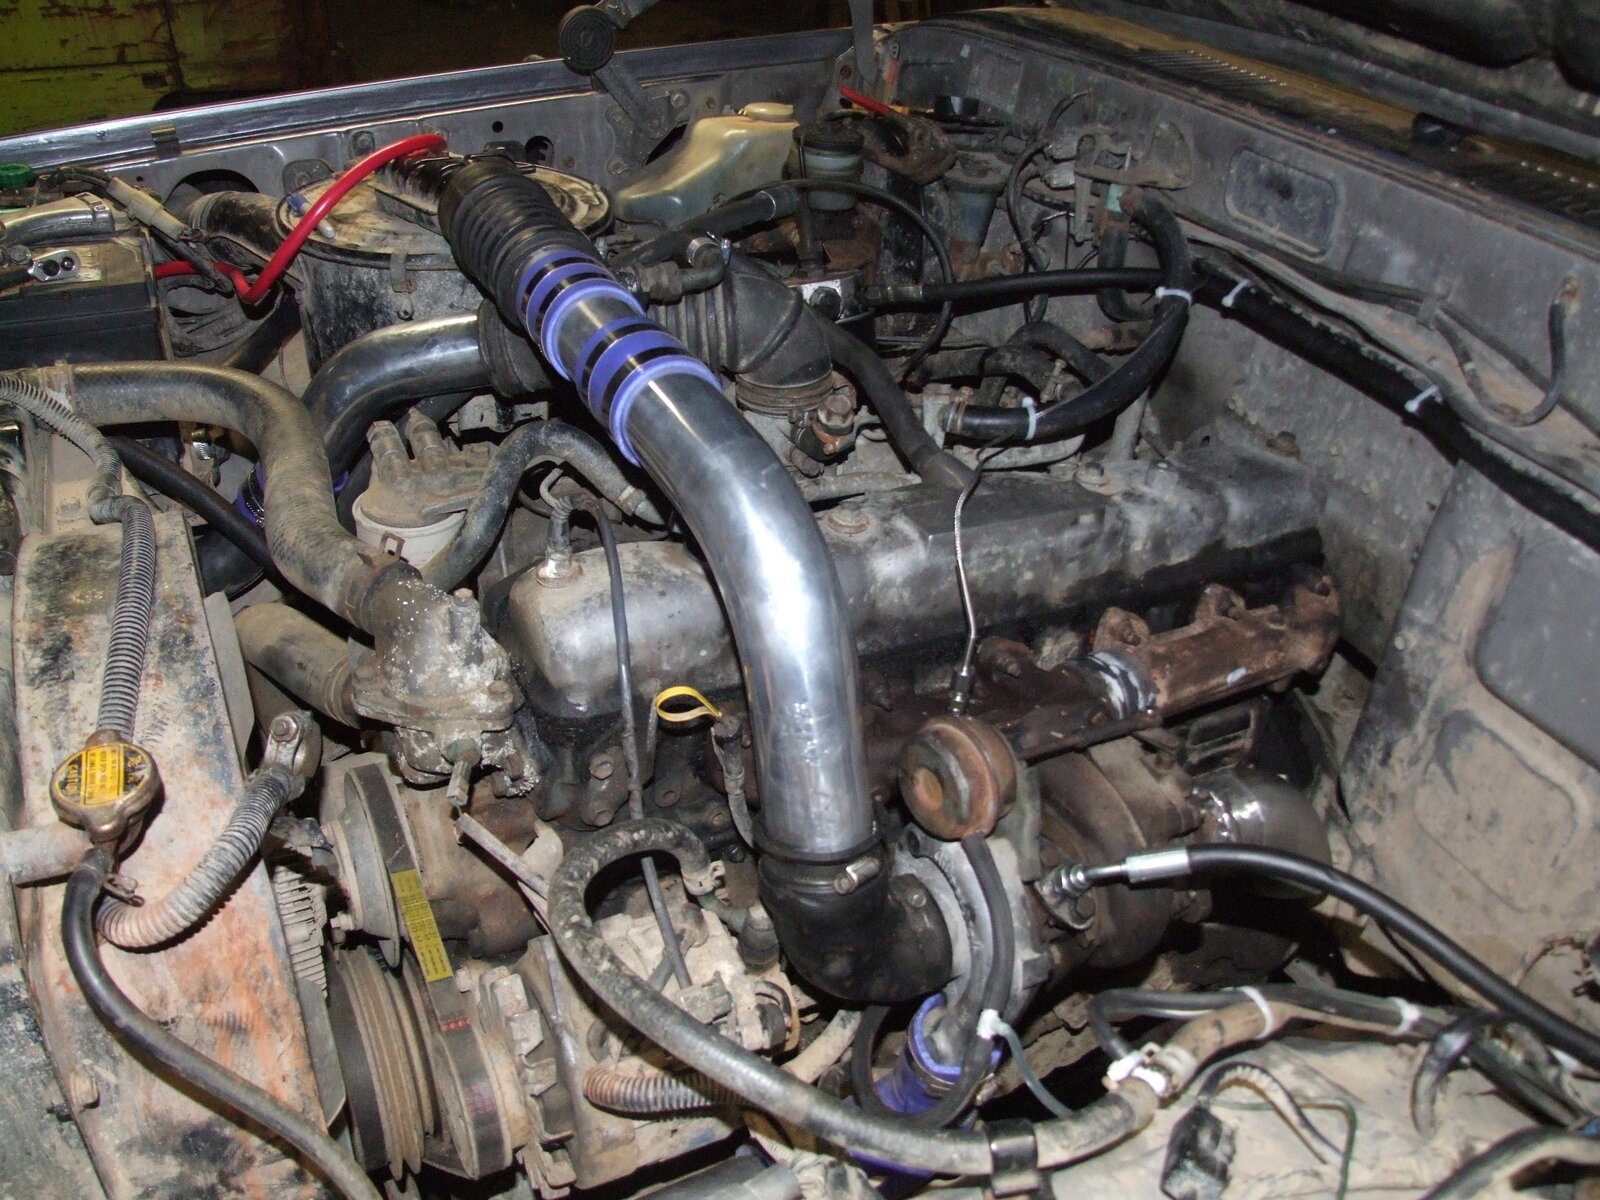
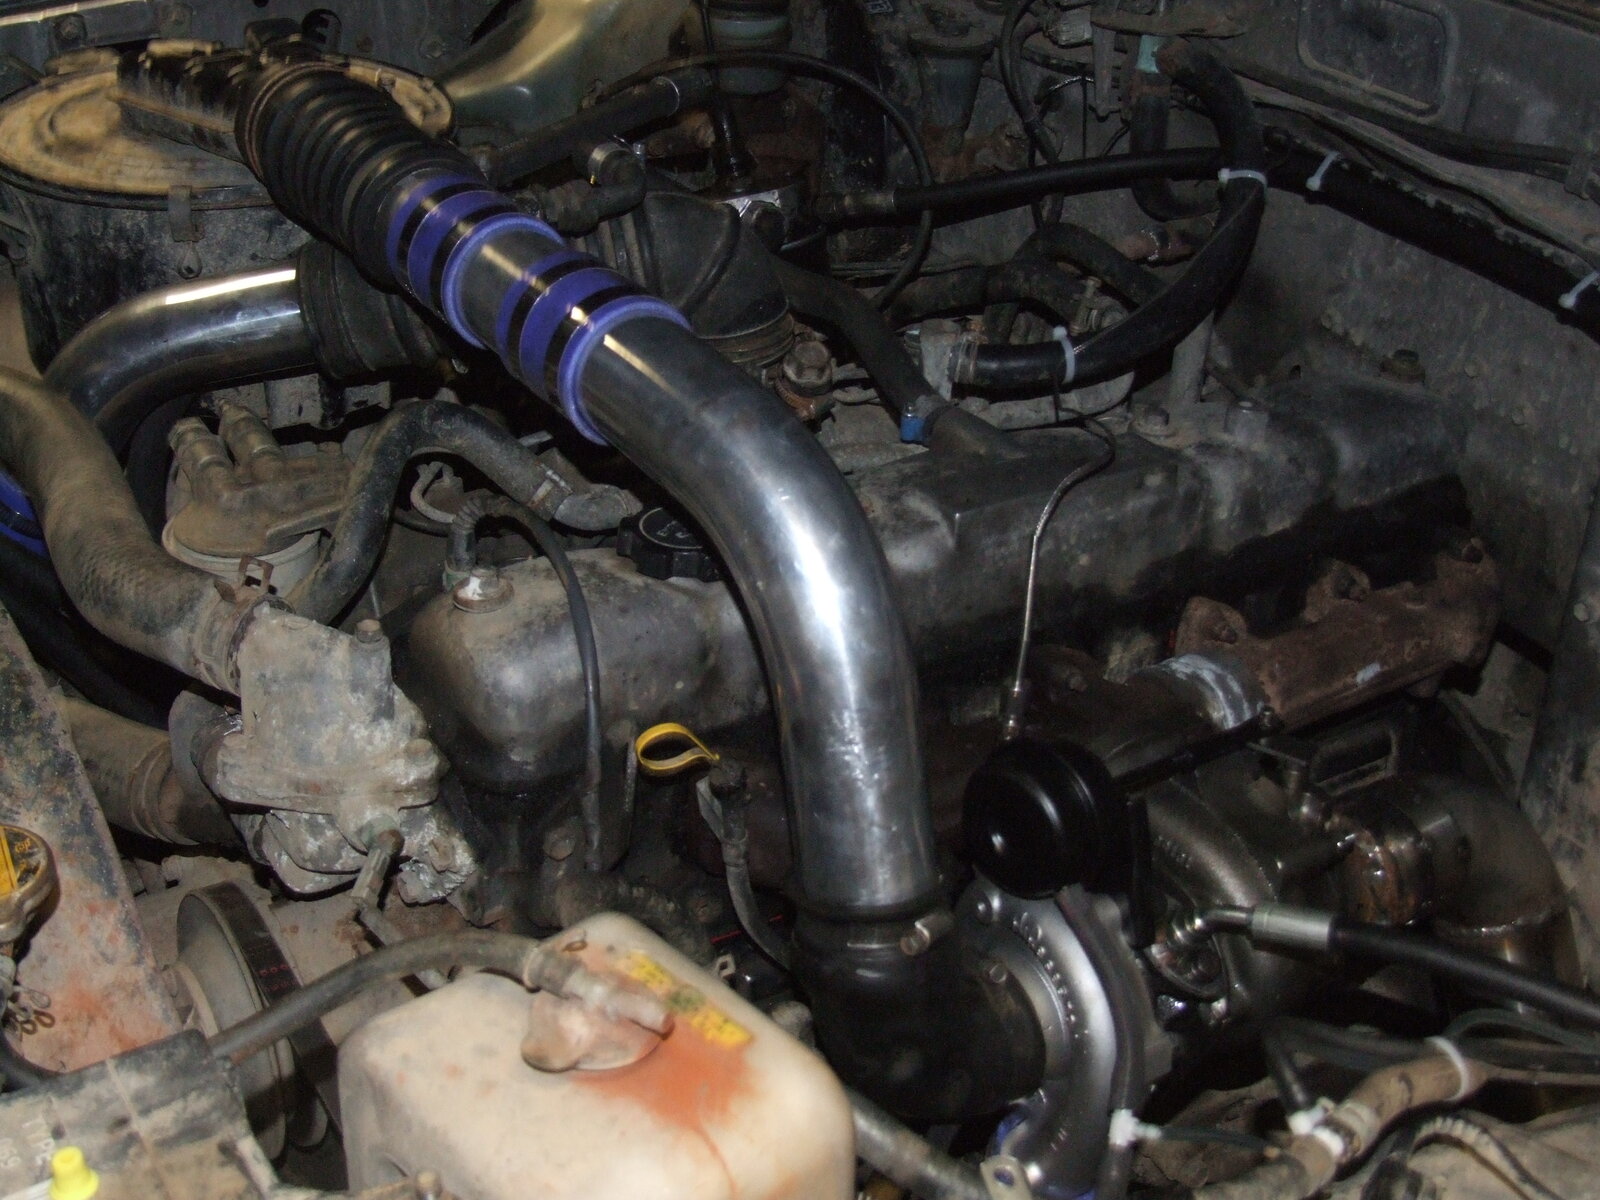
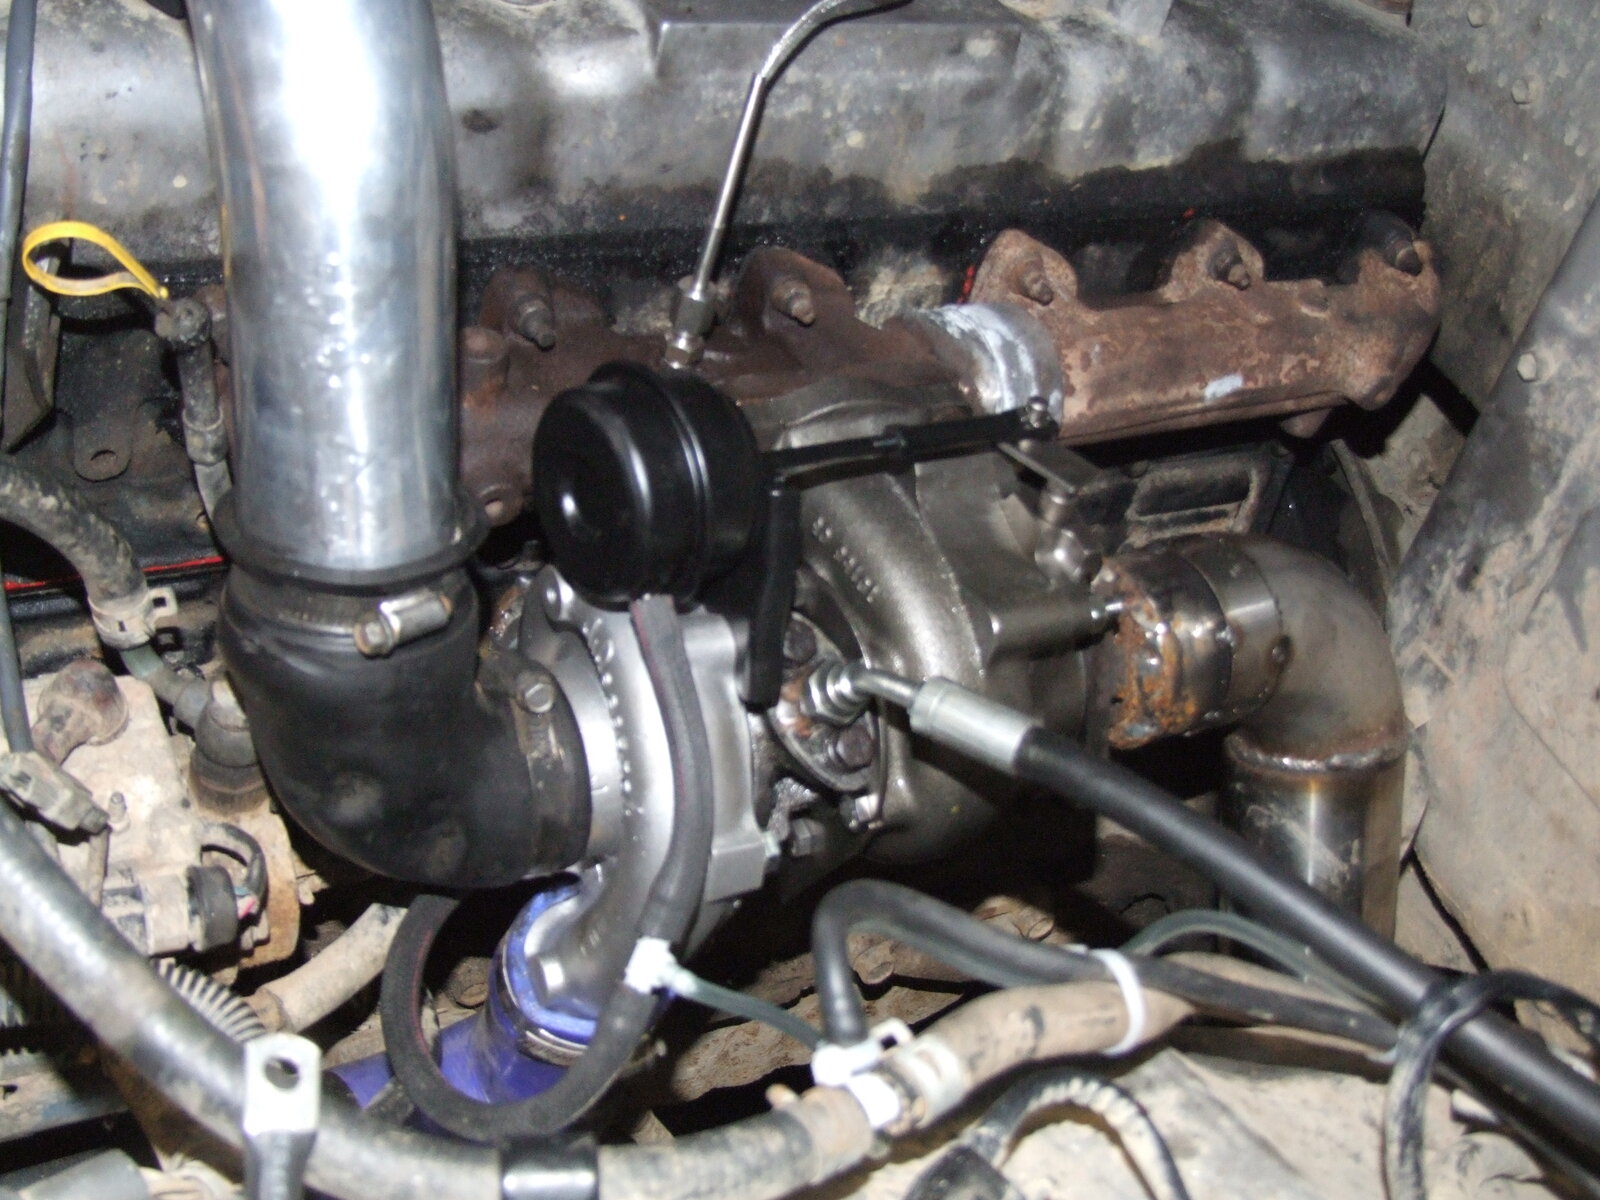
The manifold mod has worked a treat to gain space and will have great flow. You can see the amount of effort that it has taken to get this result. Have tee'd in a turbo boost gauge, the EGT sender, the vacume reroute of the of the 4wd system, the manifold mod in its prime and how well the tight 90 deg 3" exhaust start helps.
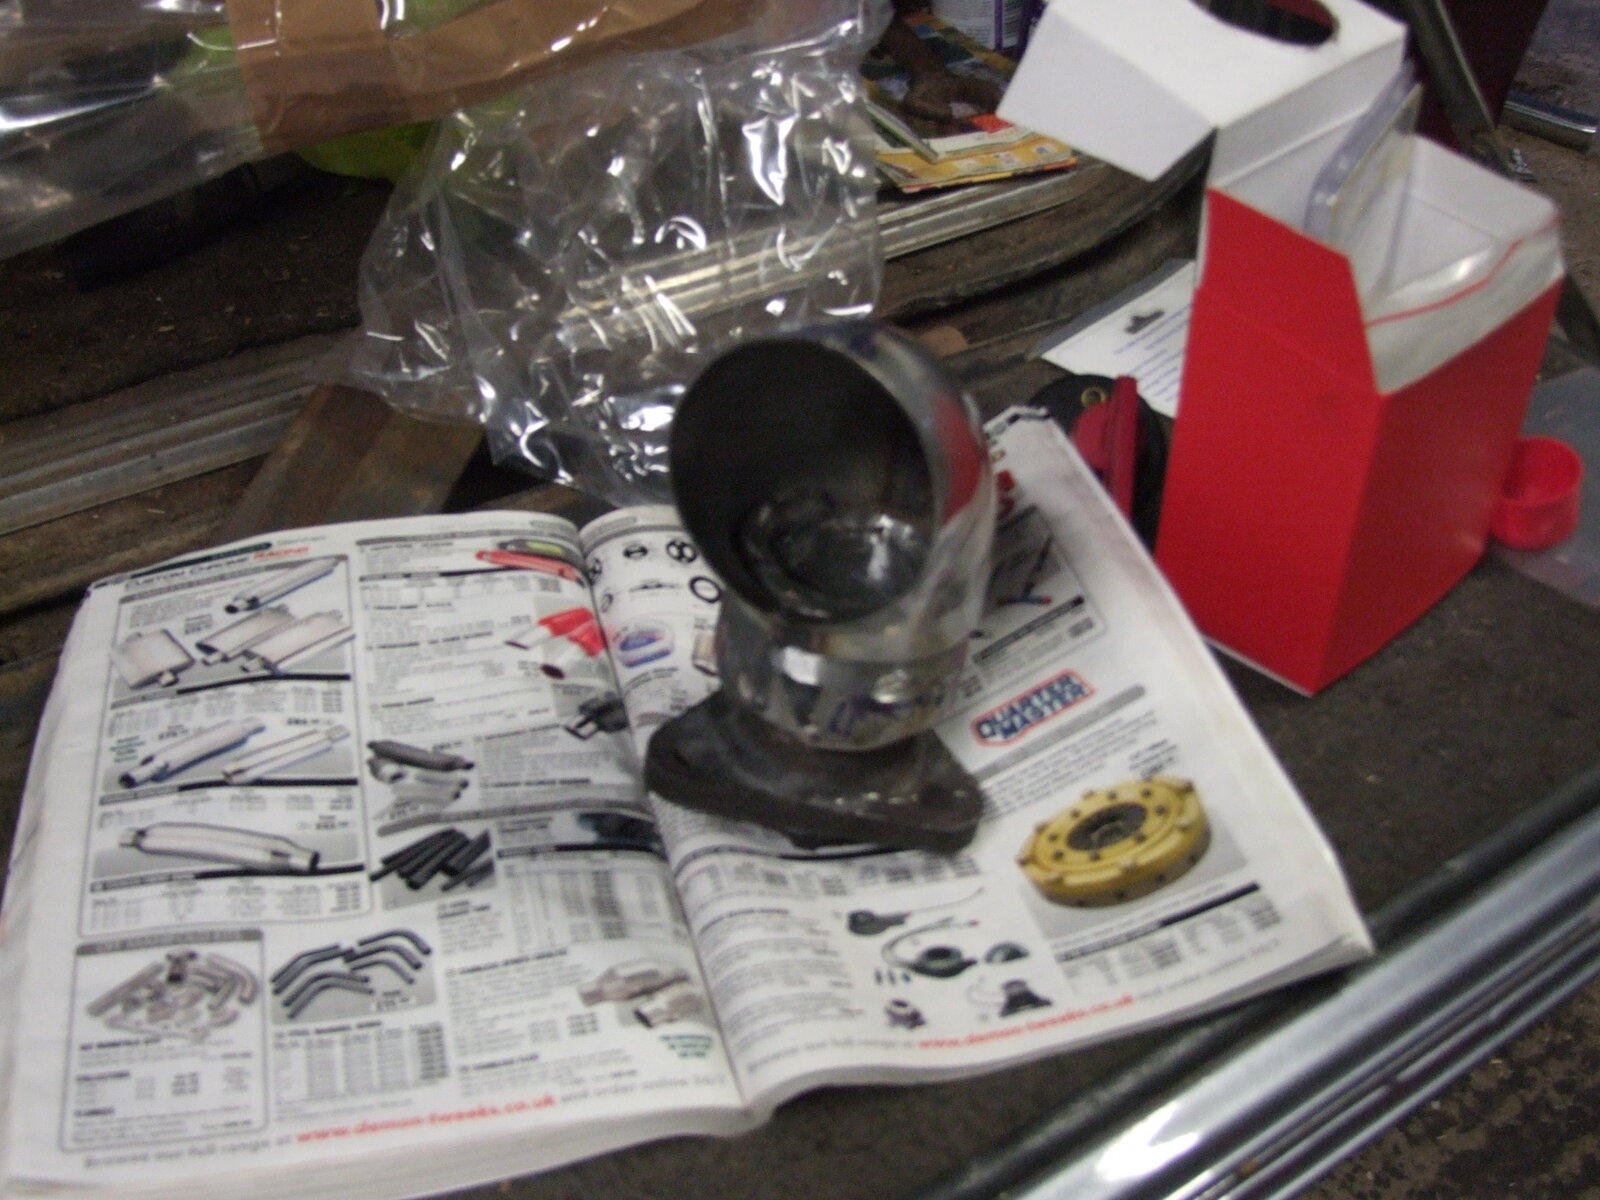
60 stainless exhaust 2 009.JPG


After grinding in the flange adapter, its a good fit and can also weld most of the inner edge.

If you want to do a conversion like this, get yourself a demon tweeks catalogue, it has pretty much all the stuff you need to do this job. Or even to make your own stainless exhaust system.
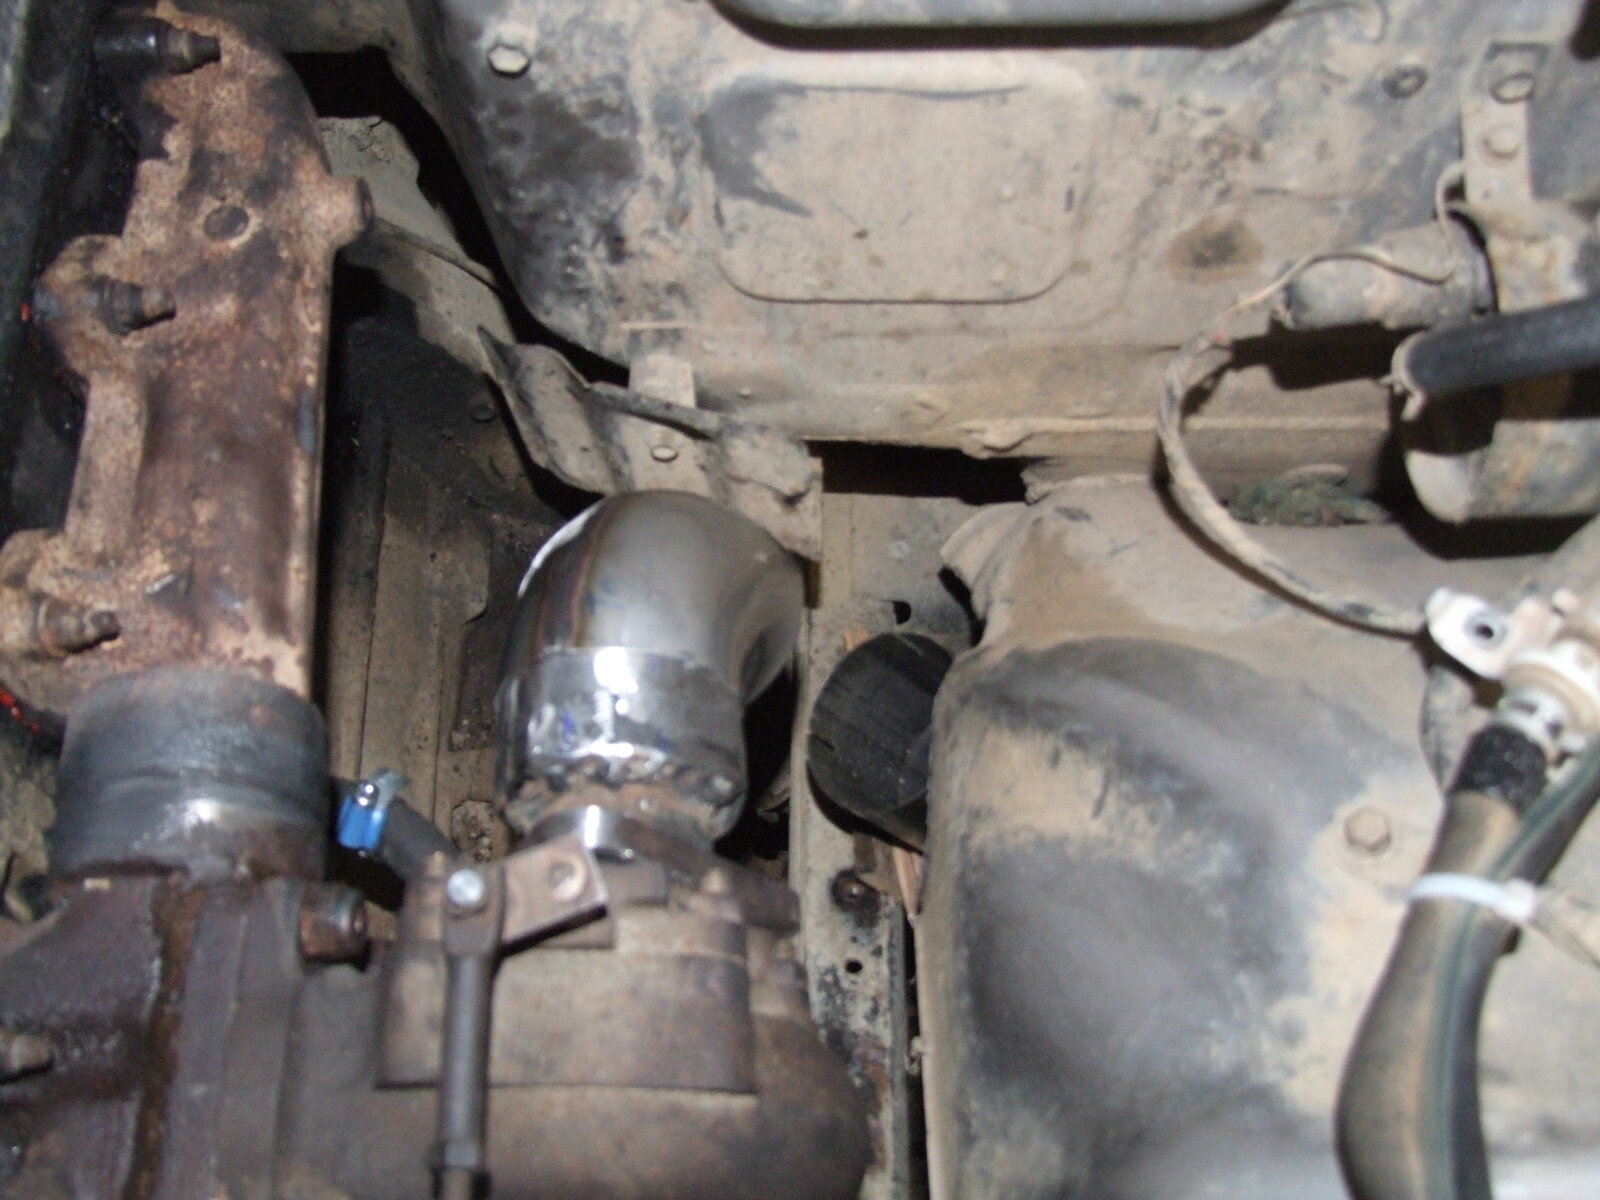
60 stainless exhaust 2 012.JPG


Working out well both pipe ends are parallel, pleasing!
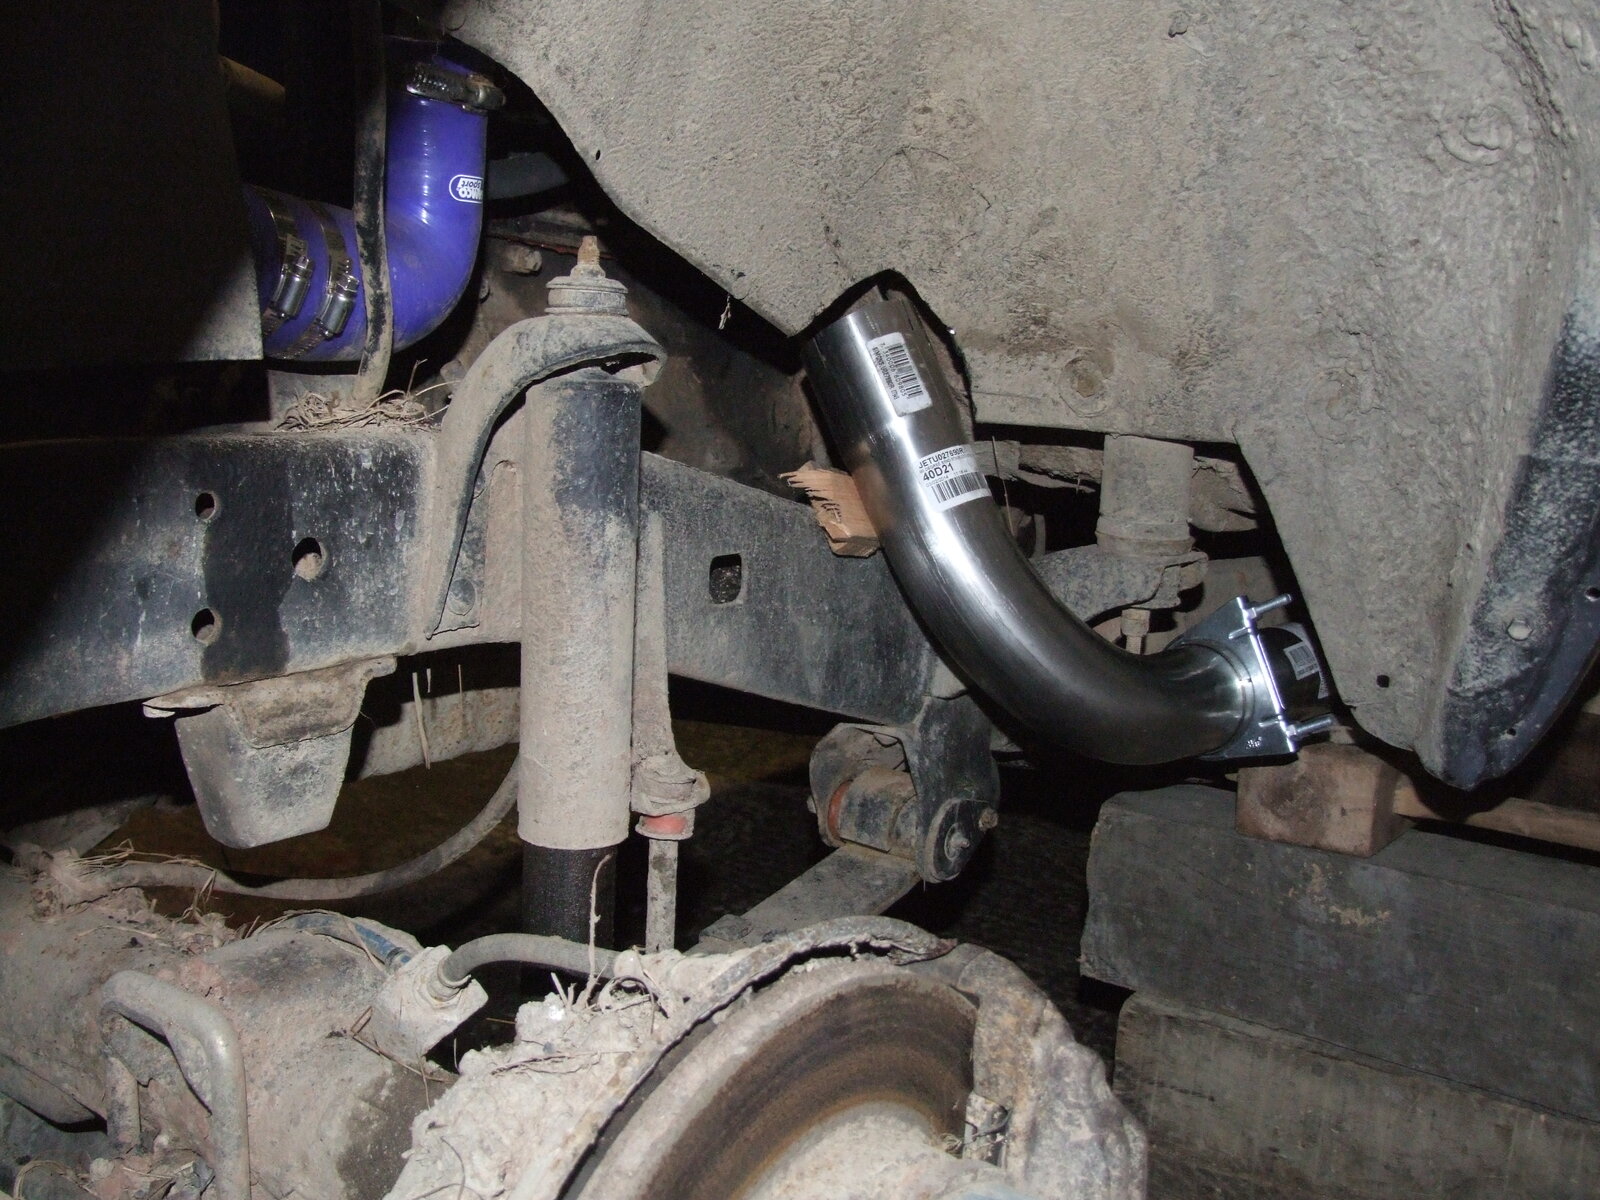
60 stainless exhaust 2 013.JPG


Looks far from standard from this view. Needs more cutting out of the inner wheel arch and treating the cut edge. Needs new shocks all round (were on it when I got it). Even looks like its had the front brake caliper upgrade that someone on the forum posted! Lol
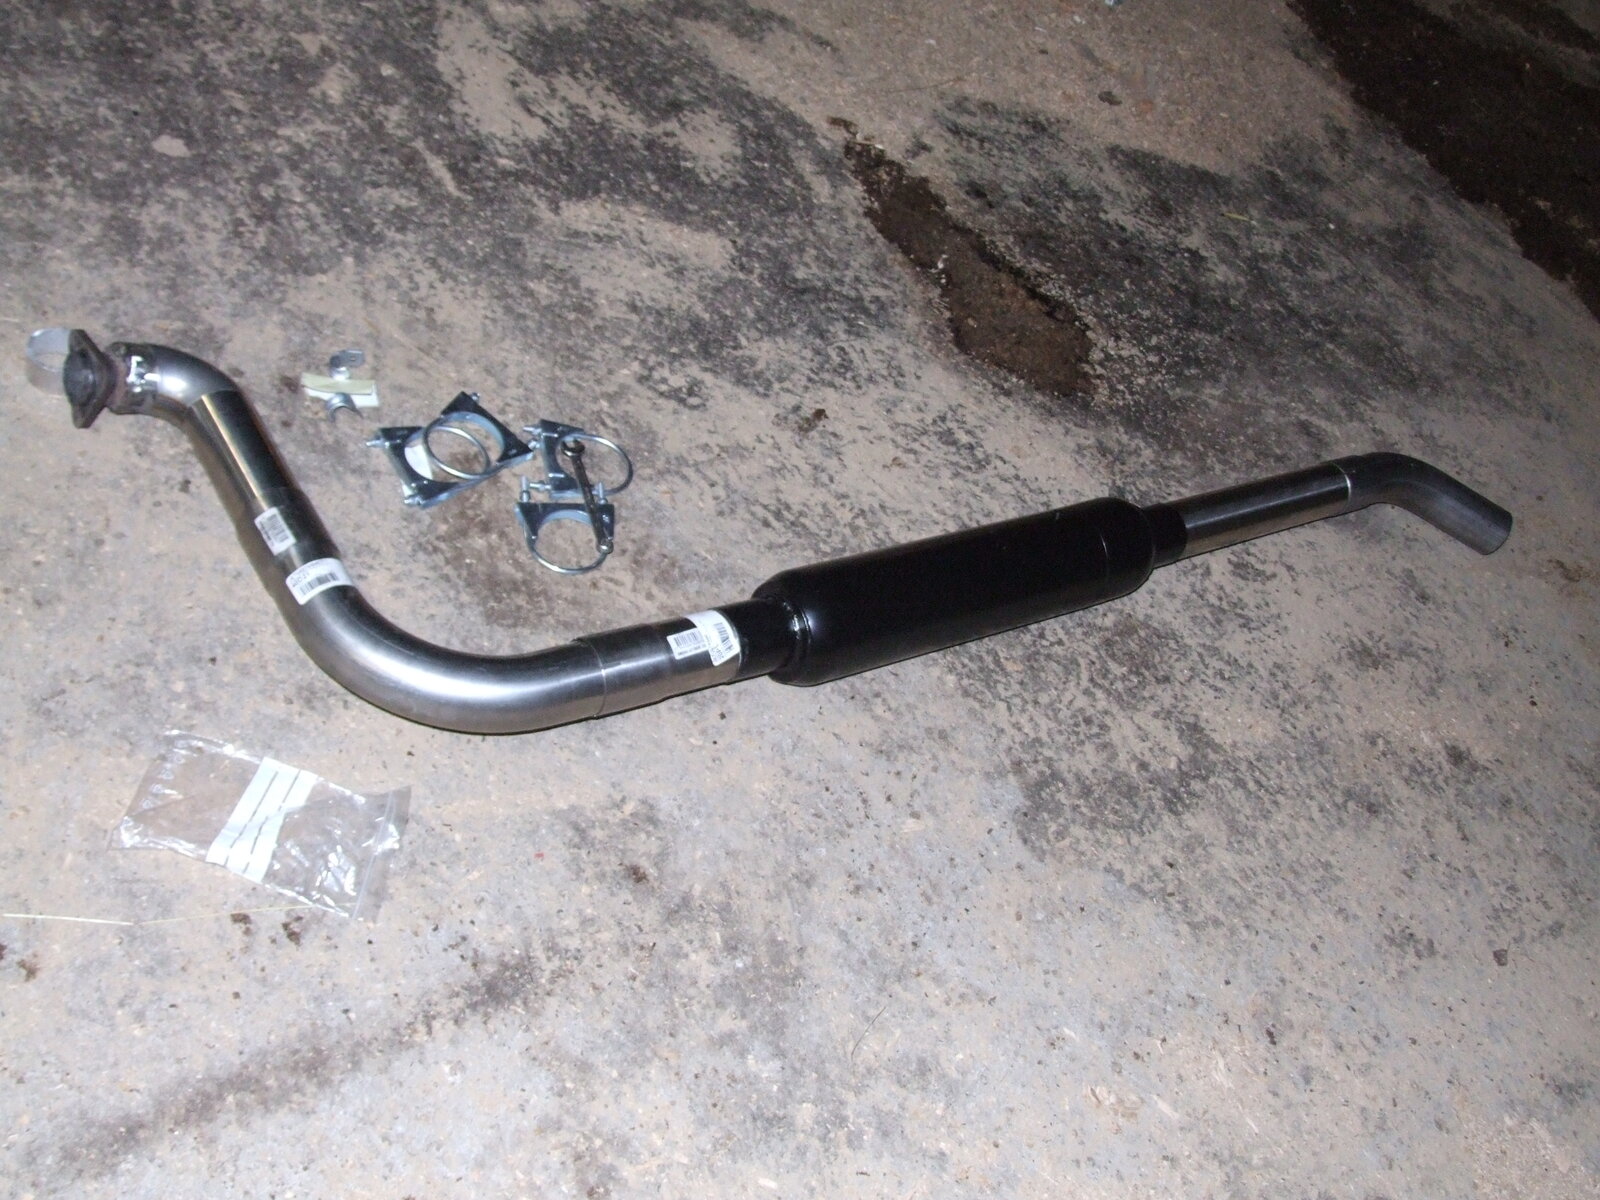
60 stainless exhaust 2 016.JPG


Very happy with the setup looks good to me. There's a couple of issues that need addressing - need to try to make a 10mm flare on the junction from the tight 90 to the downpipe and weld with 100% argon and stainless wire. The others as they are mild steel to stainless can be welded with normal mig (correct?). Need to add some kind of heat shield above the exhaust and to cut a ballini cut on the end!
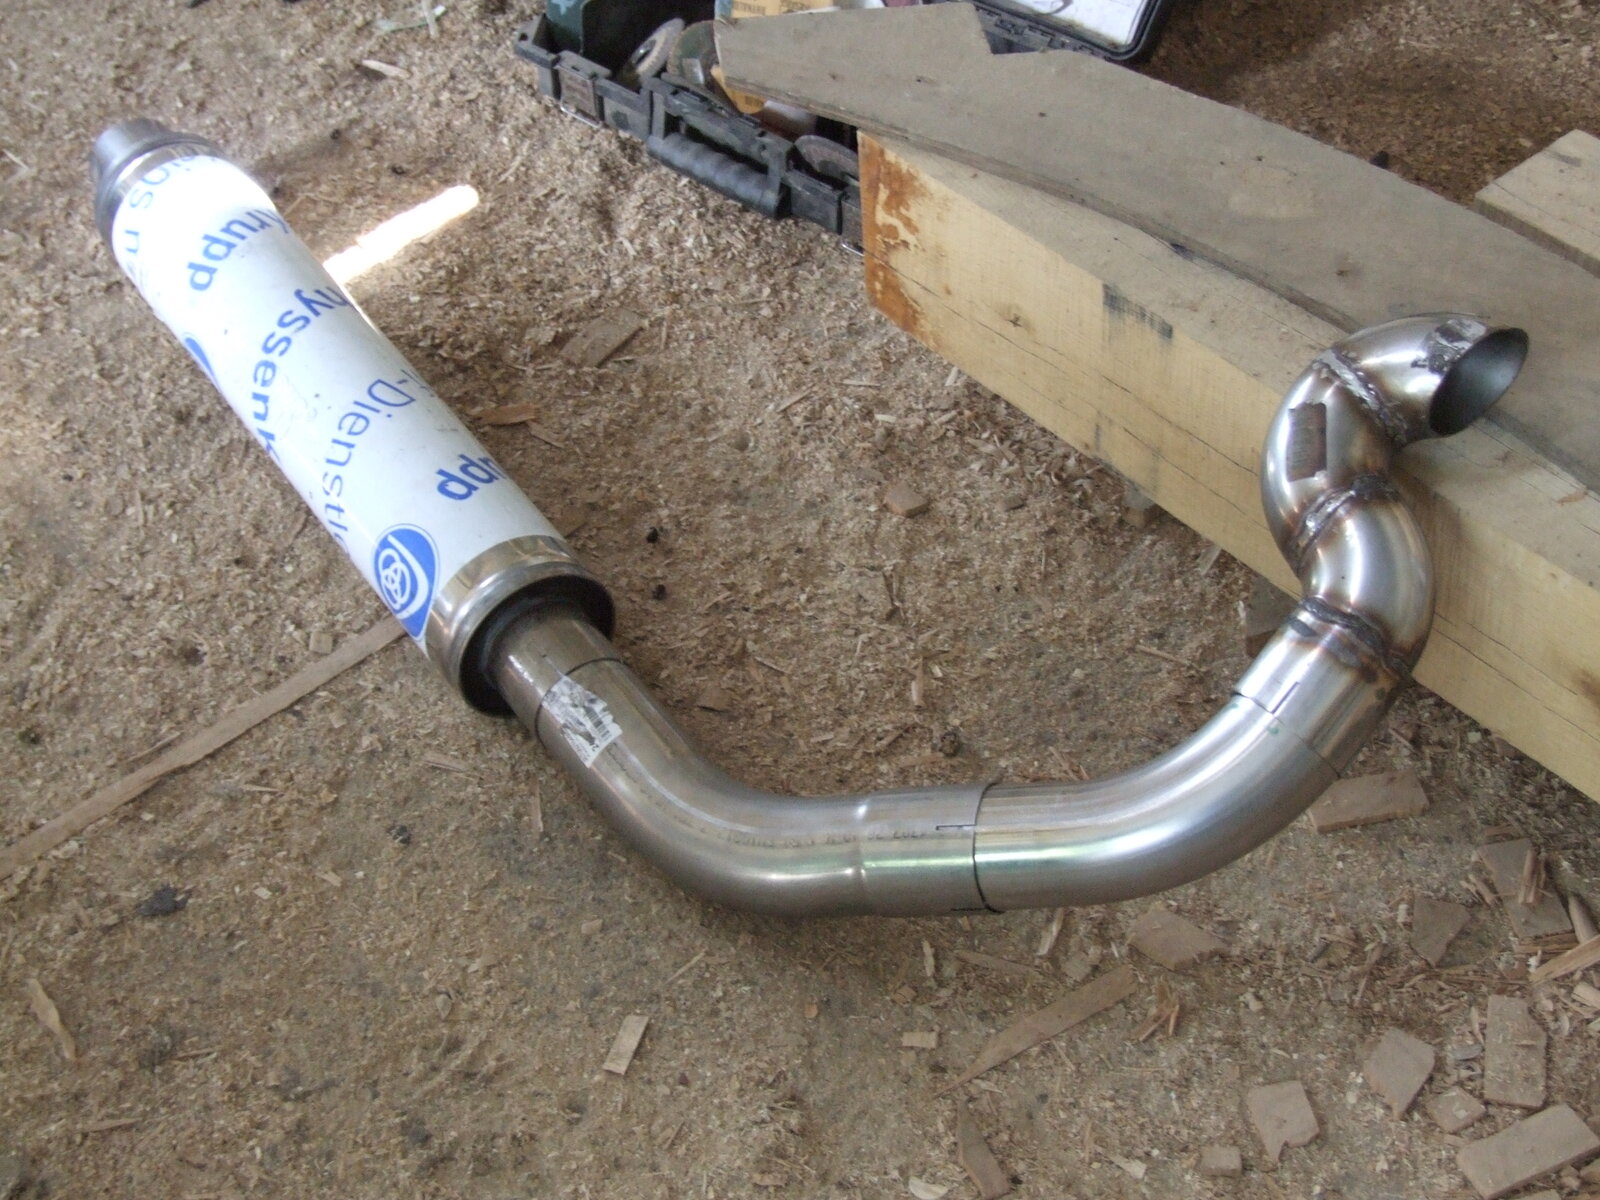
gti interior 013.JPG


The previous pic reminds me of when I made a stainless system for my 1st lj70 that I did a 1kzt conversion to back in 2010. Great powerfull machine :))

gti interior 002.JPG

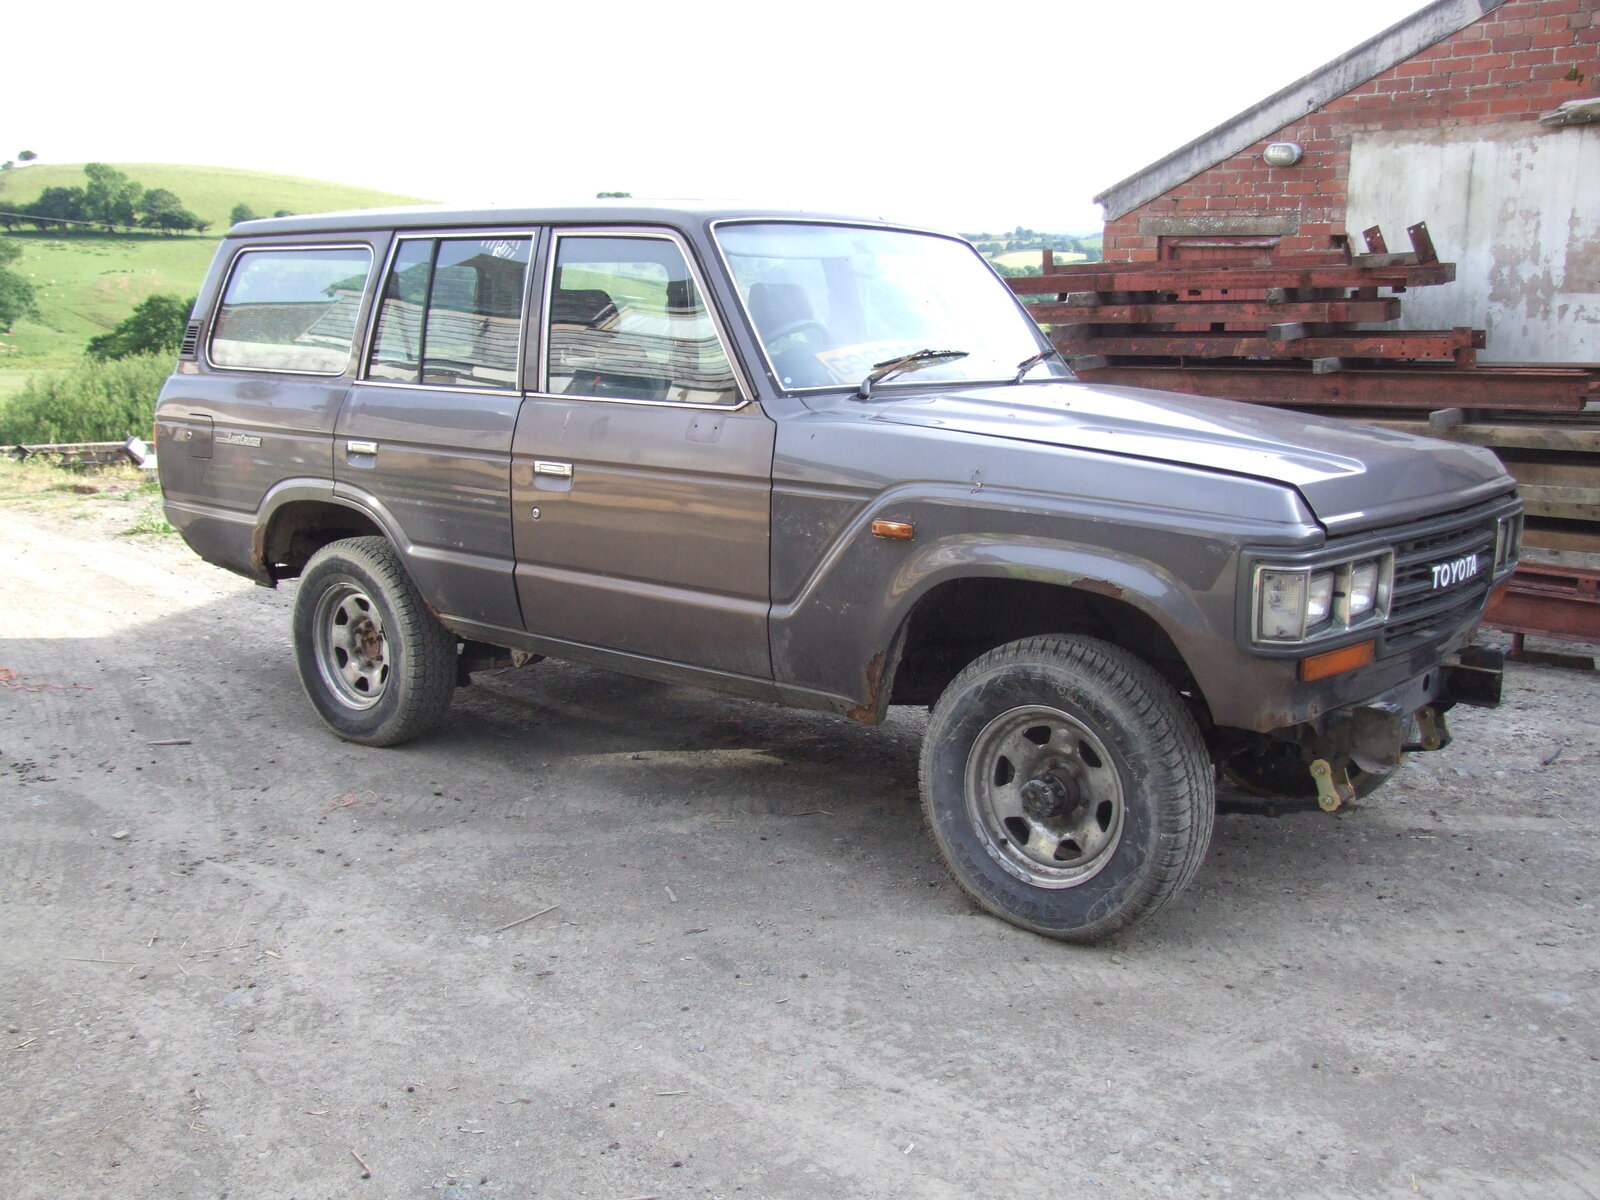
Just to add a pic of my £400 60 investment. A great basis to make a unique truck. I love it!

I wouldnt modify a mint 60 just to let you know. I made this truck!
 
Last edited:
I find stainless wire in a MIG with regular Argon/CO2 gas mix welds stainless just fine for this kind of thing (stainless to stainless or stainless to mild) it is just dirtier and won't polish up. Even if you get some pure Argon, unless you back purge the pipe it will be a black mess on the inside of the weld area.
 
Don't like the adverts?  Click here to remove them
Aha I see now with a full explanation! The blacksmith guy Richard did add "if you don't want the weld to go rusty" after saying about the 100% argon. I am going to get my mate Matt to weld it up as when I do welding its the same as when I do painting. I don't know when to stop!!!

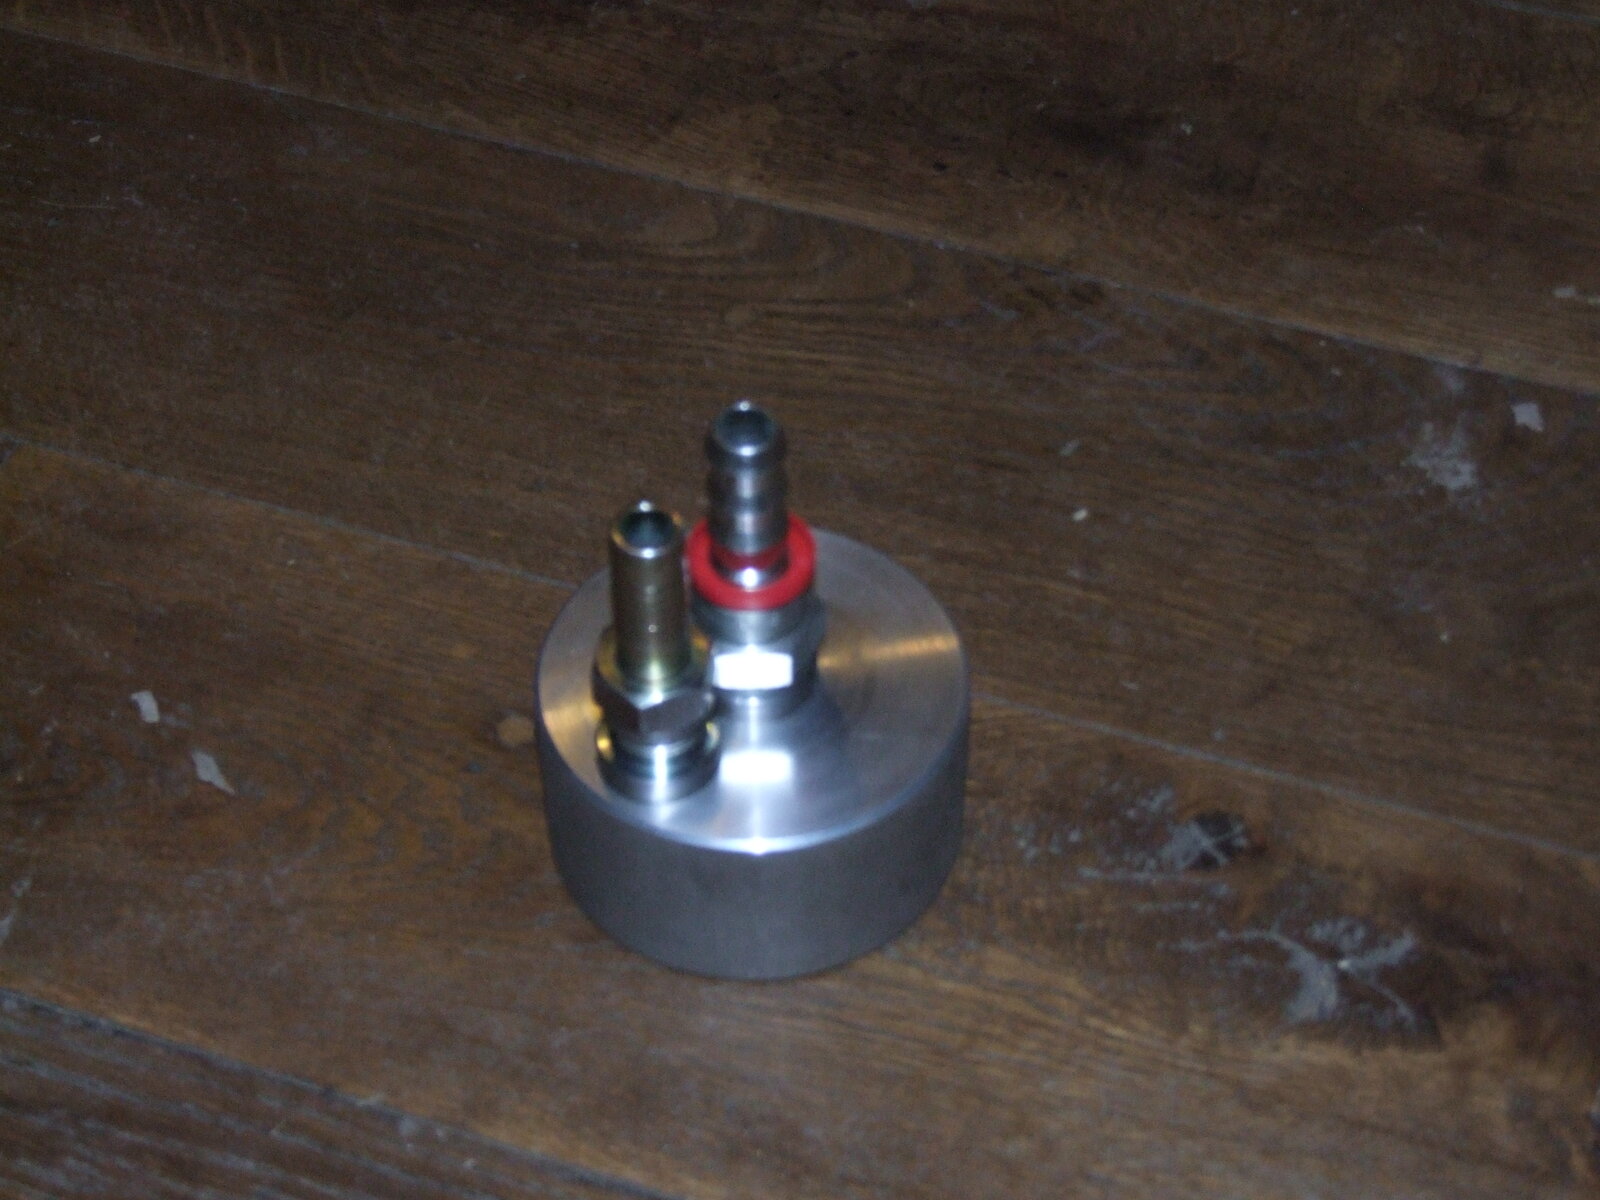
When I finished work today, I got a call from the guy who does the lathe work and he had finished my new oil distribution cap.

60 oil kit 001.JPG
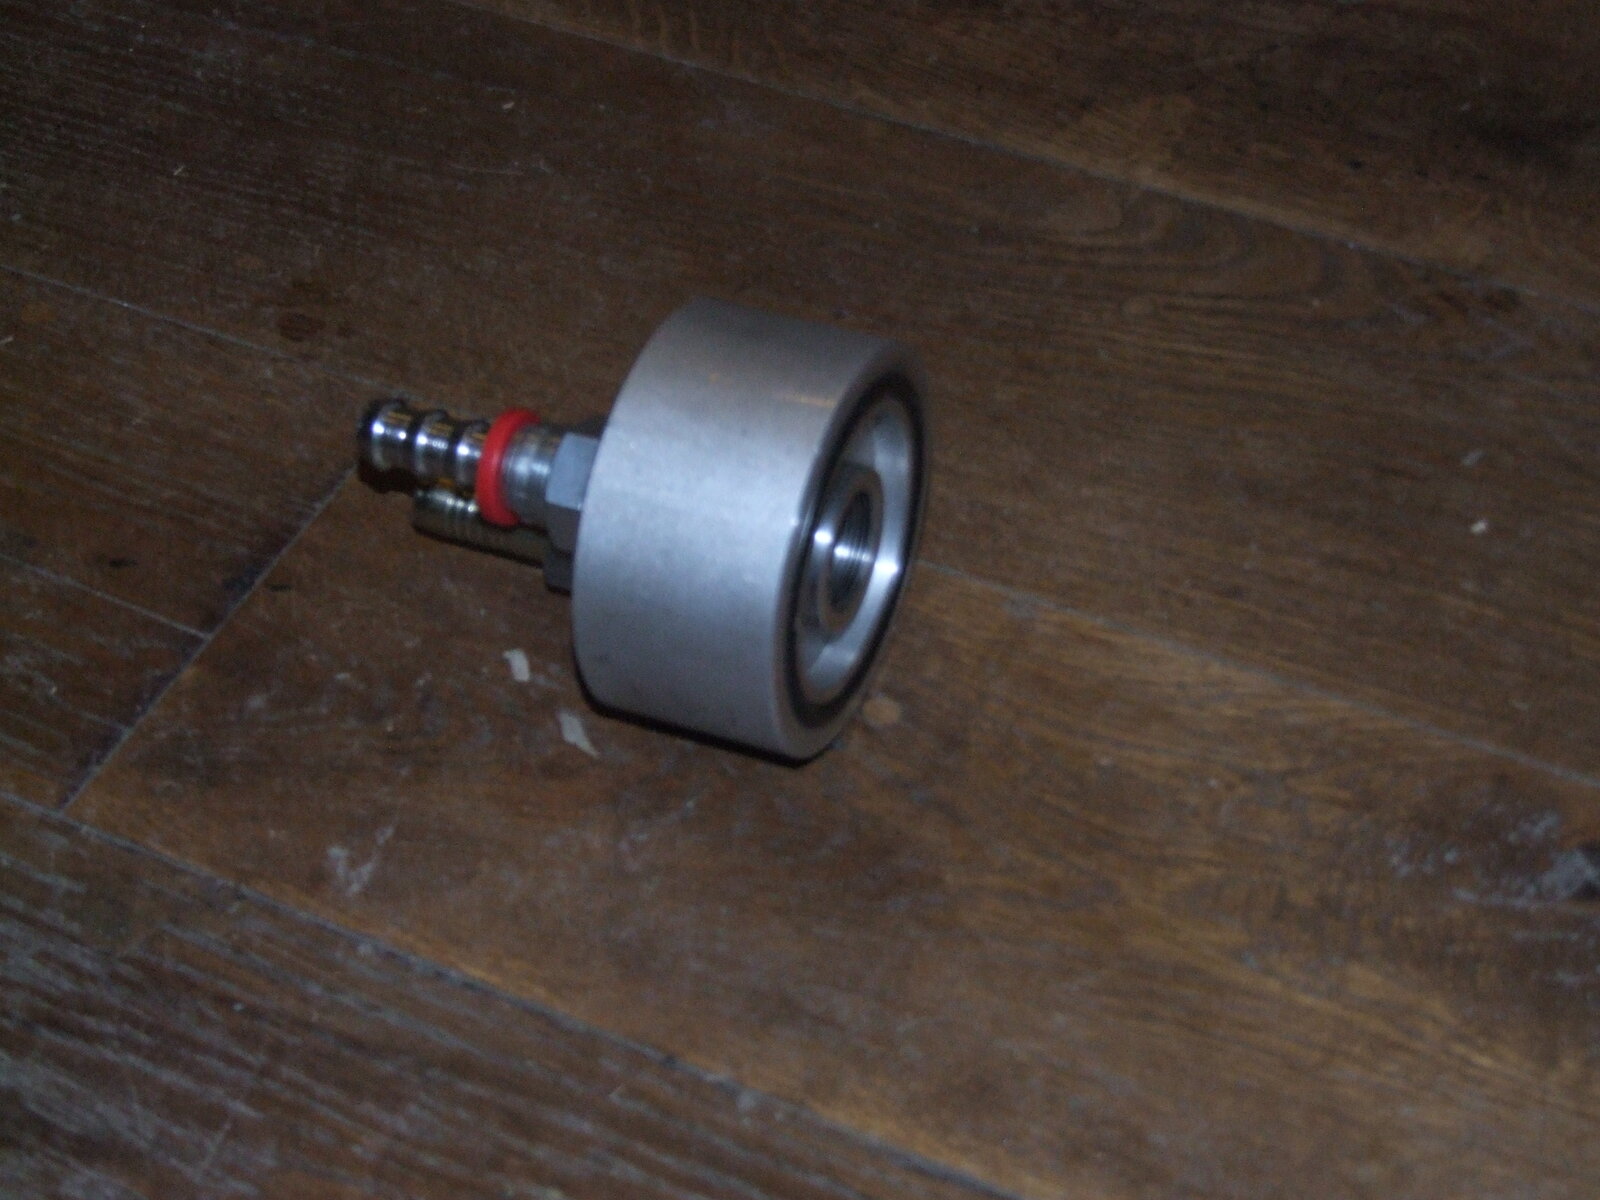
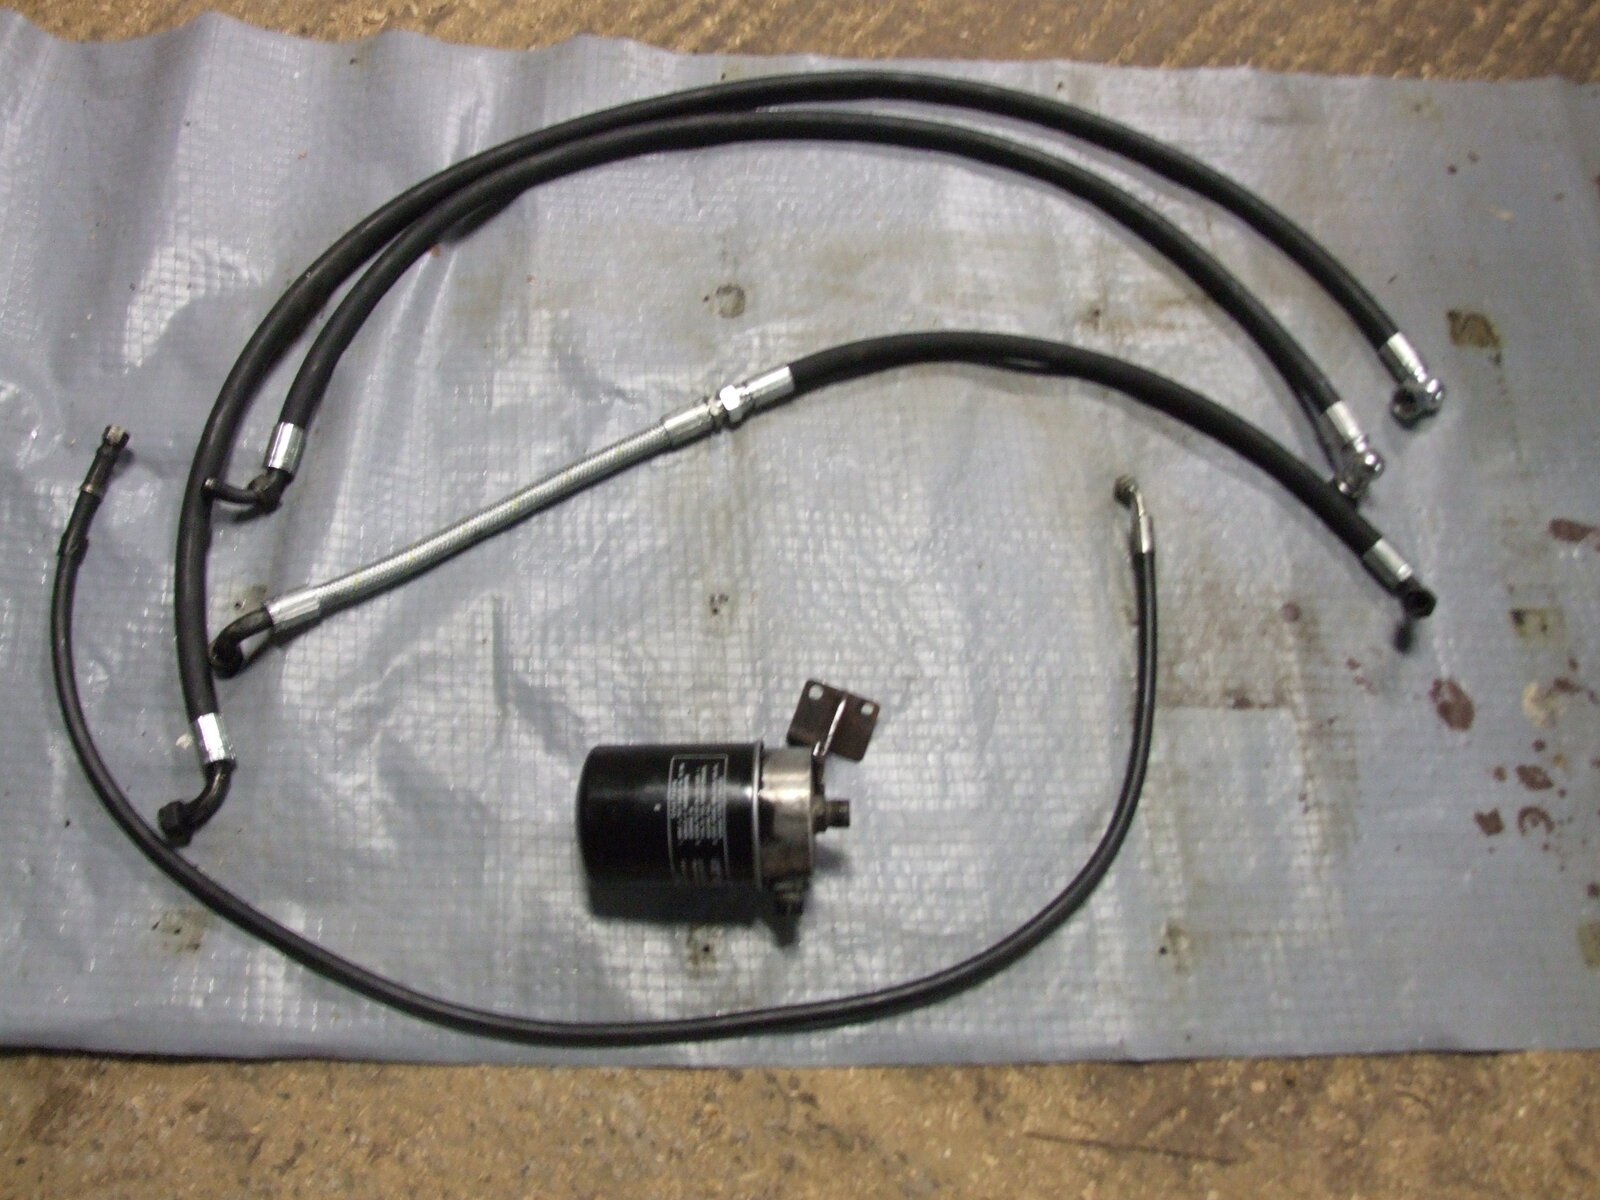
Quite a custom piece, I am going to screw this in place where the oil filter goes to re direct the oil into the remote filter which will distribute the oil to the turbo and to the oil cooler. The return from the oilcooler will go back into the outer port.

60 oil kit 003.JPG

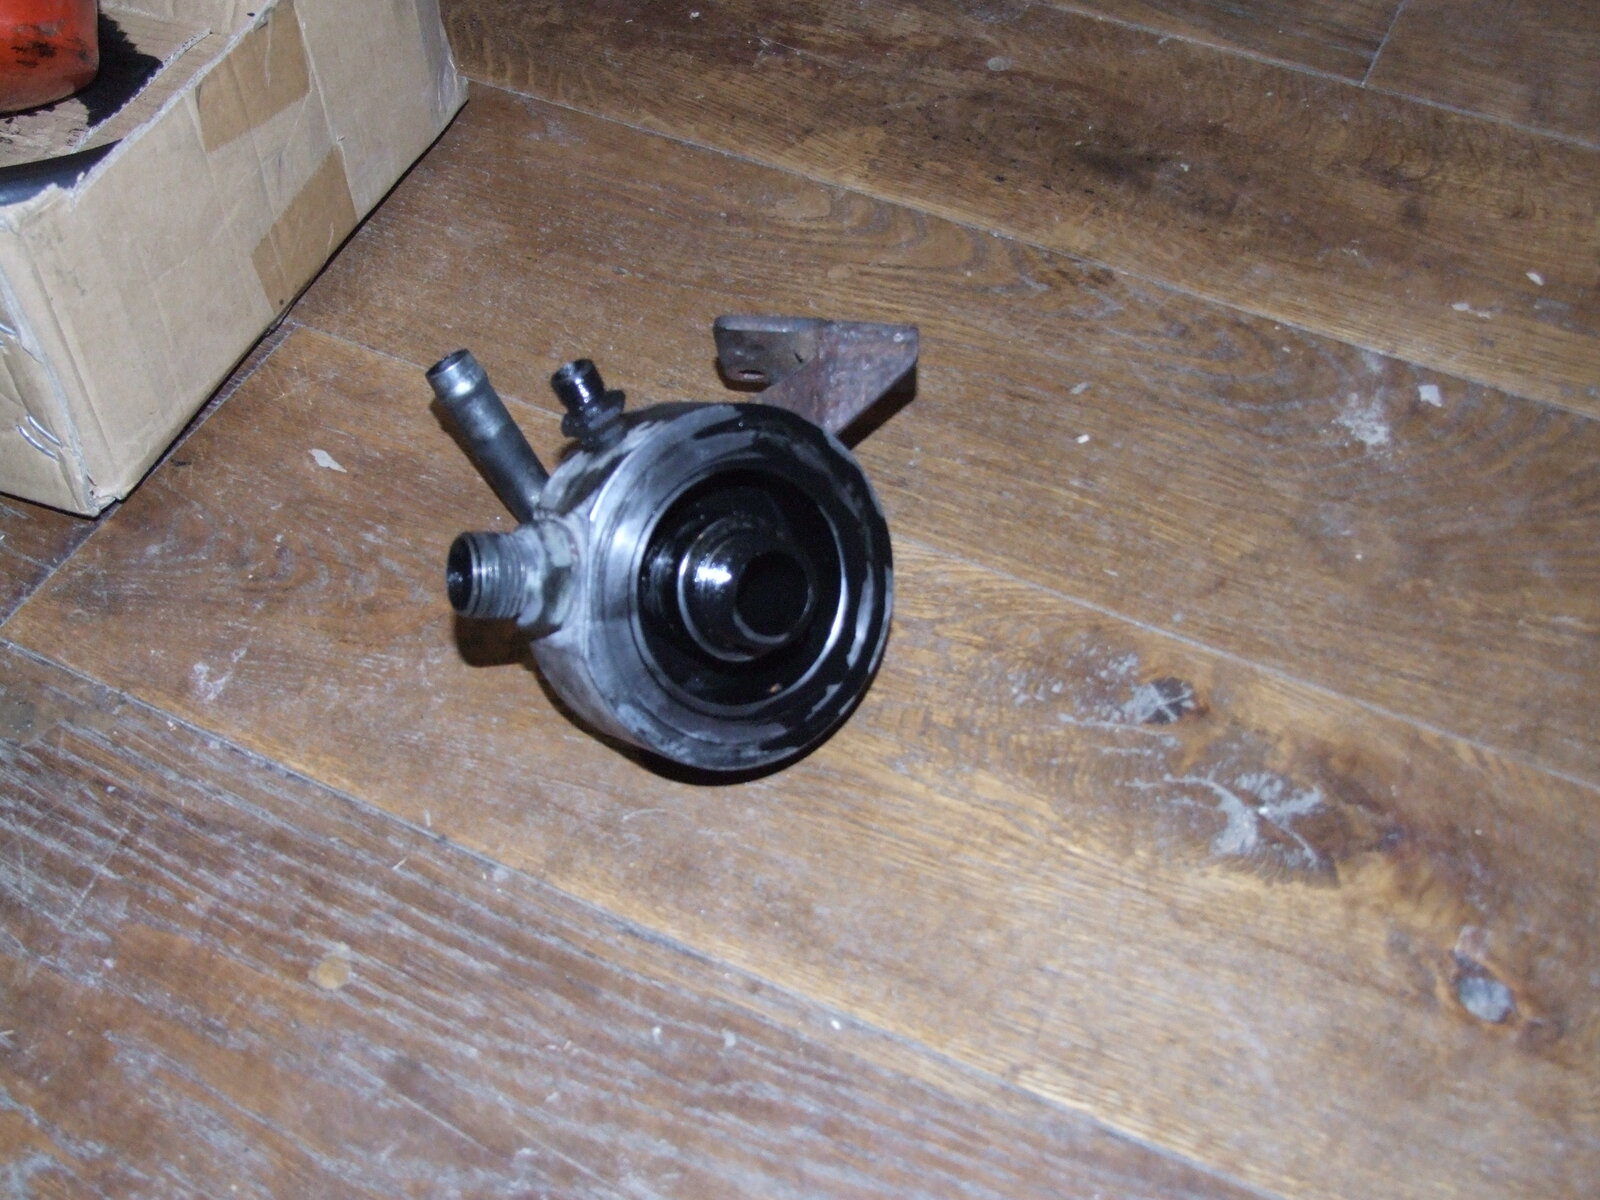
So am I right in thinking that the oil enters the filter through the centre and it returns through the outer holes?

60 oil kit 004.JPG

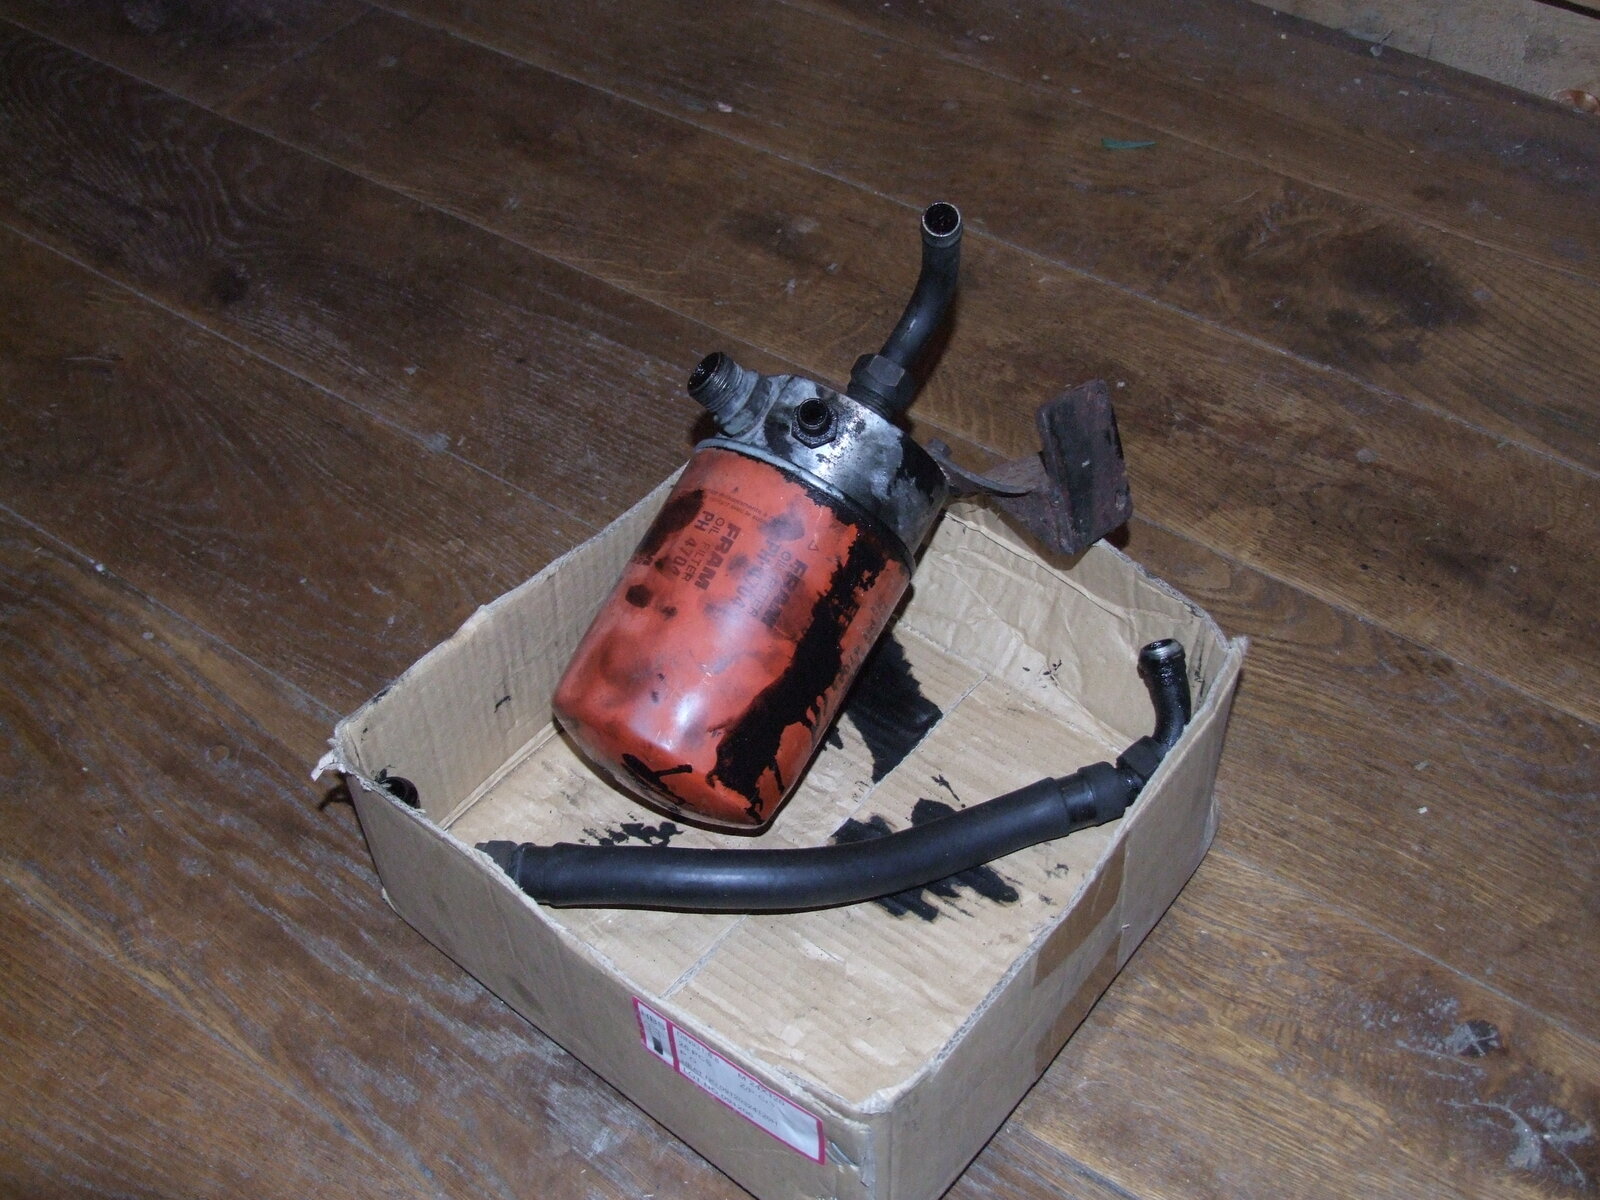
This is the remote oil filter that was provided with the turbo kit

60 oil kit 005.JPG

Needs a good clean with petrol before fitting. Tomorow I will be going to my local agricultural store who can crimp the pipe ends onto the SAE100 pipes that I have.

The first start up is getting very close! Still plenty more to do to it tho!
 
Hi Iwen have a good look at the in and out on the new oil distrIbution cap to get it right good look with it.
It's looking good keep up with A good Job .
Tony
 
Hey cheers Toon! I have had a plan forming, when I bought the turbo kit I made a diagram of the routing of the pipework so have made the system the same as how turbotechnics set up the system. So it should work as they designed it.

Today I have concentrated on getting the oil system sorted out.

60 oil work 002.JPG

I had worked out the lengths of pipe and then went to my local agricultural store to get the ends crimped on. I was a bit short of one length but luckily they had a length of braided SAE100 pipe. Bit of a pain with the joint as it wount bend there!

60 oil work 004.JPG

The oil filter cap fitted a treat and with the 90 bends the pipes are higher then the original filter.

60 oil work 005.JPG

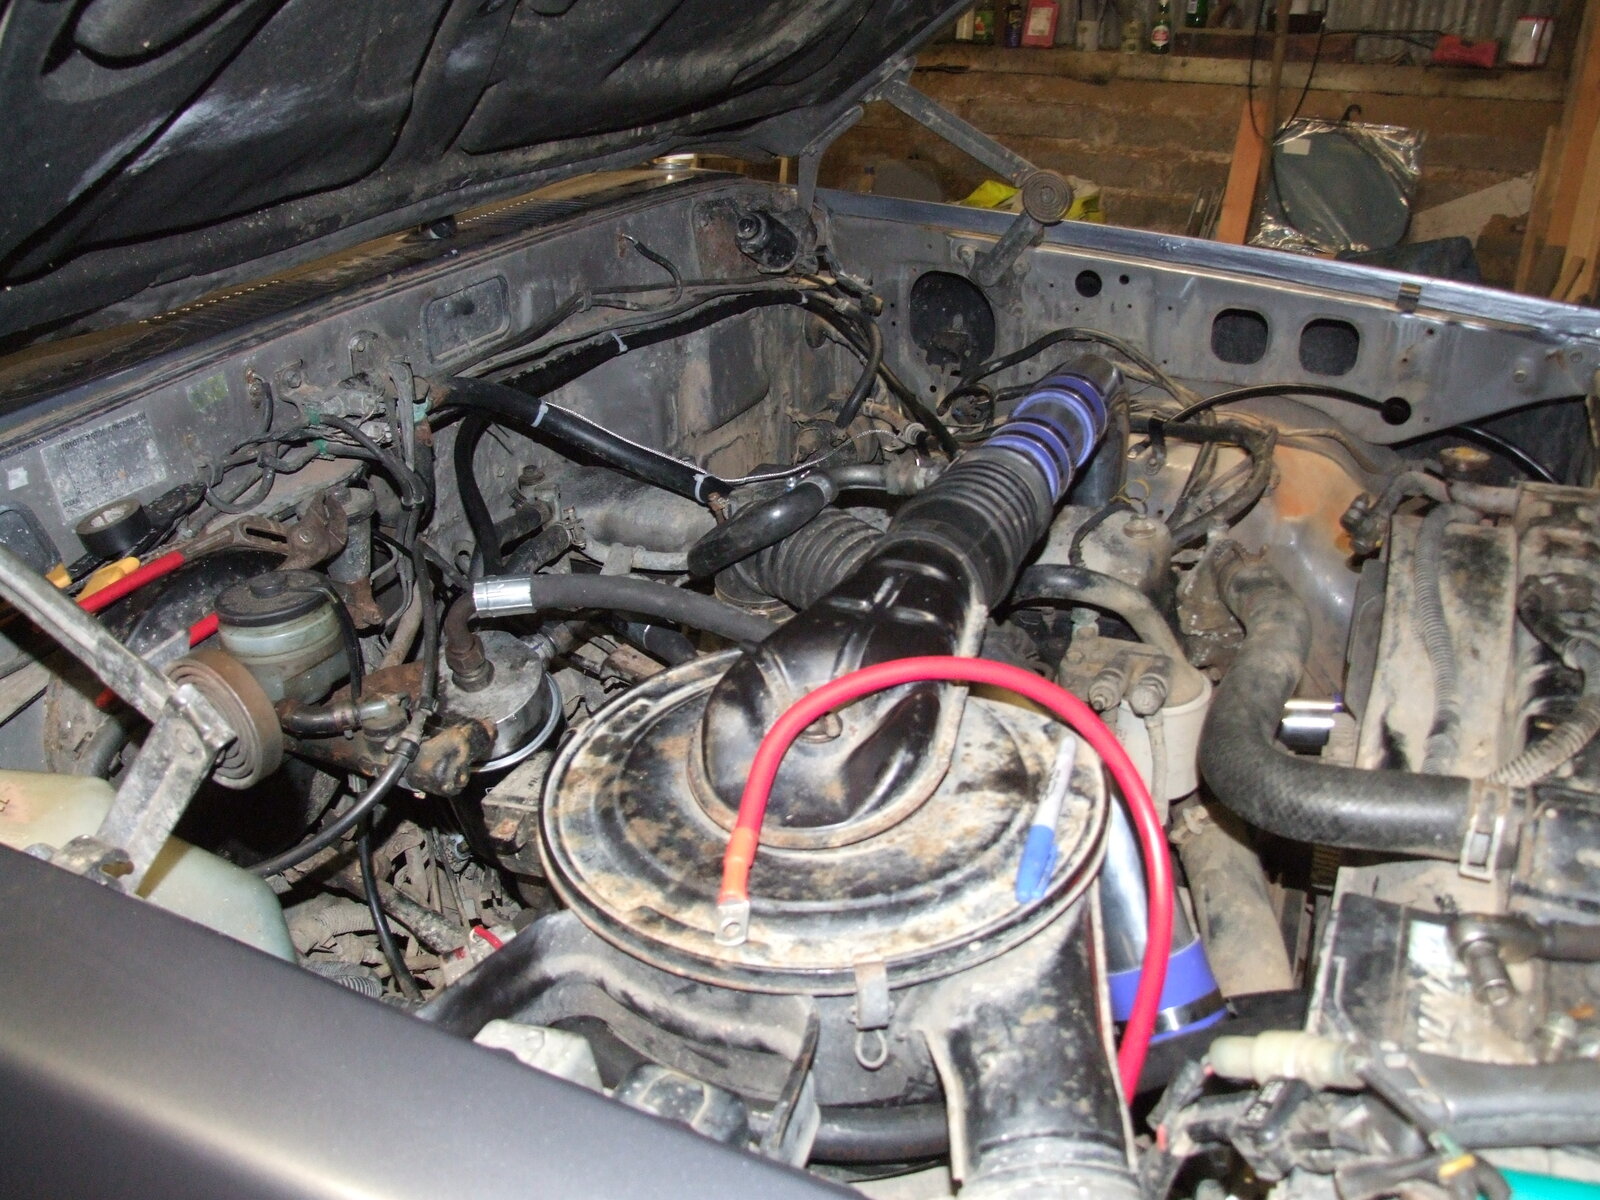
The turbo oil feed is fitted and I left it long to rout it around the bulkhead out of the way. Its getting quite tight of for space below the air filter box!

60 oil work 007.JPG

Looking nearly there. Theres a bit of work tieing pipes down to make sure they don't rub, a bit of electrical work for the gauges, to hang and complete the exhaust, to fit the oil cooler and to ADD OIL!

Really looking forward to hear it run. I think with all the oil pipework I will need to bleed the system and as the turbo hasnt run for at least 7 years will need to turn it over with the EDIC disconnected or without the glow plugs in to get the oil pressure up.... and to let it tick over for a while too!

Fingers crossed it will be tomorow..... :) Will make a vid of the startup and the exhaust sound! Lol
 
hi im caind off new in the cruiser section, i have a 1986 us model w a 2f i think gasoline engine 4 speed, is there any turbo adapter or something to get a little bit more power / speed:???

would apreciate allot thanxx
 
Hi Iwan is it up and running and R you OK good look with it good man keep it up and I will keep looking to see it up and running thanks a lot .
Tony.
 
Hi Iwan is it up and running and R you OK good look with it good man keep it up and I will keep looking to see it up and running thanks a lot .
Tony.

Hiya Tony, I'm good thanks mate! I had a bit of a party time at weekend and worked all week (it hasn't allowed Cruiser attention). But me mate Matt came round last night and we got the exhaust tacked up and in position. Then fired it up!!


http://www.youtube.com/watch?v=3K1_OYtejVU&feature=player_detailpage


I am well happy with the sound of it, was good to add the silencer. But after further running it and connecting boost gauge. It is only running at nearly 1 psi. There is a quiet whistle and improved running.

It was getting late last night as we were looking into it. From what we saw there could be 3 things.

The wastegate is stuck open.

There is a kink in the oil outlet pipe that returns from the turbo restricting flow and the oil is just getting pumped through the oil cooler, will have to do a sump return a dirty job.

Or worst case scenario I need to rebuild the turbo afterall it is around 28 yrs old! Not too phazed about doing that!

I will try to add the warm run with higher revs and the vid of it last running standard.


There must be some turbo knowlege to add some input!! Thanks in advance lol..
 
Hi Iwan sound good nothing like the first time you fired up a Engine top job love it .
Tony:laughing-rolling::thumbup::clap:
 
Just a bit of an update! I took the exhaust flange off and the turbo has been blowing oil out through it.. Better off finding out the turbo needs reconditioning in the workshop than on top of a mountain or on the motorway.

I sent the turbo back to turbo technics last friday and they called today with a report saying it needs a full rebuild and they need to order parts in for it. Partial rebuild £180, full rebuild £370.00 + VAT.. So should have it back in 6 working days.

Cant wait to get it going, need it out of my workshop!
 
Hi Iwan bad look if it was not bad look it wood be no look like me thanks you will have it up and running good look .
:thumbup:Tonytoyota
 
Phew!

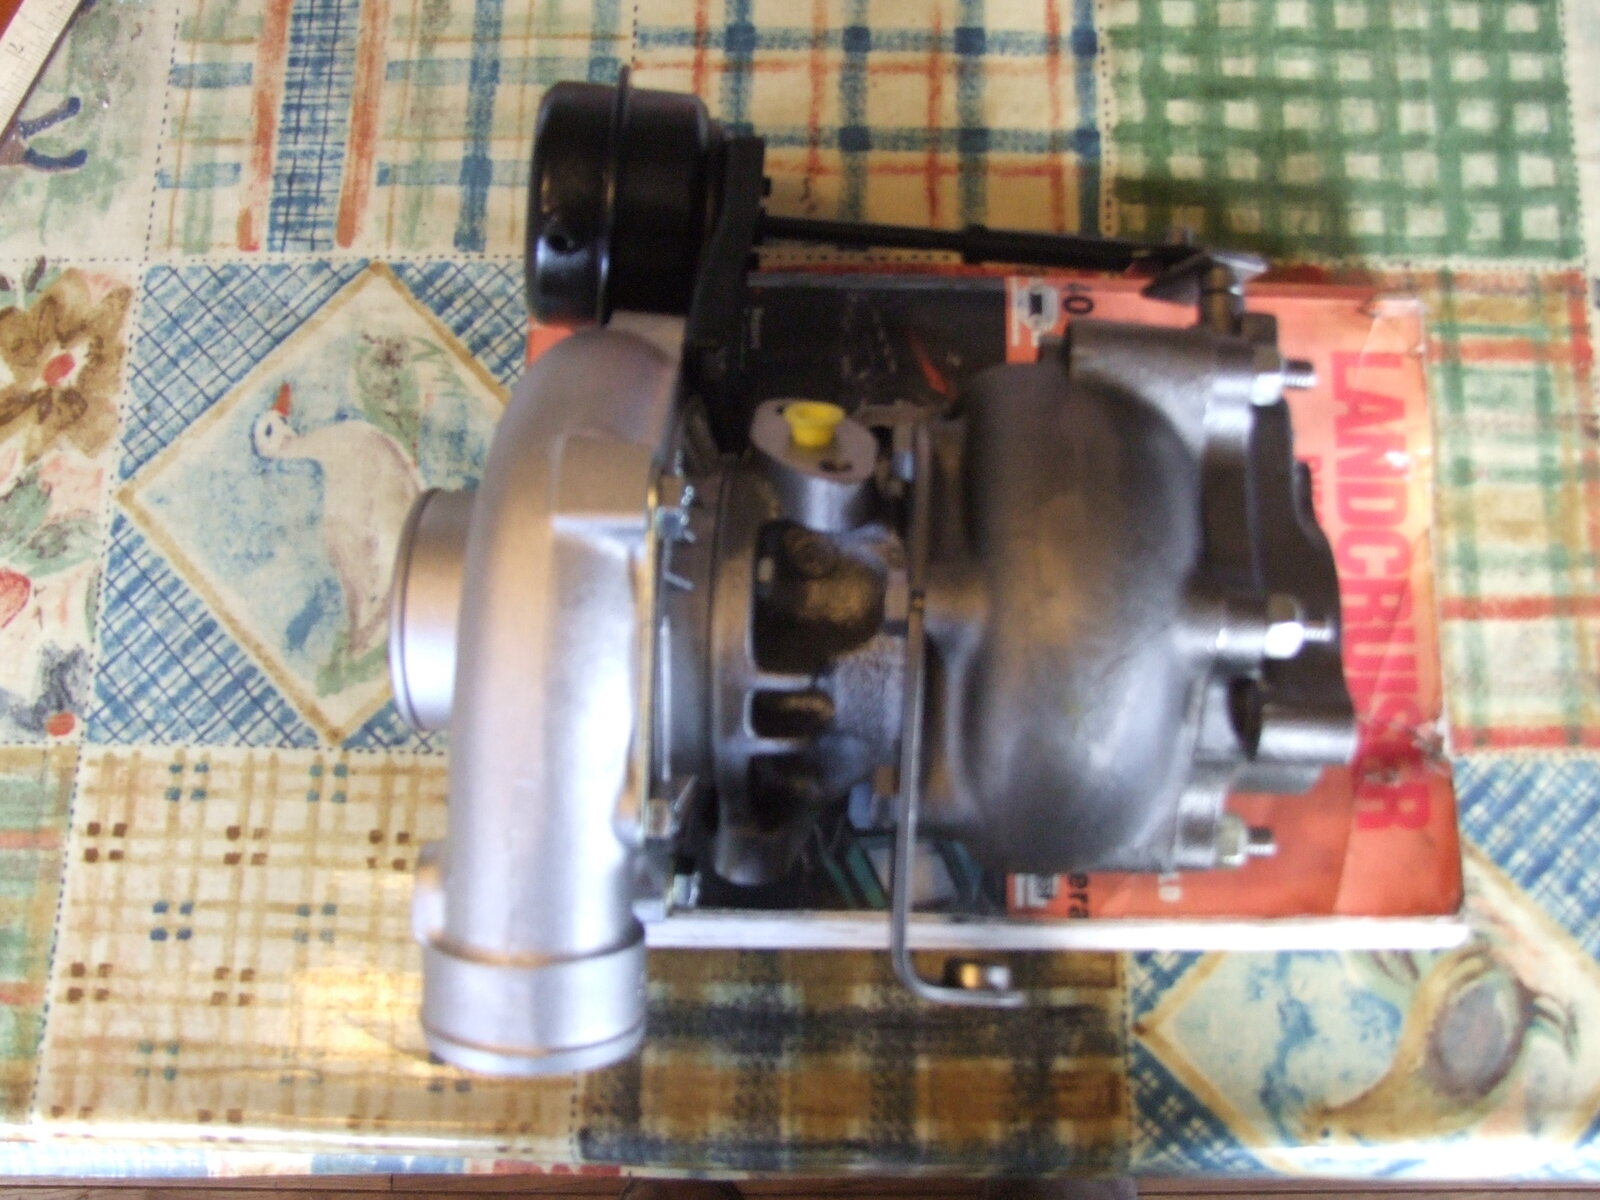
I received my turbo back on friday. Turbo technics have installed all new internals to it, have returned it in a very respectable fashion, they have even painted the actuator black.

60 turbo returns 004.JPG

It has been VSR balanced to give a reading of 0.3 and tested to 80,000 rpm..

60 turbo returns 005.JPG


Basicaly like new!

So friday evening/night was time to get it fitted and to get some gasses through it.

60 turbo returns 007.JPG


I changed the oil, I ran 500ml of oil through the turbo, I changed the oil return position and also did a further mod to the oil filter adaptor.

60 turbo returns 009.JPG


Looking awesome in place.

On startup I let it idle for 15mins and on the oil pressure gauge it was reading 4.5 ish kg cm. From my manual upto 3000 rpm the oil pressure is acceptable between 2.5 - 6.0 kg cm, so the reading I have is quite good as far as I can see. So no more worries there.

The engine is running very happily and am real pleased with the set up now..

http://youtu.be/gRxjTlt5Q6k

I have put a vid of it running up on youtube to share with you all..

Have a day to finish the job tomorow and am looking forward to see how well it pulls up the hills after knowing how sleepy it was.. I am really happy!
 
Hi Andy, I am just on the job of increasing the fuel.. I recall you saying it is the upper adjustment, the lower one is just the speed control spring adjustment. I remember turning that one in the past and it made no difference at all!

So I believe it is the adjustment that allows the EDIC control rod to pull further back and hence allowing more fuel? So I plan to turn it 1 whole turn back and see. Even after adding the turbo the idle speed has risen, so am I guessing that the idle speed will have to be lowered after adjusting the fuel?? Cheers Iwan....
 
Back
Top