Don't like the adverts?  Click here to remove them

80 Series resurrection.

Scott, have just had a skim thro' GuyB's thread (glad they're all OK obviously), TBH think my body shell may be a little too rough to be of any real use to him but am more than willing to cut large chunks out of this one if required FOC..

Lots of good constructive info has gone Guys way so will join in if I can be of any help..

I'll have a straight bare chassis with V5 etc here sitting on the back lawn within the next day or so but that sort of thought is probably a bit extreme and hopefully/probably not required..
 
Thanks again Scott, and Chris hats off!

As for the shell and chassis:
I think I could just about handle re-shelling my truck (subject to having the space and kit) but if the replacement shell needs much work I lack the skills, not to mention the patience! As for the chassis, the balance of opinion is that mine's probably ok. If not, I'll be breaking the truck!

Best of luck with the next phase, may we'll follow in your footsteps with the manual conversion - doubtless you'll make it look easy!


Sent from my HTC One_M8 using Tapatalk
 
Thanks for that Guy, but having just finished stripping out the '95 shell totally, I wouldn't like the task of putting the dash and wiring back together, took all day to get a bare bulkhead.
Managed to get the non-sliding rear side windows out but failed miserably with the windscreen!! Doesn't take long for the purple faced cursing side to kick in.

Will update pic's/issues with the box swop when it happens, thinking hard about whether to put the 24 valve motor in the 'G' reg. at the same time? Cheers.
 
Hello friends, am trying to keep this long old project on the go, the '95 body has gone but not killed off completely.

There is a plan for a 're-body' of sorts in the near future..:think:

The remains;

002_61.jpg

001_59.jpg

That lot has been stored in the garage, sheds, garden, patio etc, there's bits all over the place but has provided all the pieces to do the manual conversion on the G reg. jobbie.

The auto box on the 1990 truck is the hydraulic version carried over from the 60 series from whats been read and am pretty sure this one is knackered due to towing etc, seems to slip and smell hot so its coming out.

1st job is to sort the pedals out so am on that today;

007_40.jpg

L/H on the pic is the old auto brake pedal assy. (note the factory paint). middle is the '95 brake, unpainted and with a bigger switch for shutting down the cruise control.
The clutch pedal on the right also has a switch which also shuts down cruise.

The '90 will not be retro-fitted with CC so the clutch switch will be redundant and will fit the '95 pedal into the painted '90 bracket with it's simple brakelight switch.

The holes are already in the bulkhead and even the sound proofing is perforated so you can just peel the bit out ready for the clutch bracket.

008_30.jpg

Cruise switch off;

009_23.jpg

Clutch CC switch off;

010_17.jpg

The daily driver for a couple of weeks;

004_55.jpg
 
Hi folks, this Auto to manual swop has been 'adjusted' to include the 24 valve engine as well as its entire under bonnet wiring loom.

It is a bit of a steep learning curve but assuming the front '95 loom will simply plug into the '90 underdash loom is the biggest concern at the moment..:wtf:

Took the old units out in one today;

007_41.jpg

Will update with progress and any problems as they arise if any? :thumbup:
 
Don't like the adverts?  Click here to remove them
Stage 2 has begun apparently. Good luck!
Looking forward to the pictures.
 
Stage 2 has begun apparently. Good luck!
Looking forward to the pictures.

Morning Mr Geert, seeing your location reminded me of the Belgium National LR events from the 90's, lovely country, yes stage 2 is on the go and am on a mission to get
the engine/boxes in fairly quickly.

The whole lump went in easily yesterday and whilst aware of different prop. lengths between auto/manual, found the gearbox crossmember is mounted further forward on the chassis with a manual.

All the chassis holes are there but the forward set of holes are devoid of factory welded nuts but worse than that is the fact that those crossmember support brackets (welded to the inner faces of the chassis rails), are immoveable really.

The only quick way out (in my mind) was to cut the nicely powdercoated crossmember :| and stagger the centre section forward by 67mm which is what the difference is.

Cuts were 155mm in from outer point;

003_61.jpg

The centre had 6mm sliced off each end to allow for the 50x6mm flat stock;

004_56.jpg

Welded and painted easily;

005_51.jpg

The difference can be seen on the ally plate;

006_36.jpg

It's not the prettiest thing in the world and the old centre load point has moved but think the key thing is that the chassis remains as was..

Thanks for looking, off to do some more now.
 
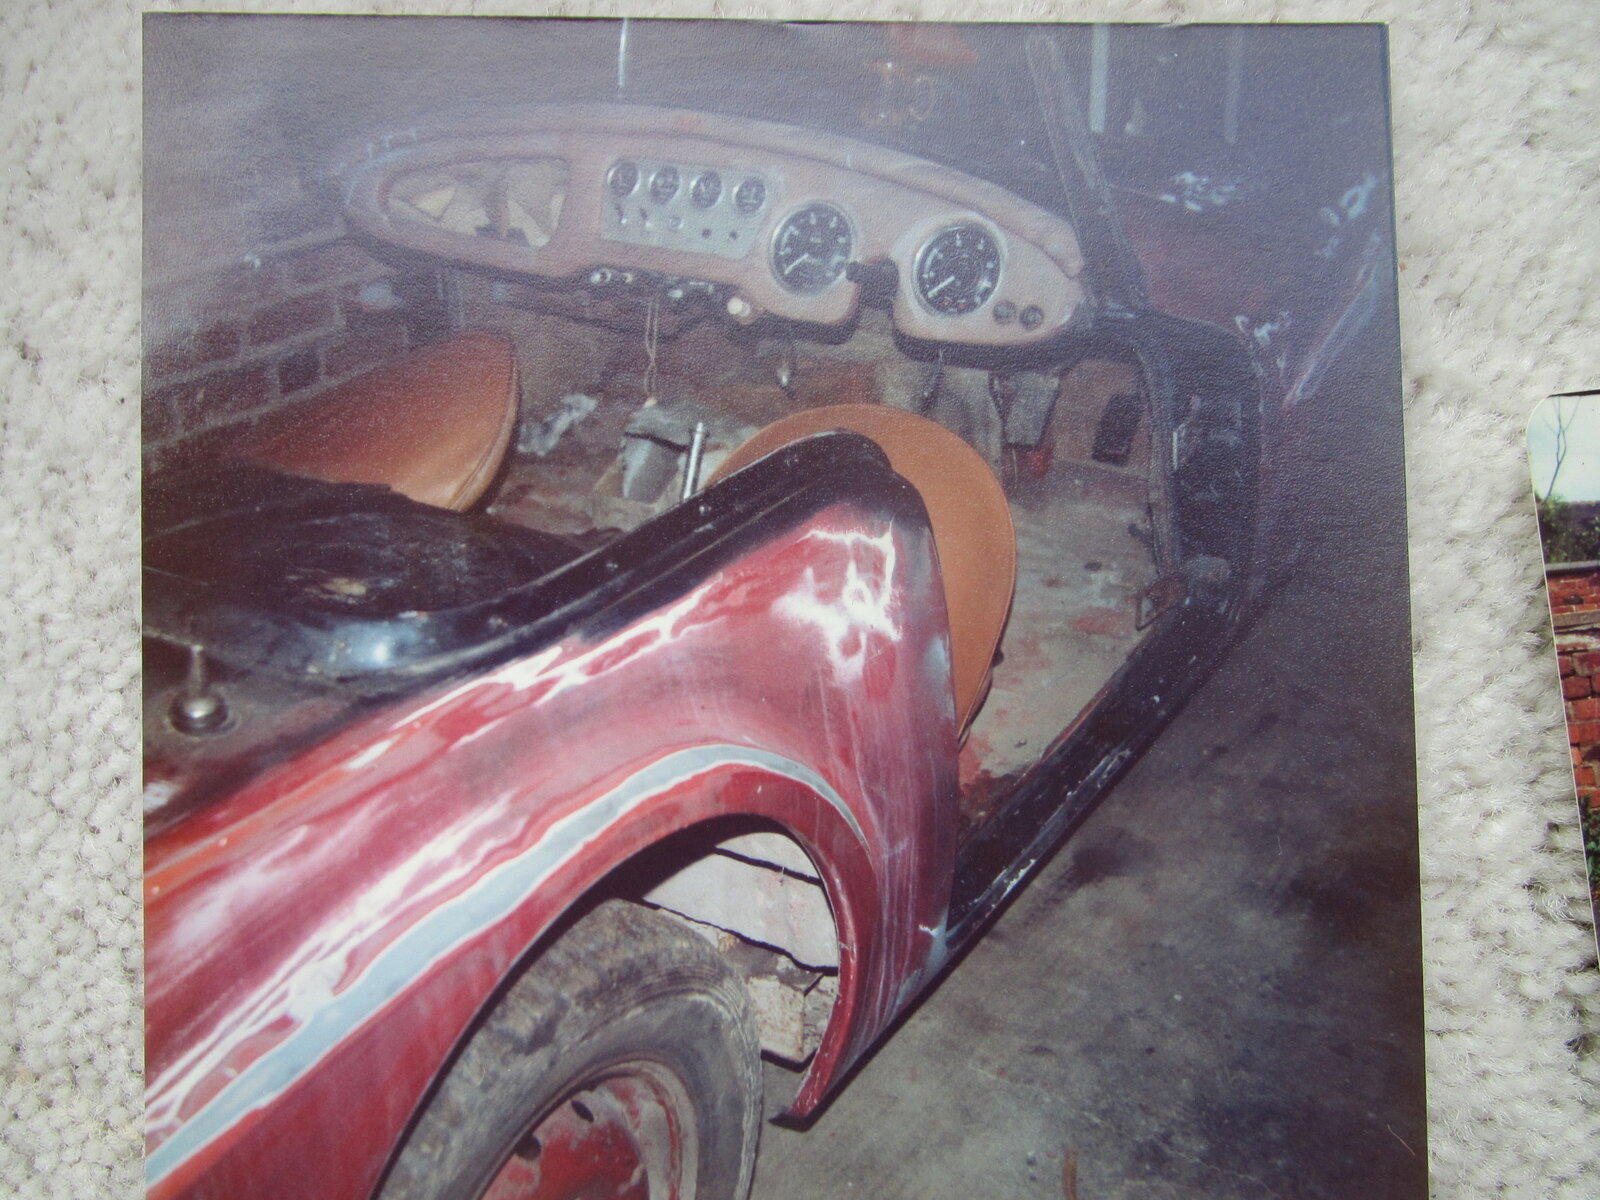
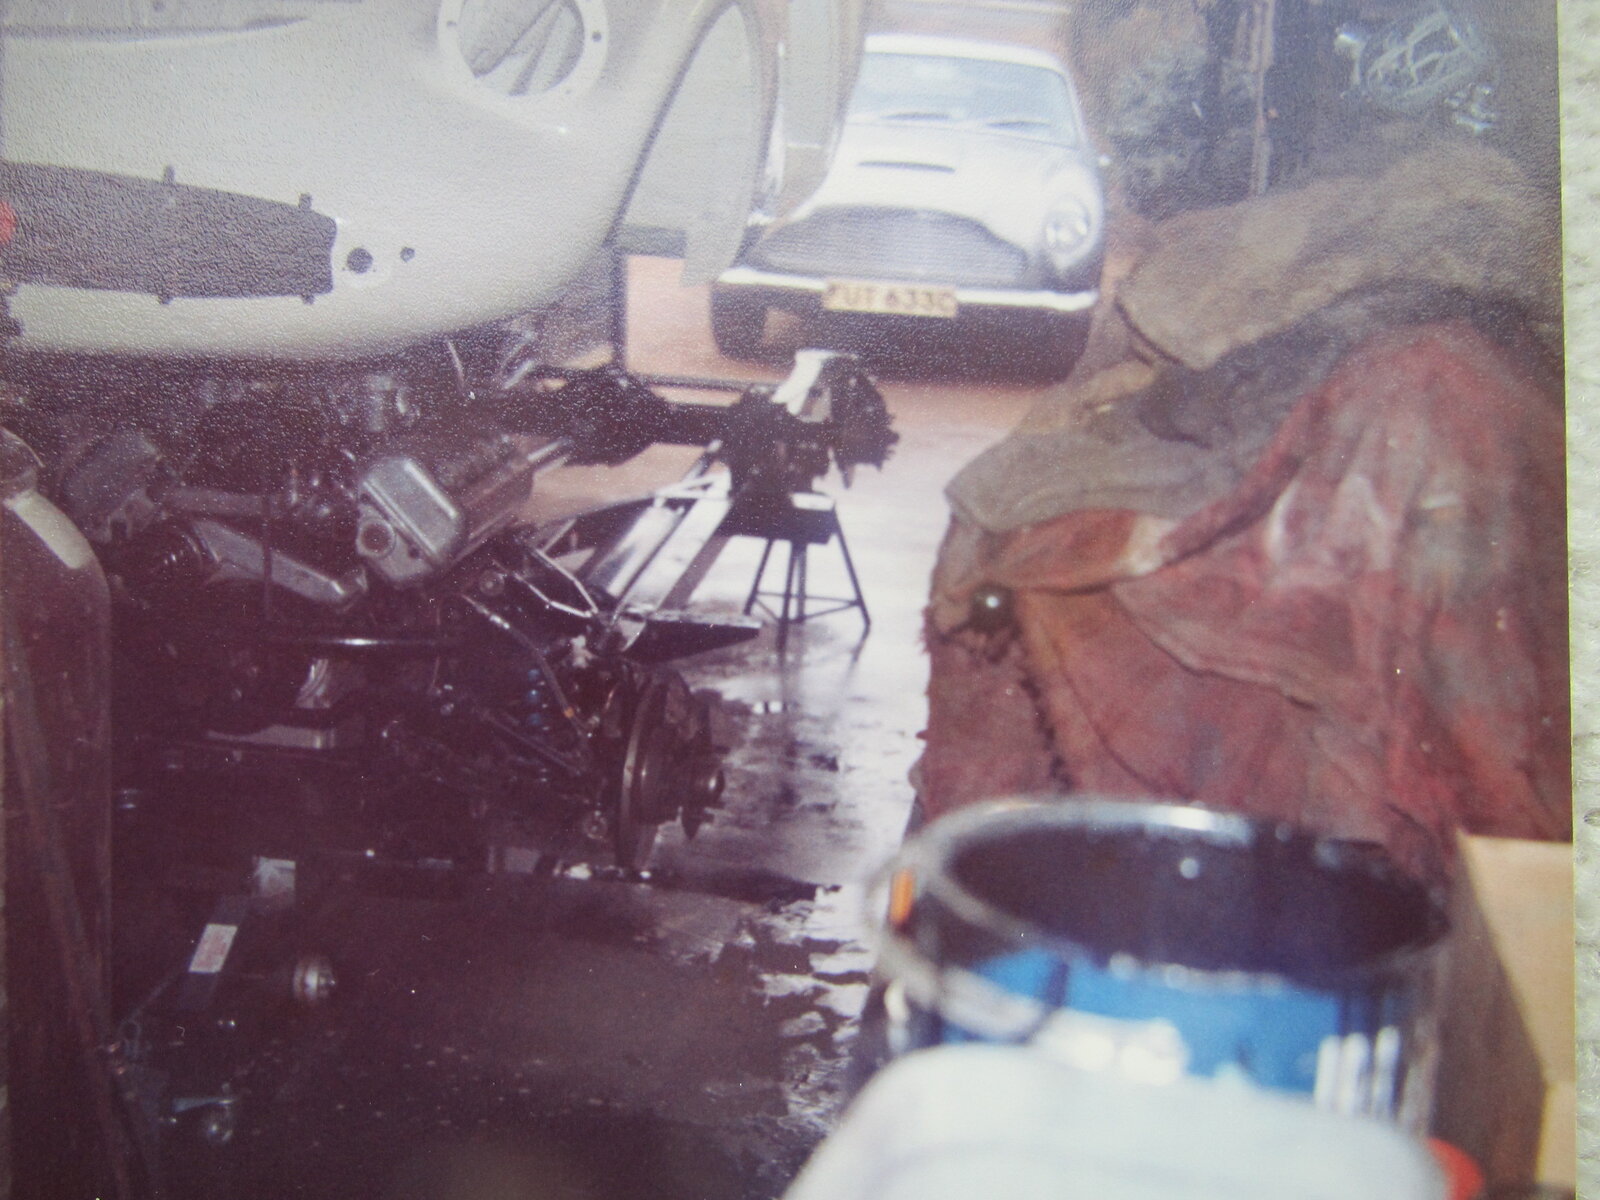
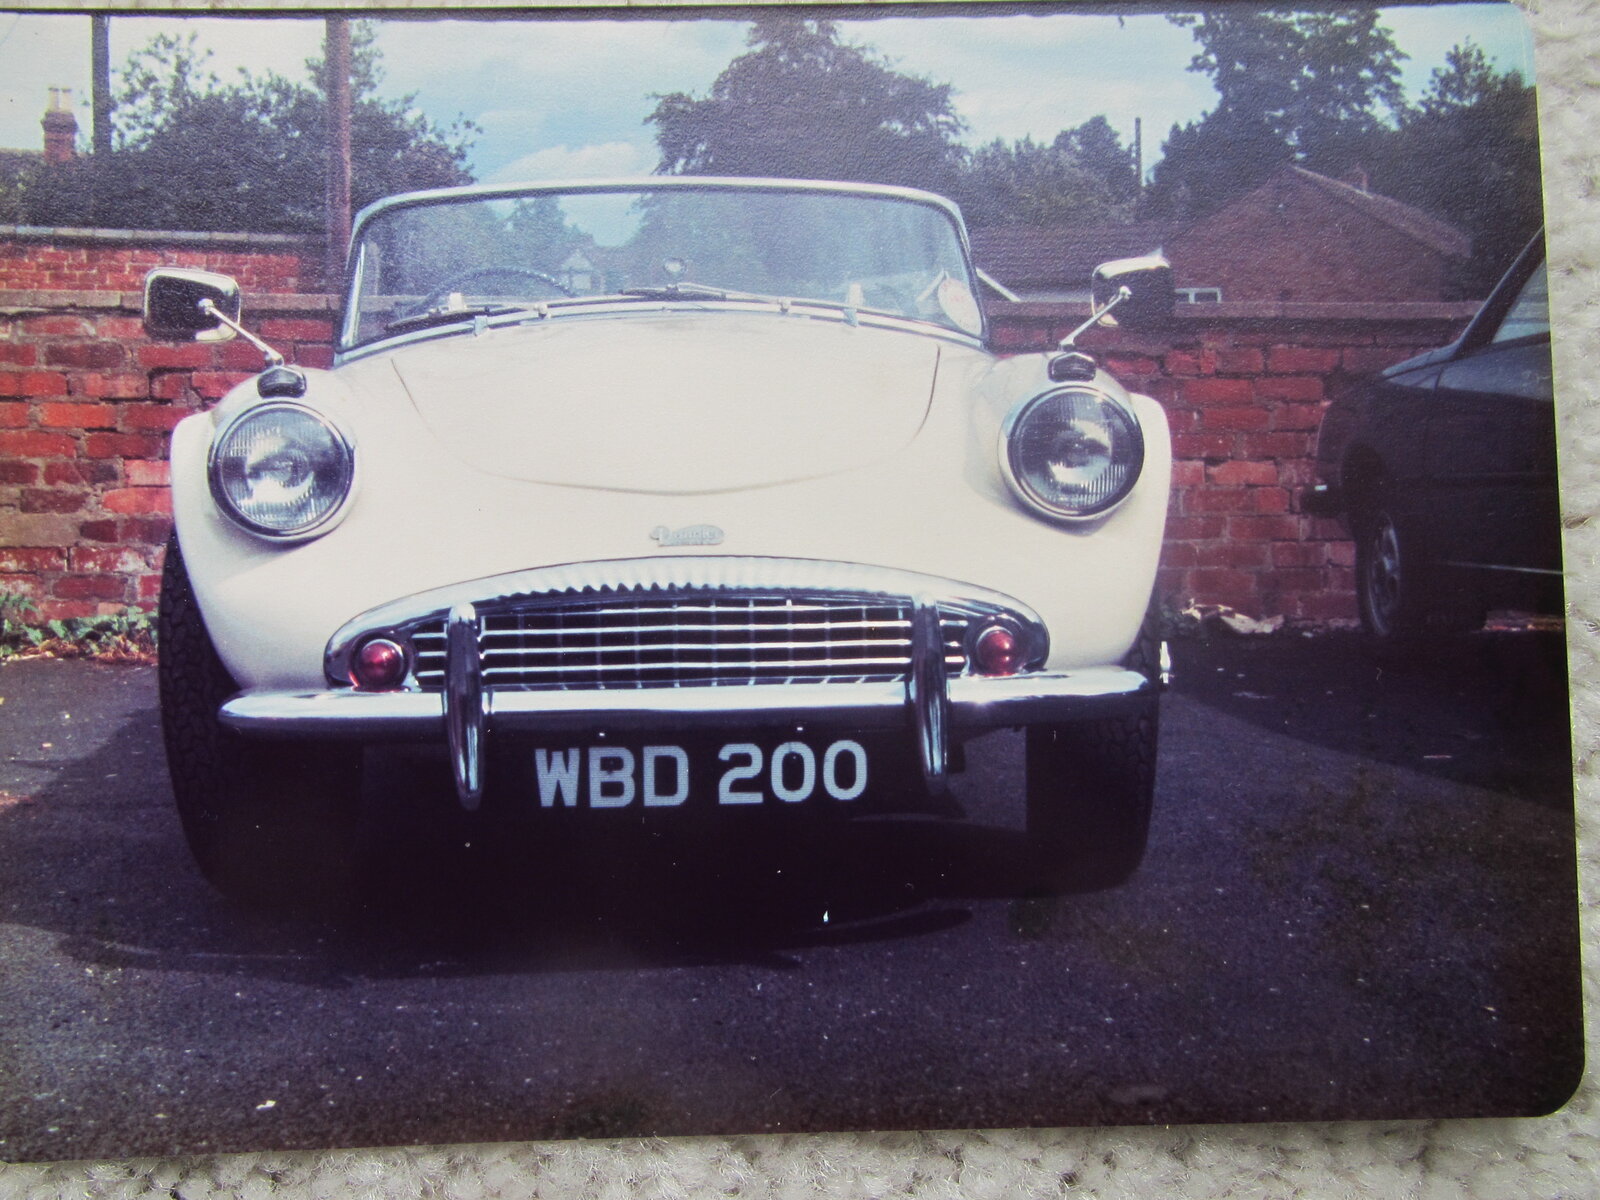
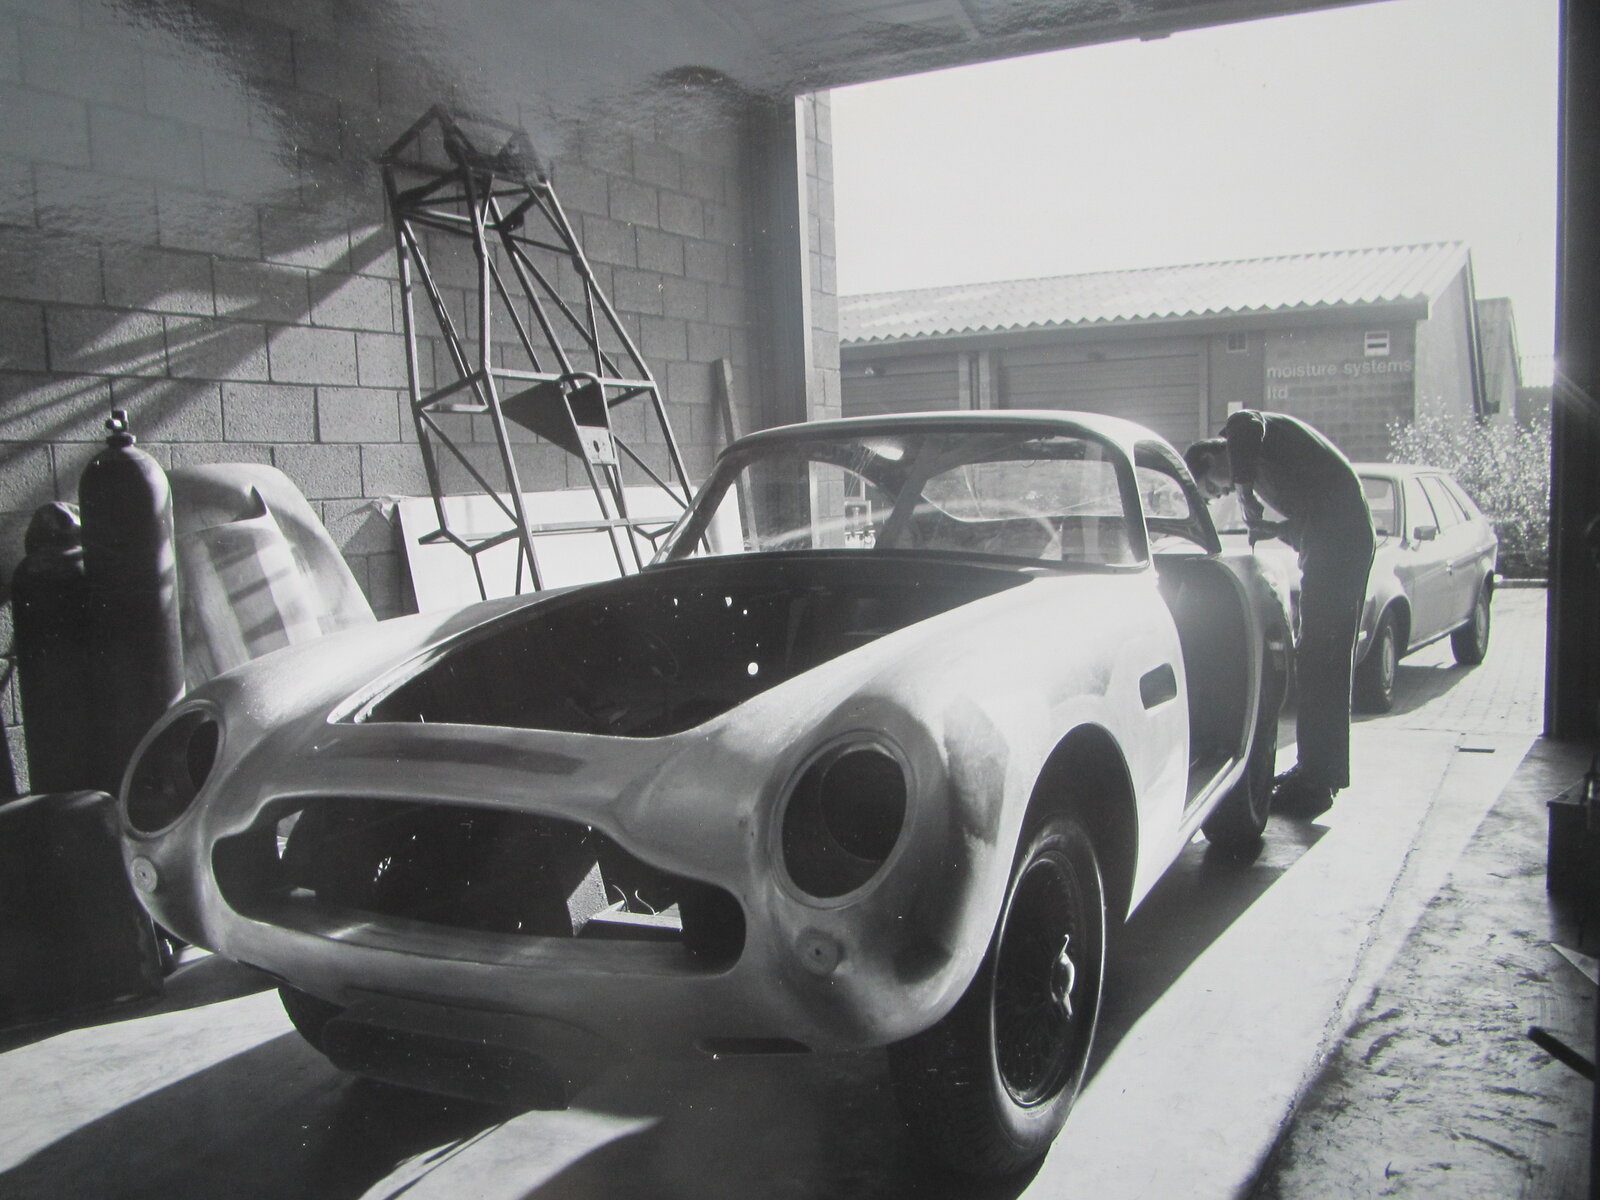
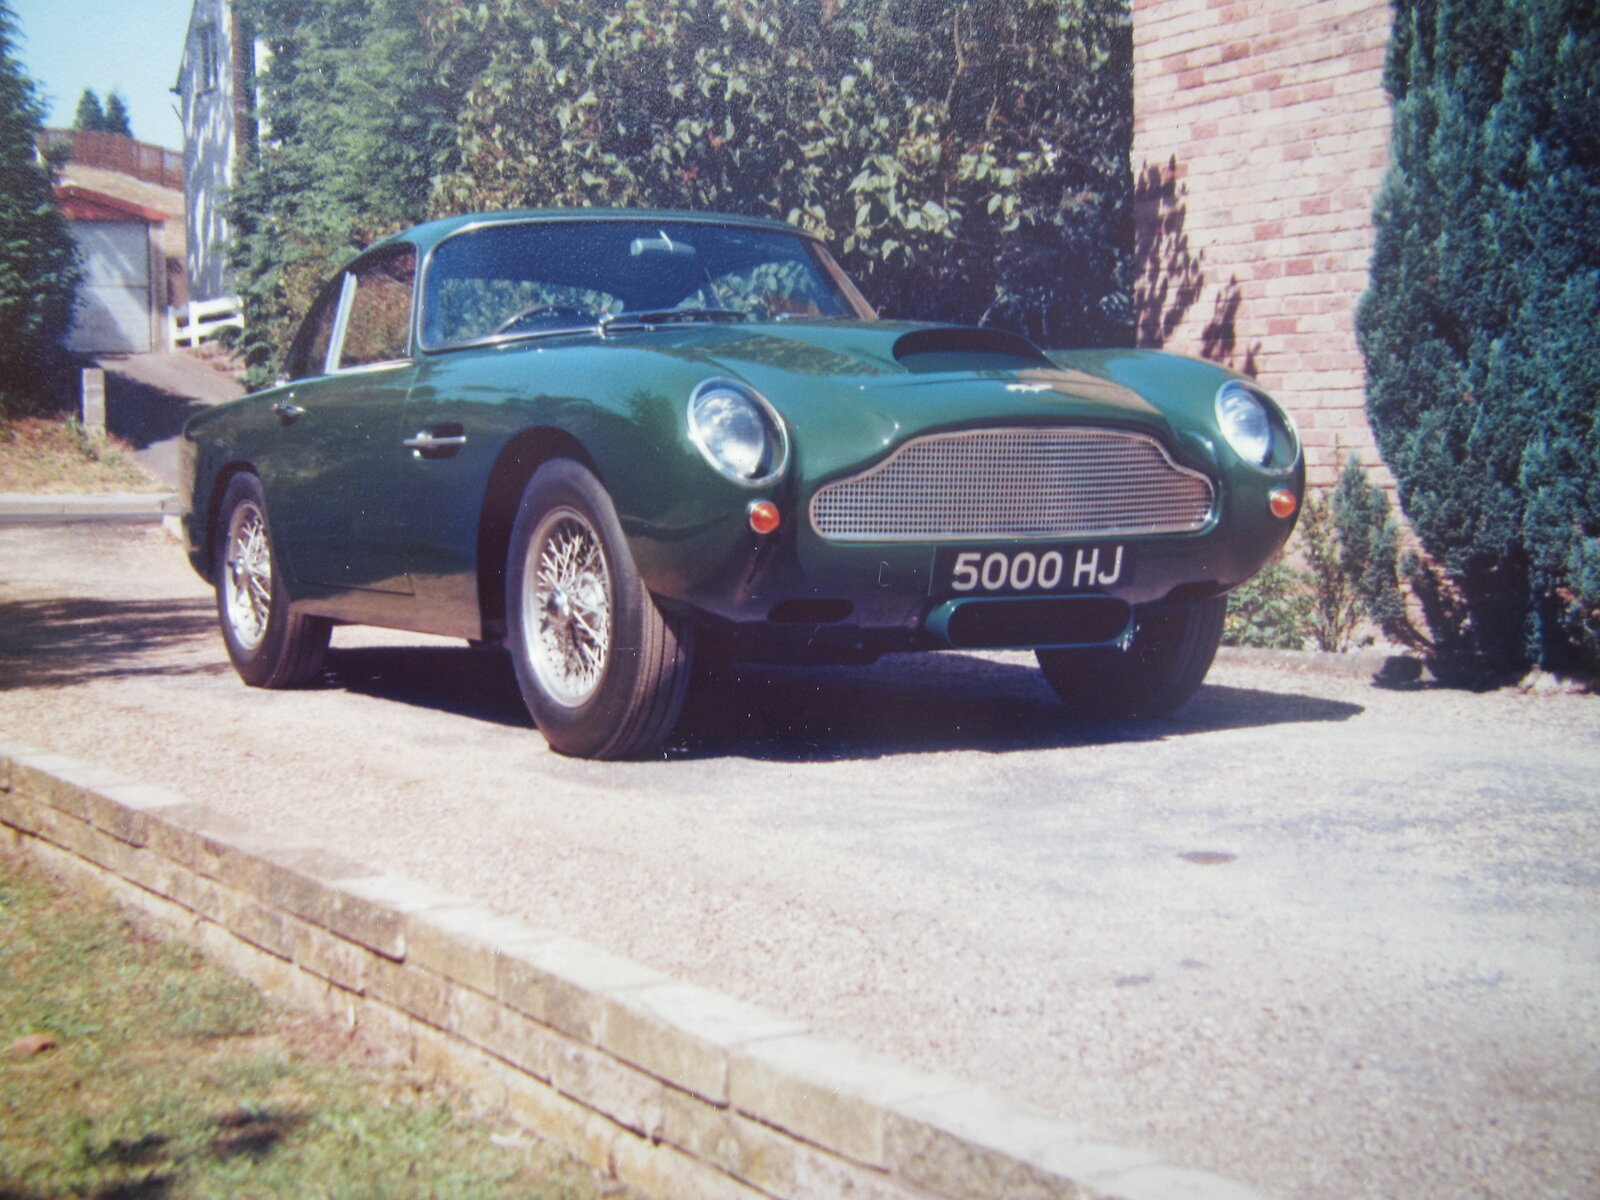
This brings back memories of my projects. A certain amount of total madness is essential. restoration 007.JPGrestoration 006.JPGrestoration 008.JPGrestoration 008.JPGrestoration 002.JPGrestoration 005.JPG
 
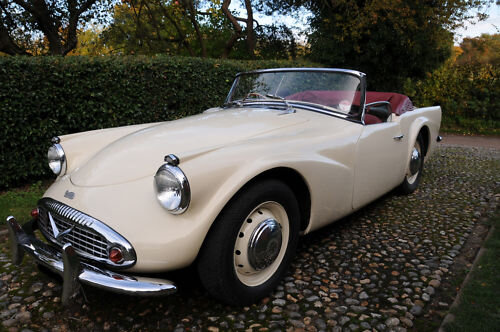
Hi Frank, heavens yes you've been to that special place as well then, a whole load of madness does help us along, the Aston is a beauty but I'm unsure what the white car is but did recognise a Daimler V8 in there. :think:

Do they survive? assume they do after the dose of 'madness' they received, thanks for posting them..
 
Had a little nosey Frank, the Aston ended up red but no tax or mot since '07, 3.6 litre so that would be a nice old straight 6 then..:thumbup:

The Daimler ? was being registered as my mum was pushing me to the shops in a pram..

and is fully on the road today (the car not the pram).
 
Last edited:
I expect they are still OK. Certainly the Aston which is being raced in classic events and I think has been to America twice. That is a DB4GT. They only made 100 cars. 3.7 Litre straight 6 with twin distributors and a 12 plug head. 325 bhp in 1959 :icon-biggrin:. I had another GT now owned by JCB.

You can see a silver DB5 in the background of the second picture. My wife used to drive it to work where she parked it in the hospital car park. There was a man who had a little office at the hospital gates and he used to great everyone and point them to the nearest free car parking space!!

I don't know what happened to the Daimler SP250. It had an unstallable engine.

Each car took about 1500 hours work.

I only have the 80 and 100 now.
 
Love little stories like that above Frank, so it's an SP250 then, well at least it is taxed and Mot'd where ever it resides now.

Do we see a Princess in those pic's? early 80's?.. My only slightly historic car was a '64 and a half' Mustang with a Dagenham reg. and bought in by Ford for display at Earls Court.

I had the thing in 1980 but by then it was in very poor condition and was scrapped in '84 sadly..Will dig a pic out later. :thumbup:


325 bhp in '59 tho'.......:icon-surprised:
 
Oooh! The Daimler Dart, what I'd give to have one of them again it was probably the best car I ever owned, I think the colour was Ivory White or something like that, 312 BOM (I still have the number plate in my garage) wonder where she is now.

1.jpg
 
Chris, an idea for next time, if you can physically get a nut into the chassis box section to the site of the hole, it is possible to weld that nut in.

If you drill small holes either side of the main hole, it is possible to fill these in with weld onto the nut securing it behind.

I have previously been able to hold the nuts in (on a different project) by winding a long grub screw or perhaps in this case a bit of studding with a slot in the end, flush with the nut or even slightly back, up against the far side of the box section.

Bit of a fiddle at times but wire coat hangers etc can be used to locate the nuts by feeding them through the bolt hole to appear at an aperture in the chassis, then running the nut down the wire. The wire can also be formed to hold the nut in place by pulling on it while it's welded.
 
Last edited:
I had a similar game with the rear ARB bumper when fitting.

Got out round that with a strip of steel welded to the nut, then feeding it down the chassis for about 30cm to align with the hole...

Worked well, and it's still in place for removal and refitting.
 
Chris, an idea for next time, if you can physically get a nut into the chassis box section to the site of the hole, it is possible to weld that nut in.

If you drill small holes either side of the main hole, it is possible to fill these in with weld onto the nut securing it behind.

I have previously been able to hold the nuts in (on a different project) by winding a long grub screw or perhaps in this case a bit of studding with a slot in the end, flush with the nut or even slightly back, up against the far side of the box section.

But of a fiddle at times but wire coat hangers etc can be used to locate the nuts by feeding them through the bolt hole to appear at an aperture in the chassis, then running the nut down the wire. The wire can also be formed to hold the nut in place by pulling on it while it's welded.
Thanks for that and have done similar but those inner welded brackets were sort of laughing at me if you know what I mean, they are very well on..:thumbup: so staying on.
 
I had a similar game with the rear ARB bumper when fitting.

Got out round that with a strip of steel welded to the nut, then feeding it down the chassis for about 30cm to align with the hole...

Worked well, and it's still in place for removal and refitting.
Thanks Clive, lots of likeminded thinking here and some old car pic's as well..:thumbup:
 
Thanks Clive, lots of likeminded thinking here and some old car pic's as well..:thumbup:

Yeah, the old car pics are a bonus.

Is that a Capri next to the chevy?

Also saw a race prepared Mk.1 Cortina in the photos Ben recently posted.

Good memories....
 
Back
Top