Don't like the adverts?  Click here to remove them

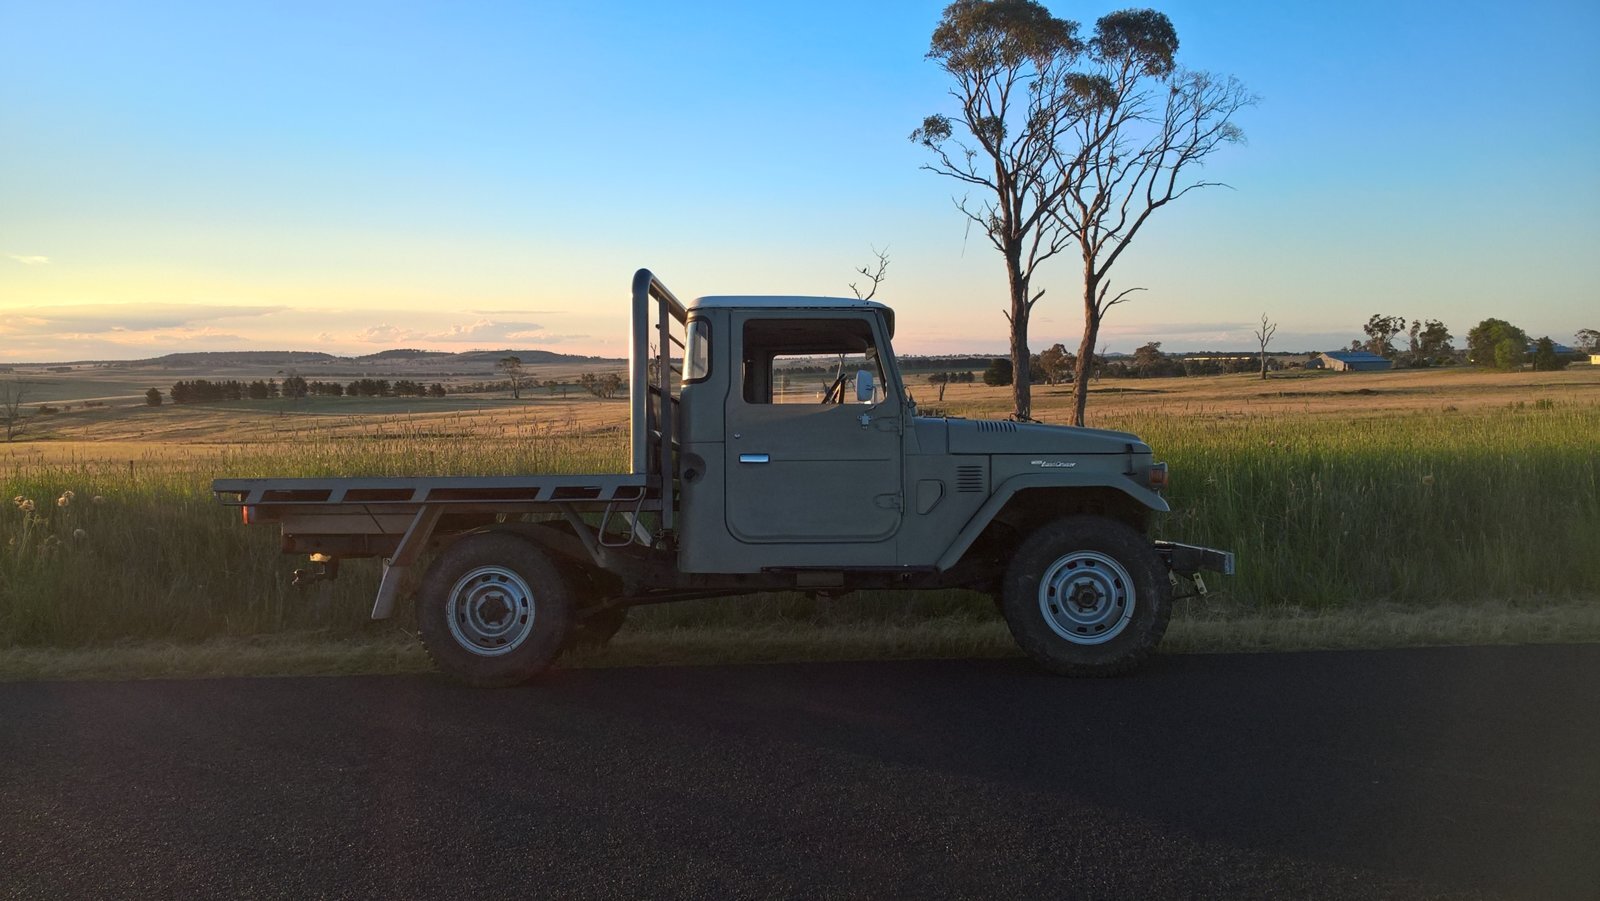
Back in a Land Cruiser: 1978 HJ45 Build and Adventures

Great truck ed.

Btw. You can edit the thread title yourself. Between the title and your first message there is a button 'thread tools' with edit title behind it.

Thanks Firewout - I edited the thread title last night after a few beers and in the car on the way home, so had a good typo in it... so I've now corrected that.

We got a bit more done yesterday as well; we now have functioning front indicators; it turns out the relay was dead, but as it was a 2 pin relay I just stole the one from one of the motorbikes (the XT was already in pieces that gave me decent access to it) and used that to diagnose the problem. Quick trip to SuperCheap (they were the only ones open at 430pm on Saturday) and I had a new relay in there.

Today has been a quiet day; a mate is coming to make the bumper tomorrow, and we didn't get anything else done. However, I've been working out what knobs are missing on the dashboard - so far it seems to the cigarette lighter and the knob for the heater... as the heater core isn't connected, this isn't a real surprise anyway!

WP_20171105_18_59_16_Pro.jpg

I do have a few more bulbs to replace though - the one behind the BRAKE light is dead (I swapped that one around to somewhere that was more necessary) and I need to pull the cluster (again) to do the main beam light as well. Main beams work, but the light in the dash doesn't.

So this week's list is:
  • Tail lights: Trying to get the local Auto Sparky to come and do them - he'll do a much neater and stronger job than I will.
  • Mount the tray at the front 2 mounts (currently located on a bit of 25mm x 100mm timber that is bowing a bit
  • Fit the weatherstrips (which means taking the windows out... and therefore that becomes an optional job... as long as we don't get more rain)
  • Get the windscreen fitted (I may get them to fit the weatherstrips for me...)
  • Sort the front bumper out
  • Work out if I need a working heater for the NSW Blue Slip...
  • Get a weigh bridge ticket for the unloaded weight (the only problem is I think I have a nearly full tank of fuel)
  • Get some new headlights as the current ones are a bit manky.
So not too bad... I'm taking Monday afternoon off to get stuff done, and I may take Wednesday or Thursday arvo off as well.
 
Ed, this is a wonderful looking project, once you've got it sorted I'm sure it'll prove a very useful truck for the Ozzy lifestyle.

I'm following with interest.

Regards to Delz.
 
Ed, this is a wonderful looking project, once you've got it sorted I'm sure it'll prove a very useful truck for the Ozzy lifestyle.

I'm following with interest.

Regards to Delz.

Thanks Scott - it's going to be a useful thing rather than a show pony (although like Ben's it may end up on Club/Historic rego). In saying that we're aiming to have it ready for a show this weekend...
 
One thing I'm finding is a need to think outside the box at times for some solutions; the defrost/demist hoses from the heater core to the windscreen had deteriorated at the ends, and were no longer attached.

As the hose was about 60mm in internal diameter, it wasn't too bad to find a solution if you looked around... I ended up with a rubber collar from the plumbing department at Bunnings that had 2 hose clamps on the ends and an ID of 65mm, but got for 62-75mm. $18 of parts is a lot better than a US$45ea used hose! Fitted really nicely and didn't need much tightening up.

WP_20171106_15_56_00_Pro.jpg


This then gets shoved up inside the dashboard to join up with the vents, and fitted up:
WP_20171106_16_37_42_Pro[1].jpg


(there's some nasty up in there!)
 
Last edited:
Cracking truck Ed! I want one! :) Good luck with the build and getting through the test.
 
Hit and miss couple of days:

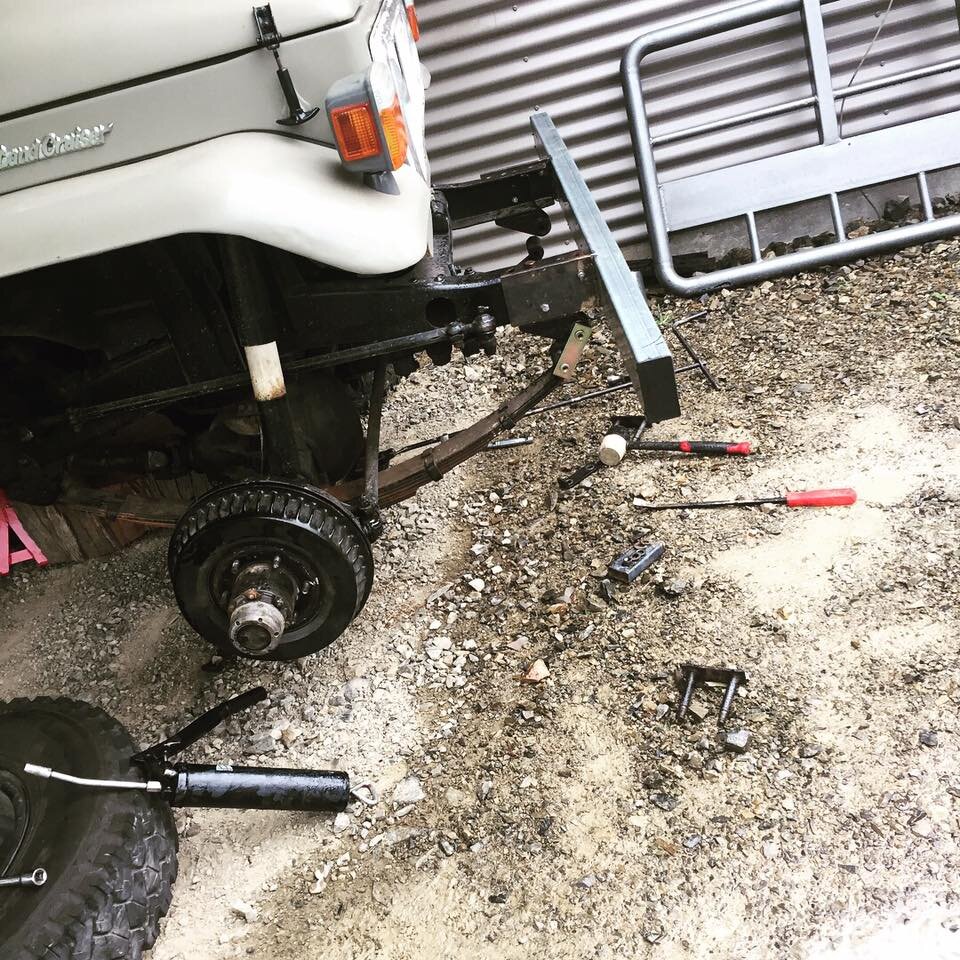
-Bumper got fitted up yesterday, but has highlighted how flat the springs are on one side
-Tray got mounted properly
-Rear wheel arch got a leading edge wheel arch fitted, as well as a mudflap on the rear (may need one on the front)
-Auto Elec came and wired up the tail lights, but had the wrong trailer plug with him
-Removed all the tyres off the back of the tray
-Sun visors got fitted, and the shelf removed temporarily
-Got Fully comp insurance for $250pa!

Unfortunately, the windscreen rubber hadn't arrived today and they don't know where the one that was in stock is hiding... However, I had a great run to the windscreen place (3km down the road, including a 1km 80km/h section) where it got up to 80 quite happily, I got used to the 4 speed box. Pulls nicely, doesn't make too many noises and stops quite nicely; steers pretty well as well - furthest I've driven it so far!

Will hopefully get through everything tomorrow, and we're on the road properly...
 
Don't like the adverts?  Click here to remove them
Well, that didn't quite go to plan:
a) the windscreen rubber arrived at 9am instead of 8am
b) I'd left my phone at home, so unable to ring the next garage to tell them I was going to be late
c) The garage's printer had stopped working
d) The Land Cruiser failed for the following list:

WP_20171110_14_14_41_Pro.jpg


Now out of that list we've sorted:
-Window winder
-Mudguard brackets
-Headlights (well, I will have them sorted tomorrow)
-I think we've got the windscreen wipers sorted - they started like this:
WP_20171110_14_46_55_Pro.jpg


And are now a bit lower than this:
WP_20171110_19_28_18_Pro[1].jpg


Took a bit of resetting on the wiper motor (hence the cover off, and the screw drivers), and finally a quick reset on the wiper arms as well.

So, the only difficult bits to go now are all the shackle bushes, and then the front bar (It was worth trying to get 100 x 50mm RHS through though!)
 
Hi looking good keep up that good job love the òld 45 have fun with it keep the pics comeing good to see .
 
More progress today:
-New headlights bought and fitted
-Brackets for the rear mudguards were bent up, drilled and fitted

Tekscrews are the best thing ever... used them to mount the top of the brackets to the tray as bolts were a mongrel...

However, I didn't have enough tekscrews, so I wandered up to our landlords behind us and asked if he had some... got a handful and we were on the way. Also got an offer from him to help fit the shackle bushes which is good as he's an ex-TAFE motor mechanics teacher...
 
And today's job was fit the $5 exhaust hanger...

I explored the removal of the suspension bushes but couldn't work out a way to do it with the limited resources I had to hand, so I've left it and moved onto the handbrake.

Now, what's the easiest way to replace the cable and then adjust the handbrake on a HJ45? The book in the download section seems to be for a LHD one, and the cabling runs slightly differently, so the adjustment that is there isn't on mine. Also, mine's a transmission brake rather than onto the rear wheels, so is set up slightly differently to the later models...

I'm thinking the men with answers are likely to be @Fj47, @Rodger and possibly a few others...
 
Hi, Hopefully the attached pages will help, although it does not appear to give a 'threading' route for the cable but does say what needs to be detached, etc, so it maybe of help. My handbrake is on the rear axle as I have 60 series axles but I did find when I replaced my cable that it followed a logical path - one that avoided tight turns etc.. Hope this helps.
I'm following your progress with interest and the truck looks great.
transmission hd brake-01.jpg

transmission hd brake-02.jpg

Transmission hd brake-03.jpg

transmission hd brake-04.jpg

transmission hd brake-05.jpg


Regards,
Rodger
 
Took a couple of days off work this week - needed a break, and I need to get some other work done beside the Land Cruiser... However, all I have done is work on the Land Cruiser...

Sorted all the bushes out, and they're all in place waiting for some new shackles to come in. The pins that are at the trailing end of the front leafs and the leading edge of the rear weren't in too bad condition, so they stayed after a bit of a clean up - I will replace them soon though.

Handbrake cable and adjuster ordered, and mate is coming on Monday to do the front bar... we should be all good for re-inspection on Thursday!

Oh, the current problem is I've lost a wheel nut... I think a four legged helper may have taken it off on an adventure, so I'm sure we'll find it when we cut the grass next...
 
Dog hadn't stolen my nut.... but of course I only found that out after I'd bought 4 new ones... and then promptly lost another one.

Got all the bushes done, new shackles in and a good dose of grease later they seem to be better.

However, some monkey has done the rear of the tailshaft up to far too FT, and I now can't get the tailshaft to drop to get to the parking brake drum... Tomorrow we're attacking the bolts with a rattle gun in a bid to get them to let go.
 
Continuing the nut saga... found the other one in the centre cubby of the 4Runner...

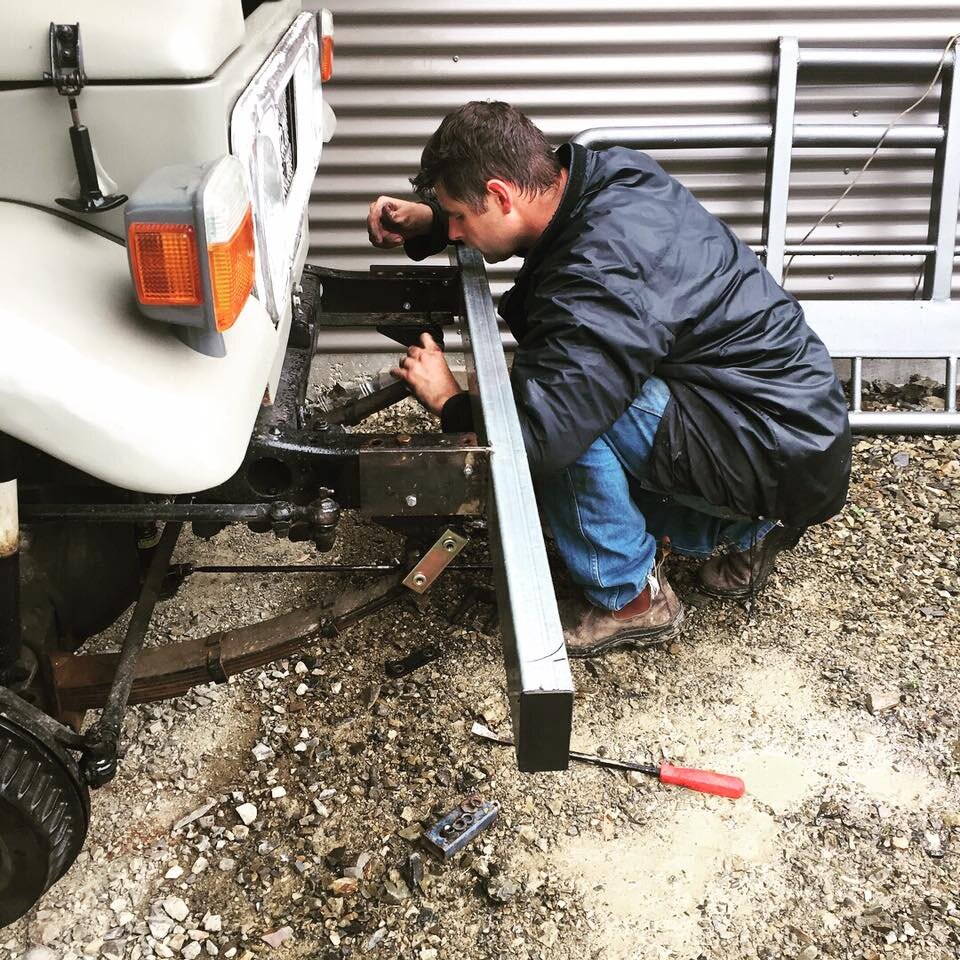
Also now have nicely curved front bumper corners and a bit of sweep back (about 3* or so), and a working handbrake.

Thanks to Rodger for the info, we managed to get the cable off without draining the fluid from the transfer case so that was easier. Now have a decent feeling handbrake, and it applies after about 7 clicks, holding nicely on our sloping driveway.

Not many pictures (I tend to smash phones if I keep them with me when I'm working...) but a few:

Bumper bar was a bit industrial, it's 50mm x 100mm RHS with 3mm wall, so that got in trouble... now it has some nice rounded ends on it made out of a quarter of a 100mm diameter pipe - also just in shot is the notch that allowed the ends to be pulled back the 3* or so:
WP_20171120_18_43_03_Pro.jpg

WP_20171120_18_42_55_Pro.jpg


Handbrake: transmission brake pre fitting of new parts. Took the picture so I knew how it was all put together before I took it apart... The adjuster at the bottom was replaced, and as can just be seen, the cable had seen better days:
WP_20171120_18_20_50_Pro.jpg


Back in for the reassessment on Thursday... here's hoping it gets through this time...
 
Hi keep up the good job good look with it and have a lot of fun with it love the old 45the best cruiser from Tony
 
It had better pass today... the 4Runner spat the dummy with a clutch line yesterday afternoon... fluid out and a hose hanging in mid air with no fitting on the end...
 
Few more pictures, some of which Delz got for me:

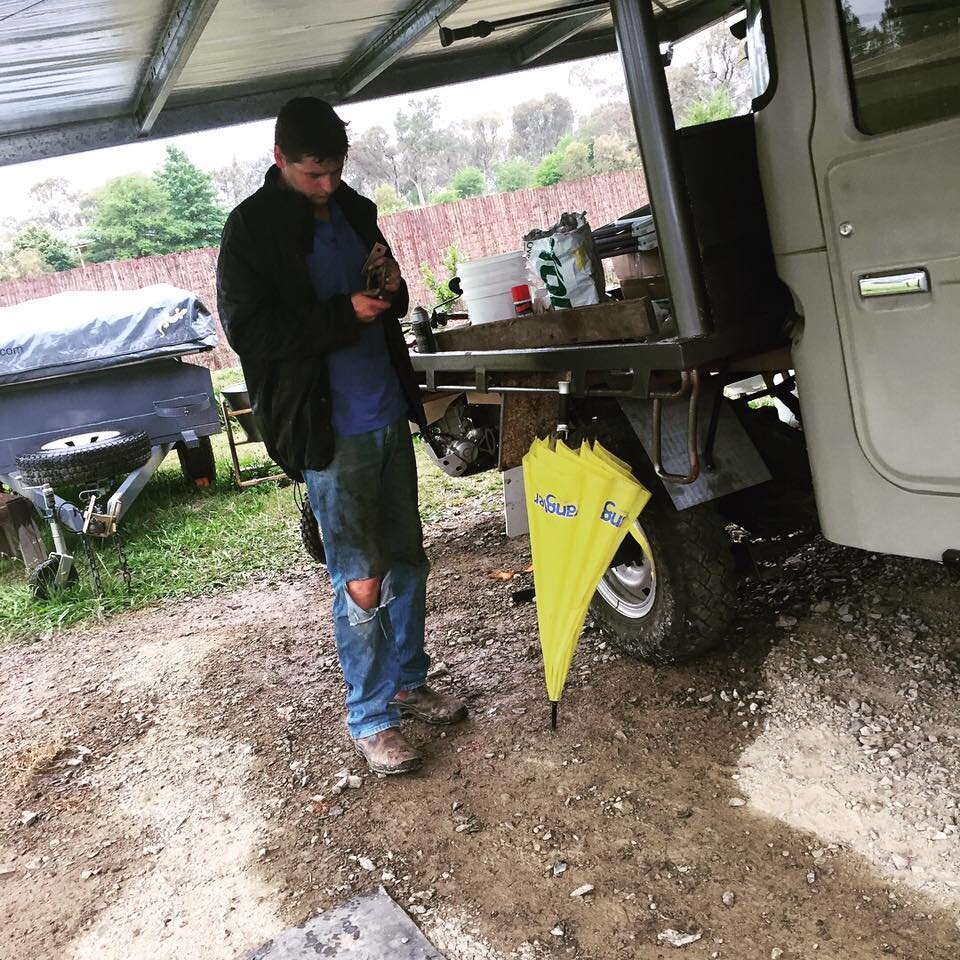
Shackles... of course it was raining and my carport is exposed on 3 sides... of which one side is the prevailing wind...
23795407_10155920193474771_3318055686055155117_n.jpg

23843615_10155920193459771_881188422645736520_n.jpg
That was Mk 1 bumper that failed...

23905716_10155920193434771_2062122661663291330_n.jpg

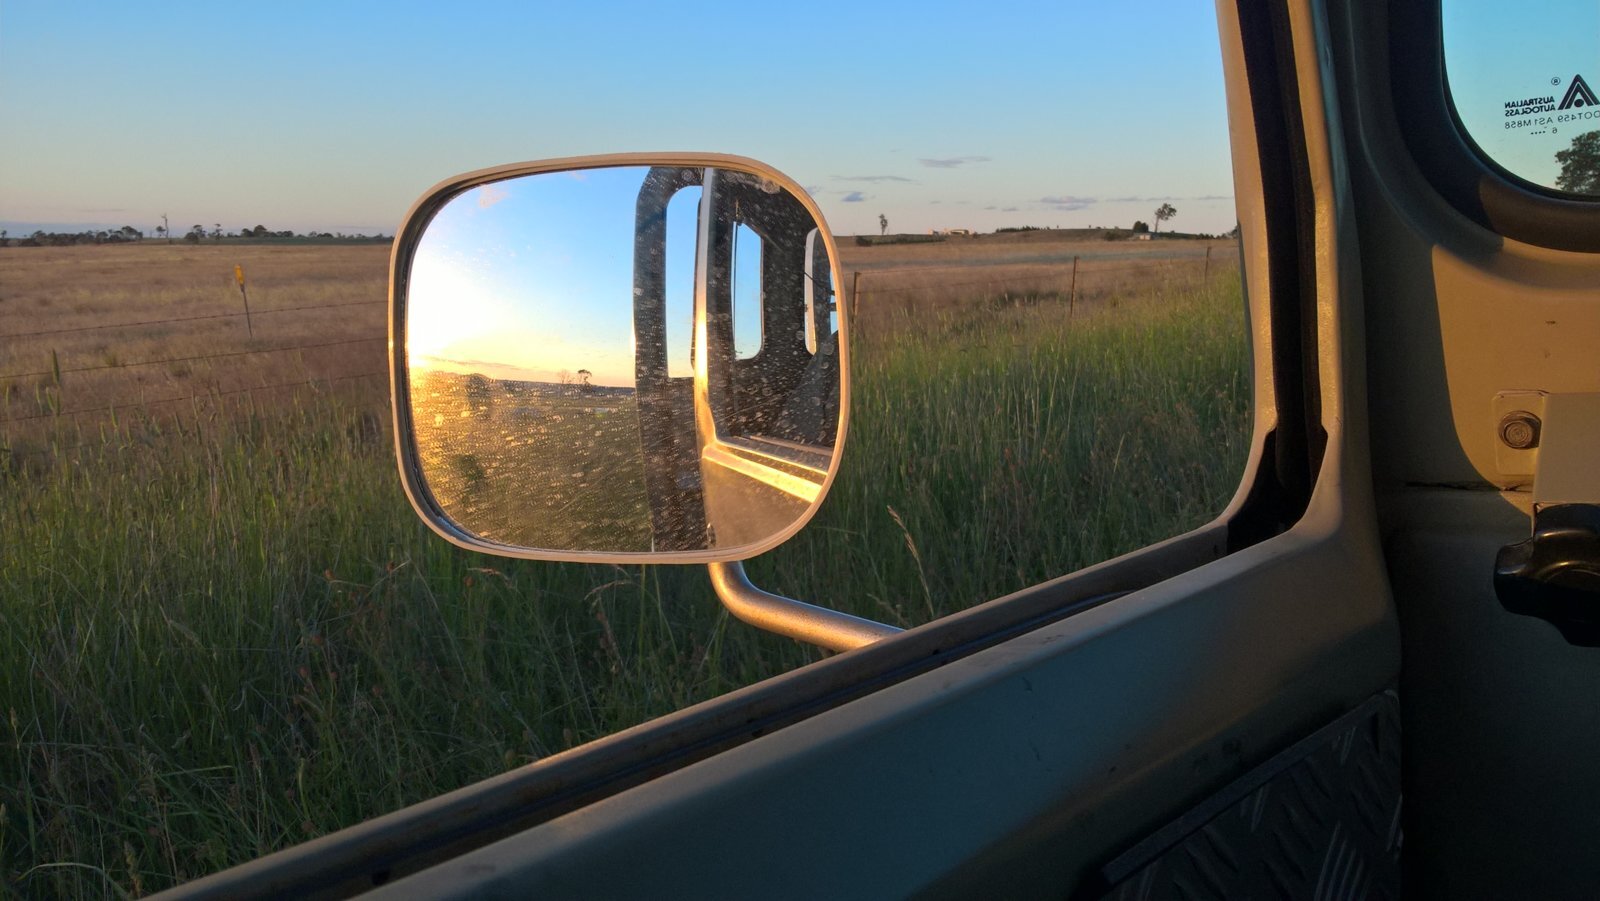
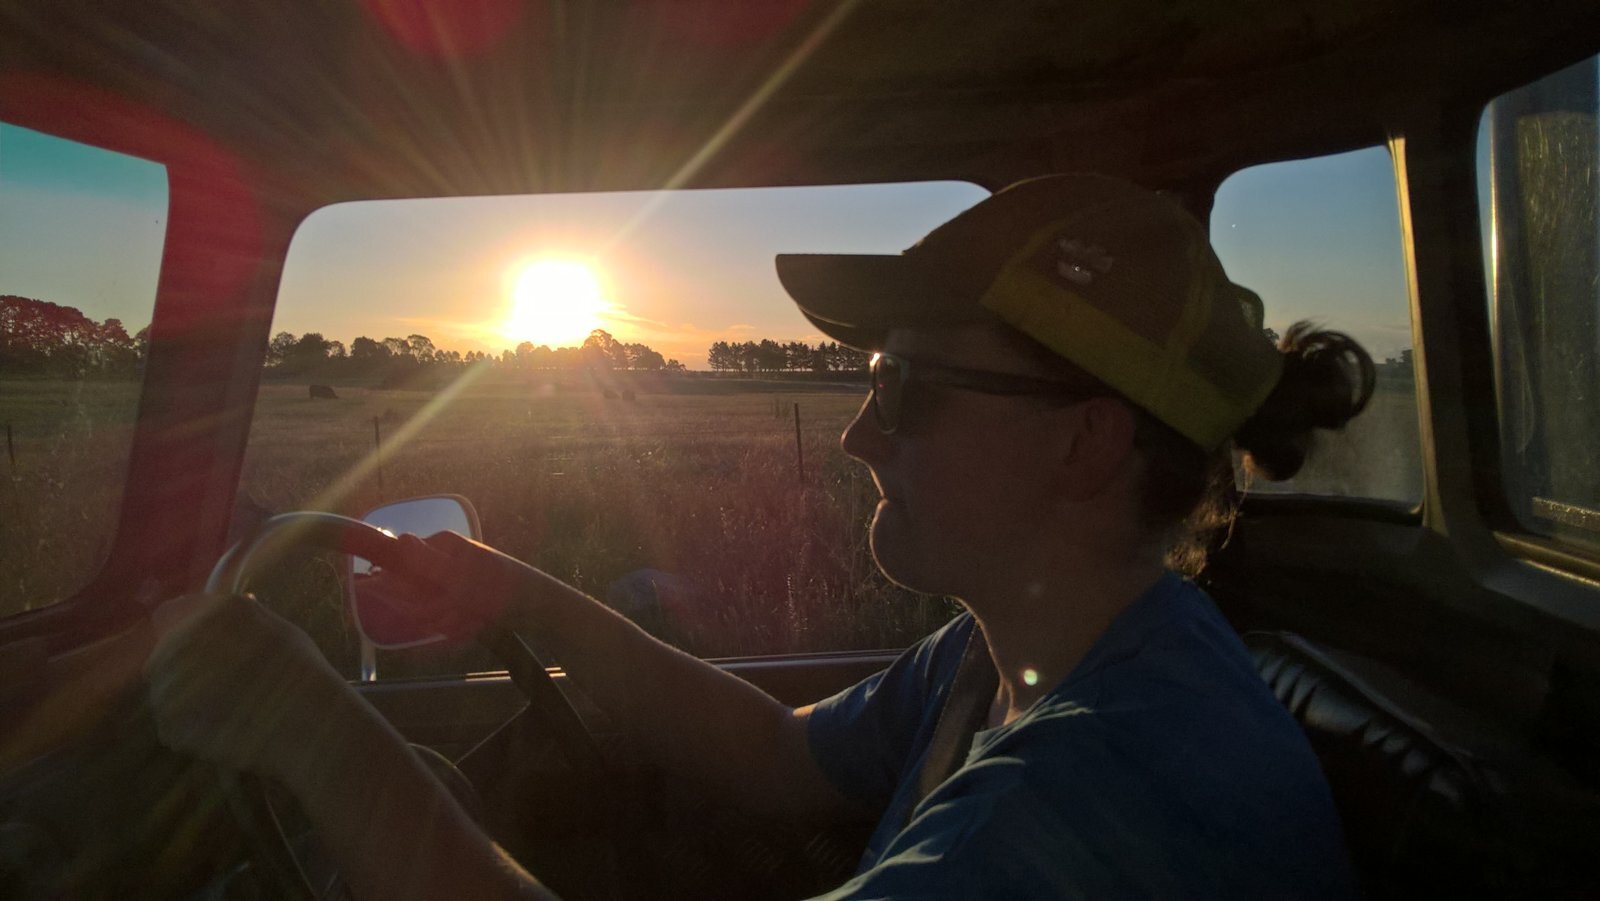
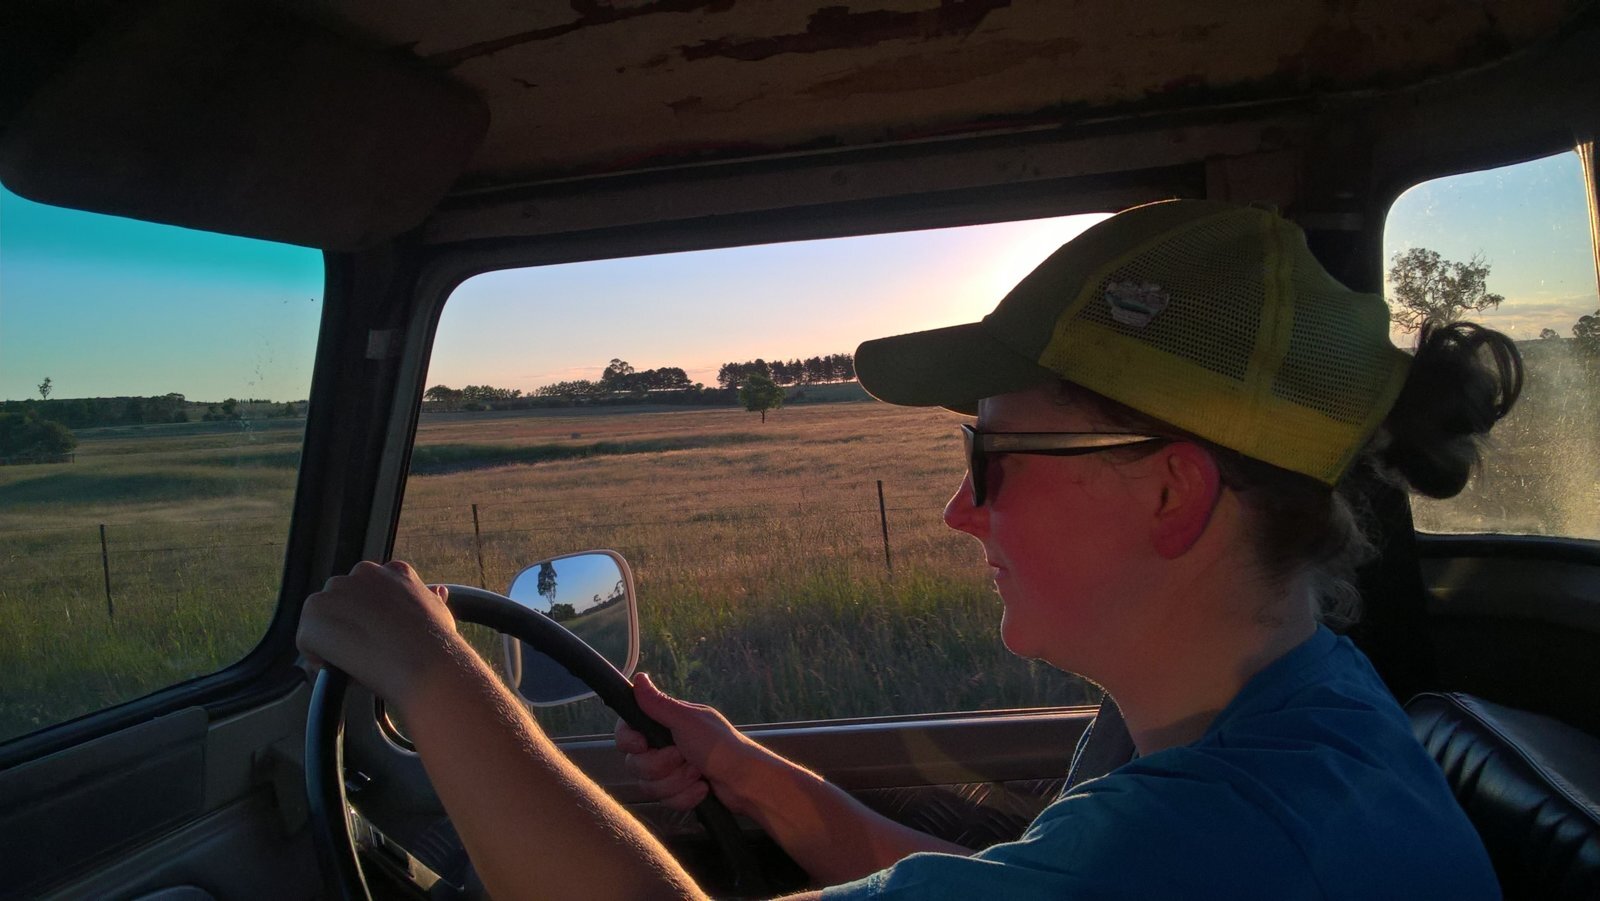
Took it out 15km from home, and the sunsets are awesome there - when I ride the road bike, that's the turn point on the 30km club ride, so I know how good they are!
WP_20171125_19_22_59_Pro.jpg

WP_20171125_19_18_42_Pro.jpg

WP_20171125_19_18_34_Pro.jpg

Went out for a drive this evening after Delz picked me up from work - she's happy as driving the Cruiser (either named HJ or Duck (DQU), we've not decided yet):WP_20171125_19_15_09_Pro.jpg
WP_20171125_19_14_51_Pro.jpg
 
Last edited:
After a couple of days of driving, it's now clear that the RH rear hub is throwing more oil and grease out than the average child's splatter painting.

Went to Toyota this morning to see how much some new gaskets were for it, as I suspect it's just been packed with RTV to seal it... $4.35 for the pair... best of all, they were on the shelf. Not complaining with that... now all I need to do is to find the time to pull the axle to fix the seal...
 
Few updates since last month:
  1. Didn't get the propshaft bolts done up tight enough - there's a few different torque settings around, and I just went with the guess feel of FT. Wasn't enough, and it spat out 2 bolts one day when Delz was coming to get me from uni. $31 later for 4 new nuts and bolts, and enough washers to redo everything and we were cooking on gas. Also put a bit of Locktite on the handbrake end nuts; the propshaft bolts had thread locker on them from Toyota.
  2. Got the axle seal done - Total of $6.50 per side; the seal inside was only $4... Bit of a mess in there, and we're dubious as to how full the diff is really, so that's getting emptied once I get the new crush rings for the diff bolts - which look they're fairly easy to get hold of...
  3. Finally put fuel in it - no idea what the fuel economy is like, but we'd not put any in since we bought it... $50 @ $1.27/litre just about filled it.
  4. Seem to have sealed the small diesel leak at the bleed valve on the filter - tightened it up a smidge and it's good,
  5. Have engine and transmission oil ready to go, along with DOT3 brake fluid, and that'll get done over the Christmas/NY break
Still gets run a couple a week; It's a bit anti-social early in the morning, as it takes a 2 goes to get it running smoothly (relatively) but once its up and running we're all good.
 
Back
Top