What year is your 80 Rook?
If it's the later one there is a thread on here.
If it's the earlier one with the gradually sloping dash top then it's relatively simple to remove once you know where the screws are.
Move the steering wheel down to its lowest position.
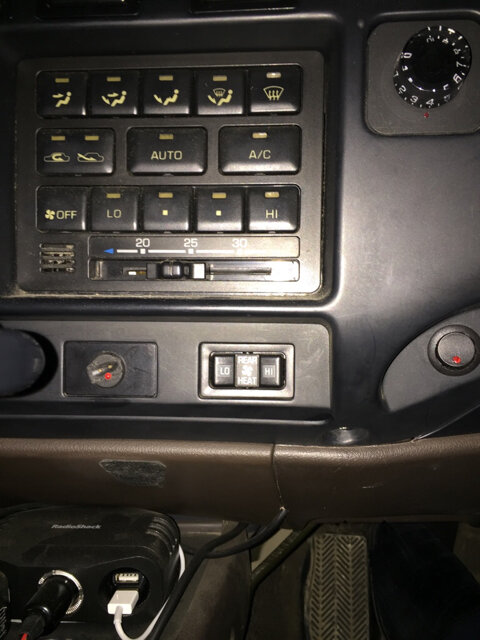
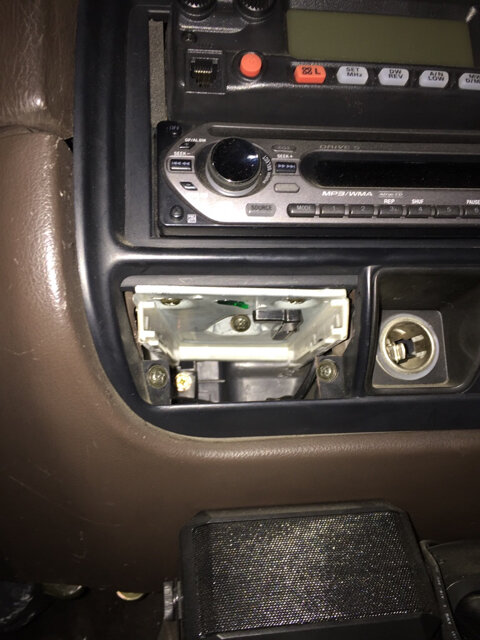
Remove the ash tray, pull it forward then press down the sprung metal flap and pull it out. Behind there at the front you will find two screws. Remove these and one vertically upwards through the tray slide, (see below) also one just below and to the side of the climate control (see below) and gently pull on the aperture, the fascia is held in by spring clips on rectangular retainers which push and pull without breaking (quite nicely as it happens). The side nearest the drivers door is only held by these spring retainers only and should pull away at a line part way through and around the ignition barrel (the US version may differ here). You will need to pull the plugs off the backs of all the switches, pushing them out the fascia panel sometimes helps as some of the catches are a bit fiddly especially on the big plugs on the back of the climate control.
Carry on along, gently releasing as you go. Carefully lift the fascia over the steering column and away once all the plugs have been removed. Make notes of any that are non standard as the factory ones are non interchangeable and therefore easy to marry up again.


Ash tray with two screws and one vertically up.
Next to the climate control is a tube with a sensor in it. Carefully I clip this from the back of the fascia.
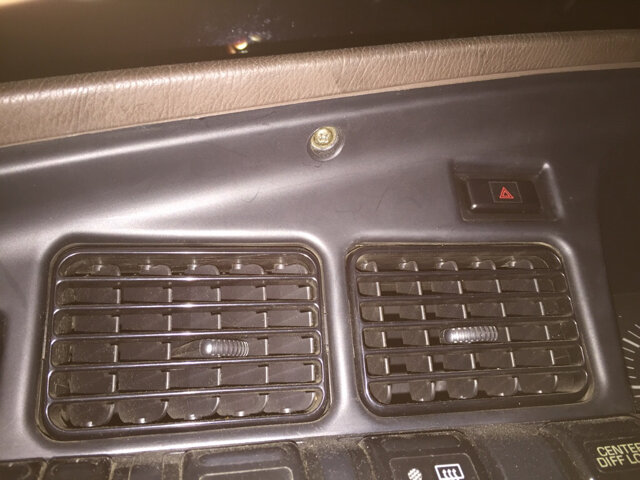
To remove the top part of the fascia, there are three screws into the soft part of the dash.

One above the vents and two above the binnacle. Ease the fascia forward as with the lower piece and disconnect the plugs from the clock and hazard switch. Go easy with the vents as there may be foam sealer strip that can turn to powder and may warrant replacing. (Can't remember if mine has this or whether it was just a slide fit).
Once removed, the binnacle screws can be seen (I can't remember if there's just two at the top or some at the bottom too). Unscrew these and the binnacle will pull forward off the pegs that locate it. Remove the plugs from the back by pressing the clips like before.
And there it is. All the lamps remove by a quarter turn. Plus the auto lamps unclip in a pod from the centre revealing the lamps.
Hope this helps.


