Don't like the adverts? Click here to remove them
You are using an out of date browser. It may not display this or other websites correctly.
You should upgrade or use an alternative browser.
You should upgrade or use an alternative browser.
Doodle's HDJ100
- Thread starter Doodle
- Start date
Doodle
Well-Known Member
Looks great Doodle - inspiration for me to get on & fit mine
Same as this one? There's a couple of pointers I can pass on.
That does look really good - quite subtle but at the same time not flimsy IYKWIM.
How are you getting on with those GG ATs BTW? I quite fancy a set when it's time to change....
It's not too bulky and stays out of the way, but it's solidly built - double thickness plates in the critical areas, bolted into the rear crossmember and the chassis rails.
They're fine, smooth riding, quiet and well mannered on the road. Not thrown too much rough stuff at them yet but I'm hoping to give them a proper workout shortly. Part of me still wonders if I should have gone with Duratracs instead but so far I've had no cause to be disappointed.
Last edited:
Gav Peter
Well-Known Member
- Joined
- Mar 1, 2010
- Messages
- 4,844
- Country Flag
That'll do for me fellaSame as this one? There's a couple of pointers I can pass on.
Doodle
Well-Known Member
It's all fairly much straightforward and as the book says, except for the following:
The 2 forward screws at each end of the treadplate are obstructed by the lower tailgate and thus a real swine to put on. Not sure you can put it on beforehand though, it has to tuck under the lower edge of the tailgate and I'm not sure if there's quite enough room.
Refitting Mudguards - it seems they don't provide you the fasteners according to the parts list, and the instructions are a work of fiction. It tells you to use bolts and nylocs to hold the outer edge of the mudguard to the lip of the bumper but there simply isn't sufficient access to do this properly - you're blocked by the bumper, the chassis plate or the mudguard itself. I'm probably going to use self-tappers instead (perhaps with a fixing clip).
If you're fitting the wiring loom for the bumper lights, watch for the length of the earth lead - I think it could do with being a little longer to reach the suggested fastener point.
Last edited:
Don't like the adverts? Click here to remove them
Doodle
Well-Known Member
Oh, and another warning Gav, the TJM wiring and the Hella light units are incompatible with each other. The insulating covers they use on the spade connectors take up so much space you can't actually get all the bulbs into the unit. Cut the poxy things off and use something smaller.
Doodle
Well-Known Member
Completed the bumper this Sunday, at long last. Got the mudflaps fitted by tapping a thread into the bumper holes, and swapping the bulky plastic shielded connectors for rubber-shrouded Lucars.
I'll be fitting the air freespool to the winch this week, before dropping the winch into the ARB bumper and wiring it all up on Saturday.
I'll be fitting the air freespool to the winch this week, before dropping the winch into the ARB bumper and wiring it all up on Saturday.
Doodle
Well-Known Member
I'm not a fan of the hook style recovery points, as it seems you spend more time putting the rope back on than anything else. So, as per the Colorado I'm making up some solid points that will take a shackle through.
Having penned out a design that looks startlingly similar to others available on the market, the starting point is 100mm angle steel, 12mm thick, cut into 150mm lengths.
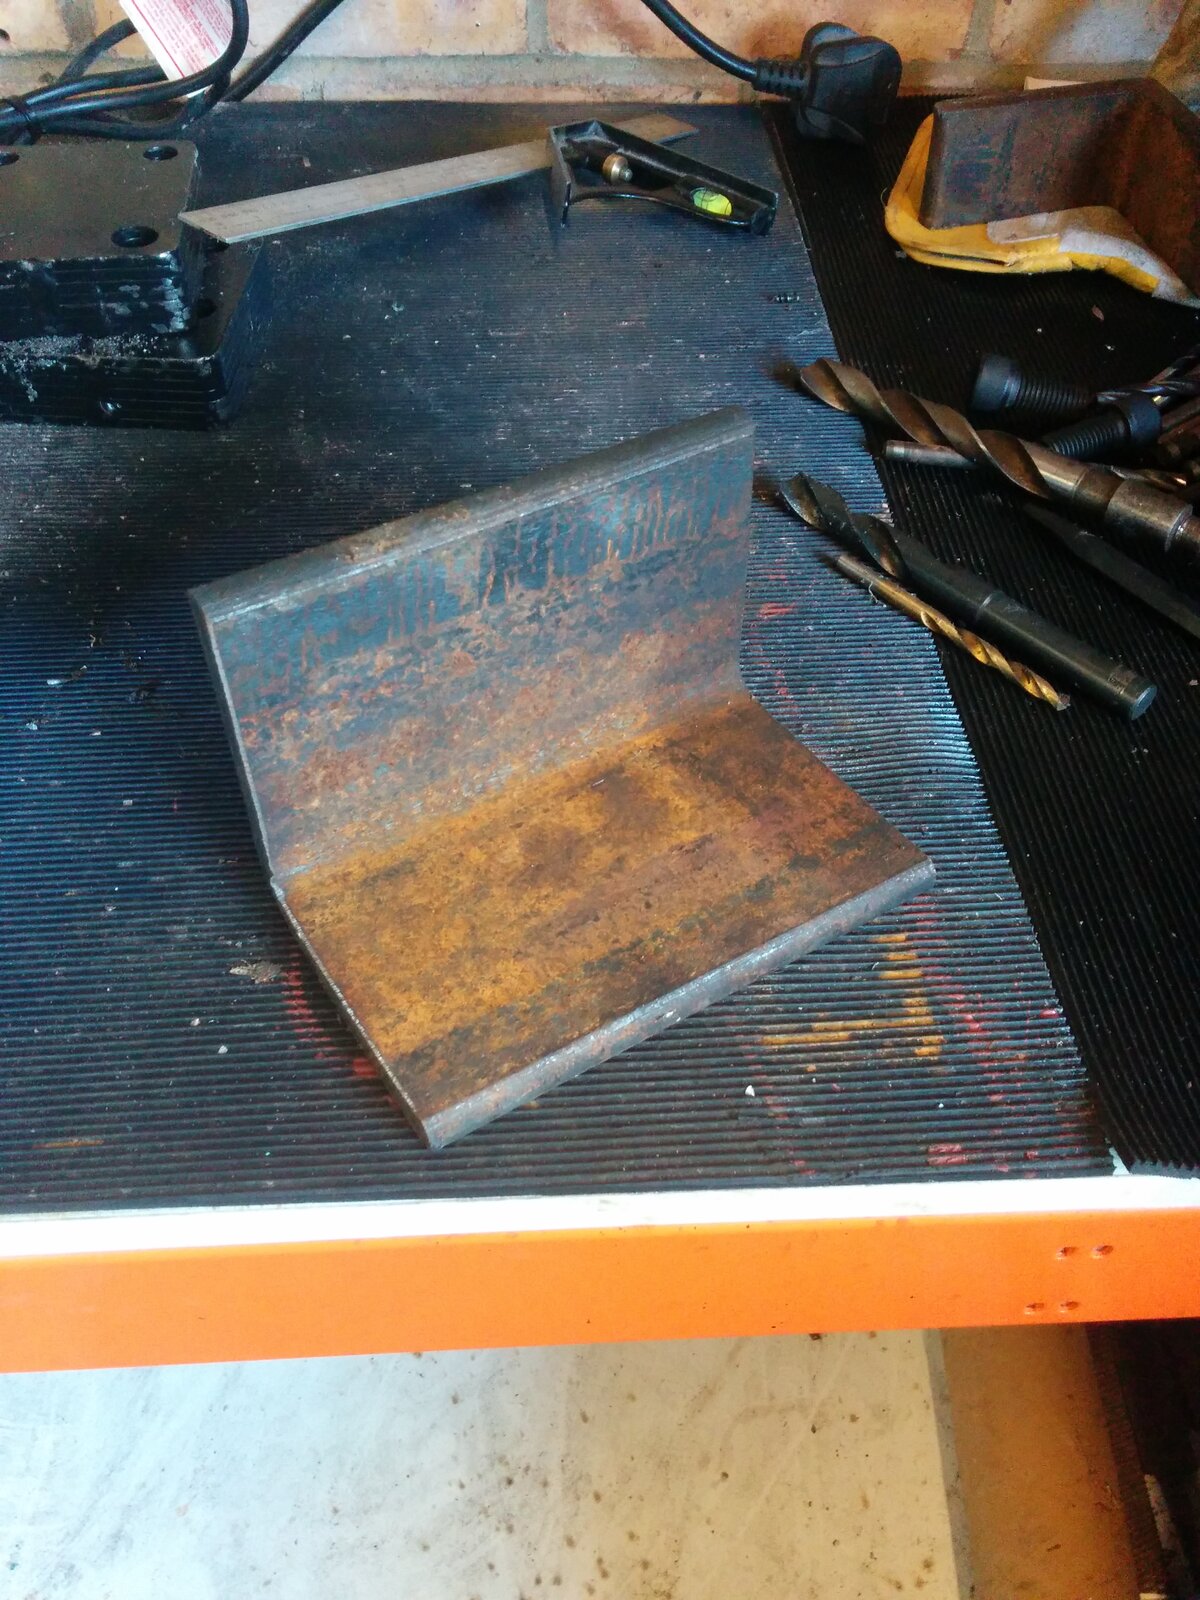
However, my old drill decided that actually it would prefer not to punch holes through this amount of steel, and called its trade union who ordered industrial action.
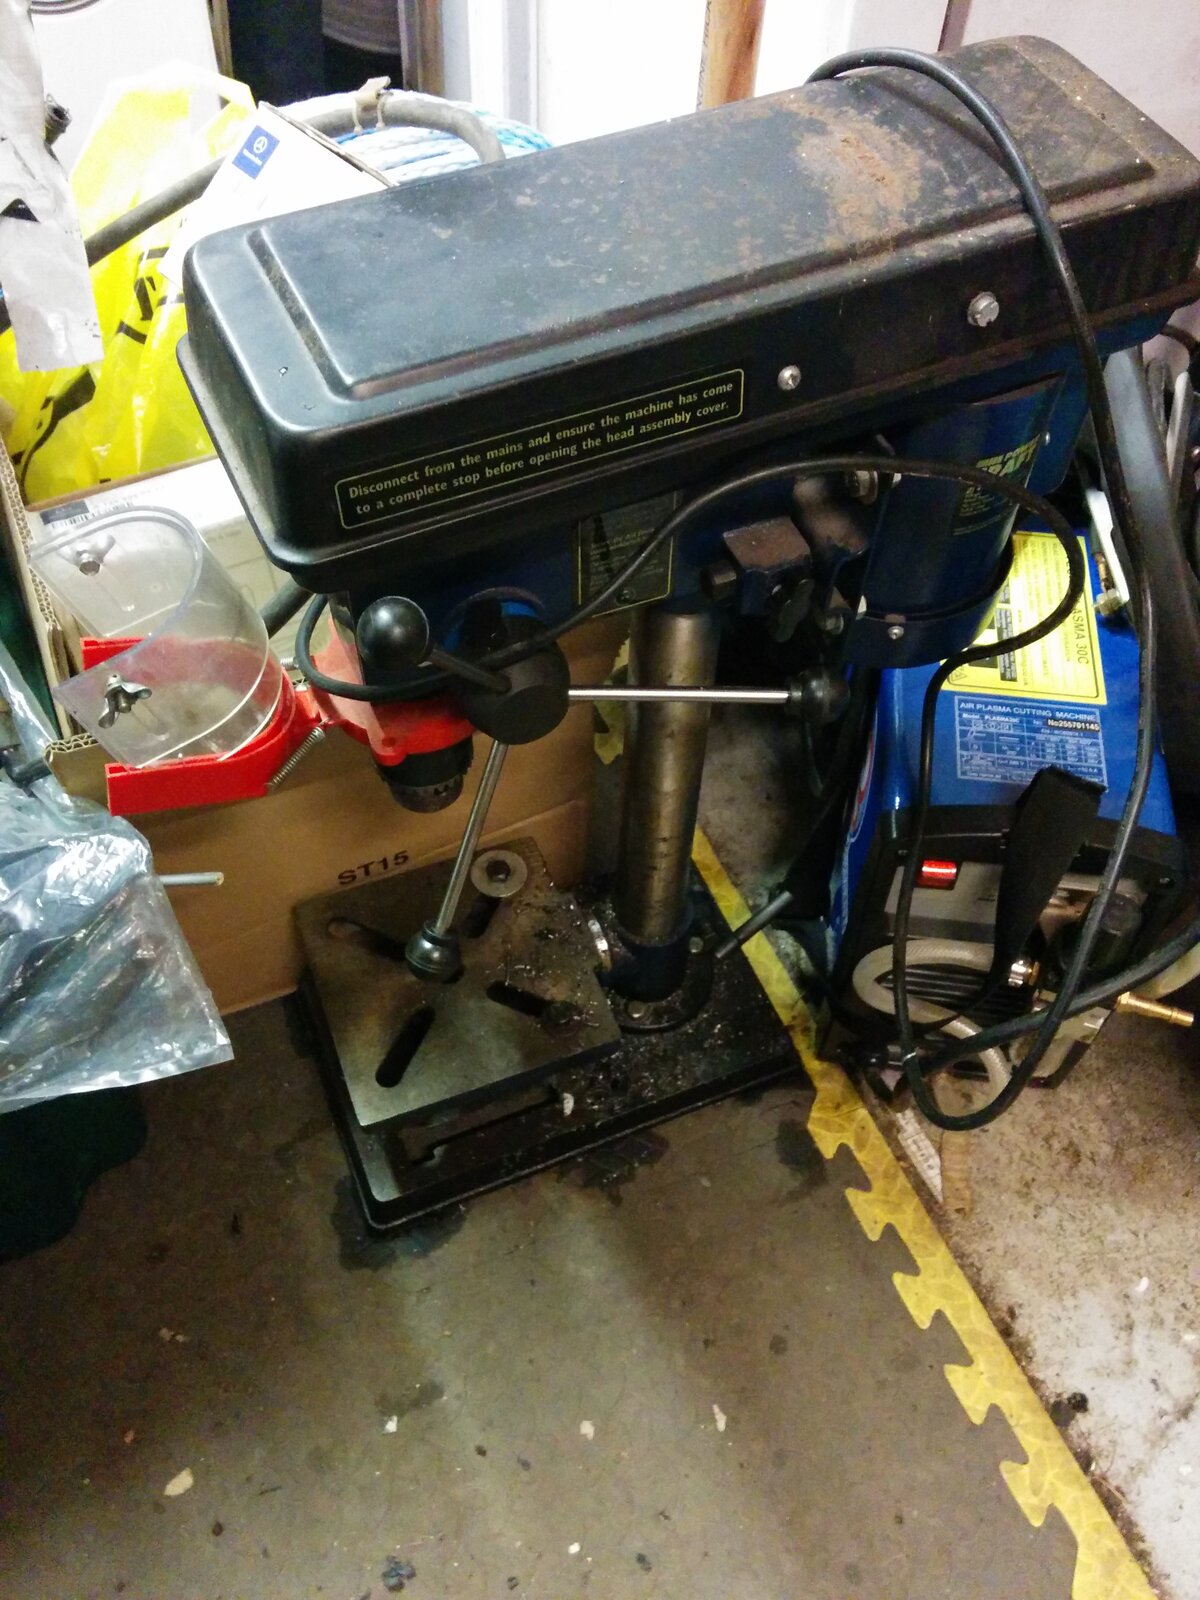
I left it sulking in the corner and returned with a much beefier replacement.
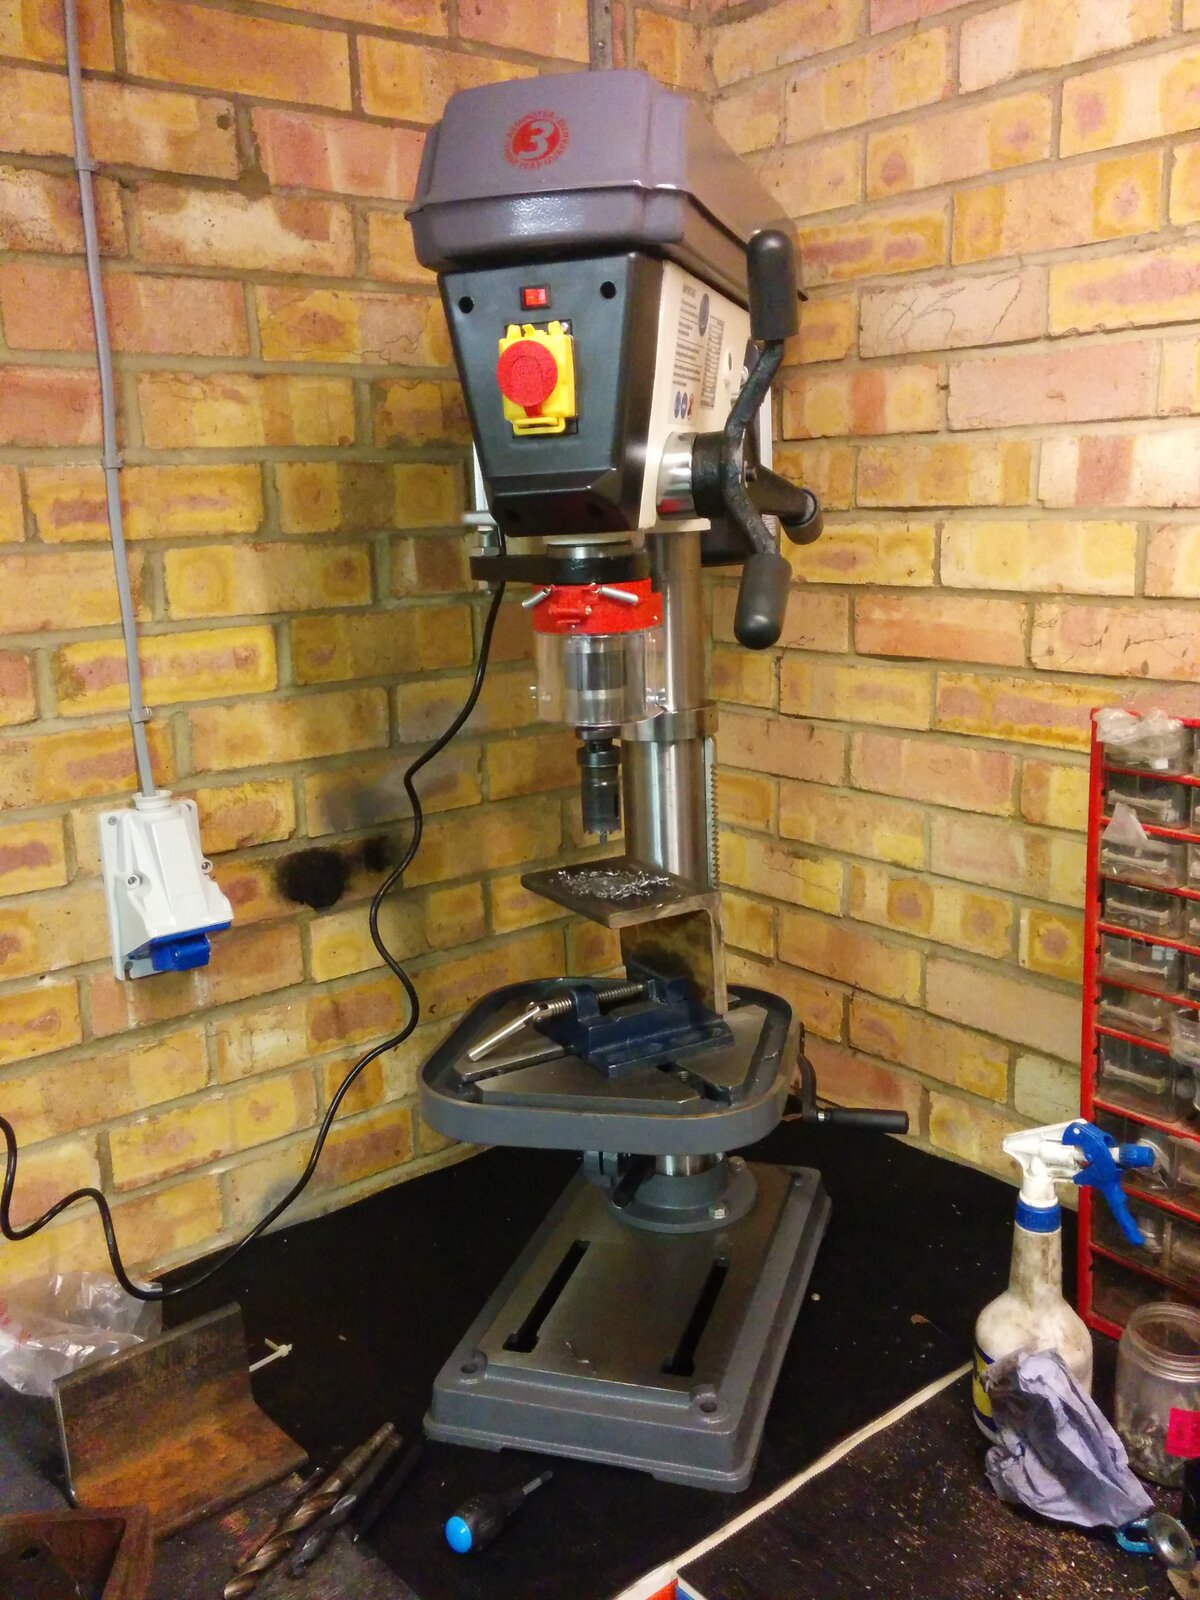
The shackle holes are done with a 30mm hole saw, 20mm separation between the two points. 16mm holes for the M14 attachment bolts.

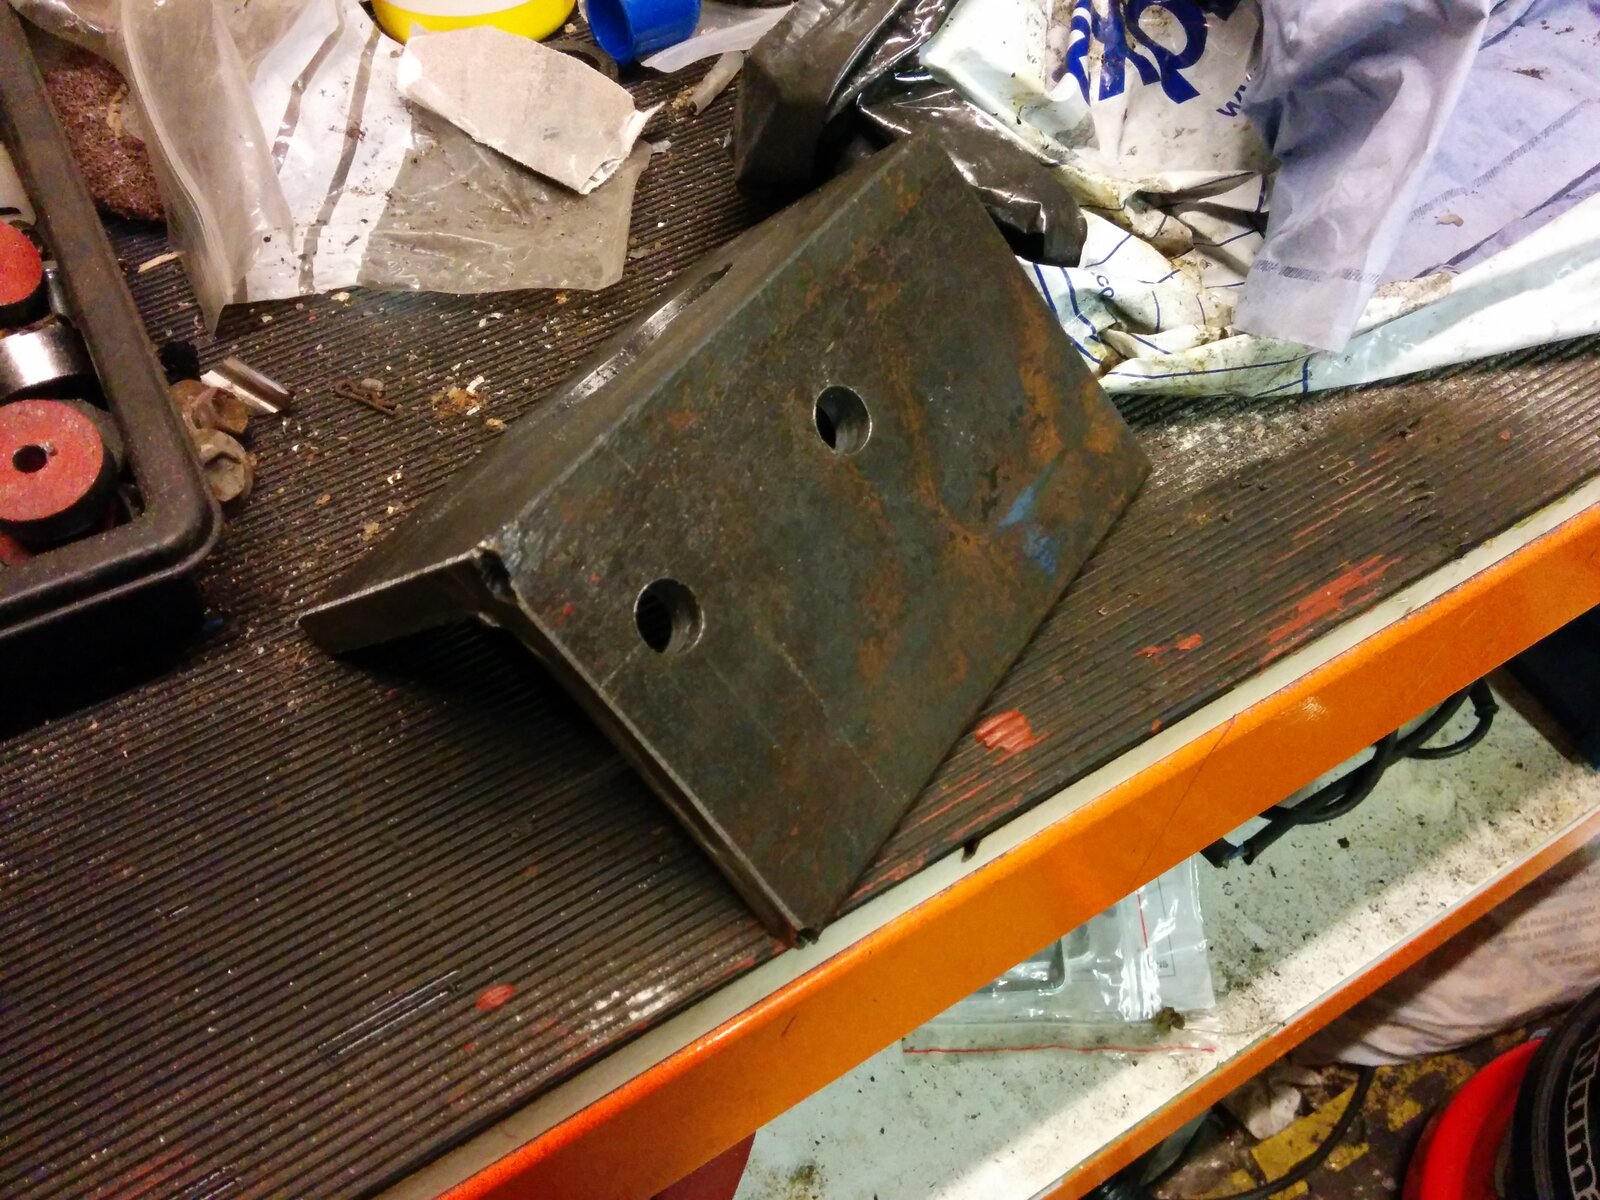
I'll finish up the shaping of the shackle hole with the plasma cutter.
Having penned out a design that looks startlingly similar to others available on the market, the starting point is 100mm angle steel, 12mm thick, cut into 150mm lengths.

However, my old drill decided that actually it would prefer not to punch holes through this amount of steel, and called its trade union who ordered industrial action.

I left it sulking in the corner and returned with a much beefier replacement.

The shackle holes are done with a 30mm hole saw, 20mm separation between the two points. 16mm holes for the M14 attachment bolts.


I'll finish up the shaping of the shackle hole with the plasma cutter.
froggy Steve
Well-Known Member
- Joined
- Jul 26, 2012
- Messages
- 2,739
- Country Flag
Man, you need a universal Ironworker - punch those holes, crop that steel, bend that plate ! see here (I used to sell them!)
Doodle
Well-Known Member
Dropped the winch into the ARB bar over the weekend - thankfully not as bad as I had feared. Drop the light units out and then access the 3 bolts each side that hold the bar onto the mounting frame, lift it off, bolt the winch down to the mounting frame and put the bar back on.
Then unbolt the winch again because you need to clock the freespool end for clearance.
During this process I discovered that the ARB indicator units are rubbish, full of corrosion not helped by being on upside down so the drain holes face upwards. Need to replace them with LEDs really - I know ARB are coming out with an LED unit in April, but no doubt it'll be expensive and plagued by some design issue. LED Autolamps do something suitable:

But it seems the UK distributor doesn't bring this one over from Australia.

This week will hopefully be a flurry of activity as everything gets wired up.
Then unbolt the winch again because you need to clock the freespool end for clearance.

During this process I discovered that the ARB indicator units are rubbish, full of corrosion not helped by being on upside down so the drain holes face upwards. Need to replace them with LEDs really - I know ARB are coming out with an LED unit in April, but no doubt it'll be expensive and plagued by some design issue. LED Autolamps do something suitable:

But it seems the UK distributor doesn't bring this one over from Australia.


This week will hopefully be a flurry of activity as everything gets wired up.
Doodle
Well-Known Member
This evening I finished off the work on the centre console.
Cut the holes for the switches into the panel, a harder task than it first appears. The gap between transfer lever and the heated seat switches isn't quite big enough for vertical mounting of Carling switches, and you have to be careful in front of the autobox shifter to stop it fouling the shift gate.

Made up the wiring looms and pulled them through from the bulkhead, ending up in the multiplugs for the switches.


All locked down and finished. The 3 switches L-R are for spots (linked to main beam), 2 stage light bar and the air freespool for the winch. The lone switch is for winch control, I wanted this closer to the drivers seat for easier access.
Next job is fitting the aux relay/fuse box and finish wiring up under the bonnet.
Cut the holes for the switches into the panel, a harder task than it first appears. The gap between transfer lever and the heated seat switches isn't quite big enough for vertical mounting of Carling switches, and you have to be careful in front of the autobox shifter to stop it fouling the shift gate.
Made up the wiring looms and pulled them through from the bulkhead, ending up in the multiplugs for the switches.
All locked down and finished. The 3 switches L-R are for spots (linked to main beam), 2 stage light bar and the air freespool for the winch. The lone switch is for winch control, I wanted this closer to the drivers seat for easier access.
Next job is fitting the aux relay/fuse box and finish wiring up under the bonnet.
Last edited:
Similar threads
- Replies
- 0
- Views
- 190


