Don't like the adverts?  Click here to remove them

I don't believe it. Another set of flange studs snapped!!

Chris

Super Moderator
Supporter
Joined
Feb 24, 2010
Messages
17,937
Garage
Country Flag
great_britain
Well, in the same woods as last time a few miles up the road, driving though a wash with mud in the bottom. I just came to a halt. Stuck the CDL in and drove out. Knocked the diff out on the other bank and had no drive. Yep, snapped all the studs off the short side front axle again. That's two hubs sitting in the garage now that need fettling. Had a hub all built up, just needed to lathe some dowels to fit, swapped the brake disc over and I'm mobile again. But bloomin' b*ggery b@ll@ocks I can't keep doing this. I have no idea what's causing it other of course than massive 37's, Longfield CVs and 1 million giga tones of torque. I need to upgrade these front hubs to the 10mm Hundee studs and flanges.

Grrrr

Chris
 
You could try driving with a lighter right foot!!! ;)

Another way would to drill the flanges and put another dowel between each stud. But this will only move the breakage to another point.

Paul
 
Paul, any lighter and I'd be standing still. If you read it, I didn't even have any lockers in. I was just wading across a small gully and it stopped.

Anyhoo, just had a profitable few hours in the man-cave. I turned a small bobbin that just pressed into the top of the stud hole, with a pilot drill running down the middle. Gave me a perfect centre each time. Finely got the stud extractors in and wound out the broken studs. Now, the other hub is a different story. They are not shifting!

Thought about that Paul. I might do. I don't mind having a weak point to prevent other breakage, but getting the old studs out isn't easy. Now, as these are all new ones, they should come out and with the bobbin tool, it shouldn't be too hard. But it's a pain in the ass frankly.
 
Last edited:
When I use to trial LRs, I always use to leave 2 or the 5 bolts out, once they snaped I would just put the other 2 in so it was drivable.
 
Something besides the obvious not right there, should take some very serious abuse to do that. Is the same flange being used and are the cone washers seating properly in it? Is the flange seating properly on the hub and not interfering with the end of the stub axle (i.e. a too long stub axle). Is it new studs each time and are they genuinely genuine? Can't think of anything else at the minute but there's obviously something up. Weld a nut on the end of the studs, fetches them out in no time :shifty:
 
Jon, I was hoping you'd chip in. I have to say I have thought of all of those and they're all good. I can't work it out. Cones absolutely seated and the slot cleaned out. Genuine studs? Well they have to be. I cannot image that they'd ever have been replaced given the history of the vehicles they came off. I do now have some Milner ones in. The front and rear studs are the same so I have been robbing those out of my stock. Can't weld a nut on as the stud breaks down inside the hole. I looked at that as it's a tip I use often. But I'd simply fill the hole with weld. The new drilling guide is working well and I have some new extractors coming today. Flange mates up perfectly. Good fit on splines and no slop in the dowels. Stub just pokes through enough to put snap ring on. I am guessing that the short side axle doesn't have as much twist in it (torsion bar effect) and therefore if anything is going to go it's this side - yes?

In the same place this coming Sunday. I shall see if I can escape undamaged. It's very odd I have to say. Thought about doing away with the dowels and replacing them with a 10mm stud and nut through the flange
 
Don't like the adverts?  Click here to remove them
I think you're right that short side will get the most shock loading yes. Strange that the studs are breaking that much below the surface, sounds more like a fatigue failure, were both hubs you've done the same in that respect? For me using Milner studs would be inconclusive if it happens again. Time for a stud upgrade if it keeps doing it!
 
Yes Jon, they are all slightly lower than the flange face. I think this is because of the stud design. They aren't threaded down all of their length are they. They have a plain section in the centre which just screws down slight below the flange surface. It's here where they snap off. Yes I could leave then slightly proud I suppose but I don't feel comfortable leaving them loose and I am not going to lock them in as getting the little blighters out would be impossible. I'd like to go to the 10mm stud but the 100 flanges are different. They won't take an 80 CV. OK I could drill out the flanges but then I couldn't use the 100 cones. LR don't have cones so I wonder how important they are. If the 80 cone holes drilled out to parallel sides then a straight through bolt might be an option. I wondered about replacing the studs with HT bolts too - in the original 8mm keeping the cones etc. For all I know, the studs maybe HT anyway.
 
Might be worth a check on Toyodiy if the 105's have uprated studs, pretty sure they will be the same as an 80 otherwise.
 
Ooh, good call Jon.

Chris
 
Well now unless I am reading this wrong, TOYO is showing the 100, 105 and 80 as all using the same stud and the same flange. Huh?

Chris
 
You're reading it wrong :lol: stud / flange - 80 is 90116-08325 / 43421-60040 , 100 & 105 are both 90116-10201 / 43421-60030 and the CV part no is different 80 vs 105 so looks like they did make other changes :cry:

Time to make a cutter for 100 series cone seats and modify 80 series flanges so you can use 100 series studs and washers? How hard can it be :whistle:
 
Cheers Jon, I did a parts cross reference for those numbers from the 105 and they returned the 80 series. That's pretty pointless then isn't it. Unless there was a varient on the 80 somewhere in the world where the 100 parts WERE used.

Make a cutter. Had a think about that and then realised I hadn't the first idea. Maybe drill out some 80 cones? Don't know if the 100 flange is same PCD. Might pop to Milners at lunch and have a side by side on the counter.

I suppose if I knew the angle of dangle - http://www.cutweltools.co.uk/home/milling-cutters/form-tools
 
Last edited:
A lot of the guys here in Australia who brake there hub studs just drill them out to 10mm and use cap head bolts as they normally have a 10.9 or 12.9 tensile rating and they don't use the cone washers
 
Thank you for that. Very interesting.

Chris
 
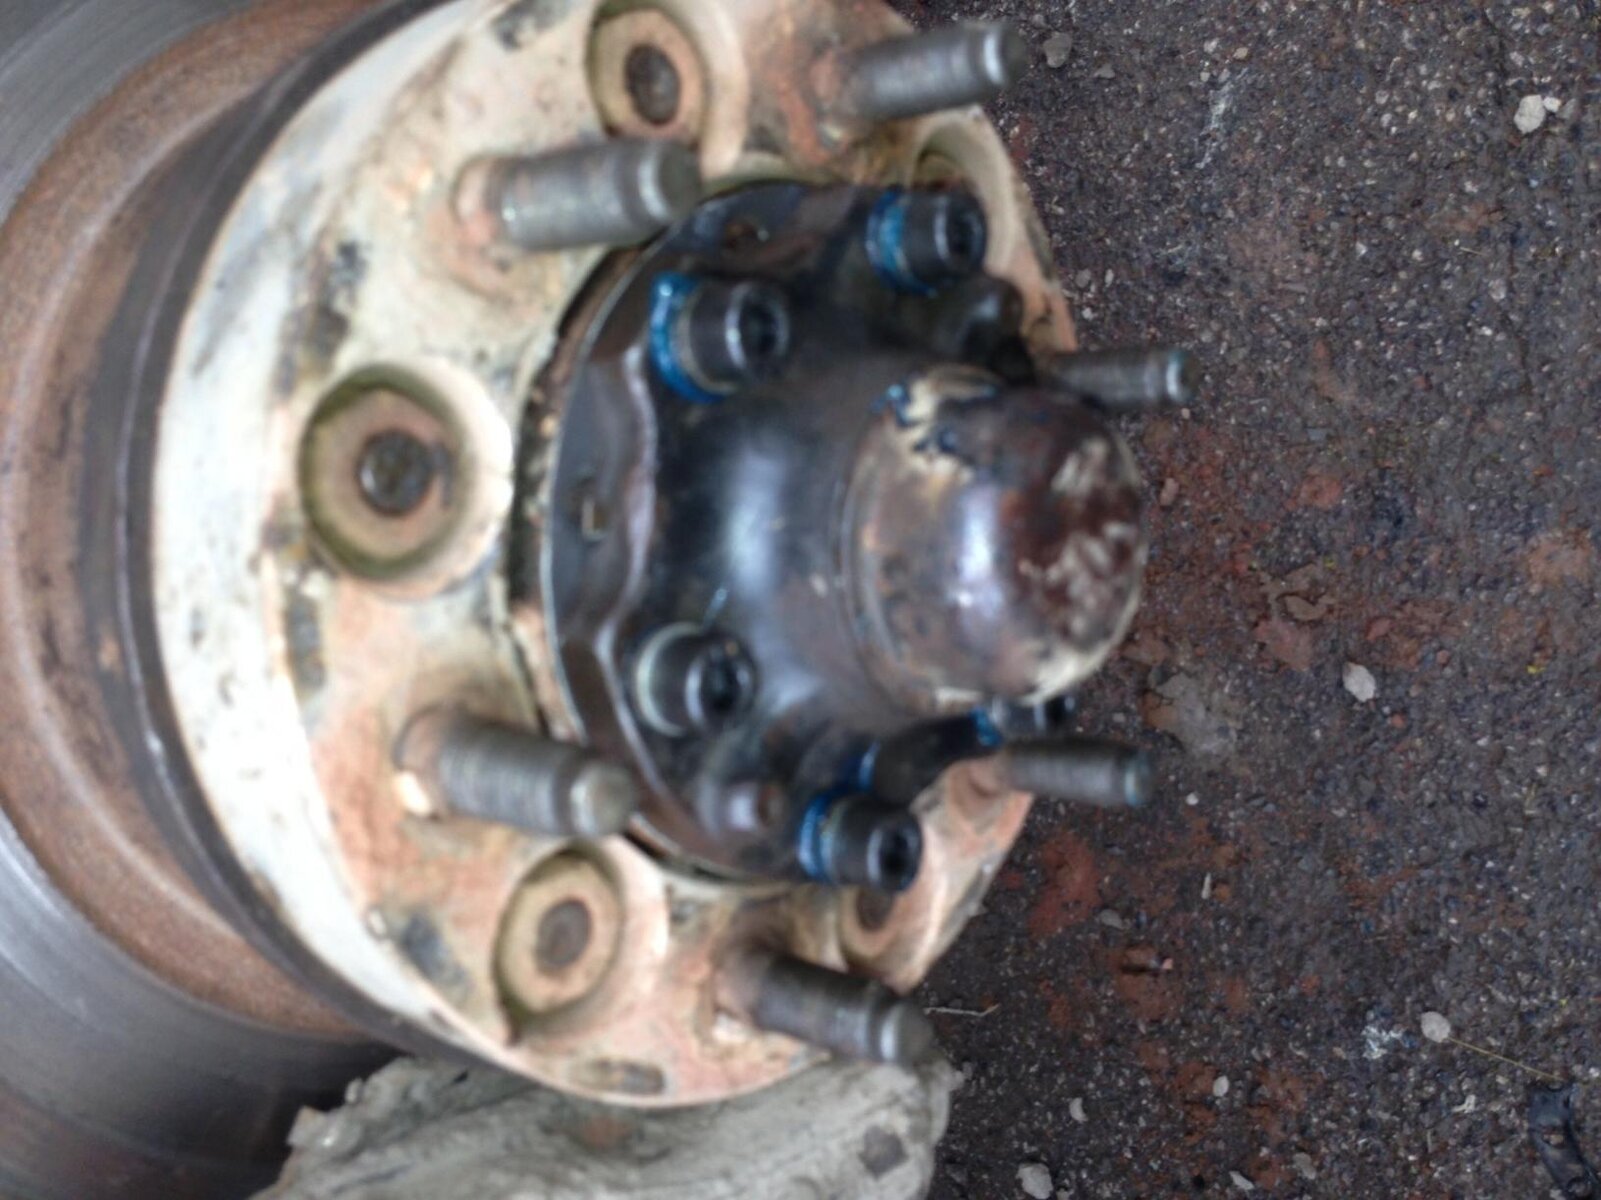
Well, upgrade completed. Well, part one at any rate. 35mm High Tensile cap heads arrived from Namrick yesterday. Swapped out this morning. See the highly detailed (blurred :icon-rolleyes:) picture.

I cleaned everything spotless and greased them so that getting the buggers out if I snapped them might be a little easier next time. They certainly feel different as you tighten them. The old studs do have that sort of 'soft' feel. Where as these didn't have that stretch feel at all. We'll see as it's off into the mud tomorrow.

I bought some 10 mm one too for stage two upgrade when I drill out the flanges and hubs to go large.

Cap heads.jpg

Cap heads.jpg
 
The cone washers centre the drive flange onto the main flange. Personally I do not like the idea of leaving them out as this leaves a space for the drive flange to creep against the main flange. Also the contact between the drive flange and the head of the bolt would be reduced.

John, when the studs sheared, what happened to the locating pins?

Roger
 
Hi Roger, it was me, not John.

The pins just sheared off too and made a mess of the flange face actually. I know what the cones are for but I think that the physics here is actually about clamping force. The studs don't (shouldn't) actually be taking the drive. It should be the friction between flange and hub. If they aren't tight enough the flange slips and takes out the studs. So, with the new HT cap heads, I can dog them up tighter without fear of stripping them. That gives a greater clamping force. Guess what - I have given it death today off road as it was shocking and made it round and home with no issues. If I went to 10 mm bolts with no cones, and I haven't said that I am, the holes would be a good fit on the cap heads. I might look for some part threaded bolts instead of full thread. That way the shank and flange can be mated up very closely.

Anyway - seems that this has cured it for today.
 
Chris what size shank do you want and what length, without me reading back through I think you said 35mm ? I may be able to grab you some from work, given that we are truck builders we have just about everything thats available
 
Hi Roger, it was me, not John.

The pins just sheared off too and made a mess of the flange face actually. I know what the cones are for but I think that the physics here is actually about clamping force. The studs don't (shouldn't) actually be taking the drive. It should be the friction between flange and hub. If they aren't tight enough the flange slips and takes out the studs. So, with the new HT cap heads, I can dog them up tighter without fear of stripping them. That gives a greater clamping force. Guess what - I have given it death today off road as it was shocking and made it round and home with no issues. If I went to 10 mm bolts with no cones, and I haven't said that I am, the holes would be a good fit on the cap heads. I might look for some part threaded bolts instead of full thread. That way the shank and flange can be mated up very closely.

Anyway - seems that this has cured it for today.

Oops, sorry Chris. Yes, it's all about clamping force locking the drive flange to the hub. On the 70 series the nuts are torqued up to 23 ft-lb which is not a lot. What torque did you put on the cap heads?

Two other points. From experience I always c/sink the threaded hole, just enough to prevent the surrounding material from being pulled up and so stopping the faces being flush.

Secondly, what are you using to seal the faces, gasket or goo? Both could be supplying a slippery surface that could destroy the grip between the faces. If you can lap them together, then maybe use a lacquer?

Roger
 
Back
Top