mr_magicfingers
Active Member
- Joined
- Jun 7, 2013
- Messages
- 84
Last week I discovered that one of the bumper light units wasn't working. Investigating found it was rusted, rotten and falling apart. The other wasn't far behind. Reading on here showed it to be a normal problem that required replacing the light units and I've also discovered threads on retrofitting lamp units into the higher light fittings in the body which I intend to do too.
So, I ordered a pair of light fittings for a very reasonable £42 shipped from and ebay seller in Lithuania of all places which arrived and look as good as the originals probably were when new. Two nuts are all that hold them on and I envisaged a quick half hour under the truck replacing them. Of course, as we all know, it's never that easy is it.
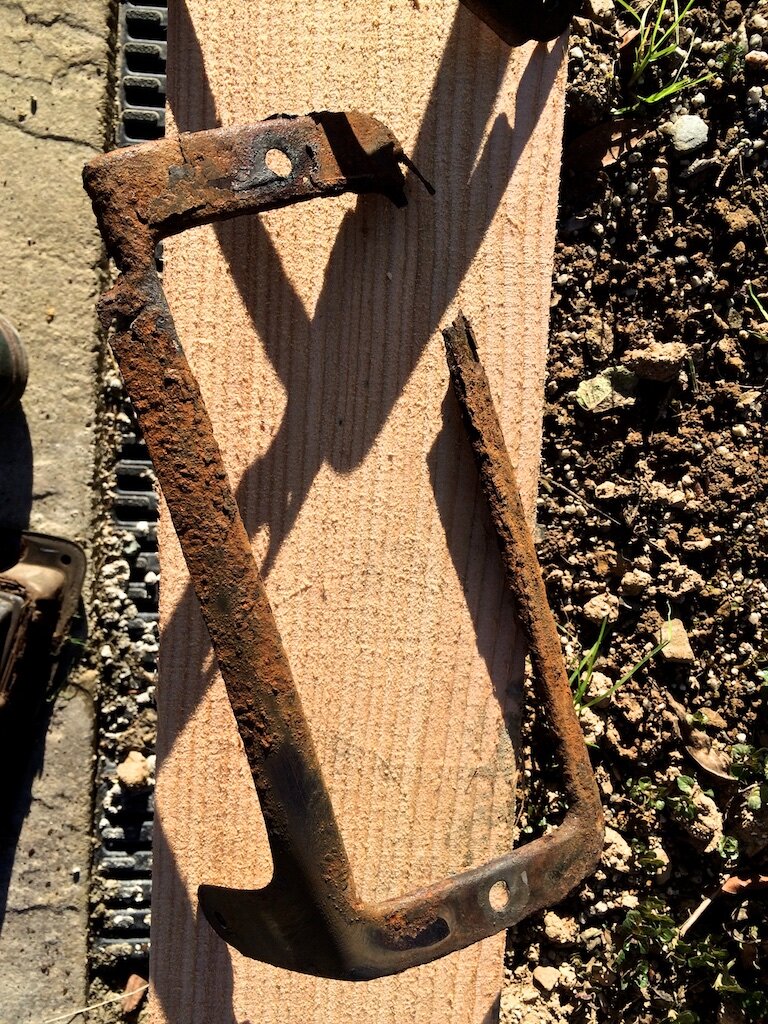
Under the truck and the nuts are rusted solid. They're so rusted that they're collapsing and not a chance of undoing them, nor could my dremel reach in their to cut them off. Oh well, have to take the bumper off. Out with the socket set and, oh bugger, those bolts are rusted solid too, completely banjaxed. Tried plus-gas and time and force, nothing worked except that the brackets they mount too sheared straight off, the steel was that rotten. Hmmm, ok, I'll just undo the scrivets. Nope, they're not coming out easily so a screwdriver and needle nose pliers to the rescue and then the bumper slides straight off and I can properly survey the carnage.
So tomorrow morning I'll be sitting down with my dremel to remove the old lamp units and fix the new ones in. There are two remaining bolts that did work ok which will be going back in covered in copaslip and the remaining working scrivets, though I plan to replace them once I've measured them and ebay have provided me with some new ones.
Which leaves me with fabricating some new brackets when I have cleared the barn out and found my welder and taught myself to use it to a point I can attack the truck. In the meantime, I have to decide how best to proceed with the rust that's left in place. The main chassis members look ok but the bits around it are flaky and need some treatment.
I figured I'd give it a good wire brush and then either treat with some rust treatment ( no idea which so recommendations gratefully received ) or just bung a load of metal paint (generic smoothrite copy) that I have a couple of cans of and then, eventually, some waxoyl.
However, some of the members are open and I can't get a wirebrush or paint in there. Would you just spray waxoyl in and hope for the best?
I need to either buy some ramps or axel stands and get the truck up a bit higher to get underneath. A lot of the work will have to wait until the summer but my plan is to work through the undersides of the truck and treat the rust that's already there as much as I can as I plan to keep the truck for several years to come. The engine only has 115k on it (dvd diesel) so it's a case of going over the mechanicals to keep it in shape.
Any suggestions on how best to tackle the rust would be much appreciated.
Cheers.
PS. this would have been full of photos but apparently I don't have enough posts to add referred urls, I'll add them when I'm able.
So, I ordered a pair of light fittings for a very reasonable £42 shipped from and ebay seller in Lithuania of all places which arrived and look as good as the originals probably were when new. Two nuts are all that hold them on and I envisaged a quick half hour under the truck replacing them. Of course, as we all know, it's never that easy is it.
Under the truck and the nuts are rusted solid. They're so rusted that they're collapsing and not a chance of undoing them, nor could my dremel reach in their to cut them off. Oh well, have to take the bumper off. Out with the socket set and, oh bugger, those bolts are rusted solid too, completely banjaxed. Tried plus-gas and time and force, nothing worked except that the brackets they mount too sheared straight off, the steel was that rotten. Hmmm, ok, I'll just undo the scrivets. Nope, they're not coming out easily so a screwdriver and needle nose pliers to the rescue and then the bumper slides straight off and I can properly survey the carnage.
So tomorrow morning I'll be sitting down with my dremel to remove the old lamp units and fix the new ones in. There are two remaining bolts that did work ok which will be going back in covered in copaslip and the remaining working scrivets, though I plan to replace them once I've measured them and ebay have provided me with some new ones.
Which leaves me with fabricating some new brackets when I have cleared the barn out and found my welder and taught myself to use it to a point I can attack the truck. In the meantime, I have to decide how best to proceed with the rust that's left in place. The main chassis members look ok but the bits around it are flaky and need some treatment.
I figured I'd give it a good wire brush and then either treat with some rust treatment ( no idea which so recommendations gratefully received ) or just bung a load of metal paint (generic smoothrite copy) that I have a couple of cans of and then, eventually, some waxoyl.
However, some of the members are open and I can't get a wirebrush or paint in there. Would you just spray waxoyl in and hope for the best?
I need to either buy some ramps or axel stands and get the truck up a bit higher to get underneath. A lot of the work will have to wait until the summer but my plan is to work through the undersides of the truck and treat the rust that's already there as much as I can as I plan to keep the truck for several years to come. The engine only has 115k on it (dvd diesel) so it's a case of going over the mechanicals to keep it in shape.
Any suggestions on how best to tackle the rust would be much appreciated.
Cheers.
PS. this would have been full of photos but apparently I don't have enough posts to add referred urls, I'll add them when I'm able.