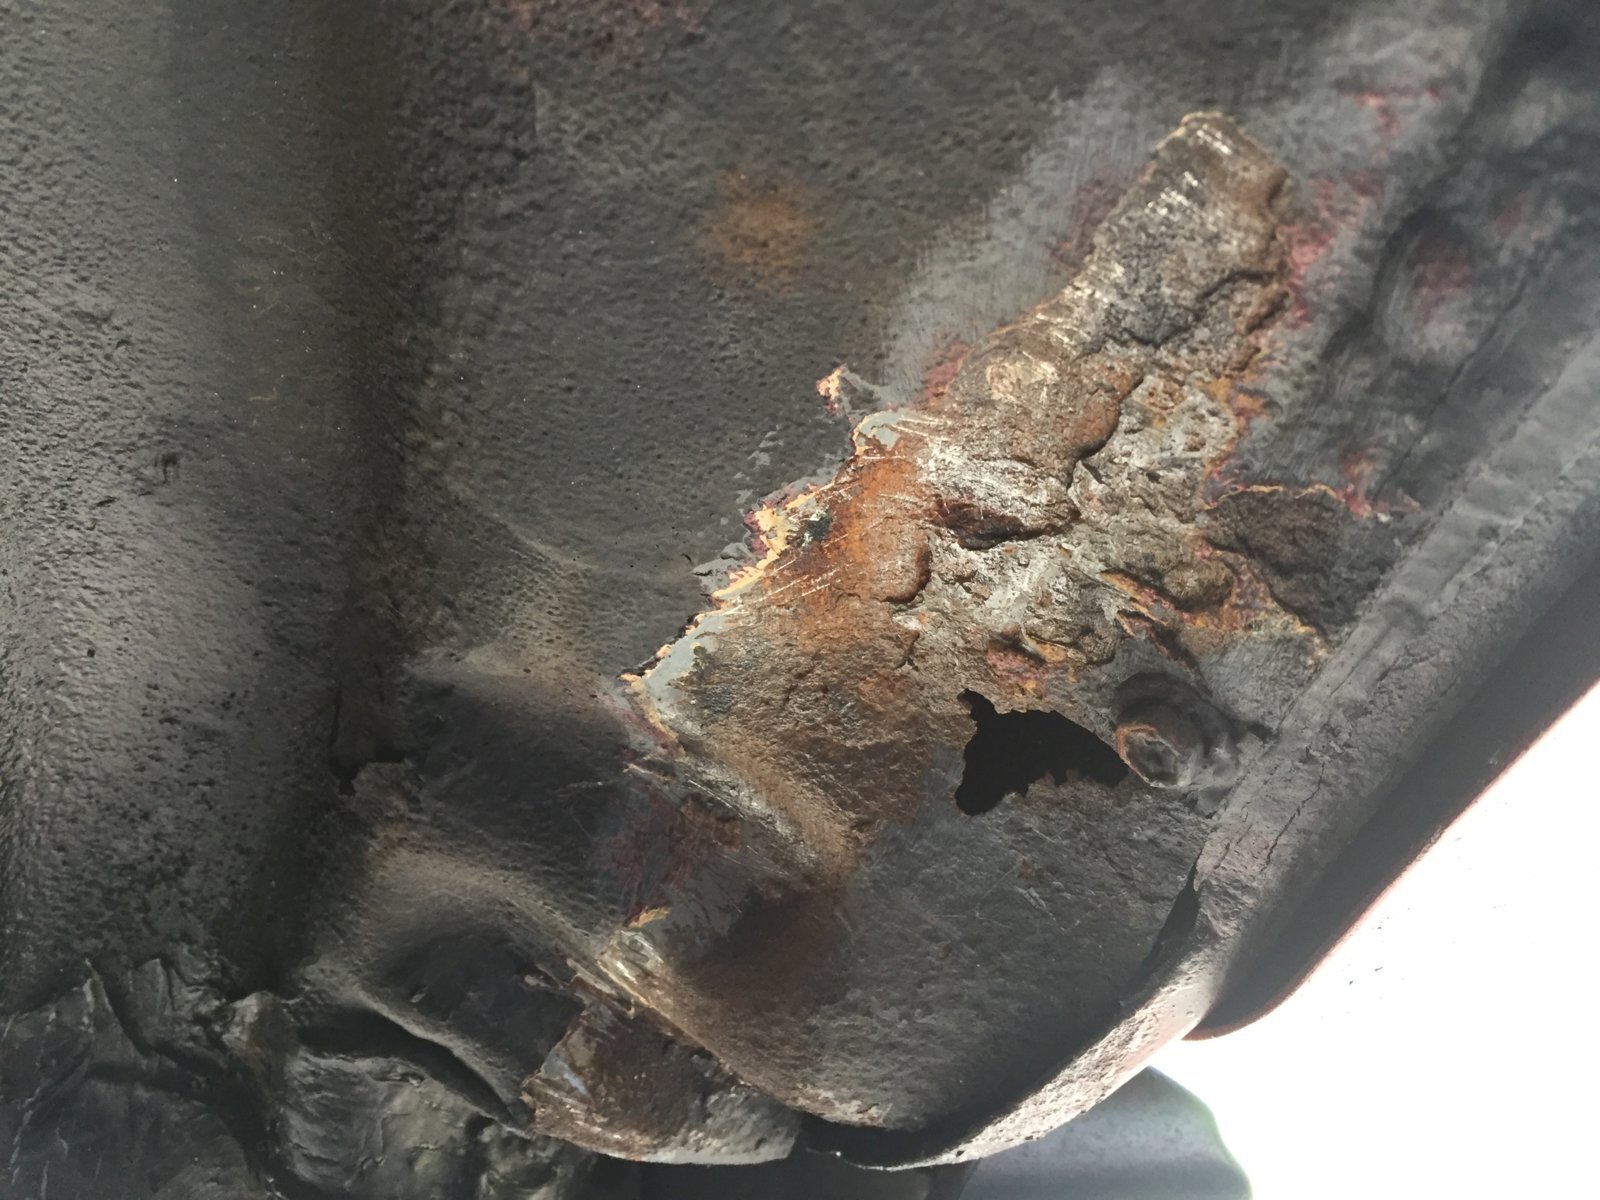
In part one we looked at the basic points of the outside of the vehicle and some of the tell-tale signs from inside the cabin. In part 2 we'll cover the obvious parts of the underside, again for the uninitiated. In later sections, we'll look in more detail at the more hidden sections of bodywork that can cause issues such as the arches and then round off with a section on what we might call miscellaneous problem areas.
As we said in part one, the underside really does tell a great deal about the vehicle. Why does this matter? So it's rusty is that really a problem? The chassis and running gear on these vehicles is thicker than the hull of the Titanic for the most part and rarely rust right through. Many bits are replaceable such as the suspension. But unless you are really handy on the spanners, you will be at the mercy of anyone willing to take your money. Pretty much all of the nuts and bolts will have been tightened in Japan 2 decades ago and unless you are the luckiest person alive many won't want to come undone or worse, just as you think they have, the thing snaps. So, the better it is underneath the better the chance of keeping more money in you wallet and more skin on your knuckles. Working on them is quite simple but most mechanics never get to see one of these and don't realise the tricks necessary in doing some of the jobs correctly. The handbrake is a prime example of a bodge waiting to happen.
There's no need to worry about a bit of rust, nor in fact if there is a bit of oil under there. Very often oil is spilled from servicing and this spreads along under the car. Oil is helpful in preventing corrosion. OK if it's actually pouring then run away. The power steering pumps also tend to leak a bit near the front of the engine and that spreads around a bit. But can be fixed. In short, a bit is ok but a complete slick is a sign of something possibly harder to cure.
Here's the underside of the engine viewed from the front. Take a mat or something with you. You do need a proper look. Sellers will think you have gone nuts looking underneath as normal buyers simply don't do this. Take a decent torch with you too as they are quite low to the ground in standard set up and it's not always well lit down there.

Here we can see the front axle, oil filler point and the steering damper. Sure there are some spots of rust, but essentially is black, clean and nothing dripping. The oil filler plug is showing signs that it has recently been removed as there is a black patch around it where the oil has spread on the surface of the differential casing. That's good. It means someone has been checking.
In this image we can see the Driver's side swivel housing - or steering bit with the wheel on the end for the non technically minded.

This looks fine. Probably rebuilt some time back as it's not spotless around the cannon ball that you can see on the end of the axle. But not clagged up with thick horrible gunk. Inside here there is a seal. That seal keeps the oil in the axle and grease in the hub. That's the way it should be. When the seal fails, the oil and the grease mix. This is bad. Caught early, it's a fixable problem. Done yourself, the parts bill isn't that much. But generally once opened up to do the seal, there will be other issues lurking. It's a false economy to go in there and only do bits at a time. There's a lot to take apart and it's best to go right in as far as possible and start replacing the furthest most parts so that you don't have to go in again for another 60k miles.
There should be a light coating of grease on the cannonball. They rarely look gleaming.
Here on the opposite side there is a little more build up but nothing that's really indicting a problem.

It's only when there is liquid sludge running out of the bottom that you know it's all going to have to be rebuilt. IN these pictures you can just see 4 studs and nuts at the bottom of the arm (looks like cow horns). These are VERY important. They stop you from losing a wheel and crashing. They have an odd habit of unscrewing themselves and falling out. Look to see if all 8 are there.

Looking along the full length of the vehicle, there should be a certain symmetry. Nothing should be hanging down or sticking out at odd angles. If the side steps have a bend in them, just check to see that this is all that's bent.
Looking from the side (this is an auto) we can see the exhaust (genuine Toyota one, nice) and the auto transmission sump cover. This is the flat plate with the 6 slots in it. Look for bash marks on that or excessive dripping. It might be a red colour. which would show it has a transmission fluid leak. worthy of further investigation. Unless you have evidence the fluid has been changed, this will need doing once you get it home. Again underneath we can see that this example is pretty black and rust free. Just in the bottom right corner you can see one of the anti roll bar mounts. That's the thick round bar going across the chassis past the yellow thing These fail and do need to be replaced. The bush is cheap, but the bolts invariably snap. That can be sorted but under no circumstances try to change these the night before you go on a two week tour around France. I can guarantee you will miss your ferry!

Looking from the back of the vehicle now, we can see that this one is dirty. Well dirt can be hosed off. Actually, some degree of dirt does tend to keep rust at bay. Totally clean cars can be too dry and rust forms easily. That may sound counter to physics, but well used cars with a bit of the countryside on them fair pretty well. The two biggest killers around the back of the car are salt from the gritting of roads and salt water from launching boats.

The back axle is the place most likely to look horrible. This one certainly wants a wash off, but otherwise, it's good. Don't be put off by something that doesn't look good like this, they can be wire brushed and cleaned up. If it's flaking and the layers of steel are separating like the pages of a book, then that's not good. Whilst you are there, look up and see if there is a spare wheel. Many are missing this.
Finally, here's a look from the side, down the vehicle to the rear axle.

Again the owner seems to have forgotten where the jet wash is, but we can see the yellow dampers look fine, the underside is rust free and there's no oil pouring out of the prop-shaft seal. The universal joint (looks like a fist on the end of the long round tube going into the axle) has some staining. This is grease that has been flicked round during driving. That's a good thing. it means that someone has actually put some grease in there. If you are looking at an 80 that resembles this to any degree then you are probably onto something good. There are better and there are worse. If anything mentioned does seem to be an issue, on its own it's fixable. If all of the issues are present then it's still probably fixable but do you want to?
In the next instalment, we will look at some of the issues of corrosion in the places less easy to see.
As we said in part one, the underside really does tell a great deal about the vehicle. Why does this matter? So it's rusty is that really a problem? The chassis and running gear on these vehicles is thicker than the hull of the Titanic for the most part and rarely rust right through. Many bits are replaceable such as the suspension. But unless you are really handy on the spanners, you will be at the mercy of anyone willing to take your money. Pretty much all of the nuts and bolts will have been tightened in Japan 2 decades ago and unless you are the luckiest person alive many won't want to come undone or worse, just as you think they have, the thing snaps. So, the better it is underneath the better the chance of keeping more money in you wallet and more skin on your knuckles. Working on them is quite simple but most mechanics never get to see one of these and don't realise the tricks necessary in doing some of the jobs correctly. The handbrake is a prime example of a bodge waiting to happen.
There's no need to worry about a bit of rust, nor in fact if there is a bit of oil under there. Very often oil is spilled from servicing and this spreads along under the car. Oil is helpful in preventing corrosion. OK if it's actually pouring then run away. The power steering pumps also tend to leak a bit near the front of the engine and that spreads around a bit. But can be fixed. In short, a bit is ok but a complete slick is a sign of something possibly harder to cure.
Here's the underside of the engine viewed from the front. Take a mat or something with you. You do need a proper look. Sellers will think you have gone nuts looking underneath as normal buyers simply don't do this. Take a decent torch with you too as they are quite low to the ground in standard set up and it's not always well lit down there.
Here we can see the front axle, oil filler point and the steering damper. Sure there are some spots of rust, but essentially is black, clean and nothing dripping. The oil filler plug is showing signs that it has recently been removed as there is a black patch around it where the oil has spread on the surface of the differential casing. That's good. It means someone has been checking.
In this image we can see the Driver's side swivel housing - or steering bit with the wheel on the end for the non technically minded.
This looks fine. Probably rebuilt some time back as it's not spotless around the cannon ball that you can see on the end of the axle. But not clagged up with thick horrible gunk. Inside here there is a seal. That seal keeps the oil in the axle and grease in the hub. That's the way it should be. When the seal fails, the oil and the grease mix. This is bad. Caught early, it's a fixable problem. Done yourself, the parts bill isn't that much. But generally once opened up to do the seal, there will be other issues lurking. It's a false economy to go in there and only do bits at a time. There's a lot to take apart and it's best to go right in as far as possible and start replacing the furthest most parts so that you don't have to go in again for another 60k miles.
There should be a light coating of grease on the cannonball. They rarely look gleaming.
Here on the opposite side there is a little more build up but nothing that's really indicting a problem.
It's only when there is liquid sludge running out of the bottom that you know it's all going to have to be rebuilt. IN these pictures you can just see 4 studs and nuts at the bottom of the arm (looks like cow horns). These are VERY important. They stop you from losing a wheel and crashing. They have an odd habit of unscrewing themselves and falling out. Look to see if all 8 are there.
Looking along the full length of the vehicle, there should be a certain symmetry. Nothing should be hanging down or sticking out at odd angles. If the side steps have a bend in them, just check to see that this is all that's bent.
Looking from the side (this is an auto) we can see the exhaust (genuine Toyota one, nice) and the auto transmission sump cover. This is the flat plate with the 6 slots in it. Look for bash marks on that or excessive dripping. It might be a red colour. which would show it has a transmission fluid leak. worthy of further investigation. Unless you have evidence the fluid has been changed, this will need doing once you get it home. Again underneath we can see that this example is pretty black and rust free. Just in the bottom right corner you can see one of the anti roll bar mounts. That's the thick round bar going across the chassis past the yellow thing These fail and do need to be replaced. The bush is cheap, but the bolts invariably snap. That can be sorted but under no circumstances try to change these the night before you go on a two week tour around France. I can guarantee you will miss your ferry!
Looking from the back of the vehicle now, we can see that this one is dirty. Well dirt can be hosed off. Actually, some degree of dirt does tend to keep rust at bay. Totally clean cars can be too dry and rust forms easily. That may sound counter to physics, but well used cars with a bit of the countryside on them fair pretty well. The two biggest killers around the back of the car are salt from the gritting of roads and salt water from launching boats.
The back axle is the place most likely to look horrible. This one certainly wants a wash off, but otherwise, it's good. Don't be put off by something that doesn't look good like this, they can be wire brushed and cleaned up. If it's flaking and the layers of steel are separating like the pages of a book, then that's not good. Whilst you are there, look up and see if there is a spare wheel. Many are missing this.
Finally, here's a look from the side, down the vehicle to the rear axle.
Again the owner seems to have forgotten where the jet wash is, but we can see the yellow dampers look fine, the underside is rust free and there's no oil pouring out of the prop-shaft seal. The universal joint (looks like a fist on the end of the long round tube going into the axle) has some staining. This is grease that has been flicked round during driving. That's a good thing. it means that someone has actually put some grease in there. If you are looking at an 80 that resembles this to any degree then you are probably onto something good. There are better and there are worse. If anything mentioned does seem to be an issue, on its own it's fixable. If all of the issues are present then it's still probably fixable but do you want to?
In the next instalment, we will look at some of the issues of corrosion in the places less easy to see.


