Don't like the adverts? Click here to remove them
You are using an out of date browser. It may not display this or other websites correctly.
You should upgrade or use an alternative browser.
You should upgrade or use an alternative browser.
Who is doing what maintenance today?
- Thread starter warrenpfo
- Start date
- Joined
- Mar 14, 2016
- Messages
- 177
- Country Flag

They will bury me in my cruiser!
No not breaking - restoring for family trips!
No not breaking - restoring for family trips!
- Joined
- Mar 14, 2016
- Messages
- 177
- Country Flag
Hoping @AndycruiserguyLomas still has his seats…
Julian T
Well-Known Member

Back to work tomorrow, after this week end the head is back on, cam and rockers back on, man that feeler gauge really worked overtime on that, new water pump and thermostat seeing as how I was there, new timing belt and tensioner, injectors cleaned, serviced and refitted, inlet manifold and fuel system refitted.
Next weekend is the hot side which I am not really looking forward to, turbo and manifold are heavy and the nuts/bolts are awkward to get at, on brief cursory inspection it appears that the waste gate or actuator is seized, joy.
Next weekend is the hot side which I am not really looking forward to, turbo and manifold are heavy and the nuts/bolts are awkward to get at, on brief cursory inspection it appears that the waste gate or actuator is seized, joy.
Attachments
![20230518_163449[1].jpg](/community/data/attachments/182/182047-c566e69ebaeac222cd8dff3fa8a45780.jpg?hash=xWbmnrrqwi)
Howmanygoes
Well-Known Member
- Joined
- Jan 14, 2019
- Messages
- 760
- Country Flag

- Joined
- Nov 19, 2010
- Messages
- 6,237
- Country Flag
Bit of maintenance on the V6 Collie. Nipping up the motorway yesterday I felt a little steering wheel about 65-70 so I thought I'd swap the wheels around to alleviate the problem and have a check on the brake pad wear while the wheels were off. Two things surfaced while looking. The front nearside drop link had broken and the rear nearside handbrake pivot was seized solid.

I unseized the pivot working it and maintenance spray spray and while I was at it I decided to replace the rear discs with some I'd bought previously as a full set ( replaced the fronts about 18 months ago).
The biggest problem was getting the coating off, it really was rock hard. Tried all sorts of solvents which didn't touch it, then the DA sander with 40 grit which wasn't effective either so I took of off with the coarsest wire wheel on the angle grinder which sorted it, then a quick run round with the DA.

Faced the pads off which were about 30% worn and fitted it all back together,


Took it out for a run , brakes fine although one thing I have noticed is that these grooved and drilled discs make a certain ammount of hum under braking which is something to consider perhaps. Wheel wobble better but not perfect so a trip to the tyre place I think.
A pair of new drop links ordered from Amayama.
I unseized the pivot working it and maintenance spray spray and while I was at it I decided to replace the rear discs with some I'd bought previously as a full set ( replaced the fronts about 18 months ago).
The biggest problem was getting the coating off, it really was rock hard. Tried all sorts of solvents which didn't touch it, then the DA sander with 40 grit which wasn't effective either so I took of off with the coarsest wire wheel on the angle grinder which sorted it, then a quick run round with the DA.
Faced the pads off which were about 30% worn and fitted it all back together,
Took it out for a run , brakes fine although one thing I have noticed is that these grooved and drilled discs make a certain ammount of hum under braking which is something to consider perhaps. Wheel wobble better but not perfect so a trip to the tyre place I think.
A pair of new drop links ordered from Amayama.
Don't like the adverts? Click here to remove them
Howmanygoes
Well-Known Member
- Joined
- Jan 14, 2019
- Messages
- 760
- Country Flag
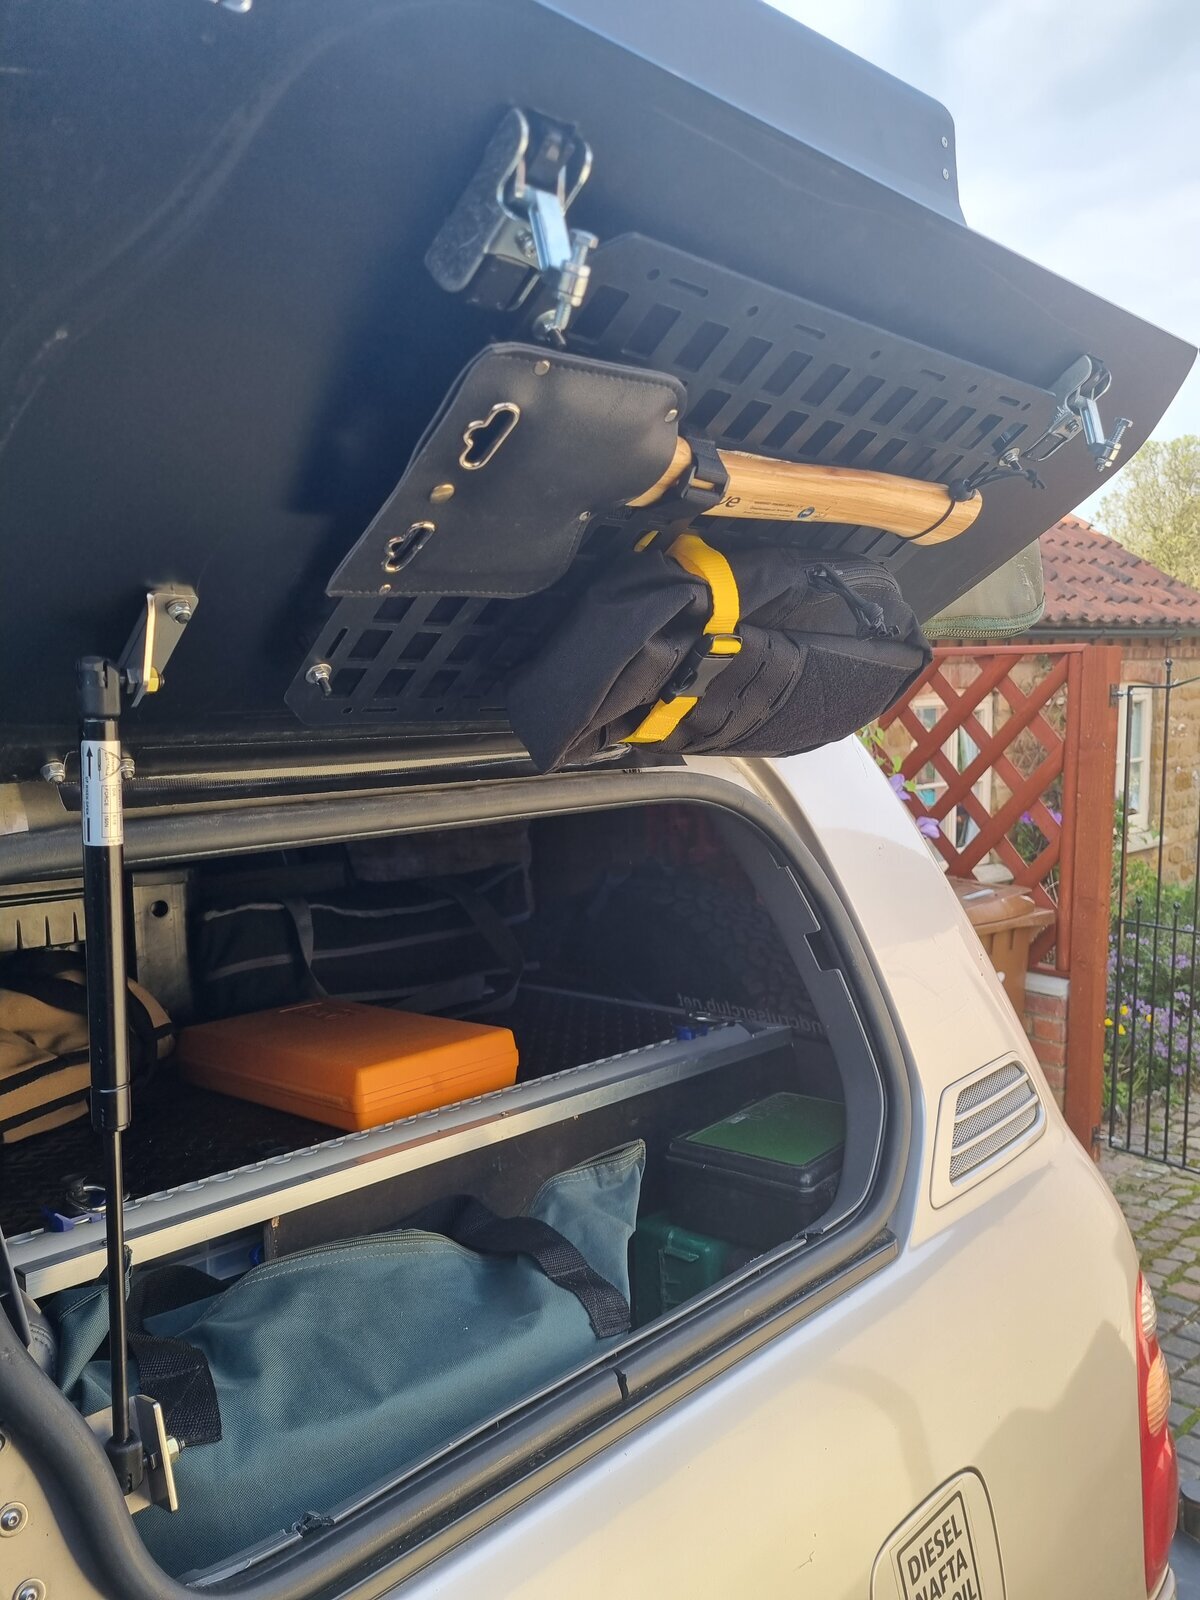
A few other little jobs today. Replaced 2 awning poles as they telescopic part wouldn't latch. Covered a couple of boltheads that were rubbing on the canvas. And fitted my other Molle panel.
Did this one a little different as I needed anything mounted to it to be out of the exhaust from the water heater. This one hinges out with a short amount of shock card to hold it out.i can use both sides and maximises the storage space.


Did this one a little different as I needed anything mounted to it to be out of the exhaust from the water heater. This one hinges out with a short amount of shock card to hold it out.i can use both sides and maximises the storage space.
- Joined
- Apr 10, 2021
- Messages
- 1,159
- Country Flag

Karl this is something I always wanted to do. Yesterday I cleaned, polished and waxed roof.drains
Do you just open sunroof and wipe it or cover interior with water proof sheet and use hose pipe?
Last edited:
Do you just open sunroof and wipe it or cover interior with water proof sheet and use hose pip
LC looks beautiful @Raj puts most of us to shame
")
To clear the drains I get a bit of garden strimmer line, gently shove it down all the drain holes (be careful because you don't want to push off any internal connections so go easy). When you're happy it's clear, pour a bottle of water into the drain channel and hopefully watch it go down the drain holes and reappear at the other end under the truck!
For last 3 weeks I was cleaning and polishing mine. Yesterday while doing chrome polish the V8 badge came off. Is there any specific glu to stick it back on the paint?
I'd use a bit of Araldite
Howmanygoes
Well-Known Member
- Joined
- Jan 14, 2019
- Messages
- 760
- Country Flag
I did it this way, opened the sunroof, wiped out the interior, trying not to get any crap into the drain, I tested a small amount of water to see if it ran through. It did on one side not the other. I then used my tire air compressor to blow through the hose. This cleared it out.Do you just open sunroof and wipe it or cover interior with water proof sheet and use hose pipe?
Last edited:
Tractionman
Well-Known Member
- Joined
- Oct 11, 2013
- Messages
- 2,979
- Country Flag
HMG, did you use full pressure with the air, I would be worried about dislodging fittings ?
Edit.
I may have got that wrong, just thought about your tyre air compressor, so the on board or portable one ?
Edit.
I may have got that wrong, just thought about your tyre air compressor, so the on board or portable one ?
Last edited:
- Joined
- Apr 10, 2021
- Messages
- 1,159
- Country Flag
Thank you. Now I can sell it for more than what I got it forLC looks beautiful
Howmanygoes
Well-Known Member
- Joined
- Jan 14, 2019
- Messages
- 760
- Country Flag
Because I was using a tire inflater not my compressor it was really simple to see if I got any pressure build up. Didnt really think about fittings coming off, more could the air be felt coming out the other end. Didn't take too much or too long and just used an airbed adapter as the nozzle.HMG, did you use full pressure with the air, I would be worried about dislodging fittings ?
- Joined
- Apr 10, 2021
- Messages
- 1,159
- Country Flag
Super set up. Thumbs up for the Axe.equipment
As some of you know, cleaned out the EGR valve earlier in the week.
Painted the welds and seams of the new exhaust with Zinc paint yesterday, as luck would have it all the prop nipples lined up nicely whilst on the ramps so they've had a good greasing.
Then today another coat of Bilt Hambers cavity wax inside the chassis, then about 3 litres of ACF50 sprayed over the entire underside today, keep a stock of old carpet and cardboard in my trailer for such jobs...still a mucky job but the garden pressure sprayer does the job really well when the product is warm.
- Joined
- Mar 7, 2010
- Messages
- 983
- Country Flag
Fitted a new bash guard to protect the 180 litre long range tank, the old one had served well but was pretty battered & bent to got a local fabrication place to bend me up a (big) sheen of 8mm aluminium plate, very please I got the angles right, it fitted a treat!!
bolted up at the r to the rear wheel carrier / bumper, welded som legs of 2x1 box to the chassis with plates at th front to hold that…..it ain’t going anywhere!
looks smart under there too.
just the handbrake to adjust tomorrow before the mot on Friday


bolted up at the r to the rear wheel carrier / bumper, welded som legs of 2x1 box to the chassis with plates at th front to hold that…..it ain’t going anywhere!
looks smart under there too.
just the handbrake to adjust tomorrow before the mot on Friday