Don't like the adverts?  Click here to remove them

Windscreen wiper making noises when on

oneafrikan

Member
Supporter
Joined
Mar 14, 2016
Messages
173
Country Flag
uk
Hi all,

First post in a loooong time.
- 2 kids
- new job
- global pandemic

in the meantime our 80 has become a member of the family, and has been renamed “Truckasaurus” by the kids.

Anyways - back to the post:
We’re doing summer holidays camping in Scotland and because it’s been raining a LOT two things have happened:
- the windscreen wiper is making noises when on. The kind of noises that make me squint through the rain for fear of properly breaking the wipers and then not having anything on the drive back home.
- drops of water from the roof headliner / seal, after a solid day of driving in the rain…

She’s on 183k miles and is in fairly good nick.

Has anyone experienced this before?
How do I look at the wiper arms to check nothing is creating friction?

I’ll post on the leak later… paint bubbling too.

Thanks in advance from a tent in Scotland
 
Just replaced my mechanism. There are a few wear out points.
1. The turrets or spindles where the arm are attached. Inside the metal tube there is a plastic liner bush. This wears out. Grab the wiper and wiggle it. If you can 'weathervane' it around the bushes have probably worn.
2. The motor can just give up the ghost
3. The magnets in the motor housing can come loose. I just glued mine back in last month. The motor will work but has little power
4. All the ball / knuckle joints from the motor to the wiper turrets can wear. Less common, but they do get sloppy

1 and 3 most likely or combination of both. Simple check is to pull the wipers up off the screen so that they lock back and run the motor. If they are laboured and slow then clearly it's not the friction of the blades on the glass.
 
Thanks. Will do soon as I can leave the kids with the Mrs long enough.
 
Ok so looks like both bushes are worn then.
Can wiggle both of the wipers.
But worryingly the sound from the motor when the wipers are on is still happening when I pull the wipers up off the glass.

Also looks like the arm joint is pretty badly rusted.

Will post video when signal is better.

0BC2C920-CD55-42A2-AF9B-96EB38852C33.jpeg


3D2AE68B-A7E2-45B1-A65E-76B347A5A655.jpeg
 
If it is the magnets, one tube of gorilla glue and you'll be sorted.
 
I had a lucky escape a few years ago on a 1000 miles trip, i had noticed wipers once in while were slow,then all was well and thought nothing of it.
On my return home a day later wipers stopped functioning.
It ended up being the wiper motor, a magnet had dislodged in the motor, i bonded it back with a premium adhesive.
It worked better then ever.
4 years on and its still perfect.
I did noticed the adhesive used by toyota was to say the least poor, and there was very little contact between the magnet and case.
this was a March 1997 build date 80 series from Osaka.

On the issue of water leaks from the roof,(read bold type below first.) the only way to totally rectify this is to remove headlining and interior side trims and leaks can be detected.
I have the 80 series rear interior removed now,one side window leaked,rear tailgate seal requires removal,cleaning and refitting with a quality silicone,once its fitted the onter edge requires an bead of sealant which you can finger down smooth,this prevents water running down and under the seal,which it does if not resealed correctly.
I have also noticed when viewed from the inside rear quater panels the rear tail lights have daylight between the seal and body fitting,so i will have to silicone seal both.
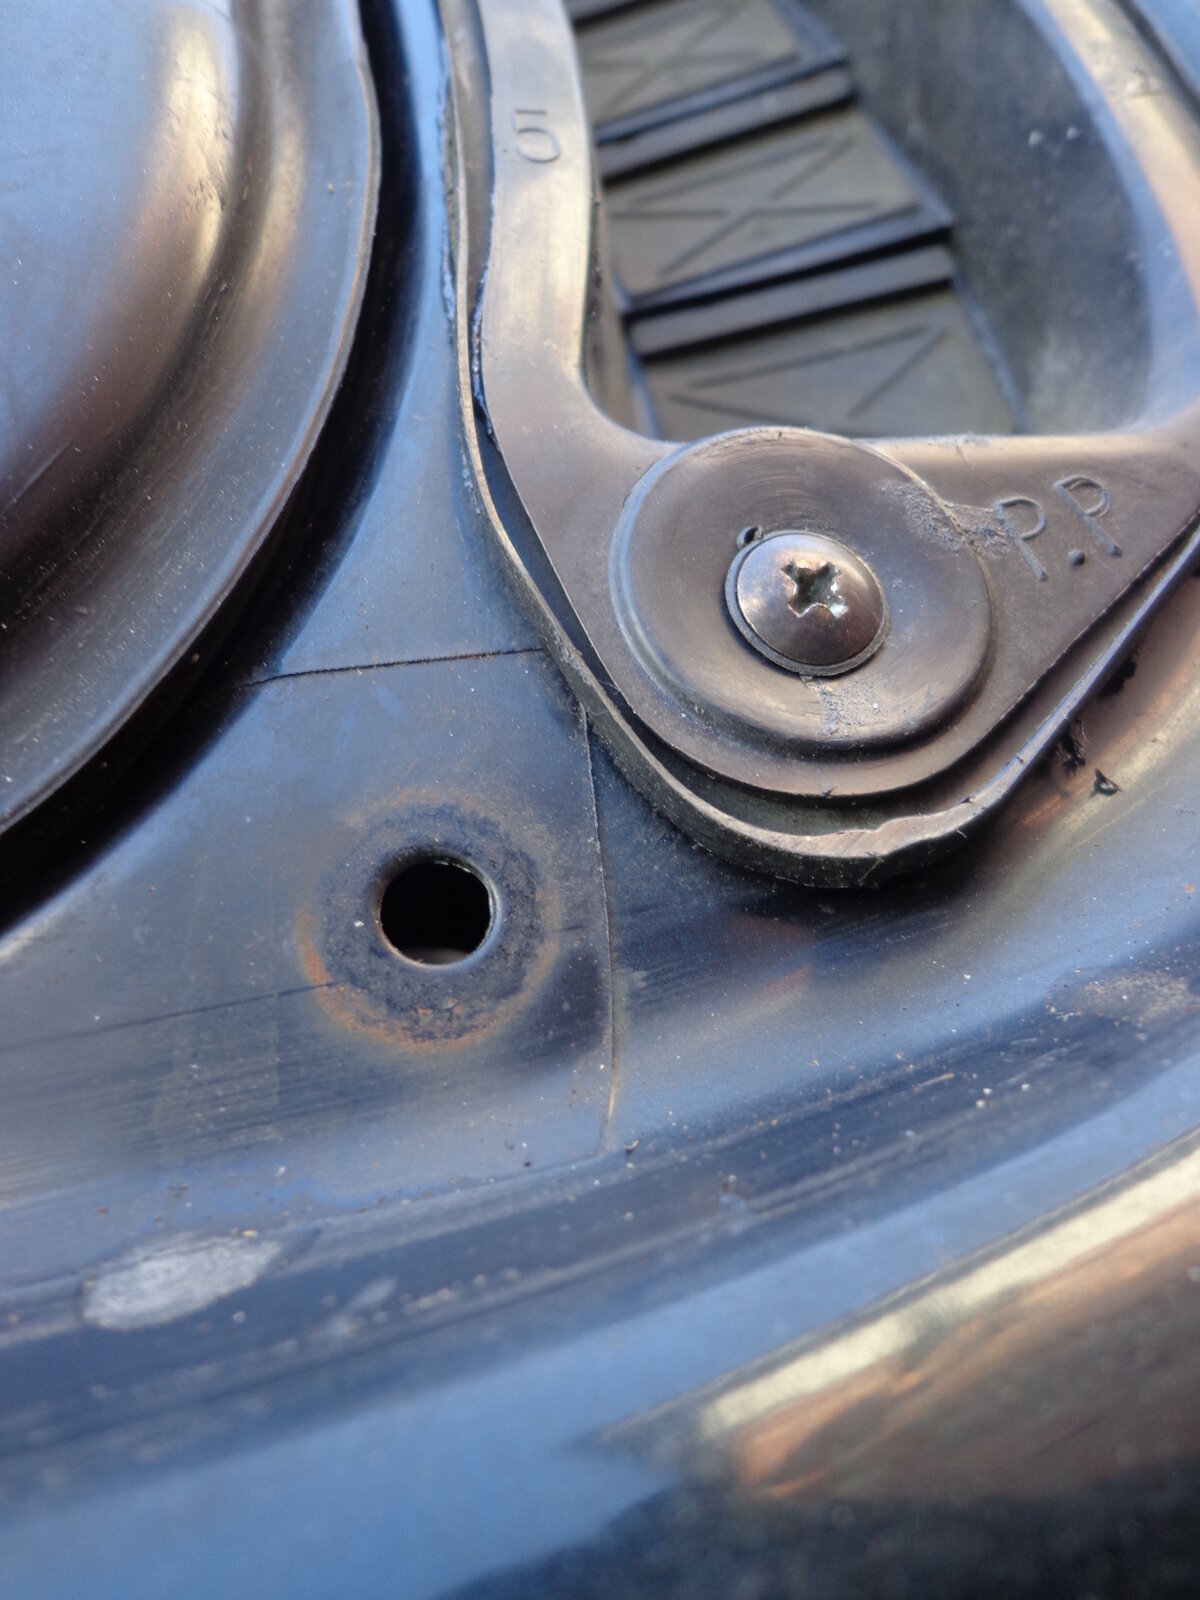
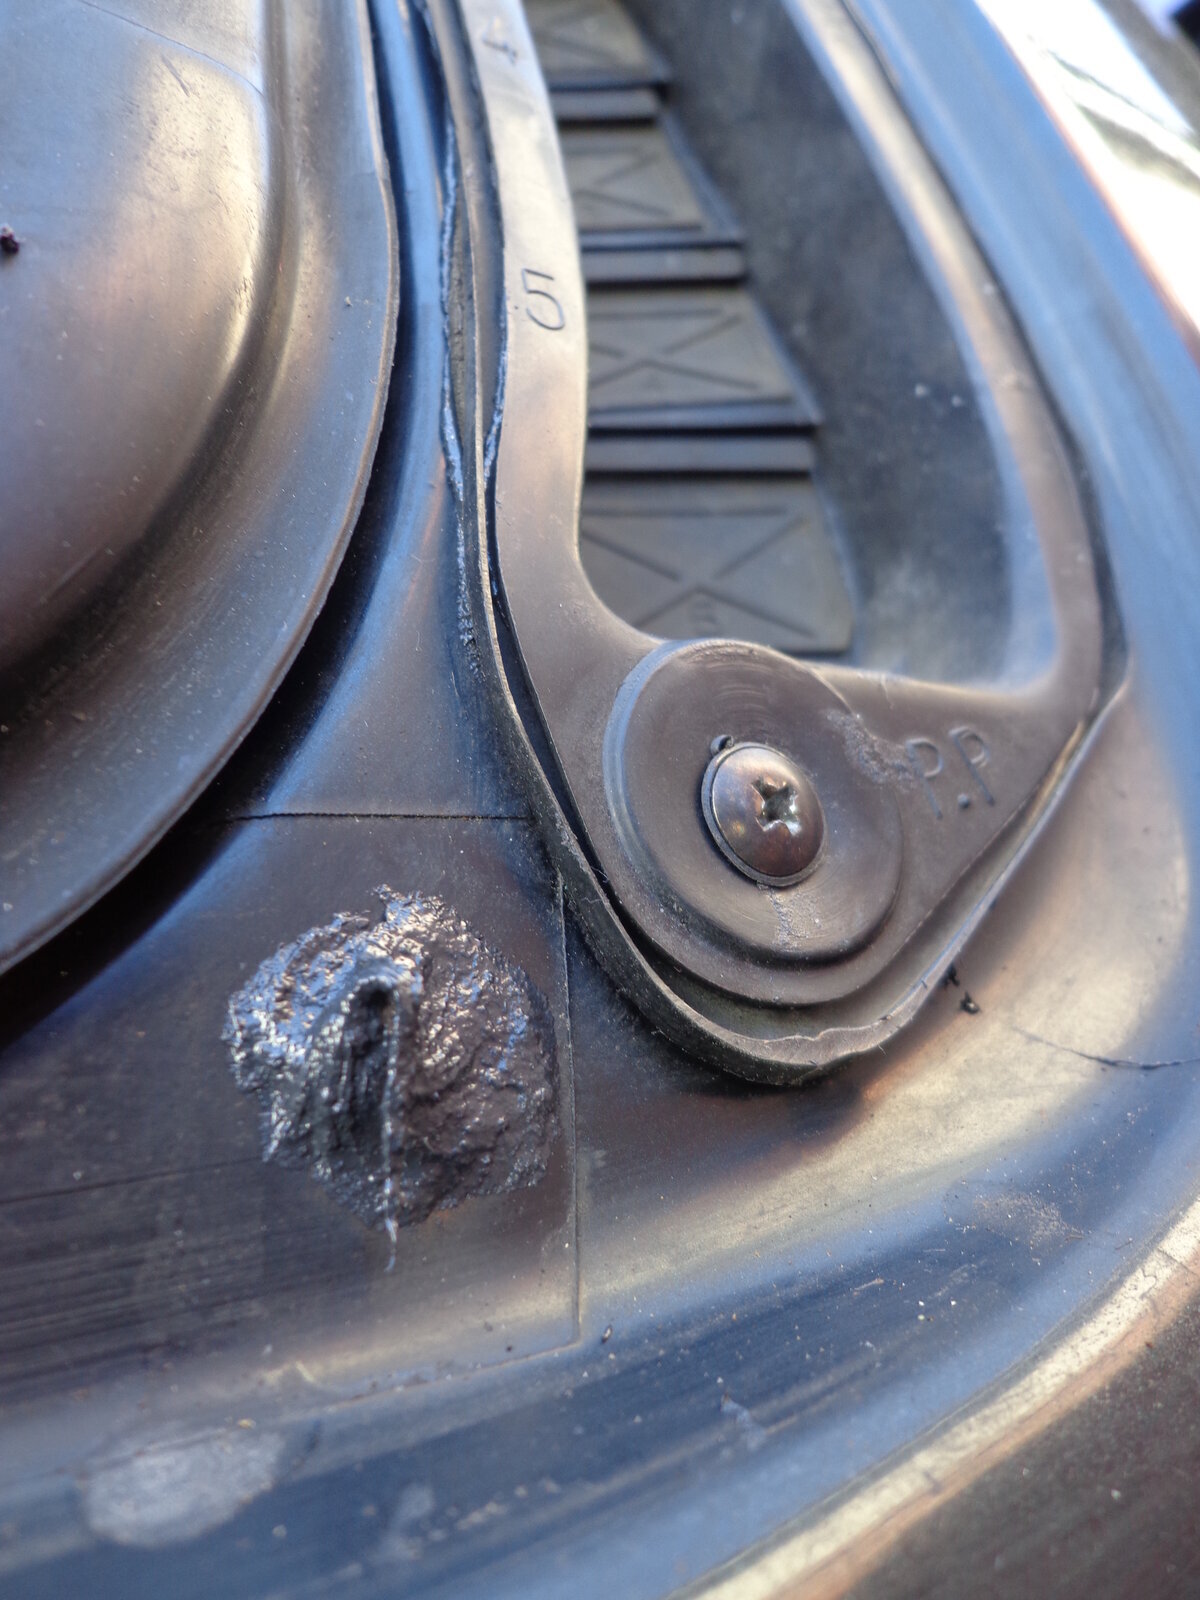
Also the rear arch extension have 6 mounting holes,these will allow water in if the factory seals have been damaged on removed, mine had been butchered by a previous owner/workshop,
use black gutter -roof seal on these,its very messy has a bitumin type appearance but it seals and does not solidify so will allow some movement on the arches without breaking the seal.
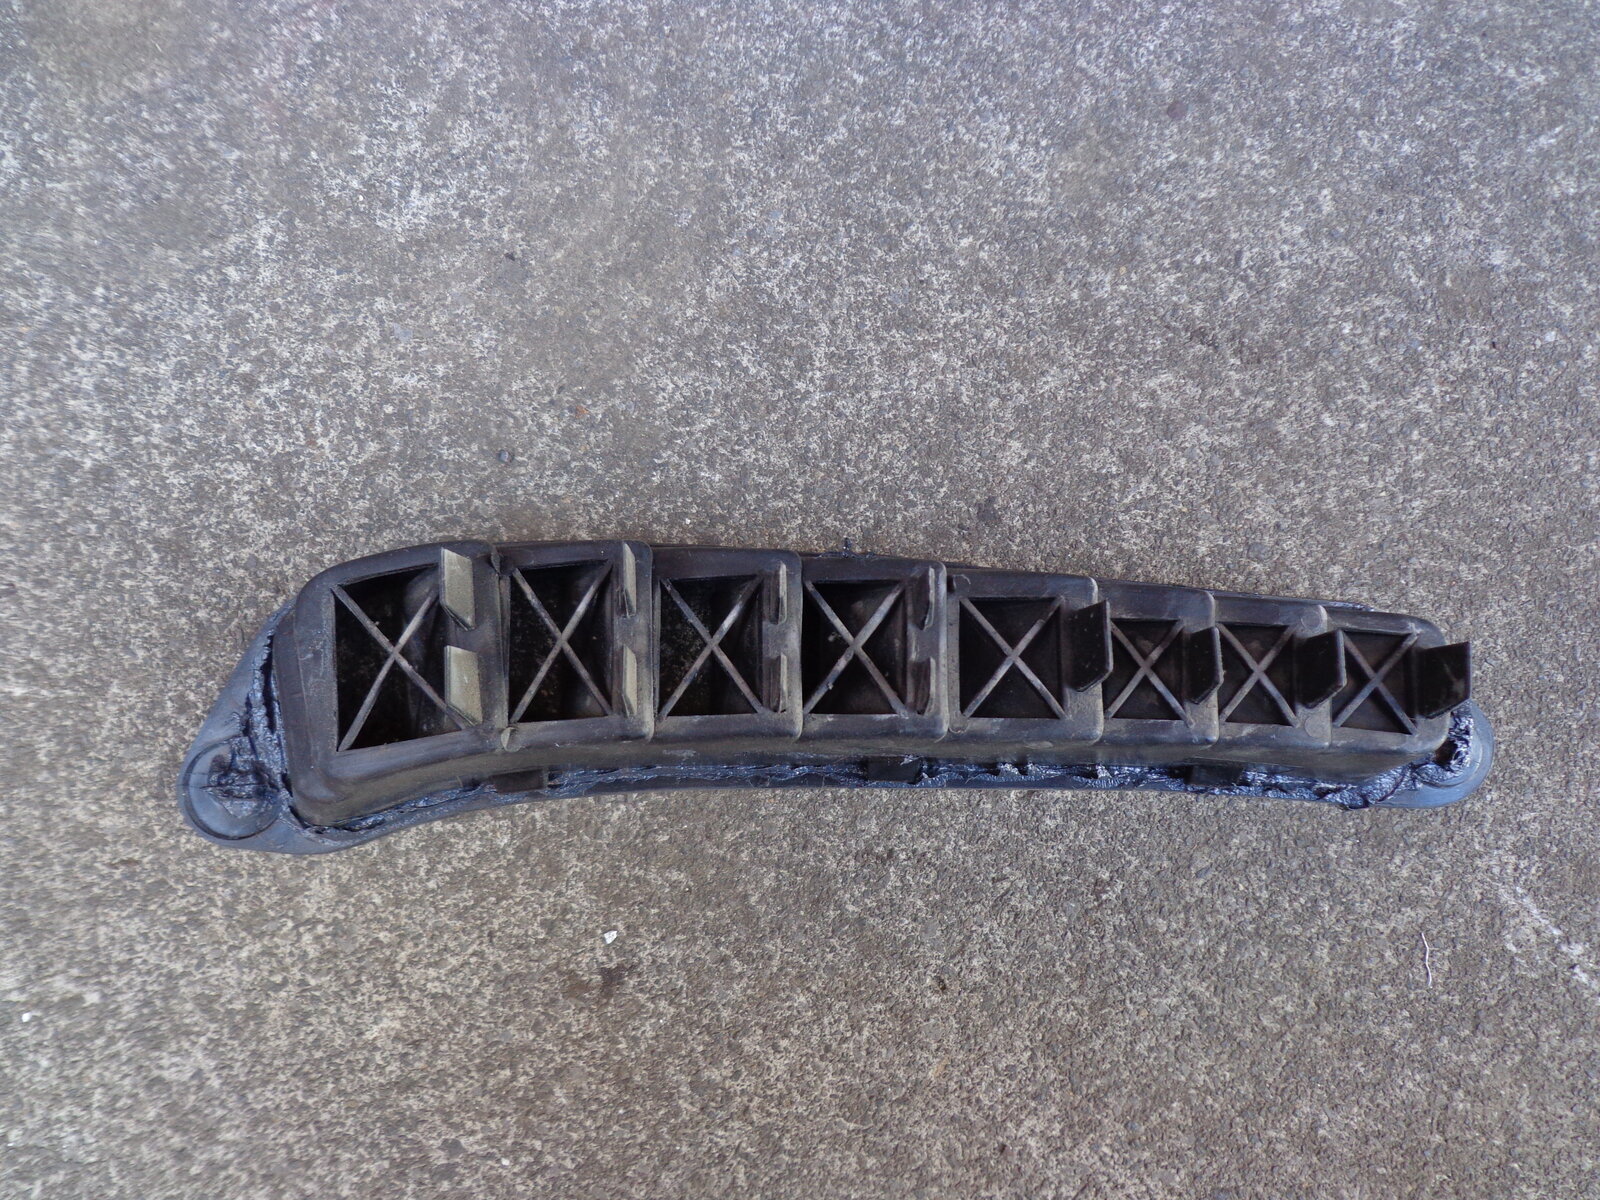
I have used the same technique on the rear window side vents,inner and outer trim panels beaded and all screw fixings.
Any excess sealant is not visable when outer vent trim is fitted.
DSC08765.JPG
below is a test fit verify where the trim fits on the bodywork,it required a fair amount of gutter seal to produce a satisfactory seal.
DSC08762.JPG
before sealantDSC08763.JPGall holes must be filled like this before refitDSC08764.JPG
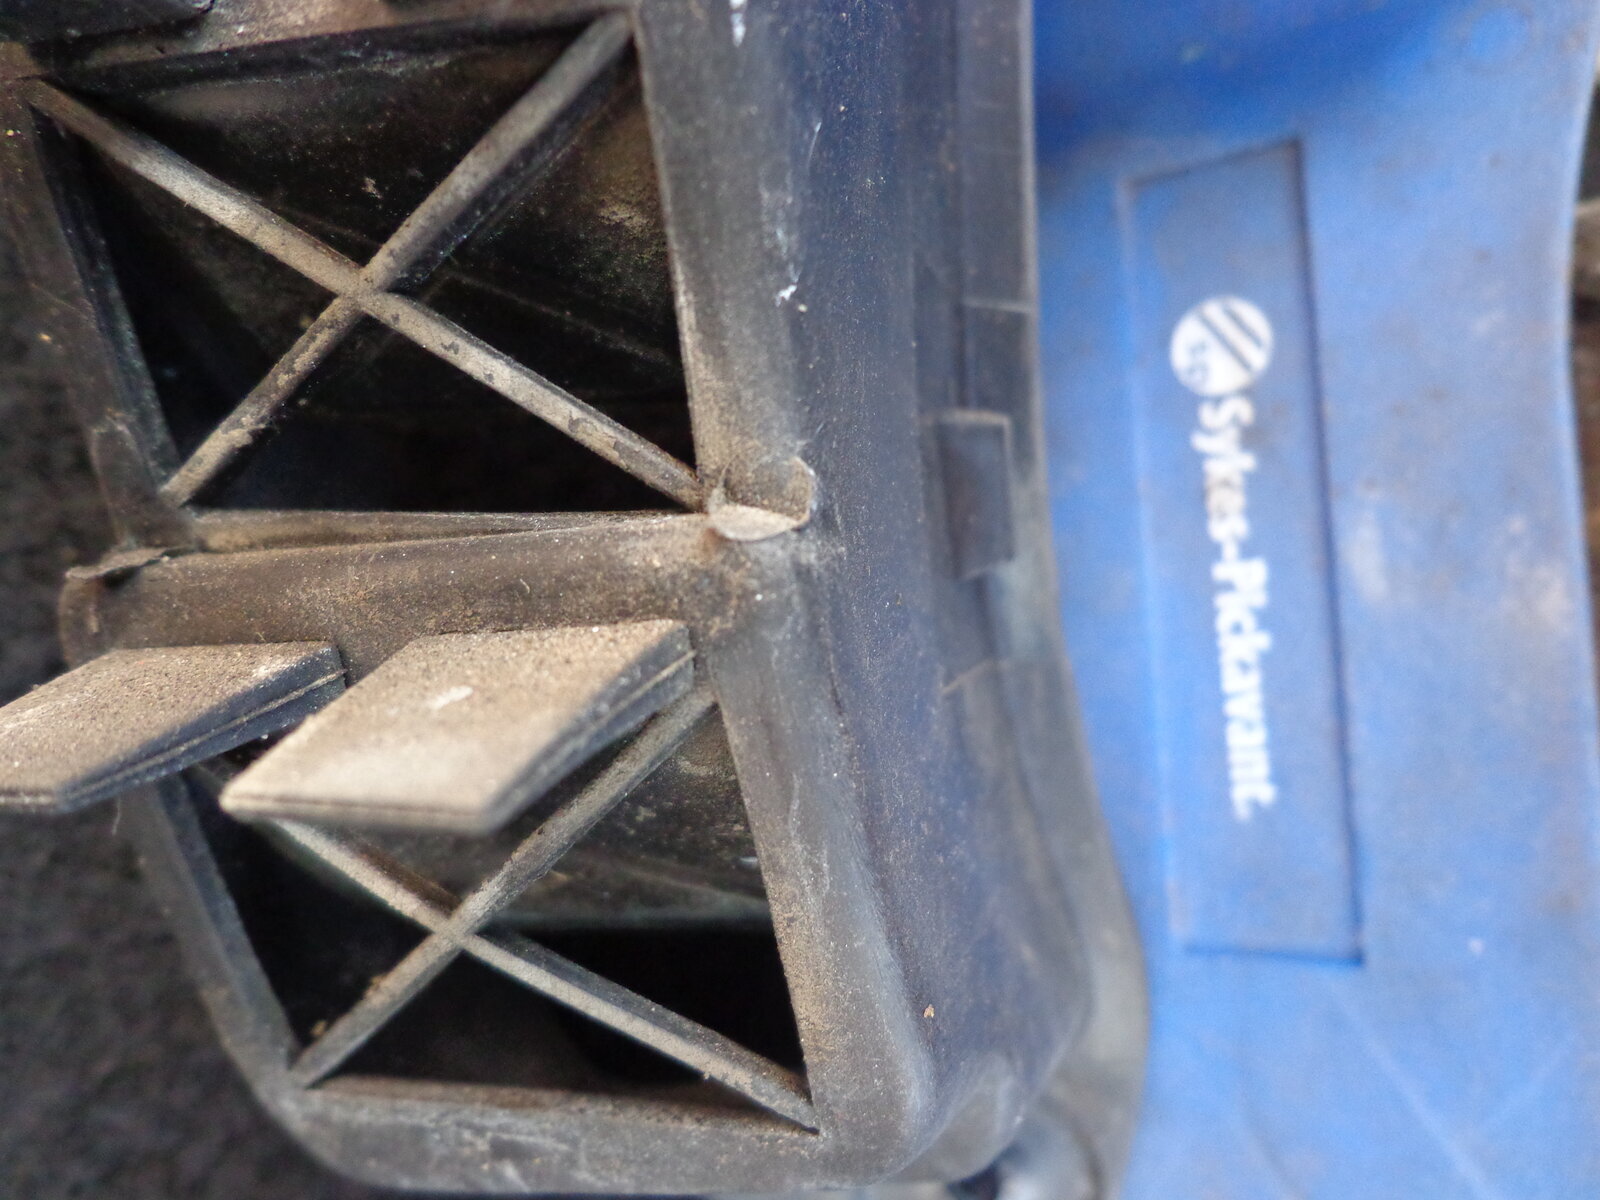
Please note, you do not have to seal the flappy rubber air vents DSC08756.JPGthis flap opens and closes with air pressure DSC08725.JPGon the outer seal,any water entering there will be caught by the inner panel.
any screw that is not fitted with a a quality seal or blobs of gutter seal will allow water to seap in ,over time it can be a rusty pond.
First roof leak check is ... open your sunroof and visually check the drain holes,pour water in the sunroof gutter and the water should exit via the rear quater panel behind the rear wheels next to the plastic side bumper trim.Use very hot water to efficiently flush out the drain pipes.

.
 
Last edited:
Don't like the adverts?  Click here to remove them
Back
Top