Don't like the adverts?  Click here to remove them

80-Series overland build - "keep it simple"

Well, things have slowed up a bit of late on the 80 whilst I wait to get round to having the EFS suspension kit fitted. In the meantime, I've replaced the interior lights with LED versions, tweaked the fuelling a bit (was running a tad rich!) and today picked up a second spare wheel rim for our planned trips (although not sure where it'll be mounted, yet) - thanks to Shane for the wheel! :)


IMG_1648.JPG
 

Attachments

  • IMG_1649.JPG
    IMG_1649.JPG
    438.2 KB · Views: 514
Last edited:
So yesterday the major upgrade for the 80 finally happened, the fitment of the EFS suspension kit from FNB in Australia. The kit consisted of:

2x +50mm EFS linear front springs
2x +50mm EFS progressive rear springs
4x EFS XTR 40mm bore shocks/dampers
2x Polyair airbag helper springs for the rear
1x EFS steering damper

So off I went to Julian @ Overland Cruisers to fit it all, and I'm really glad I did as 5.5 hours later Julian and Atti finally got all the kit on the vehicle! Would have taken me days doing that myself, particularly my first time at doing it too. So, here's some photo's of the work and the finished result:

Up she goes:
IMG_2122.JPG
IMG_2118.JPG

The kit:
IMG_2123.JPG
IMG_2124.JPG

The install:
IMG_2130.JPG
IMG_2138.JPG

Valves for the air springs neatly installed in the rear bumper/cross member in existing holes:
IMG_2131.JPG

Before:
IMG_2116.JPG

After:
IMG_2144.JPG
 
Last edited:
Good to see you have it "up" and running, Mike.

Any comments yet on the difference?

Seeing all your kit there, set out and ready to go on, reminds me of when I had my lift kit fitted, 8 years ago.

Never looked back since, the ability of the truck has been vastly improved, especially when the terrain gets a bit rough.
 
Looks good - hope you're happy with the end result!
 
Thanks guys :) Well, first impression is it is certainly higher than expected! The actual lift is nearer +90mm all round than the +50mm I was expecting; some of that will be due to the sag in the original suspension, but even so it looks/feels pretty high. But the more I see it the more I get used to it :)
 
Don't like the adverts?  Click here to remove them
Think that old suspension was pretty tired really :)
 
Mike we'll need to get another pic together with your 'lift'
 
Think that old suspension was pretty tired really :)

Yeah, you might be right! Have you got a "before" pic of yours? My dampers were actually in pretty good nick, they were OE items but probably not original. Springs were though, and they were definitely sagging.

Mike we'll need to get another pic together with your 'lift'

Yeah, we should! How high is yours lifted, out of interest?

The height is growing on me more, only problem is it's too high for the dog to get in and out so have to lift him in now!!
 
Before and after

uploadfromtaptalk1433878031299.jpg

uploadfromtaptalk1433878069707.jpg

And what came off wasn't standard - height was but capacity was increased.
 
Yeah it yours looks good. Mine's a two inch lift - bought it that way
 
Well, it was high time I tried out the 80's off-road ability and it's new suspension, so I set out for a little trip with my brother in his LR Discovery 3 this weekend, round some local woods that are managed and used by a local off-roading club. Whilst there are plenty of bomb holes to get stuck in, we were more interested in exploring some of the trails and navigating through some of the tight tree-lined routes. So, here's a few shots:

11407044_10155618443665231_4231826099112266971_n.jpg
Landcruiser making the Disco look a bit small!

10156123_10155618449170231_6941350767501288078_n.jpg
10801581_10155618448715231_4235799435768226860_n.jpg
11428061_10155618449015231_1105153411955800710_n.jpg
Letting the Disco lead (as he only had a rear recovery point, so would have to be dragged out backwards if he were to get stuck!)

11351142_10206001794796659_8896594127606002669_n.jpg
OK, time to test it out with one muddy hole!! Of course it handled everything in it's stride, barely noticed any obstacle I pointed it at.

11391308_10155647159185548_527127945508317722_n.jpg
...and of course, a very thorough clean afterwards!! Nice shiny clean chassis, bodywork, etc. - won't be taking it anywhere that muddy again soon, so to keep it rust free it had a very through clean to make sure everything stays rust-free!

Must say, the 80 was very impressive; yes it has decent BFG A/T tyres, but I just stuck it in 2nd gear low range (manual car, centre diff locked) and it just drove over and around everything, be it slippy mud, steep ascents/descents, everything. However, if anything the Discovery 3 was even more impressive as it went pretty much everywhere I did on Pirelli Scorpion road tyres, and only flashed the traction control light once! So both of us had a great day out :)
 
Hey Mike, great report on the 80.
Are you happy with the ride, handling, and off-road response with the set up?
You don't have all your gear on board I take it, RTT etc, but I guess still a little firmer than it will be on the big trip.
Hope its OK for you for now.
Cheers. Chris
 
Hey Mike, great report on the 80.
Are you happy with the ride, handling, and off-road response with the set up?
You don't have all your gear on board I take it, RTT etc, but I guess still a little firmer than it will be on the big trip.
Hope its OK for you for now.
Cheers. Chris

Hi Chris, thanks for the message. Over rutted surfaces at slow speed you could feel it's a pretty stiff setup - I took my old Range Rover Classic round the same route a few years ago and it was definitely a more supple ride, and more comfortable to be honest. However, you could feel the EFS XTR dampers controlling the vehicle very well, so as it drops over a crest, large tree root or whatever there was no wallowing about, and one the areas where I could pick up some speed it felt more controlled than the old RR did. So it's a mixed bag really - still not as comfortable a ride as I was expecting or had hoped for, but the dampers are definitely doing their thing and I will reserve judgement on the springs for when the car is fully loaded up! Might put the RTT on this weekend to see what difference that makes...

Cheers!

Mike
 
Mike I think that you'll notice a difference when loaded up. I had that thought when I put mine on with the vehicle empty. When I loaded it up, it's didn't sag at all, it's just got better and I felt more like I was floating in the spring rather than bouncing along on the top of it.
 
Mike I think that you'll notice a difference when loaded up. I had that thought when I put mine on with the vehicle empty. When I loaded it up, it's didn't sag at all, it's just got better and I felt more like I was floating in the spring rather than bouncing along on the top of it.

OK, thanks Chris, that's good to know! Problem for me is I usually travel with the vehicle unladen, so most of the time it will be quite stiffly sprung. I guess I could build an OTT drawer system to weigh it down a bit!! :)
 
Well I guess in that situation you might have been better going for a softer set up to run as standard then add the air bags for when loaded I didn't add air bags because I specified the springs to run with the weight I knew would be permanently in the truck. I gave Chris at FNB the numbers and he matched the set up perfectly to the vehicle. It's even level!
 
Well I guess in that situation you might have been better going for a softer set up to run as standard then add the air bags for when loaded I didn't add air bags because I specified the springs to run with the weight I knew would be permanently in the truck. I gave Chris at FNB the numbers and he matched the set up perfectly to the vehicle. It's even level!

That's what I was aiming for, apparently these are the softest rated springs so will just try and add some weight to the vehicle!
 
Took another few steps to getting the 80 ready for our trip to Hungary, Montenegro, Serbia, Bosnia and Croatia later in the year. Fitted the awning several weeks back, so now it was the turn for our Maggiolina Safari RTT to go on. Mounted straight on the three OE Toyota crossbars with no problems, nice and secure:

IMG_2360.JPG
IMG_2363.JPG

Also picked up an excellent lightweight aluminium folding table from Aldi for £20 the other week, looks like a reasonable bit of kit! And then started laying out all the equipment in the back to plan my storage system, which I'm currently working on.

In the meantime, my favourite photo so far - whether the adventure is on 2 wheels or 4, I'm feeling ready to tackle either with this pair! :)
IMG_2368.JPG
 
Last edited:
So the last few nights I have been working on the storage system for the back of the car. Originally my plan was to build in two equal sized drawers, but as I thought about it more this became less appealing as much of the stuff I want to carry low down would not fit, and the additional weight and cost of the actual drawers and slides served no real benefit, plus you lose valuable width internally.

So, in keeping with my "keep it simple" moto I have built a fairly simple storage unit that is split in two, but offset to house the equipment I wanted to include. This has also been designed so it will fit in both my 80-Series and my brother's LR Discovery 3, which added an extra challenge to it all!

So first, the layout in scraps of MDF:
IMG_2373.JPG

The unit is designed to hold: folding camping (dining) table, smaller food preparation table, large socket set, toolbox, torx set, two-ring gas hob, spare single gas hob, TMAX air compressor and the winding handle for the Maggiolina rooftent. It will also be used to help hold a 20L jerry can and small gas cylinder in place down one side of the unit. Once I had found a neat way of dividing this all up, I then set about final construction, starting with a 2440mm x 1220mm sheet of 18mm construction plywood:
IMG_2436.JPG

For the lid, I decided to hinge it so if there's nothing on top of the unit you can easily reach the stuff stored at the back of the unit without removing all the stuff at the front:
IMG_2444.JPG

I also hinged the front flap, added two magnetic catches to hold it in place and a smart looking handle to open and close it:
IMG_2445.JPG
IMG_2447.JPG

I did trial fit a pair of old upper tailgate gas struts to the lid, to hold it in the "up" position but they were just trying to tear the unit apart - too tired to hold a Landcruiser boot open, but still strong enough to bend 18mm plywood no problem! So have ditched that idea for the time being, but may come back to that at a later date.

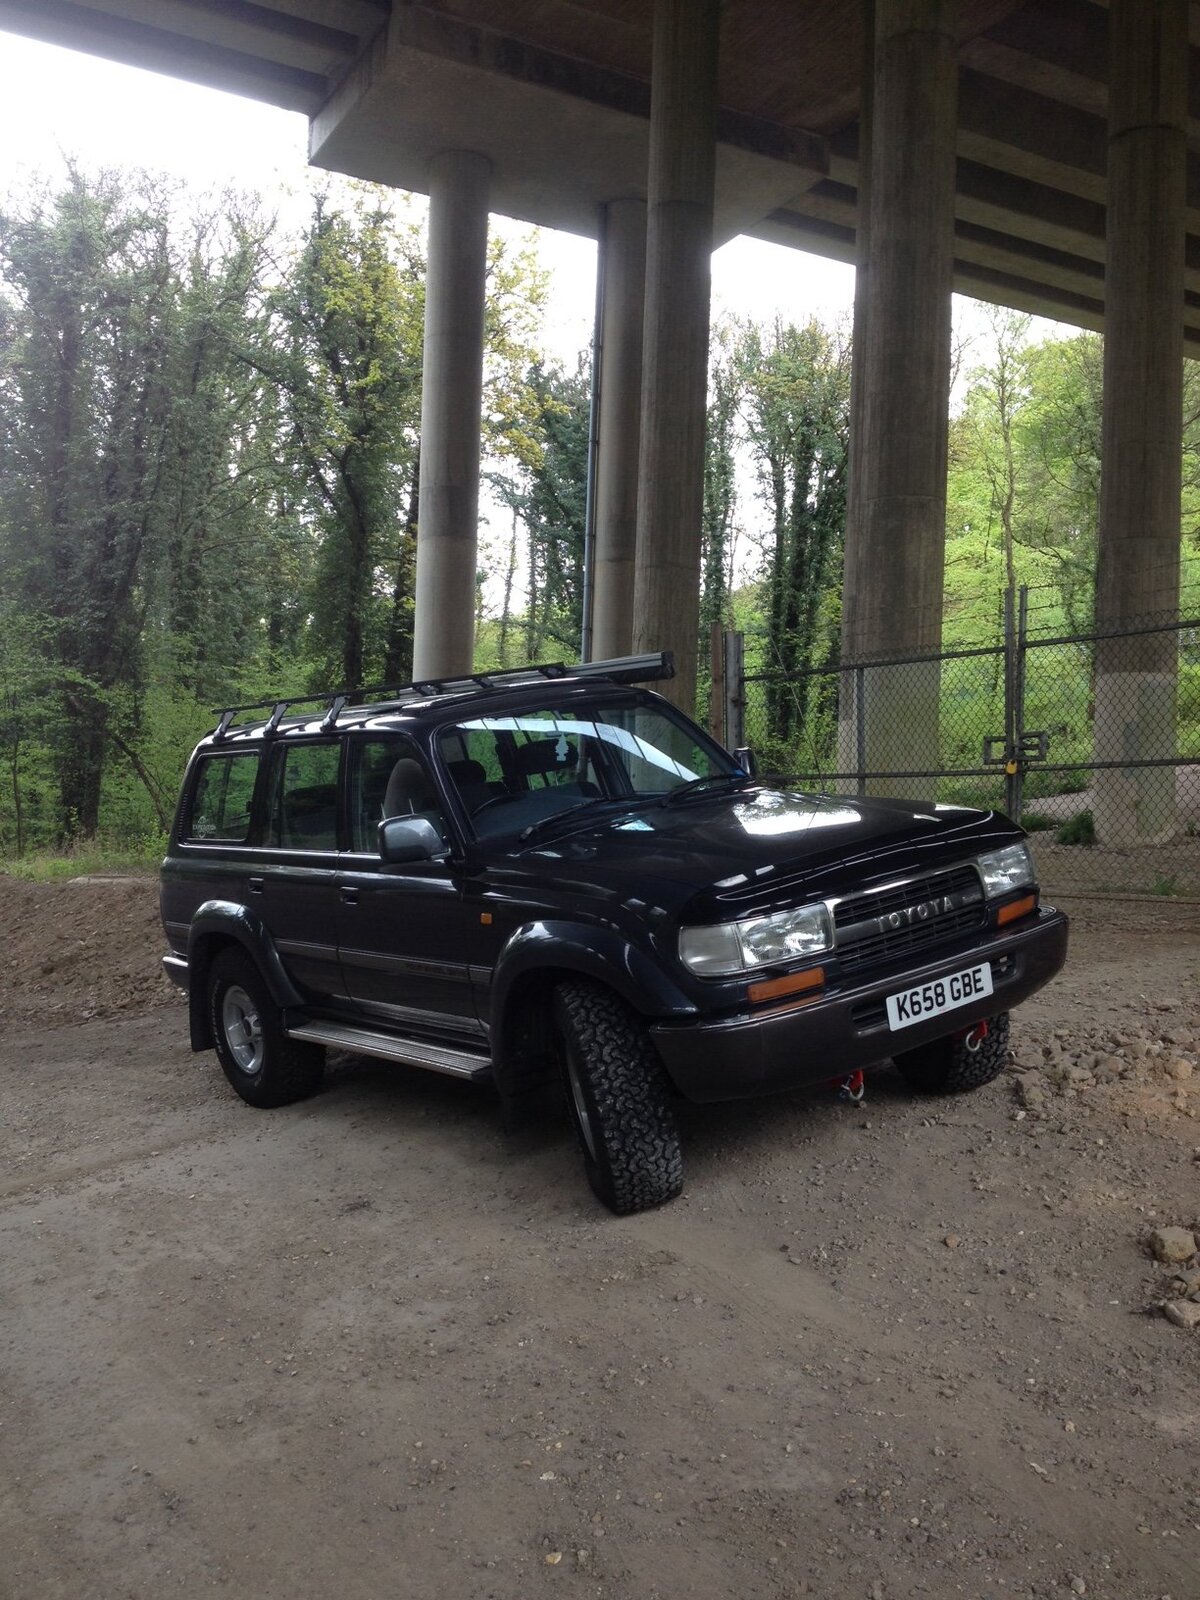
Last thing to do was load the unit into the Landcruiser (it's surprisingly light, empty) and then fill it with all the gear:
IMG_2448.JPG
IMG_2449.JPG
IMG_2450.JPG

The final thing will then be to carpet it and fit some tie down points, so when I put the wolf boxes on top I can strap them in place with an extra large cargo net or ratchet straps. The fridge fits neatly between the back of the unit and the rear seats (when tipped forward), holding it nicely in place and allowing access through the rear passenger door, under the awning. For now I have chucked a spare boot carpet on top, and it's pretty much unnoticeable unless you're looking specifically for it!
IMG_2451.JPG

Pretty pleased with the outcome, does exactly what I want and cost less than £70 for all the materials so far, should still be under £100 once carpeted I reckon!

What next for the 80? CB radio install!
 
Back
Top