
When removing the valve body from an A442F that has been in situ for a long time there's a pretty good chance you won't get the valve body out with the gasket intact because it sticks to the gearbox. Even if you're very very careful it can still end up tearing. I'm working my way through a rebuild of Ray's dead A442F gearbox and thought I'd document splitting the valve body to replace the gaskets. It was also a good chance to check that there was no debris from when the clutch plates disintegrated hiding in there.
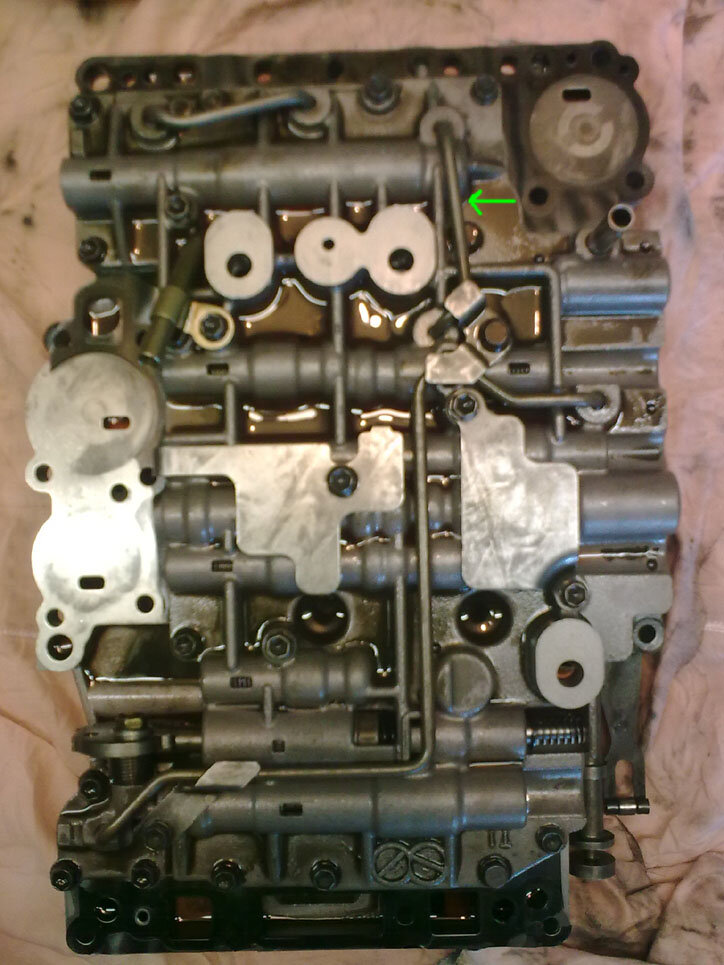
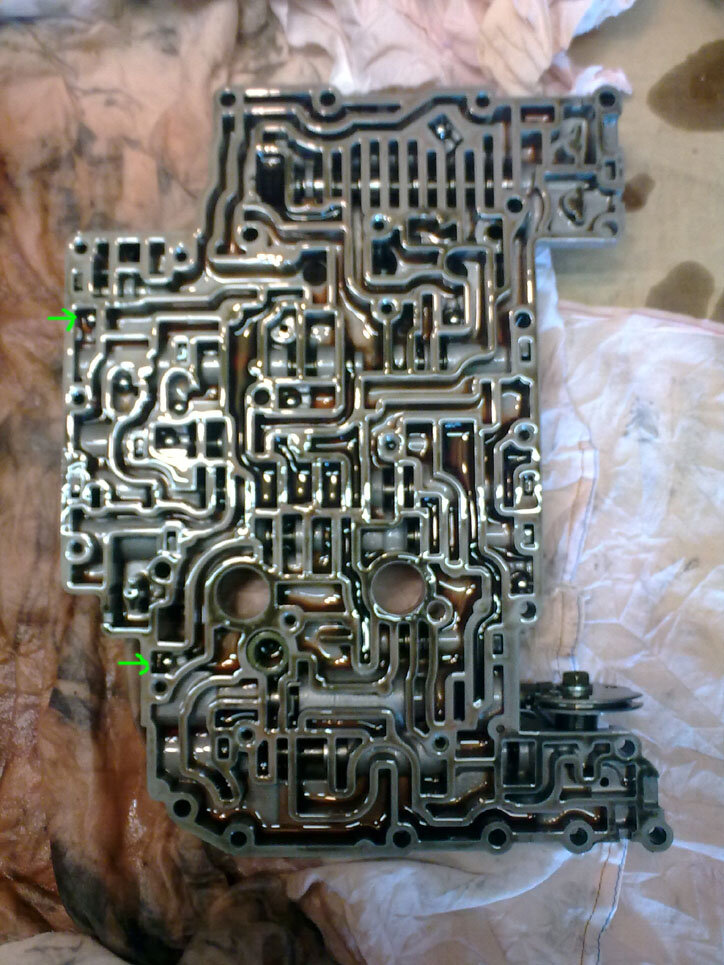
This is the top side of the valve body that mates with the gearbox. The green arrow shows a pipe that covers one of the bolts you'll be needing to remove. Just remove the plate you see covering part of the pipe and then gently lever the pipe out. I also have a valve body here that has that pipe longer and bent around the bolt so it can still be removed with the pipe in place.

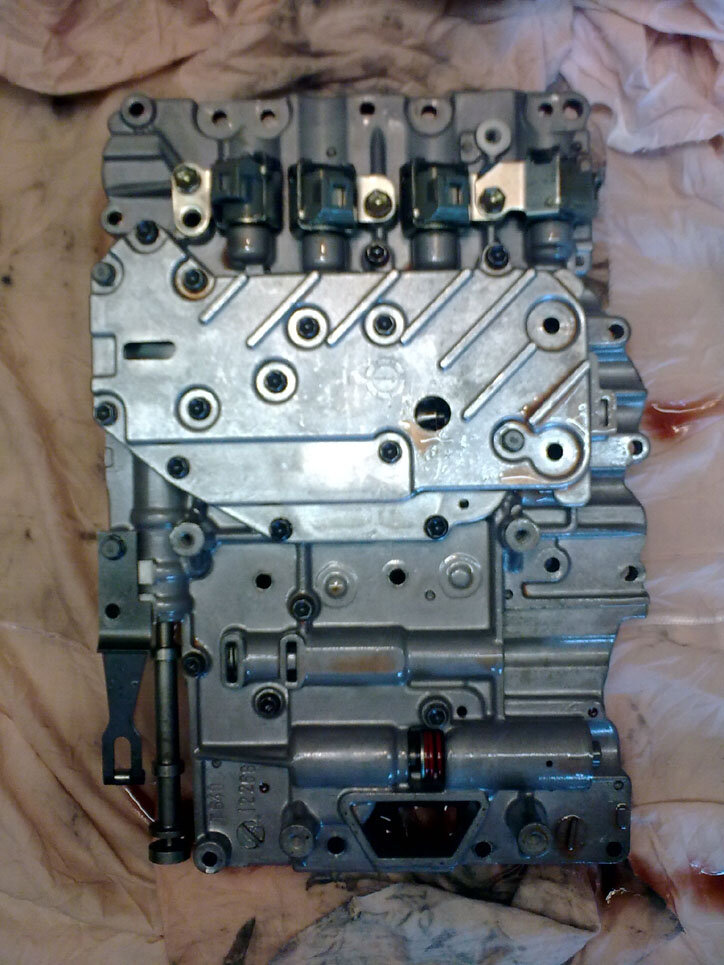
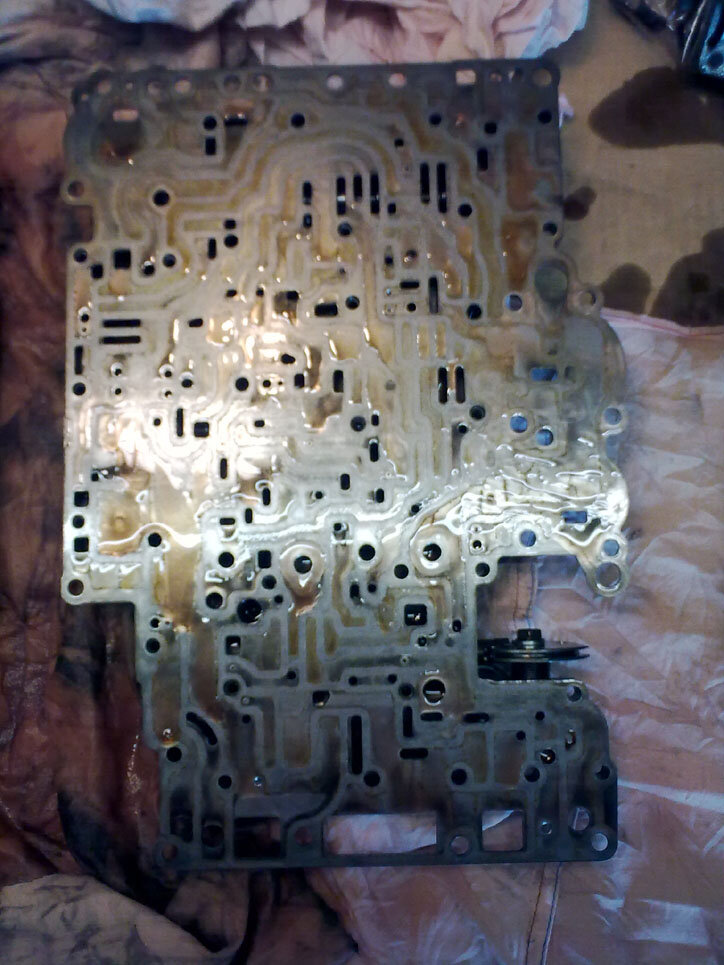
This is the underside of the valve body and is what you see if you take the oil pan off:

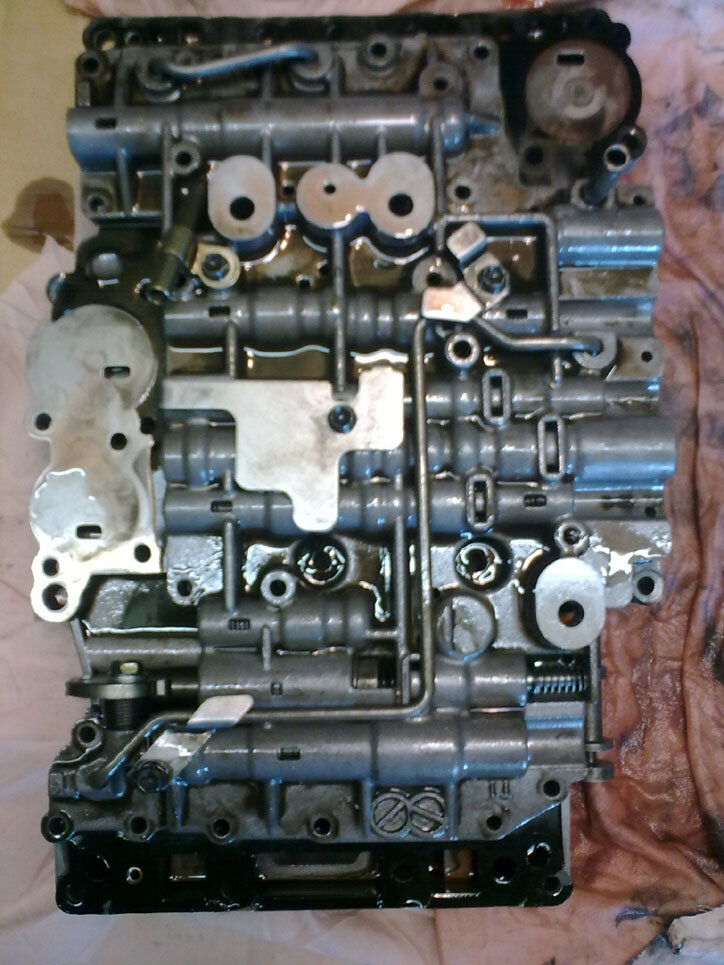
Remove the 8mm headed bolts till it looks like this (not all bolts are removed):

Then turn it over and remove 8mm headed bolts till it looks like this:

Now you need to be careful if you don't want to make this much harder than it needs to be! Between the two main parts of the valve body is a metal plate with a gasket each side. With the valve body orientated as in the above picture, lift the metal plate up with the upper valve body on it. The plate will stop the loose parts of the upper valve body falling out. Then carefuly hold the plate against the valve body while you flip it over and put it down.
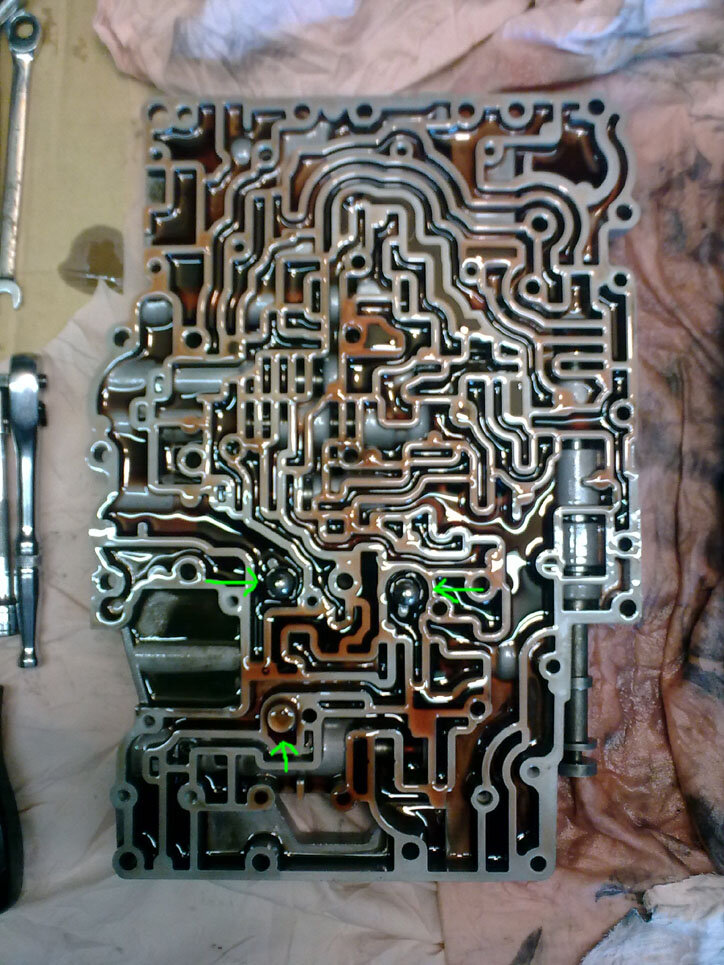
This is the inside of the lower valve body which has a couple of loose parts to fall out:

This is the upper valve body flipped with the plate still on top and the old gasket removed.

This is inside the upper valve body which has lots of little ball bearings waiting to fall out if you're not careful:

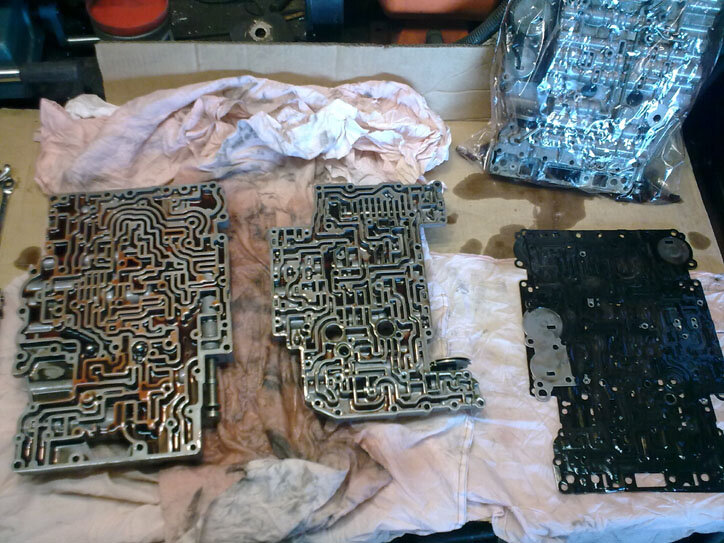
All together:

Then you just clean up the parts, pop the new gaskets on and put it all back together. You have to be careful when lining up the plate and two gaskets not to lose anything. There are several different lengths of bolts used. The gearbox FSM does document the lengths if you get stuck but I just put them down in the order they came out and then reversed that to put them back.
Next installment for the A442F threads should be rebuilding the main part of the gearbox.
This is the top side of the valve body that mates with the gearbox. The green arrow shows a pipe that covers one of the bolts you'll be needing to remove. Just remove the plate you see covering part of the pipe and then gently lever the pipe out. I also have a valve body here that has that pipe longer and bent around the bolt so it can still be removed with the pipe in place.
This is the underside of the valve body and is what you see if you take the oil pan off:
Remove the 8mm headed bolts till it looks like this (not all bolts are removed):
Then turn it over and remove 8mm headed bolts till it looks like this:
Now you need to be careful if you don't want to make this much harder than it needs to be! Between the two main parts of the valve body is a metal plate with a gasket each side. With the valve body orientated as in the above picture, lift the metal plate up with the upper valve body on it. The plate will stop the loose parts of the upper valve body falling out. Then carefuly hold the plate against the valve body while you flip it over and put it down.
This is the inside of the lower valve body which has a couple of loose parts to fall out:
This is the upper valve body flipped with the plate still on top and the old gasket removed.
This is inside the upper valve body which has lots of little ball bearings waiting to fall out if you're not careful:
All together:
Then you just clean up the parts, pop the new gaskets on and put it all back together. You have to be careful when lining up the plate and two gaskets not to lose anything. There are several different lengths of bolts used. The gearbox FSM does document the lengths if you get stuck but I just put them down in the order they came out and then reversed that to put them back.
Next installment for the A442F threads should be rebuilding the main part of the gearbox.


 .
.
