Don't like the adverts?  Click here to remove them

Baselining My 80 / Overland Build

With animals (and that's an insult to an animal BTW) like that around, I feel justified in my dogged attempts to maintain my truck myself. It makes all the work and swearing worth while.

Quite right. The thing is, we care and want to do the job right, so we research, do and learn from the experience. We have more in our toolbox than a BFH and a computer.
 
Mark, that is absolutely outrageous, that supposed experienced mechanics in a dealership would do that.
I am stunned. :icon-eek:
 
That was a Toyota dealership that did that!!!!!!! [emoji33] I would like to be a fly on the wall with those 'discussions'…I would think at least the cost of parts and the cost for a (UK) mechanic to fit them (not that you'll be letting one anywhere near your truck) if not compensation as well of some sort.
 
Last edited:
Mark, that is absolutely outrageous, that supposed experienced mechanics in a dealership would do that.
I am stunned. :icon-eek:

yes, and what makes it worse is I made a decision to get the job done properly by Toyota, travelled 50 miles to the nearest big dealer and ultimately find that a low brow Neanderthal had been specially dug up and resuscitated just to work on my effin car ....... Aaarrrggghhhh ...... :angry-screaming:

Pills, pills .....where's me pills ....
 
"Low brow Neanderthal...." :lol: ....at least you can still be a little light-hearted about it all.
 
Don't like the adverts?  Click here to remove them
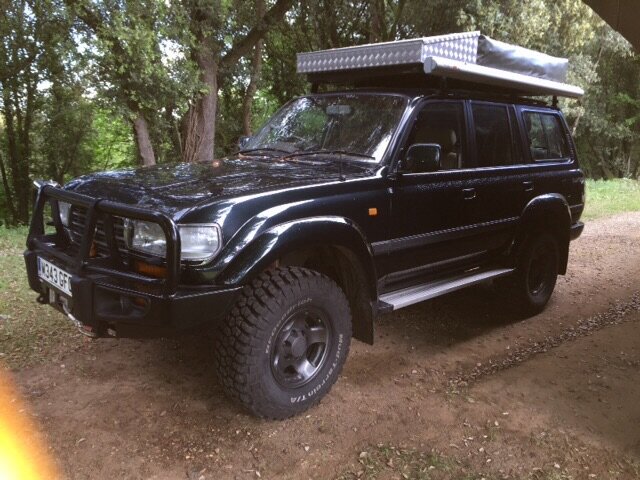
I've been hankering after a space to put some jerry cans and my waffle boards. I didn't really want a rear swing away bumper so I hatched a plan to put them on the roof. Currently there's no space ......

image.jpg

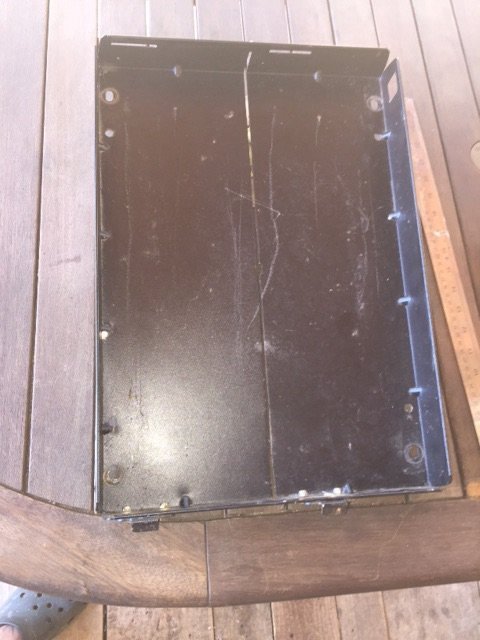
I needed 16cm, so I moved the tent and box a smidgen and took my old Fromt Runner double jerry can holder and cut it in two ready to lay the two bits end to end .....

image.jpg

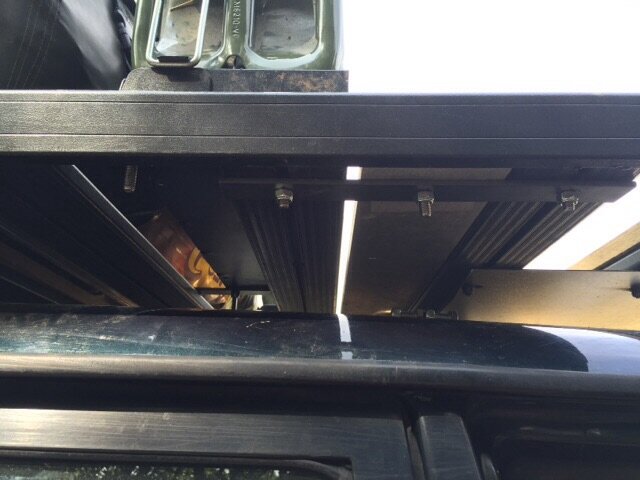
But where I had to mount it meant there was only one row of fixing points which leave it likely to wobble about, so I bridged two of the rack bars and bolted the two platforms to that ......

image.jpg

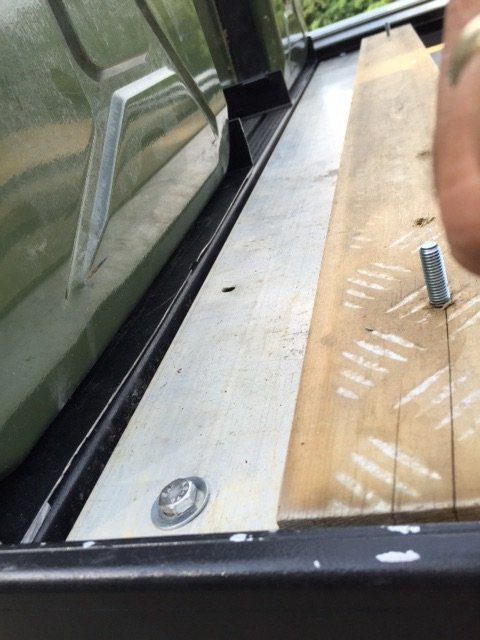
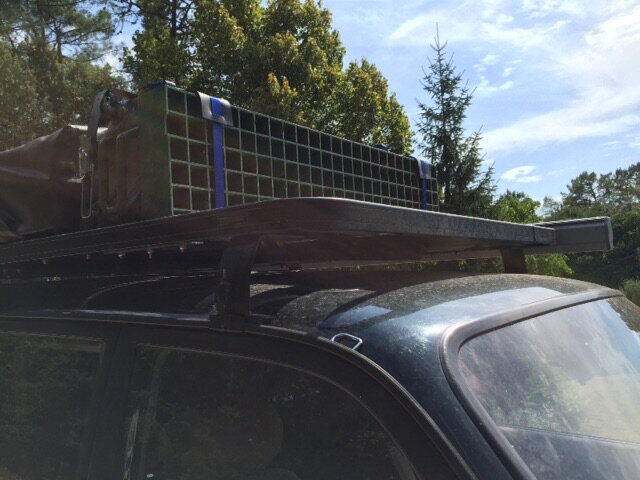
Nice and rigid now. Next, I needed a platform to slide the waffle boards on instead of grazing up the roof as they slid, so I found an older builders straight edge which filled the gap, cut it to length and bridged the gap between two rack bars from underneath to lower the overall height.....

image.jpg

image.jpg

Then I got some straps and some 6mm rubber sheet and cut so it slipped on the strap and went between the waffles and cans so it didn't creak and scrape and also to stop chaffing on the corner. Net effect was a very rigid structure......

image.jpg

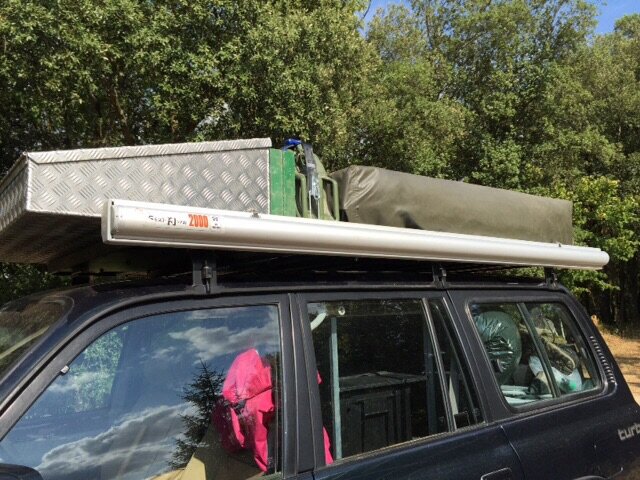
Then I bolted up the roof box again but in its new position. I'm pretty happy with the result. It's all tidy and easily accessible. I did think once or twice about the box overhang, but it's only just above the windscreen rubber and it's pretty solid up there too.....

image.jpg

Next up, LHD headlights, inverter and custom table for the tailgate, oh, and fix my front diff lock which has been refusing to work when on the car.
 
Last edited:
At last, I have found some time to fit the solar panel and the hi-lift jack. What with all the options for panels and charge controllers, I eventually went for a kit from the sunstore containing a mono crystalline 80w panel, charge controller and all the gubbins needed to fit it. It put ticks in the all the right boxes: power, size, weight, durability and price.

When not in use, it will be stored in the car. As it won't be being used when in motion I decided to put on the lid of the roof box and let gravity and two locating bolts keep it in place. You can just see them in front of the box. You just lift the front edge up and lower it over the bolts to locate it.
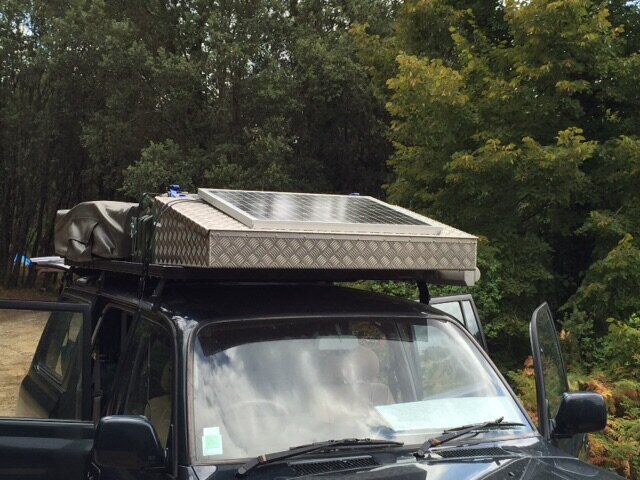
image.jpg

i decided to mount the panel on the wall behind the front seats....
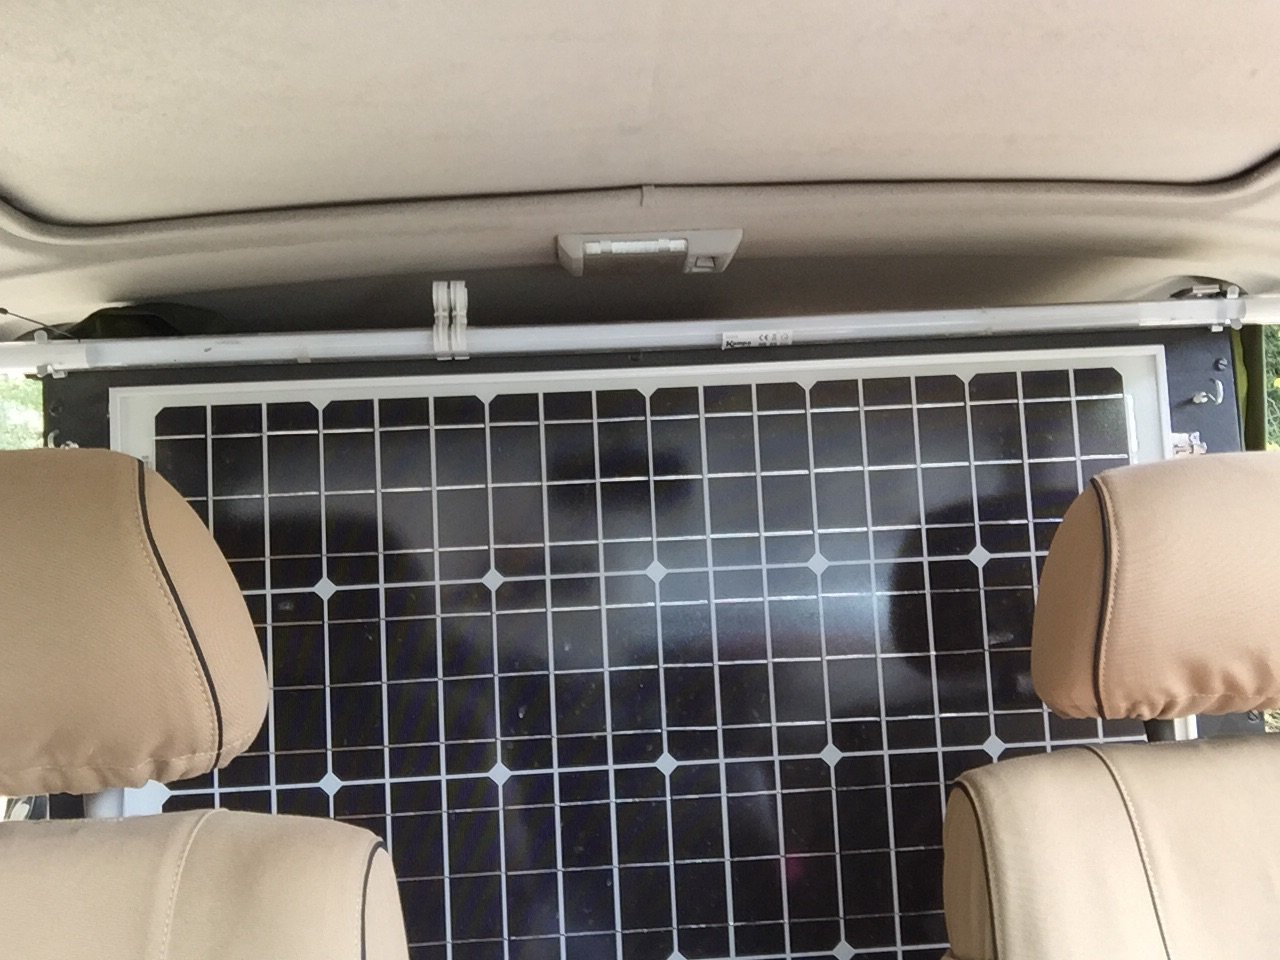
image.jpg

It sits on a couple of feet and is secured by door bolts which compress it against rubber pads to stop rattling. All the wiring neatly stores behind the panel itself as there is a 25mm void created by the aluminium surround and the glass being bonded to the front edge. ...
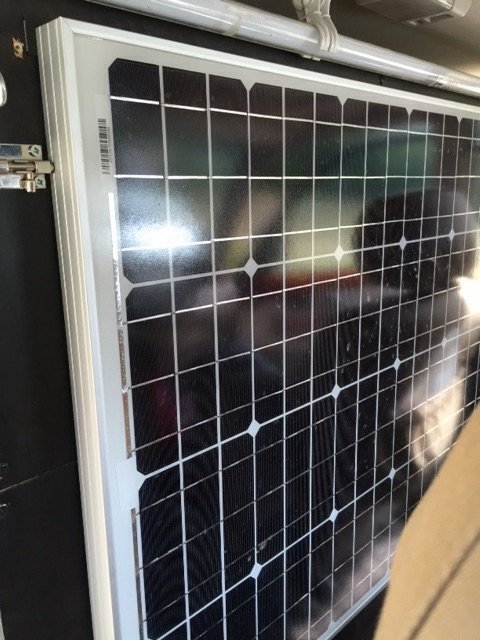
image.jpg

I mounted the the charge controller under the invertor in the cubby hole for the tank, battery, pump etc ......
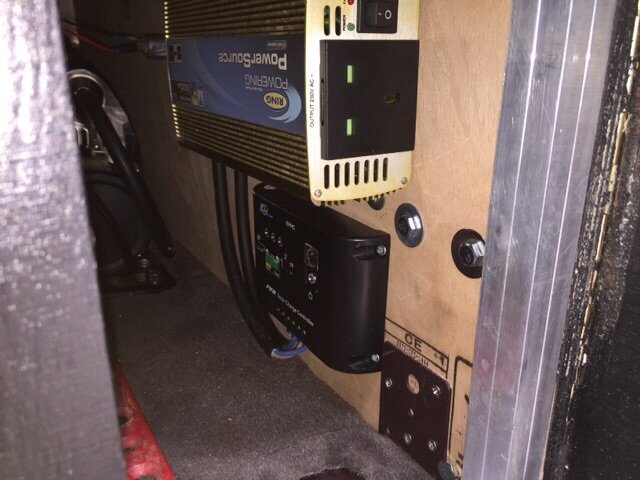
image.jpg

Its a a nice simple bit of kit which tells you via coloured lights whether it is charging, what level the battery is etc.....
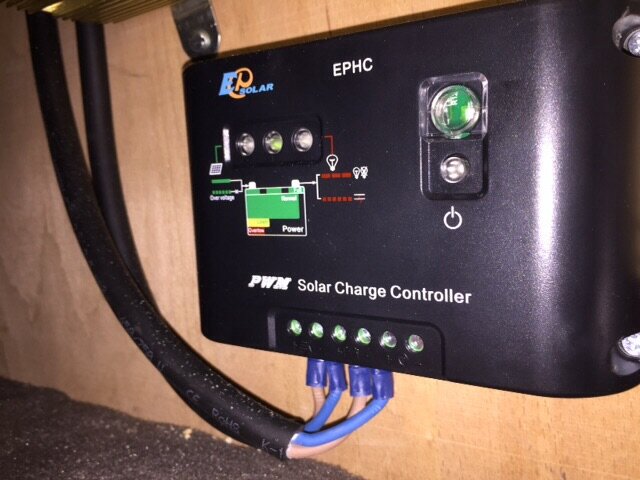
image.jpg

I also chose the same area to mount the hi-lift. It was a bit of a squeeze and I have to take the foot off, but it fits just right ......
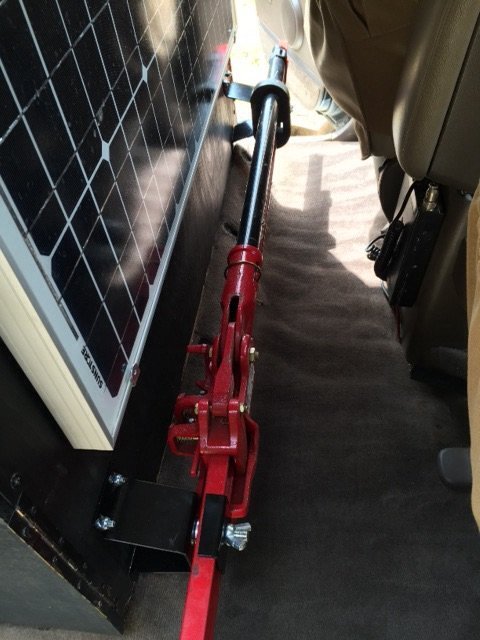
image.jpg

I received the new hub and a few other bits from Toyota the other day so I can rebuild the wheel and put it back on the road.

Still got a long list of jobs to do over the next few weeks to get ready for our slow tour through Southern France, Andorra, Spain and Morocco starting in September for about 12 weeks. We are busy plotting routes but if anyone has any for Spain they would be willing to share, they'd be much appreciated.
 
Good work with the solar panel, ours has been working well

Try wikiloc website for routes


Sent from my iPad using Tapatalk
 
Glad you like it, Mark.
I didn't drive this one yet, but last year we drove the transpyreneenne which was very relax and enjoyable.
 
Inspired by this post and the oil leak I had, I set about refurbishing my steering pump. The FSM is pretty instructive as well, but photos really help more.

My first problem was getting the 12 point nut off the gear. It was done up really tight and even with a long bar, I couldn't shift it. I succeeded though with a leccy impact driver. Then, I bent the gear puller and 3 teeth on the gear itself trying to get it off, so I'm starting to wonder whether someone has been in there before me, particularly as I noticed that the bearing wasn't running smoothly. Anyway, a trip to a mate who had a press got it off with quite a bit of pressure.

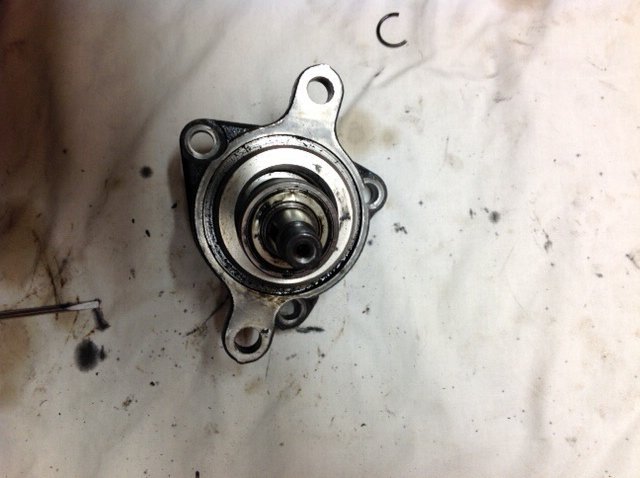
I stripped it down and found the reason the bearing wasn't running smooth .....
image.jpg

... Someone has beaten in the bearing shield, probably trying to get the circlip in/out.

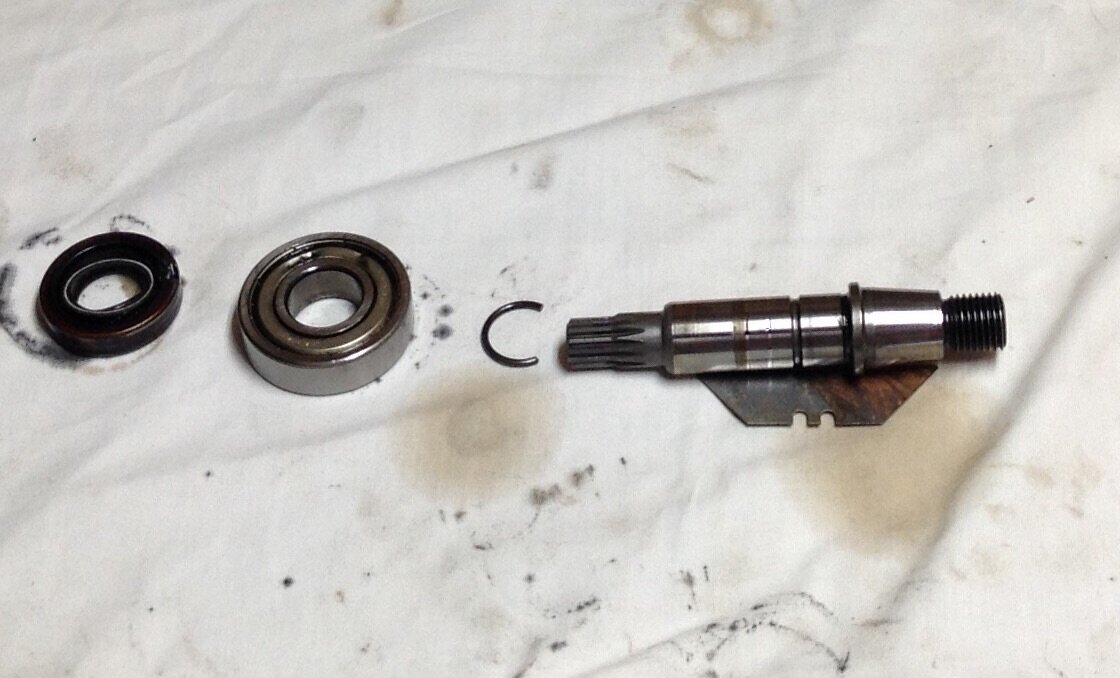
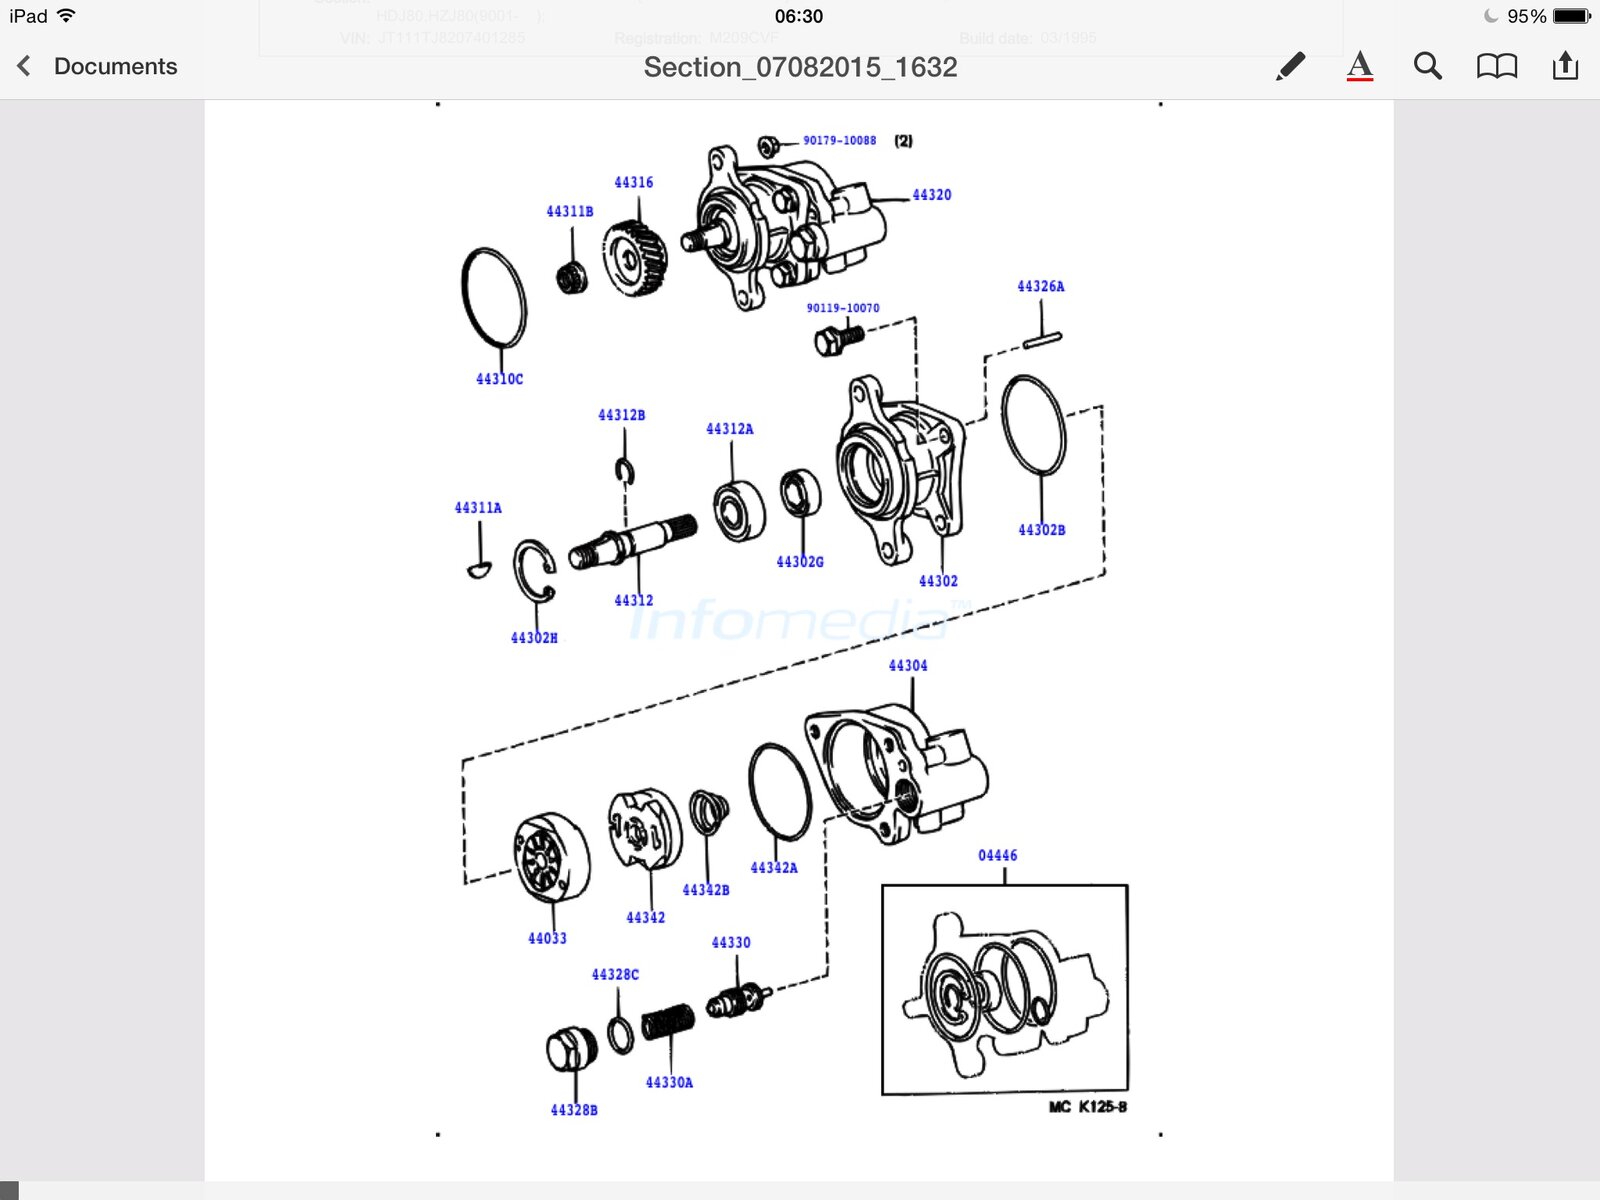
I had already bought a seal kit but also had to get a new bearing and shaft as mine had been rebuilt once before, evidenced by two very pronounced oil seal wear grooves .....

image.jpg

This is diagram may help with seal locations, particularly as one is not found unless you take the pressure plate out, which 44342 on the pic....

image.jpg

Rebuilt it and refitted it per the FSM and it works perfectly, no leaks and all seals in the kit used.
 
Then I returned to my long standing problem of why my front locker works on the bench but not on the car.

I did some tests per the FSM and initially though it was the 4WD Control Unit as the locker would move a little sometimes but not much and I couldn't figure out why. So, got a replacement control unit from Karl (thanks Karl :thumbup:) fitted it and no joy.

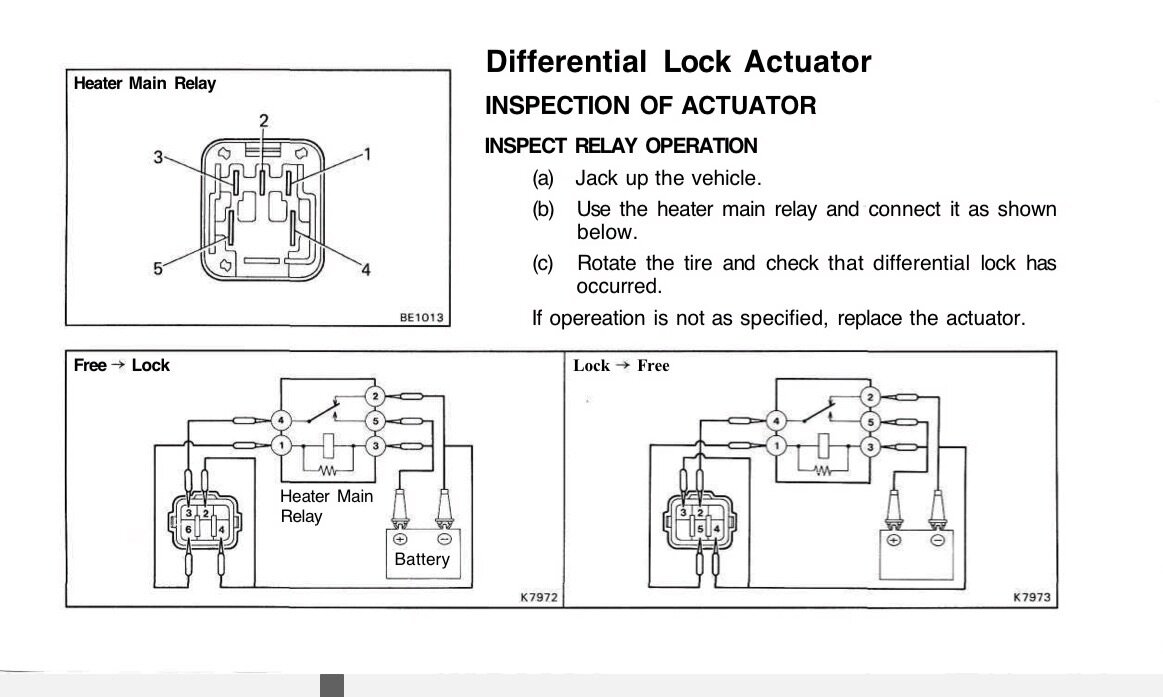
Once I'd found the heater relay which was in the driver side footwell on the right, I did this test.

image.jpg

It it worked sort of, but seemed to stop too soon and not reverse. Some head scratching later, it transpired that despite the care I apparently took marking up the magnets when I was glueing them back in I had actually put them in the wrong way round so the motor was going round in reverse doing the opposite of what it should do :icon-rolleyes:. So, I got the housing off the old rear diff locker which was working right, changed them over and bingo, it passed the test and works fine on the car, happy days .... :dance:
 
well done in sussing that one out! might have been an expensive job otherwise :)
 
Back
Top