Don't like the adverts? Click here to remove them
You are using an out of date browser. It may not display this or other websites correctly.
You should upgrade or use an alternative browser.
You should upgrade or use an alternative browser.
HJ61 Body-off Rebuild project
- Thread starter Jente
- Start date
Jente
Active Member
- Joined
- Jun 10, 2014
- Messages
- 83
- Country Flag
So the chassis is off to the blaster. I hop to get it back in about a week.
On the issue with the fuel line, I'm thinking to give it a try, and use the somewhat smaller return line.
Another issue I have to figure out are the shocks. As the old ones were worn out I need 4 new ones. Any suggestions over here? Terrain-taimer, OME, stock?
I'll be re-using my OME springs.
thnx
On the issue with the fuel line, I'm thinking to give it a try, and use the somewhat smaller return line.
Another issue I have to figure out are the shocks. As the old ones were worn out I need 4 new ones. Any suggestions over here? Terrain-taimer, OME, stock?
I'll be re-using my OME springs.
thnx
Jente
Active Member
- Joined
- Jun 10, 2014
- Messages
- 83
- Country Flag
Time for an update:
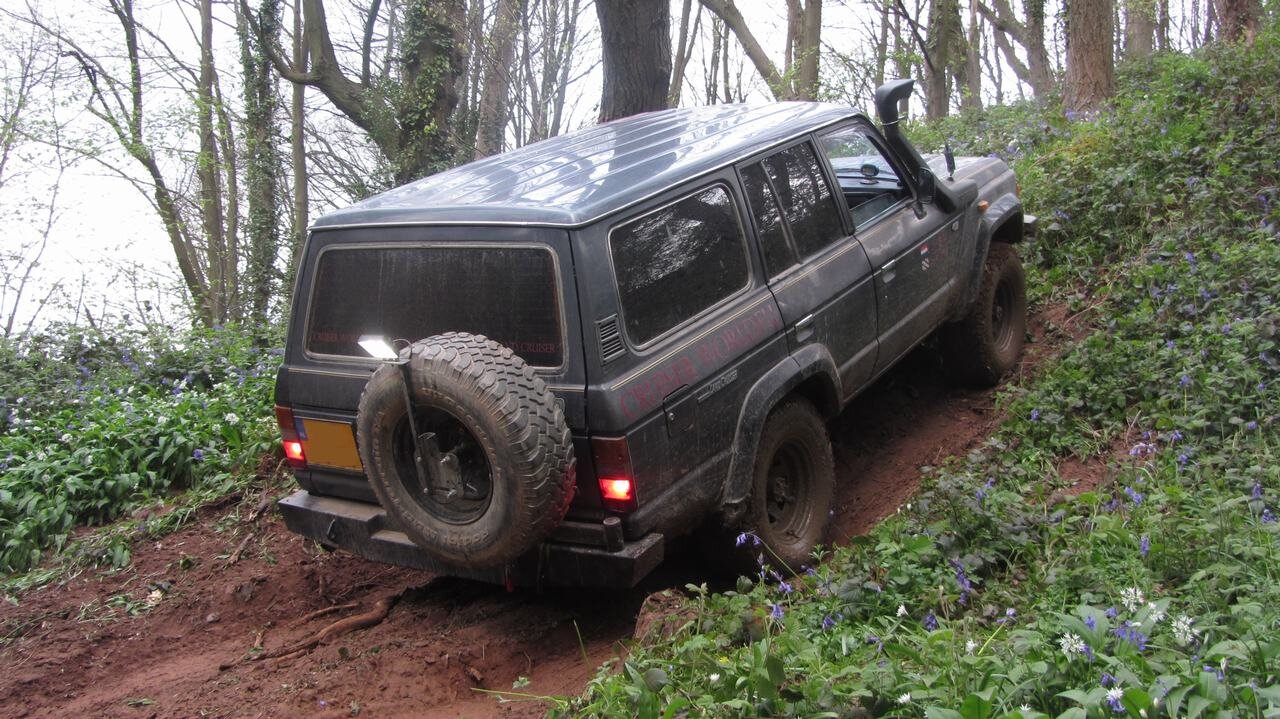
The 4 days befor Lincomb we spent some time laning in Wales with Iwan. We had a few great trips, left a car stuck in the field overnight, did some wild camping on got to lincomb. Unfortunately we were delayed by a day since one of the cars got into an accident. Lukily Iwan and Matt came to the rescue, and the wreck of the 70 was repatriated to his property.
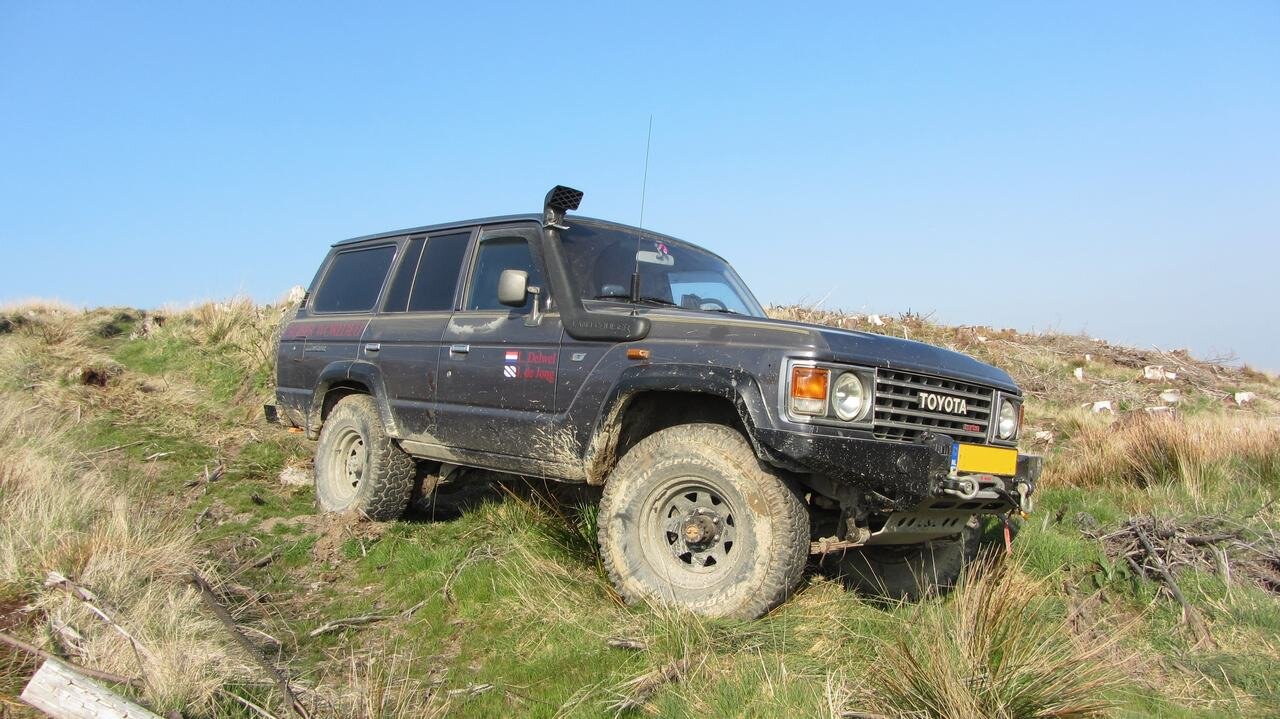
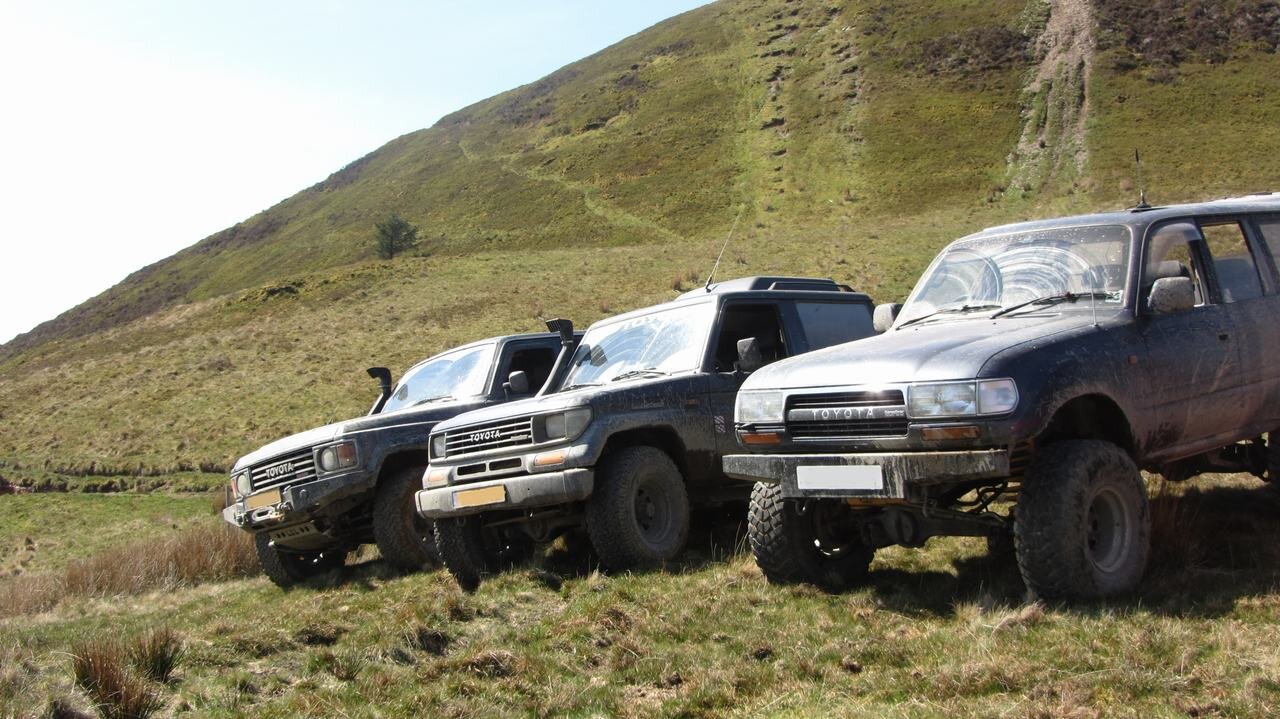
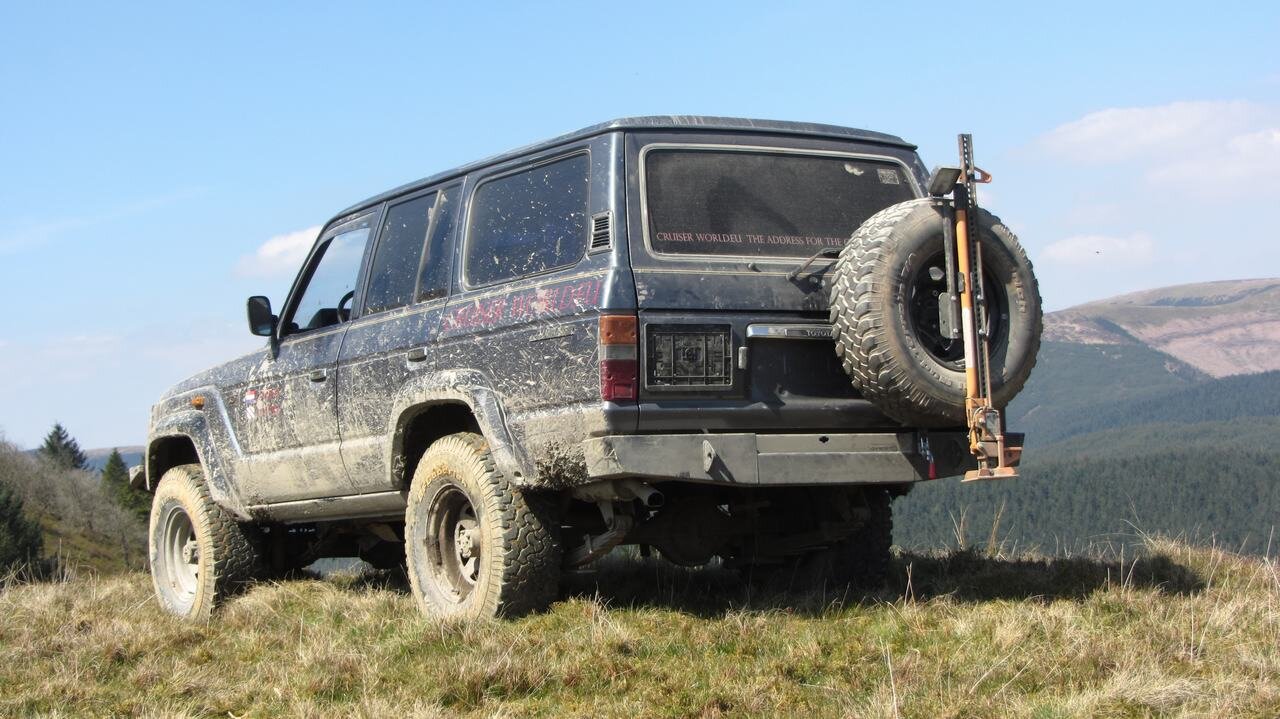
Good opertunity to give the newly developed rear bumper with swing away a good practice test!
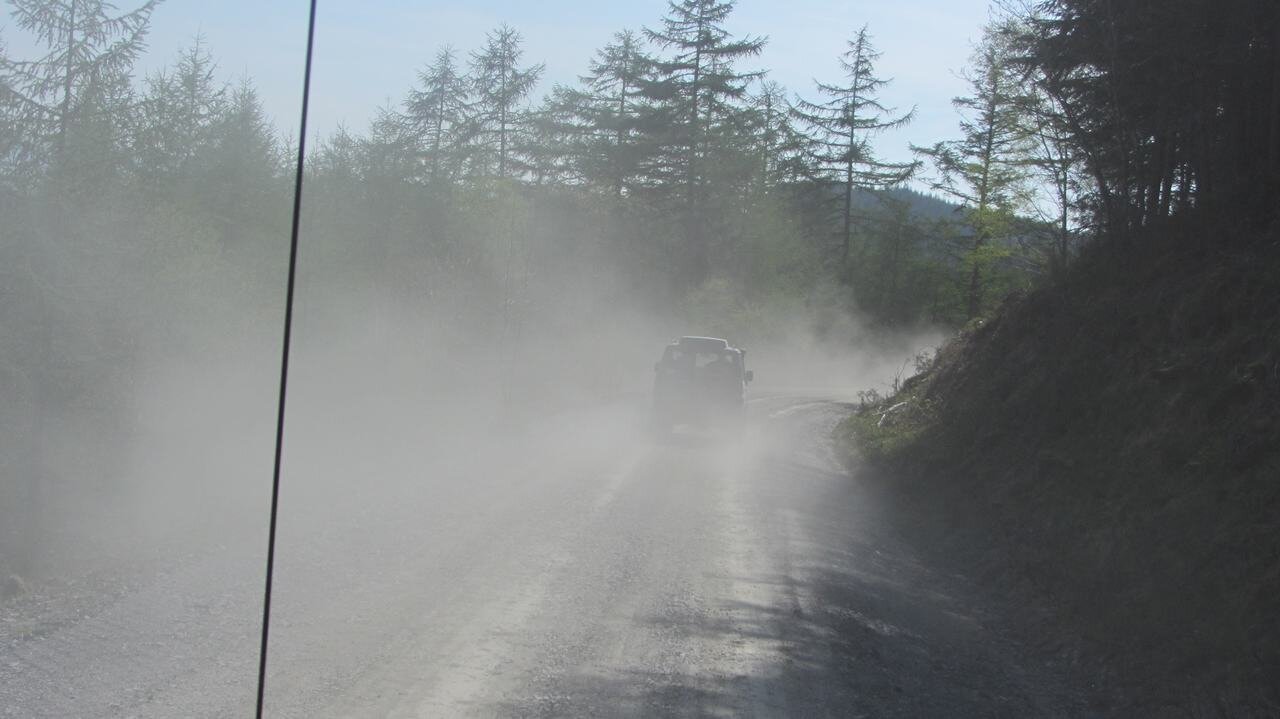
compared to our earlier trips, it was real dusty!!!
Back to the project:
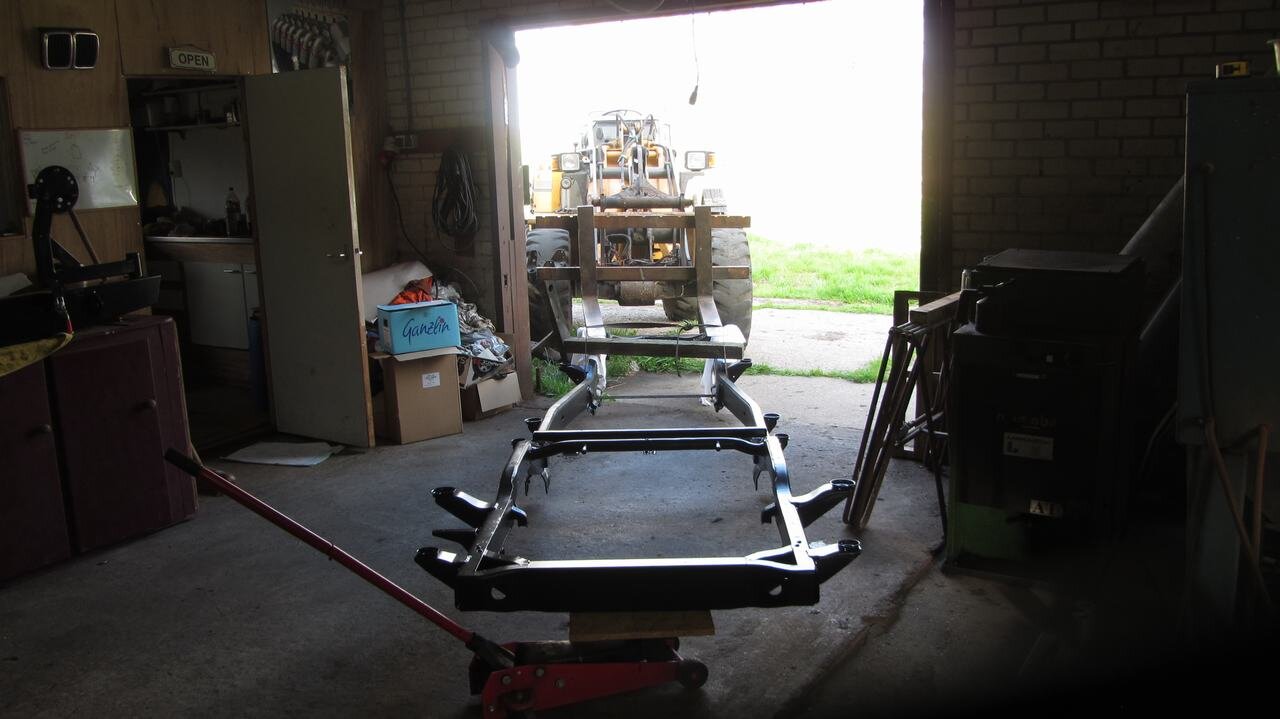
Chassis is back from the blaster. With the primer allready on, things have to be handled with care from now on.
Difficult to get into the shop on my own, in one piece

Sanded the primer with P180
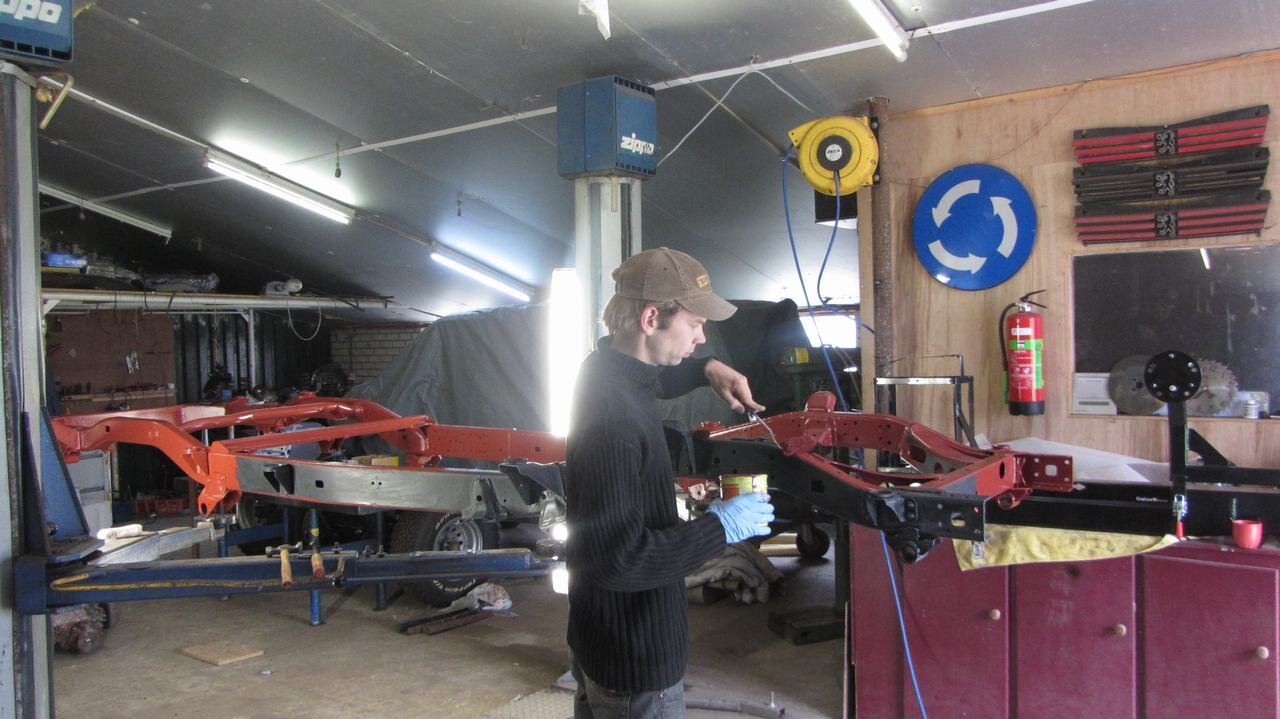
Applying a first layer of Brantho Corrux. By using red, it gave me more contrast on the black primer.
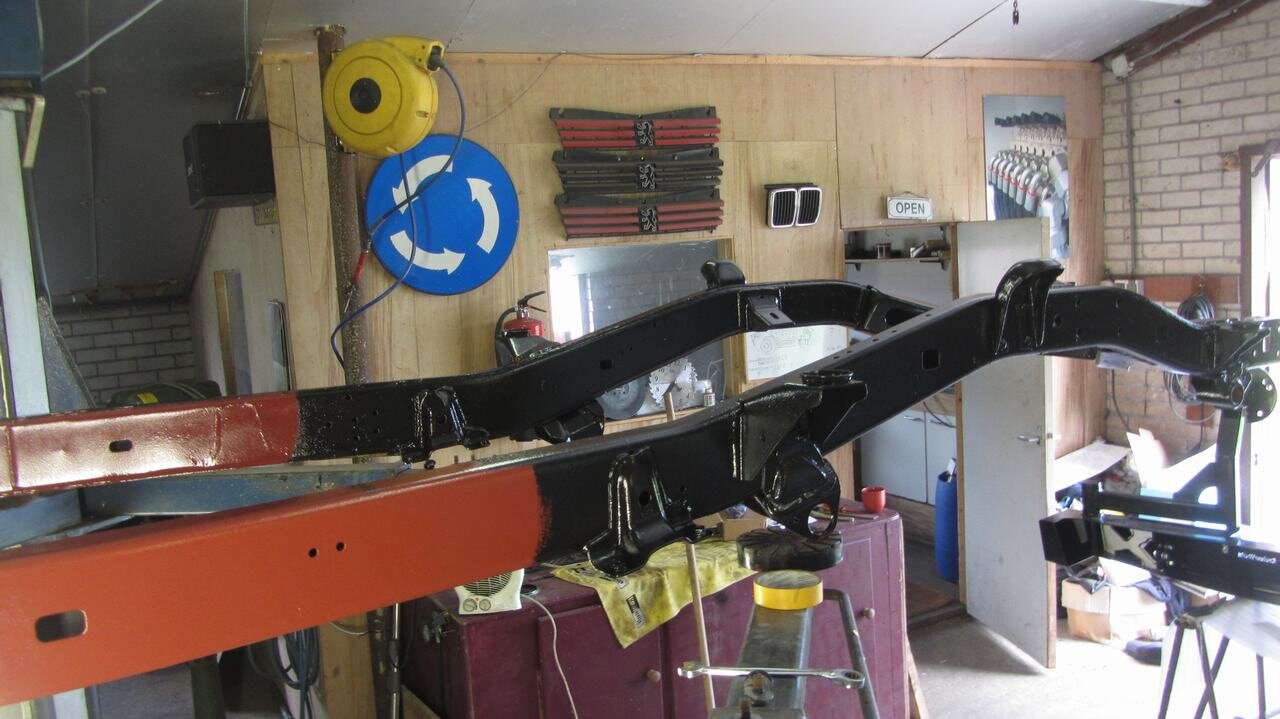
After a days drying, time for a second layer.
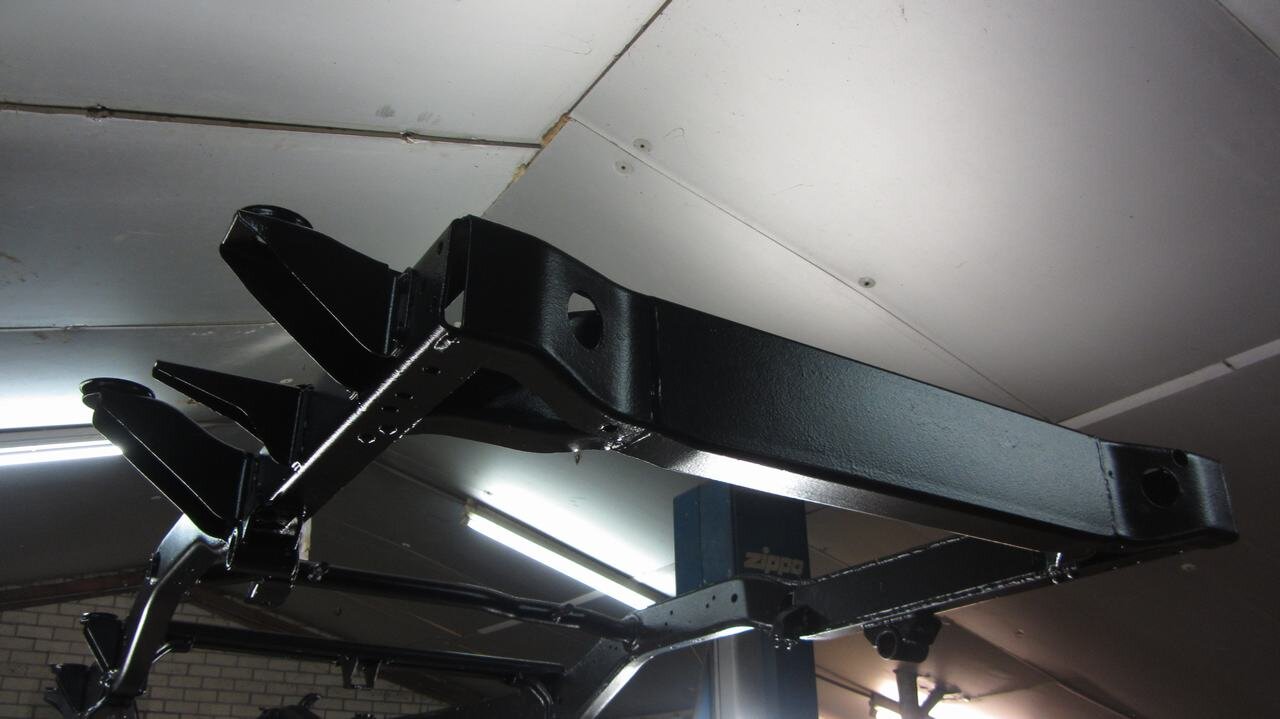
I'm real pleased how the rear end turned out. Downside is that I haven't figured out how to install a towing bar, since all holes have been welded shut

 . Worry's for later.
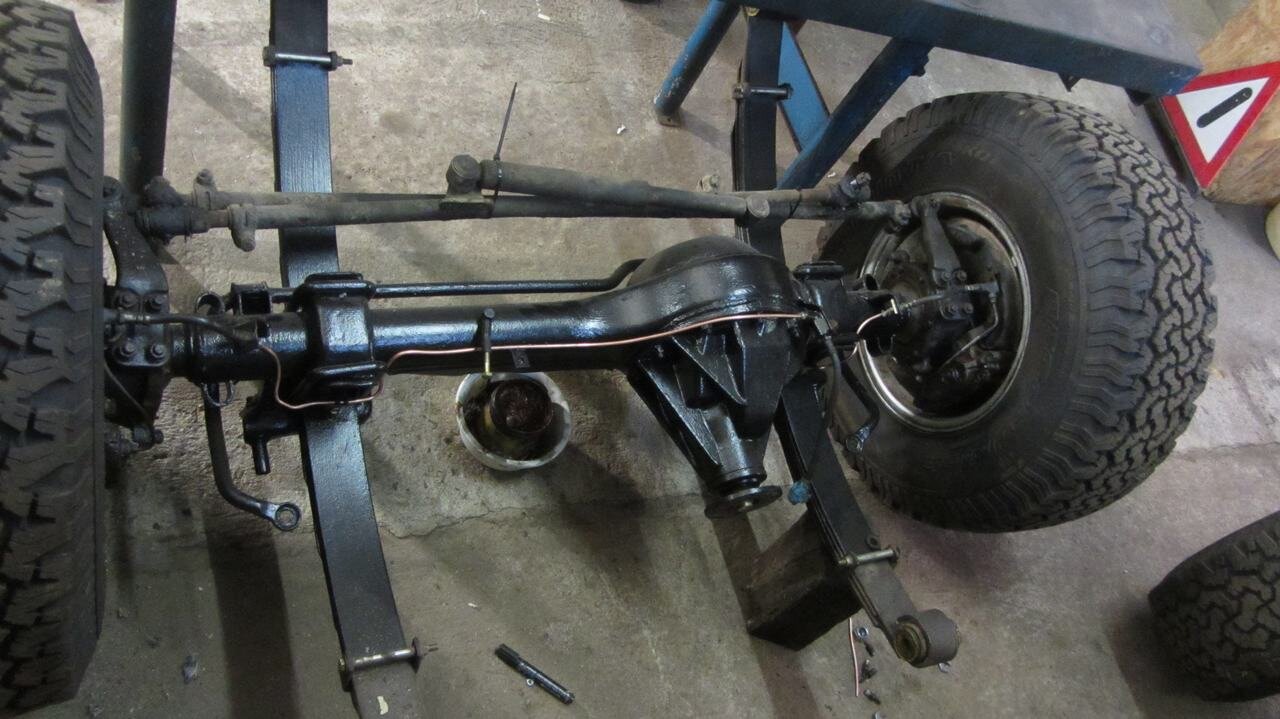
Finished brake lines on the front axle.
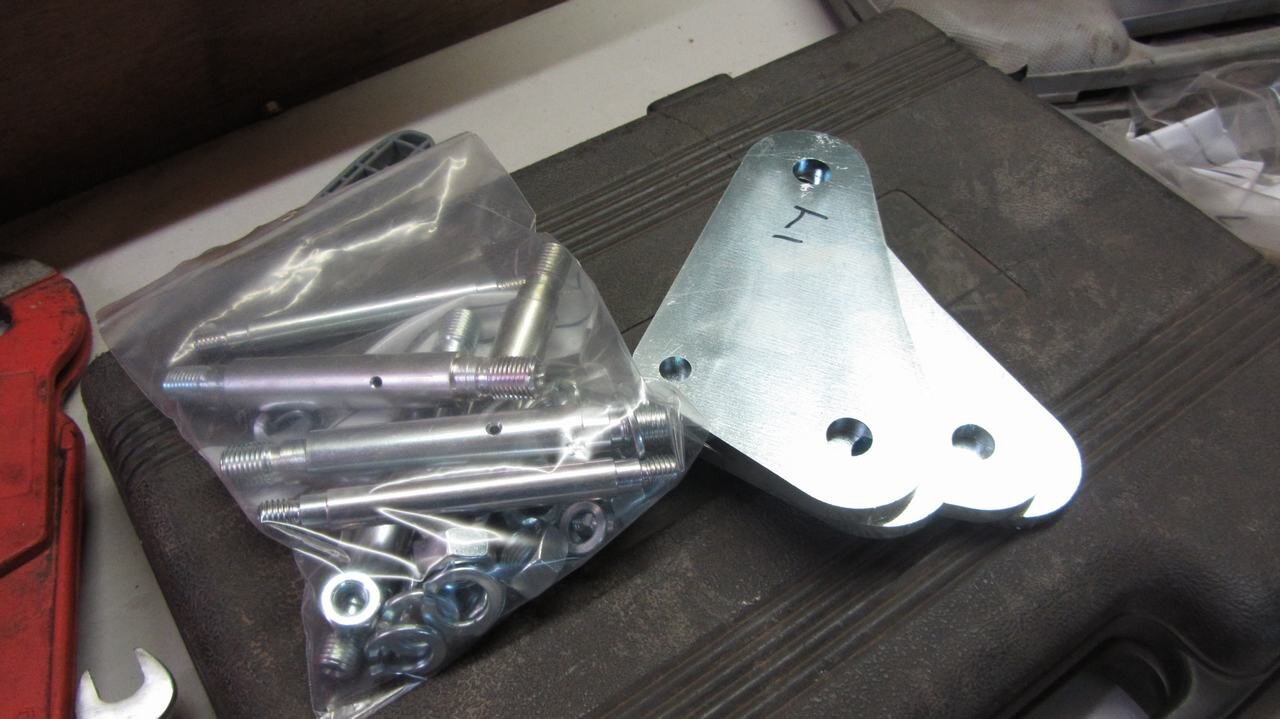
Got me some new 120mm shackles .
.
Next up is a third layer of coating, and then we can finally start building her up. Get the axles on, fuel and brake lines, get the motor and tranny in................... and about 429 other things before we can give it a spin
I'll keep you posted!
The 4 days befor Lincomb we spent some time laning in Wales with Iwan. We had a few great trips, left a car stuck in the field overnight, did some wild camping on got to lincomb. Unfortunately we were delayed by a day since one of the cars got into an accident. Lukily Iwan and Matt came to the rescue, and the wreck of the 70 was repatriated to his property.


Good opertunity to give the newly developed rear bumper with swing away a good practice test!

compared to our earlier trips, it was real dusty!!!

Back to the project:

Chassis is back from the blaster. With the primer allready on, things have to be handled with care from now on.
Difficult to get into the shop on my own, in one piece

Sanded the primer with P180

Applying a first layer of Brantho Corrux. By using red, it gave me more contrast on the black primer.

After a days drying, time for a second layer.

I'm real pleased how the rear end turned out. Downside is that I haven't figured out how to install a towing bar, since all holes have been welded shut

 . Worry's for later.
Finished brake lines on the front axle.

Got me some new 120mm shackles
Next up is a third layer of coating, and then we can finally start building her up. Get the axles on, fuel and brake lines, get the motor and tranny in................... and about 429 other things before we can give it a spin
I'll keep you posted!
Jente
Active Member
- Joined
- Jun 10, 2014
- Messages
- 83
- Country Flag
I had a few days off from work, so I made some progress!

After the third layer on the chassis I gave it one day to dry out, befor it carefully started assembling the axles. I left some finger prints on the chassis, as it was a day too early
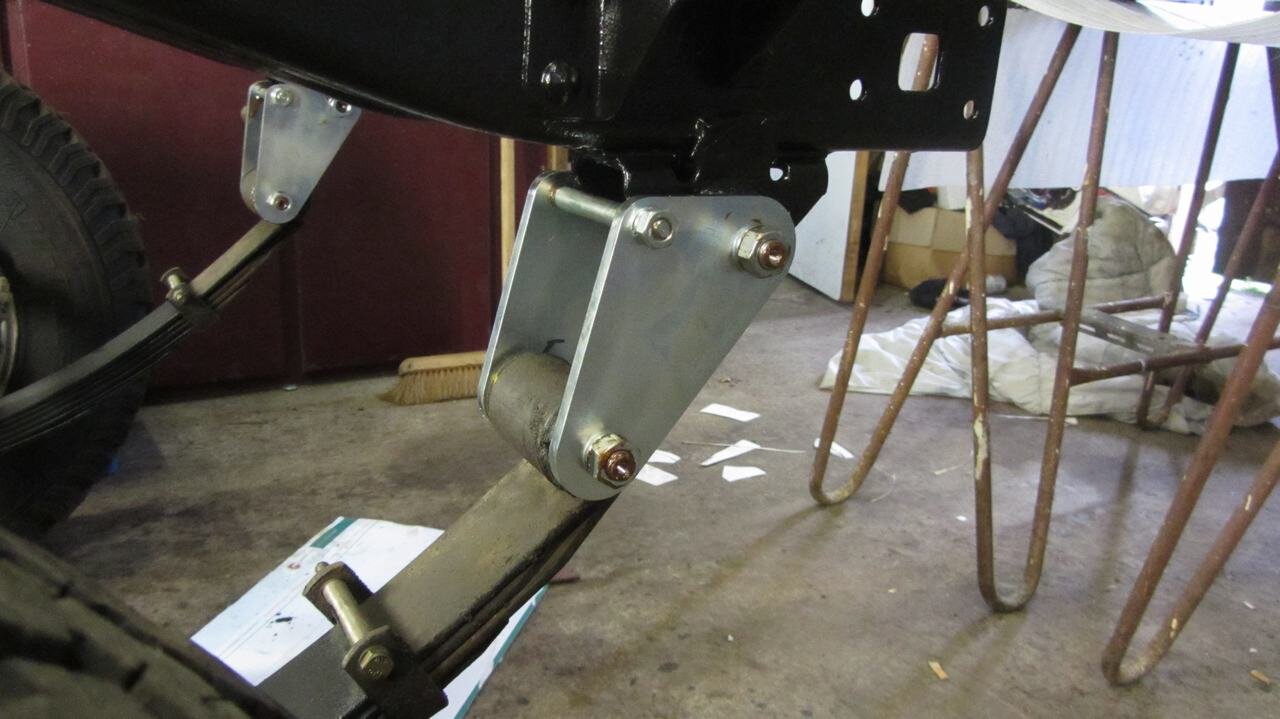
'Do it once, so do it right' So it got some new 120mm shackles.
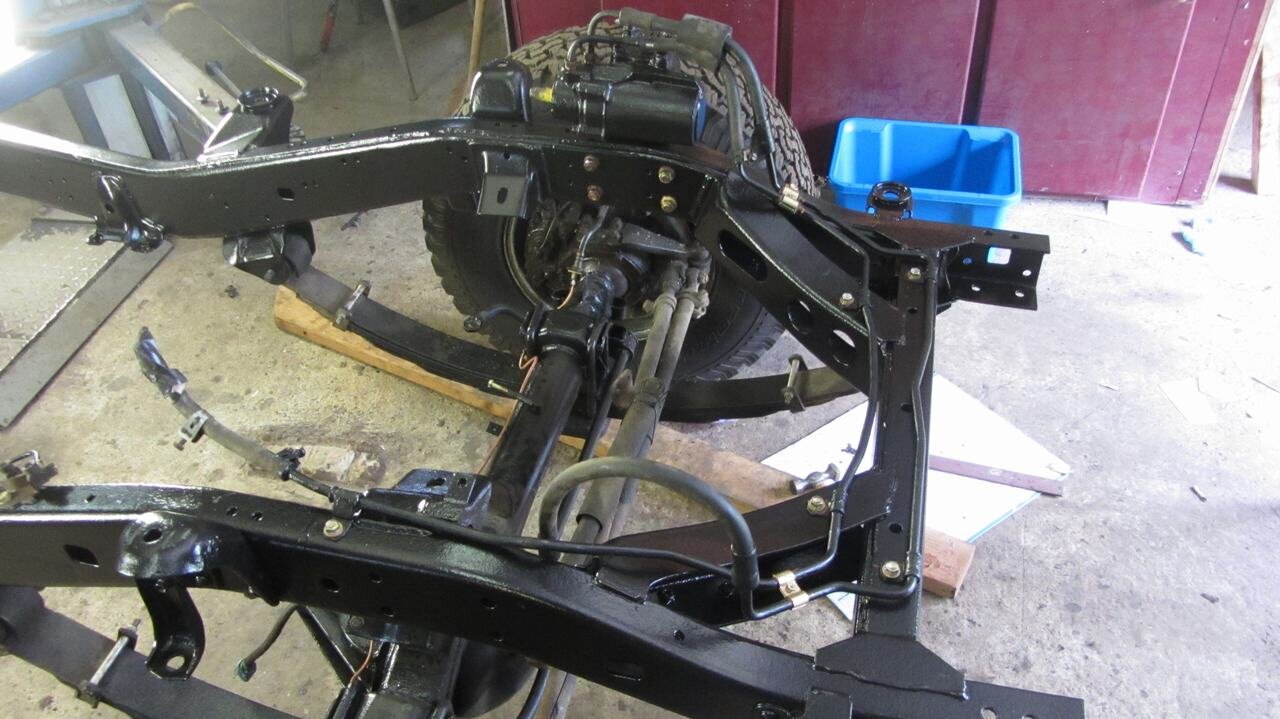
Front axle and steering housing fitted
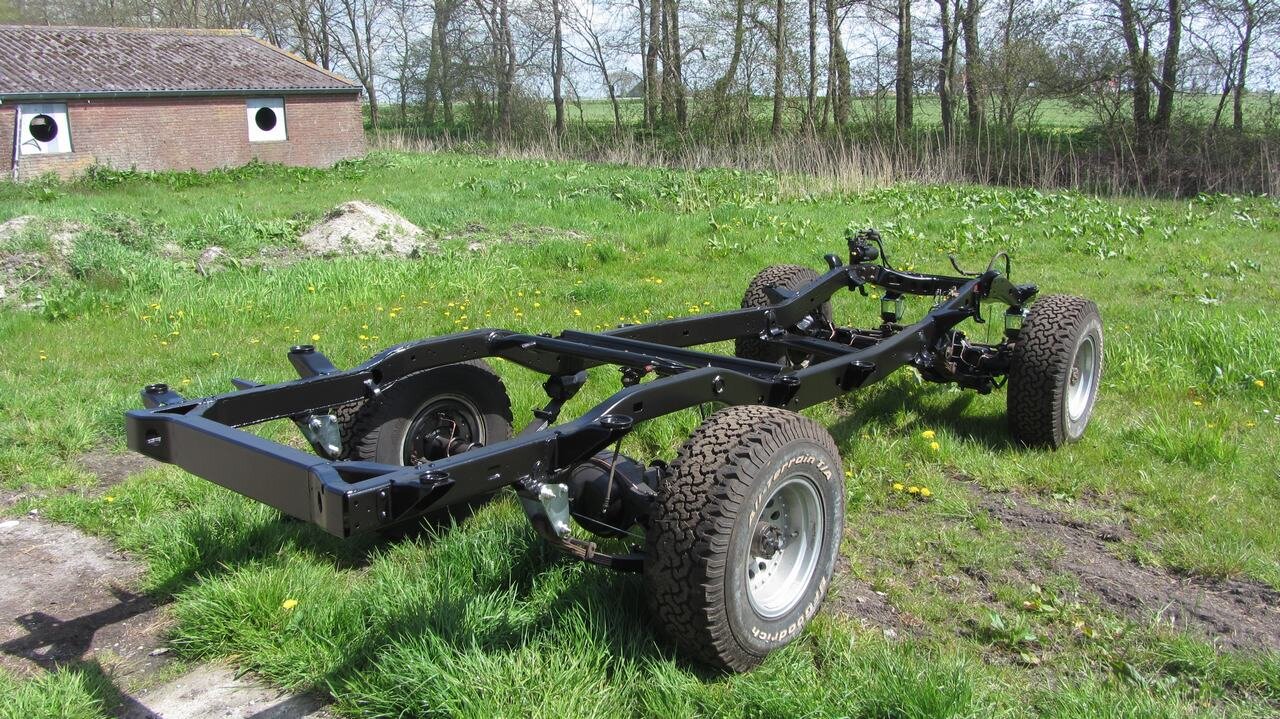
I had to get it outside to swap it around in order to install the engine assembly later
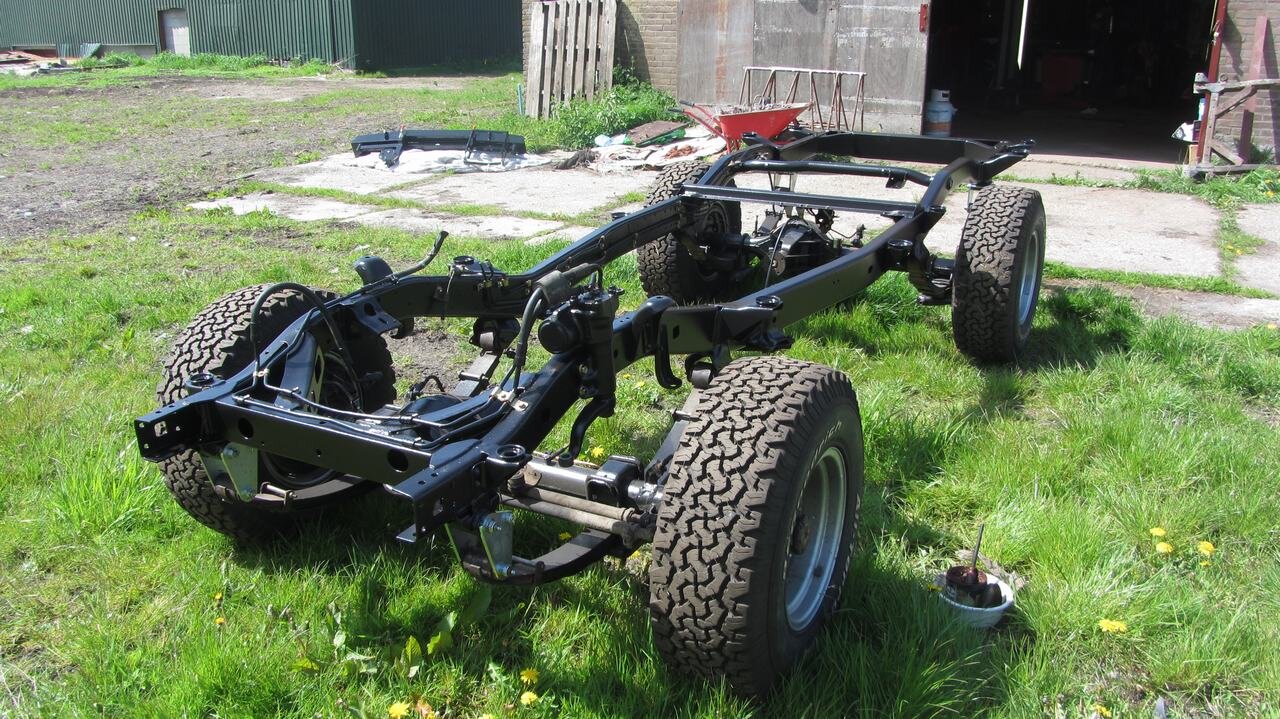
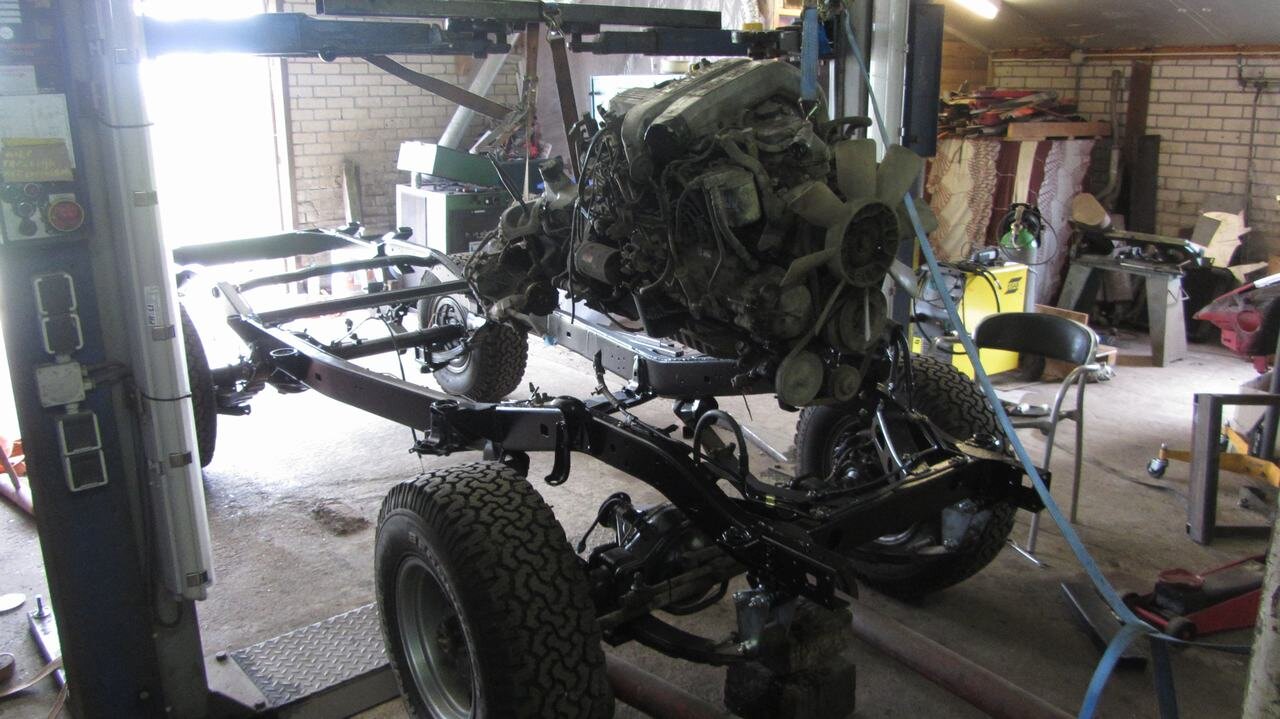
There she goes...
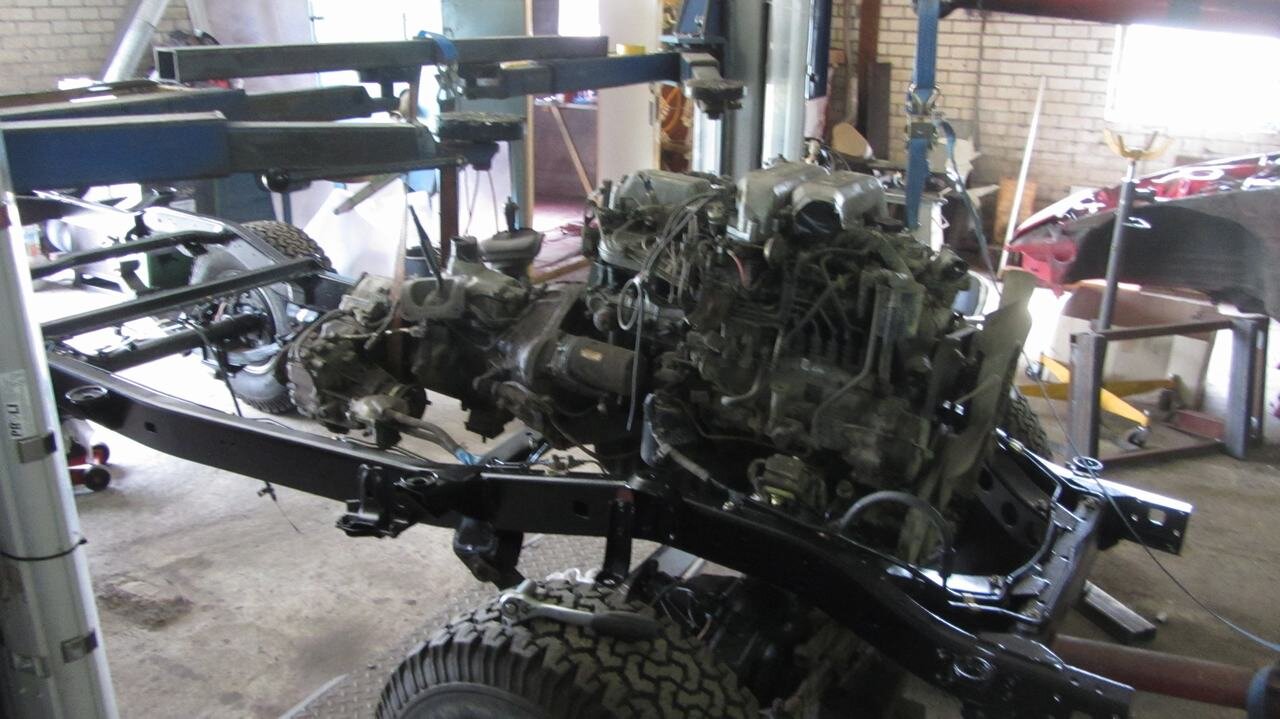
And she's in

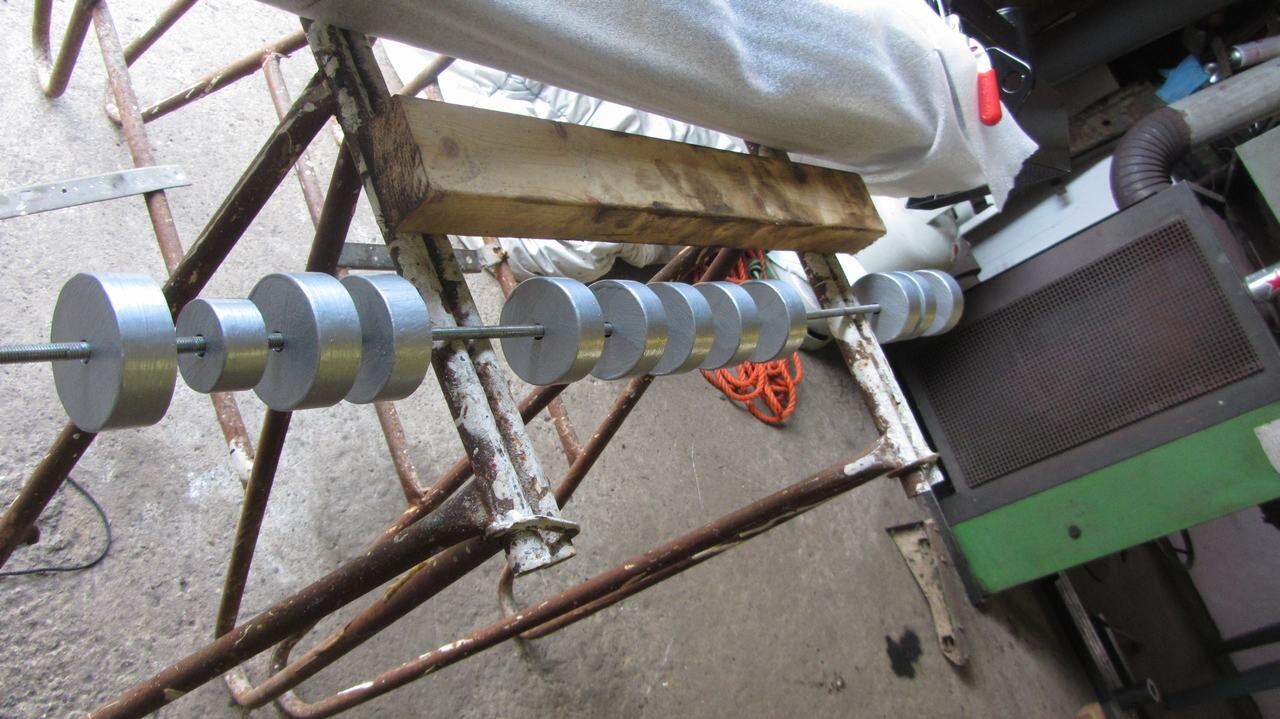
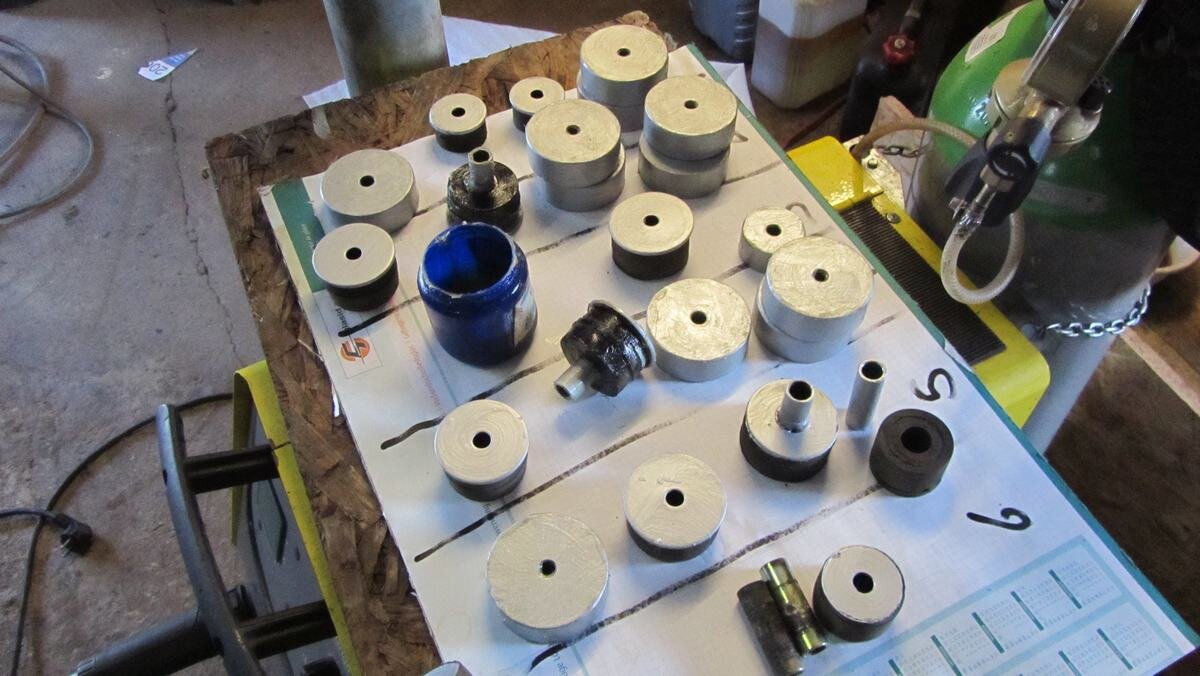
Today I made my 1" body lift. I started with solid 70mm round bar, and cut them to 25mm slices followed by 11mm holes in the middle, using a mill.
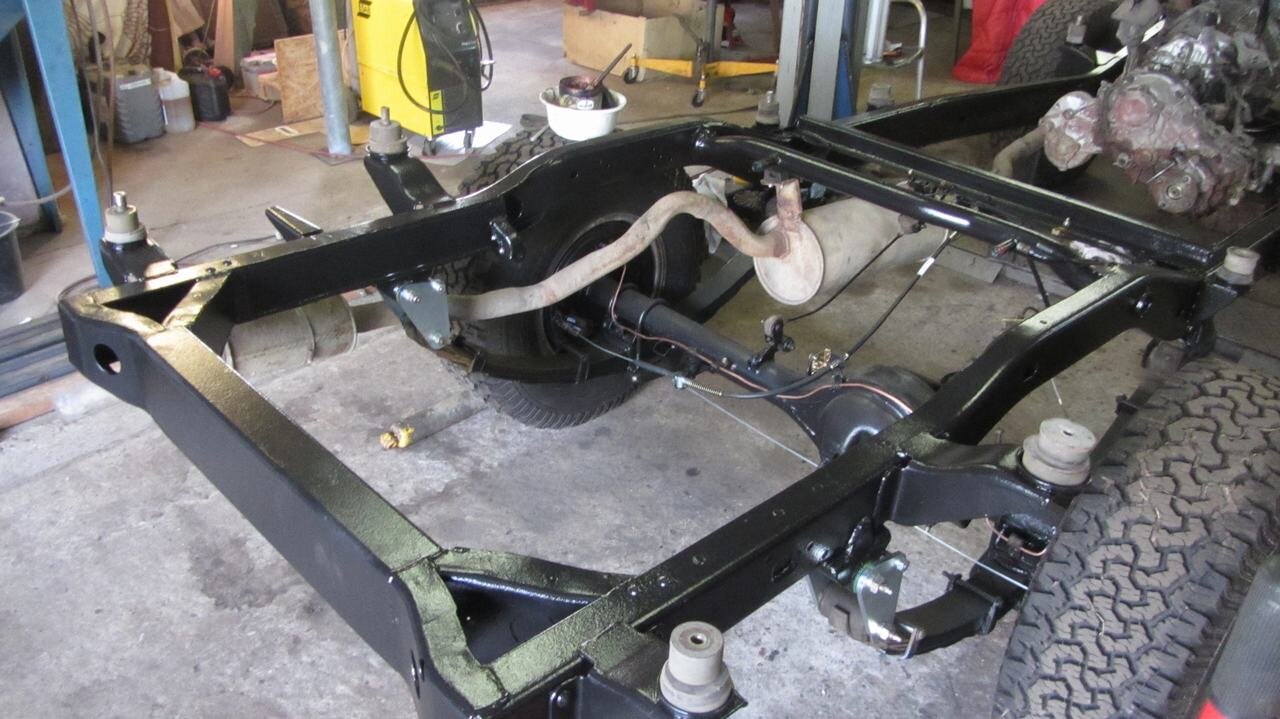
The exhaust is almost fitted. I found some brackets that I forgot to clean and paint, so I'll have to wait to fit it completely.
Started thinking the past few days about making a 3" stainless exaust . It should improve both power and torque.... any ideas on this matter?
I'll keep you posted!

After the third layer on the chassis I gave it one day to dry out, befor it carefully started assembling the axles. I left some finger prints on the chassis, as it was a day too early

'Do it once, so do it right' So it got some new 120mm shackles.

Front axle and steering housing fitted

I had to get it outside to swap it around in order to install the engine assembly later


There she goes...

And she's in

Today I made my 1" body lift. I started with solid 70mm round bar, and cut them to 25mm slices followed by 11mm holes in the middle, using a mill.

The exhaust is almost fitted. I found some brackets that I forgot to clean and paint, so I'll have to wait to fit it completely.
Started thinking the past few days about making a 3" stainless exaust
 . It should improve both power and torque.... any ideas on this matter?
I'll keep you posted!
tonytoyota
Well-Known Member
- Joined
- Sep 9, 2010
- Messages
- 1,800
- Country Flag
Hi Jente it's looking good it's a big  from tonytoyota thanks for the pics.
Don't like the adverts? Click here to remove them
Jente
Active Member
- Joined
- Jun 10, 2014
- Messages
- 83
- Country Flag
Hi all,
It's been a while since my last update. I've been away for work, and was just too lazy to post an update when I got home
But, progress is there:
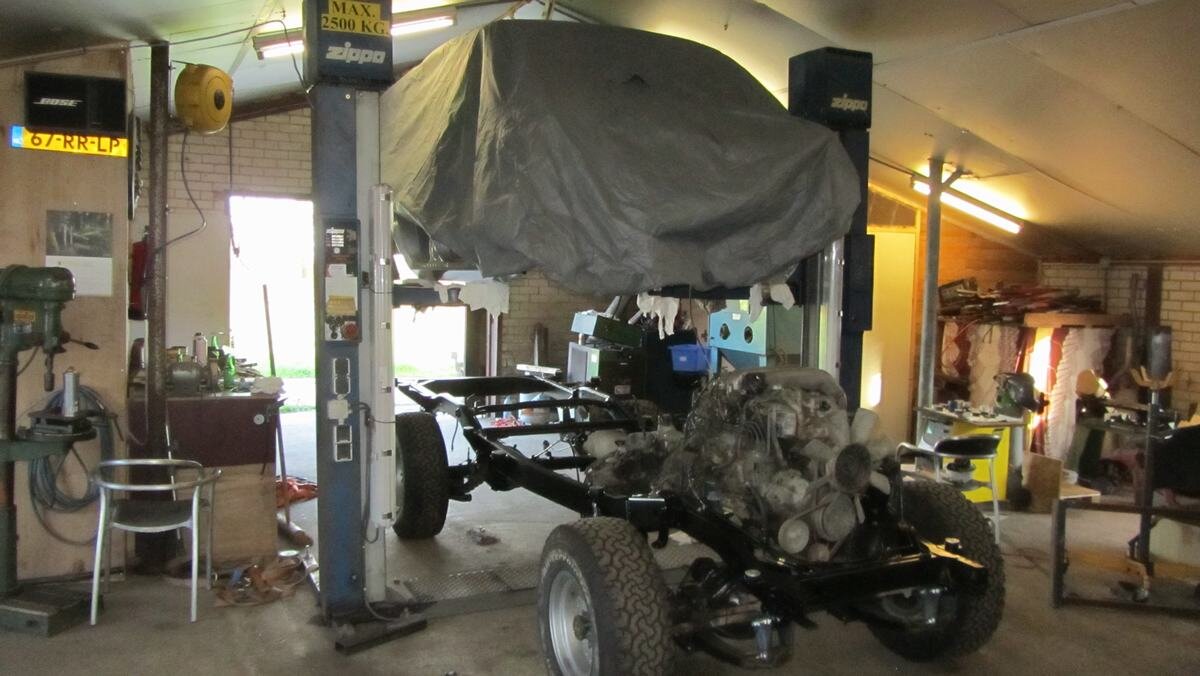
Body lift painted and treated with vaseline
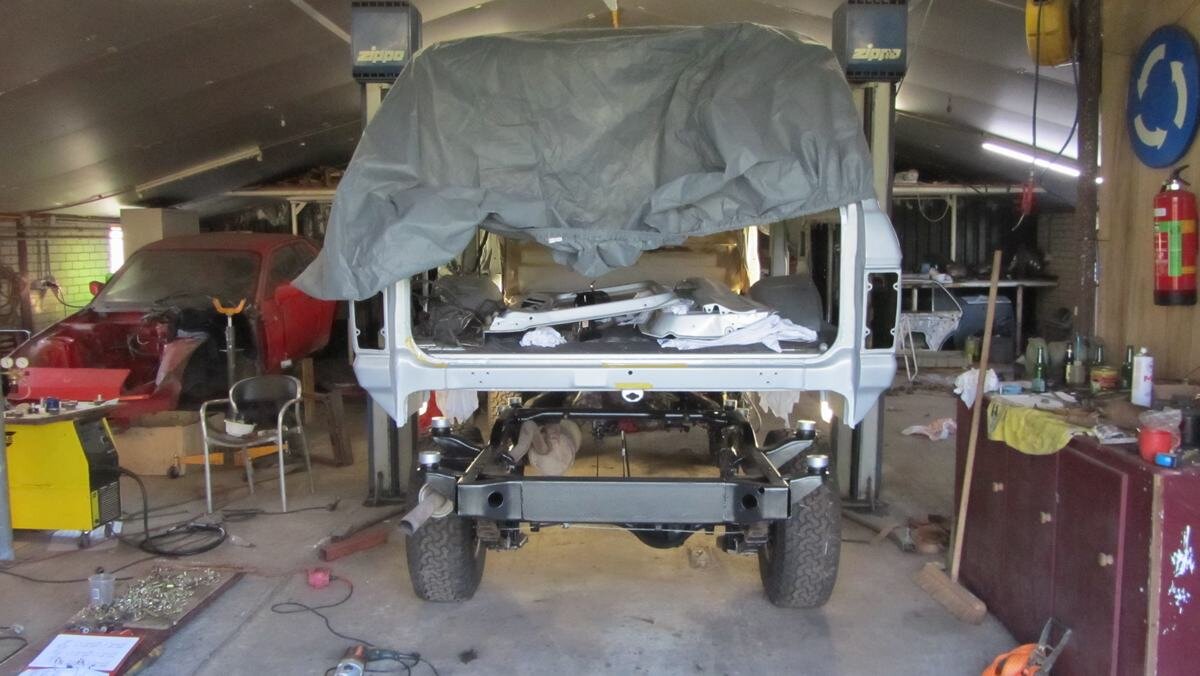
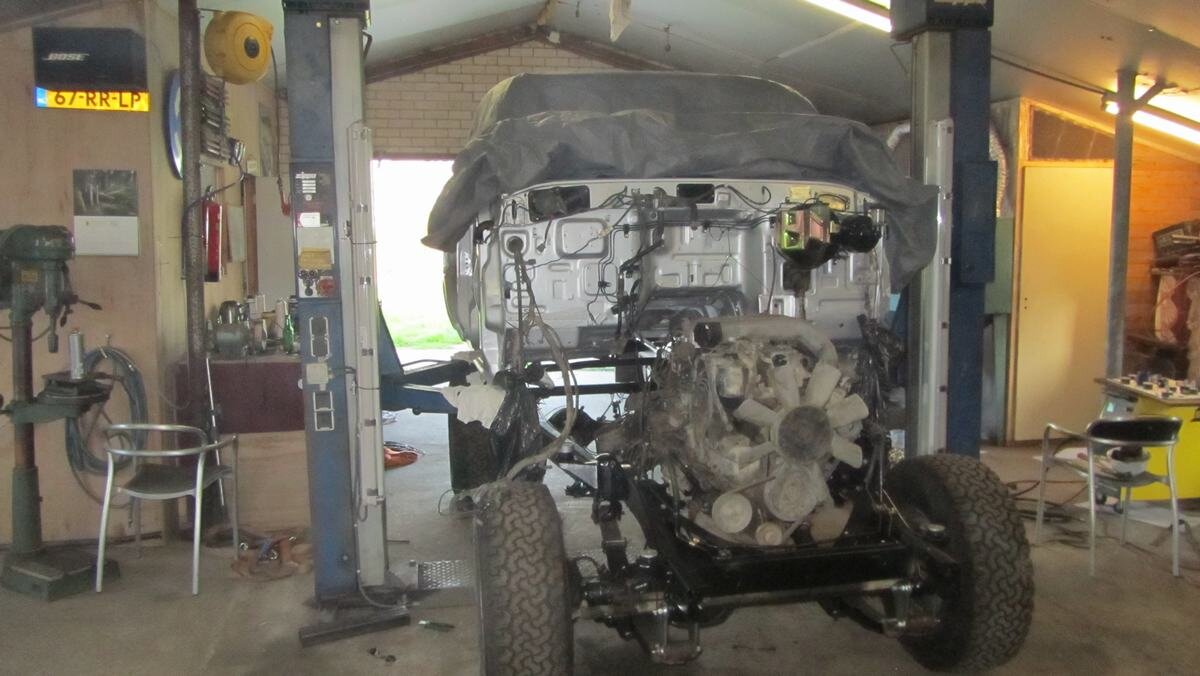
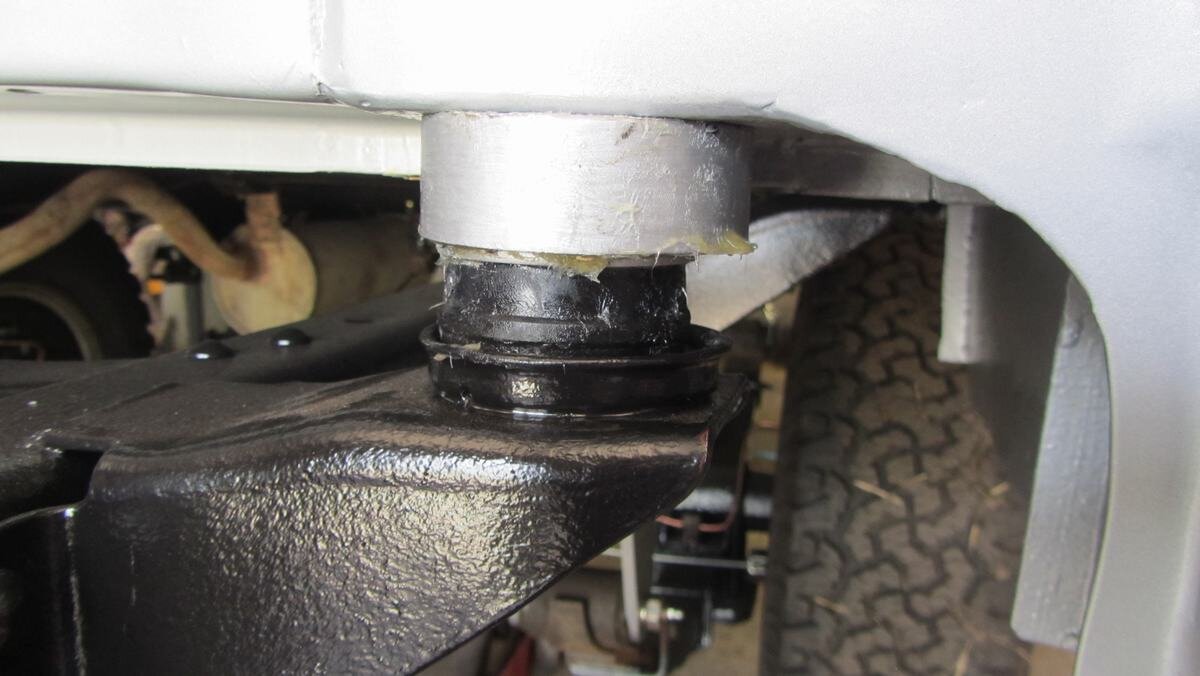
Looked good. I had a bit of play on some mounts, but after tightening the bolts all came together without excessive force.
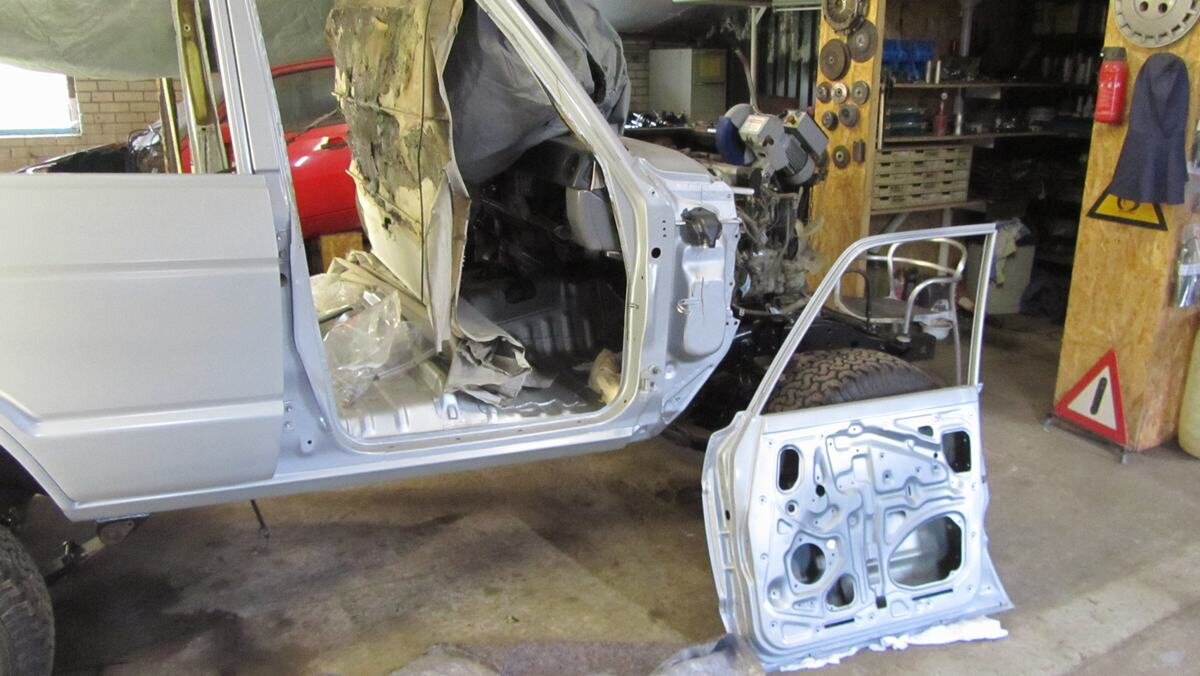
Started to get the doors in. In order to get the fenders on, the hinges for the front doors had to be in, otherwise it's very difficult to tighten the bolts. In order to align the front doors also the passenger doors had to be installed..... I'd rather did all of them later, but now that they're in I'll leave them in.
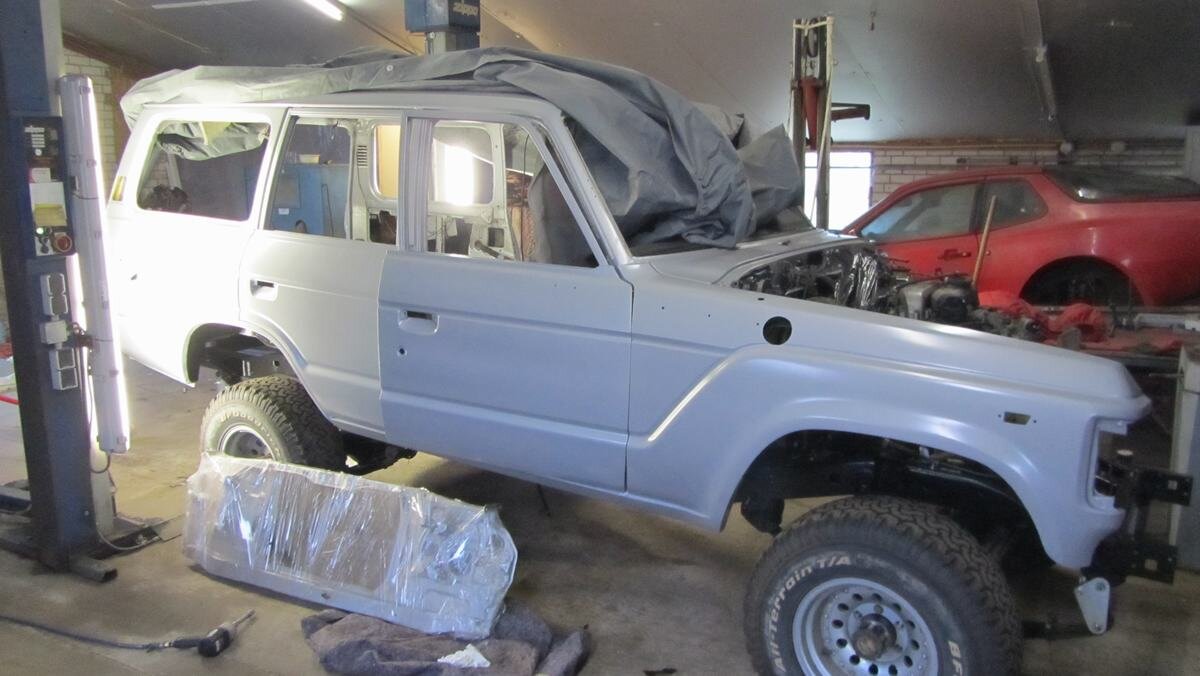
First front fender
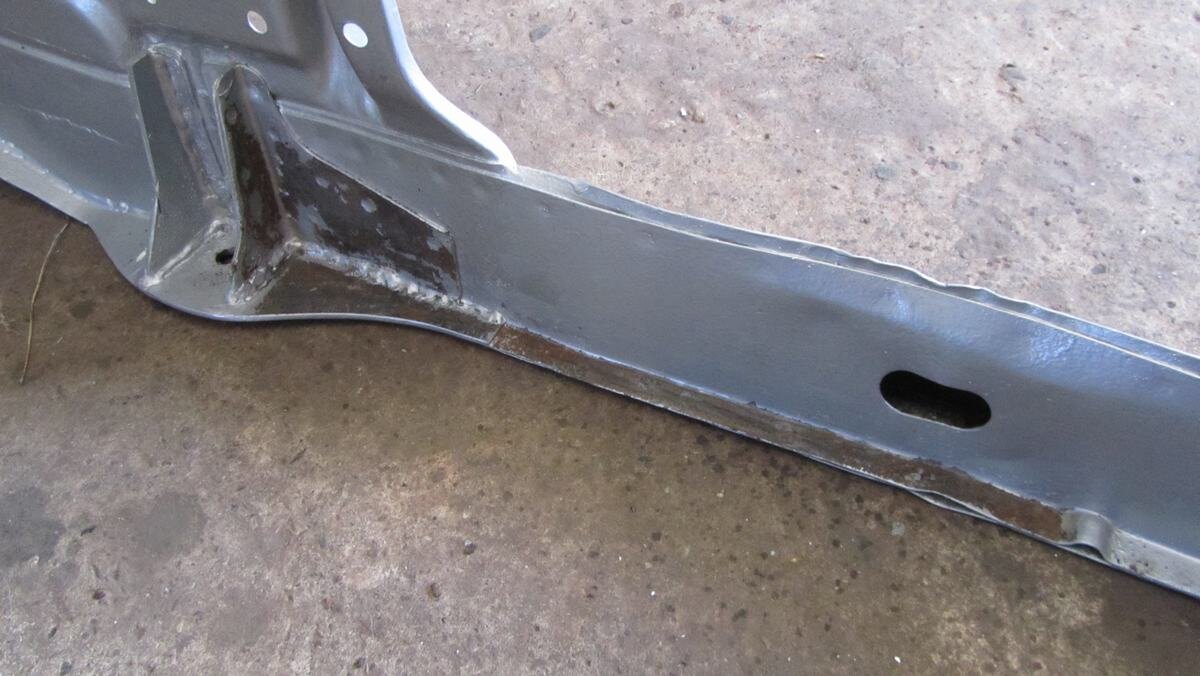
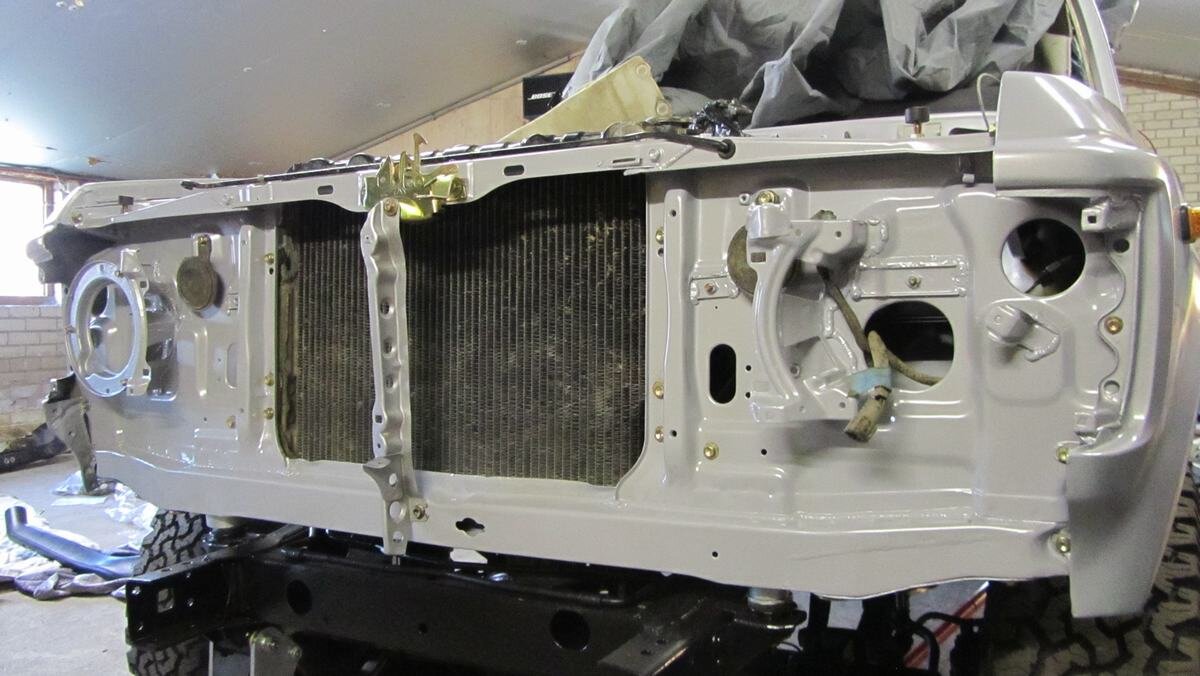
Unpacked the middle panel, and found rust
 .
.
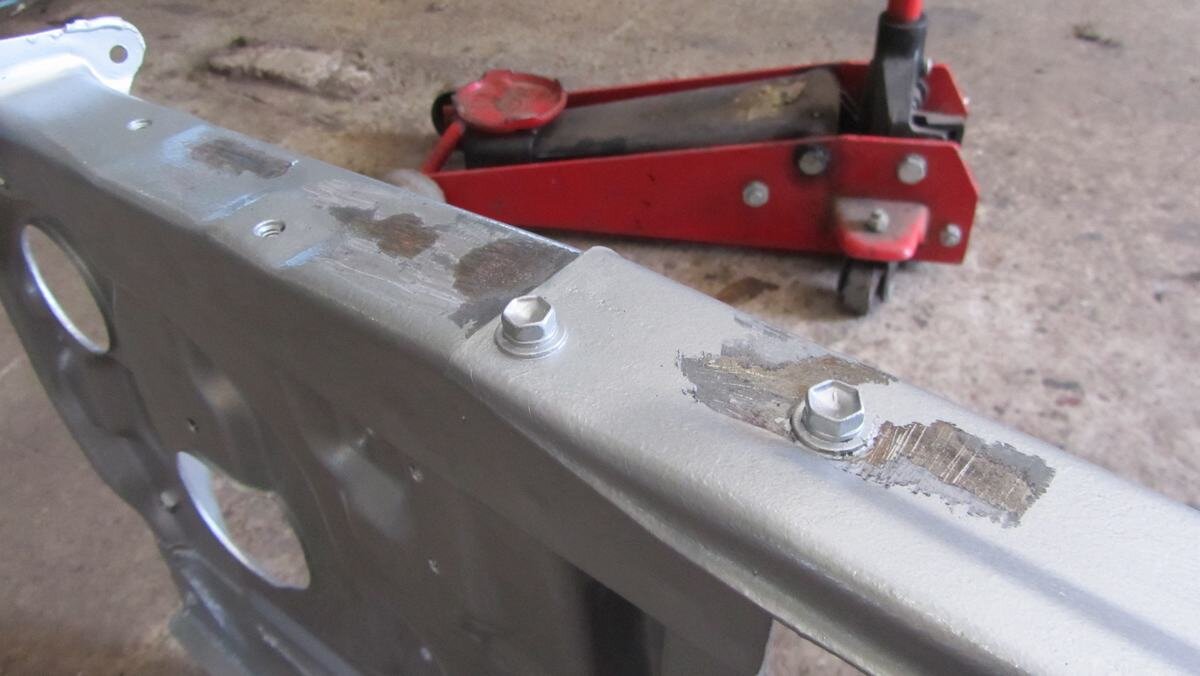
I couldn't bare the thought of placing it back with rust, so I sent it off to be powder coated.
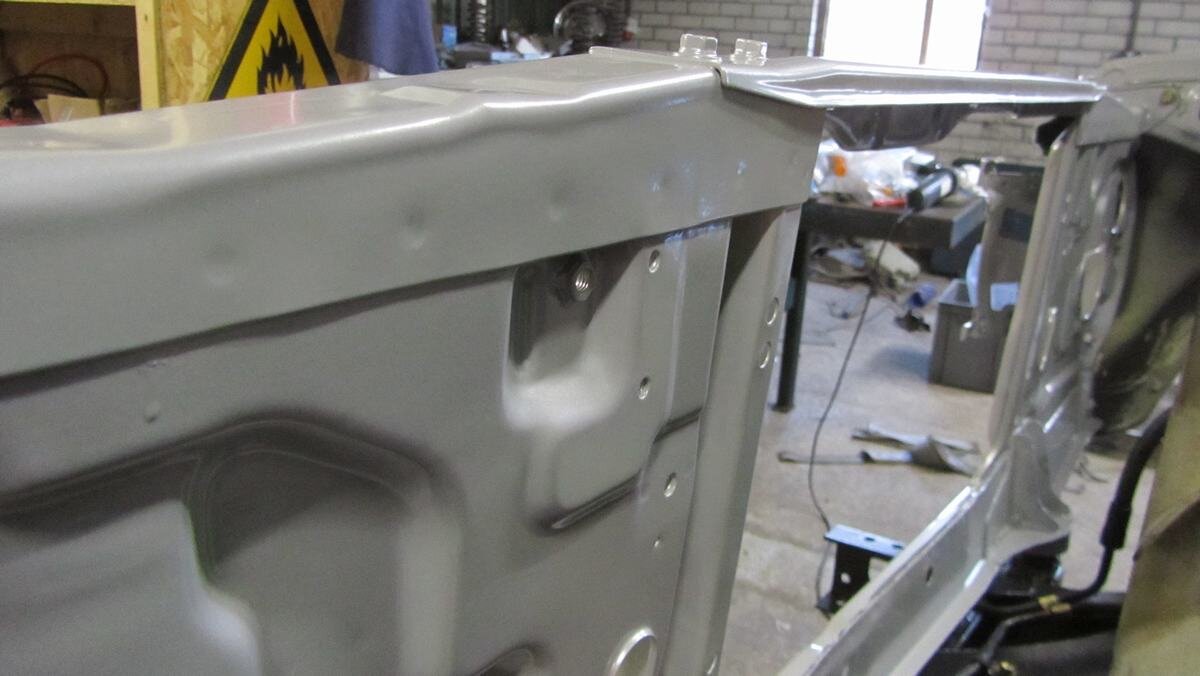
That turned out to be a wise decision It looks real good now!
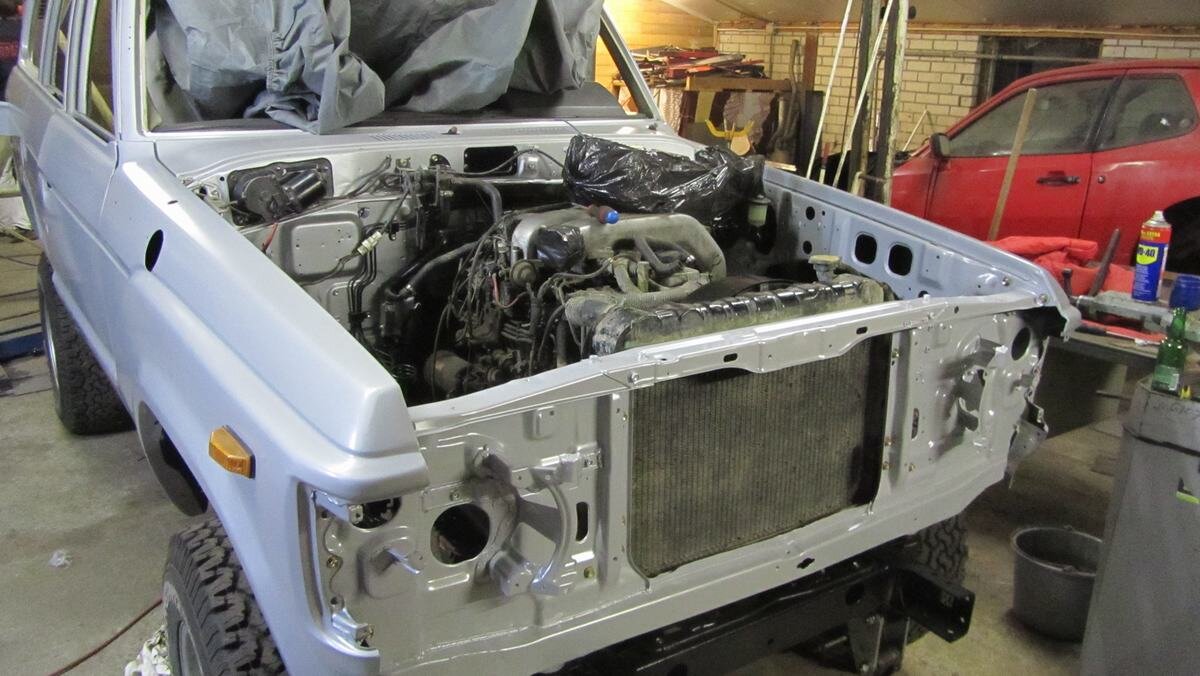
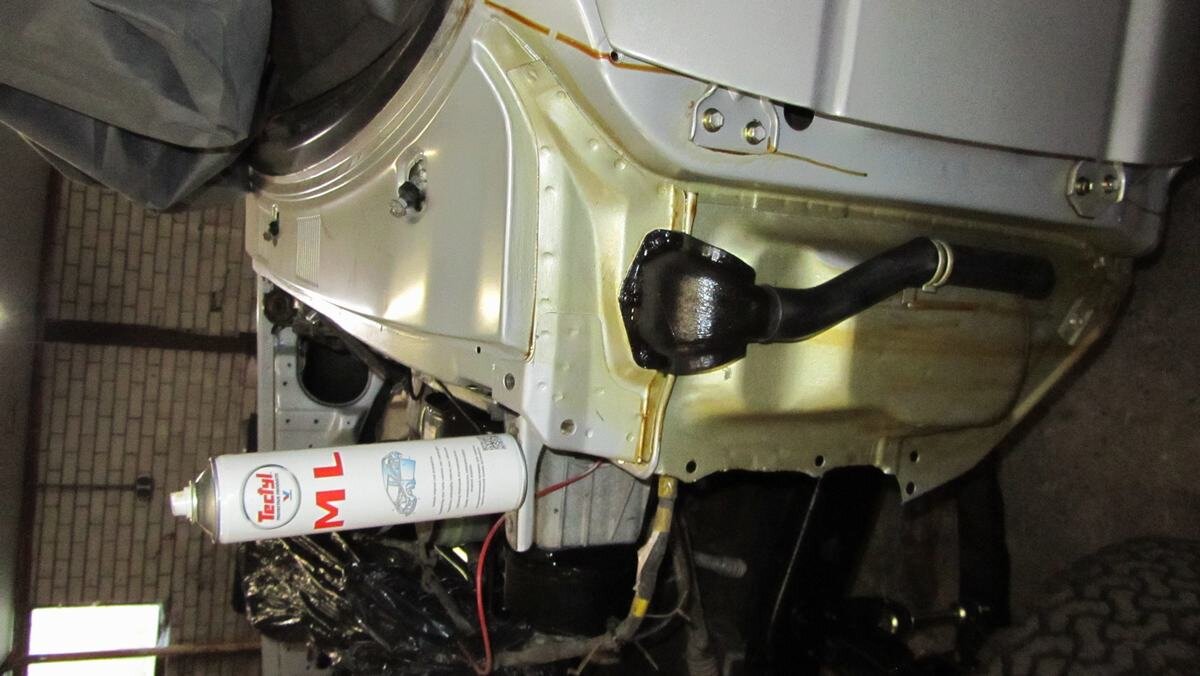
Protection before the installation of the left fender

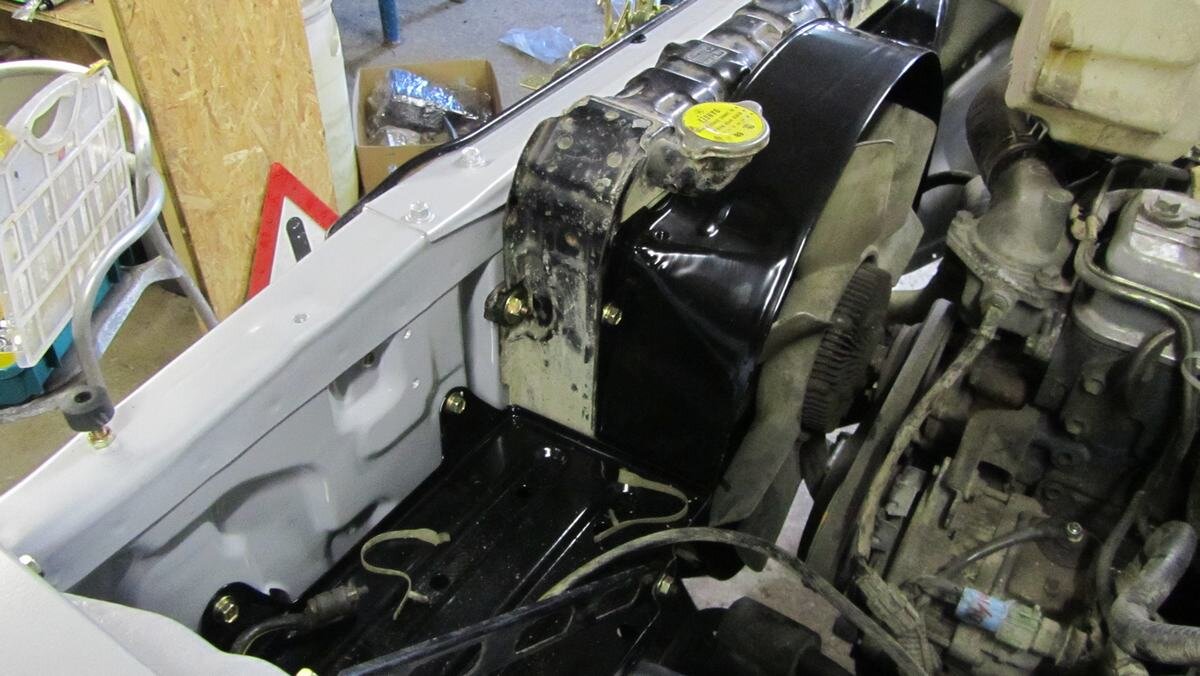
Also the wind tunnel, battery mounts and some other bits and pieces have been powder coated. Perfect result for very little money!
It's been a while since my last update. I've been away for work, and was just too lazy to post an update when I got home

But, progress is there:


Body lift painted and treated with vaseline


Looked good. I had a bit of play on some mounts, but after tightening the bolts all came together without excessive force.

Started to get the doors in. In order to get the fenders on, the hinges for the front doors had to be in, otherwise it's very difficult to tighten the bolts. In order to align the front doors also the passenger doors had to be installed..... I'd rather did all of them later, but now that they're in I'll leave them in.

First front fender

Unpacked the middle panel, and found rust

I couldn't bare the thought of placing it back with rust, so I sent it off to be powder coated.

That turned out to be a wise decision
 It looks real good now!

Protection before the installation of the left fender


Also the wind tunnel, battery mounts and some other bits and pieces have been powder coated. Perfect result for very little money!

Jente
Active Member
- Joined
- Jun 10, 2014
- Messages
- 83
- Country Flag
Hey all,
Again, it's been a while but here's an update on the project.
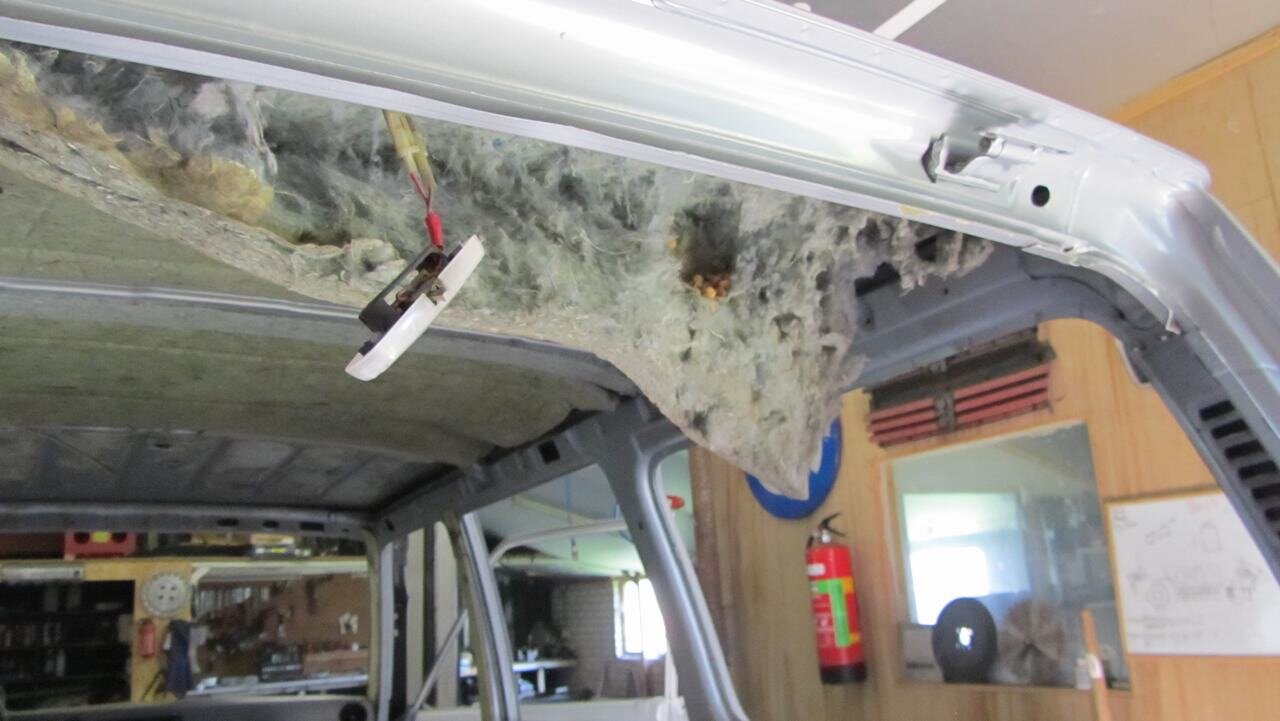
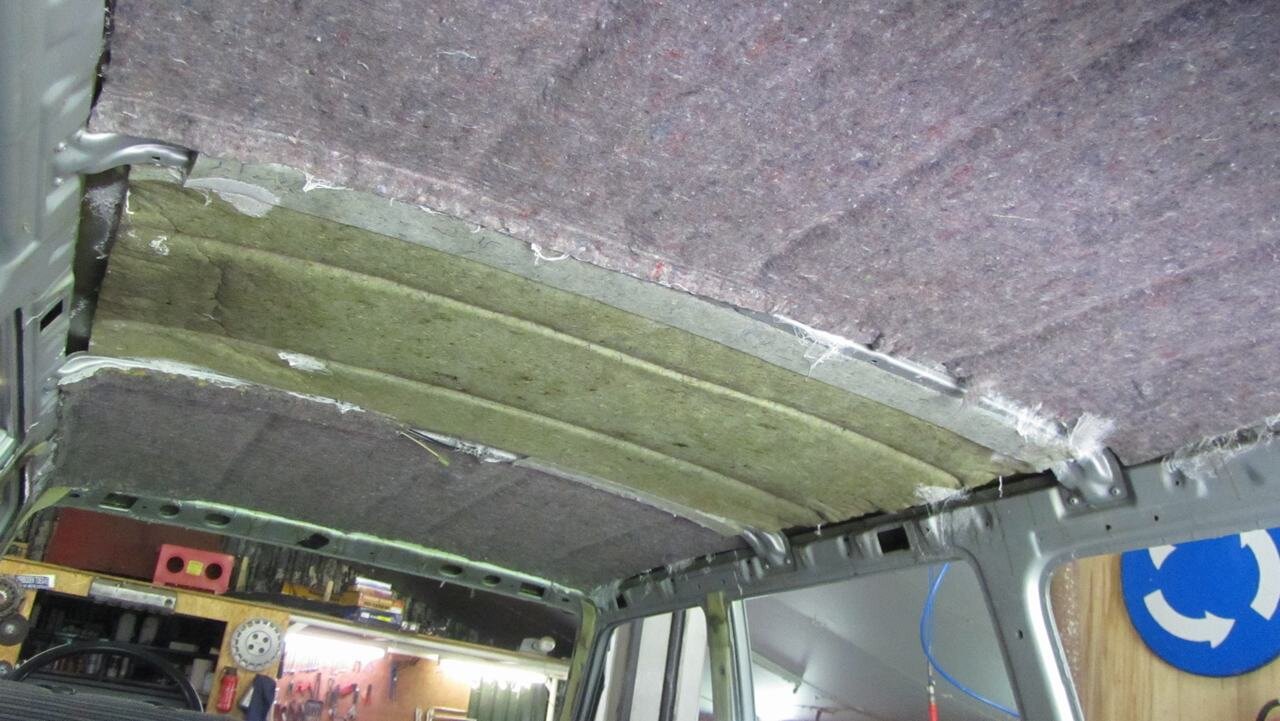
Parts of the roof isolation came loose. Check out the freaky stuff that came out of there
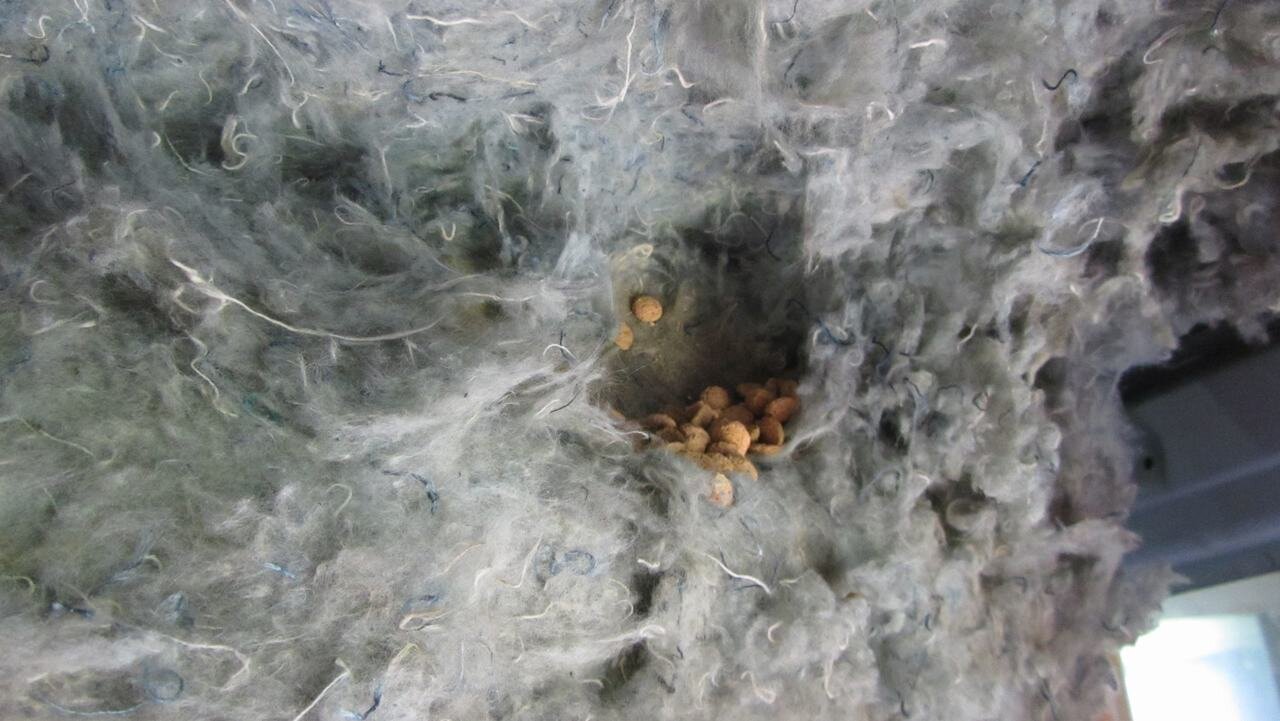
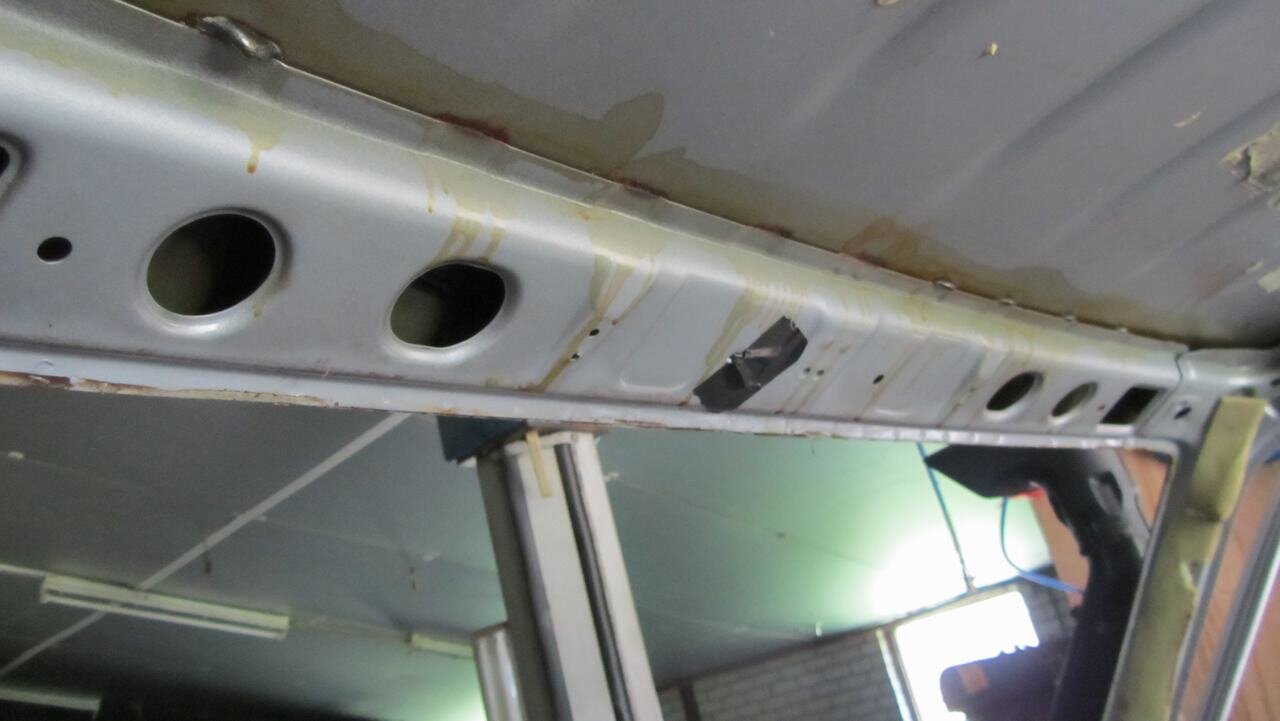
On of the reasons to get the headliner out was to gain access to the inner roof profiles. Spraying them from the inside will protect it in the future.
On the A-pillar, the spray even came out through some spots on the paint. I would never have thought there was a hole their, and without protecting it from the inside, rust on the long term would have been a cetainty.
new isolation glued in
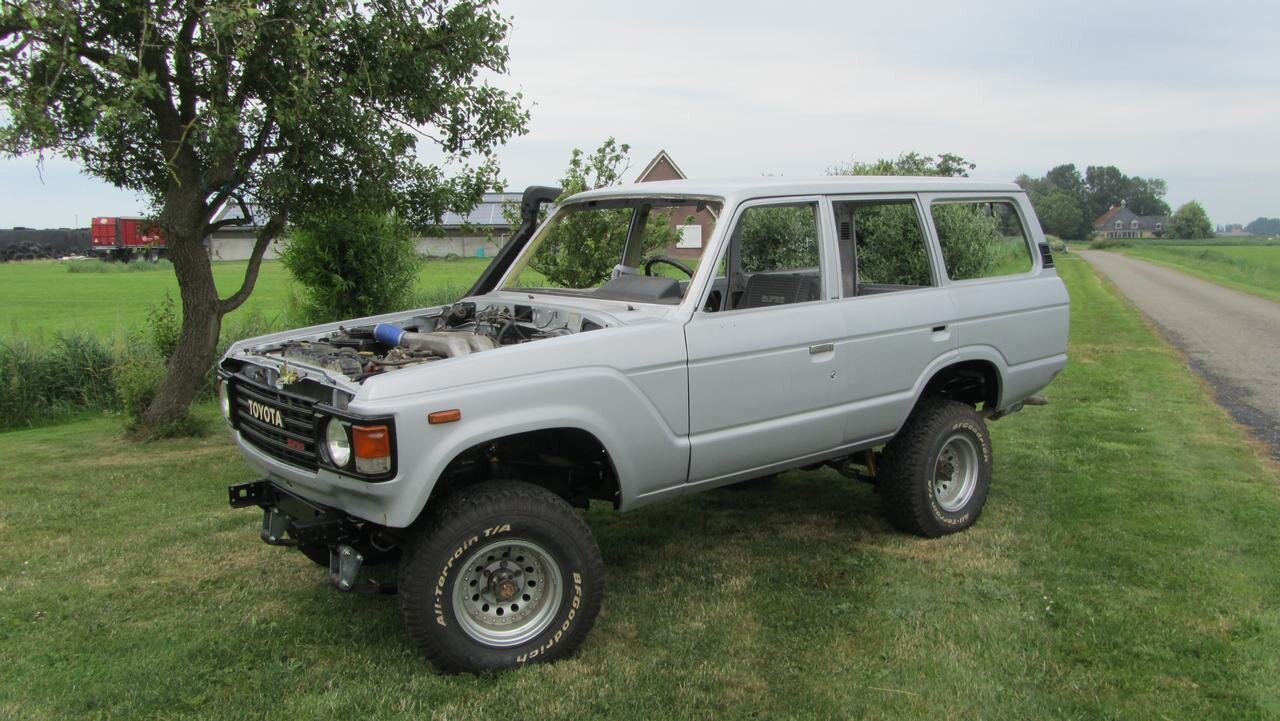
A bit of a test ride
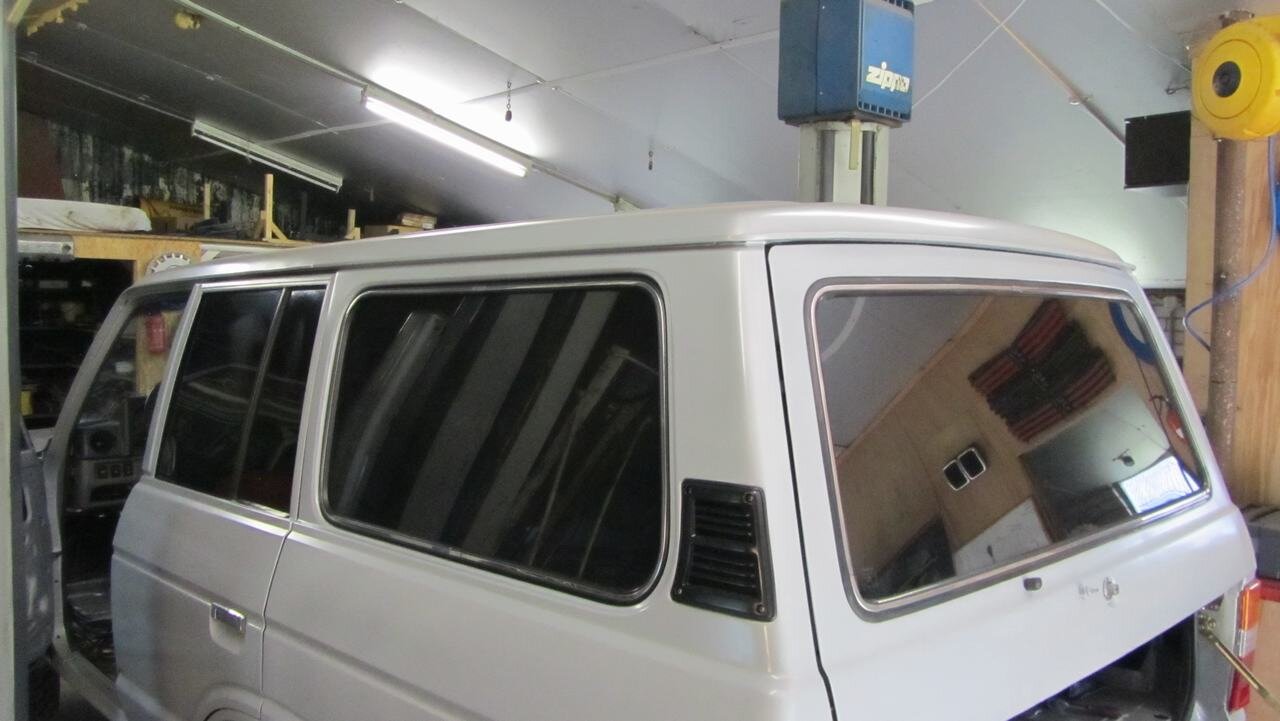
New rear window, and Dibond side panels. As the truck will be converted to commercial vehicle (hugh tax advance) glass is not allowed.
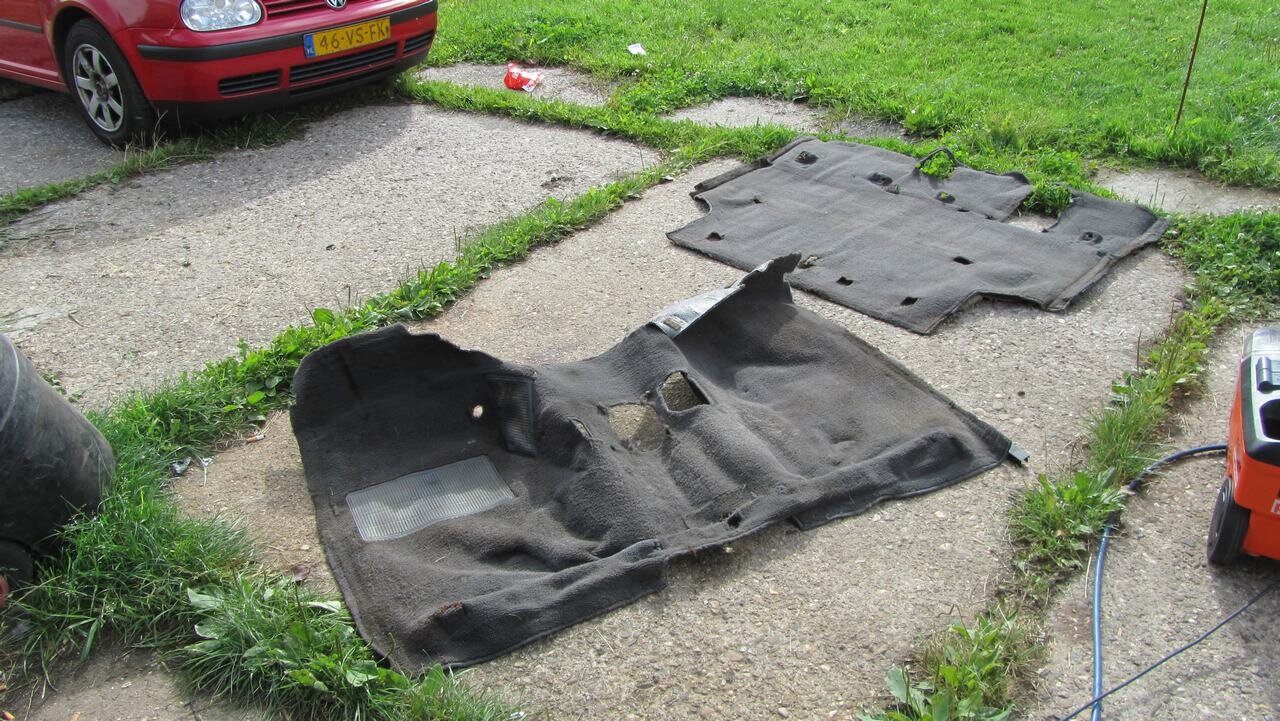
carpet cleaning
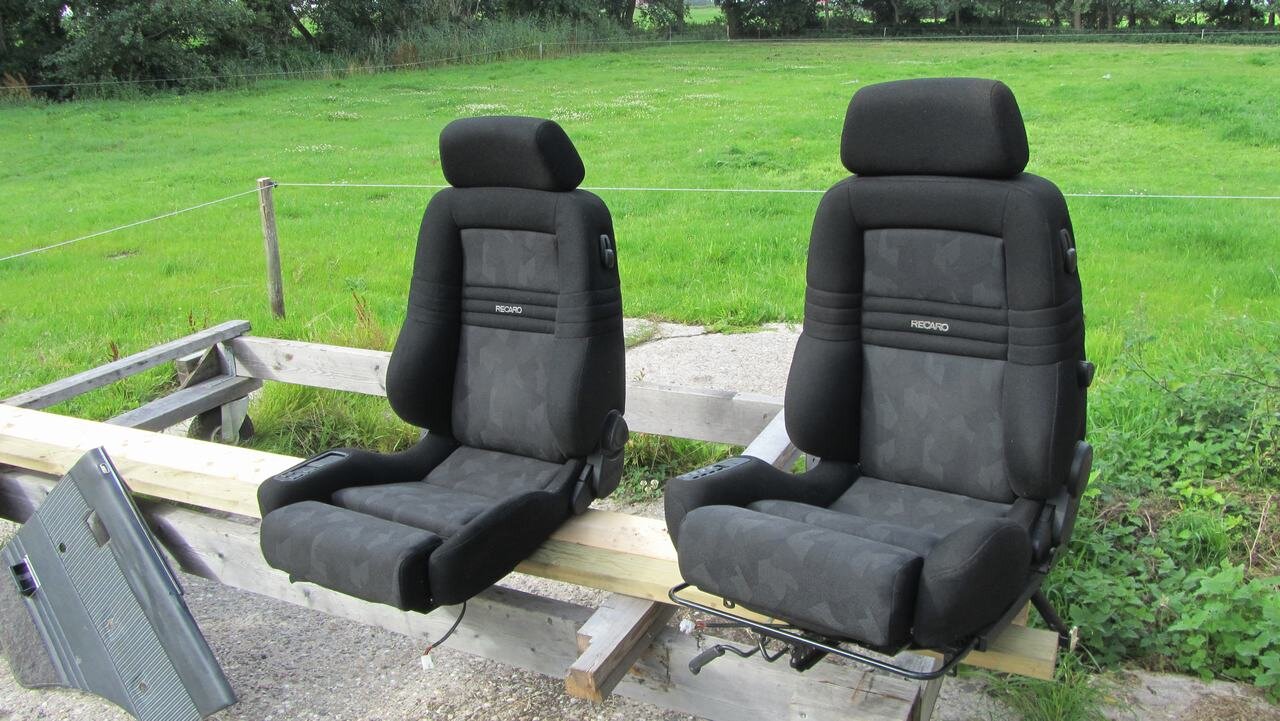
two new(ish) recaro seats.
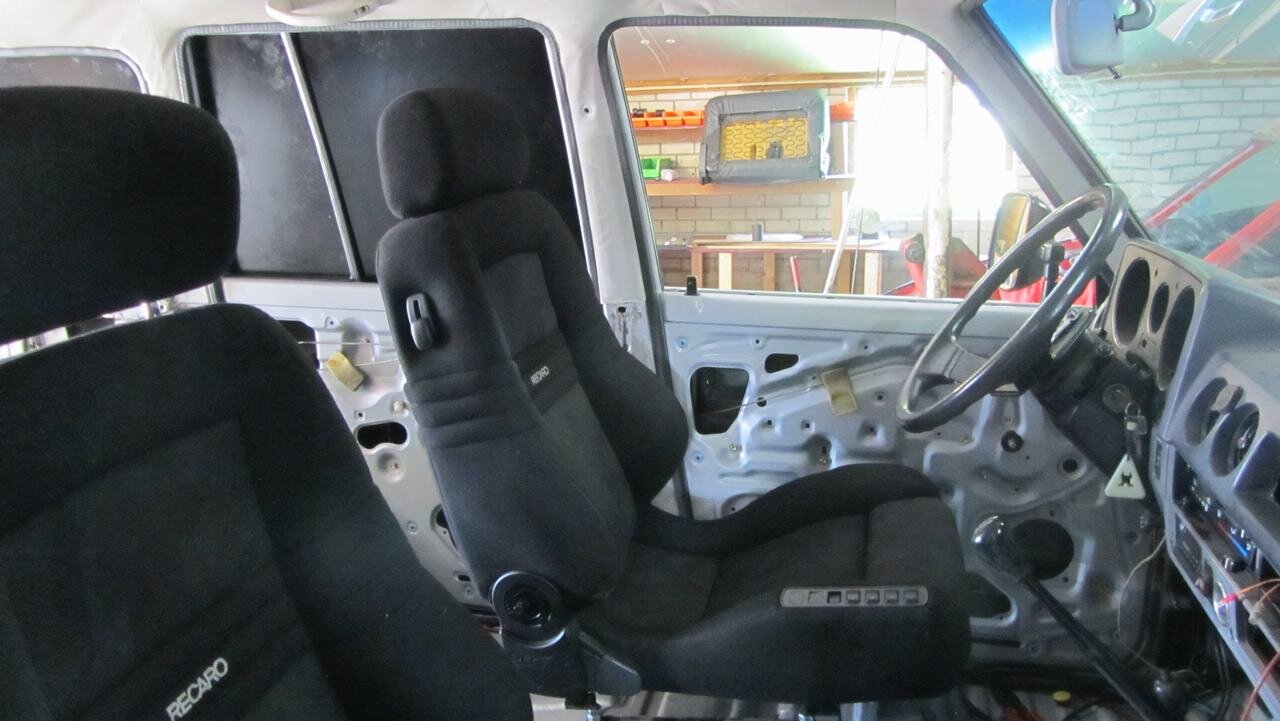
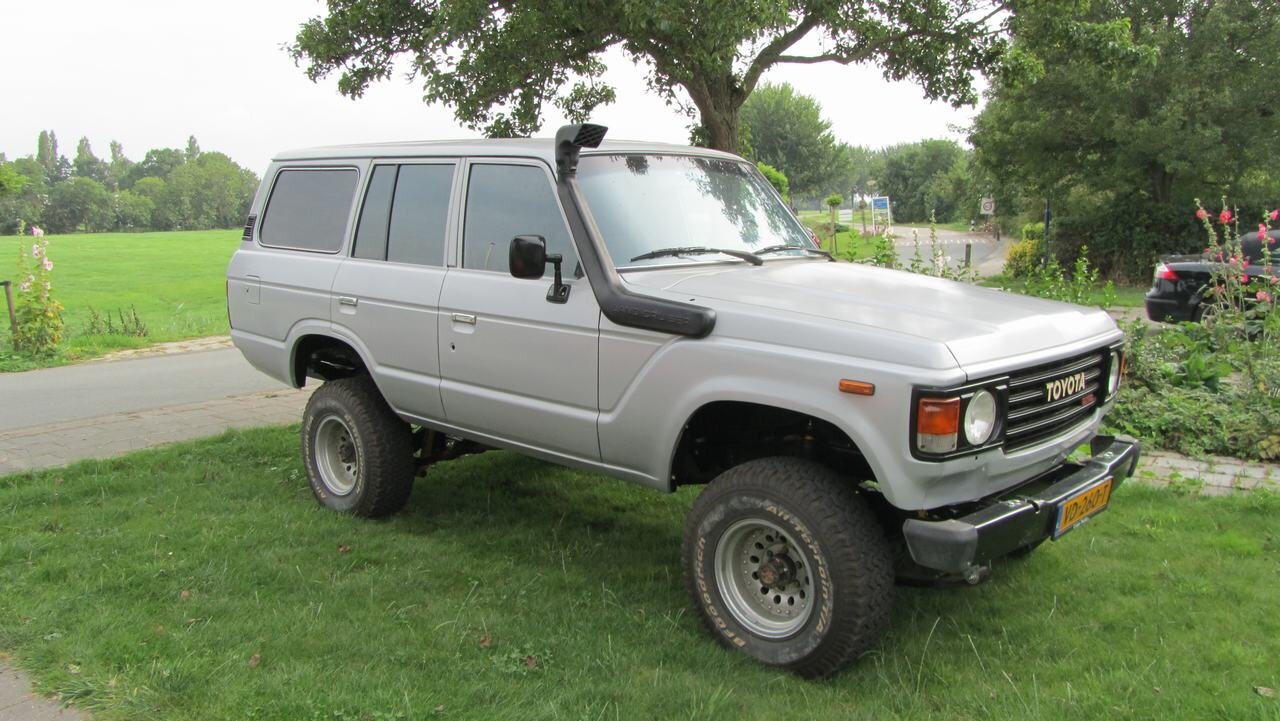
Yesterdays status.truck is coming together more and more.
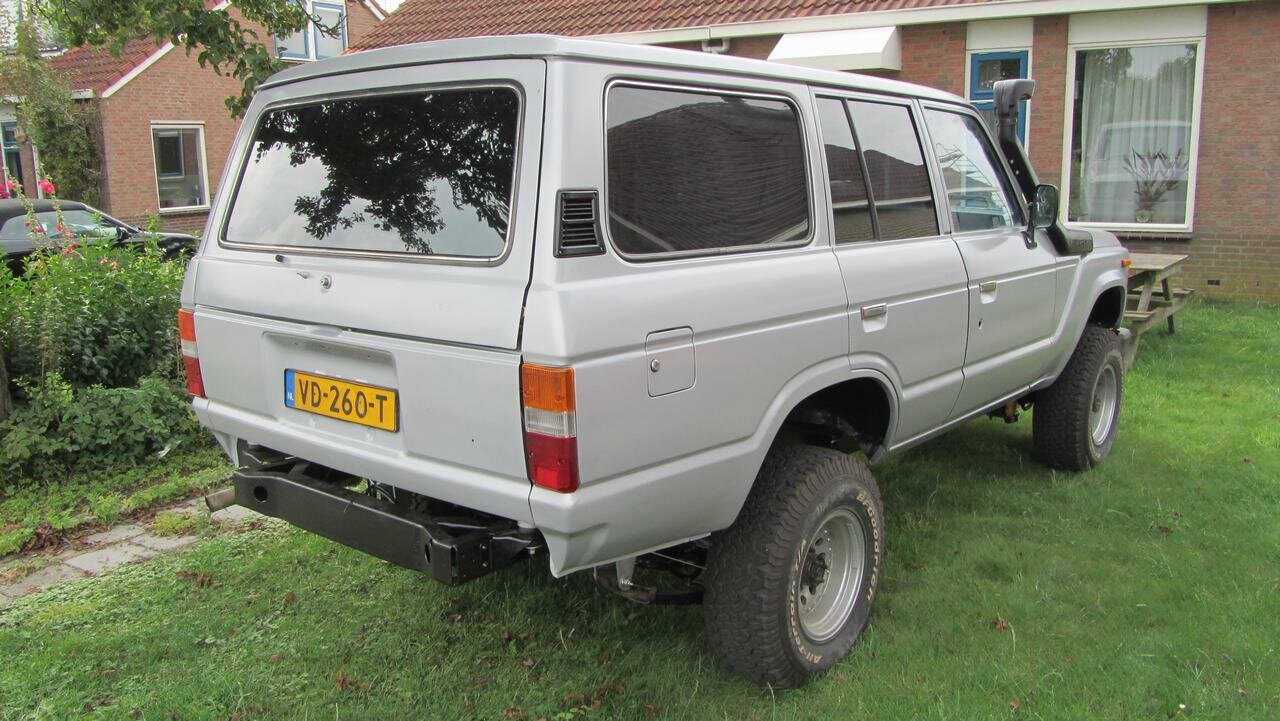
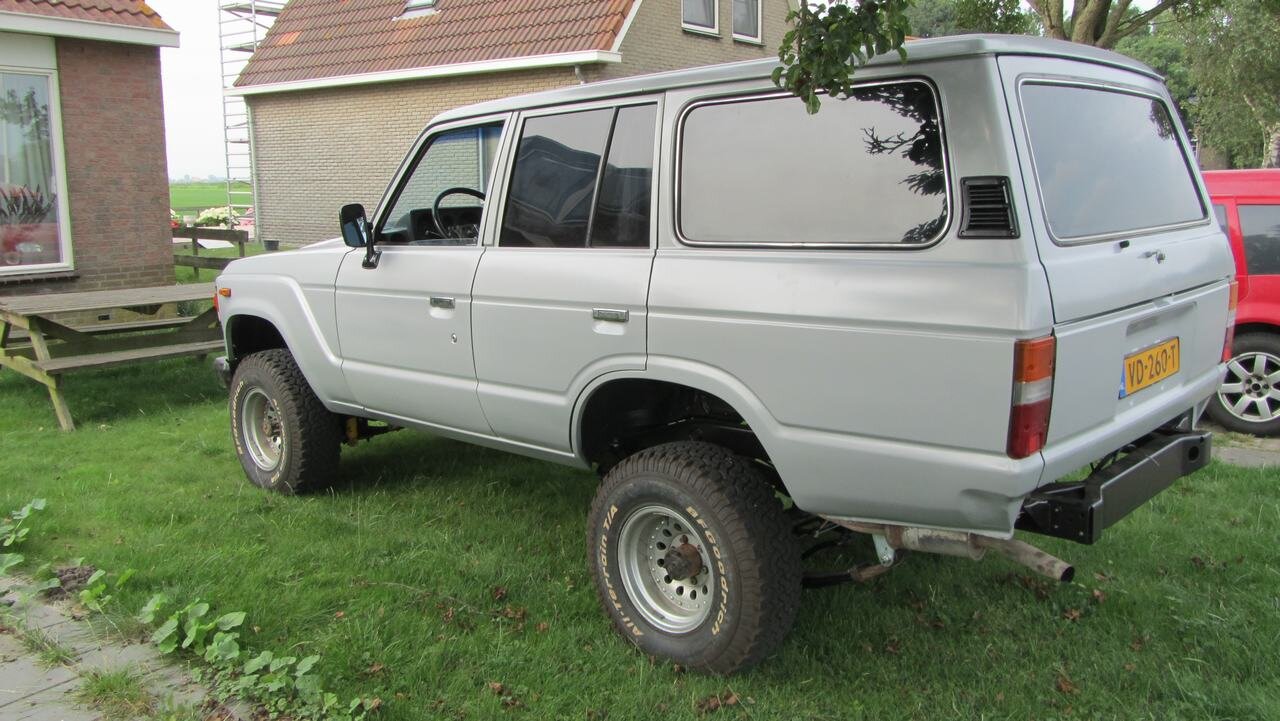
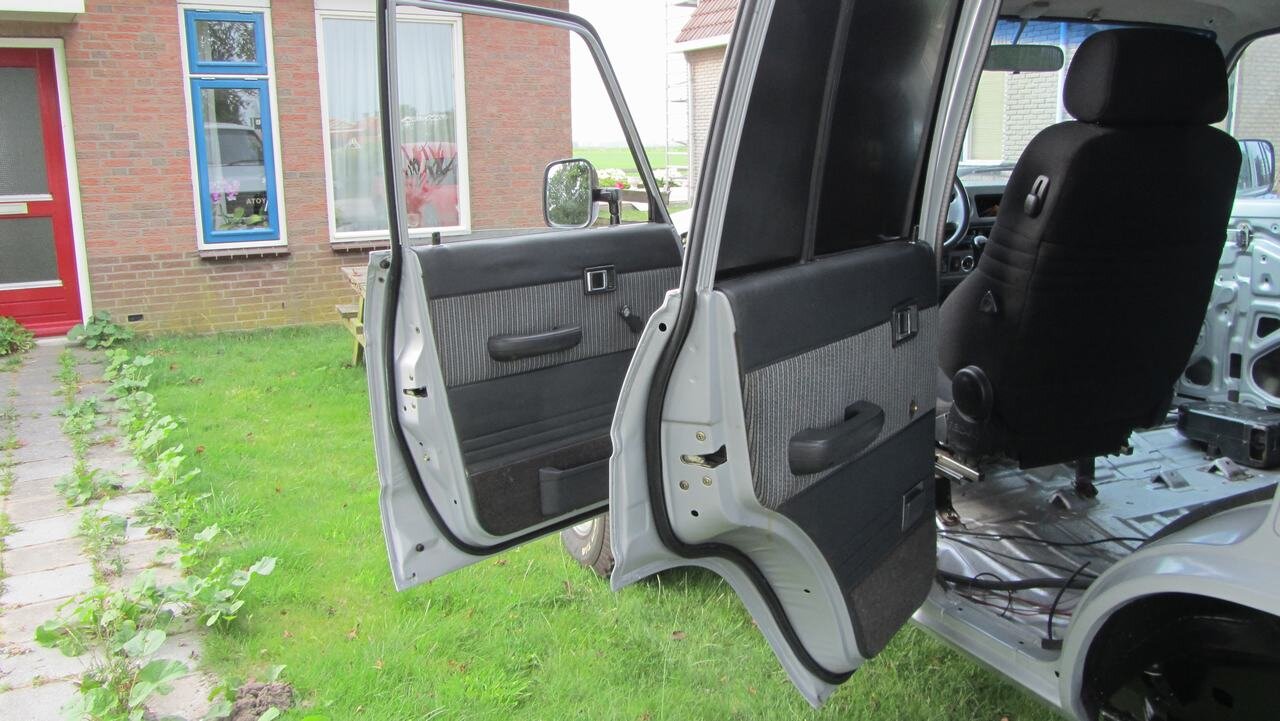
next up is finishing all the small bits and pieces. Mostly looking for parts missing, or trying to remember where parts came from
Again, it's been a while but here's an update on the project.

Parts of the roof isolation came loose. Check out the freaky stuff that came out of there


On of the reasons to get the headliner out was to gain access to the inner roof profiles. Spraying them from the inside will protect it in the future.
On the A-pillar, the spray even came out through some spots on the paint. I would never have thought there was a hole their, and without protecting it from the inside, rust on the long term would have been a cetainty.

new isolation glued in

A bit of a test ride

New rear window, and Dibond side panels. As the truck will be converted to commercial vehicle (hugh tax advance) glass is not allowed.

carpet cleaning

two new(ish) recaro seats.


Yesterdays status.truck is coming together more and more.


next up is finishing all the small bits and pieces. Mostly looking for parts missing, or trying to remember where parts came from
Craigmorley
Well-Known Member
- Joined
- Apr 26, 2014
- Messages
- 341
- Country Flag
Brilliant build jente can't wait to see more pics
Jente
Active Member
- Joined
- Jun 10, 2014
- Messages
- 83
- Country Flag
Oh boy, have I been lacking to give an update 
The cruiser has been up and running for a while now, and it has been used offroad at a pay and play side once.
Such a great feeling to finally get her up and running!
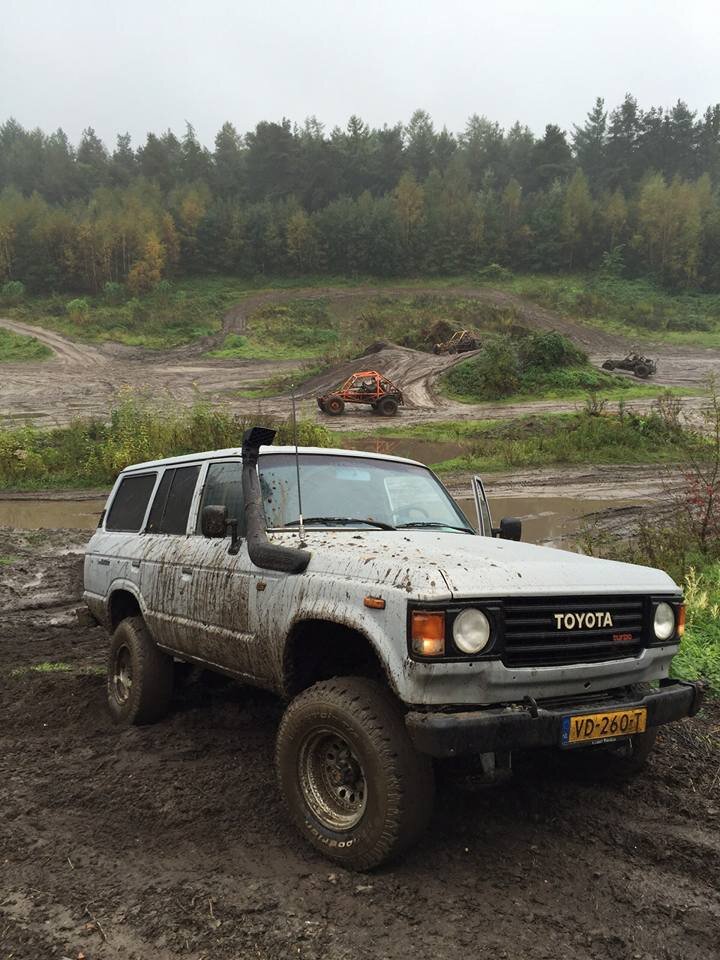
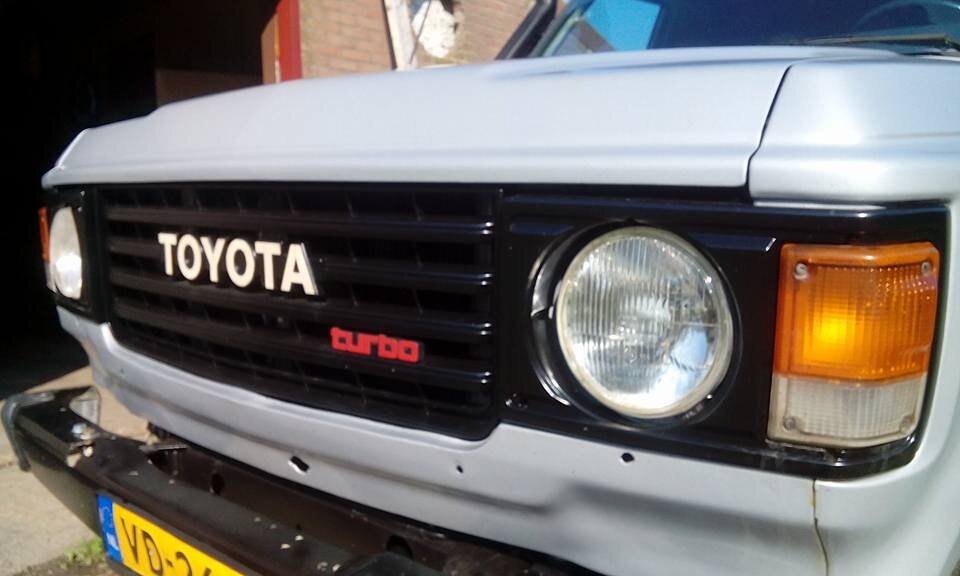
Last weeks project was installing a christmas gift:
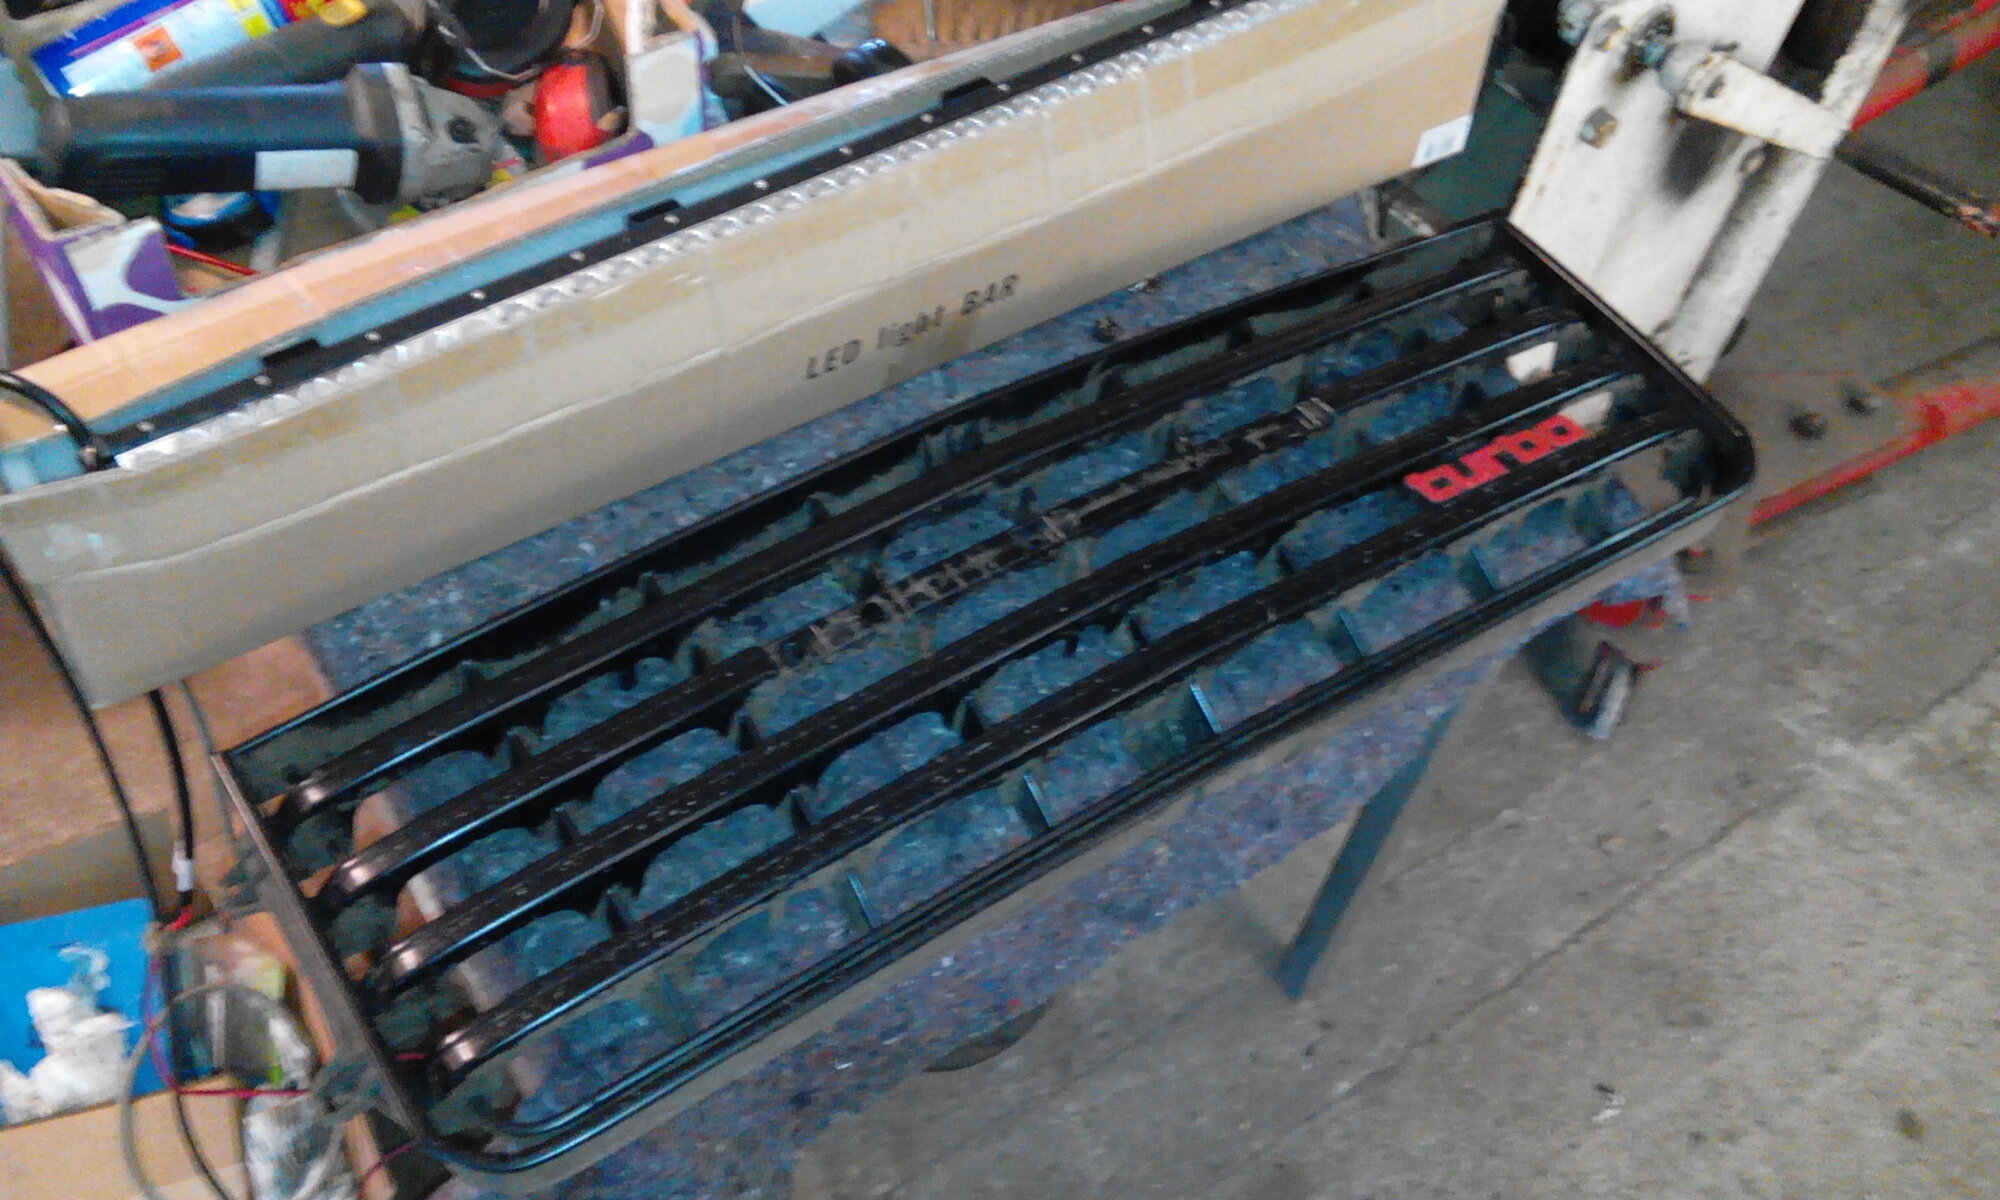
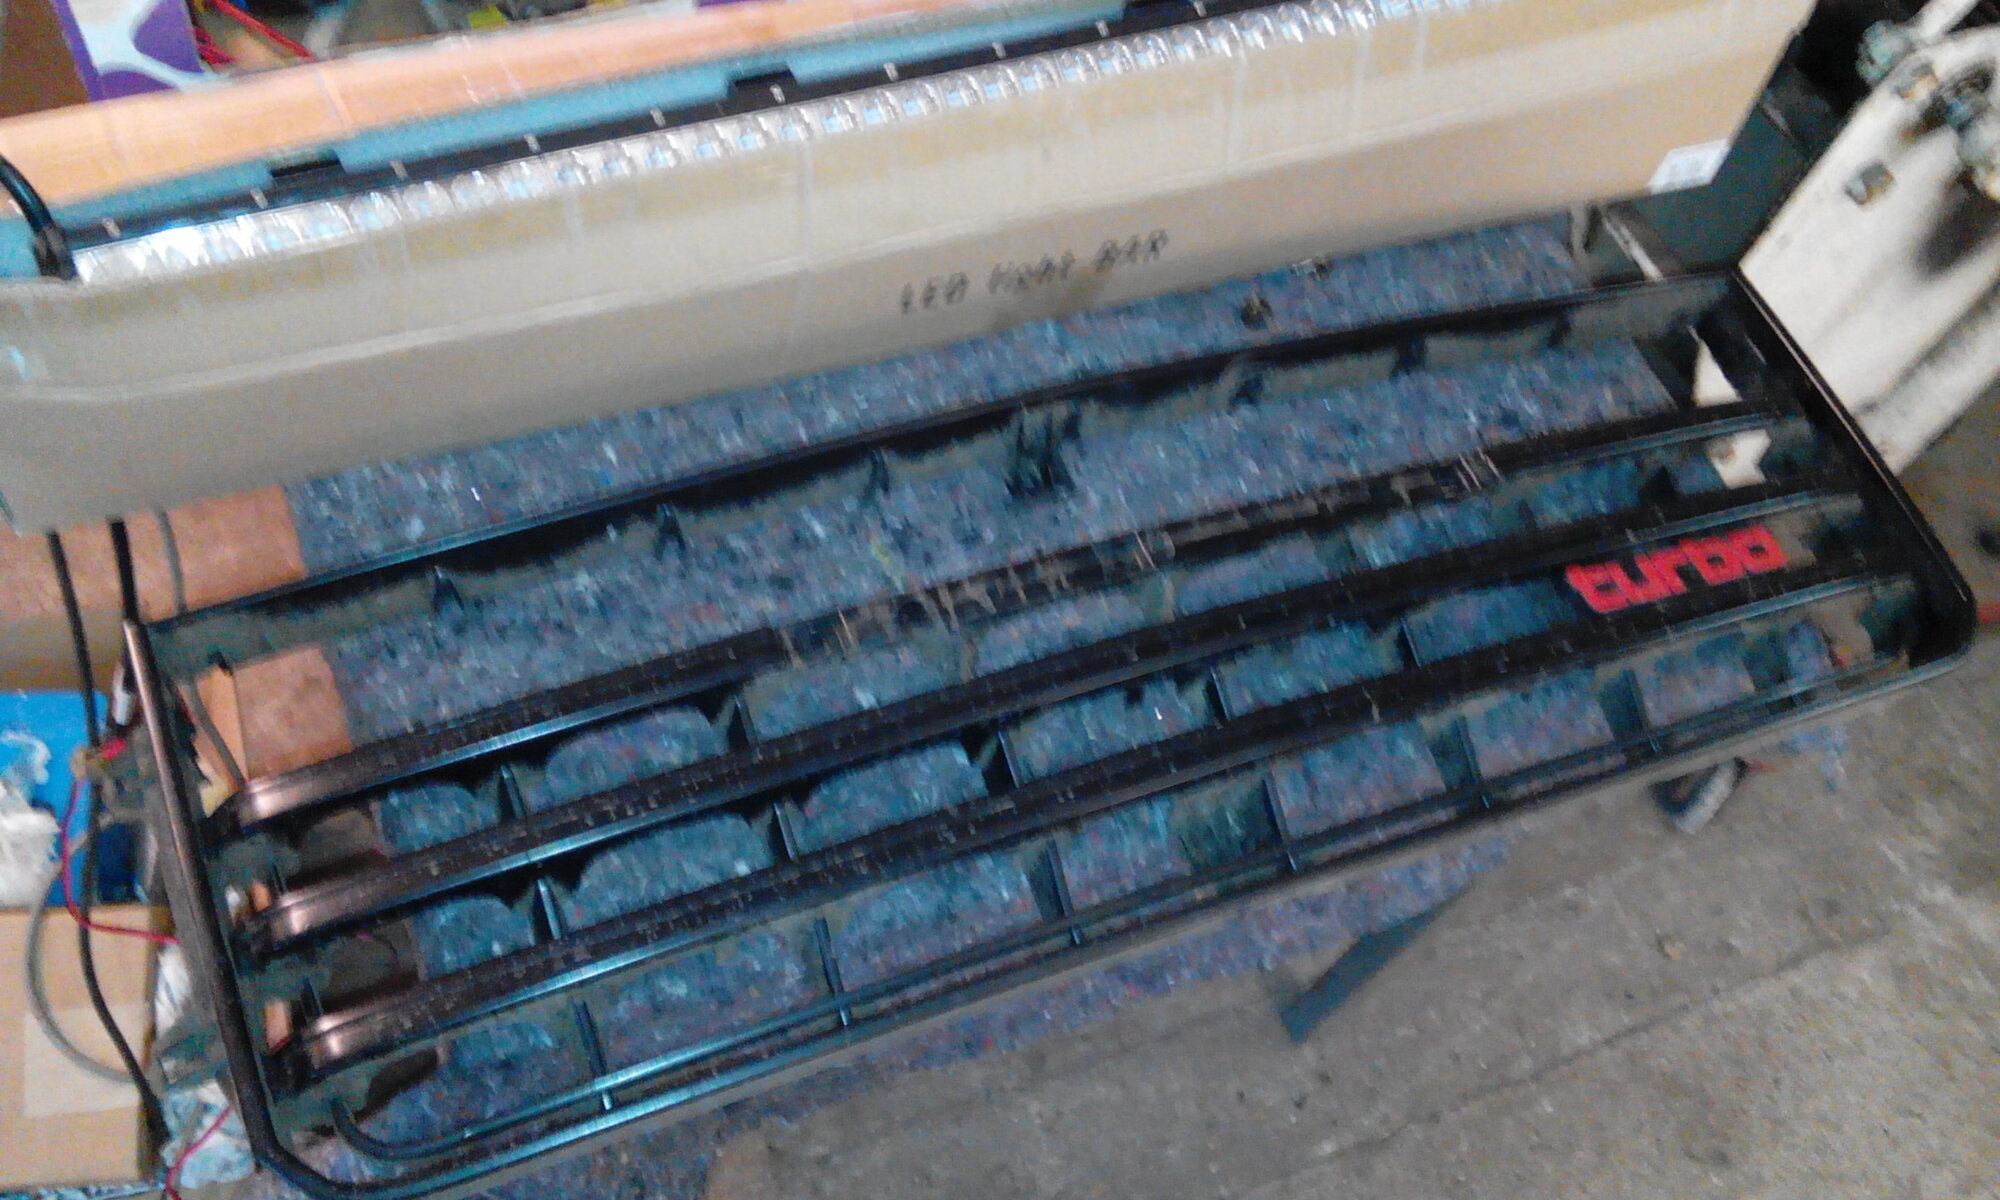
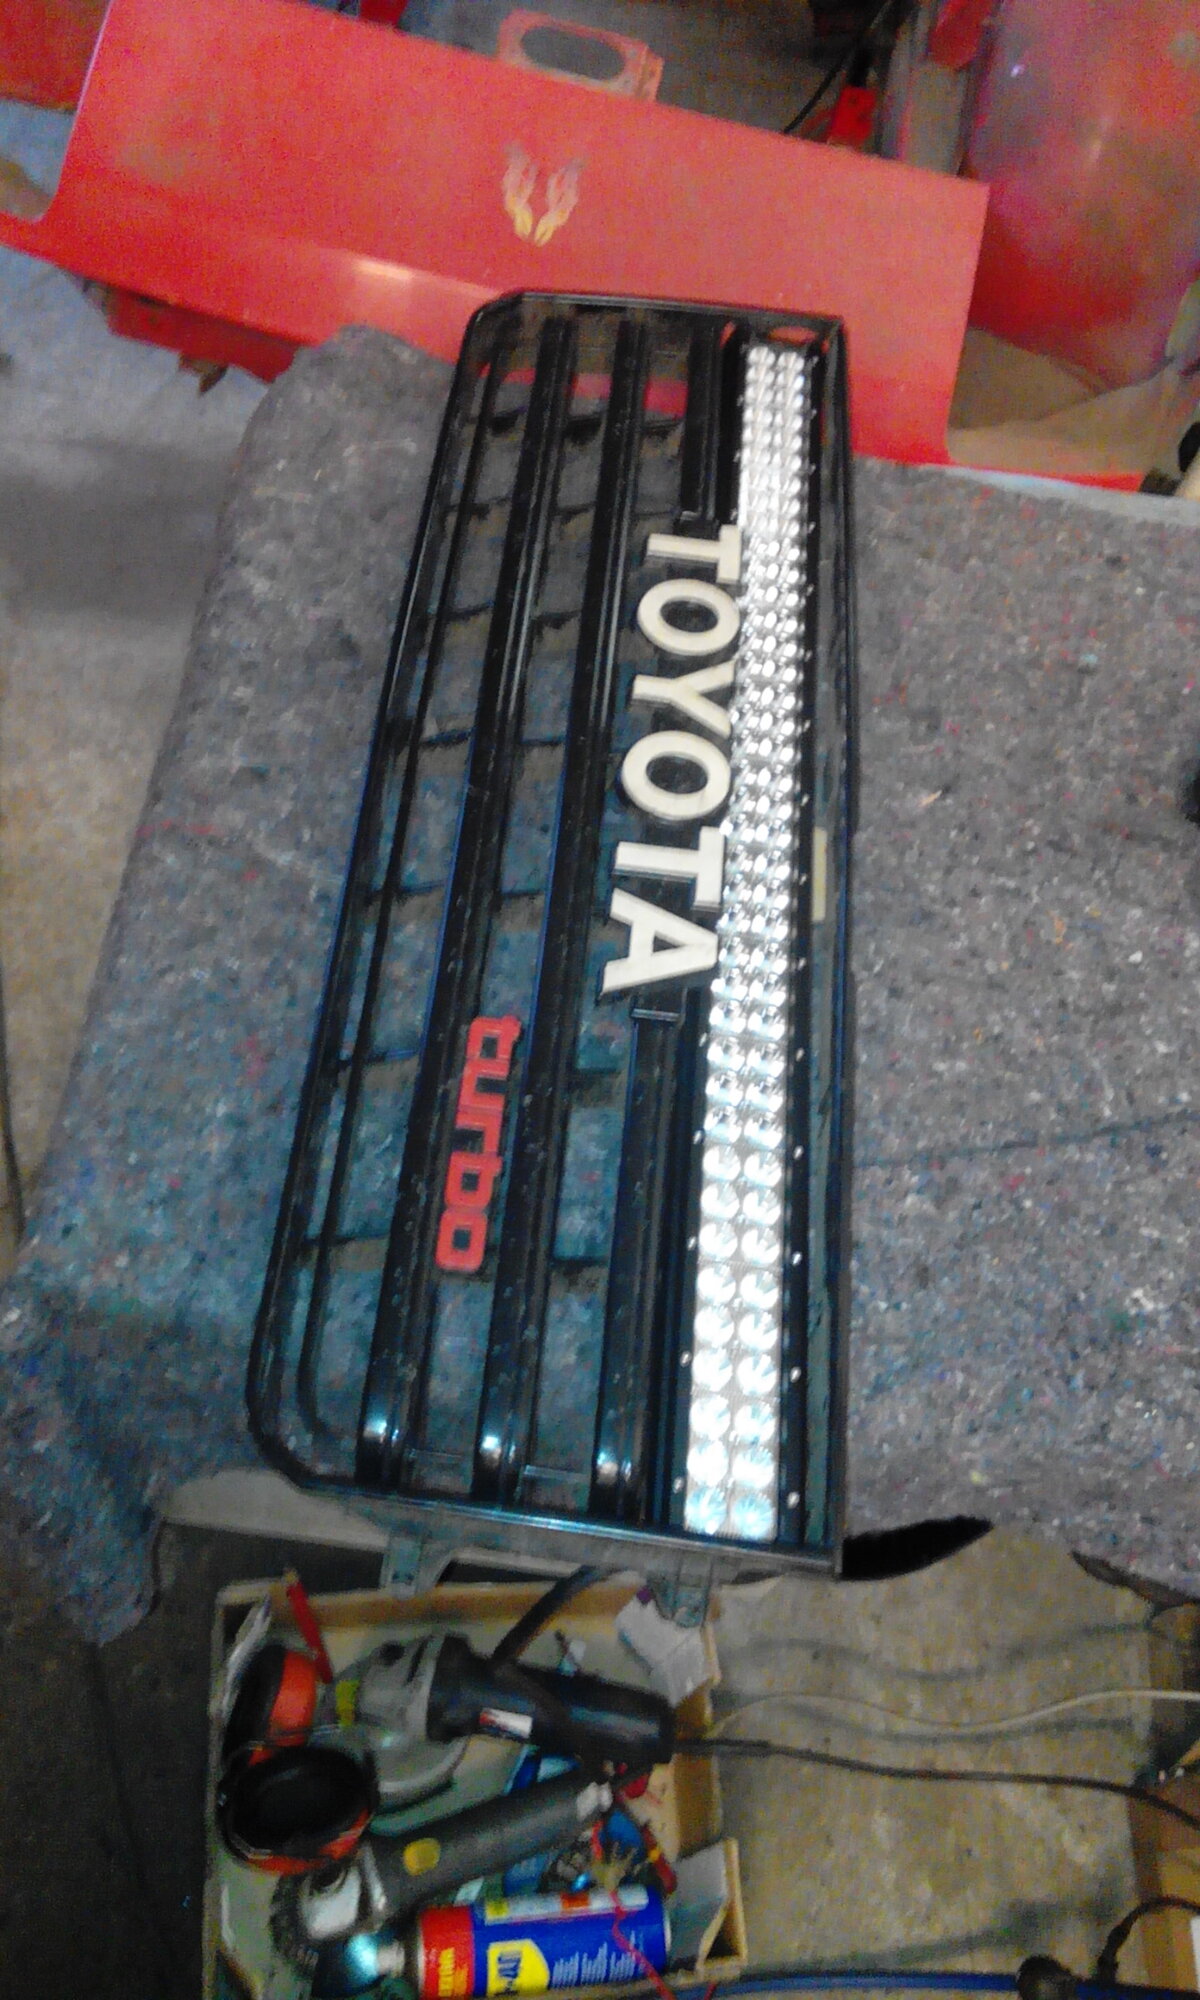
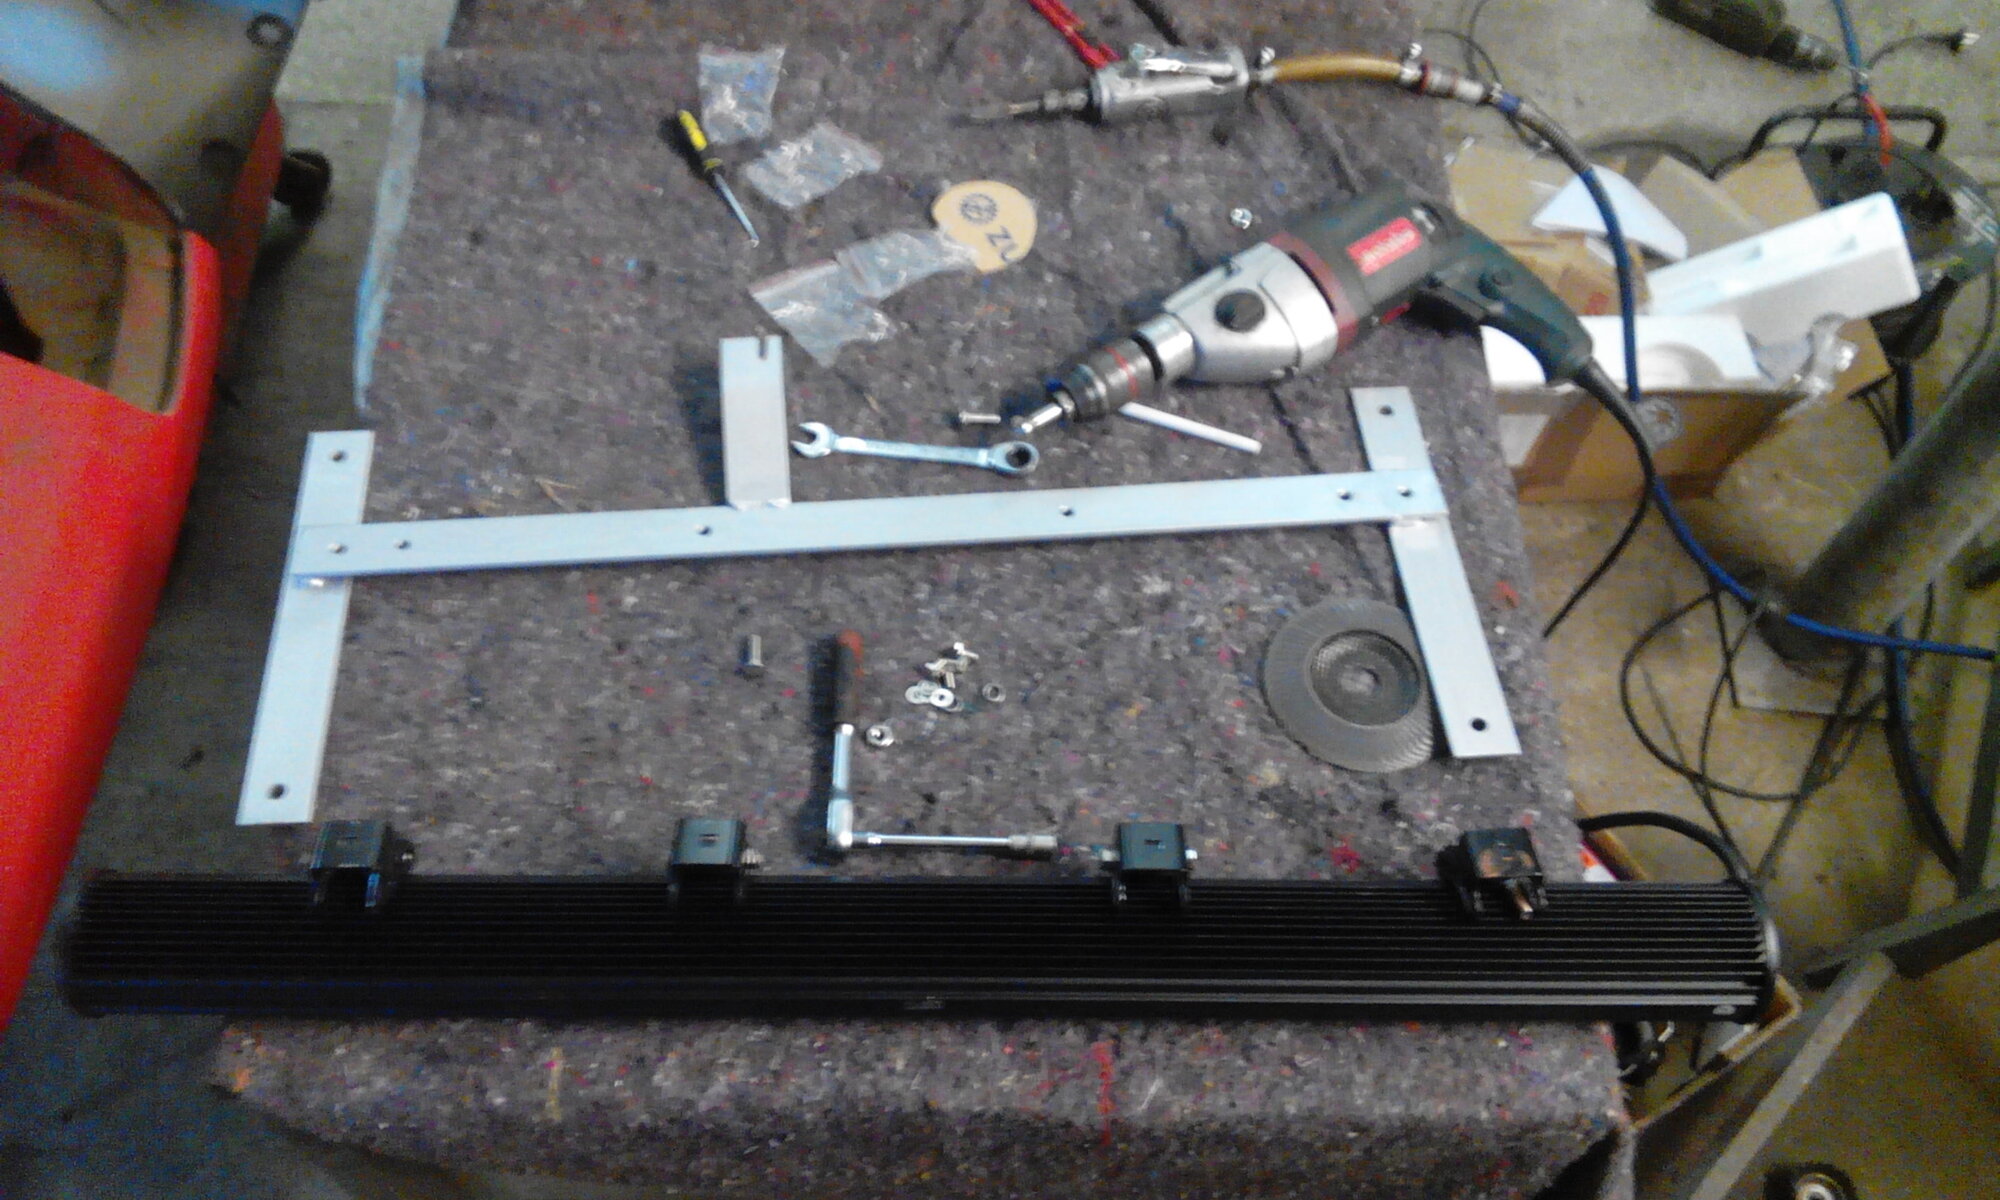
A 90cm led-bar . The grill needed rigourous modification to accomodate the bar, and it fits with minimal play on all sides.
I wanted the bar to be suspended in a bracket mounted to the steel behind the grill, so I made a bracket.
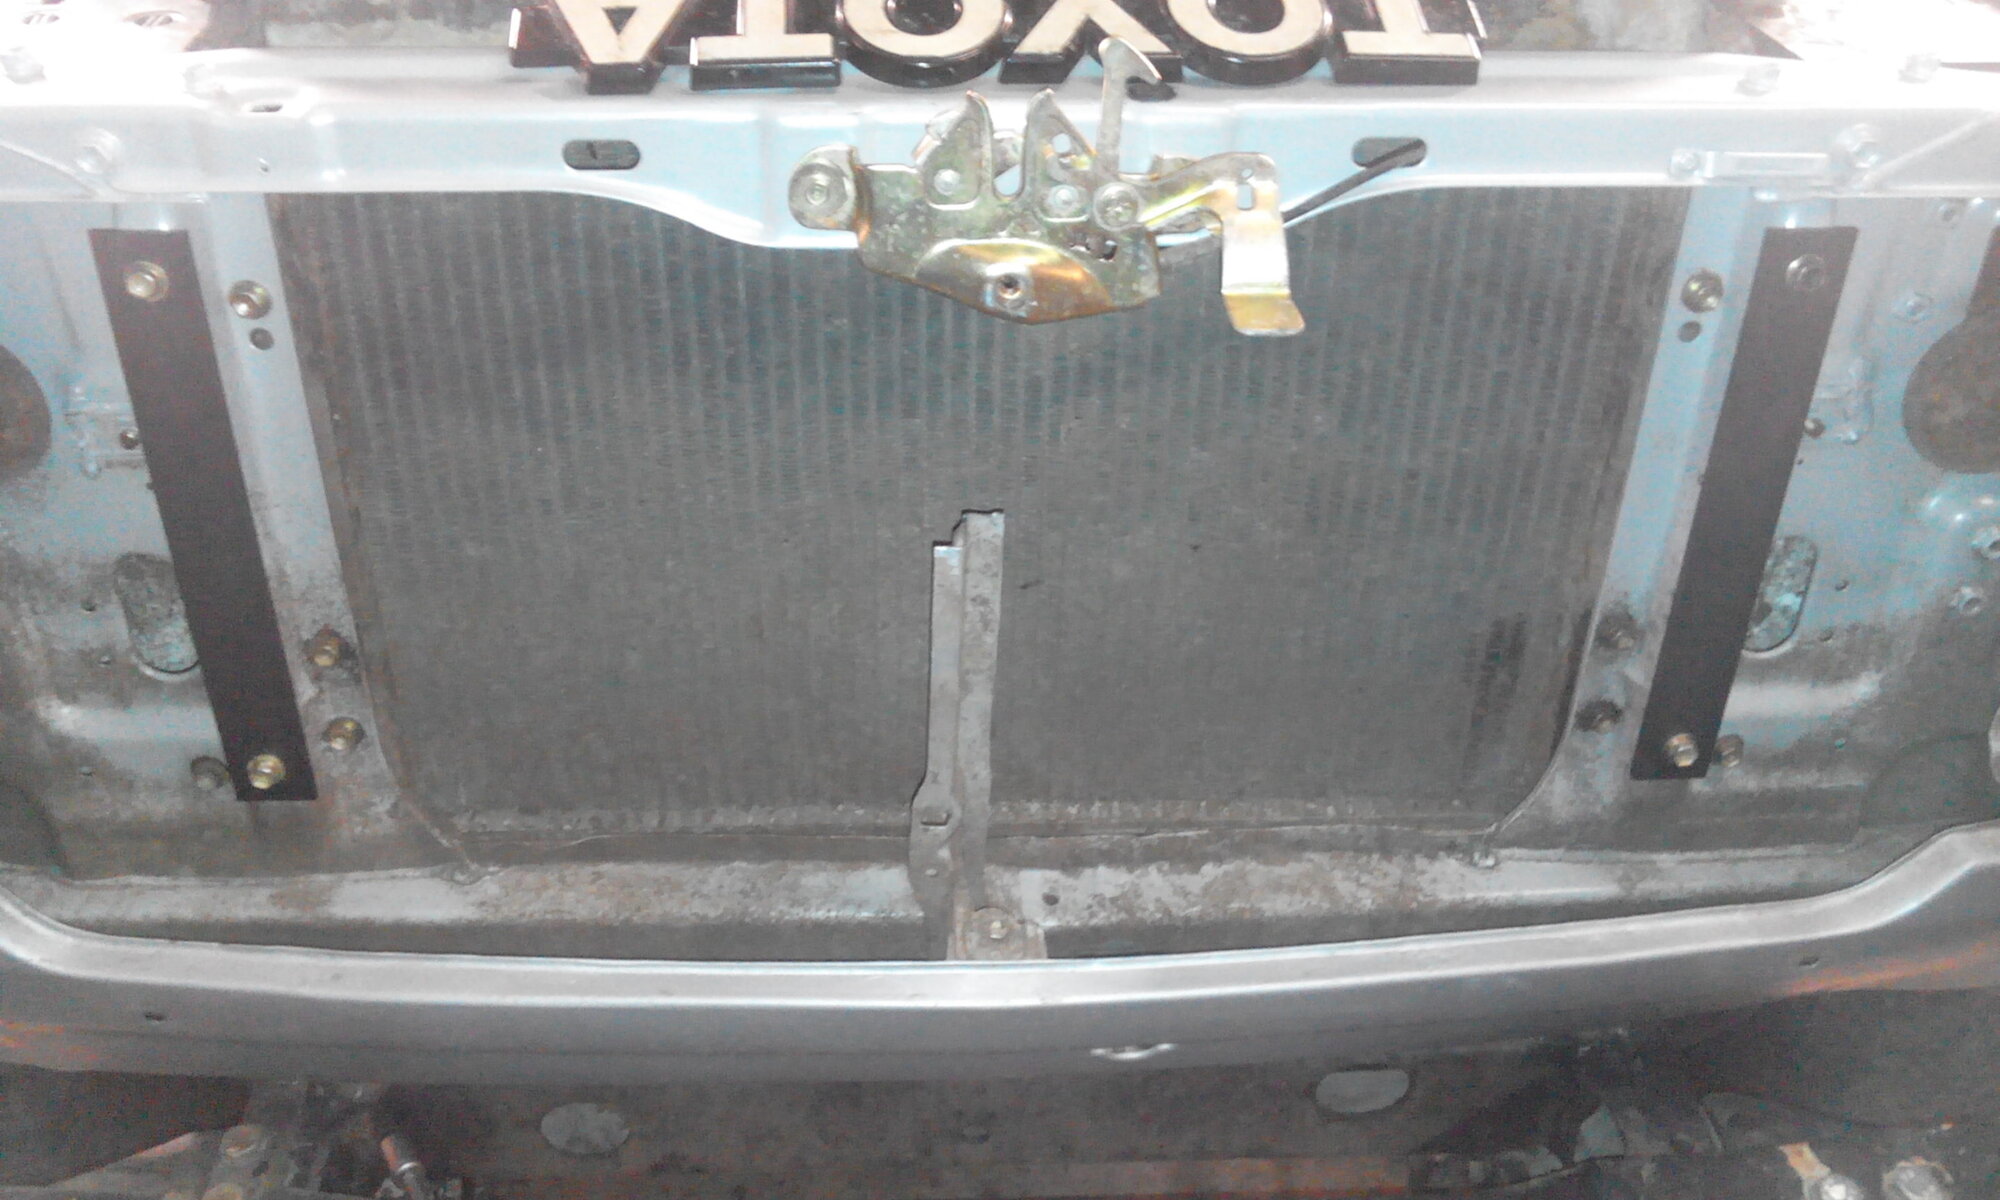
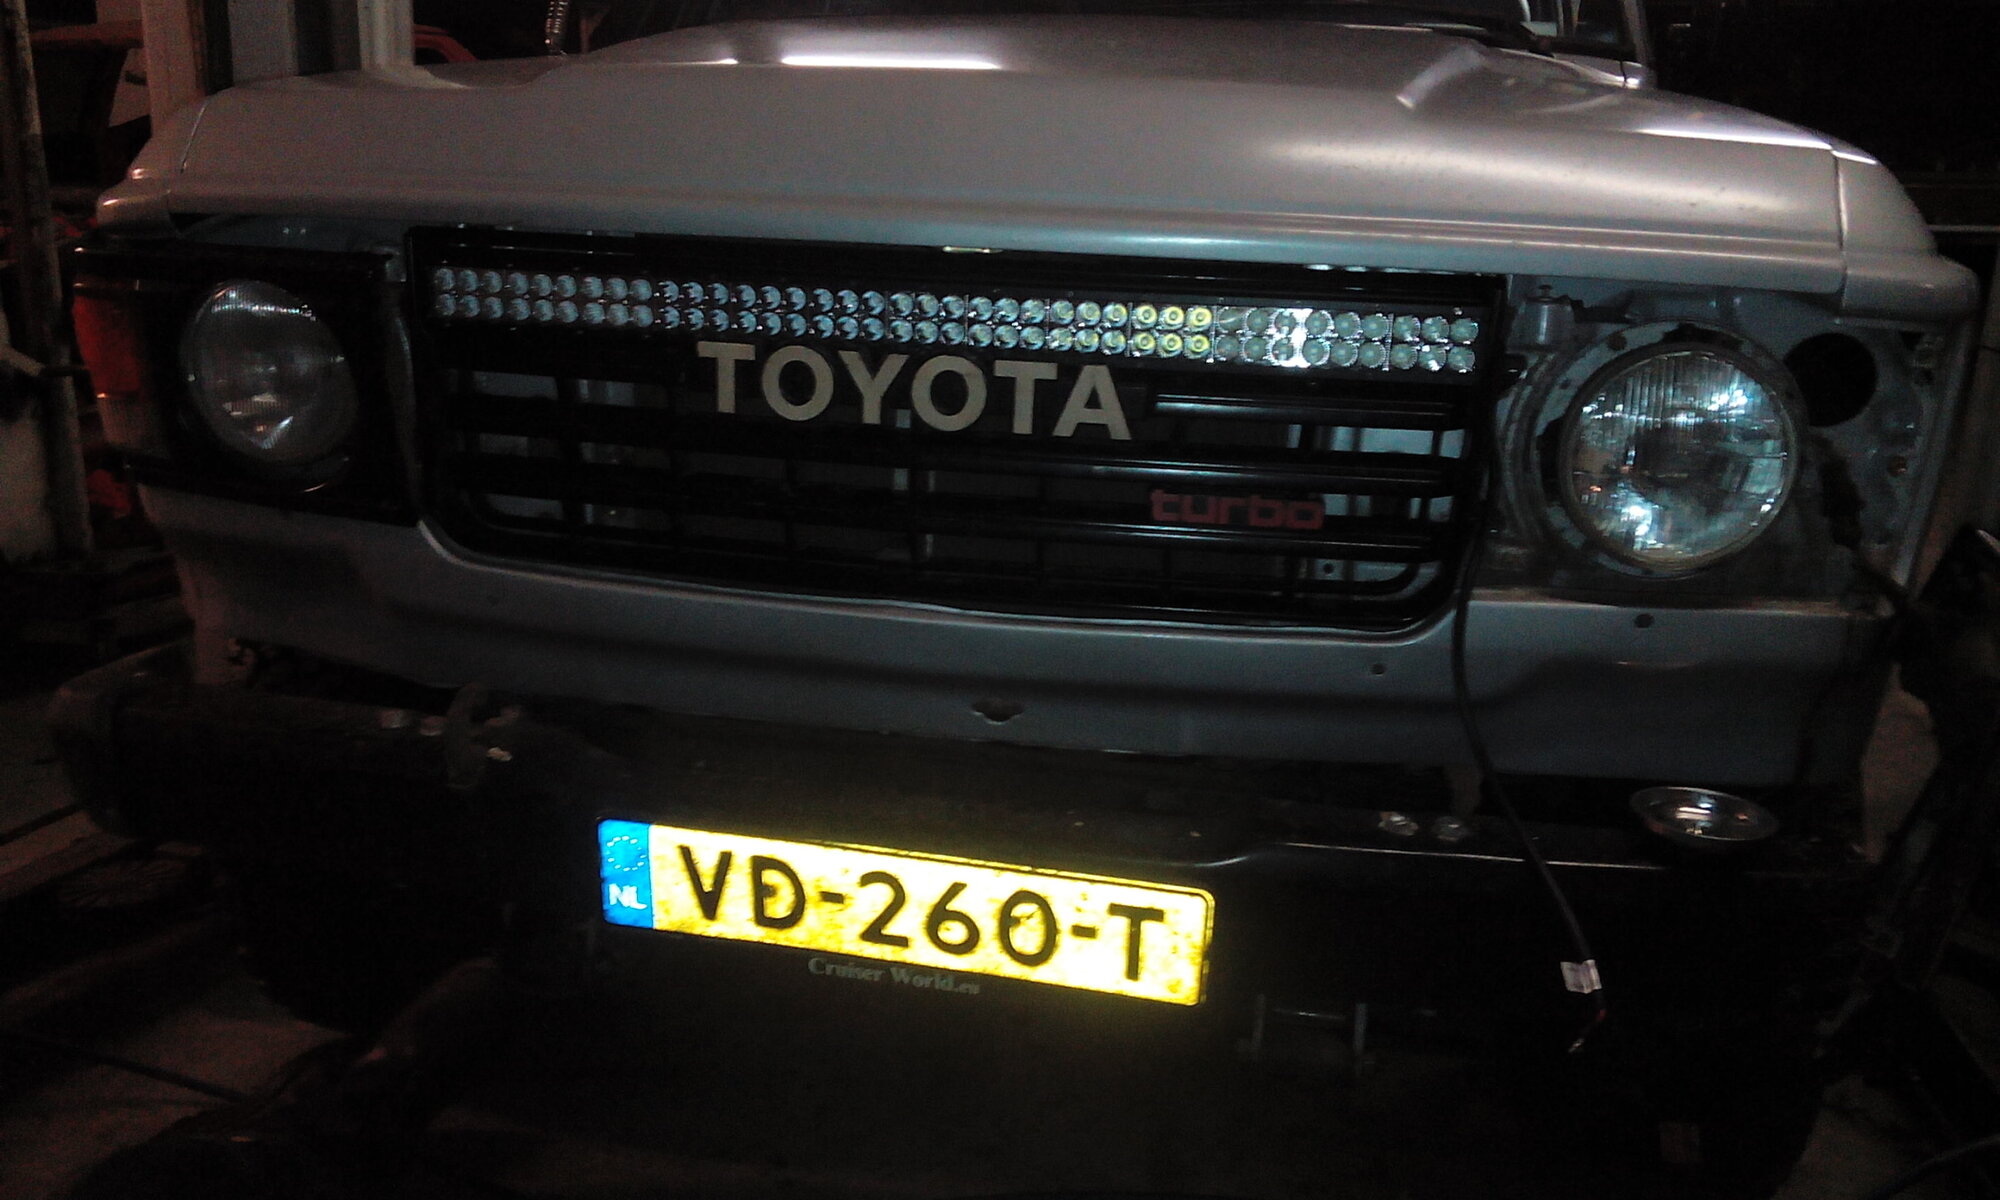
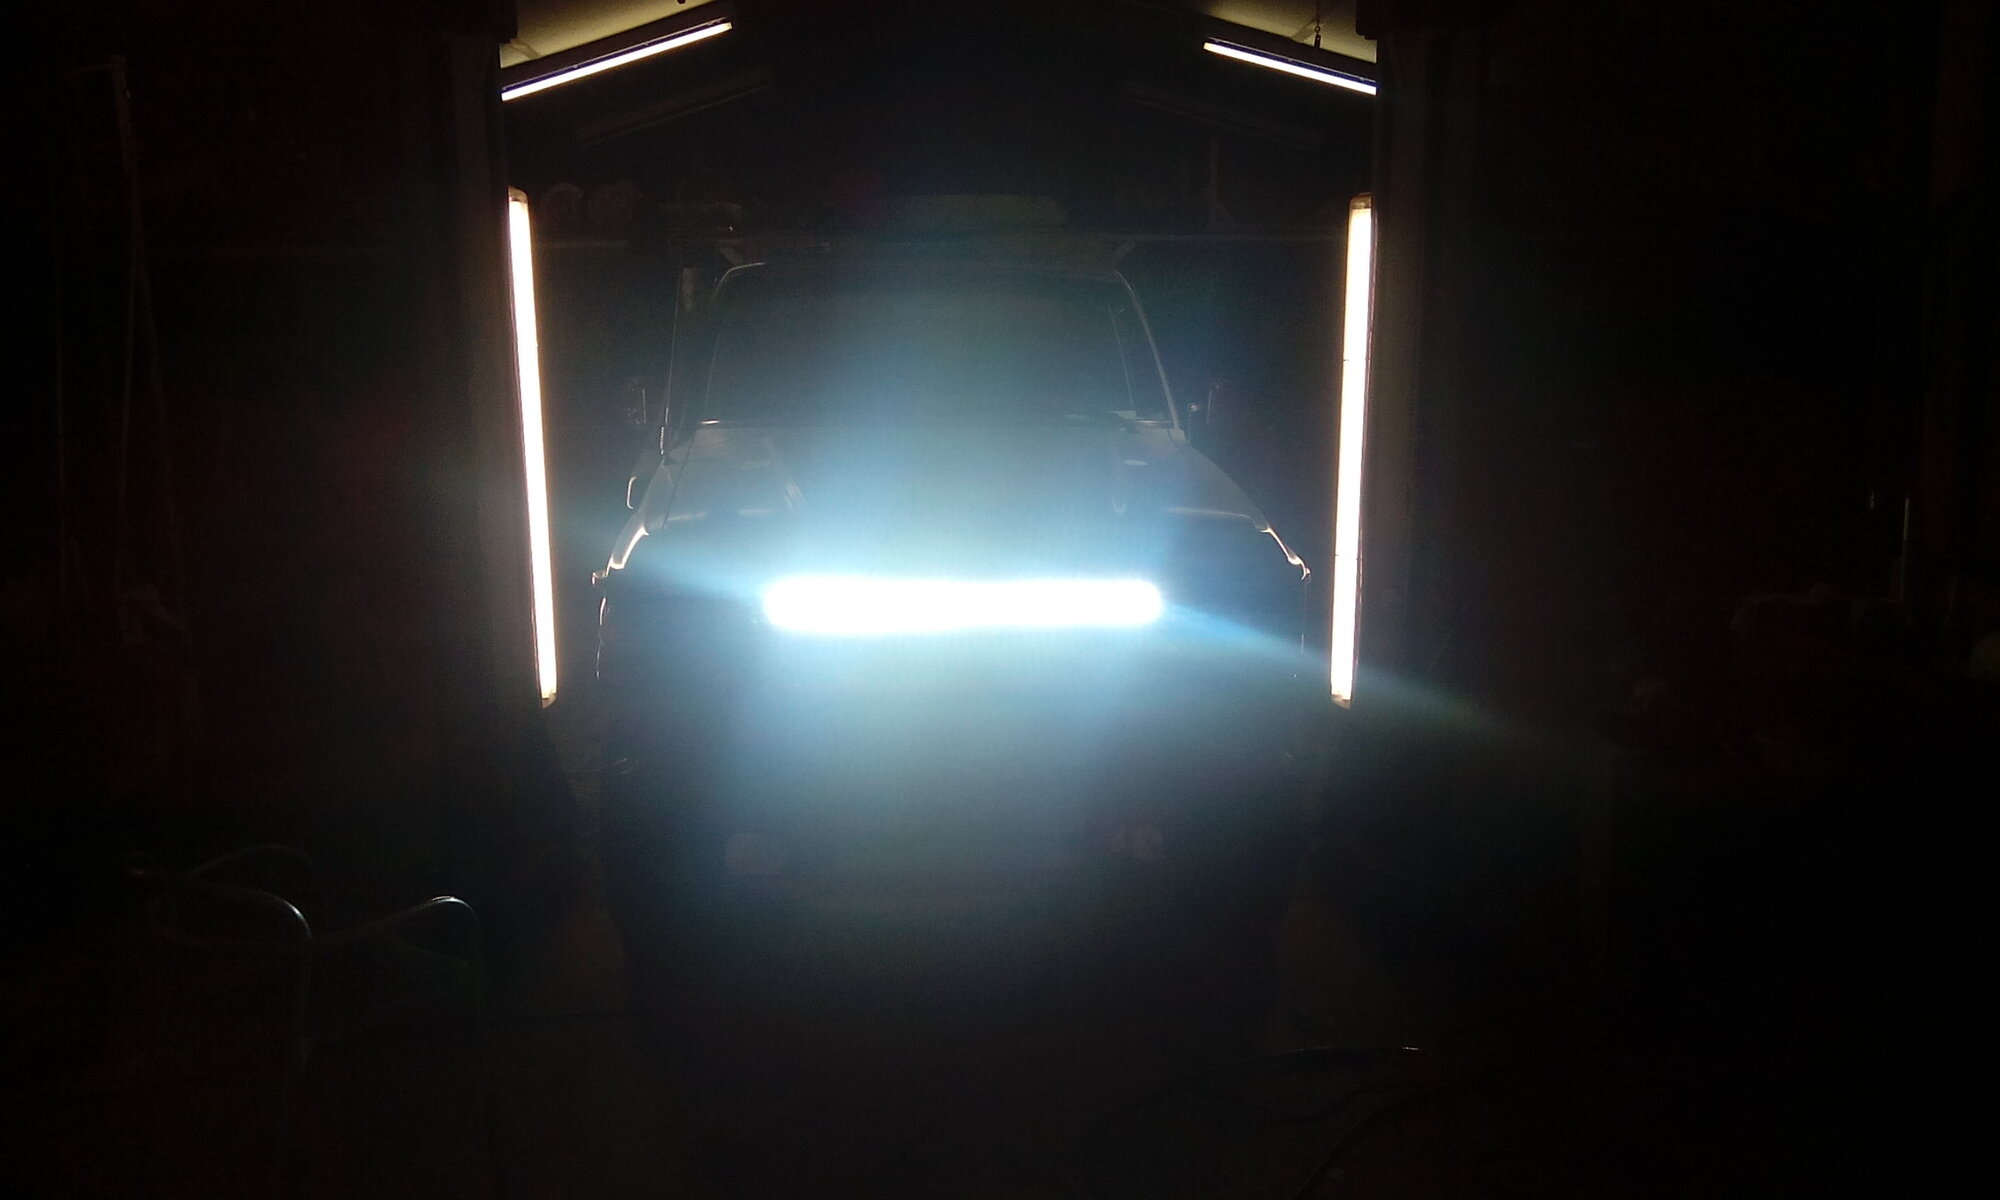
Oh boy, thats a lot of light

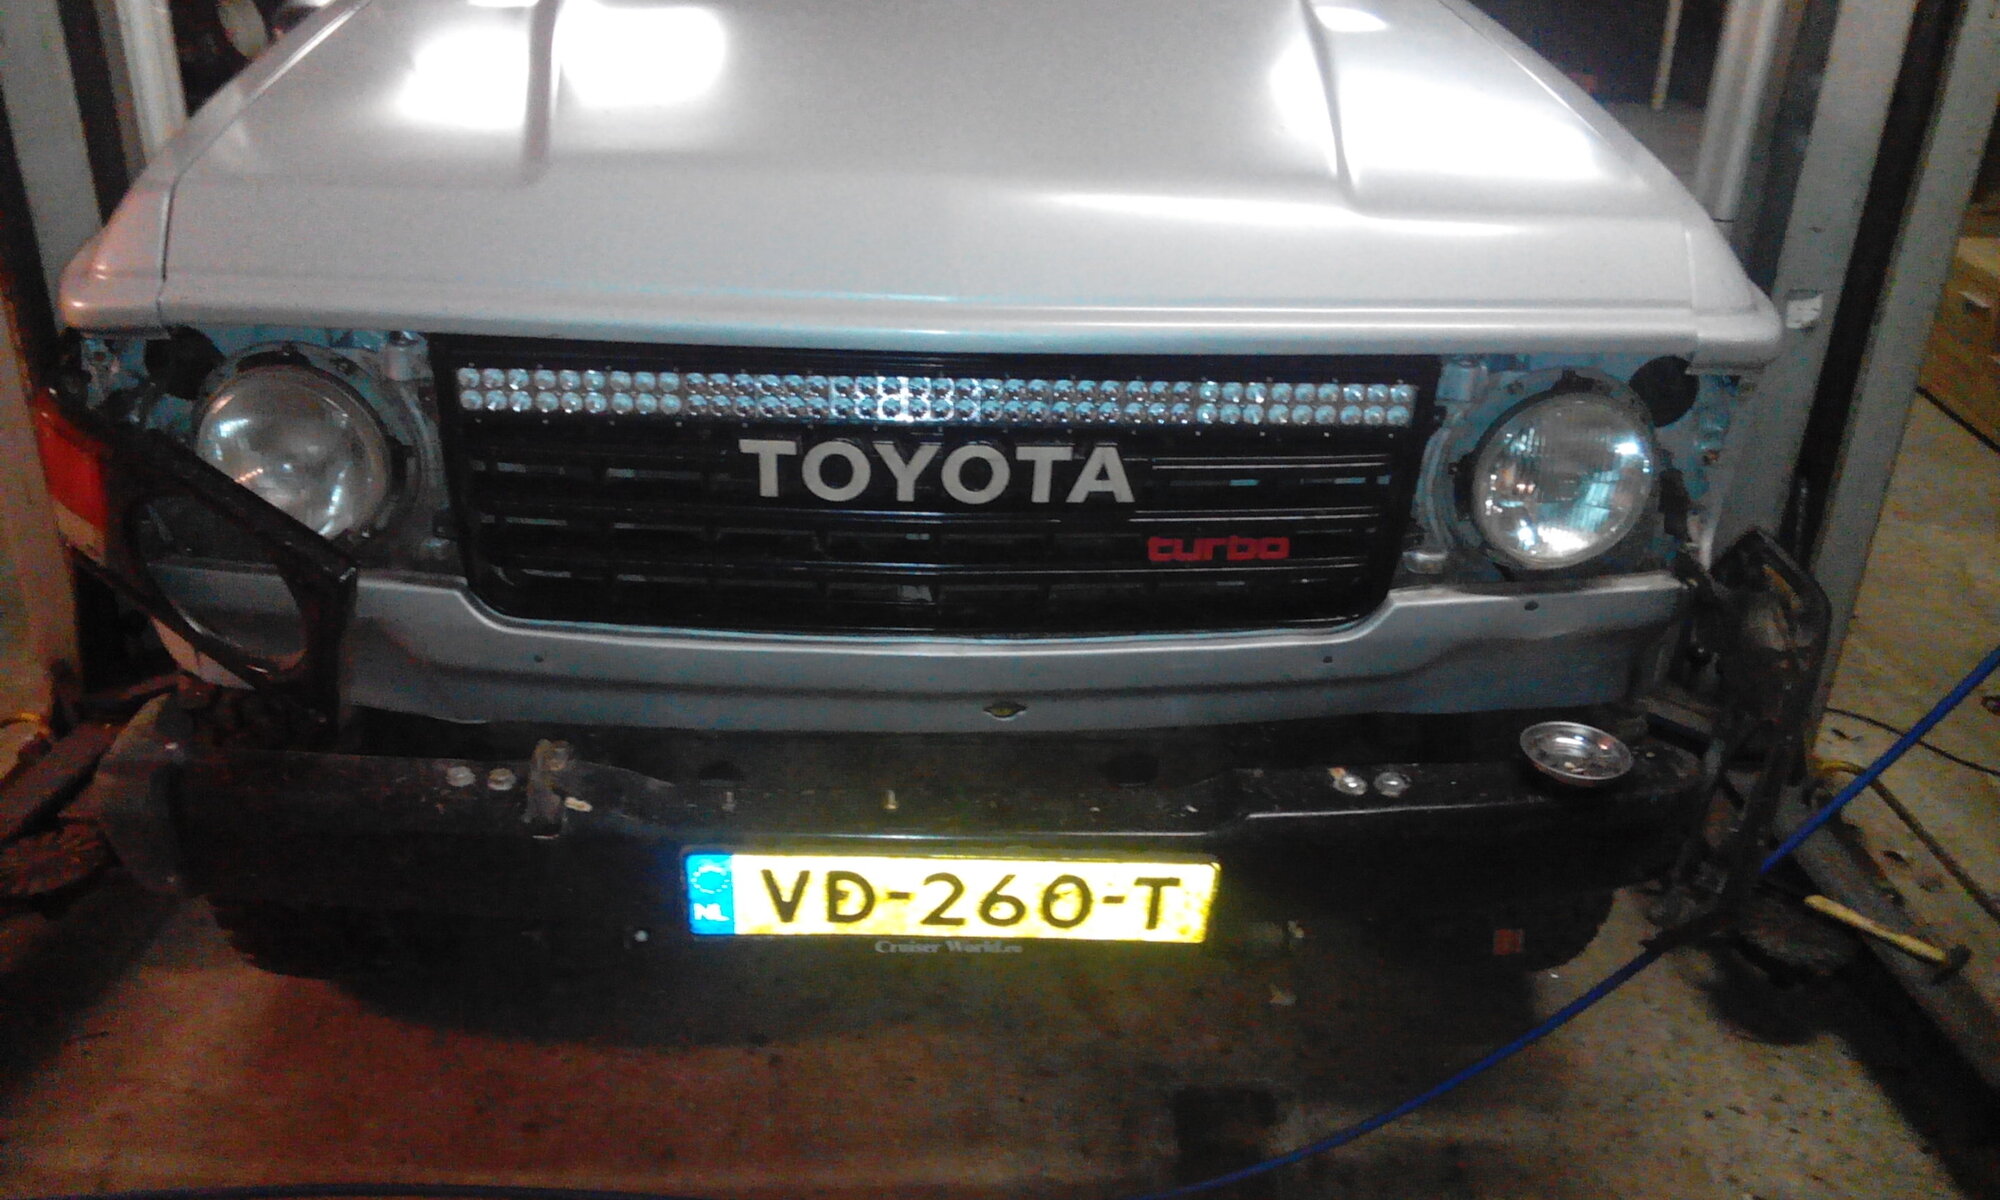
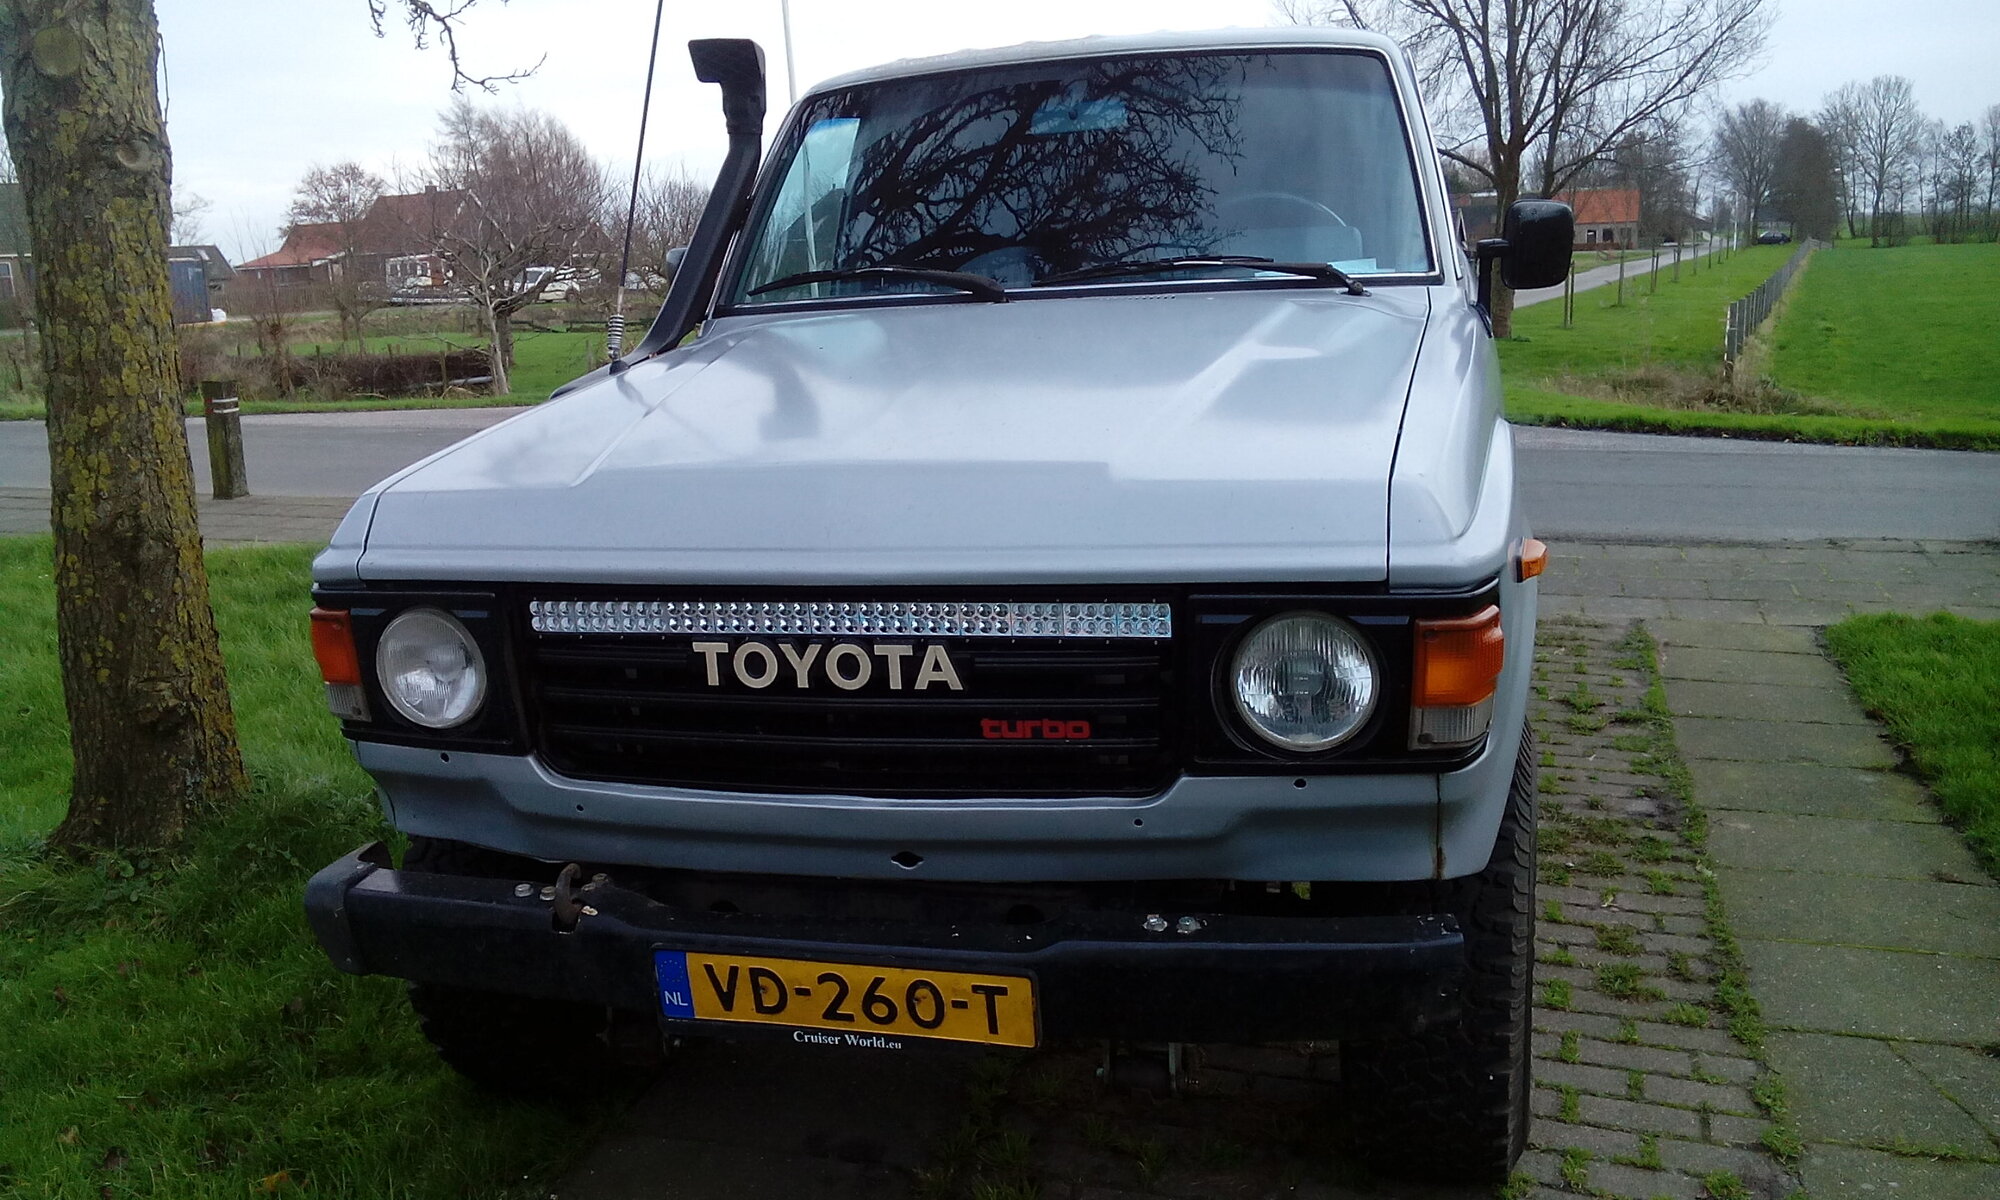
Made it switch together with the normal 'big light' (what's the english word for it?)
next up is continuing with bits and pieces:
- small radiator leak
- leak on rear window
- start fabricating drawer system in the back
- etc. etc. etc.....

The cruiser has been up and running for a while now, and it has been used offroad at a pay and play side once.
Such a great feeling to finally get her up and running!


Last weeks project was installing a christmas gift:


A 90cm led-bar
I wanted the bar to be suspended in a bracket mounted to the steel behind the grill, so I made a bracket.


Oh boy, thats a lot of light


Made it switch together with the normal 'big light' (what's the english word for it?)
next up is continuing with bits and pieces:
- small radiator leak
- leak on rear window
- start fabricating drawer system in the back
- etc. etc. etc.....
Looking good Jente.
I think you mean 'Main beam' for the headlights.
I think you mean 'Main beam' for the headlights.
What a great looking truck... 
Similar threads
- Replies
- 17
- Views
- 380


