Don't like the adverts?  Click here to remove them

iwan's hdj81

20170929_090013.jpg

Yesterday took a slower hit on the project, I had a look at this. The fuel pin on the right is from the 24v engine and from experience.. well it's one of the poorest fuel pins that I have ever seen! Low travel and shallow angle! The one on the left is from a 2lt! Steeper and longer, admittedly after studying and measuring it many times yesterday, it's approximately .20/.25mm shallower. But it can be filed to the depth of the 24v one.
20170929_090147.jpg

On the 24v (rhs) in this pic you can see the horizontal pin gouge. Very short travel and short boost in theory
20170929_090326.jpg

This is the underside of the cap (smoke screw) and its set to determine where the pin gouge begins. With this my though and understanding is that to turn it to the shortest point which I've marked it out and moved. So that you can achieve the furthest travel of the pin. Have seen youtube videos that say to make this the minimum as at the lowest point it can make the turbo spool up quicker and also gain extra travel on the vertical pin, as apposed to setting higher and effectively chocking the engine with too much fuel to begin with.
The question is, am I correct with the way I am thinking about this??
20170929_090551.jpg

I've marked all the original settings so easy to change the pin back and return back to factory restricted settings. I've turned this wheel 1 1/2 times at the moment and am going to adjust the main fuel screw not excessively.
I'd like to hear some peoples thoughts and experience on this.. if possible:think:
20170929_171012.jpg

Been struggling with the gear lever access on the auto, on the 60 and 70's they have a removable panel that you just swap! Not on the 80! The main problem is that it's really hard to determine where to cut the hole for the gear shifter, so have painstakingly removed the manual counterpart!
20170929_181818.jpg

Have I ever said that I don't like automatic transmissions!
20170929_183030.jpg

The motor is ready to go in, had to use the auto transfer wiring loom as the manual loom is too different even though it has the same connection plug. Have fitted a bundera reverse light switch to use as a 5th gear towing warning light and moved forward the reverse gear wiring over to by the starter motor, too hard to do when all fitted..
Keen to see this job done, not tired of it but not going to give up!:icon-biggrin::thumbup:
 
Great thread and info there CG! You've explained alot.

The reason for me to think of turning the smoke screw to the minimum was to gain travel on the fuel pin which gives a further increment of fuel delivery or precision, but with the current length of the follower pin it works against the objective of what I'm trying to achieve.

So what if I was to fractionally reduce the length of the follower pin and turn the smoke screw to the minimum or say 10 degrees away from minimum, essentially I'm replacing the reduced length lost by moving the fuel pin up? But also achieving a deeper fuel pin at full boost and a more gradual increase of fuel??

For sure next on the list is a boost and egt gauge..:think: me thinks!! Cheers man!:thumbup:
 
If you put the smoke screw to its minimum the fuel pin will sit higher up and the follow pin will rest against the full diameter of the fuel pin. This means more boost will be required to push the fuel pin down into the increased fuelling profile. Basically boost will build at higher revs, and we know how sluggish these motors are until the turbo starts spooling up..

There is more than enough travel on the follower pin to follow any profile you care to put on the fuel pin. Grind the fuel pin to increase the fuelling curve.
I think you will be getting into the realms of a higher flow turbo and intercooler though if your needing more fuel than the standard profile of the fuel pin can offer,
the best thing to do though would be to literally try out your theories. New fuel pins and follower pins are still available from toyota. If you grind the back of the fuel pin as in my thread you can drive down the road and keep trying different things.

Boost gauge and egt essential if your having a proper mess.
All my opinion of course and there are a lot wiser people out there than me on the subject.

Does this answer your questions?
 
Thanks Mike. . Im was jumping the gun! But also the best plan of action is from research firstly! Thank you man!:thumbup:

20170930_143321.jpg

I sorted the problem of the transmission tunnel! I went with Clives chisel and bolting! Perfect remedy!! lol
Later Saturday afternoon went to drop the 2.0metre heavy engine and box in and to be honest doing this on your own is really not an easy exercise! So to cut a long and very frustrating story short I took it out, carefully placed it on the workshop floor and shut the doors! Really annoyed because I couldn't operate the teleporter and do it! Because I have a 5" lift and my trolley jack did not lift high enough and jacking the lowest part of the transfer case just rotates the engine!:angry-screaming: Lol (only slightly!) Luckily I didn't damage anything, so I just put it to experience! Sunday no cruiser anything!
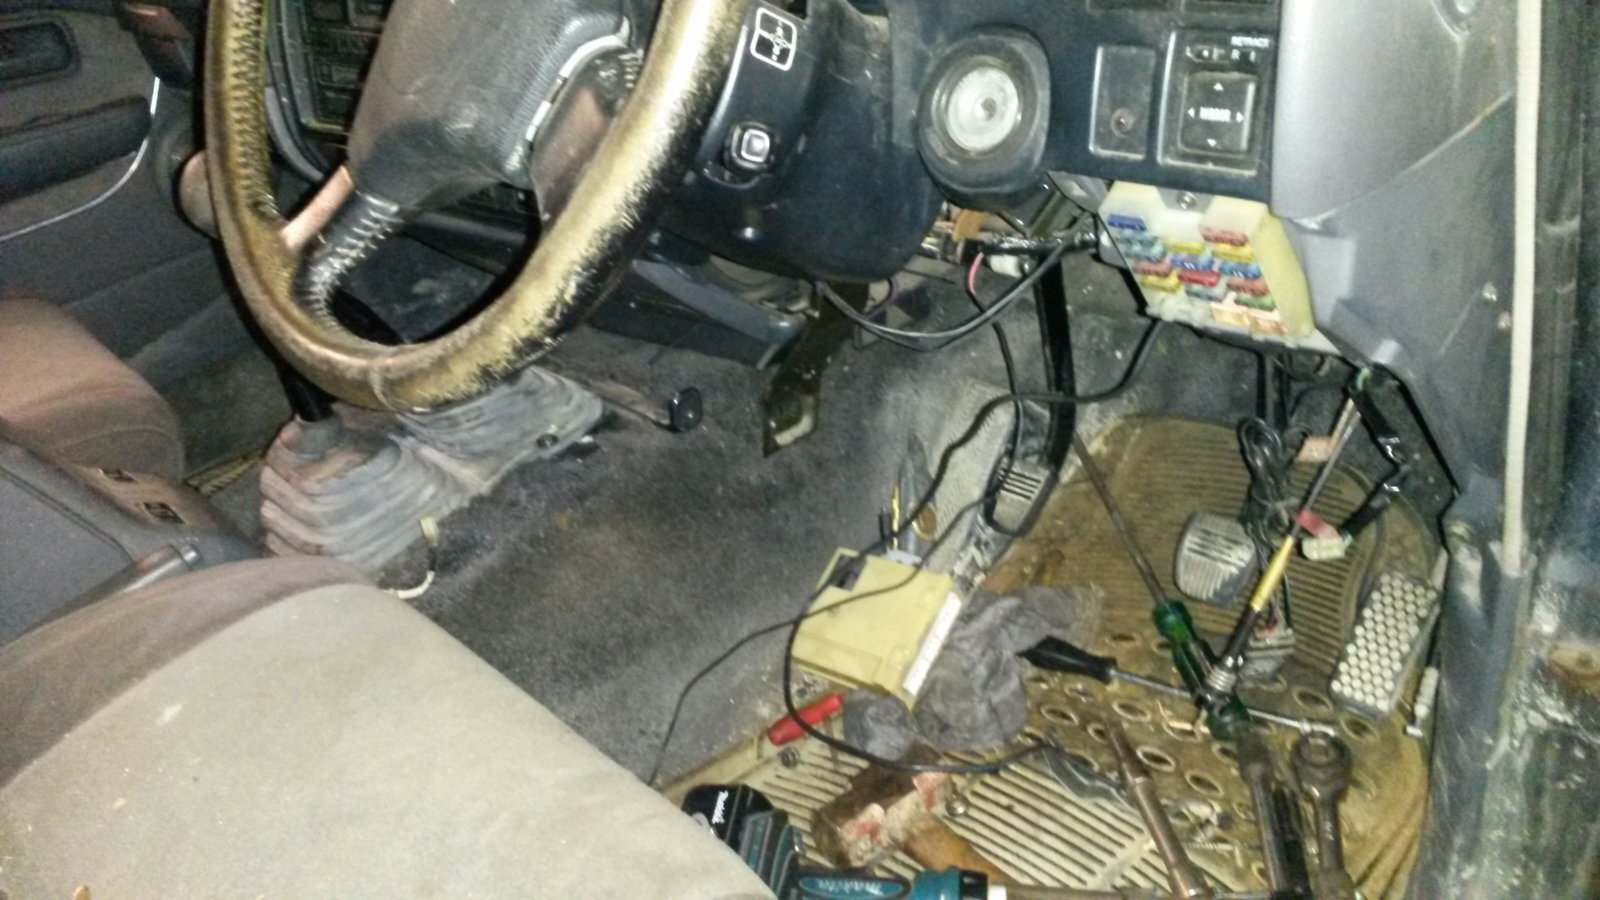
Today full on 11hr hit and major progress! (got some experience under my belt on this job now!) :icon-biggrin::lol:
Got the motor etc in by 11 at one point it was lookin at take 3! Went straight onto wiring and fitting out the front end major change!

My mate Matt came to help me to make a new gearbox cross member at about 5pm and we made it out of 12mm plate!

20171002_180906.jpg

Made a template out of ply before fitting the engine the steel plate has been kicking around here for many years!
20171002_201107.jpg

Bit of cutting going down!
20171002_201221.jpg

Taking shape now!
20171002_211124.jpg

The auto drop boxes were a bit of an issue so decided to integrate them in with the new support! It all works well together!
20171002_211217.jpg

My mate Matt is half Australian and half Welsh, we wreckon that this isn't "bush mechanics! It's Welsh hillside mechanics!!" lol :icon-biggrin::lol: :thumbup:
 
I got over the relief of sorting out the gearbox mount and have done 3 solid days since Monday's late finish!
20171004_121217.jpg

With the exhaust off I did a session of wire wheel in the grinder, coats of rust treatment and a coat of finish. Just when I see any area of surface rust... it has to be dealt with!
20171006_183223.jpg
A relief to see the front go back on and to see the piles of parts getting refitted
20171006_183138.jpg

Yesterday morning made a snagging list! And knocked a fair bit off it!

20171006_183239.jpg

I attempted to set up the AC but between the 24v and 12v systems, none of the components were interchangeable!
20171006_183259.jpg


It's coming together here. The big round auto transmission plug is where I believe I can wire in the reverse light and 5th gear indicator for towing. The 3 centre pins, one is power the middle is "drive" dash light and the other middle outer is reverse. Depending on how the plug is orientated. From using the multi meter on the auto box sender. The block connector with the black red loop is the park sender that normally stops you from starting the truck when out of park. A bit of info but as yet not finished yet. I have to address the 12v glow feed wire there.. am thinking of sending it over to the 24v inlet glow screen.. Is this really necessary?

20171006_183431.jpg

A shot of the extra rust preventative measure on the drivers inner sill. Not many tasks left under here! Just the clutch slave cylinder! Fair bit of effort has gone on in this view!

20171006_183521.jpg

Very pleased with the factory remake of the 2 sets of boots its well sealed and ready for use. I ve ditched the worn well used leather gear knob. Its got a spare 60 series equivalent. . Grey and just the job! Need to make a custom job on the centre console as the 24v one has different fitment and is brown with wood!
20171006_184909.jpg

Have tackled the clutch pedal upper mount. Clean and tidy with the seal this time! 50mm galvanised washer!
Day off today! This 81 job just eats the hours! Am pushing forward to get it mot'd early next week and the trailer is waiting for its return!!:thumbup::icon-biggrin: 20171006_183357.jpg
 
Don't like the adverts?  Click here to remove them
Coming together Iwan, a brave project if you ask me, well done mate! :thumbup:
 
Coming together Iwan, a brave project if you ask me, well done mate! :thumbup:

Thank you Clive! I can certainly say that I will not be taking on another 80 swap! I looked up when I first updated this thread and it's a month to the day! Pretty full on job. Have been very determined to get it done! Lol

Up until I started work to the 81 I kept walking past the truck thinking that it needs the cooked auto trans changing and the steering chassis point repairing. The 2 jobs that made me take it off the road. Then when the 24v truck turned up and looked at the state of the corrosion that its in, I then realised how good this one is despite it's faults! On the win win side I have the 1HDT engine set aside for my BJ74 project which is why I fitted the 24v to the 81! There's light at the end of the tunnel with this mission!:lol::thumbup:
 
I've had a great day today, fiddled about finishing the wiring. Made a 100mm long clutch slave rod out of a bolt. Struggled to get it bled up. After double checking all and cleared a path out of the workshop. .. testing time! Popped it into 1st lifted the clutch. .. nothing! Oh no I've really made a mess with the gearbox job!:scared-shocked::thumbdown: Transfer was in neutral! :lol:
All gears changing well.. no transmission noises and with the pump changes with the lj70 fuel pin installed pulling like a demon! No black smoke and changing into third on the hill out of here! I think the auto diffs are coming into play here too! But with the same setup with the auto it for sure would be half the way up the hill and still deciding whether to change up!! This 81 has never caned its way up that hill ever before like that!!! Lol it's brilliant! !:icon-biggrin:
Super happy with it!
20171009_171237.jpg

Quick straighten up for the bumper!
20171009_171405.jpg

The beast is back and the best I've ever seen it!!!:icon-biggrin::thumbup:
 
So what’s next, 37s or more to offset the auto diffs?

Well done, I’d be really proud of myself if I’d achieved what you have, Iwan :thumbup: :clap:
 
Brilliant Job Iwan, and so quickly turned around too, have you stopped grinning yet?!
Good job dude. Bet your well chuffed.

Cheers mate! Been a fair job all in all, but real relieved that it's working how it should!

On the pump I wound the star wheel to the bottom, smoke screw at max and turned the main fuel screw 1/2 a turn which didn't even raise the revs! Then turned it another 1/2! There's a little more scope to increase a bit more to get just a "puff" of black smoke. But will leave it at that for now! Well happy:thumbup:

So what’s next, 37s or more to offset the auto diffs?

Well done, I’d be really proud of myself if I’d achieved what you have, Iwan :thumbup: :clap:

Thanks again man! I've just got a couple of light bulbs to sort, new wiper blades, number plates to fit and handbrake doesn't work!
I'd really like to fit a top mount intercooler but what's really next is that I need to get back to work!!Lol:thumbup:

You didn't impress the dog though her/his contempt for anything that has to wear a lead is almost palpable :lol:

Haha Buddy never goes on the chain, unless He's rolled in fox sxxt! He's free range and never wanders.

The cruiser is on the leash as the hand bake doesn't work and don't want that rollin off in the night!!:lol:

Brilliant Job Iwan, and so quickly turned around too, have you stopped grinning yet?!

Thanks Ben! Proper pleased that it's working as it should, have been stressing a bit about the gearbox job as it's so embedded in the vehicle! The grin is that that has been successful! Final push today!:thumbup:
 
Hi Iwan you have dun atop job on that cruiser thanks for the pics good to see it out from Tony.
 
Cheers mate! Been a fair job all in all, but real relieved that it's working how it should!

On the pump I wound the star wheel to the bottom, smoke screw at max and turned the main fuel screw 1/2 a turn which didn't even raise the revs! Then turned it another 1/2! There's a little more scope to increase a bit more to get just a "puff" of black smoke. But will leave it at that for now! Well happy:thumbup:


Thanks again man! I've just got a couple of light bulbs to sort, new wiper blades, number plates to fit and handbrake doesn't work!
I'd really like to fit a top mount intercooler but what's really next is that I need to get back to work!!Lol:thumbup:


Haha Buddy never goes on the chain, unless He's rolled in fox sxxt! He's free range and never wanders.

The cruiser is on the leash as the hand bake doesn't work and don't want that rollin off in the night!!:lol:


Thanks Ben! Proper pleased that it's working as it should, have been stressing a bit about the gearbox job as it's so embedded in the vehicle! The grin is that that has been successful! Final push today!:thumbup:
Turning the star wheel right down reduces the tension of the spring. So less boost is required to compress the spring and move the fuel pin through its travel. This is where the tuning bit comes in. You want max fuel to be happening at max boost. You dont want max fuel to be reached while the turbo is still building boost, it wont be as critical running stock boost, but running higher boost the travel of the fuel pin needs to be "slowed" down so that the increase of fueling matches the increase in boost. People running higher boost levels even put a stiffer spring in.

Id still fit a egt gauge personally.


Thats my thinking, to keep it "on the slippery slope" for as long as critically needed.. too much black and time to tension the spring!

Have my eye on a matching egt and boost gauges they have max alarms on them. Going for flat mount 60mm jobs and mount them on the as yet unmodified centre console, have some +ve feeds left over from the auto shifter electronics so not planning on changing any settings or towing heavy trailers until this is sorted!

Have a realy good hand brake now and mot at 1030, he's probably going to have to put his eyes back in their sockets when he gets it up on the lift lol!! And insured too.
Going to take the satnav and see what rpm to miles is going on and write it down, interested in seeing whats going on with that.

All good!:thumbup:
 
Well that was a very painless mot test! Twas the same lad who did it last time, plenty of questions of the extra bits underneath! Got one advisory "Rear registration plate deteriorated but not likely to be misread!"

Smoke test was 1.32 compared to 3.0 limit, runs very strong with very little smoke if any! Cruising very well up a steep lane in 3rd infact a little too fast so had to back off!

Satnav said 55mph in 5th @ circa 1900rpm, speedo says between 50 and 60 a touch higher than 55.. what does a normal 80 do in comparison as I have no reference point? Similar or way different?

I think that the truck prefers the 315/75/16's, auto gearing with manual gearbox cause it's very keen to pull.. I think that it's going to stonk along with the loaded trailer!

All taxed up and on the road!:lol::icon-biggrin::thumbup:
 
"Rear registration plate deteriorated but not likely to be misread!"


Ive been getting that for the last 5 years..
 
Back
Top