Trevor
Well-Known Member
- Joined
- Jul 25, 2010
- Messages
- 1,889
- Country Flag

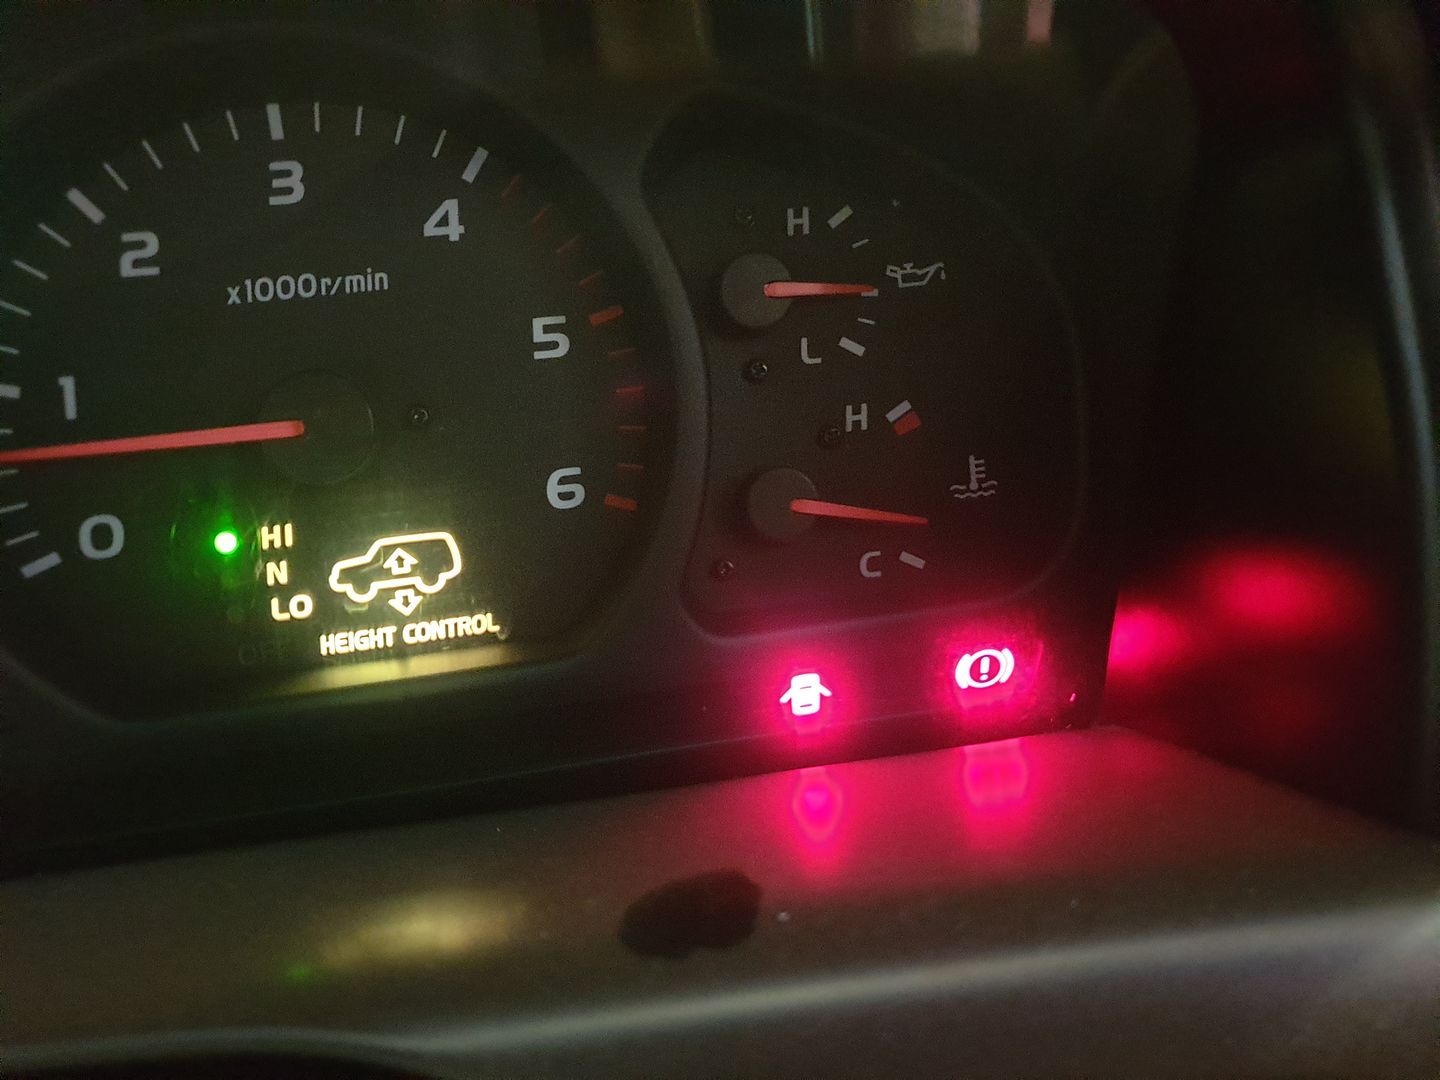
I sold the wife's 120 and took in as part exchange a 2001 100 series which had lost its coolant and continued to be driven until it started to tighten up. So the 100 is in good condition underneath and had done 135k miles so I took a punt on it.
.jpg)
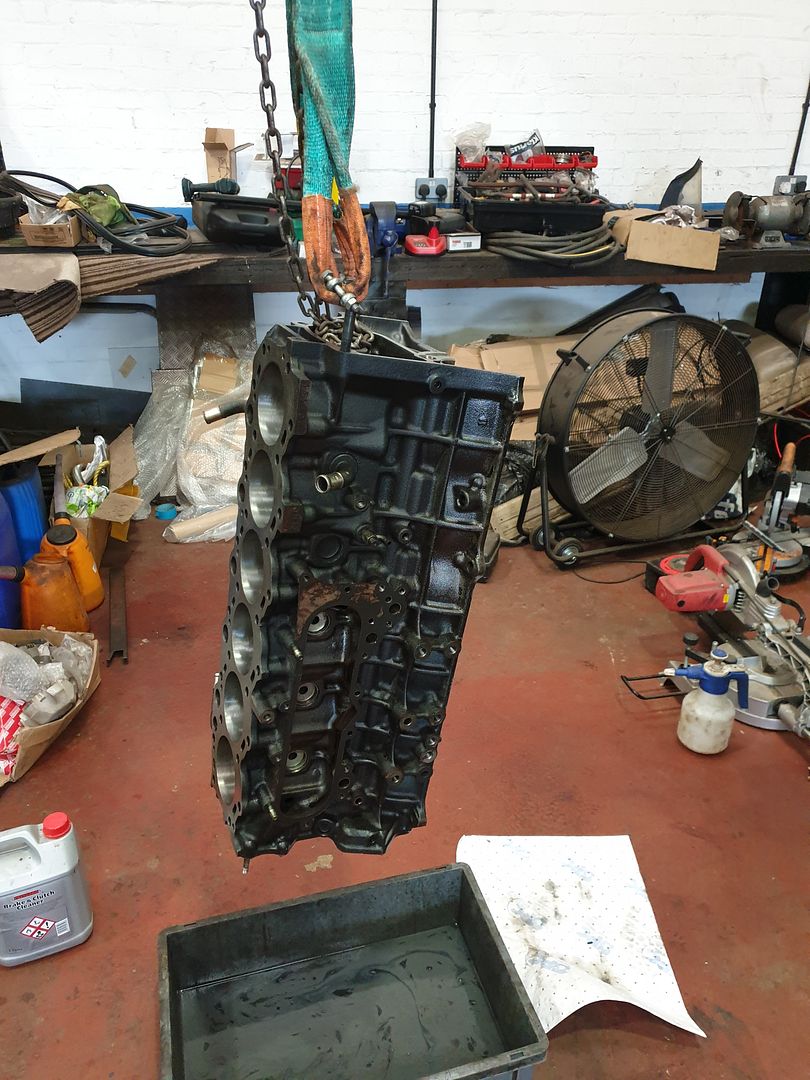
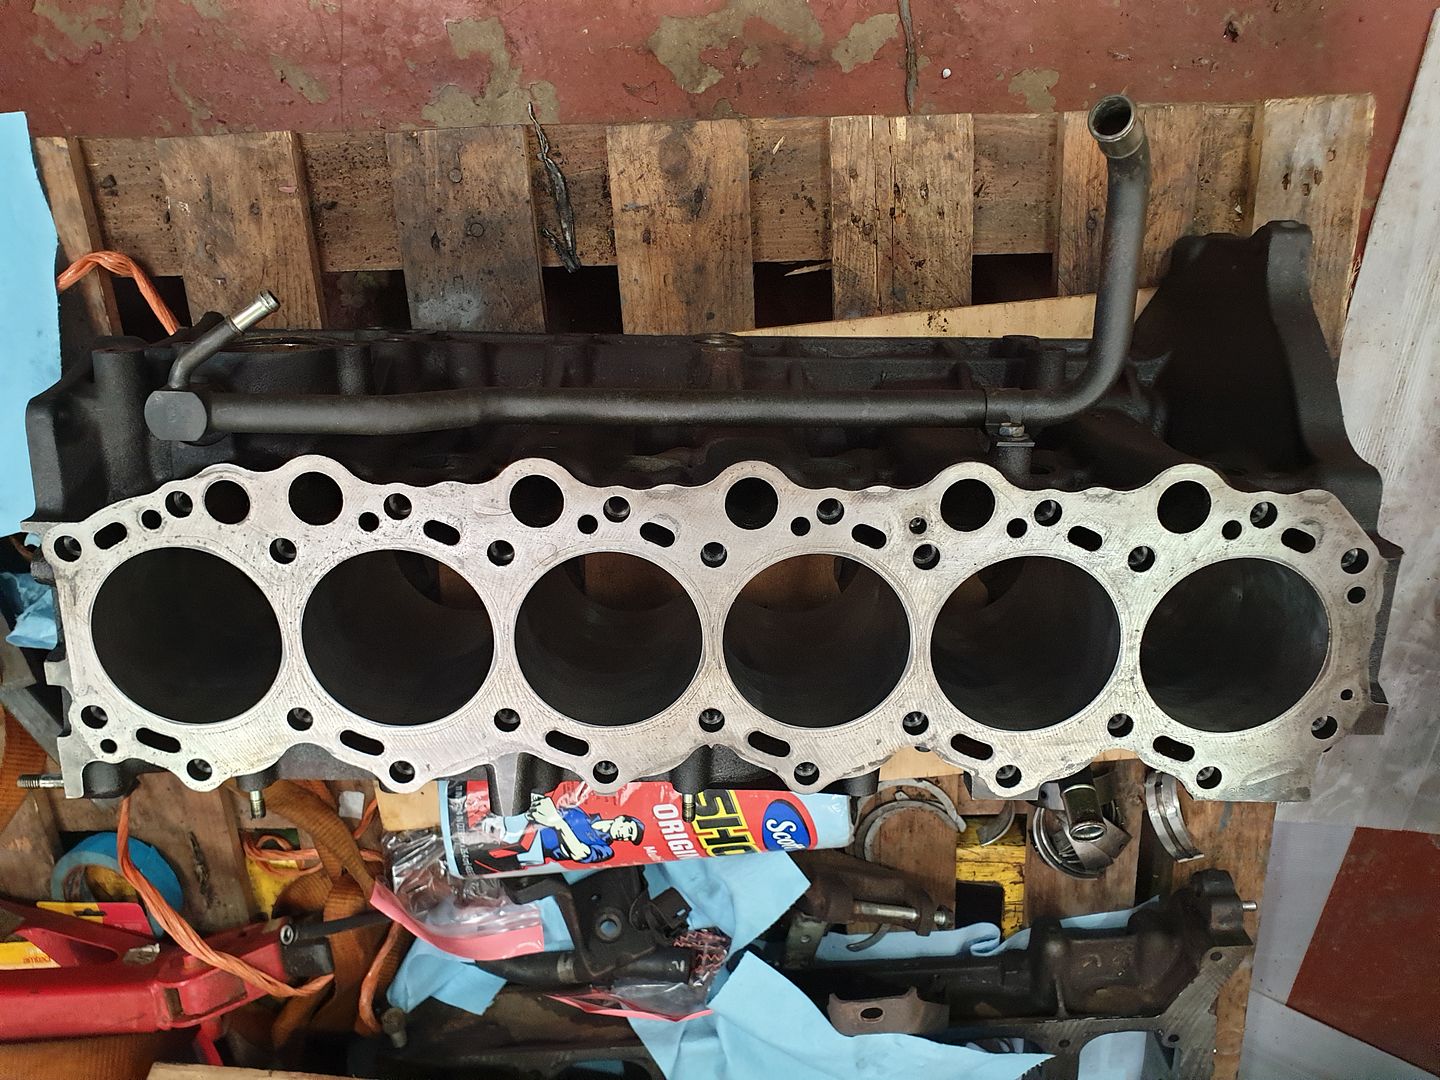
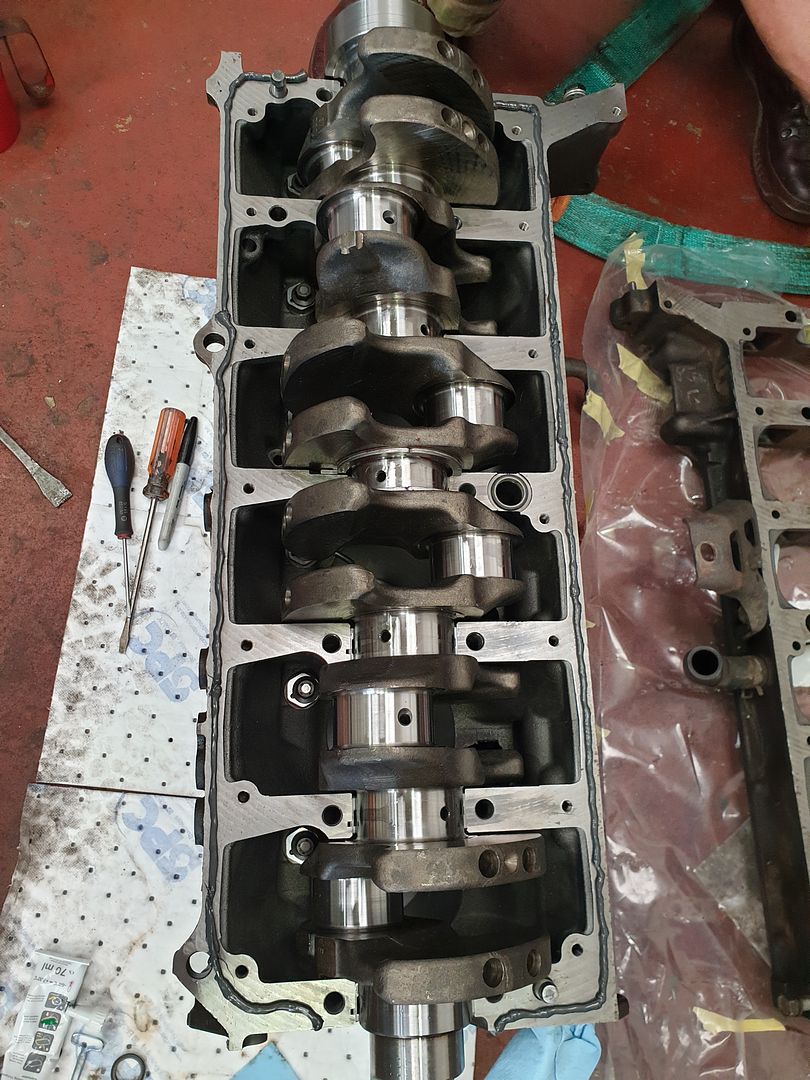
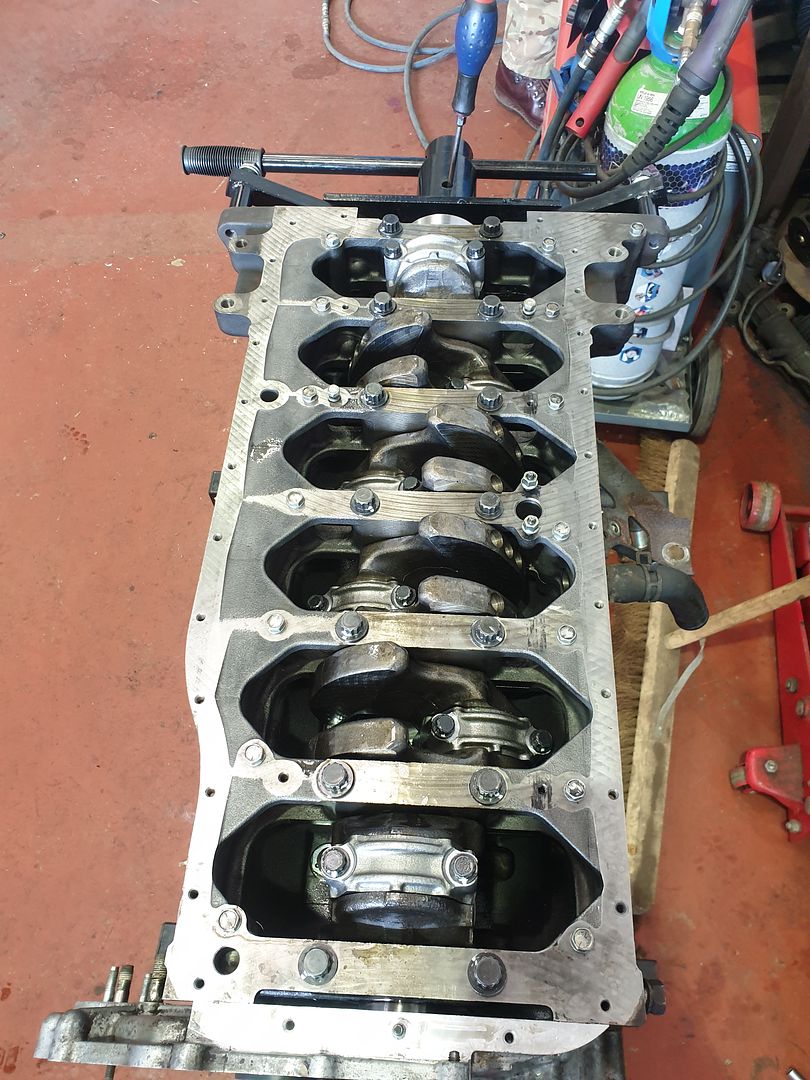
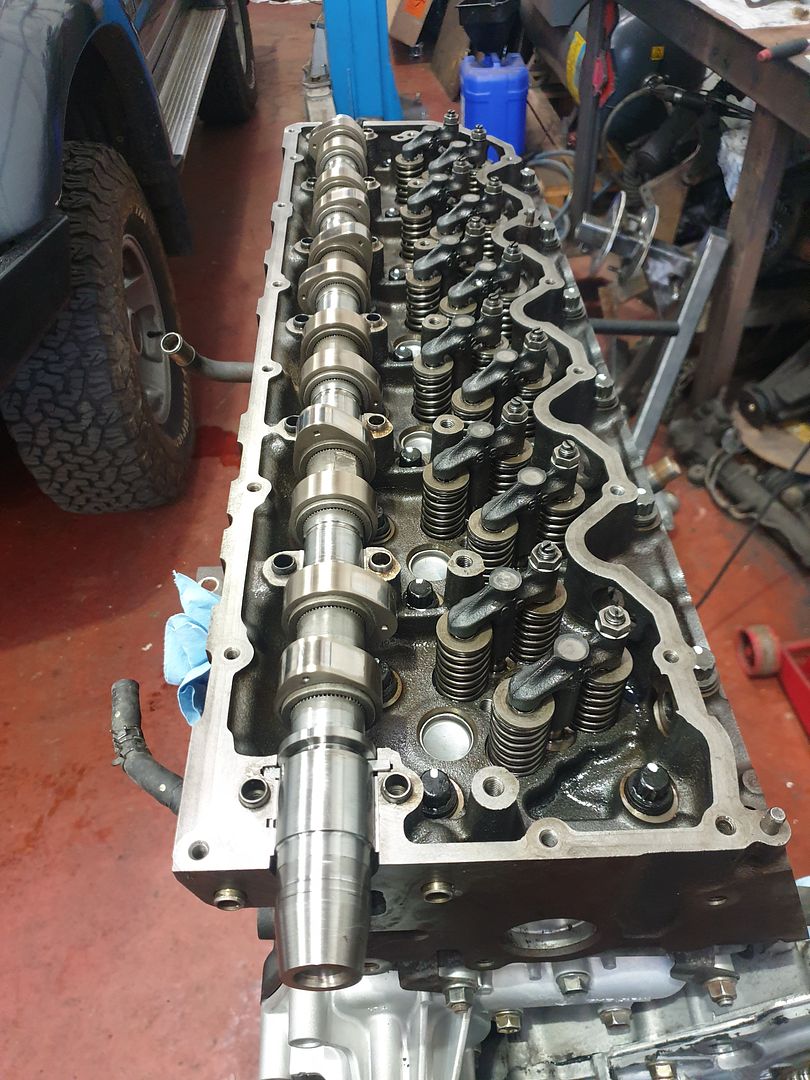
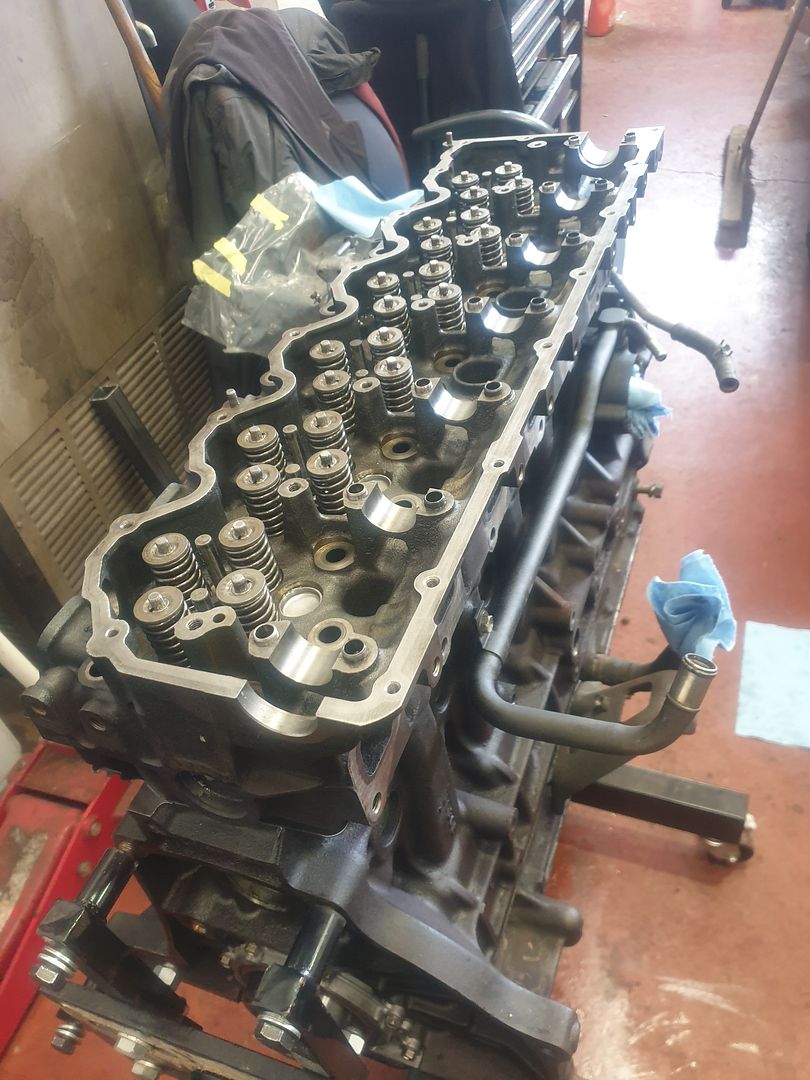
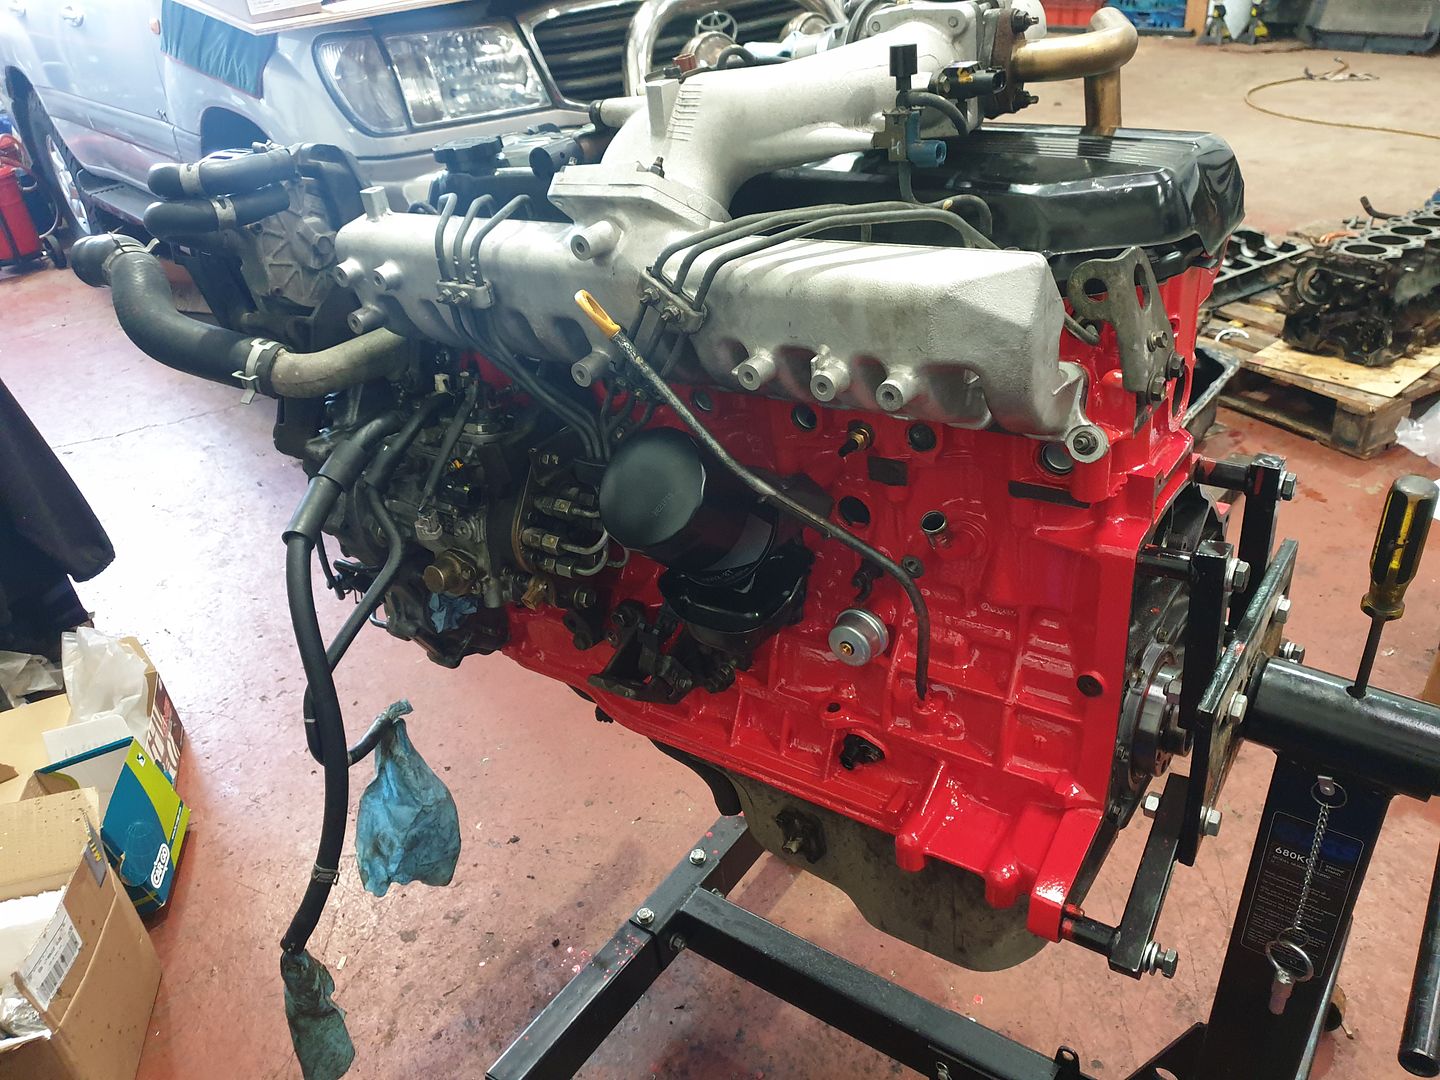
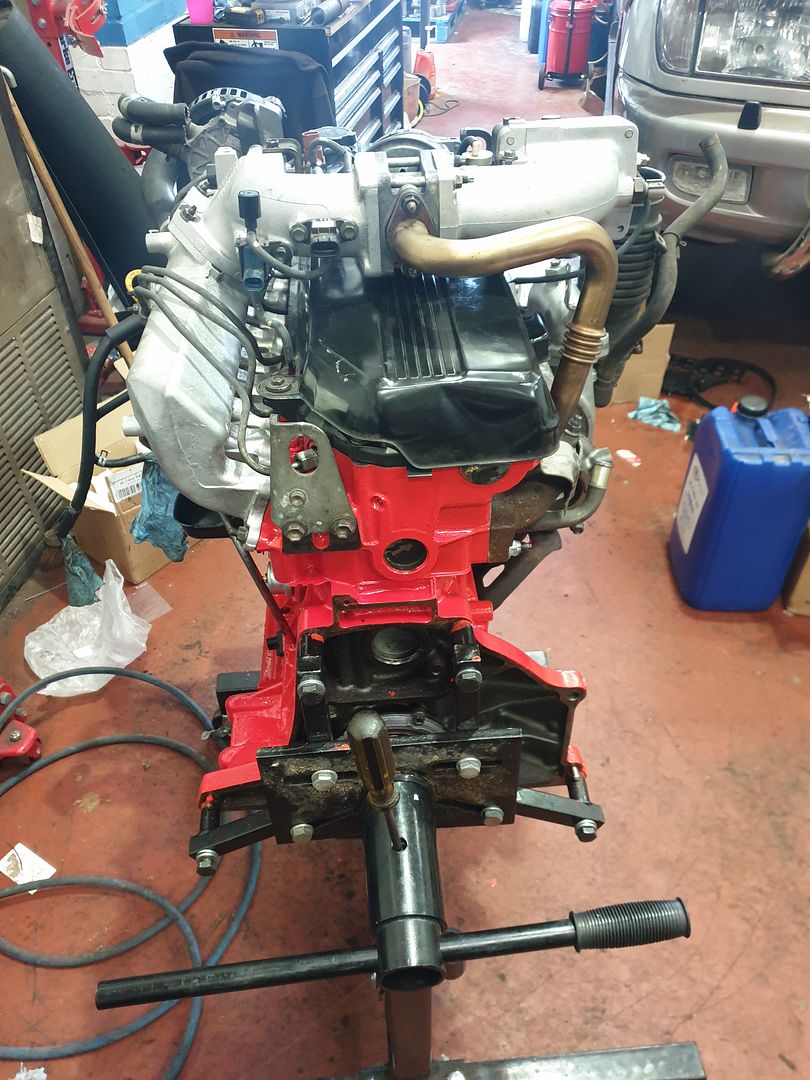
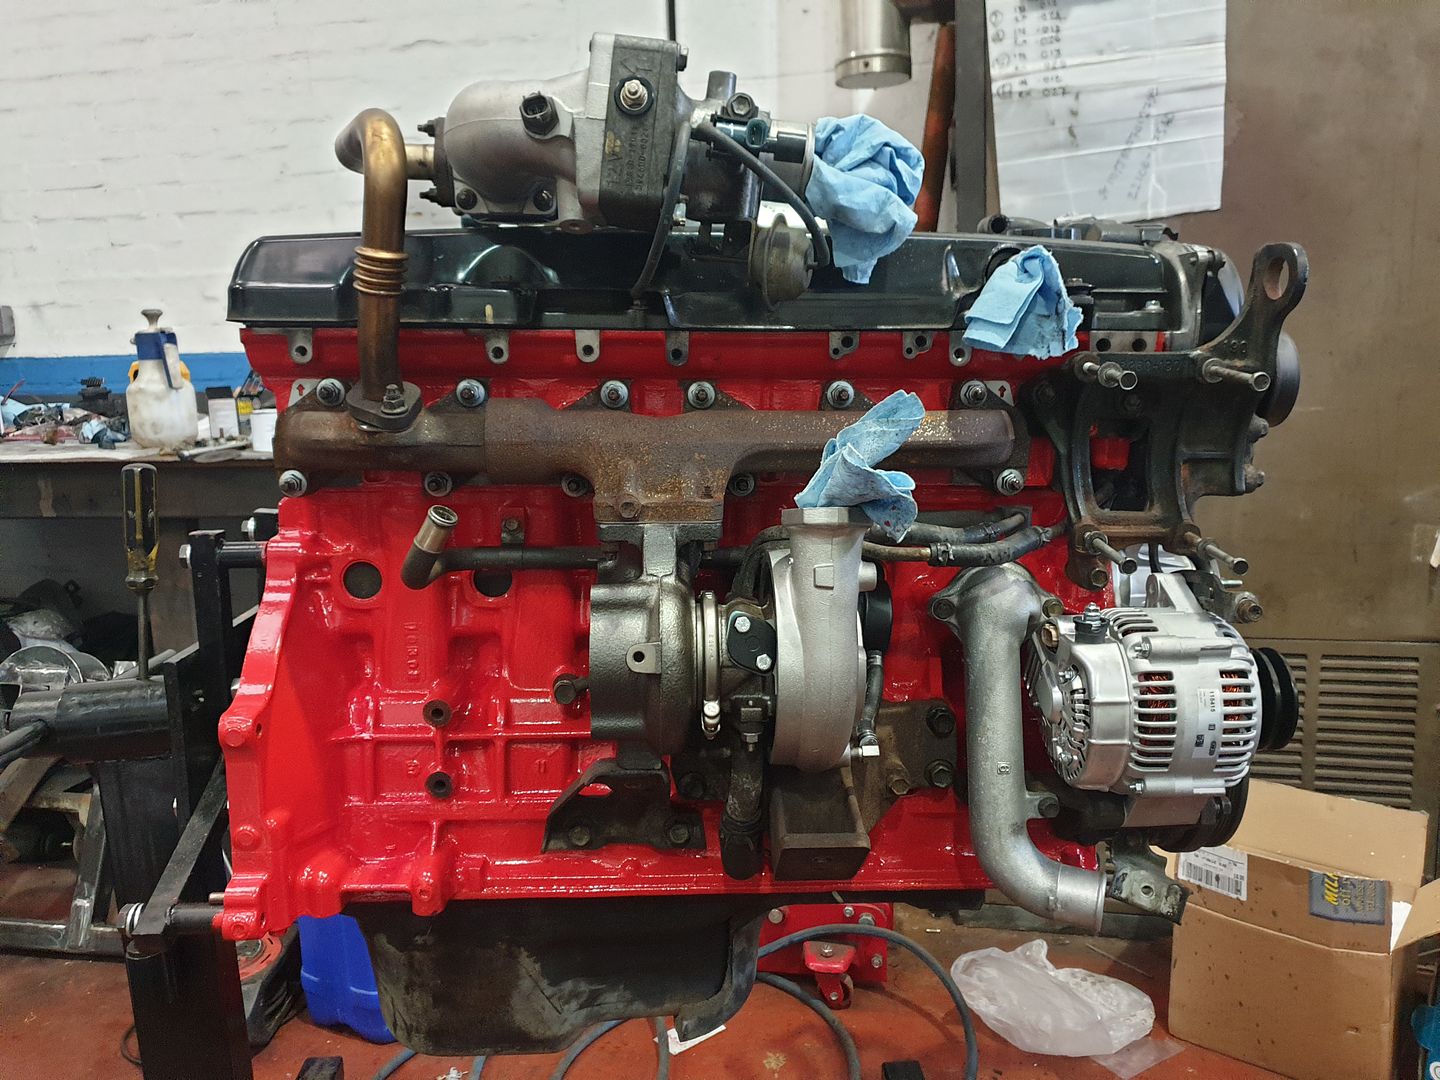
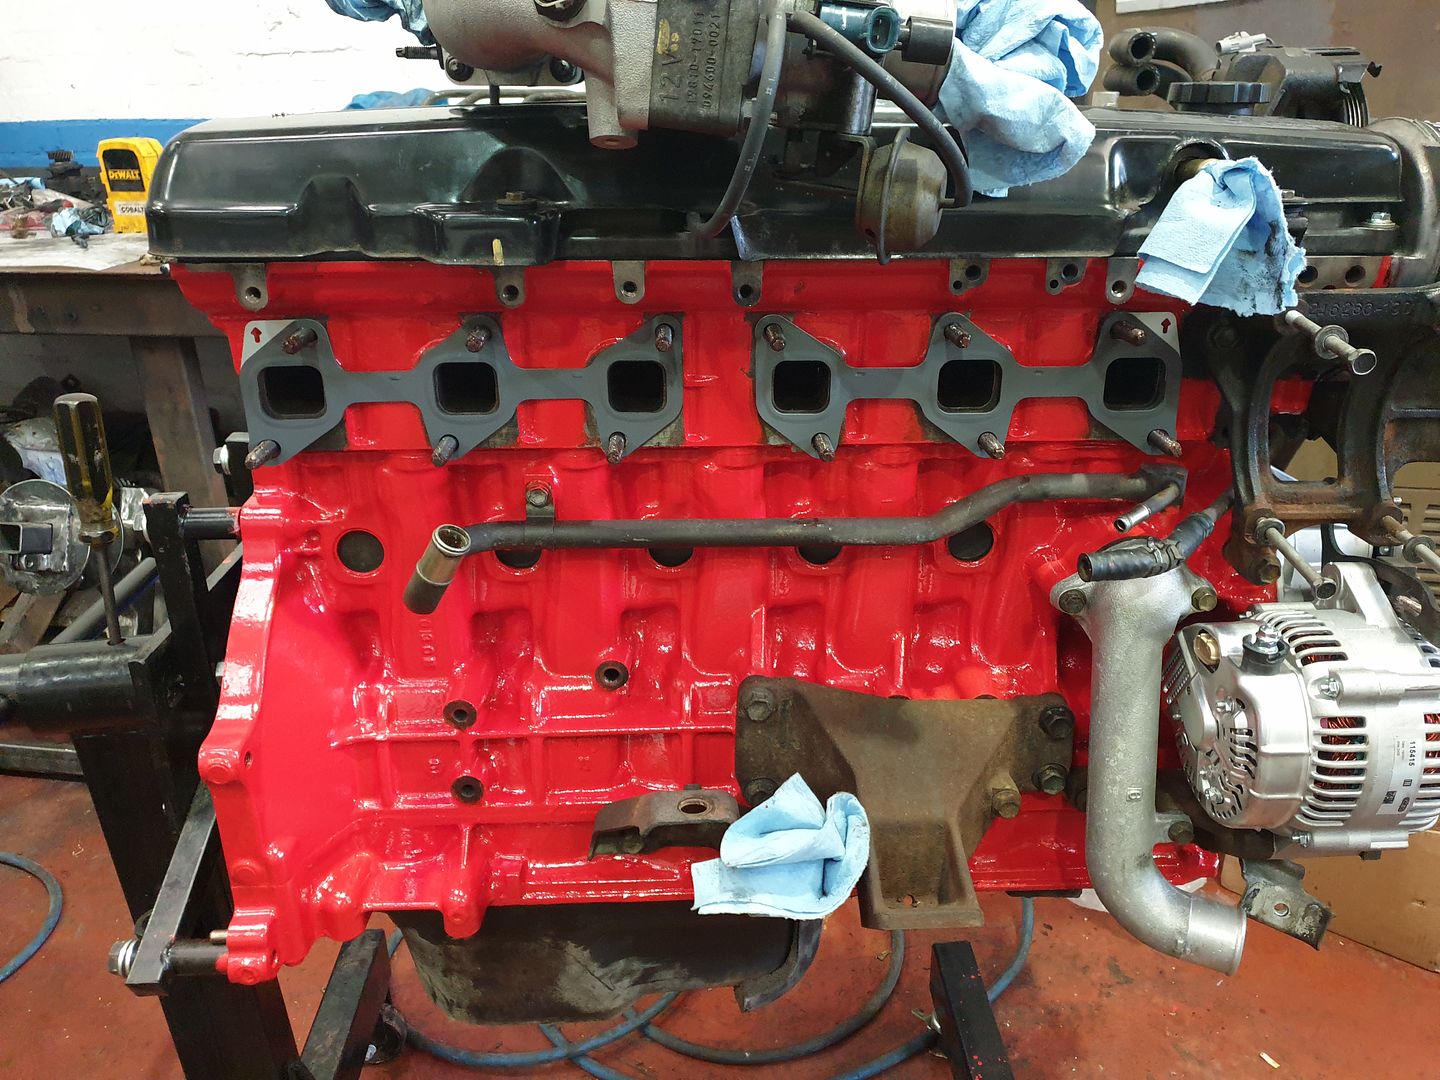
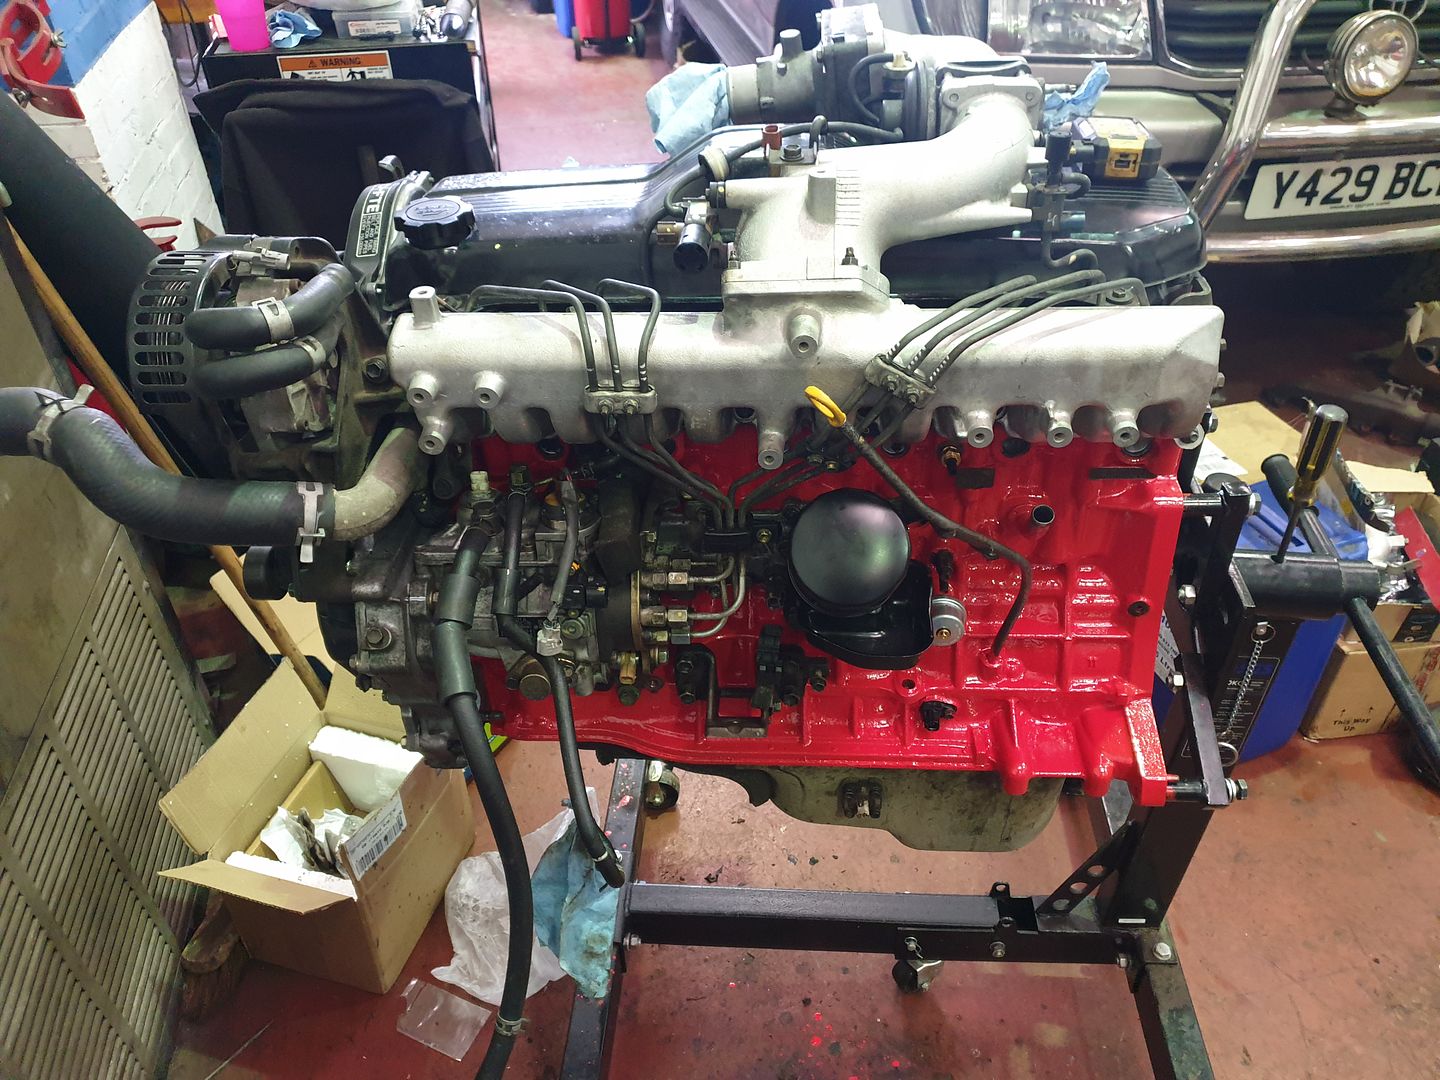
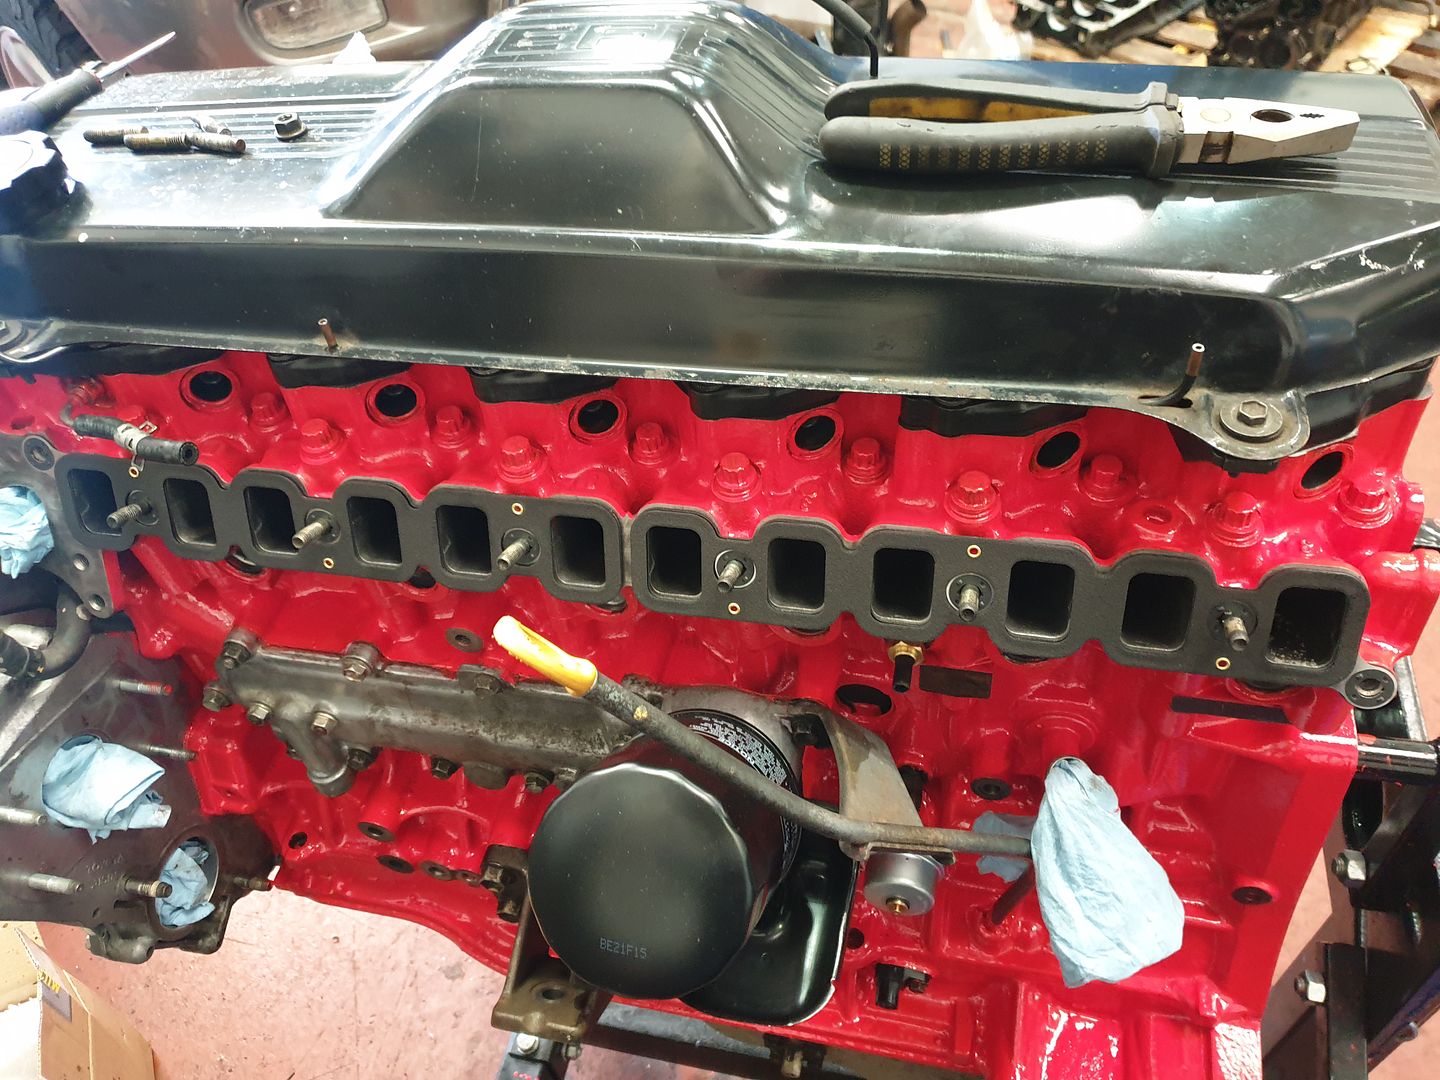
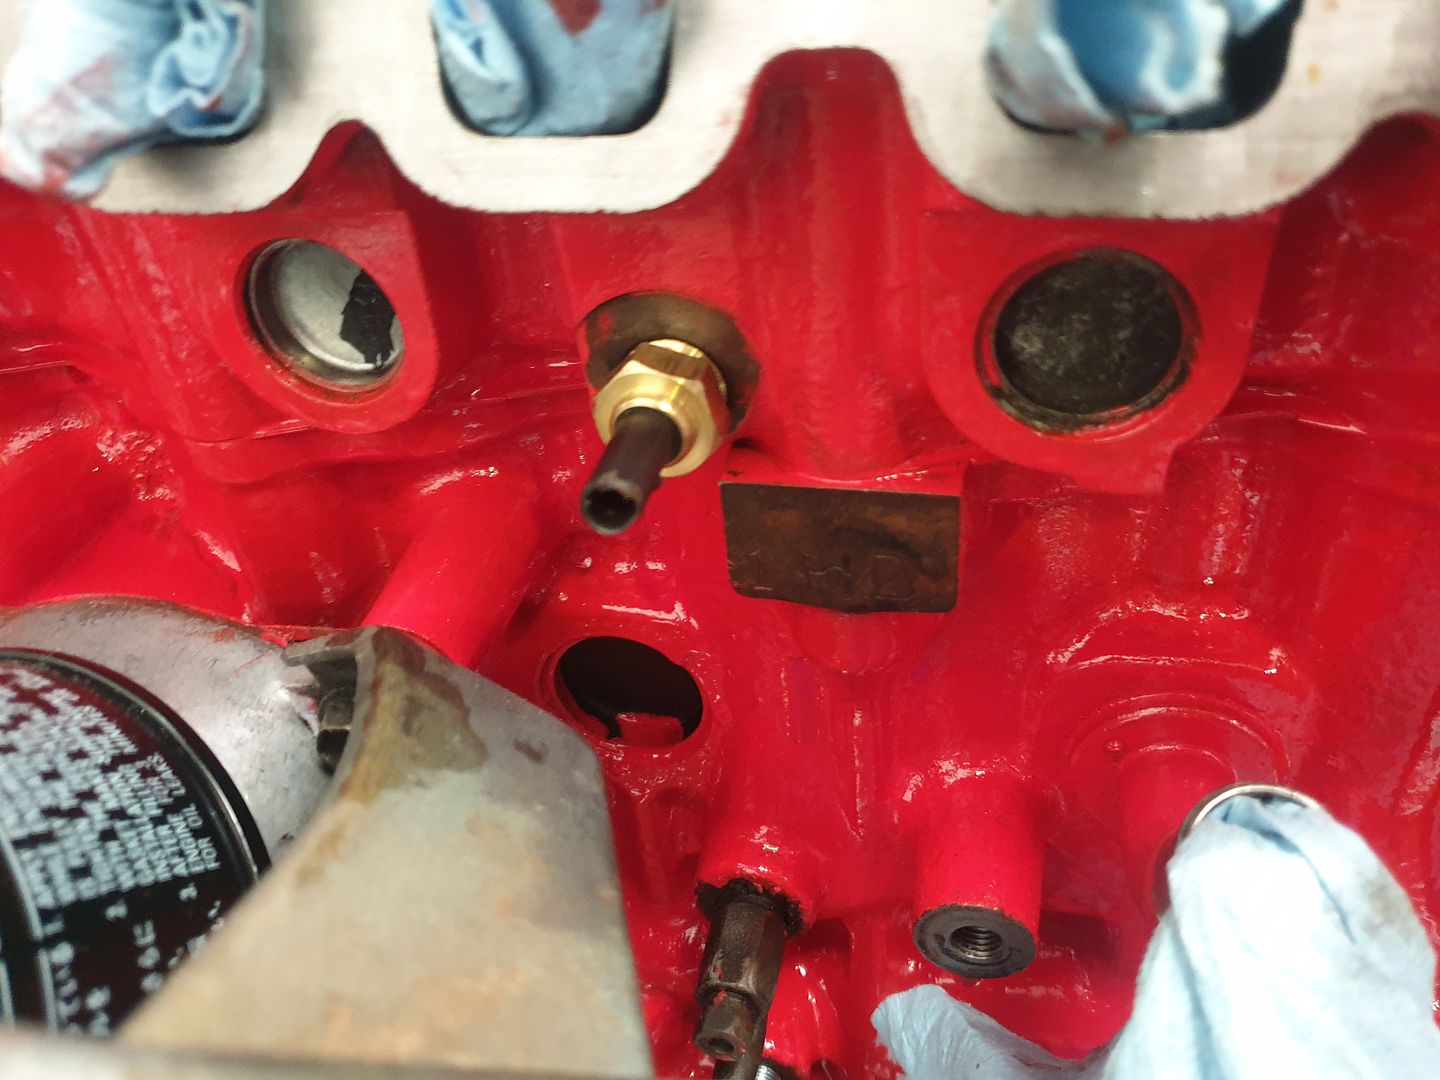
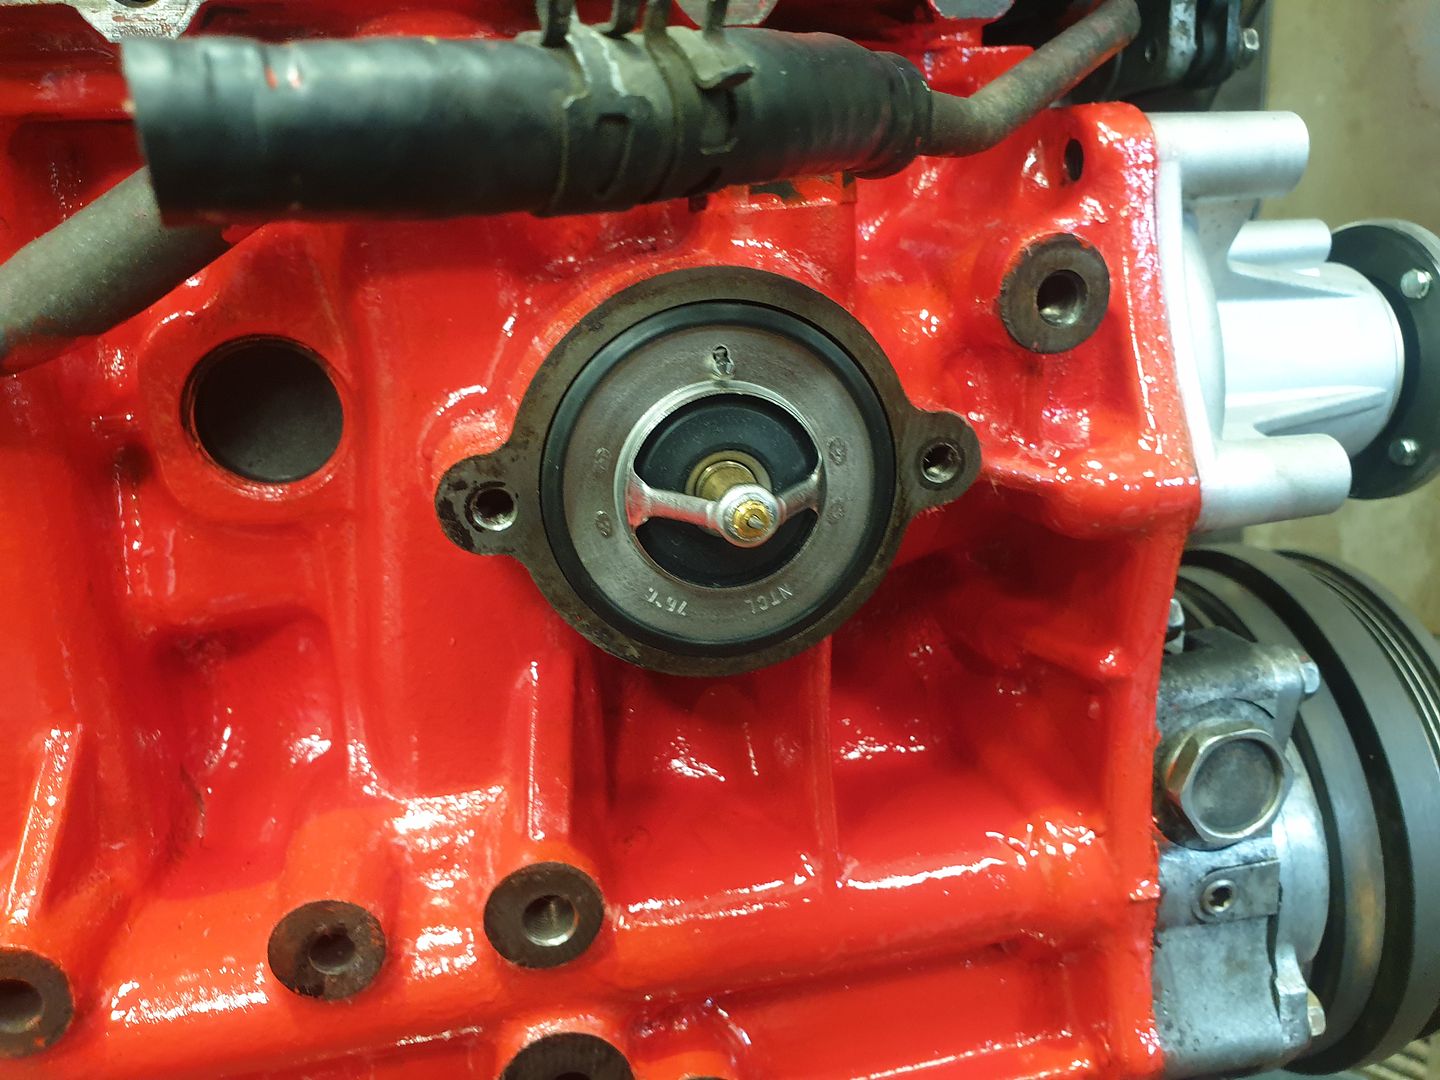
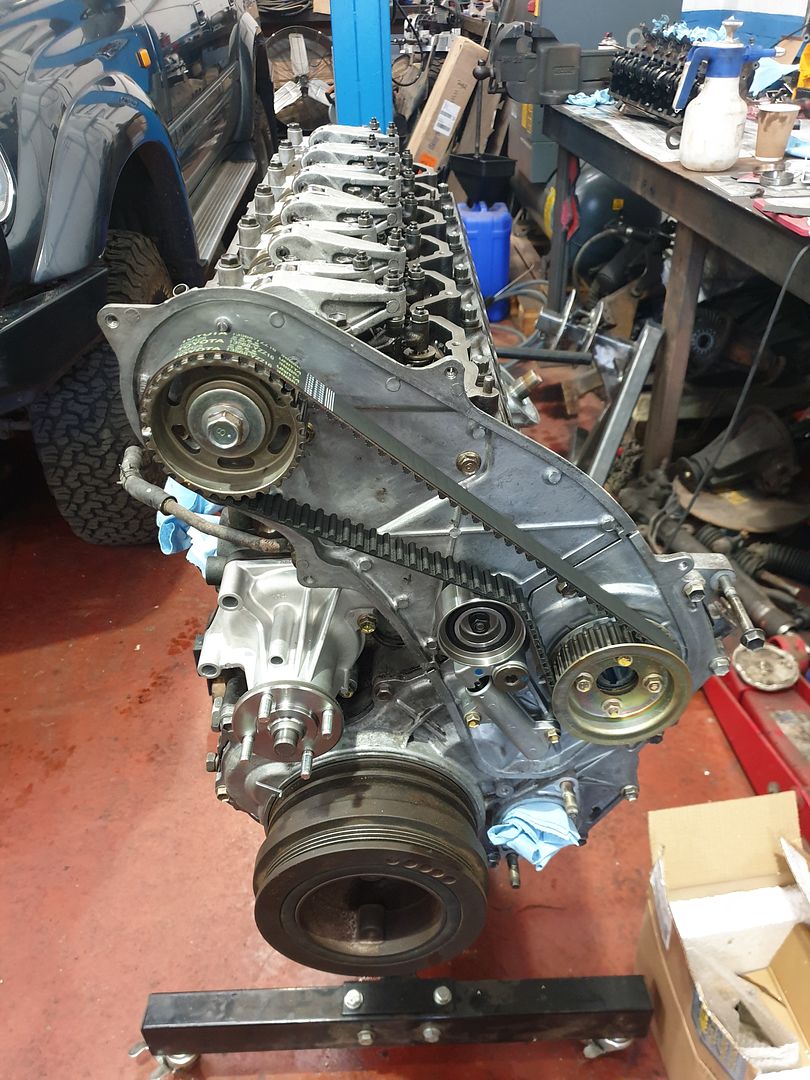
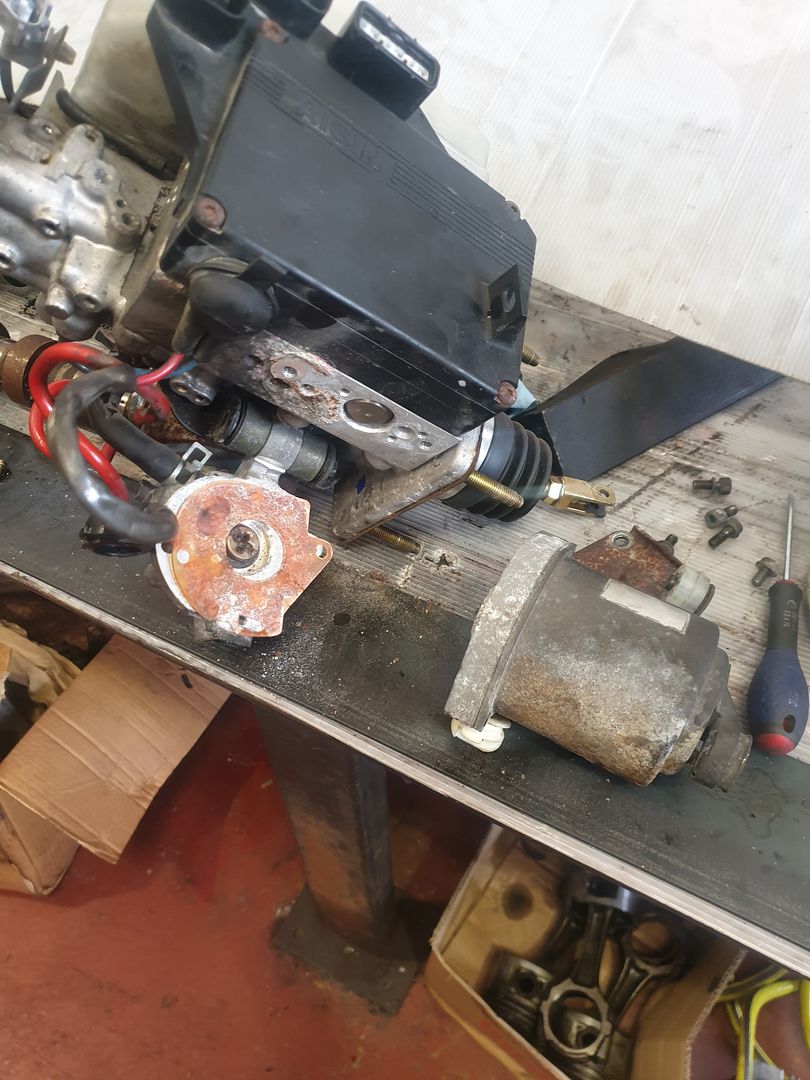
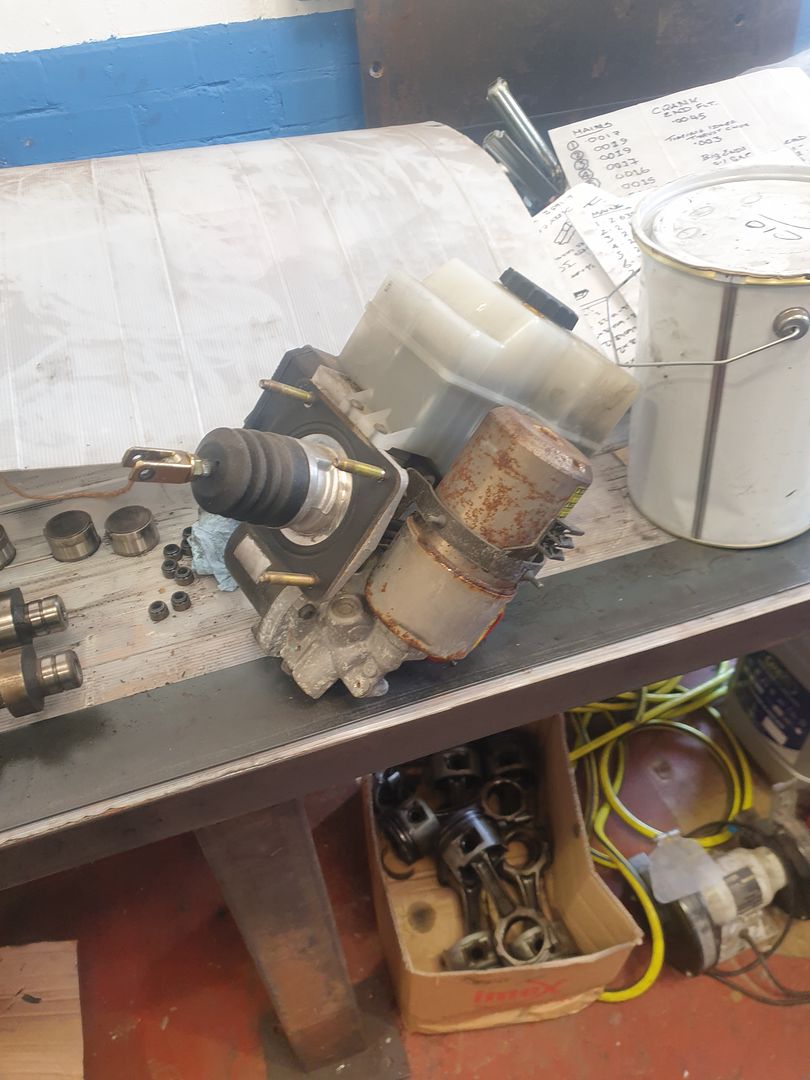
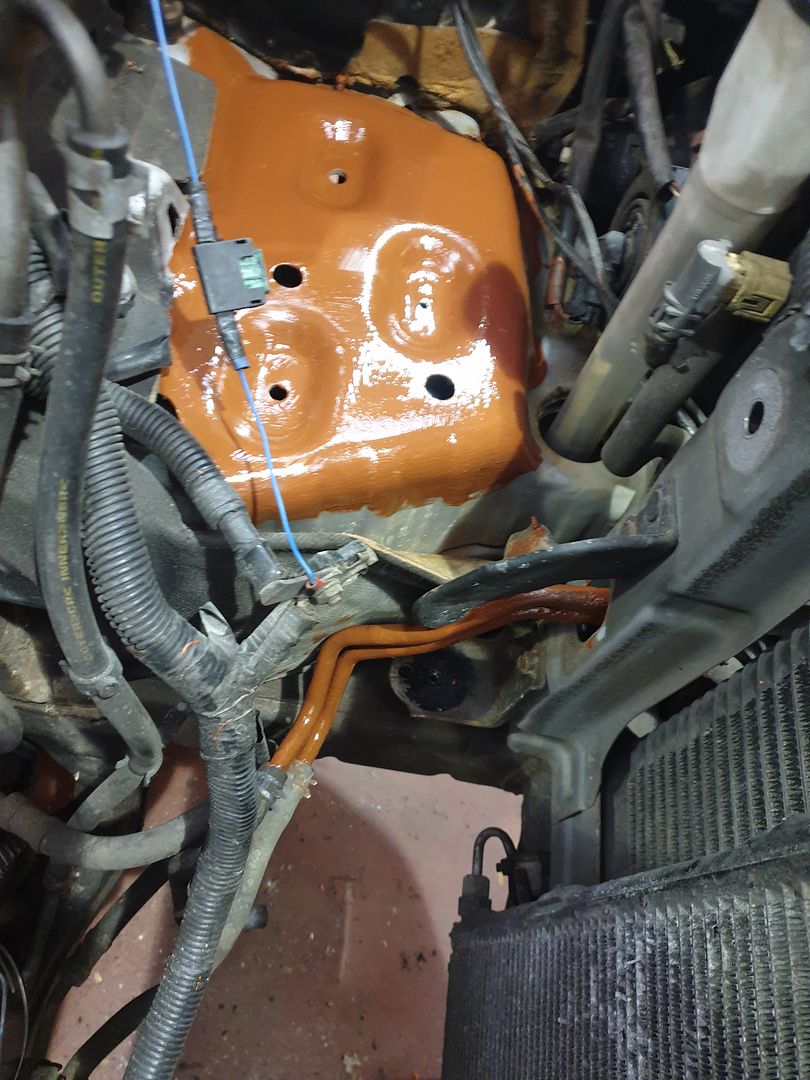
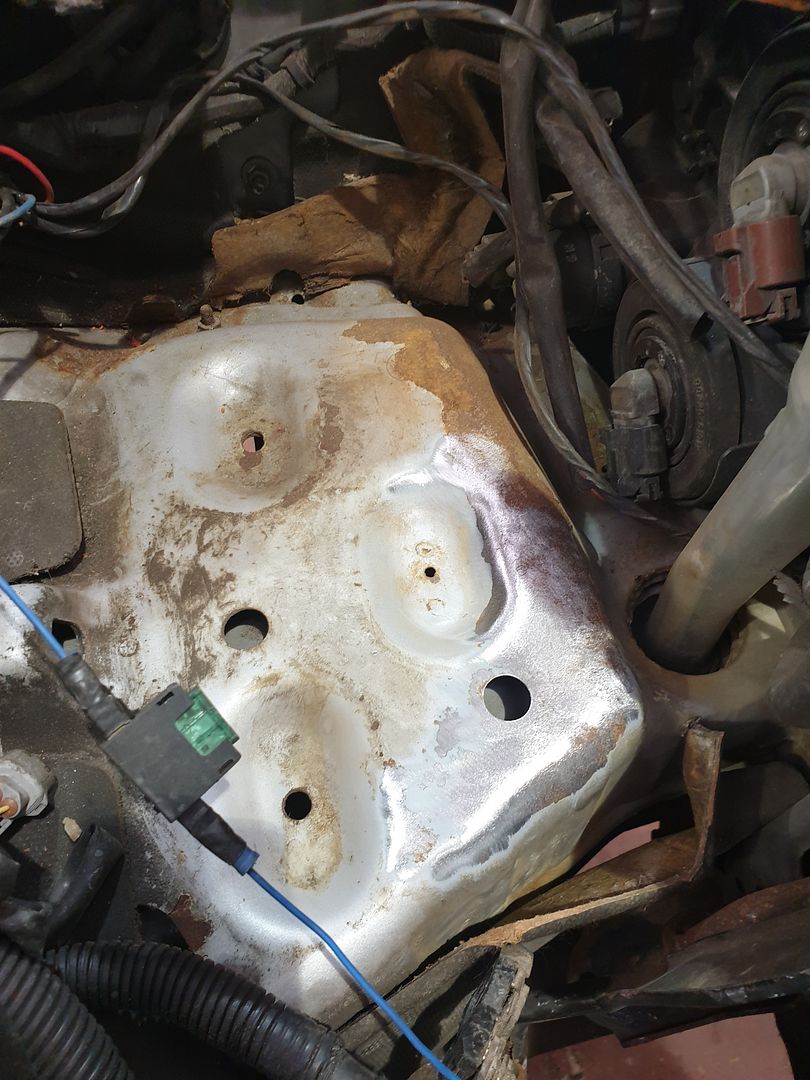
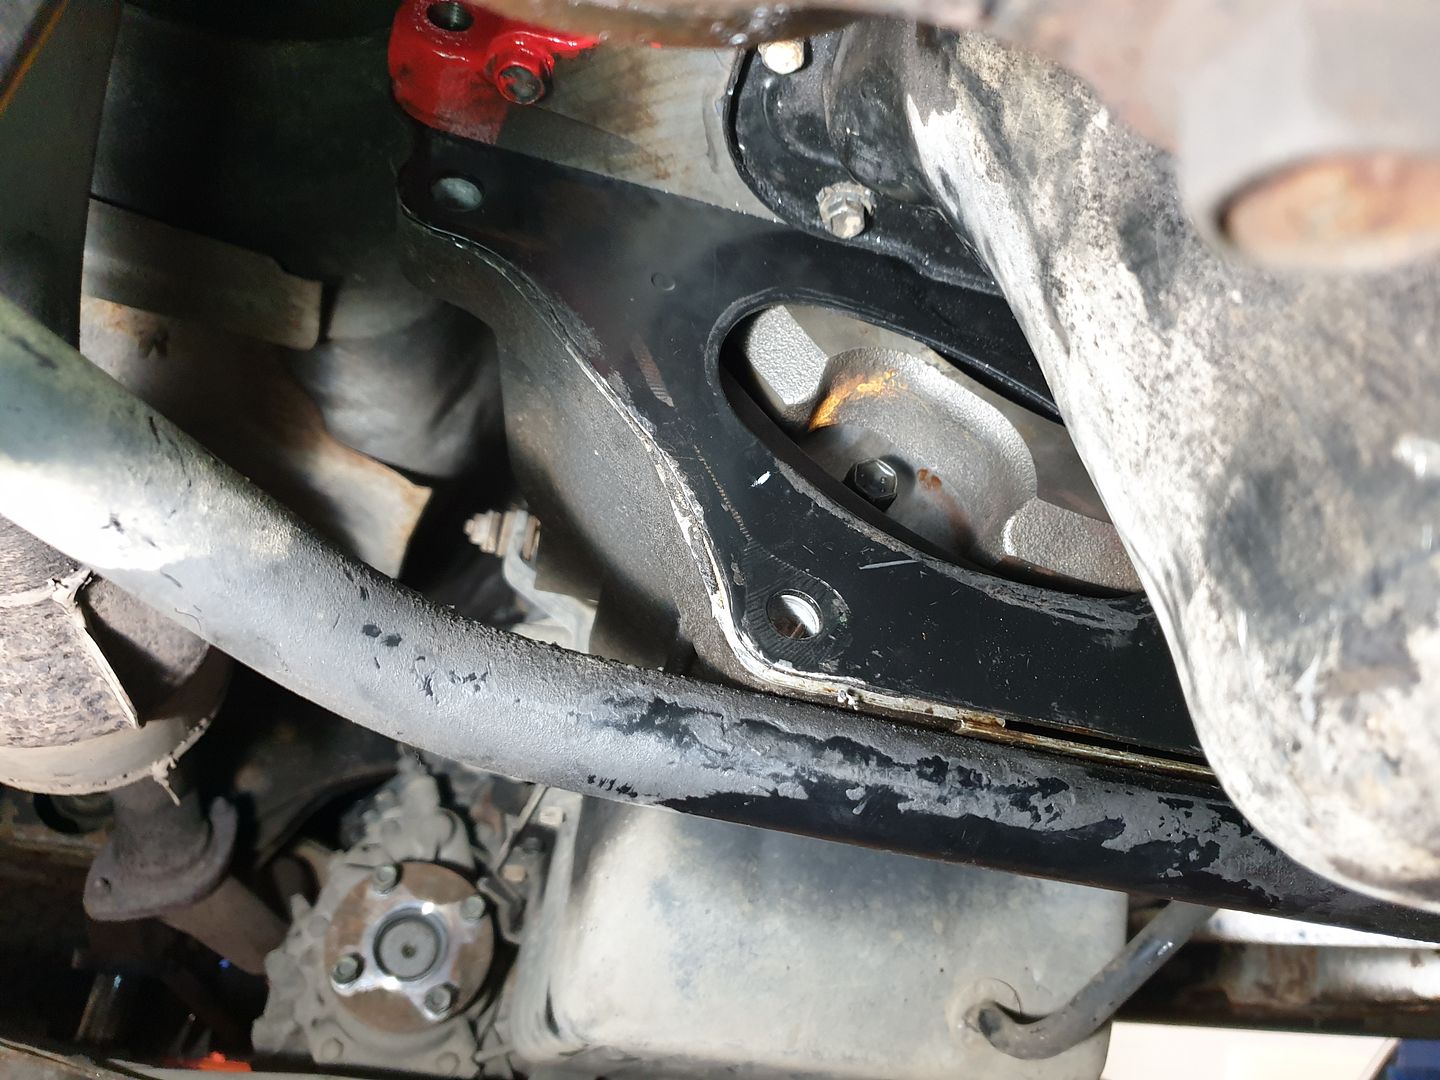
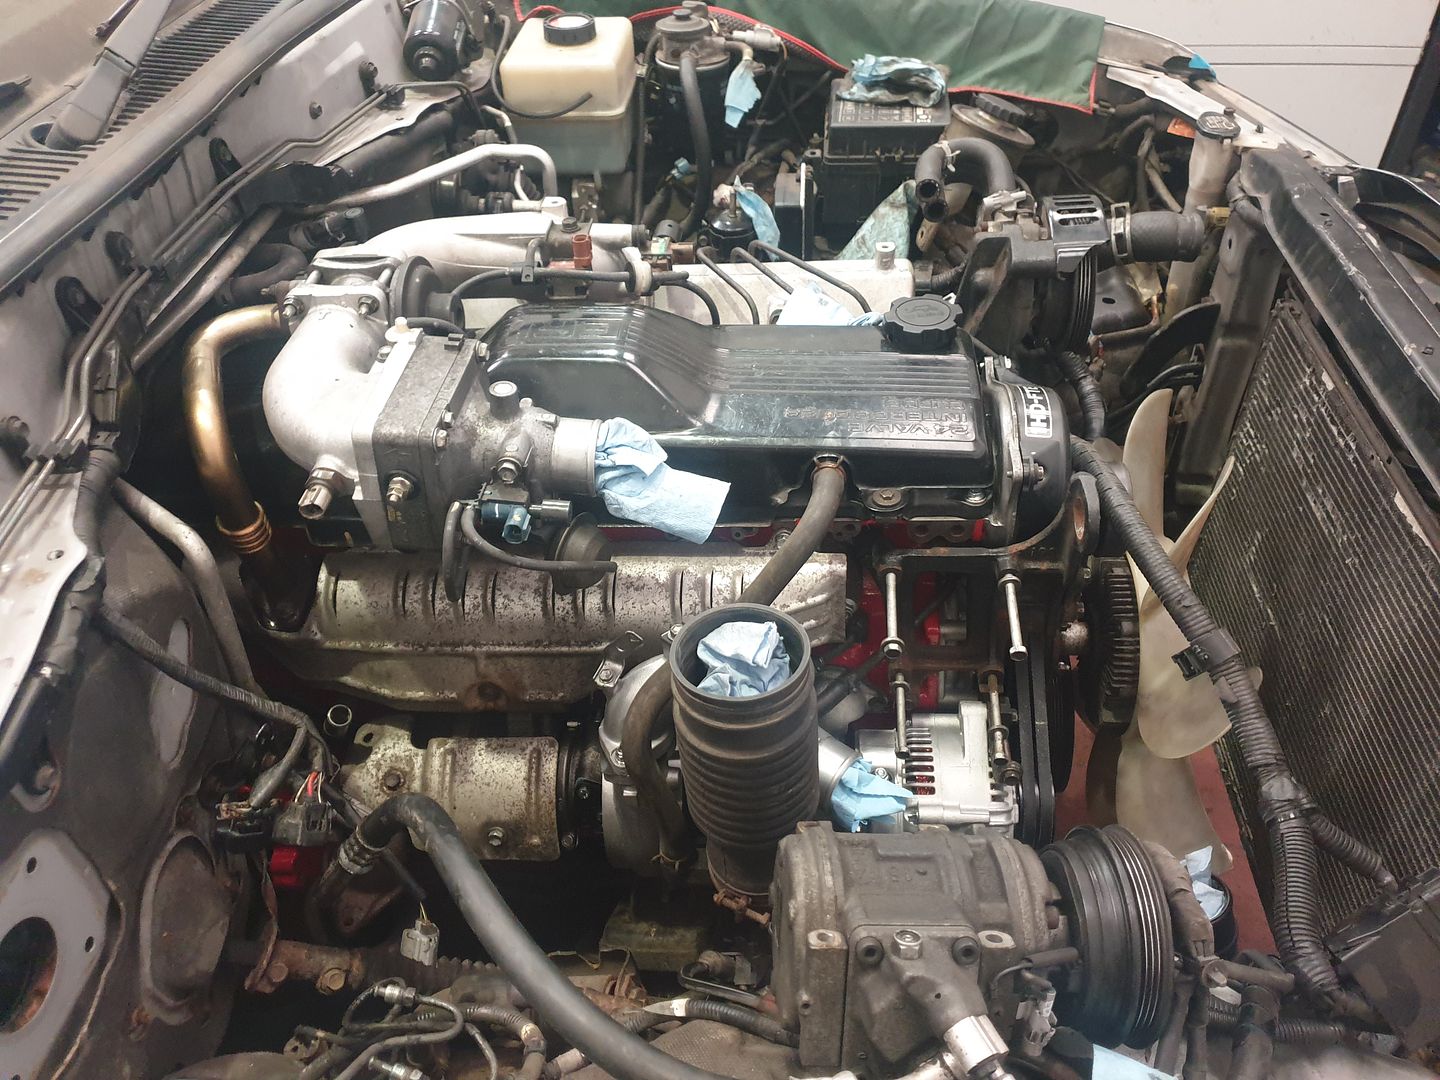
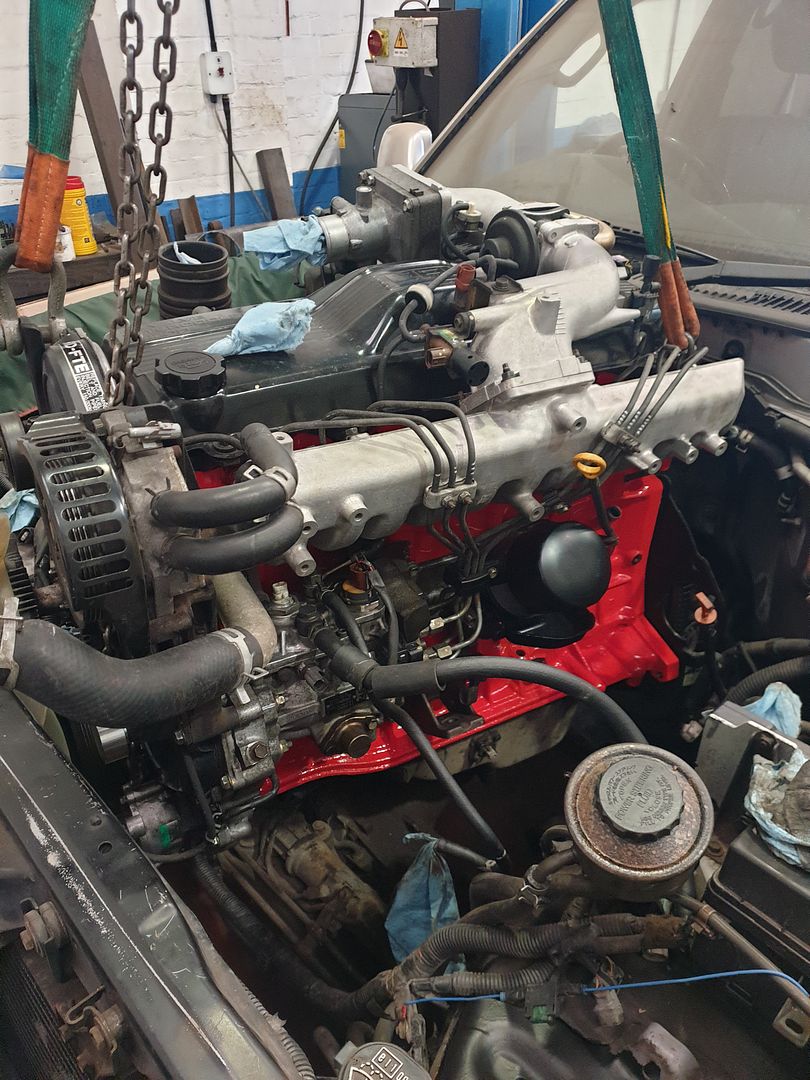
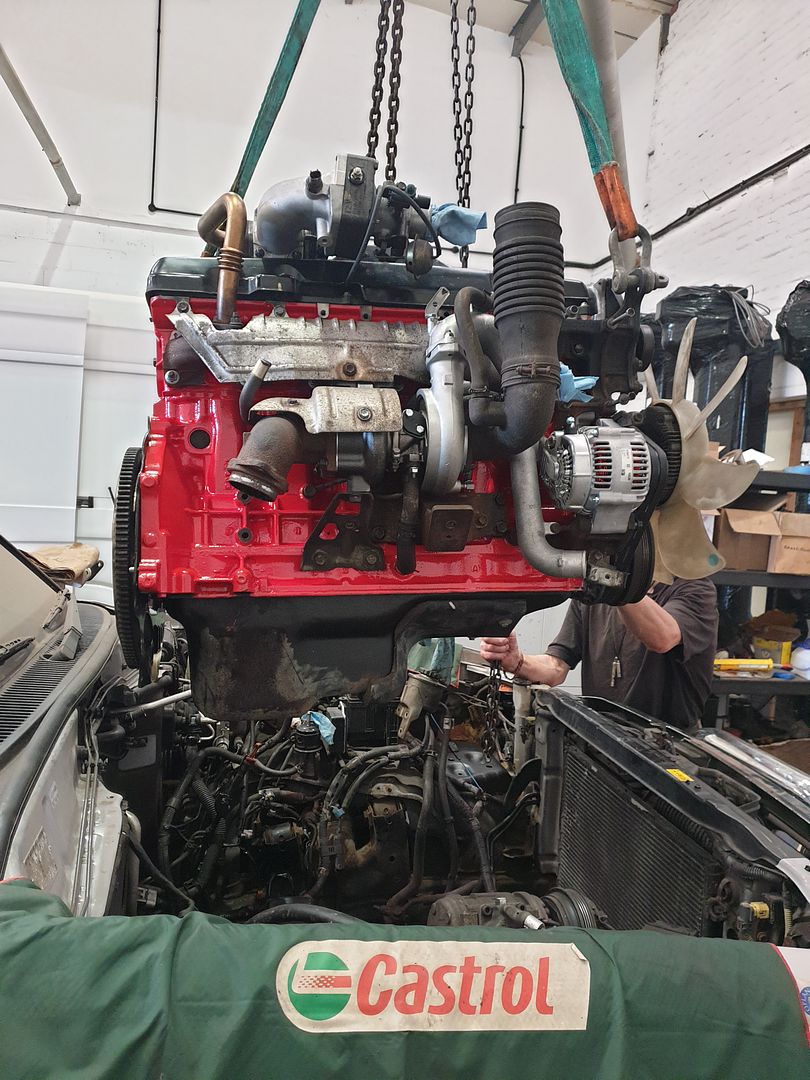
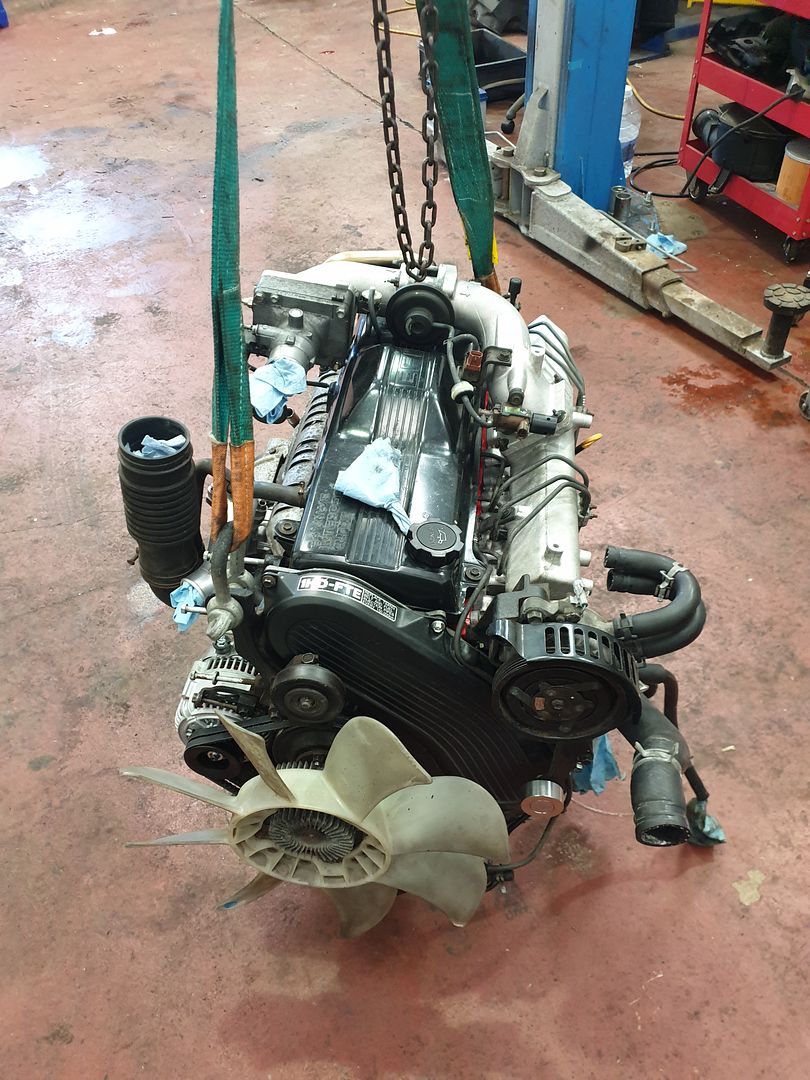
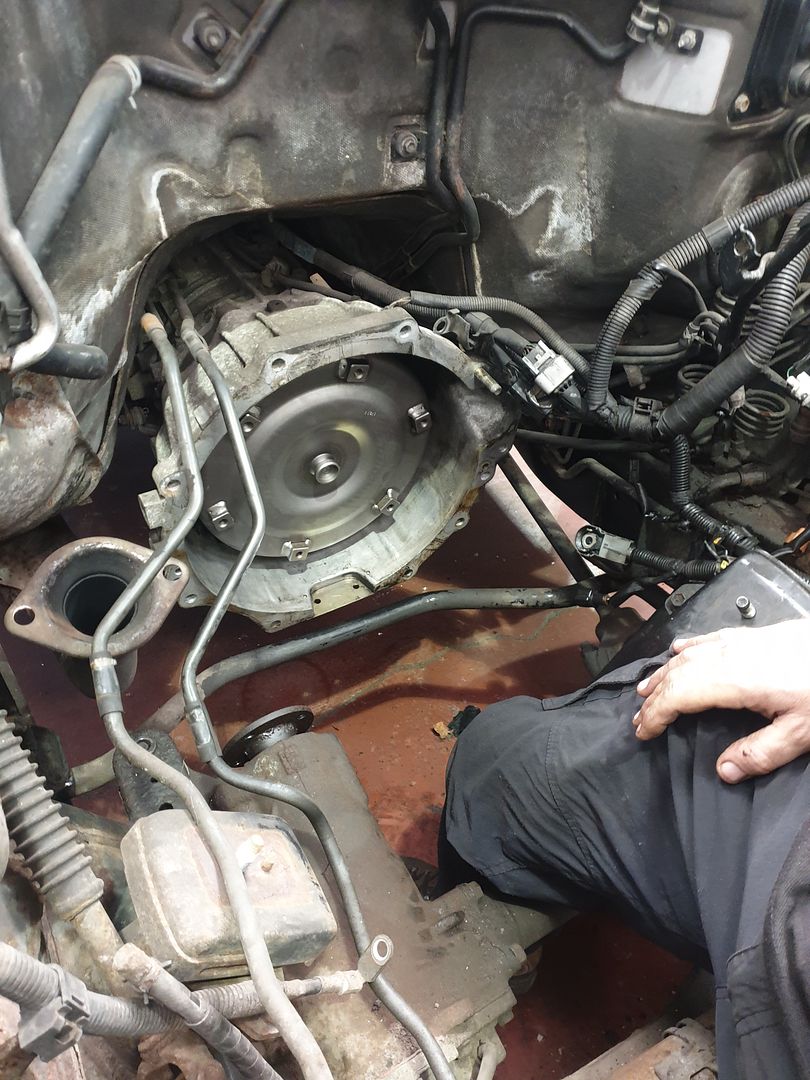
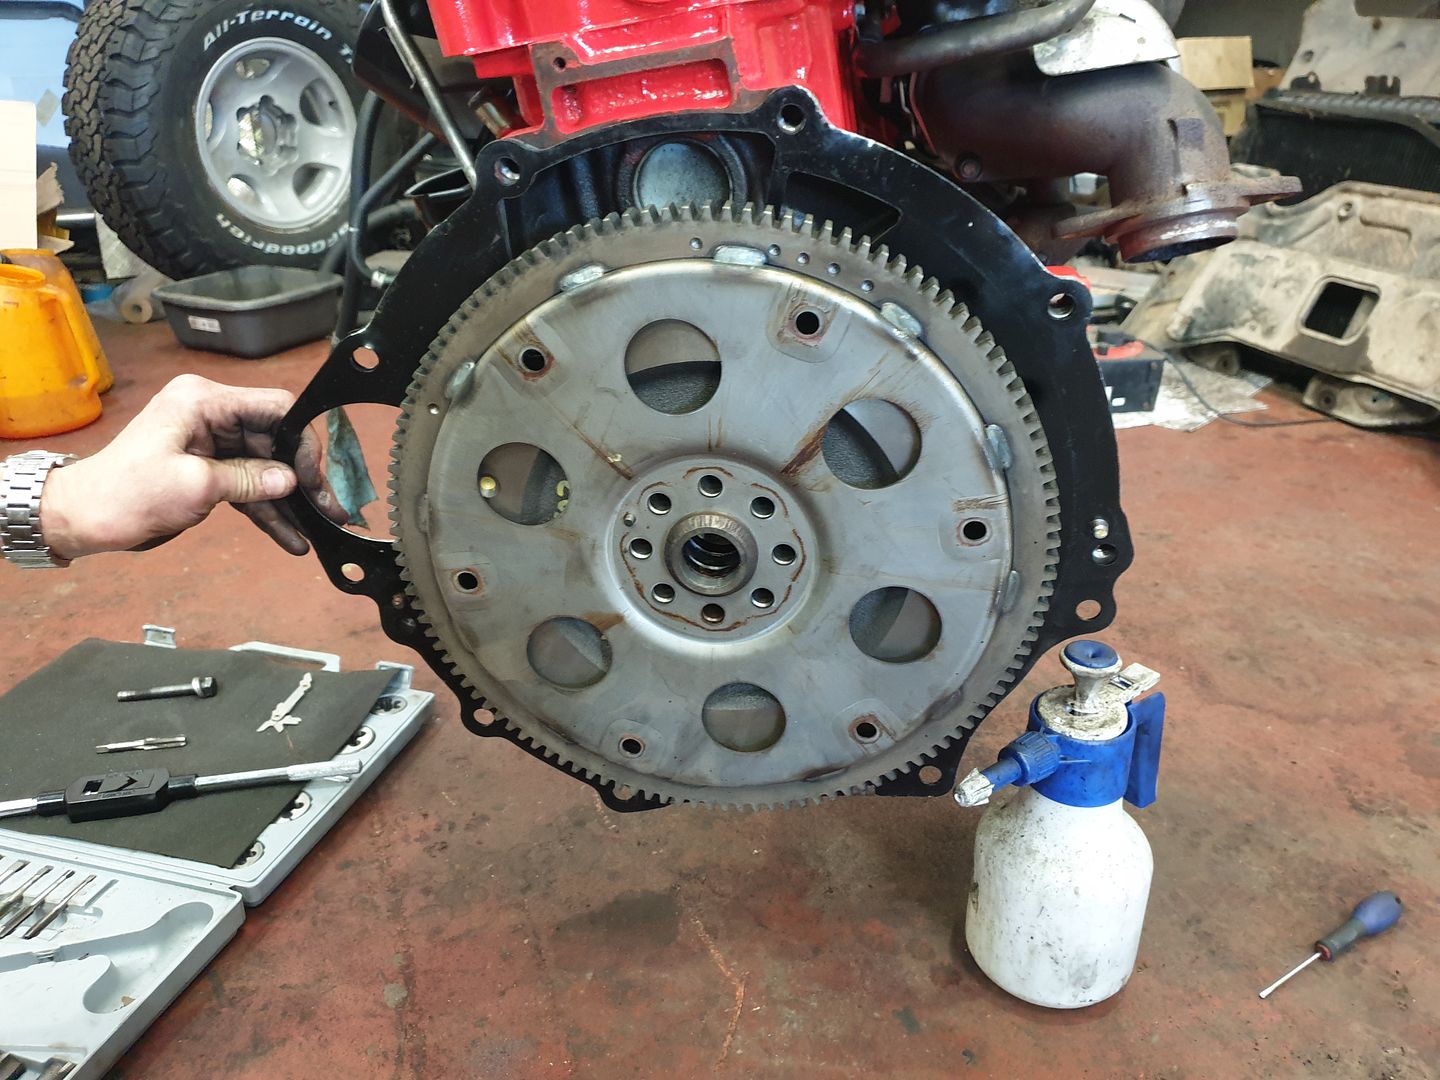
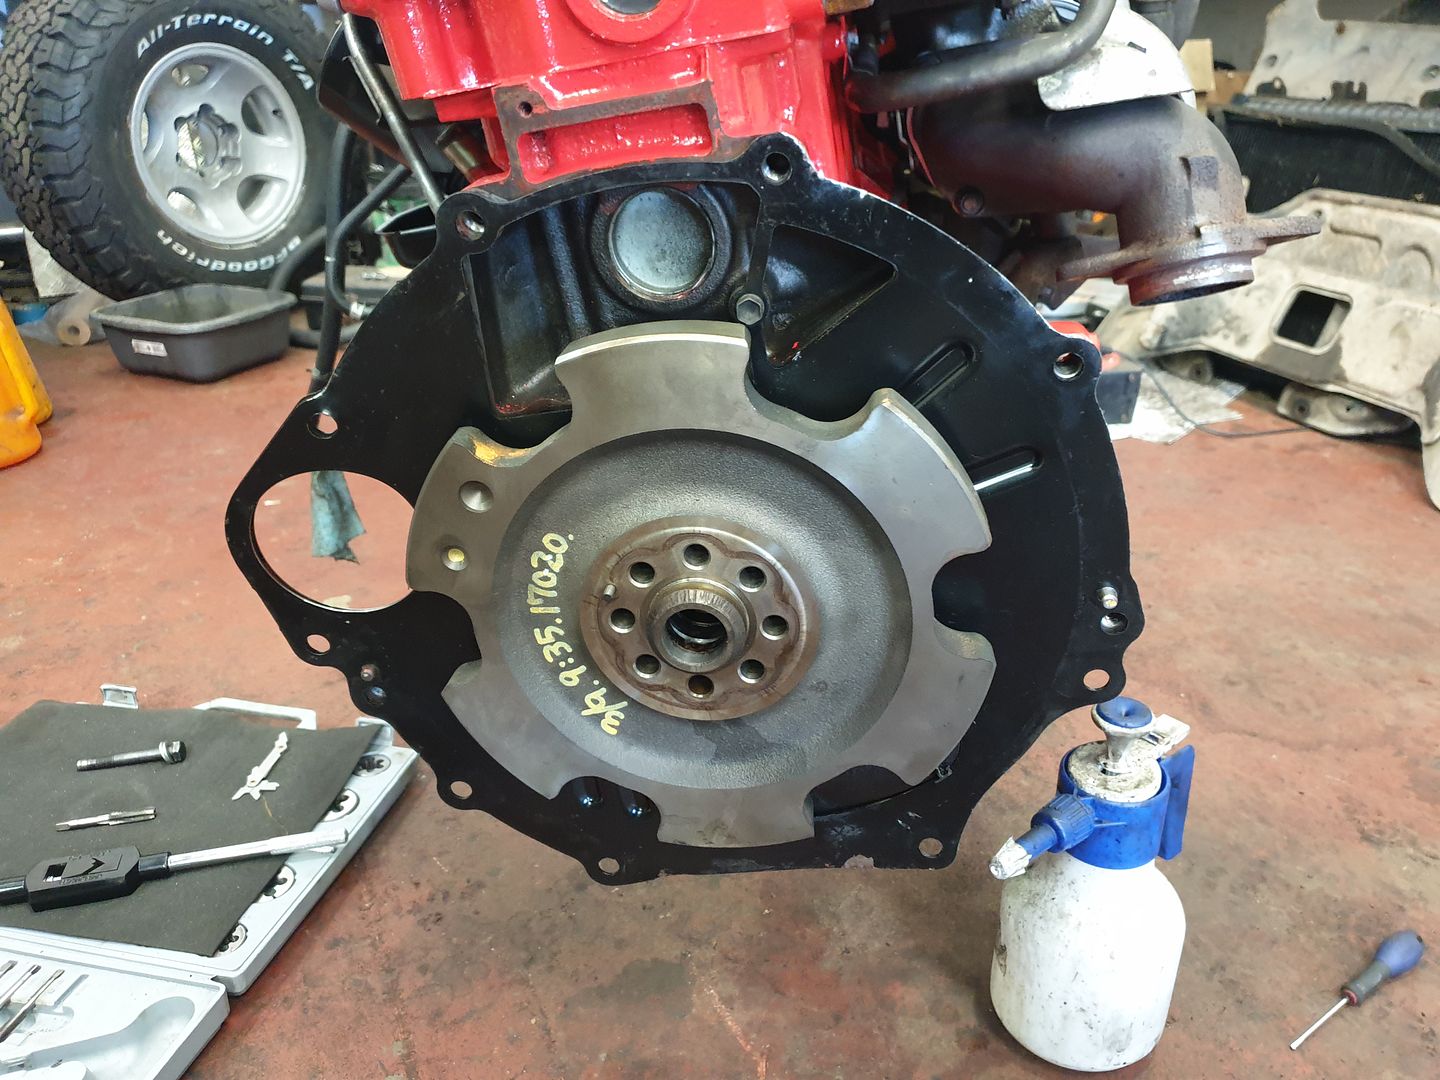
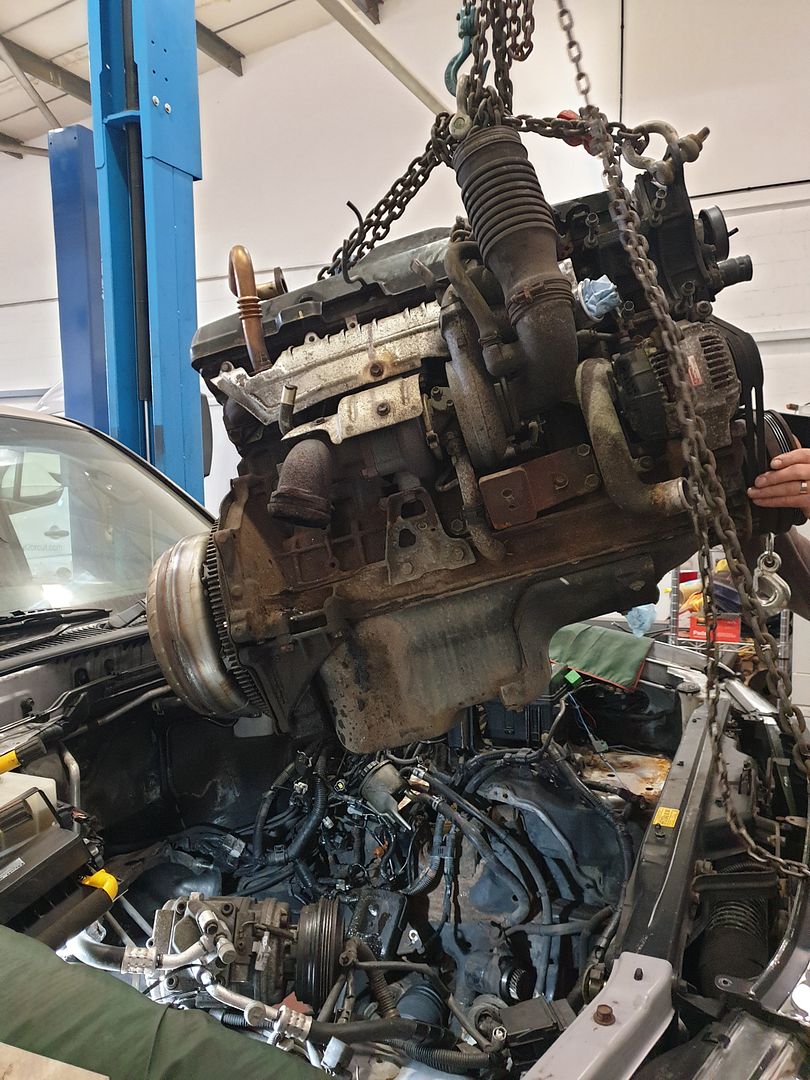
Pulled the engine and started to strip it down
.jpg)
.jpg)
.jpg)
.jpg)
.jpg)
.jpg)
.jpg)
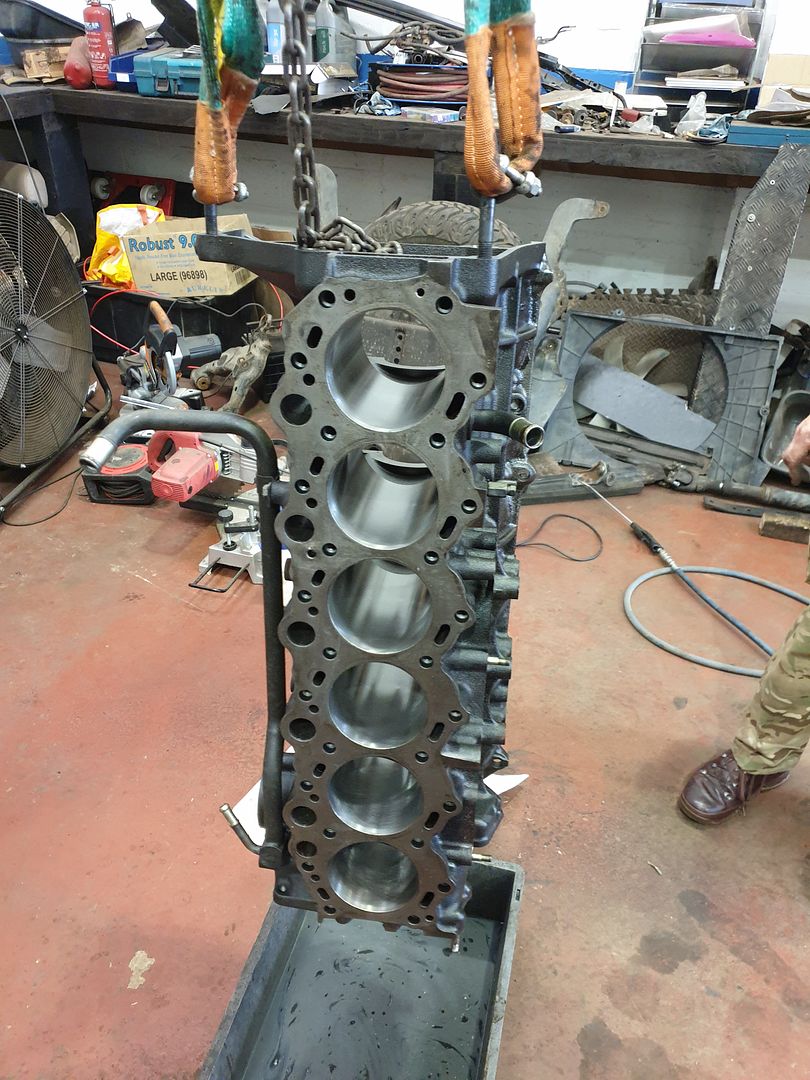
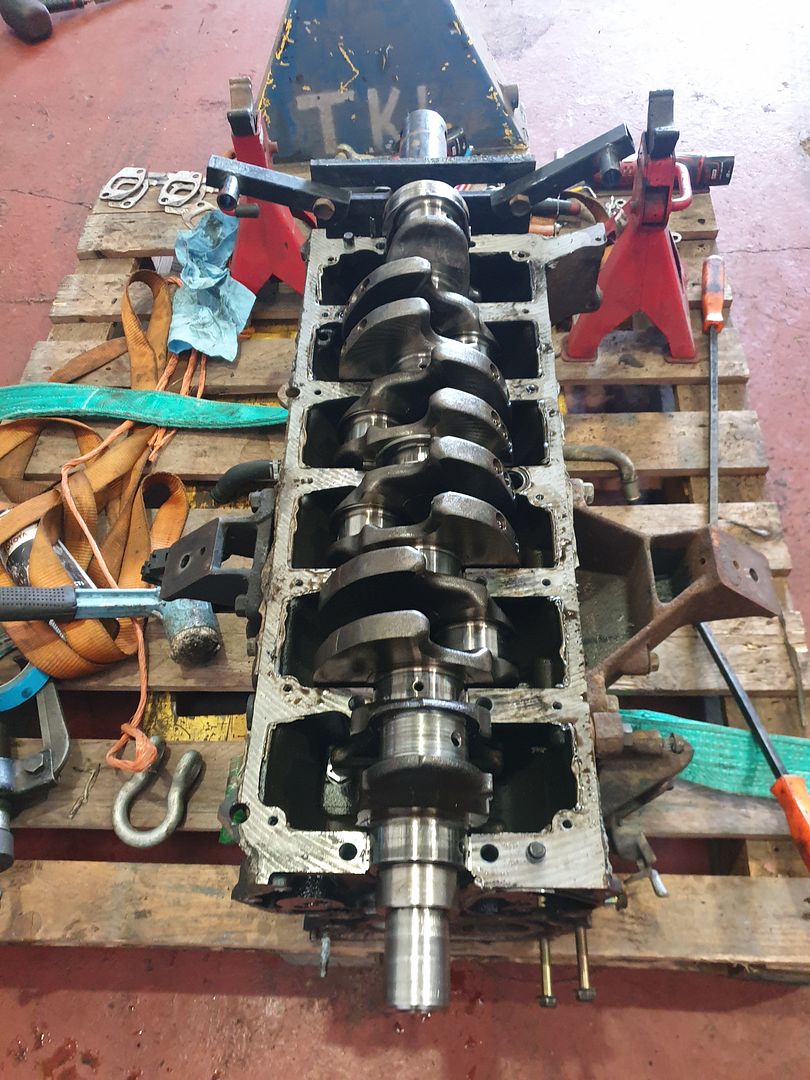
So what did I find? The engine oil was burnt and full of glitter when drained so I knew this was likely to be a bit of a mission.
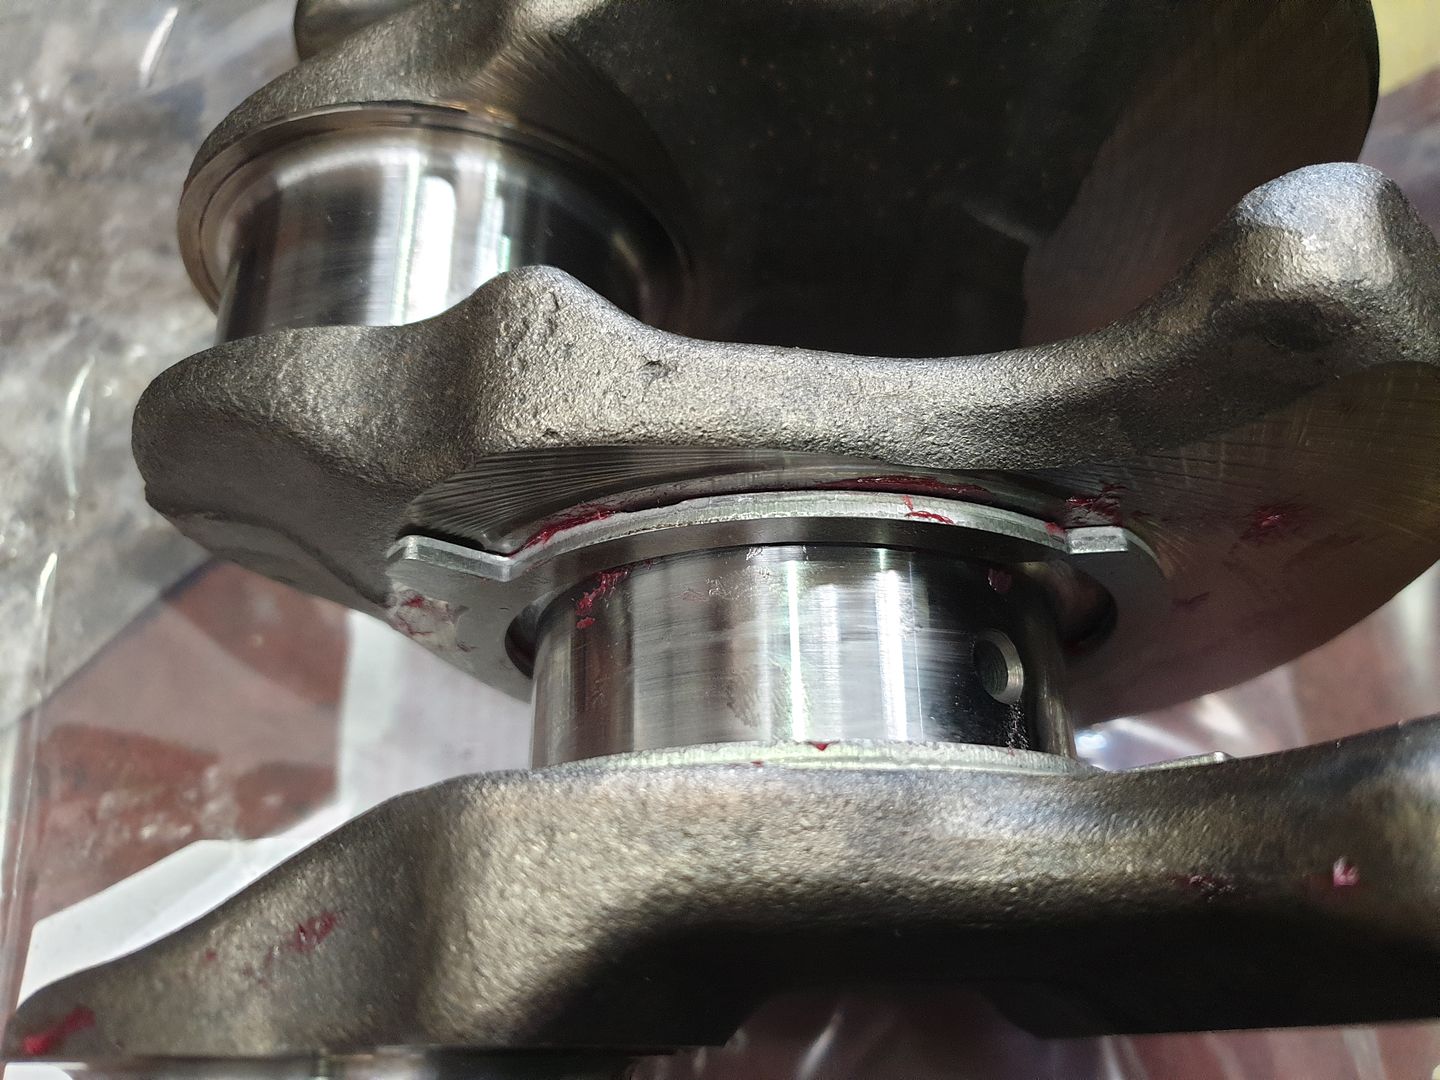
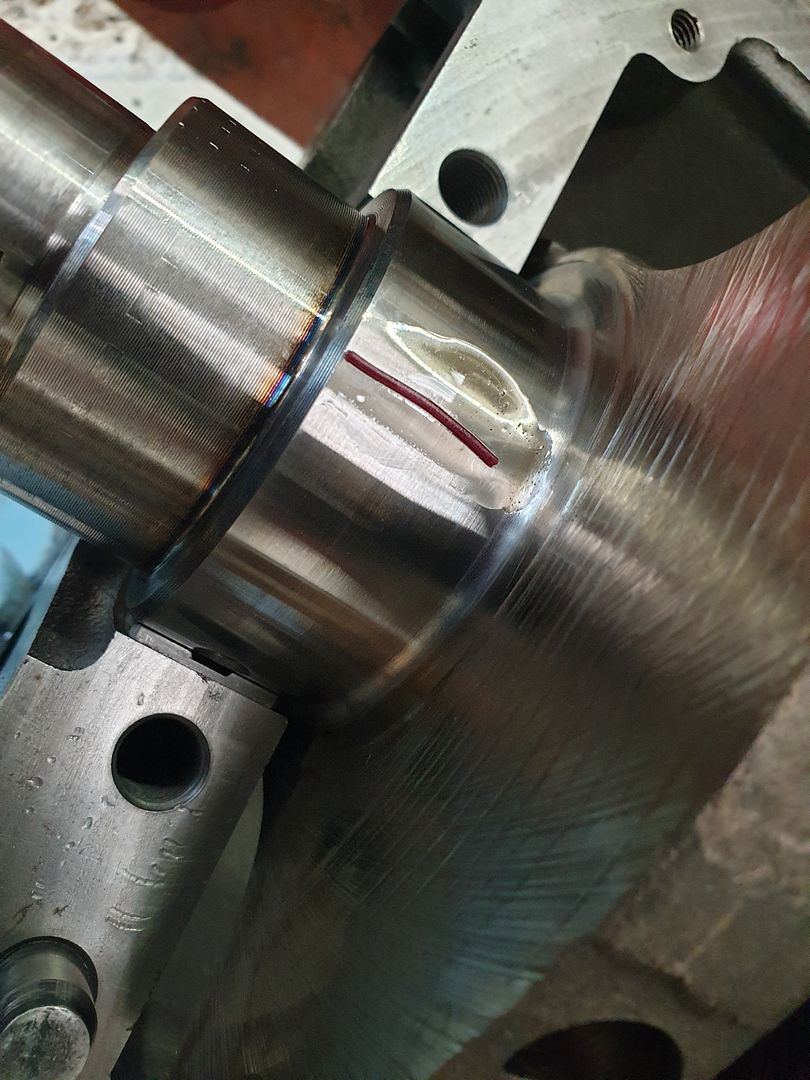
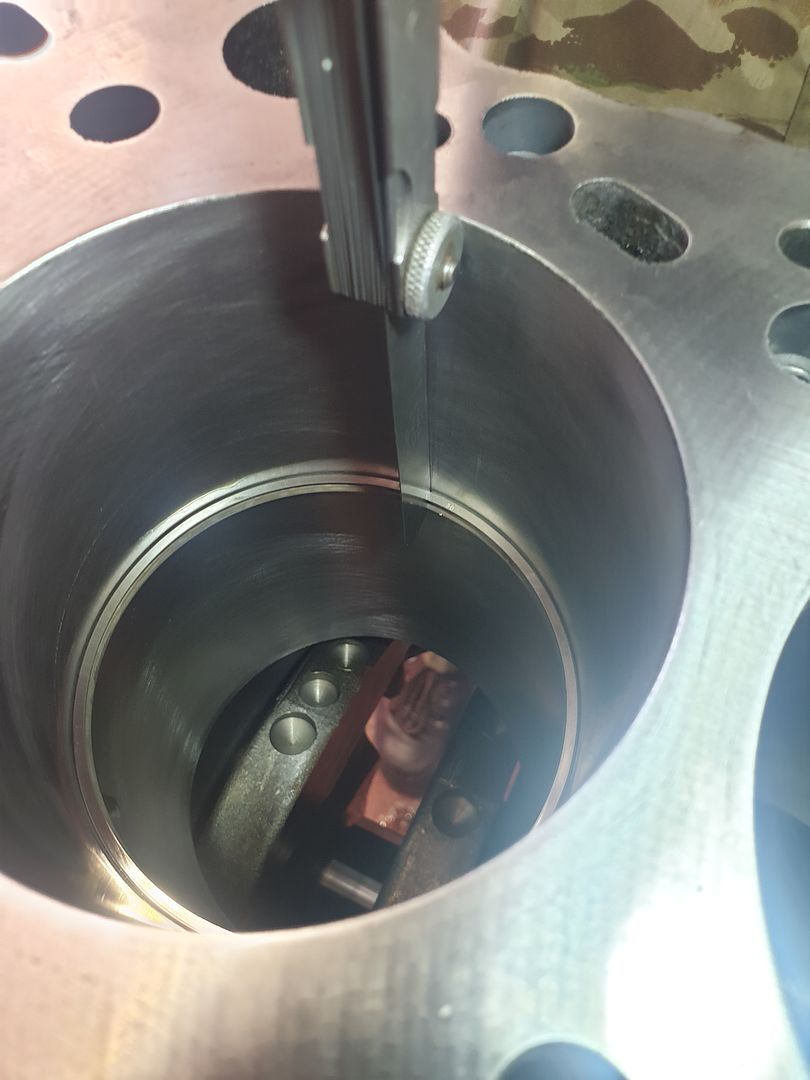
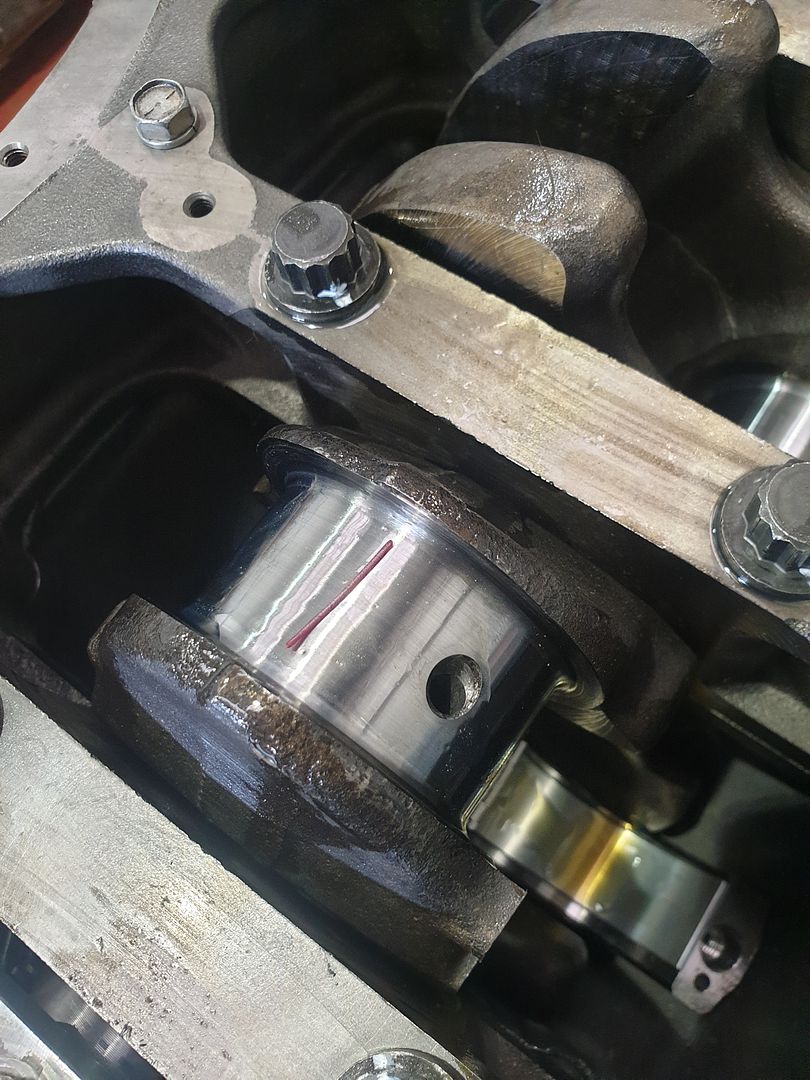
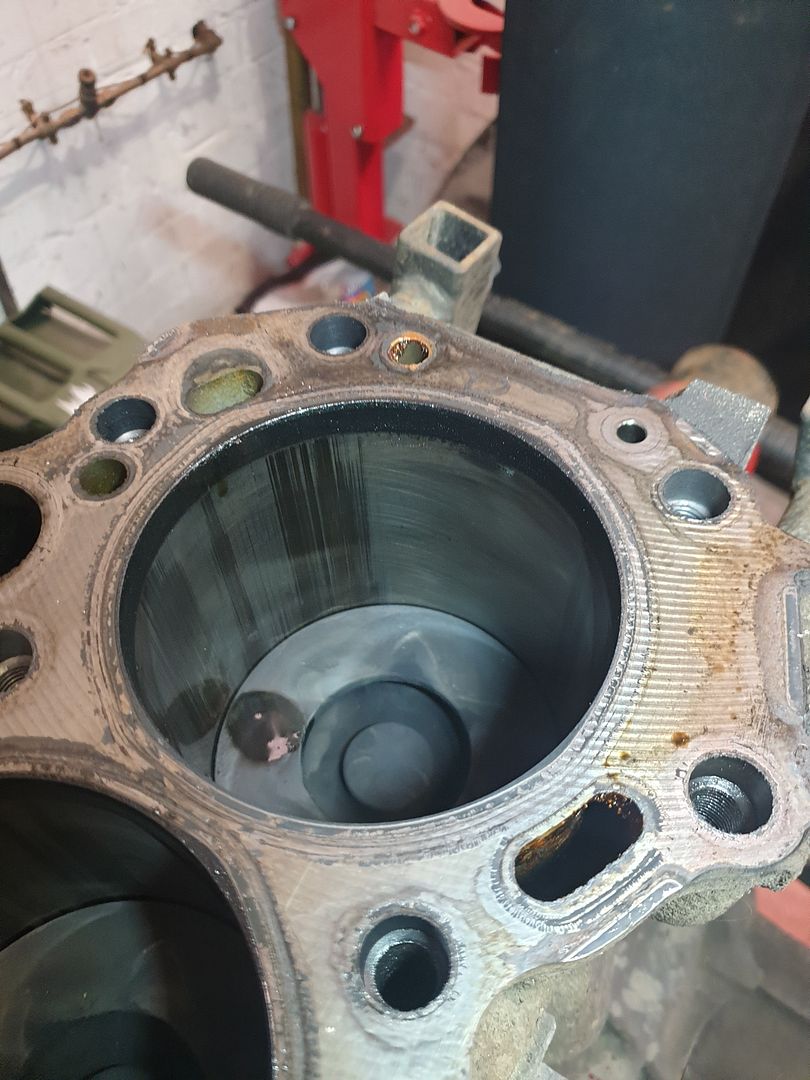
No1 big end shell had spun and scored the crank journal, all pistons had shed material as the engine tightened up and left shadowing on the bores, rings on 3 pistons stuck in their grooves.
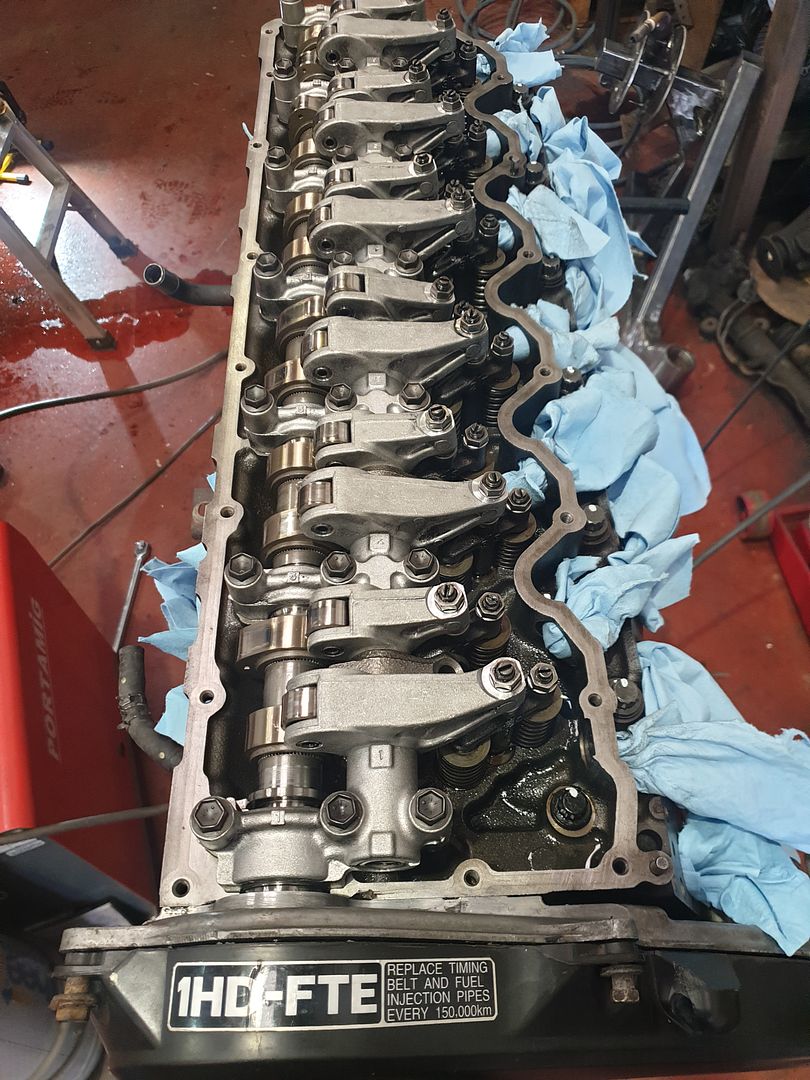
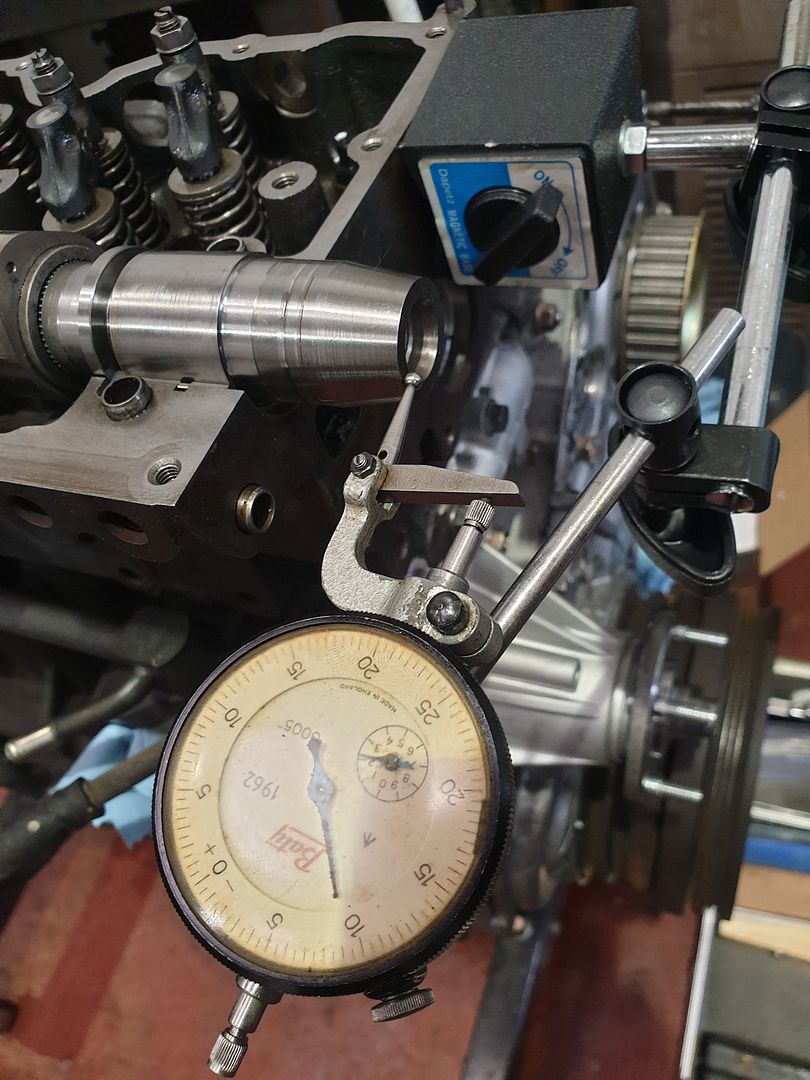
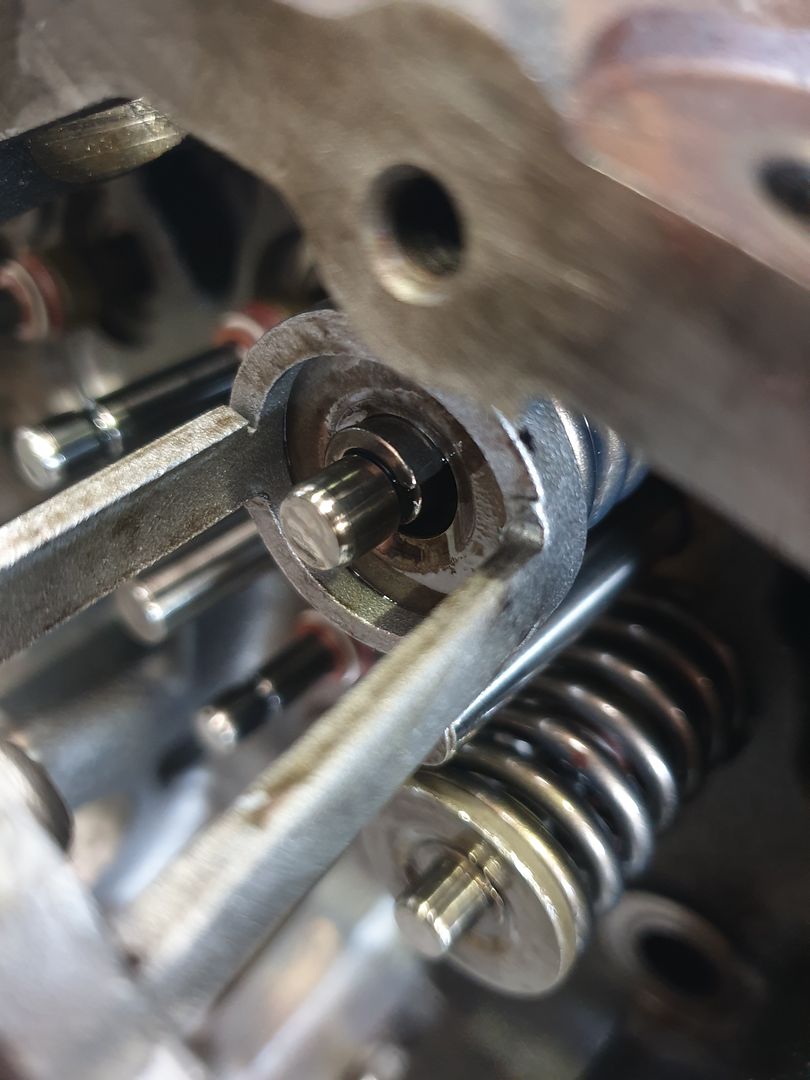
Cam bearings not too bad with only 1 having picked up slightly and cam lobes needing a light stringing to bring it back into order.
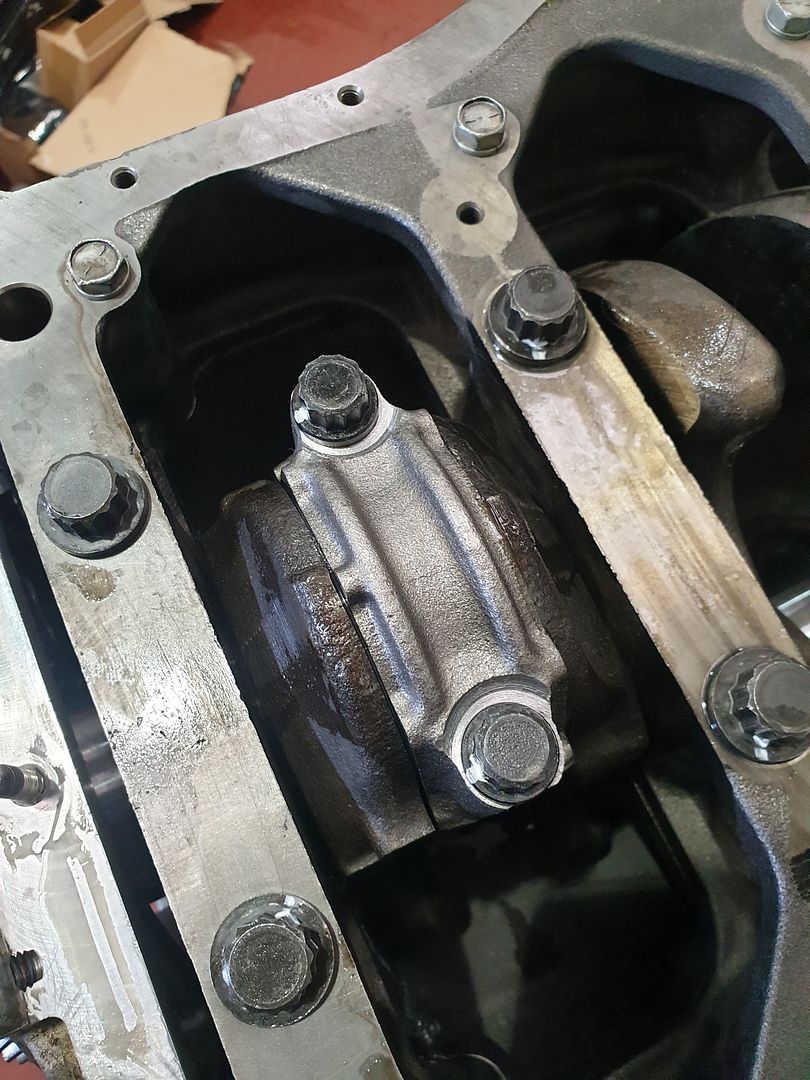
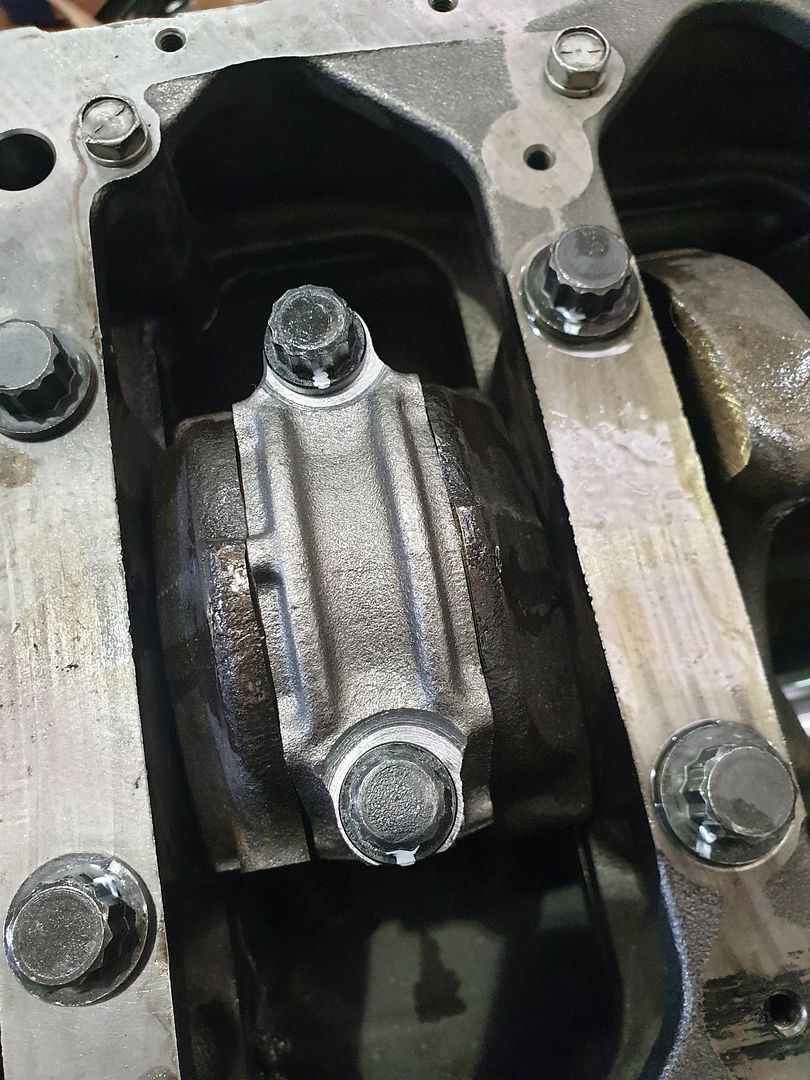
Oil pickup strainer full of crud and No 6 main shell rather bruised and stuck fast.
.jpg)
.jpg)
.jpg)
.jpg)
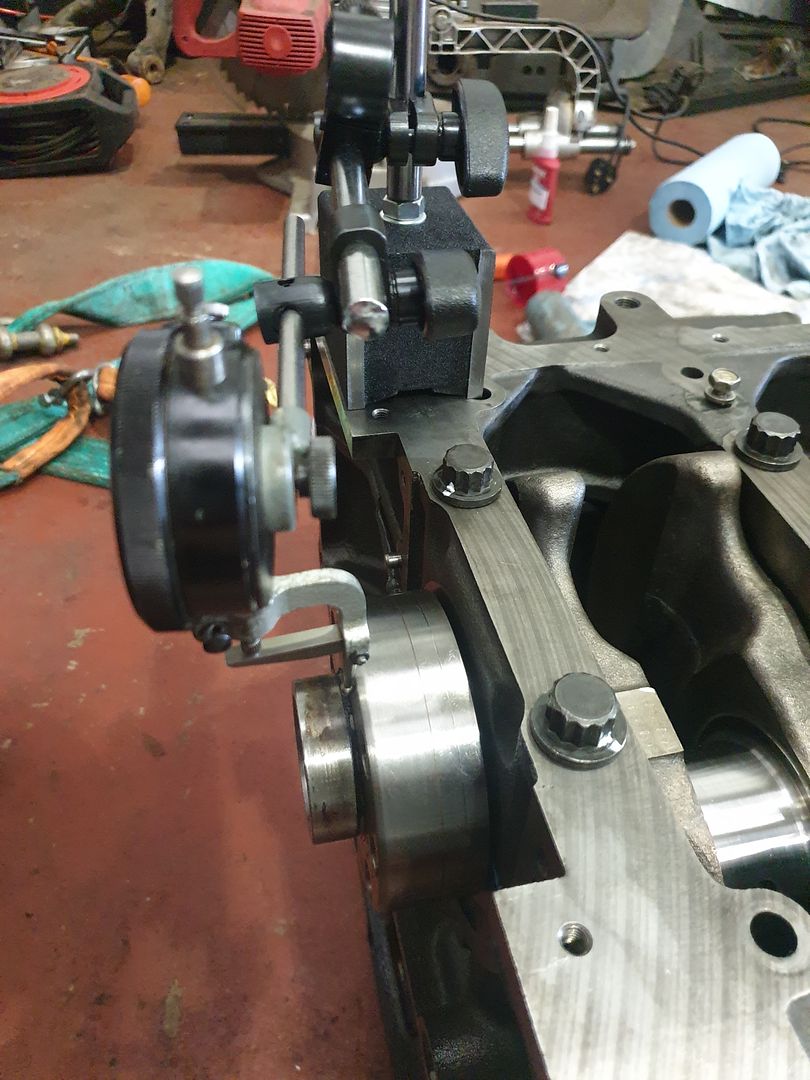
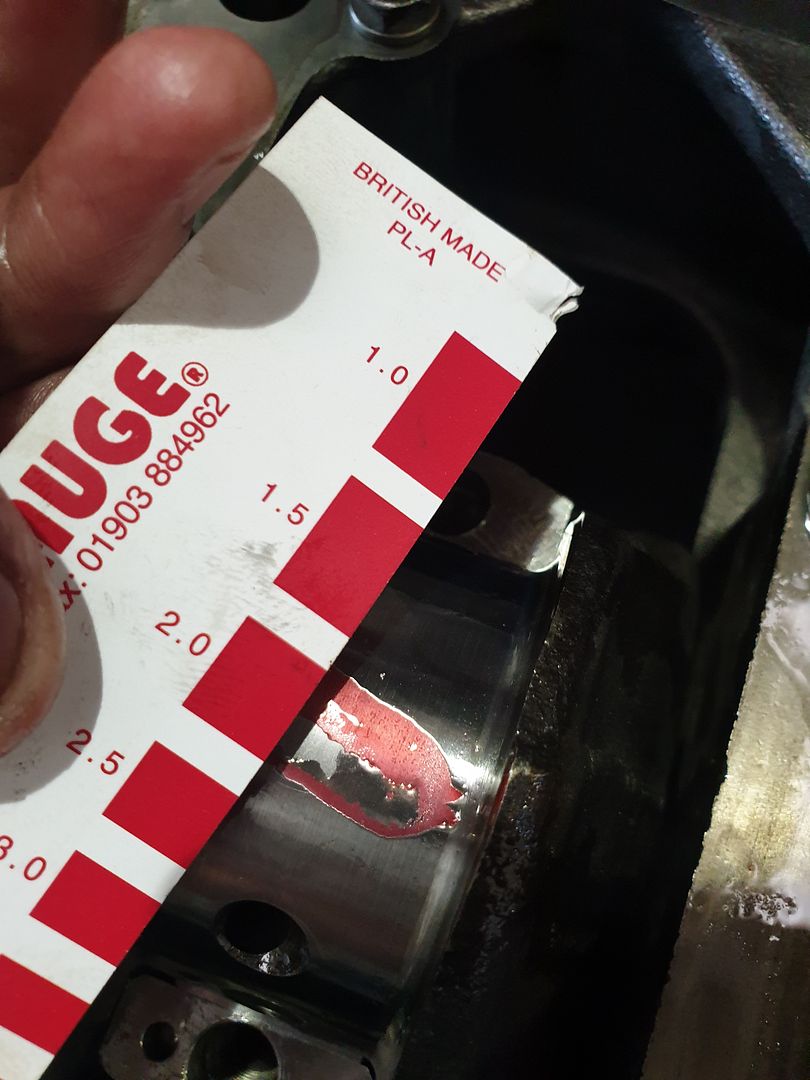
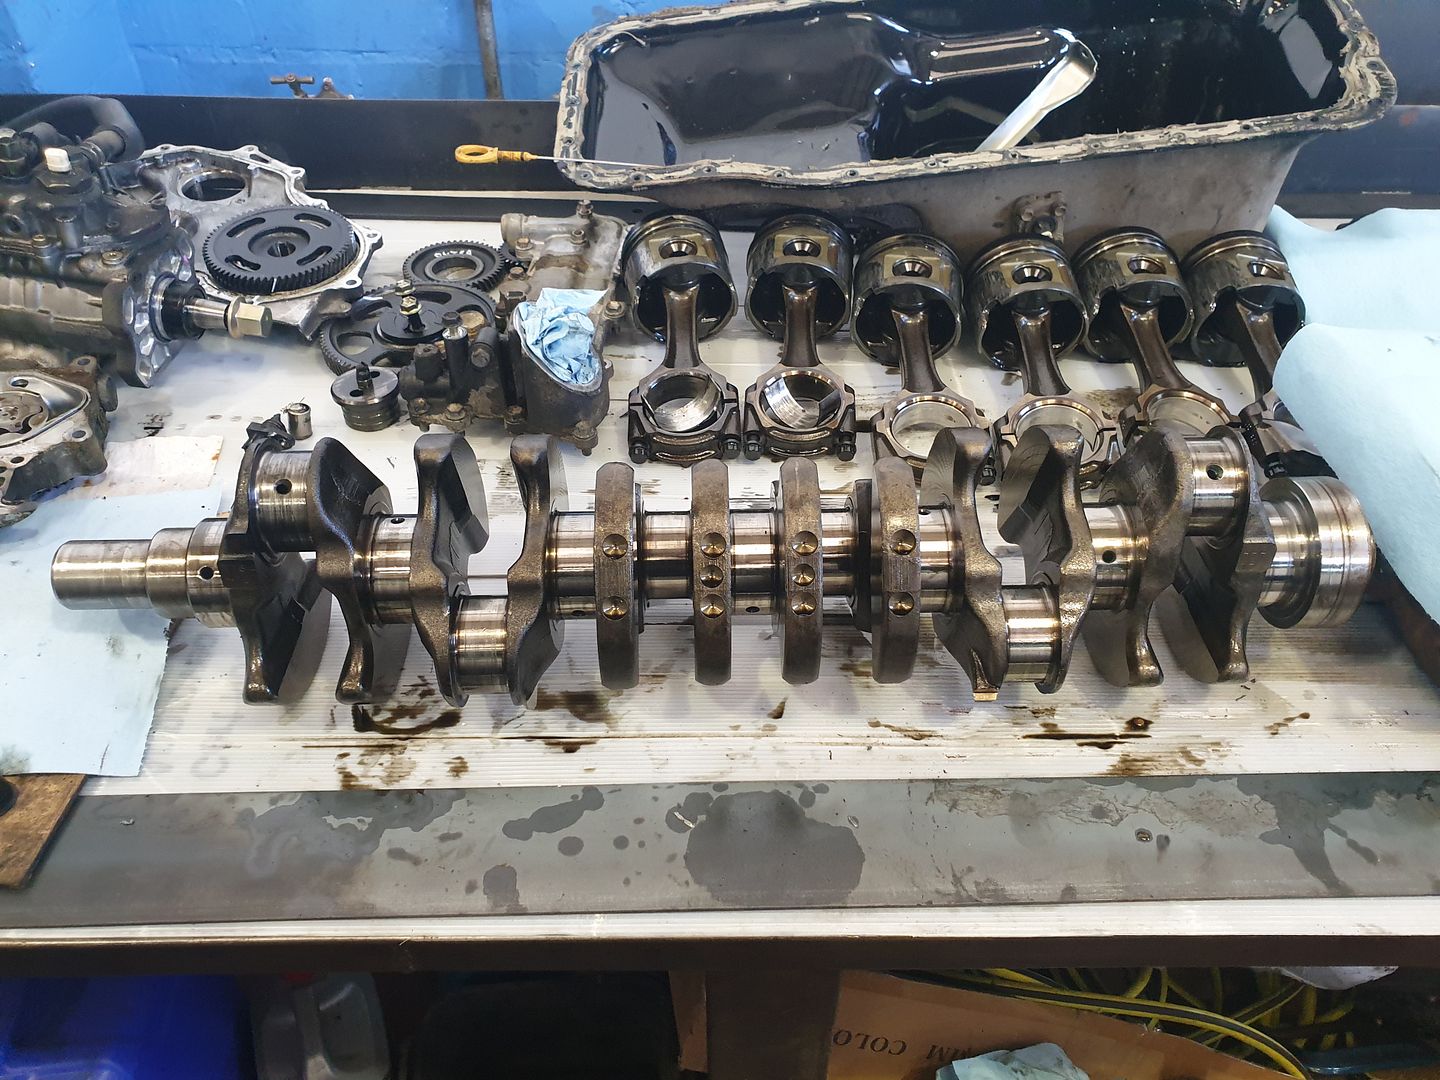
I then found that 1, 2 and 3 conrods had been stretched vertically (big end ovalled) between 1 and 3 thou.
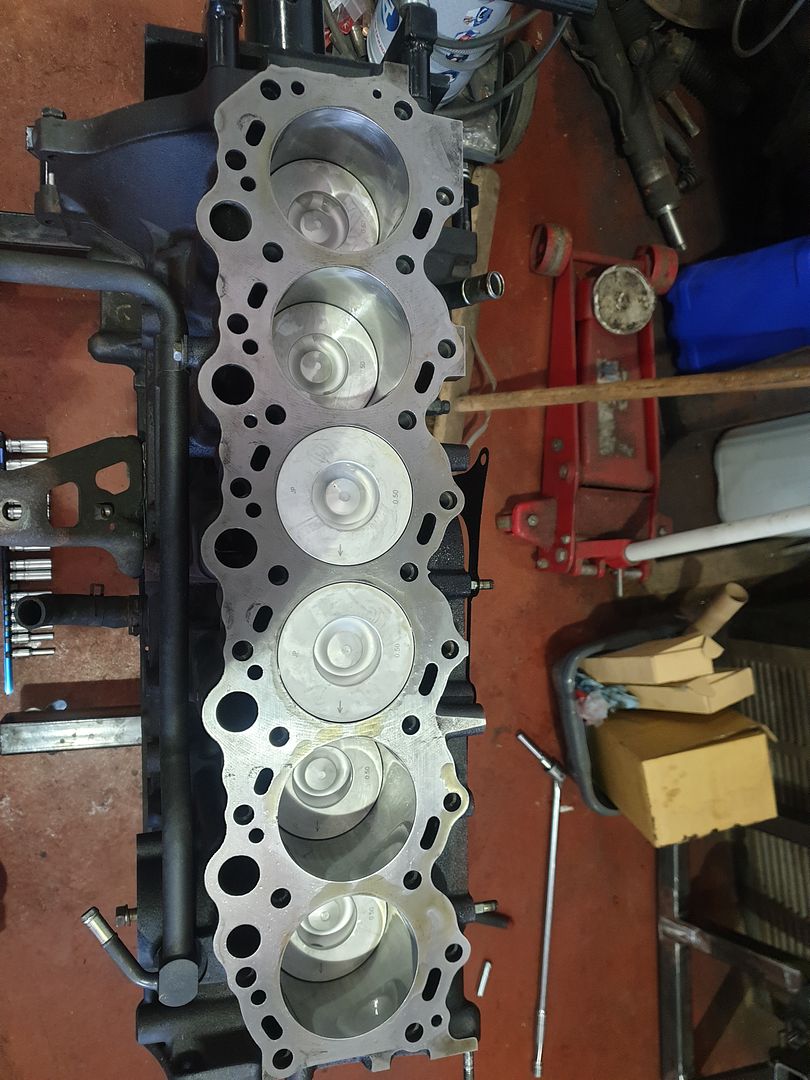
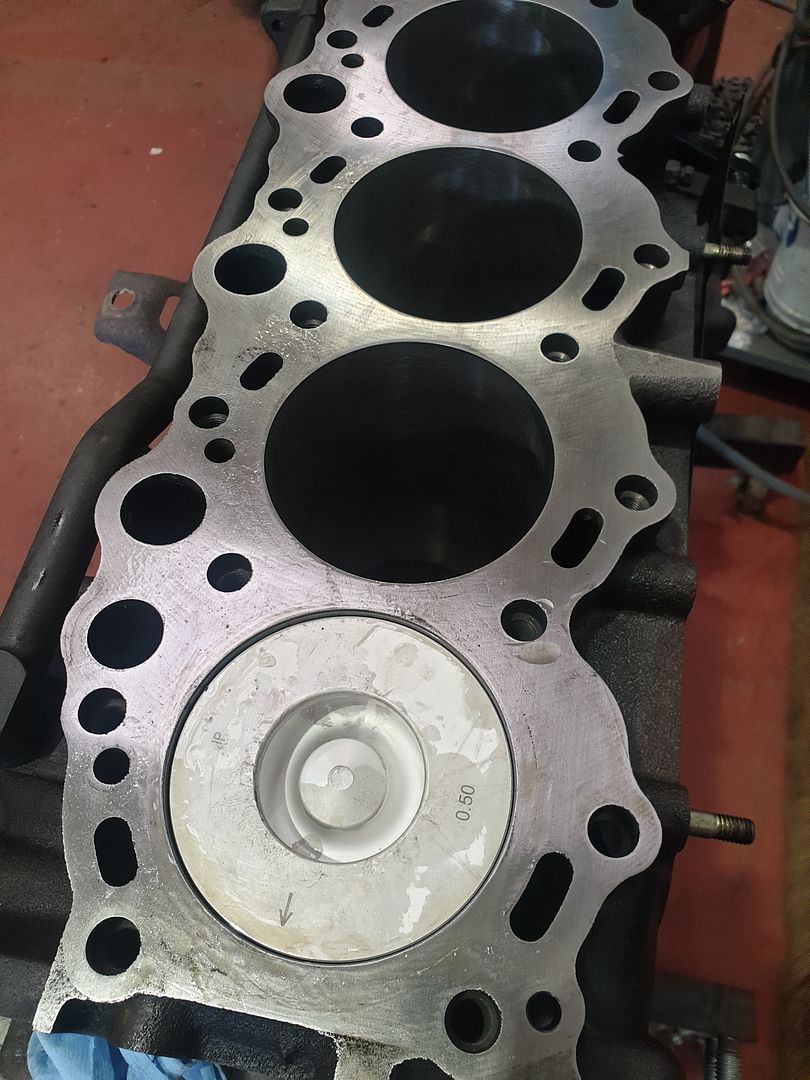
Bores survived and took a fair bit of honing to remove the piston material and a couple of slight scores but are still within spec and don't need boring for oversize pistons.
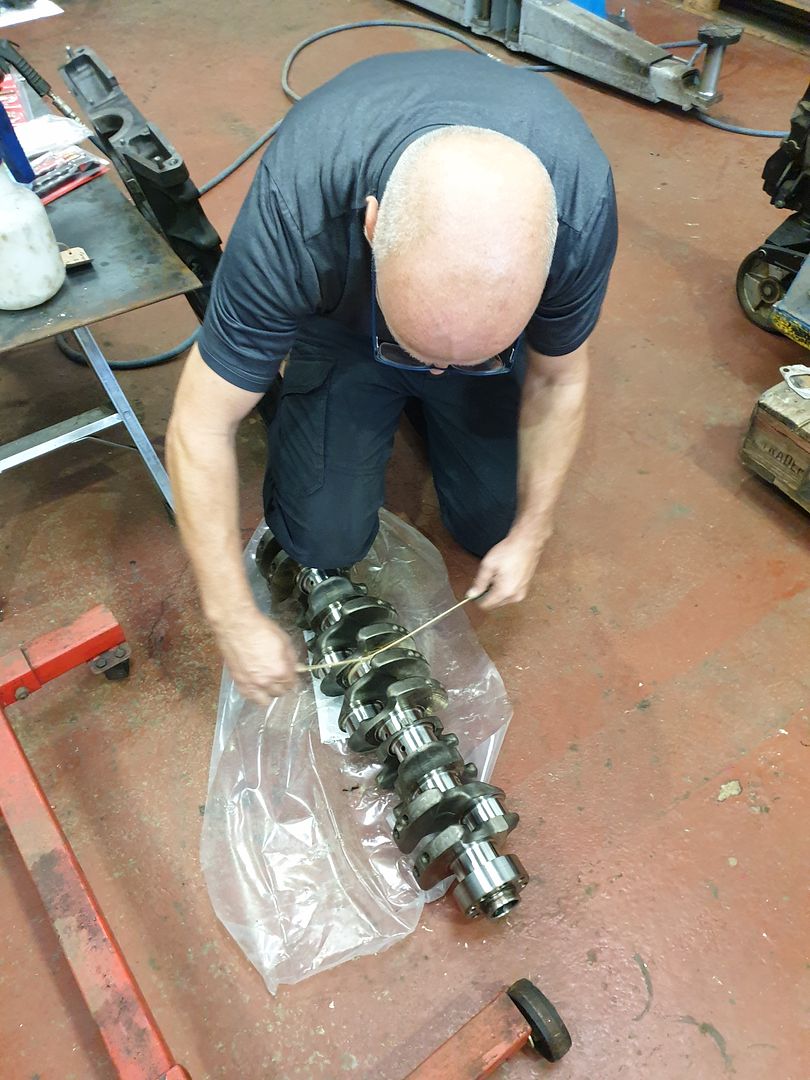
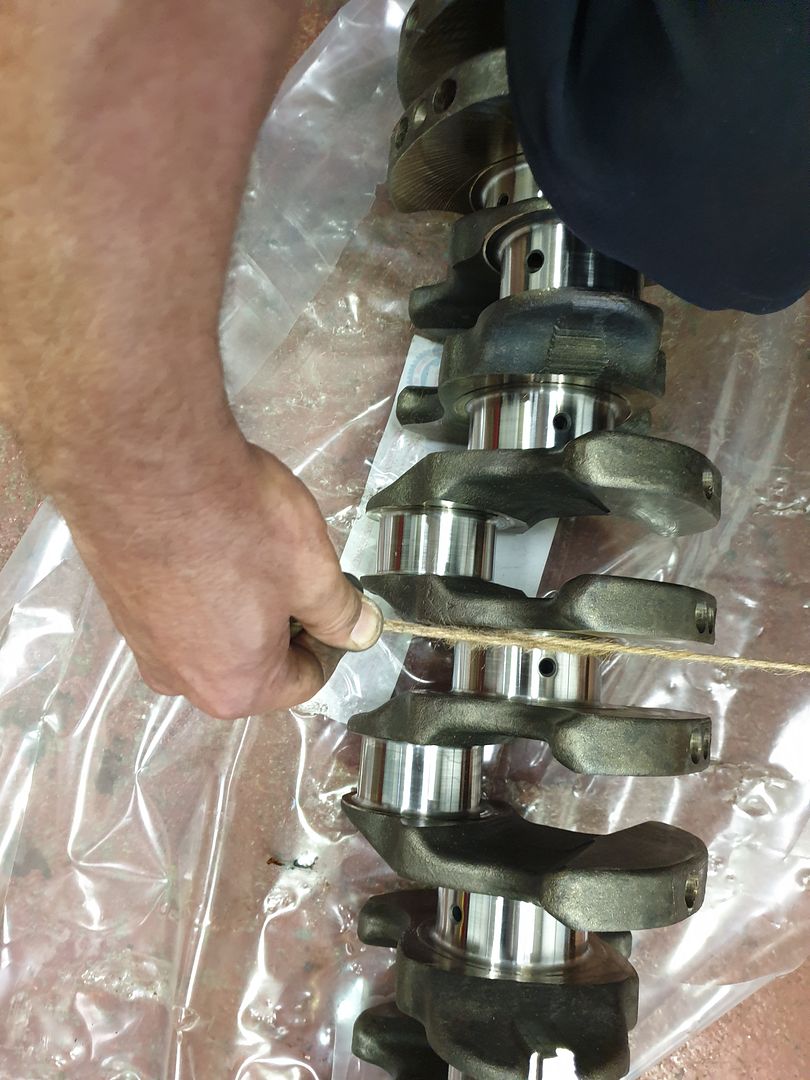
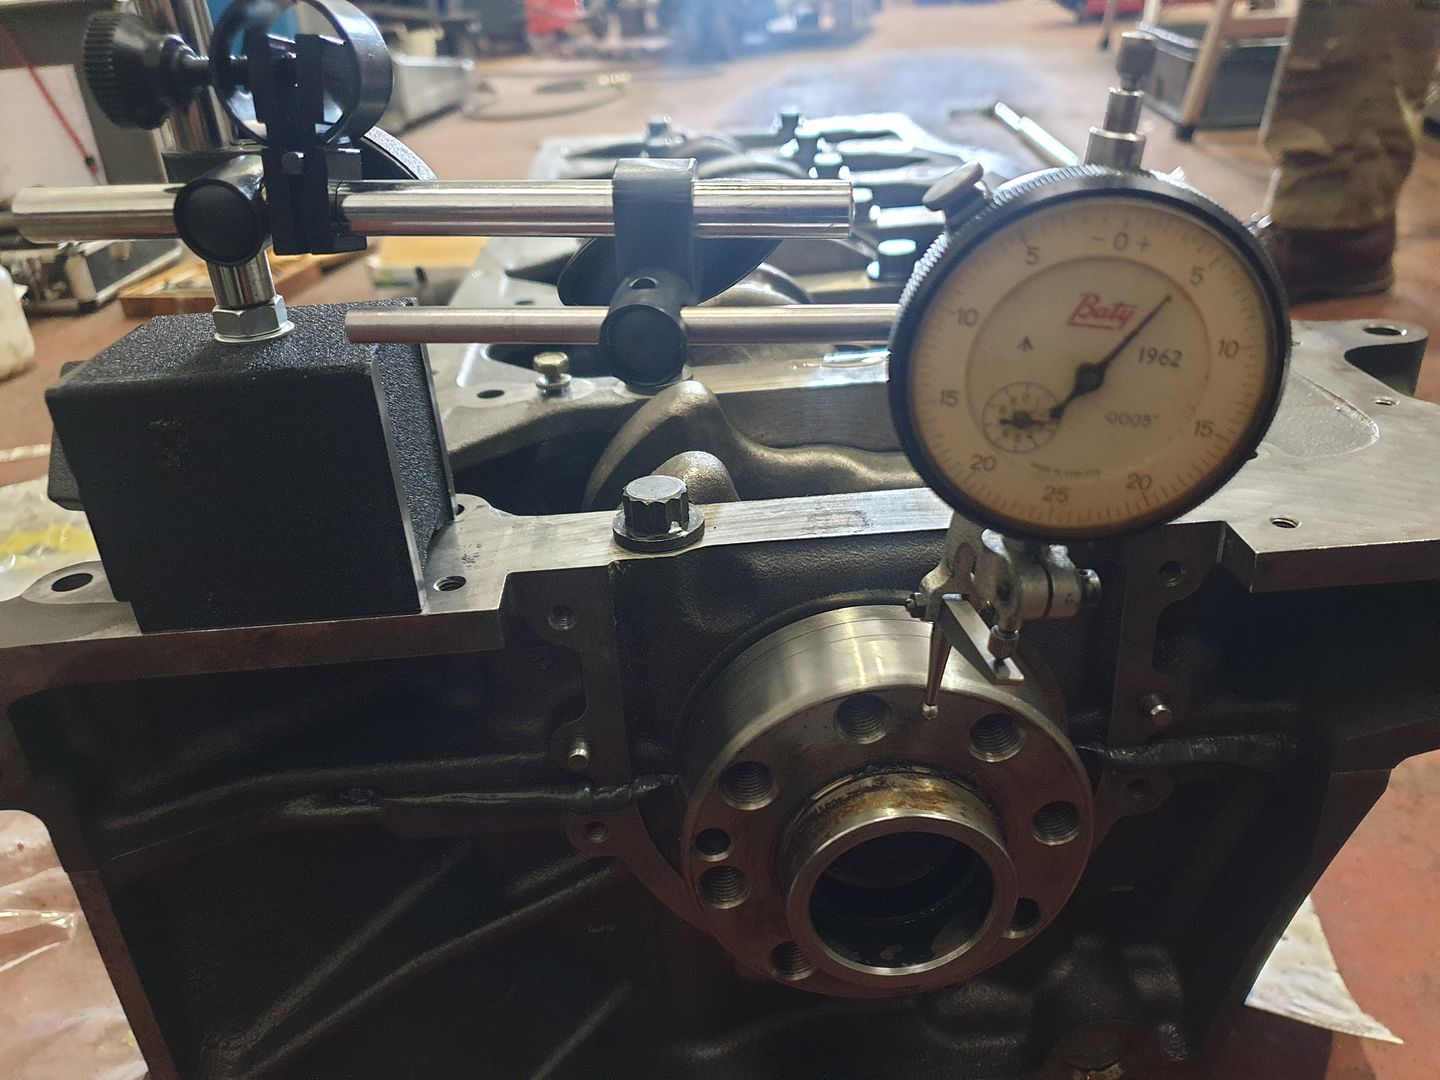
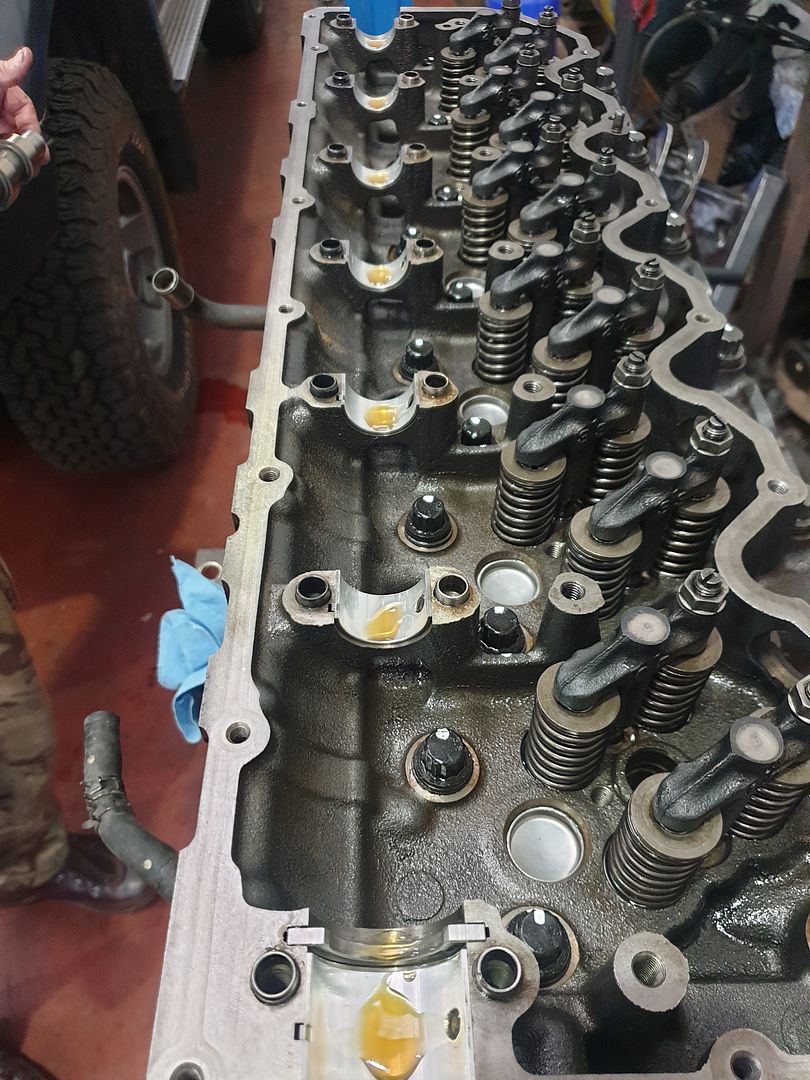
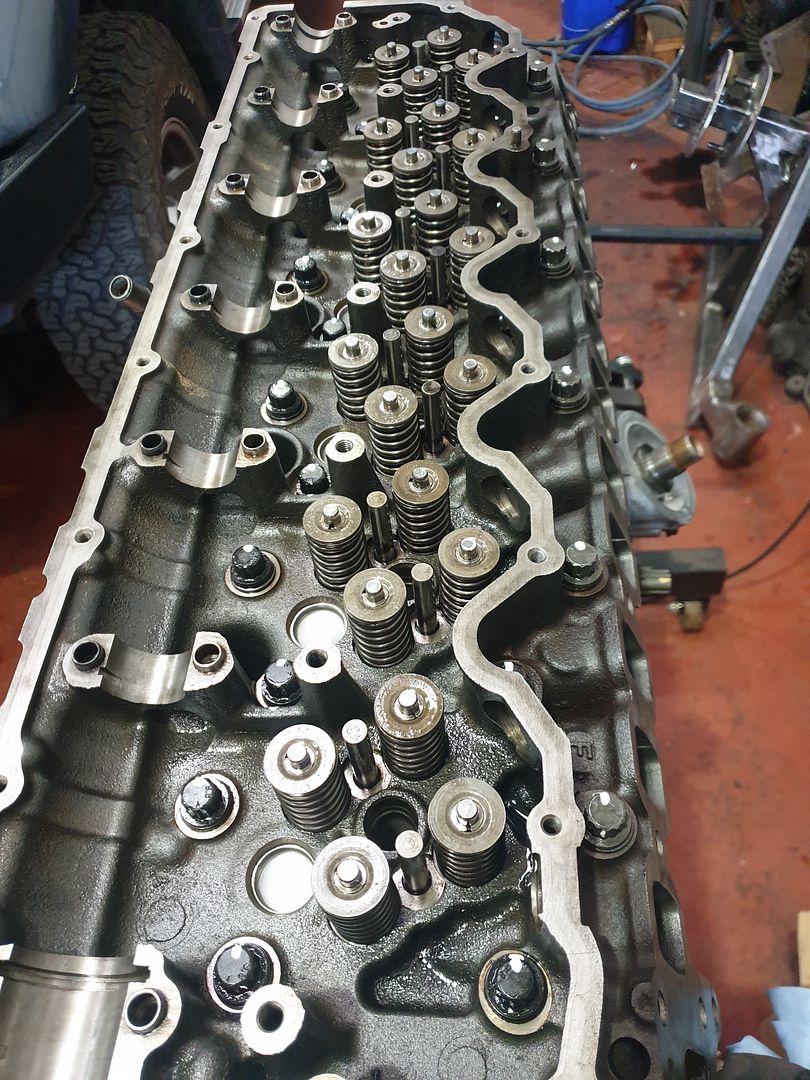
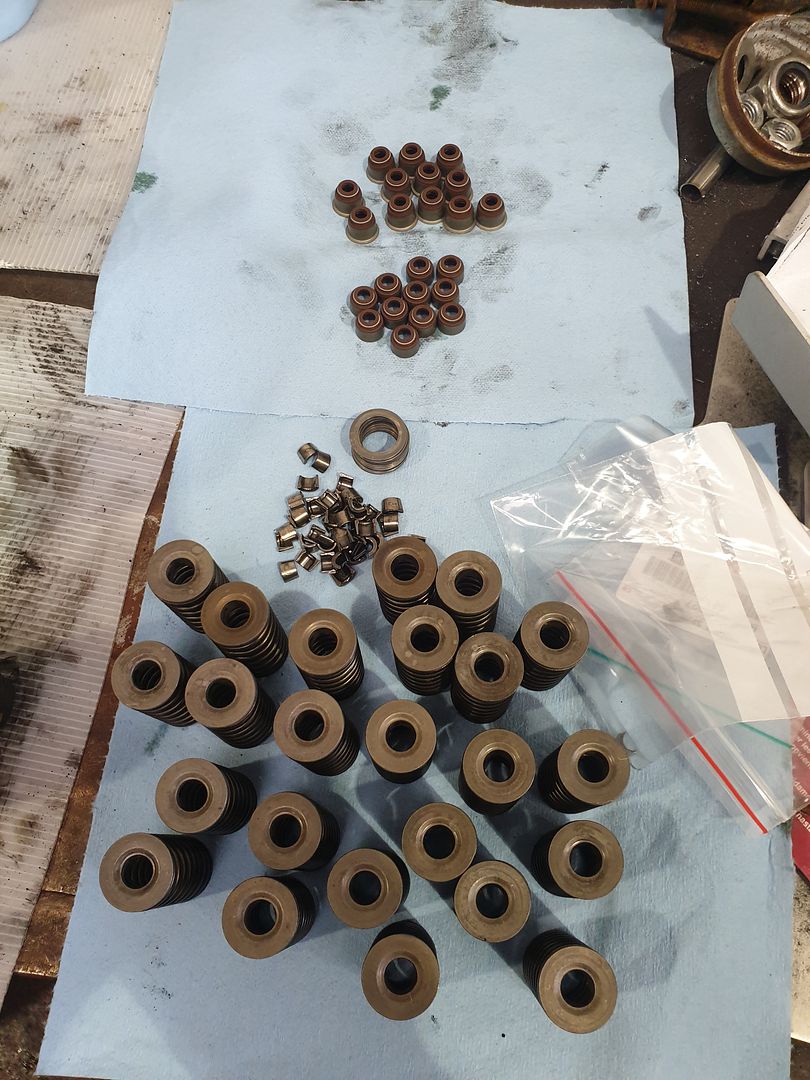
Head checks out with a straight edge but has been sent out for pressure testing and crack testing along with the crank for a regrind. Assuming head checks out then it'll have new valve guides, original valves lapped in and new stem seals.
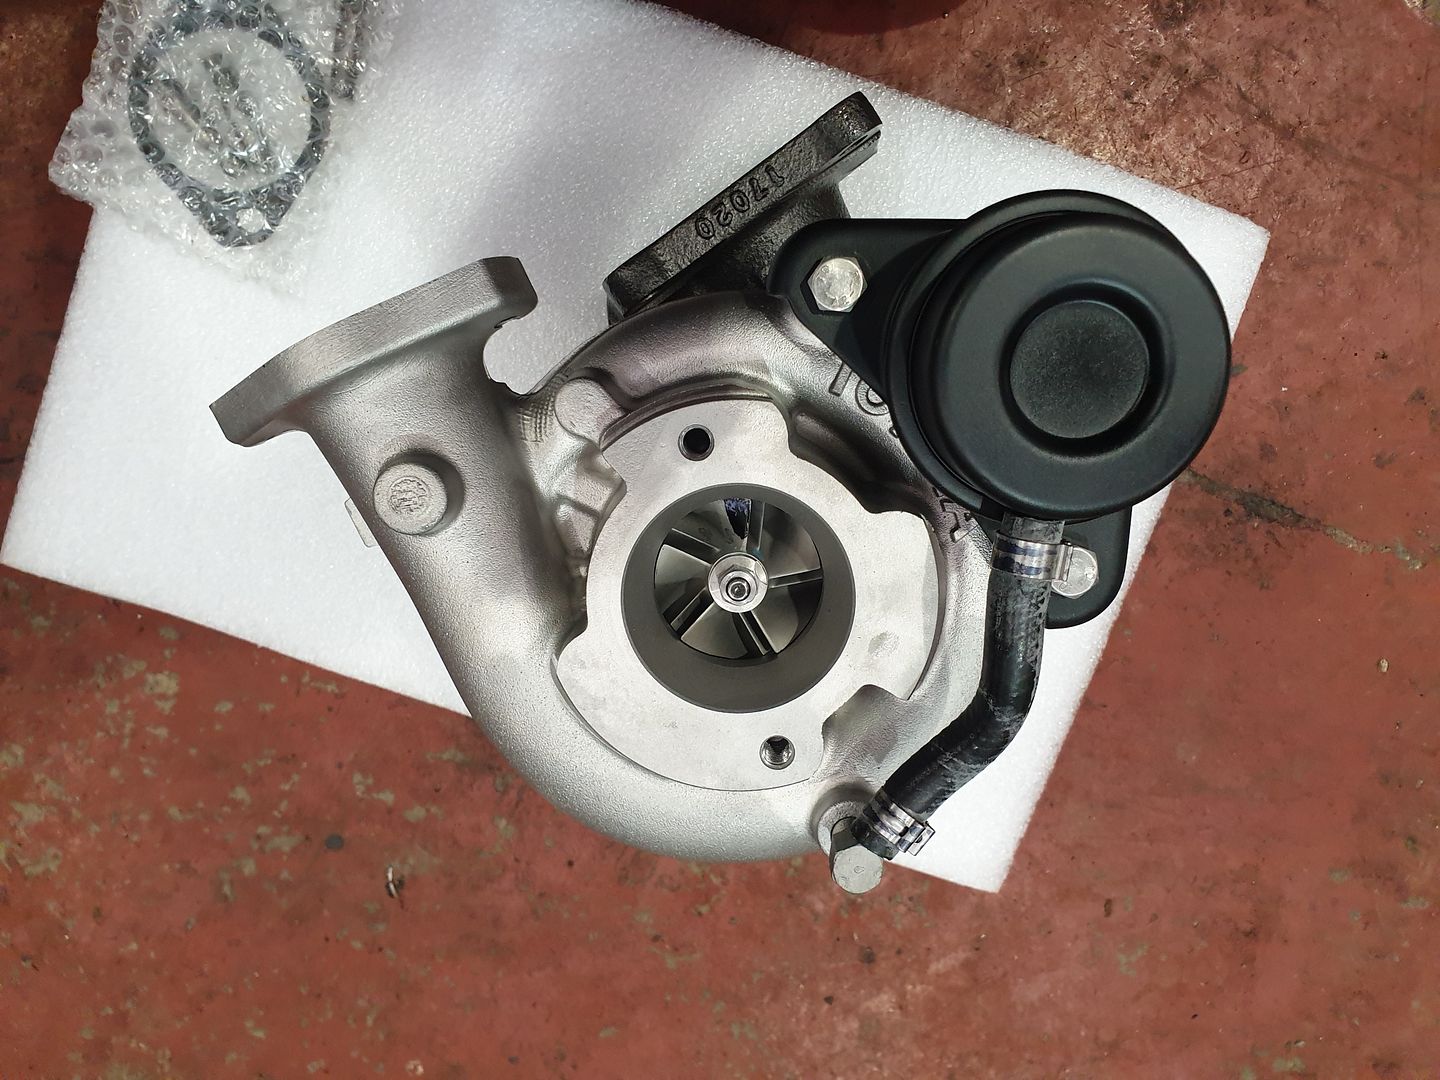
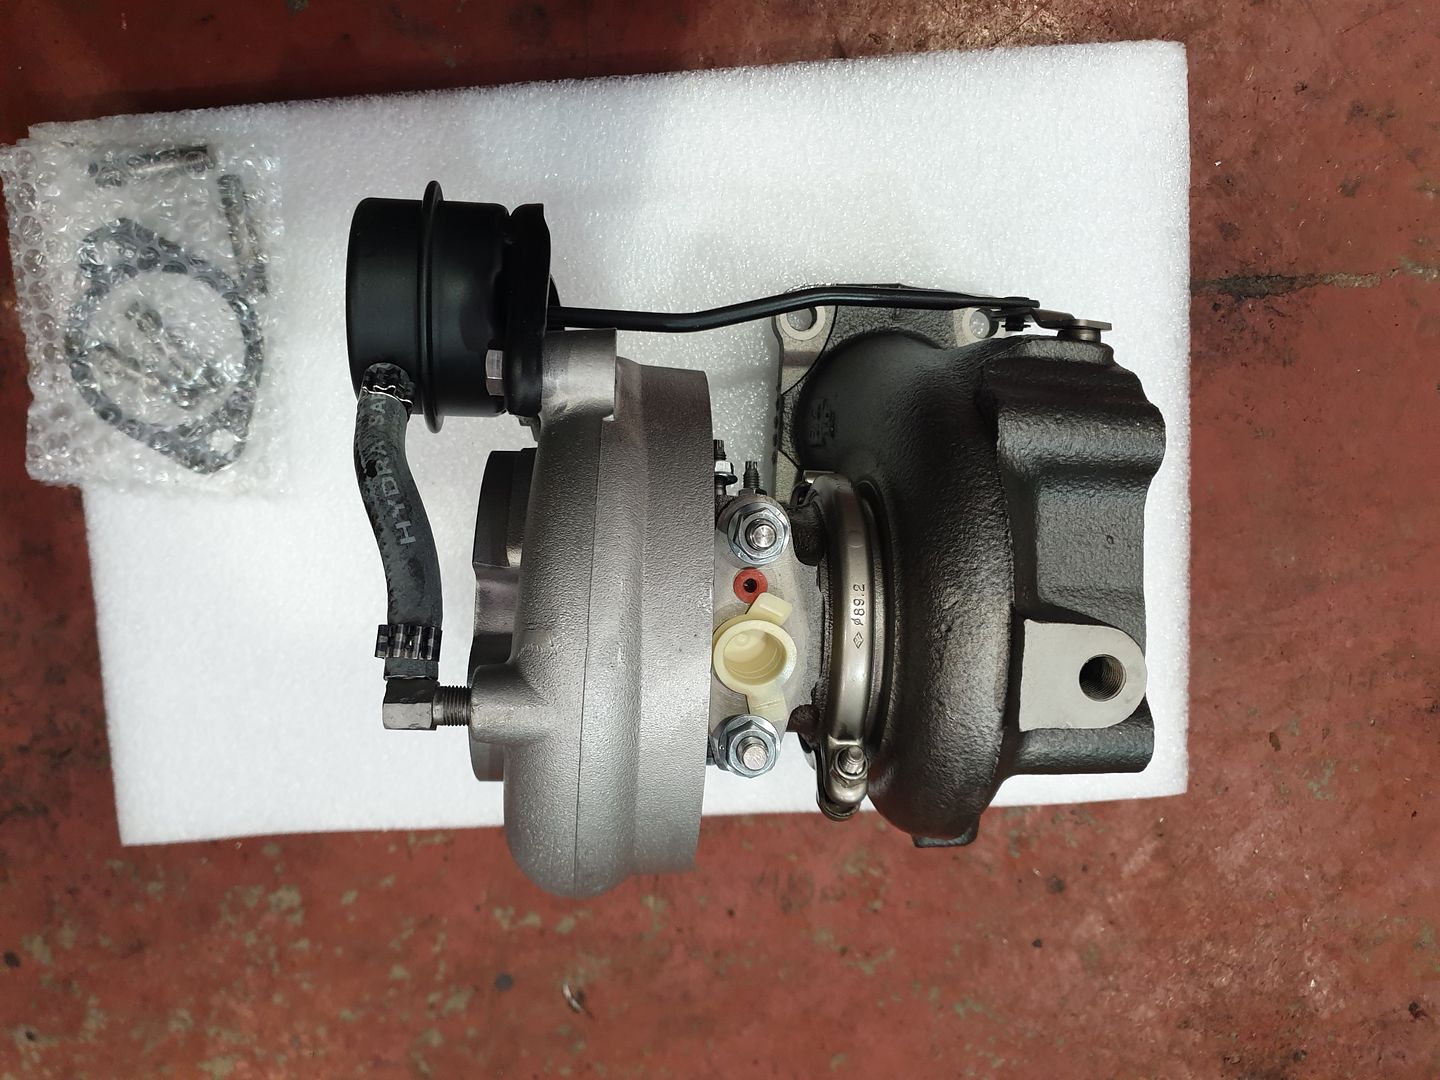
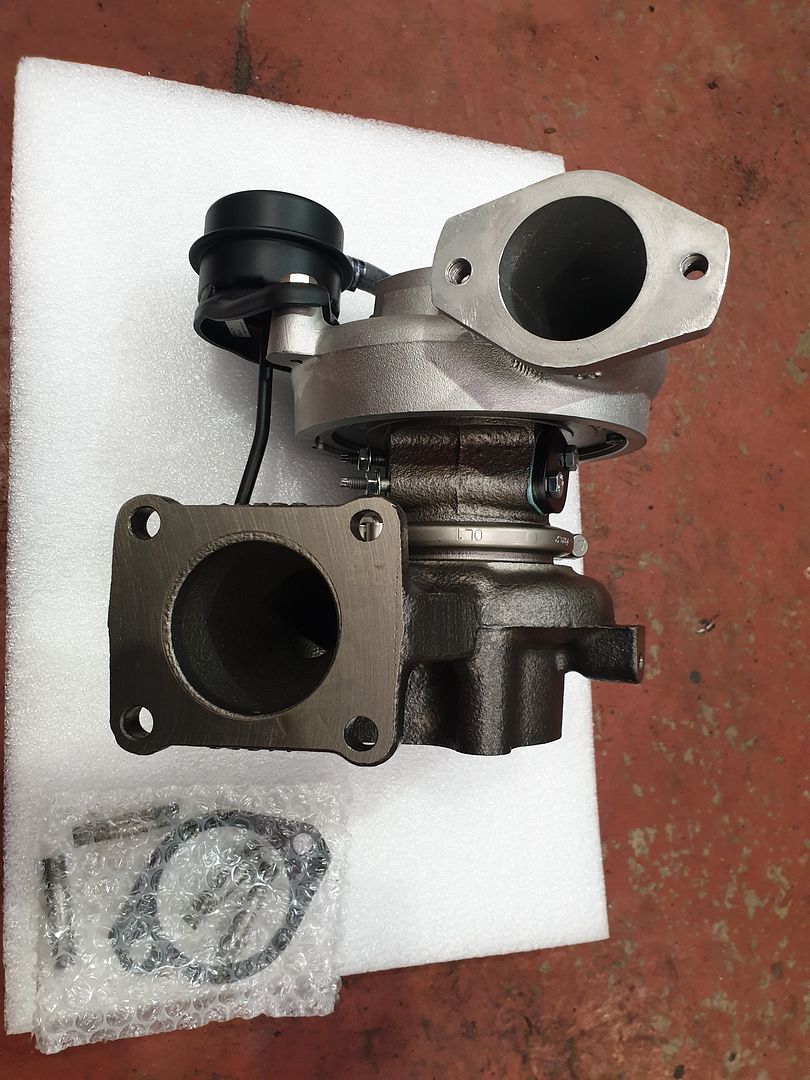
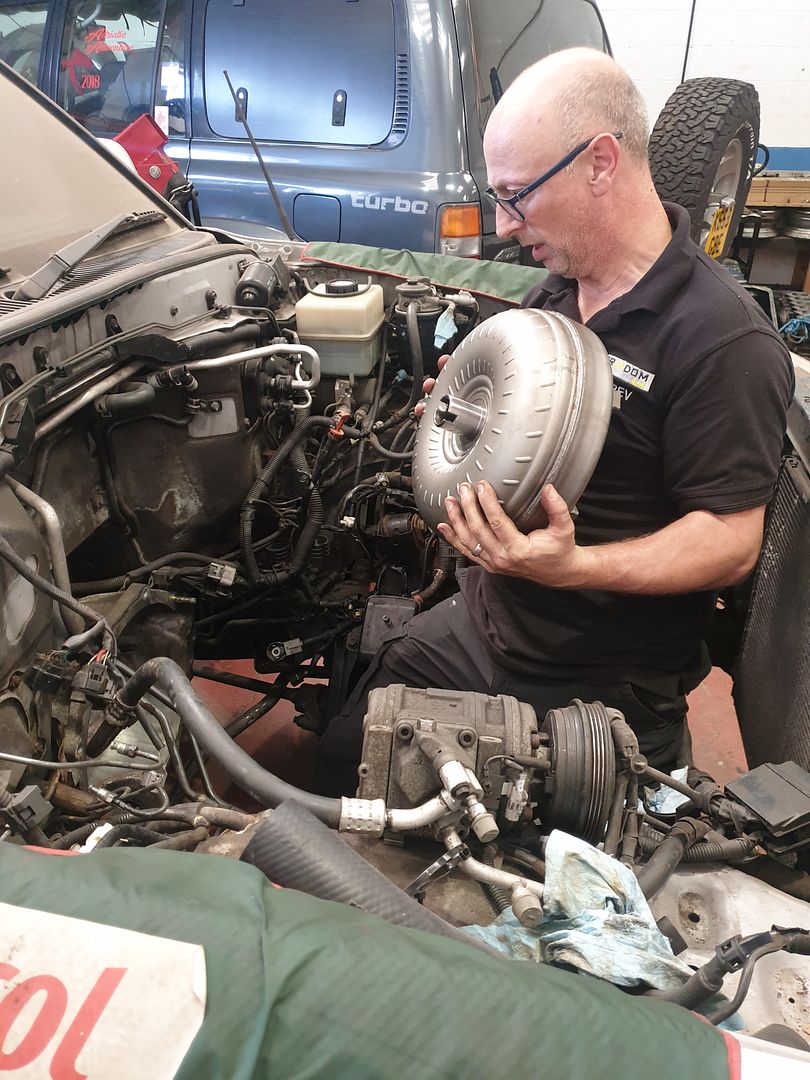
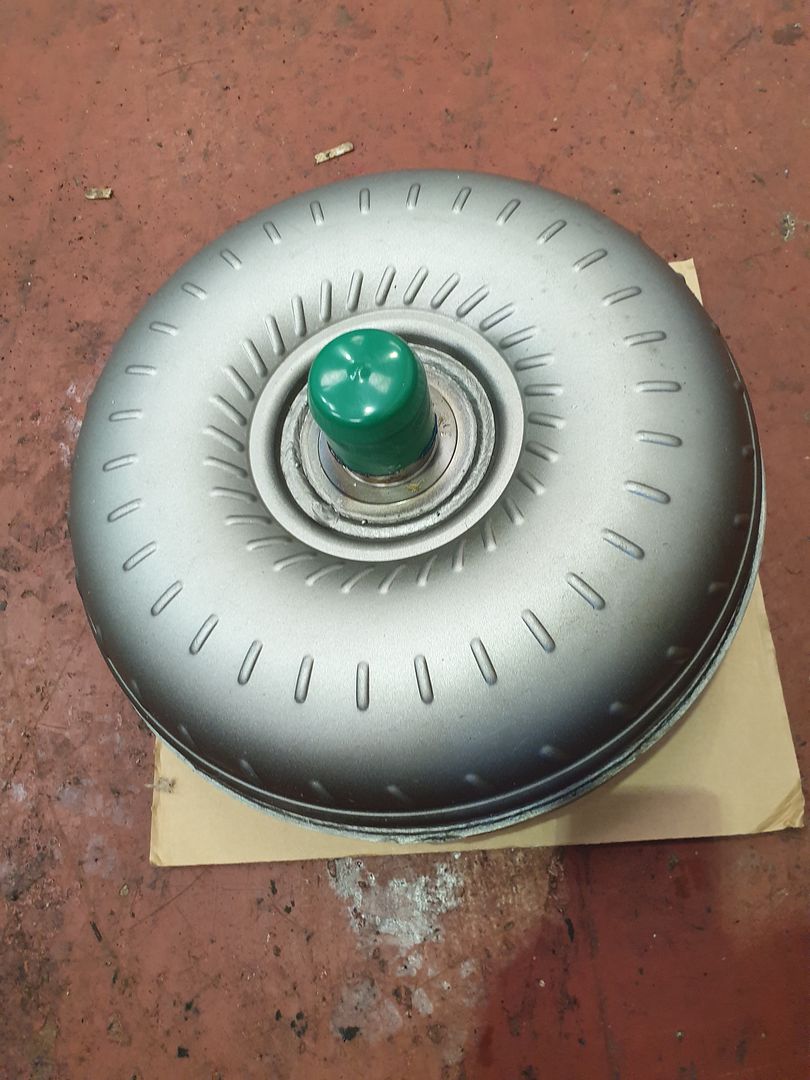
Turbo, injectors and torque converter are being sent out for remanufacture.
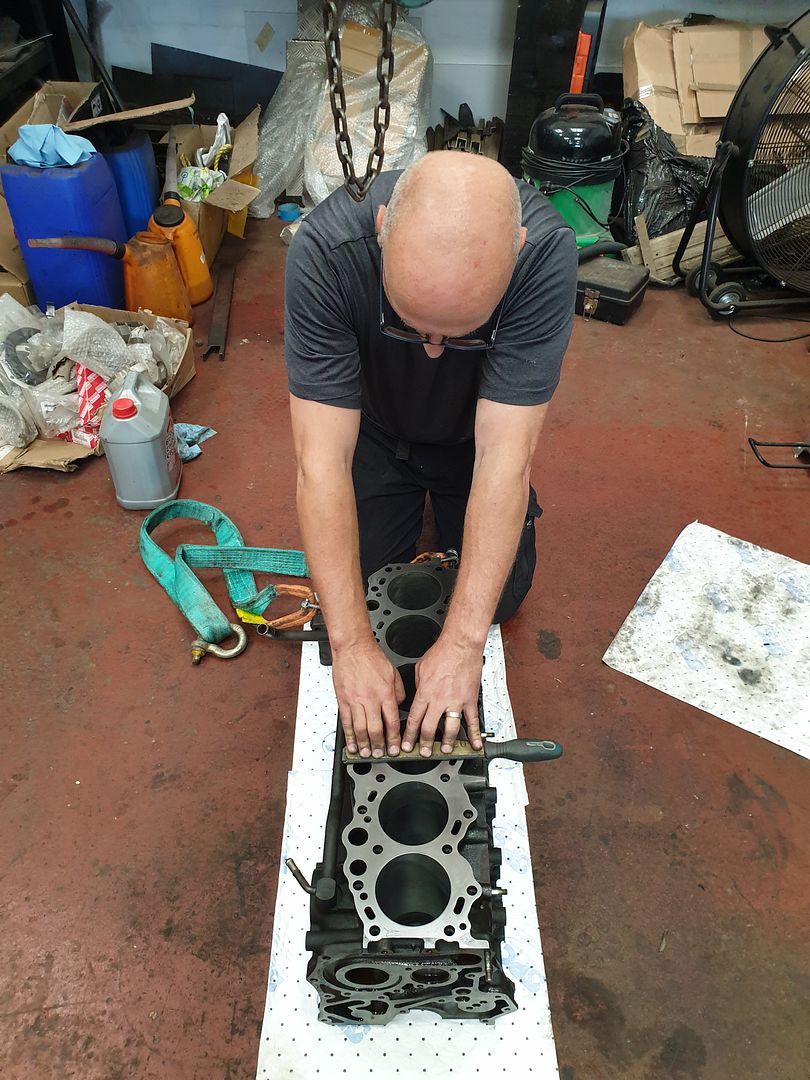
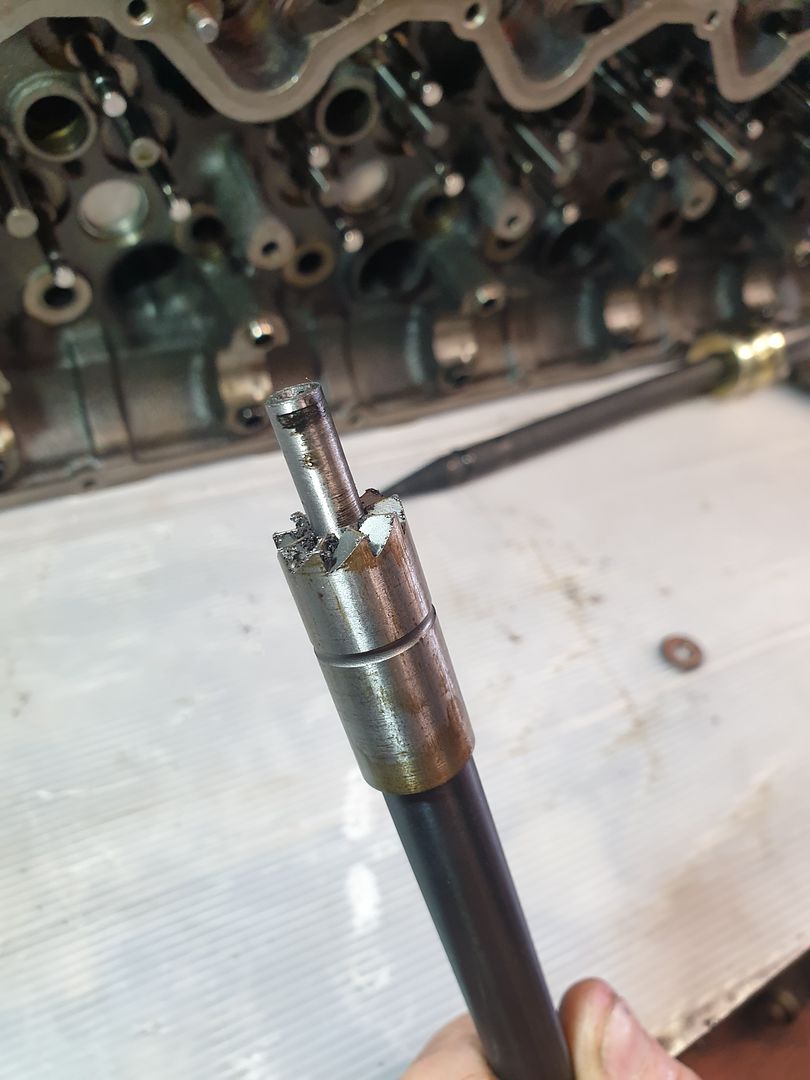
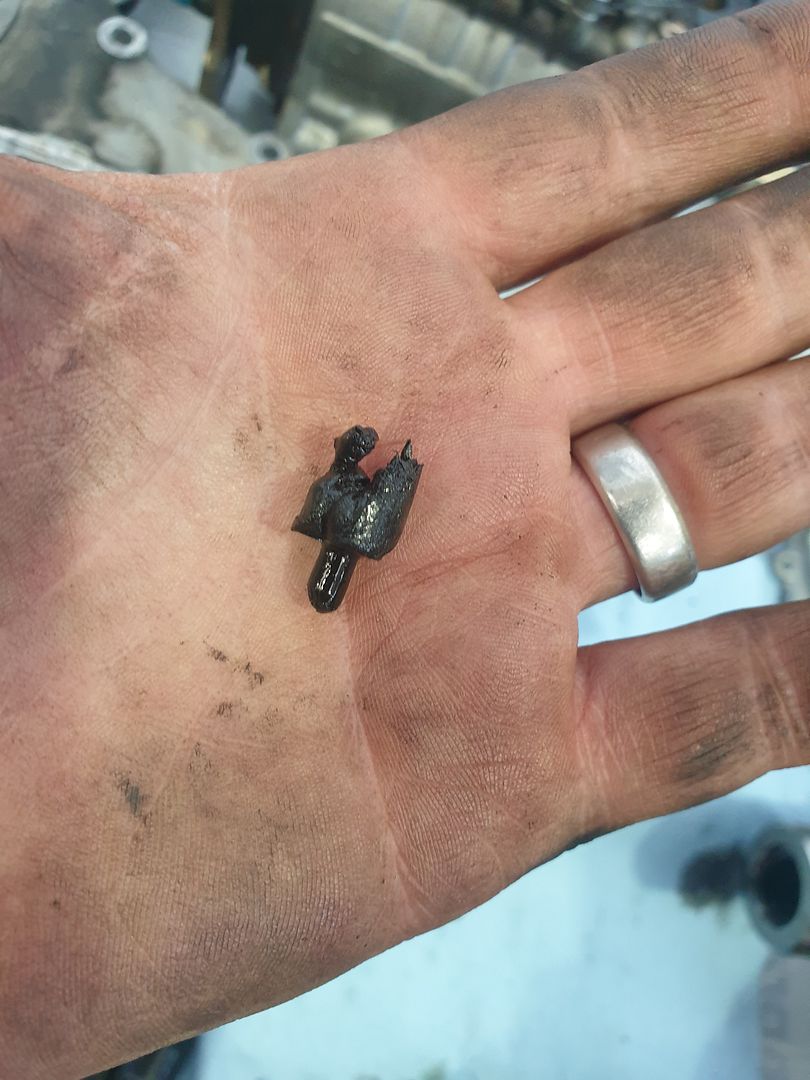
While stripping out the gears for oil pump etc, I came across a plastic piece that appeared to be part of the idler gear. Couldn't find anything on the parts diagram or Internet so was stumped. That is until I came to cleaning out the oil galleries and the sticking No 6 main shell.
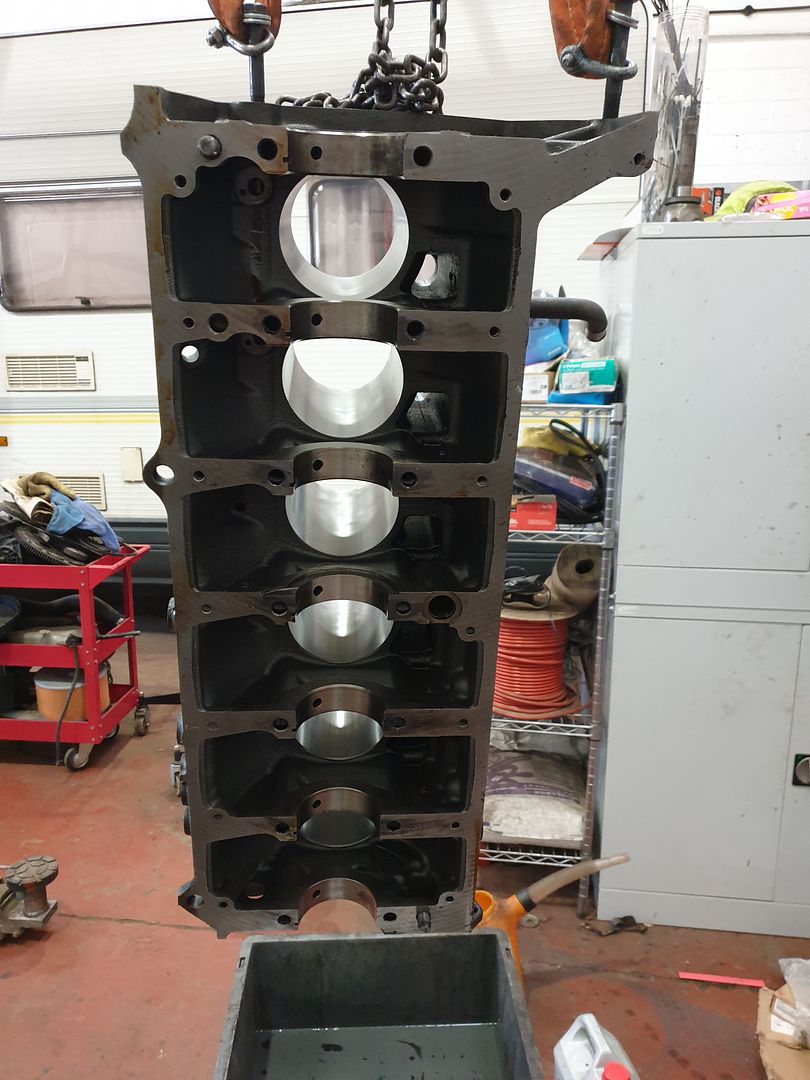
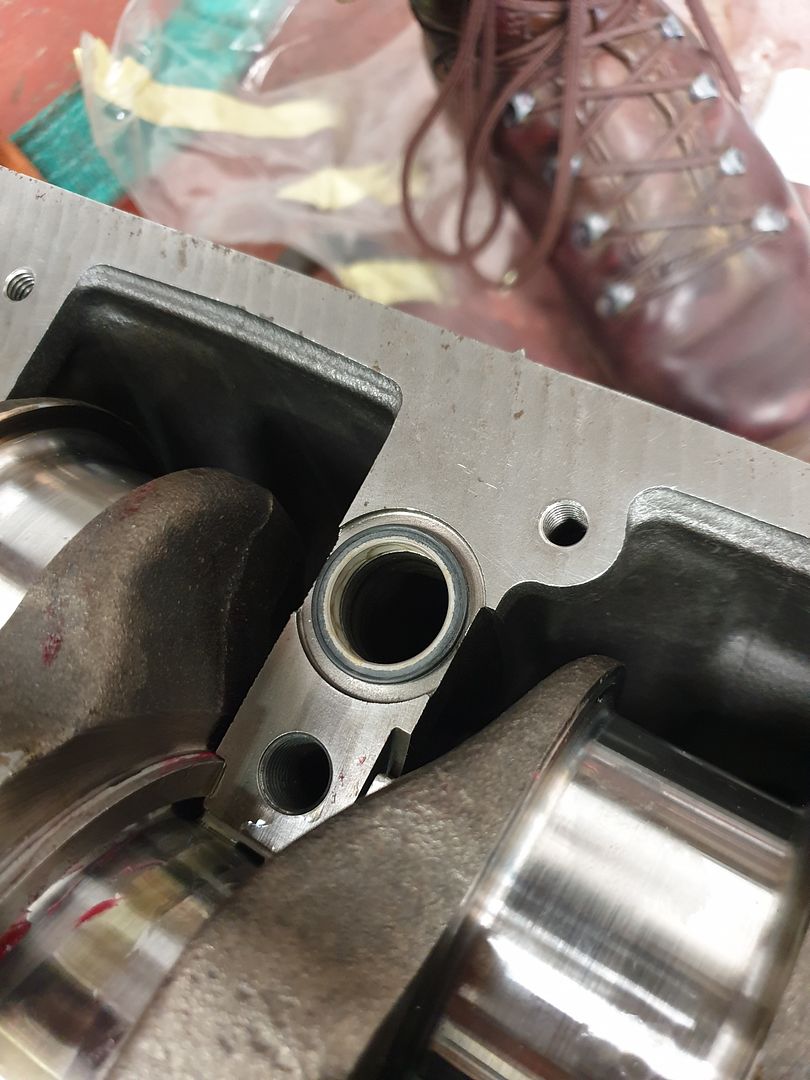
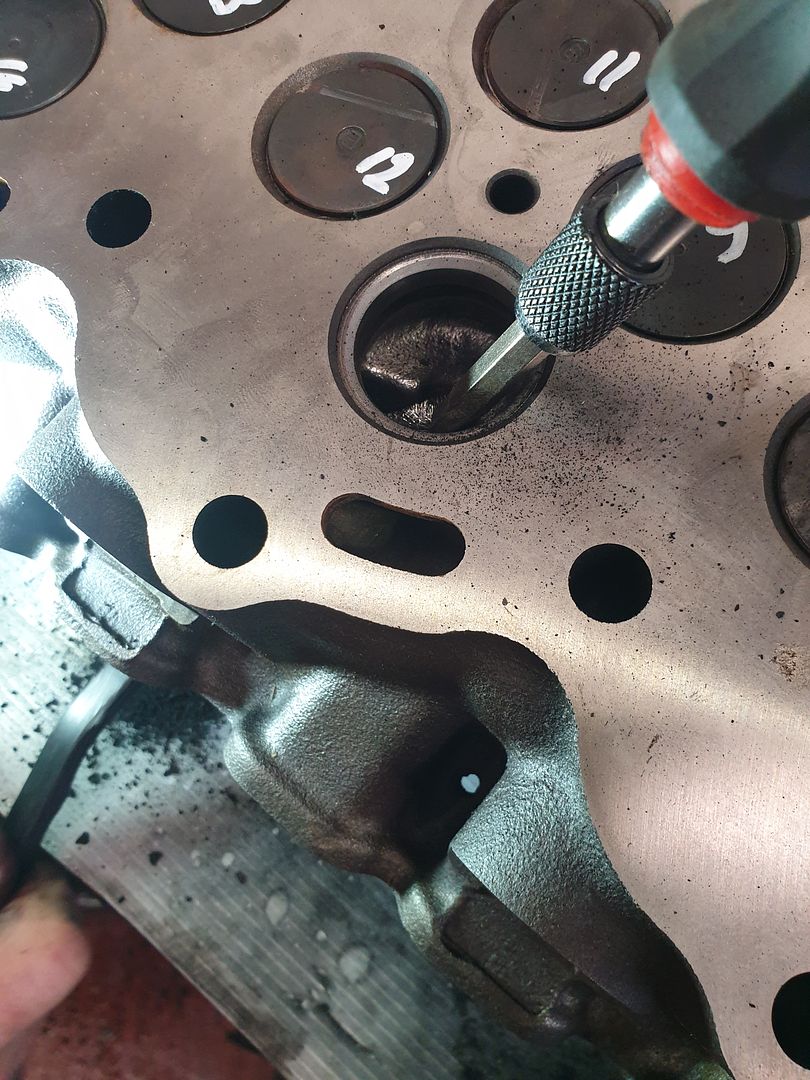
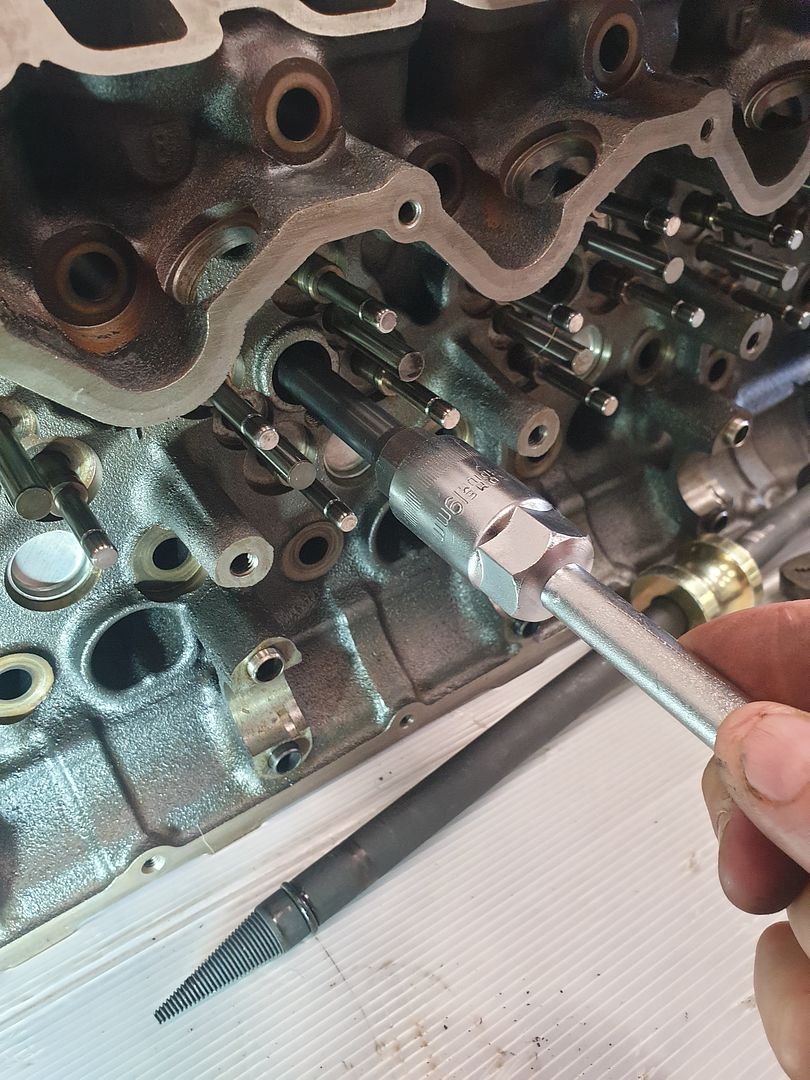
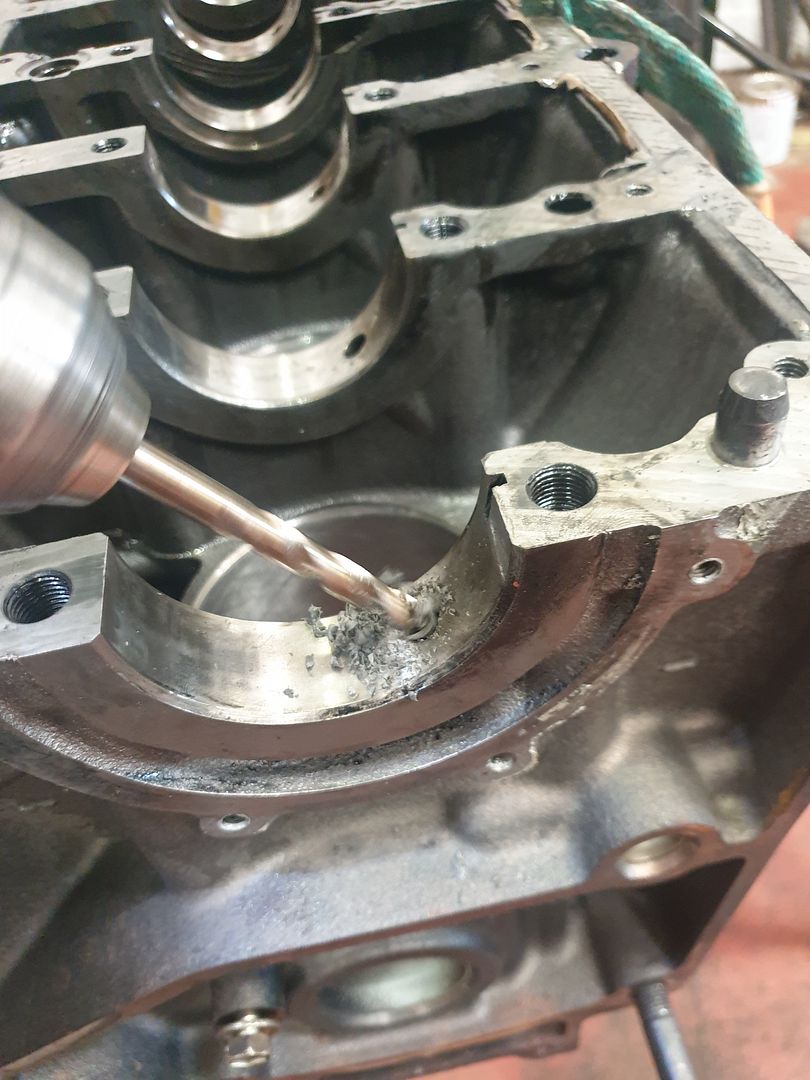
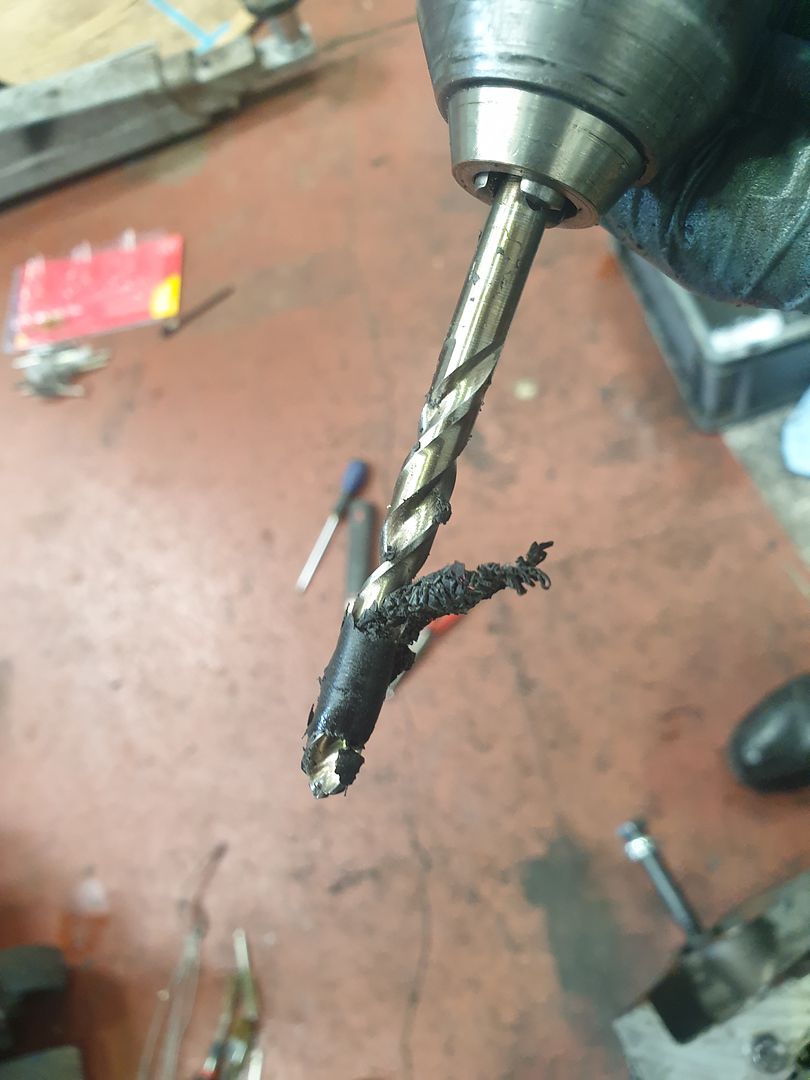
The shell was held in place by plastic in the oil way, got the shell off and had to drill the oil way all the way back to the gallery (7.5mm bit in the 8mm hole).
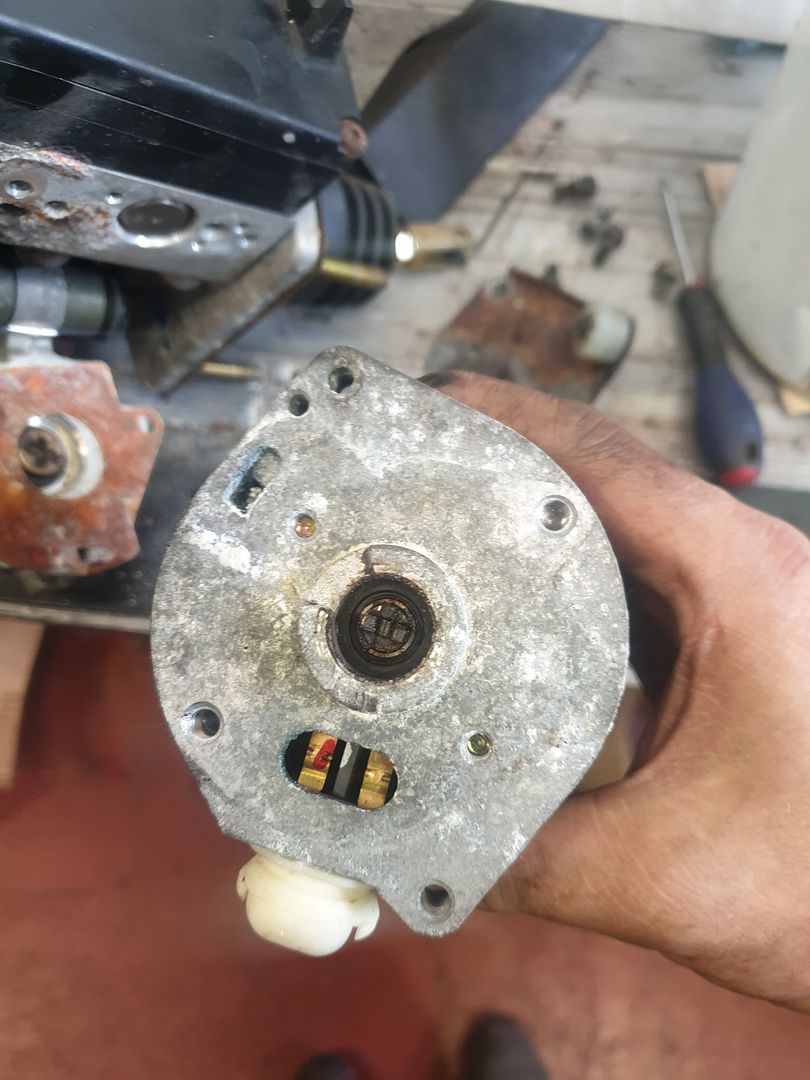
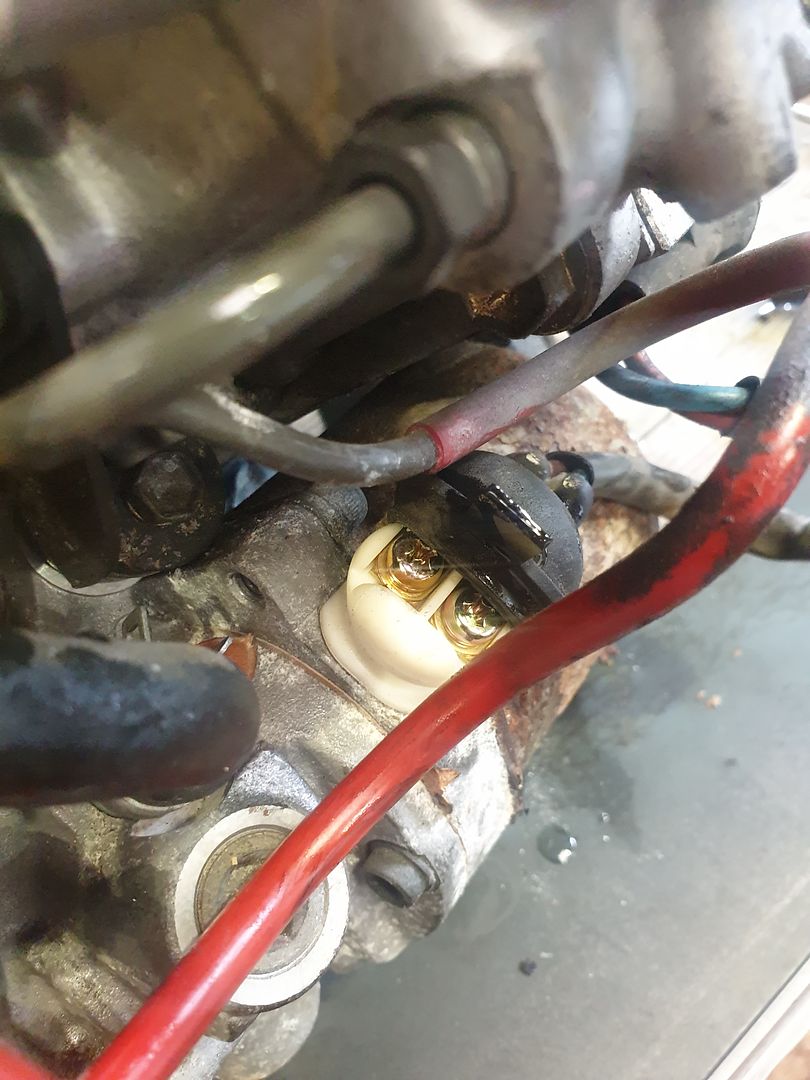
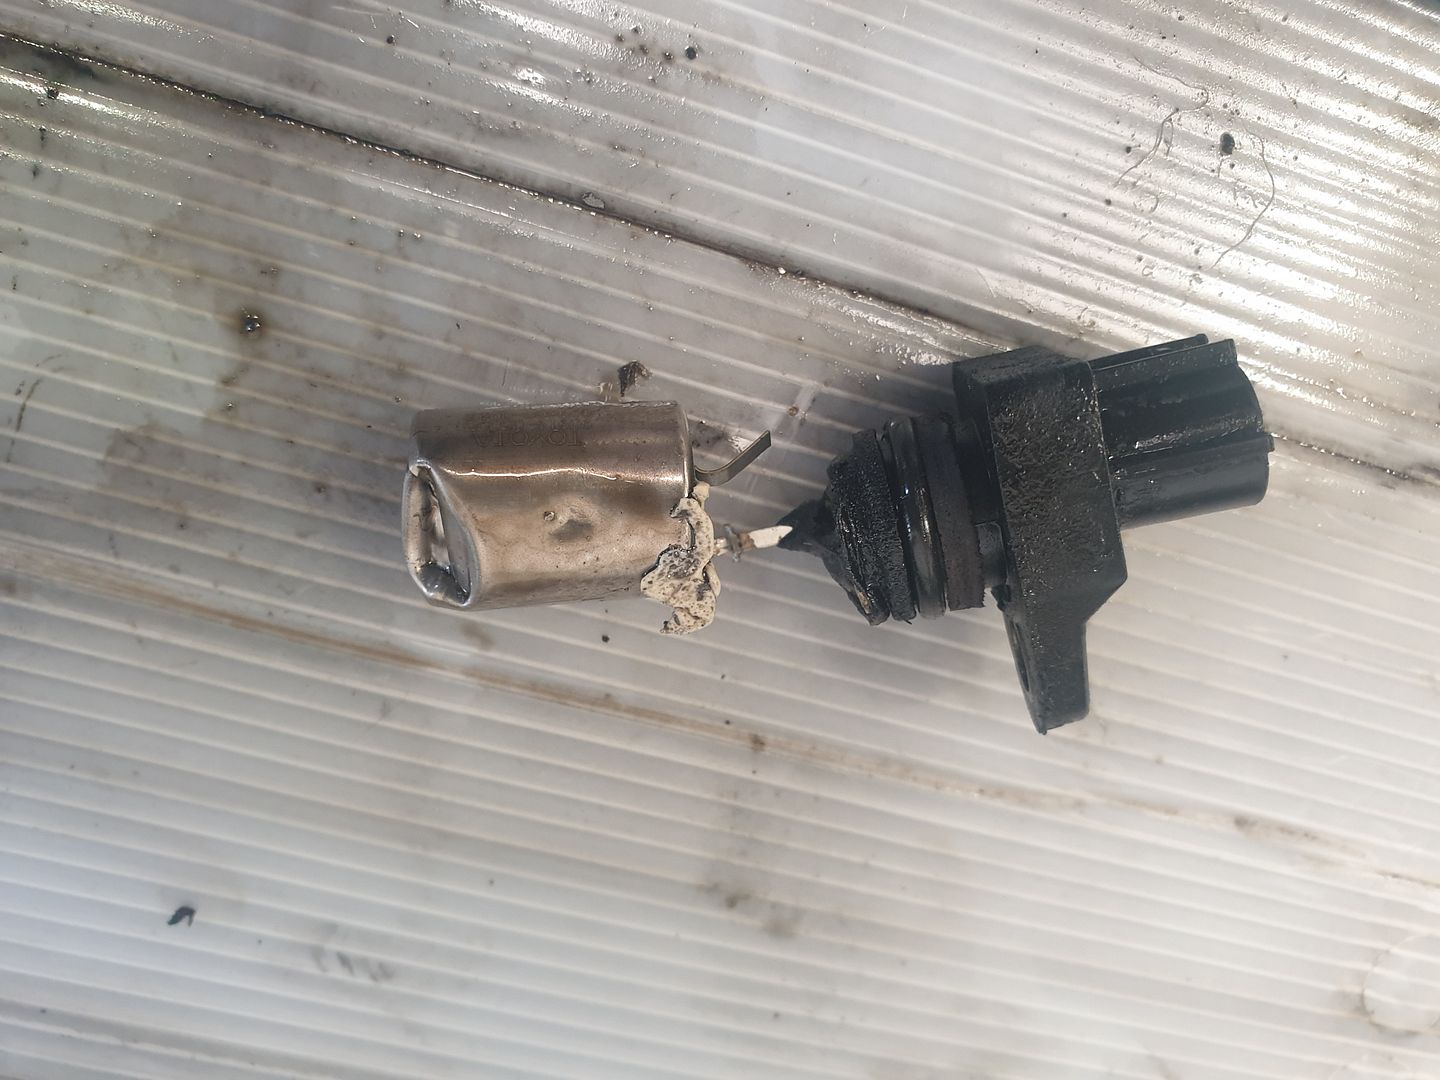
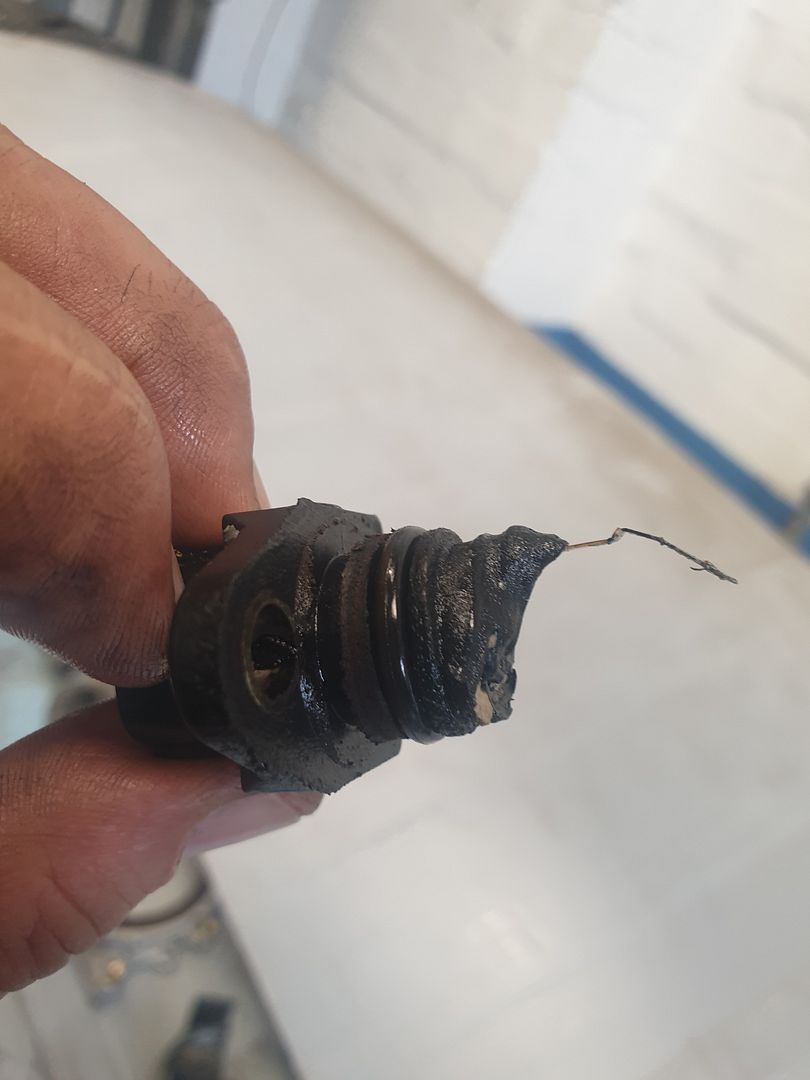
It looks like the crank angle sensor plastic parts melted off and ran through the galleries in the super hot engine oil before solidifying in situ and creating plastic parts that are not on the Toyota list
.jpg)
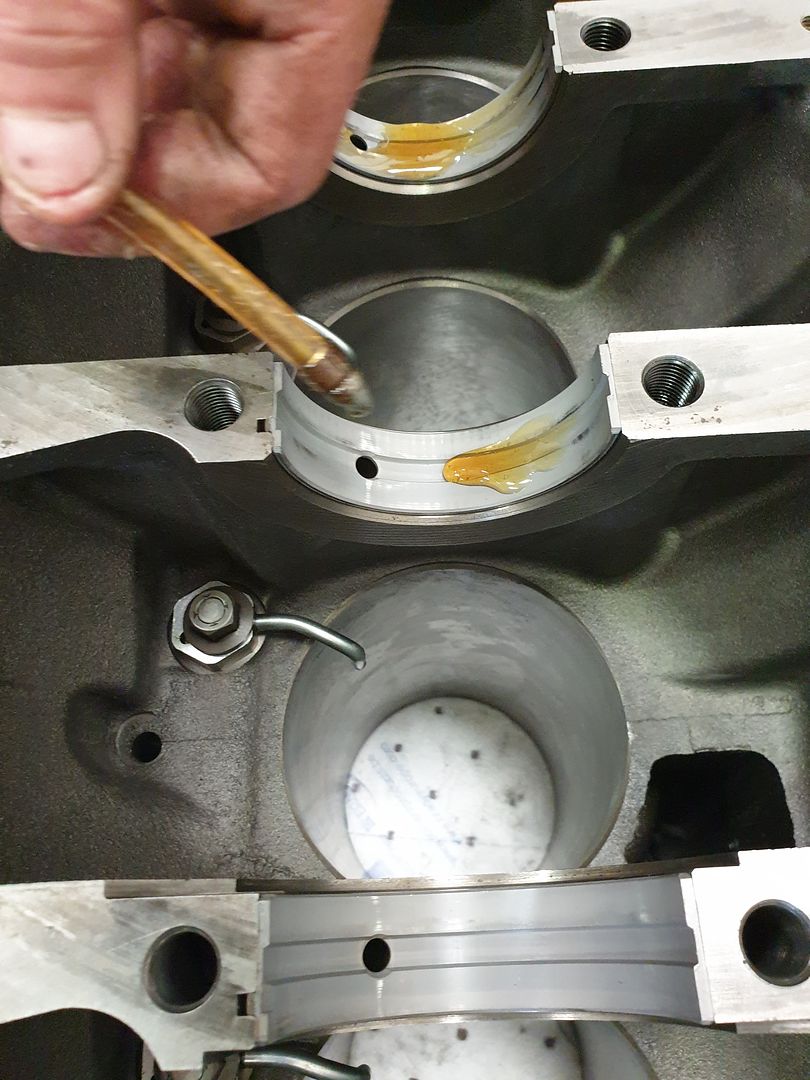
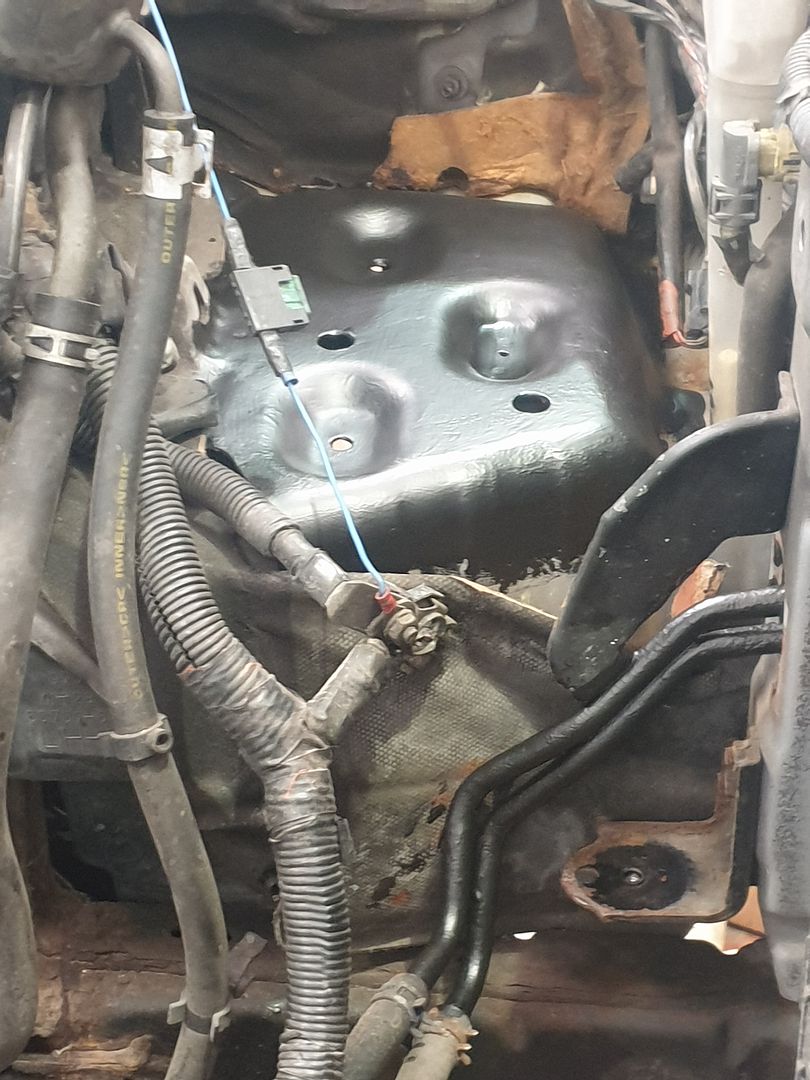
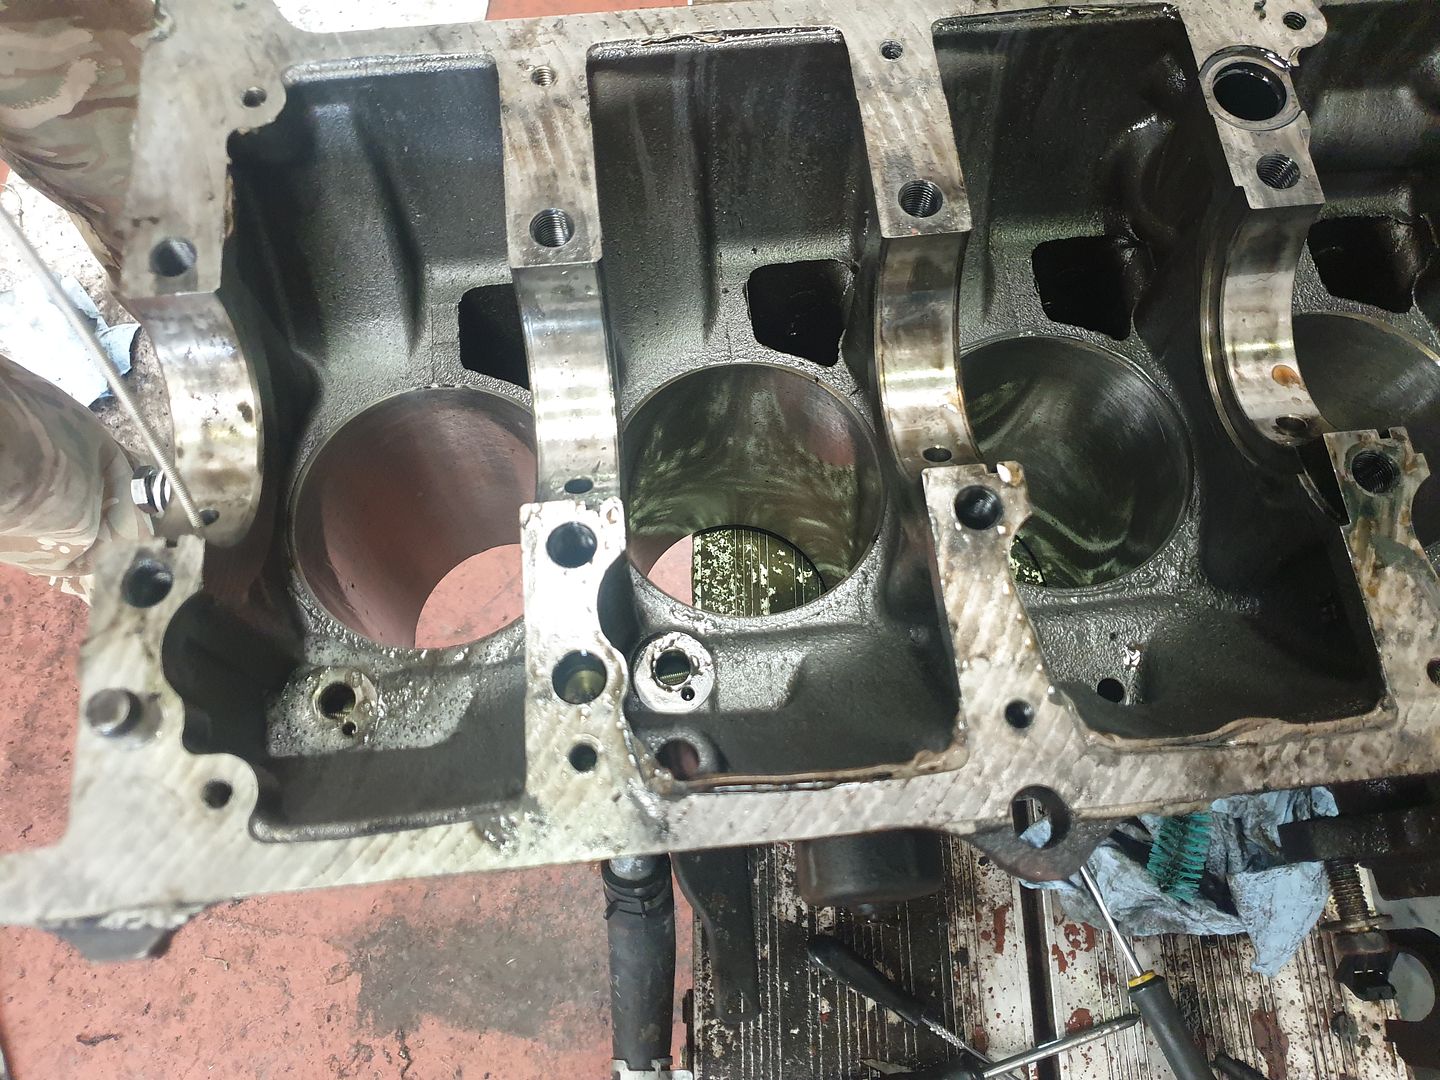
Spent a lot of time chasing through the galleries with cleaning brushes to make sure no other blockages were hiding
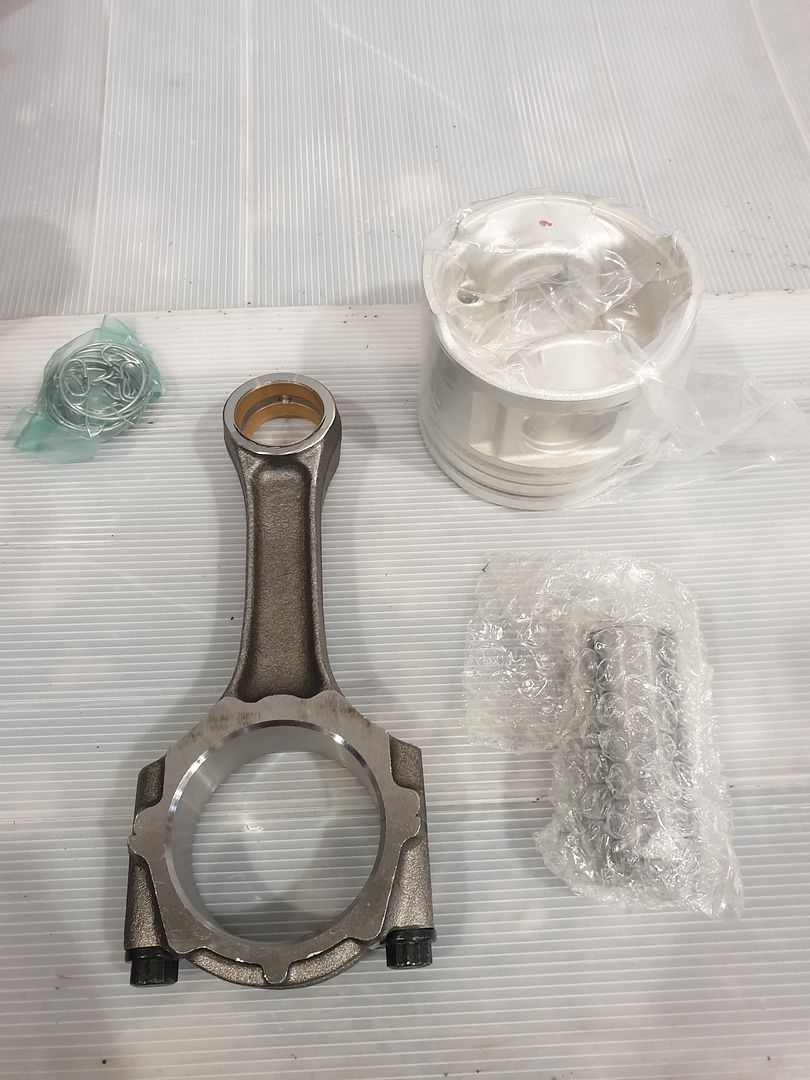
Now waiting on a full piston/ring/rod set, main shells, big end shells, cam shells, stretch bolts and gaskets etc.
At the end of this, the wife will still end up with a cheap 100 series with essentially a zero mile engine and I'll have had a huge amount of fun in the process.
Pulled the engine and started to strip it down
So what did I find? The engine oil was burnt and full of glitter when drained so I knew this was likely to be a bit of a mission.
No1 big end shell had spun and scored the crank journal, all pistons had shed material as the engine tightened up and left shadowing on the bores, rings on 3 pistons stuck in their grooves.
Cam bearings not too bad with only 1 having picked up slightly and cam lobes needing a light stringing to bring it back into order.
Oil pickup strainer full of crud and No 6 main shell rather bruised and stuck fast.
I then found that 1, 2 and 3 conrods had been stretched vertically (big end ovalled) between 1 and 3 thou.
Bores survived and took a fair bit of honing to remove the piston material and a couple of slight scores but are still within spec and don't need boring for oversize pistons.
Head checks out with a straight edge but has been sent out for pressure testing and crack testing along with the crank for a regrind. Assuming head checks out then it'll have new valve guides, original valves lapped in and new stem seals.
Turbo, injectors and torque converter are being sent out for remanufacture.
While stripping out the gears for oil pump etc, I came across a plastic piece that appeared to be part of the idler gear. Couldn't find anything on the parts diagram or Internet so was stumped. That is until I came to cleaning out the oil galleries and the sticking No 6 main shell.
The shell was held in place by plastic in the oil way, got the shell off and had to drill the oil way all the way back to the gallery (7.5mm bit in the 8mm hole).
It looks like the crank angle sensor plastic parts melted off and ran through the galleries in the super hot engine oil before solidifying in situ and creating plastic parts that are not on the Toyota list
Spent a lot of time chasing through the galleries with cleaning brushes to make sure no other blockages were hiding
Now waiting on a full piston/ring/rod set, main shells, big end shells, cam shells, stretch bolts and gaskets etc.
At the end of this, the wife will still end up with a cheap 100 series with essentially a zero mile engine and I'll have had a huge amount of fun in the process.
Last edited:


 .
.