Don't like the adverts?  Click here to remove them

Rethinking a 2014 VDJ79

Acronymous

New Member
Joined
Sep 8, 2022
Messages
34
Country Flag
australia
Hi everyone!

I bought this car late last year and I've been meaning to start documenting the various changes starting from here:

LC ALvin.jpg


As you can see it was on standard wheels, with the narrow rear wheel-base.
There's 3" of lift with parabolic springs on the rear and Formula 4X4 dampers all round.
Bull bar is ARB with a Runva 13XP winch and various LED lights.
The canopy on the tray has slide out fridge, a 100Ah lithium battery, a dc-dc regulator and various useful storage spaces.
Driver's side of the car has a shower "cubicle" while the passengers side has a medium size canopy.

The body is ok, though the paint looks as though it's been in the sun for most of its 8 years of life, plus there's a few small dents which could probably be removed without going the full panel beating exercise.

Engine is unmodified, though a 3" exhaust is fitted. Also has a catch can. I don't know if there was any remapping or tuning.

Inside the cabin there's an Alpine X902D head unit. It's got a decent size screen and is well thought out [I'll upload a pic later]. I wouldn't have paid the $3,500 that these things cost to install myself but it's useful to have and includes a reversing camera. There's a Togard 12" rear view/front view/mirror/camera/recorder which is essential due to the HQlink canopy blocking out normal rear vision mirror field.

I'll be using this car on my farm, which is all dirt tracks, and for travel. At first I'm going with setting the LC up well and using a tent. Caravan? Don't like the idea much.

Jules
 
Last edited:
Nice. Always very jealous of the kit you Aussie guys seem to get access to - seems the after-market suppliers in Oz are much more on-the-ball than those in Europe when it comes to canopies, tray backs, etc.
 
There are a hell of a lot of LCs of all types still running around here. I admit I hadn't really noticed until I bought one, just how many and how varied they are and yes, there's a great choice of aftermarket parts as a result.

Jules
 
This is retrospective but the first mod I've done was to buy and install a stage 4 Carbuilders 4X4 dual cab sound proofing pack:

Carbuilders soundproofing

At nearly $1,000 it seems costly but it's been worth every cent. The link above has an excellent Youtube instructional clip on how to go about the installation. It's quite possible to do it in a day but my son and I took a leisurely 3 days to do the job. It required removal of seats, roof lining, carpet, door panels and some other minor panels but for the most part it was straightforward with a few basic tools. The original damping layer in the drivers side foot-well was a bit scruffy but there was no rust, so I ground it flat and impregnated it with a grey, anti-rust, metal paint.

The difference is just staggering. The engine is still quite audible but overall noise level has dropped many decibels and the level of comfort, particularly for long distance driving, is right up there with what you'd expect from a well equipped expensive car.

Jules
 
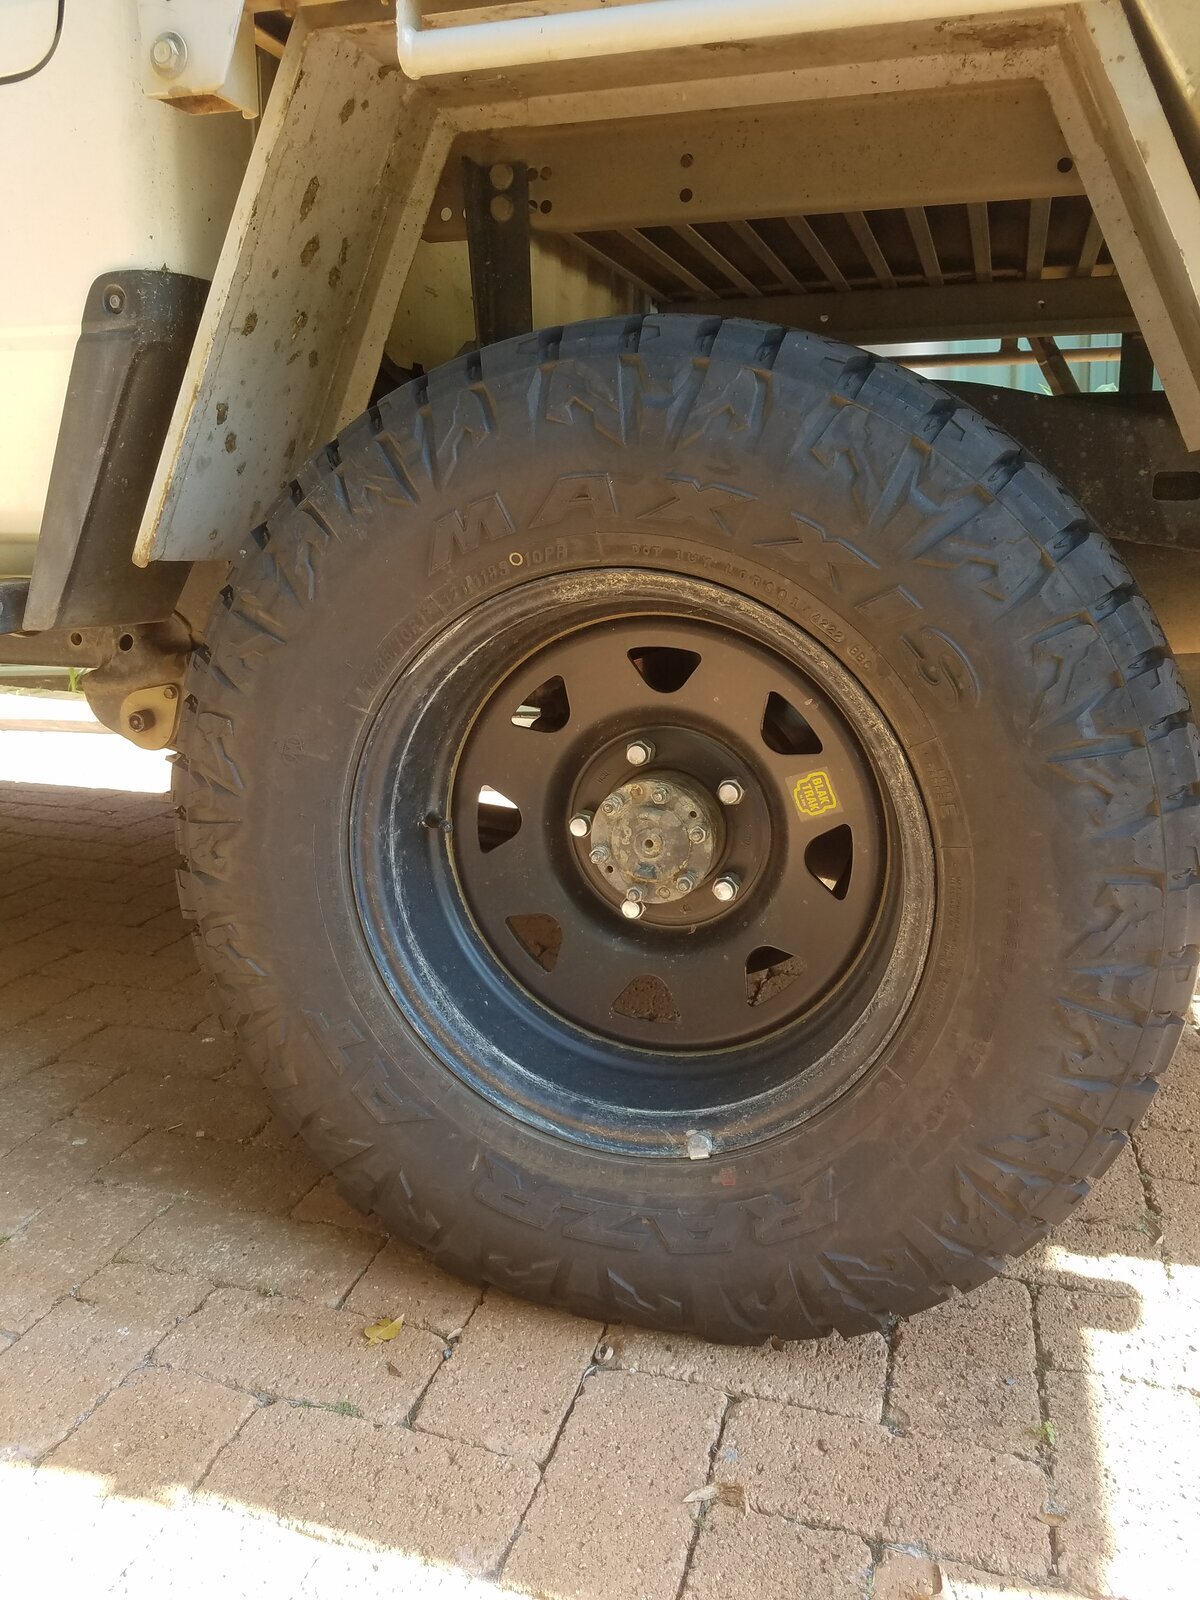
Next up, and this is still retrospective, I attacked the wheels and suspension. The narrow rear track troubled me for various reasons, so I fitted 50mm spacers to each rear wheel. High quality steel items and I used loctite to attach the spacer to the hub. It proved a point and the highway handling was significantly better with less need to make minor steering corrections. HOWEVER, we have an annual "roadworthy" check here in Aus. and my local man took a dim view of the spacers. I'd sort of expected that might happen but I was advised to get wider wheels ... ha ha, when did you last get that advice from an authority? So, onwards to new wheels and tyres:

20230201_165515.jpg
285/70/17 tyres on ROH Blak Trak wheels with 50mm extra width on each side, adding up to 100mm for the total track width and bringing front track and rear track to equal dimensions. I deliberately kept the extra width equally disposed both in and out for the front tyres. I don't suppose it's quite as important with power steering but I like to keep the wheel centre [side to side] over the steering centre and not off-set outwards. Also, I'm working towards reducing understeer and every little bit helps.

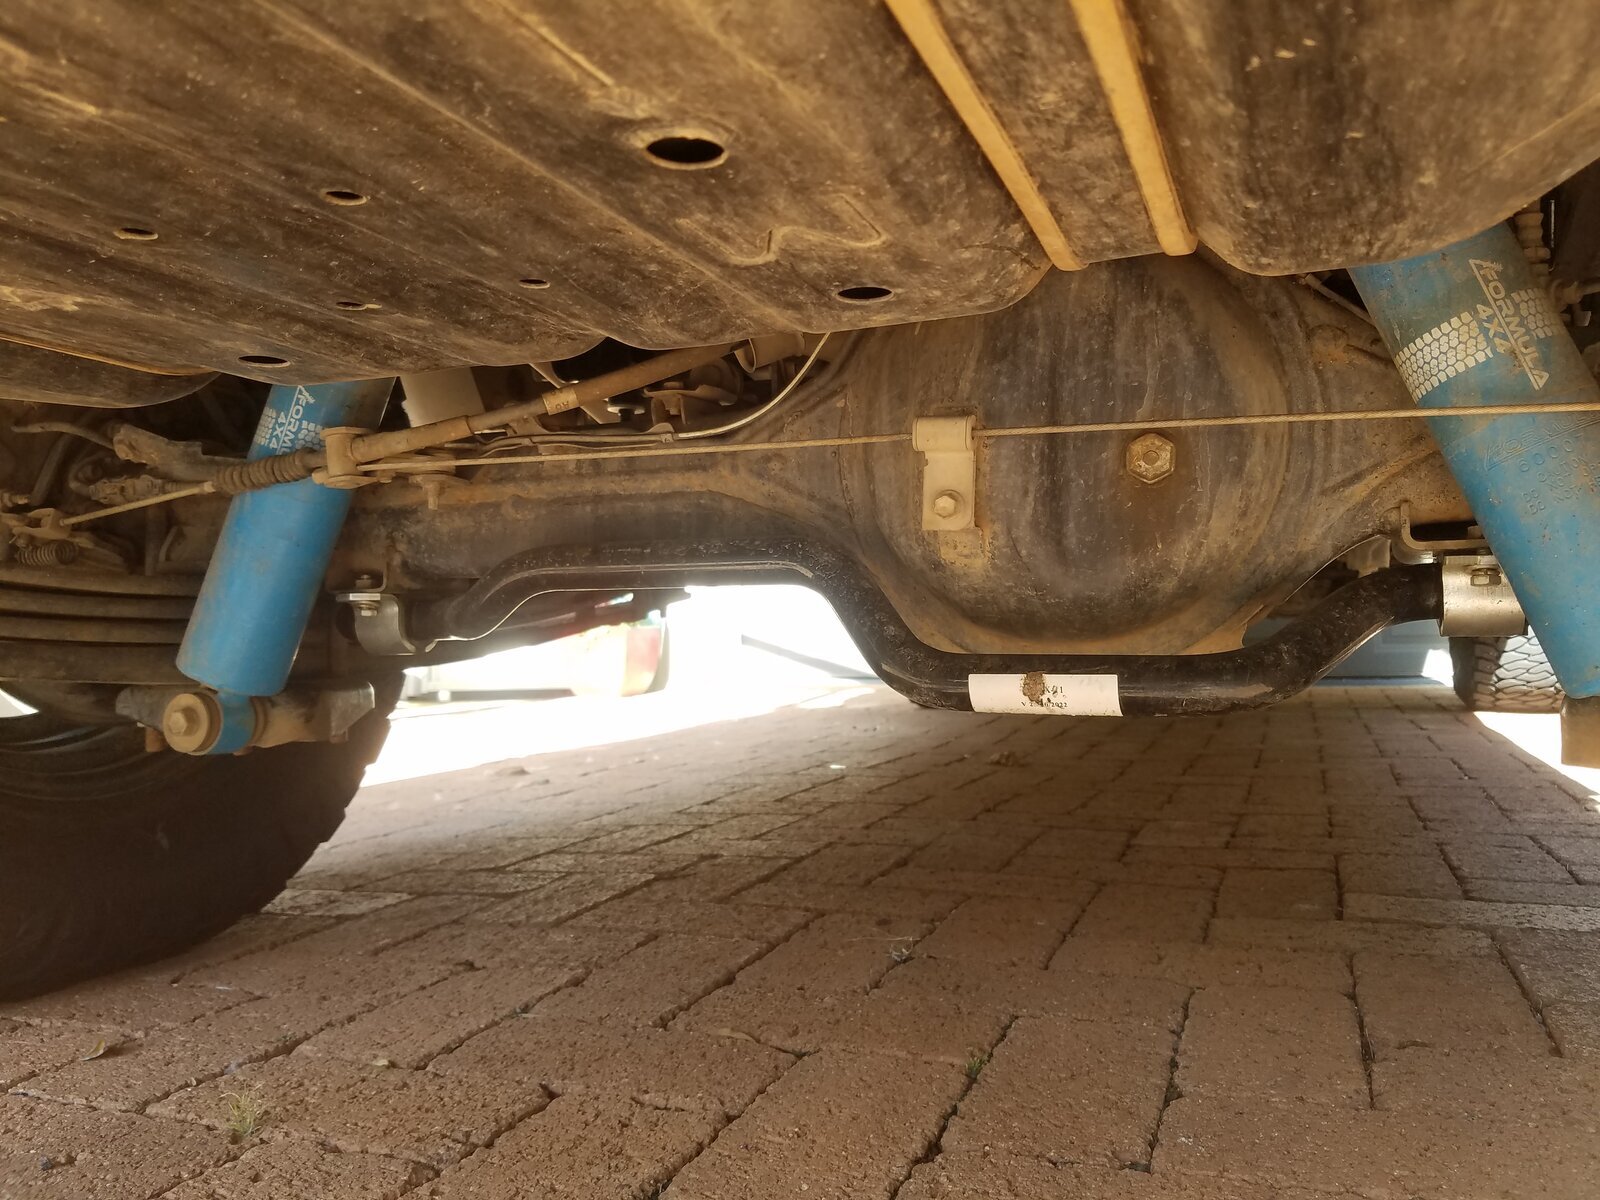
Next up I fitted a Whiteline sway bar to the rear suspension. This is a fairly straightforward job though I took to all the frame threaded holes with a tap to clean out any mud or rust before I added all the mounts etc.:


20230201_171722.jpg

On the road all these changes have made an immense difference. The extra 50% width on each tyre, the 100mm wider rear track and the sway bar make straightline driving feel much less twitchy and cornering comes with much better grip and reduced annoying understeer.

Note, you can also see the taper on the rear parabolic springs in this pic.

That's about it for now as far as suspension and tyre mods go. One day, when the shocks go, I might fit something more fancy there but for now I'm really pleased with what I've managed to achieve without getting into expensive wider diff/transaxle mods or maybe the even more costly rear coil spring mods. I'm doubtful that they'd add up to good value for money anyway.

Jules
 
Still retrospective with this one but nearly up to date ...

Fitted cruise control unit Proserve Ecruise: Cruise control

I can't improve on this Youtube clip for fitting instructions: Fitting guide

If I'd had to install this without the Youtube guide I would have failed. Half a day's work [for me] including removing the air-bag from the steering column, removing the instrument cluster and removing various other bits of shrouding to give access to the various plugs that need to be worked on.

The kit has been well thought, out so all you need to do is to unplug the connectors from the accelerator, clutch and brake, plug in the wired cruise control piggy back connectors, re-connect the original plugs piggy-back style, into the new Ecruise sockets, solder a single wire to one of the wires leading to the top of the instrument panel and it's nearly done. There's a largish black box [about 75 X 50mm] which needs to find a place to live and I found that there was a perfect recess on top of the panel to the right of the driver's side footwell. Looked as though it was made for the job. An LED has to be fitted somewhere on the dashboard to give you on-off indication. The wiring also has to be carefully routed and tied into place along the way which needs a little careful consideration [the Youtube clip doesn't help with this].

I'm setting this car up for a lot of [Australian] distance driving so cruise control will be invaluable. Without it, I've found the LC is very hard to hold on a specific speed. Any minimal let-up in foot pressure on the accelerator seems to result in a fairly dramatic loss of speed. Maybe it's got something to do with wind resistance? I'm pleased with the result. It's not as specific as other controls I've used with the minimum increments of speed change being approximately 2 or 3 kmh. It's variability is around + or - 2kmh so I set it slightly below the speed limit to avoid drifting over. The other slight quirk is that when you change gears it disconnects. I suppose it has to. If it didn't, the moment you put the clutch in the engine would over-rev in a vain attempt to maintain constant speed. It's easy enough to "resume" the set speed by lifting the control lever. I don't know how it would go on a road where lots of gear changes were needed but I probably wouldn't be using it in that situation anyway.

Jules
 
Don't like the adverts?  Click here to remove them
Back
Top