Don't like the adverts?  Click here to remove them

Who is doing what maintenance today?

While we wait with 'bated breath for Chris to unveil 'The Blue One' . . . .

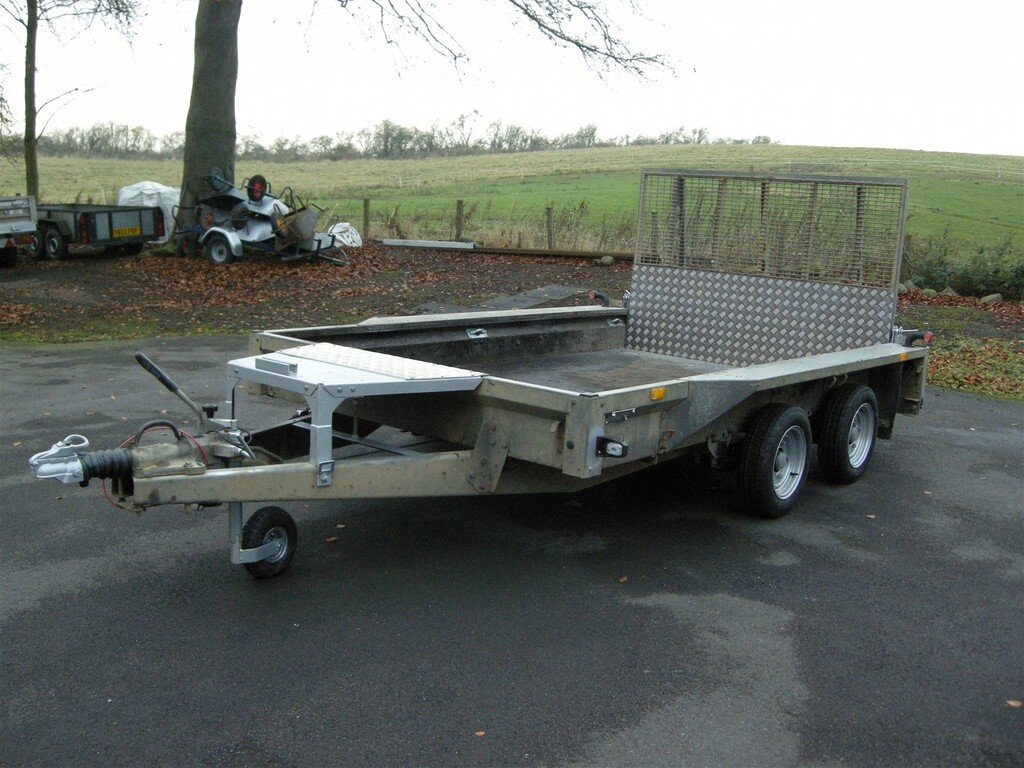
I've just about finished fettling the 'cheap' (HA :shock:) Ifor Williams GX106 Plant Trailer (not a Landcruiser - but close to it :lol:).

As always, once I start digging into a vehicle/trailer/ piece of kit I find all sorts of things wrong that I "Just have to fix". This thing cost me £1,000, but I have now spent another £1,500 on it :icon-rolleyes:). At least I know that everything works.

The brakes were totally shot (some shoes didn't have any linings at all):
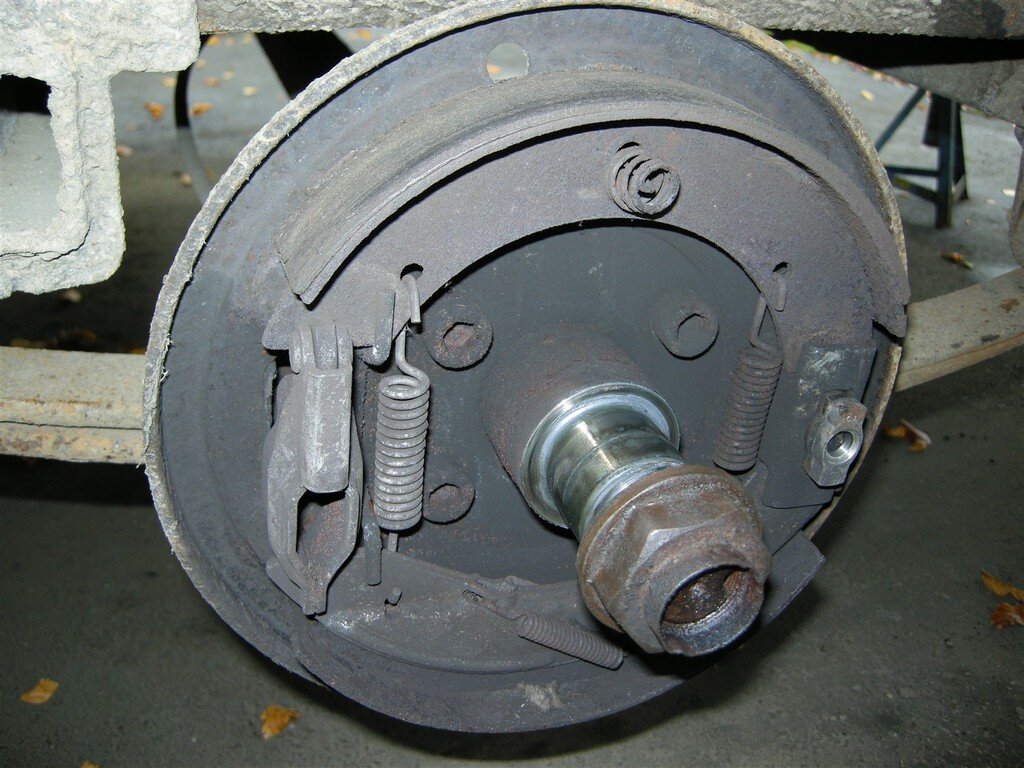
DSCN6678_zpsdtof2y1a.jpg

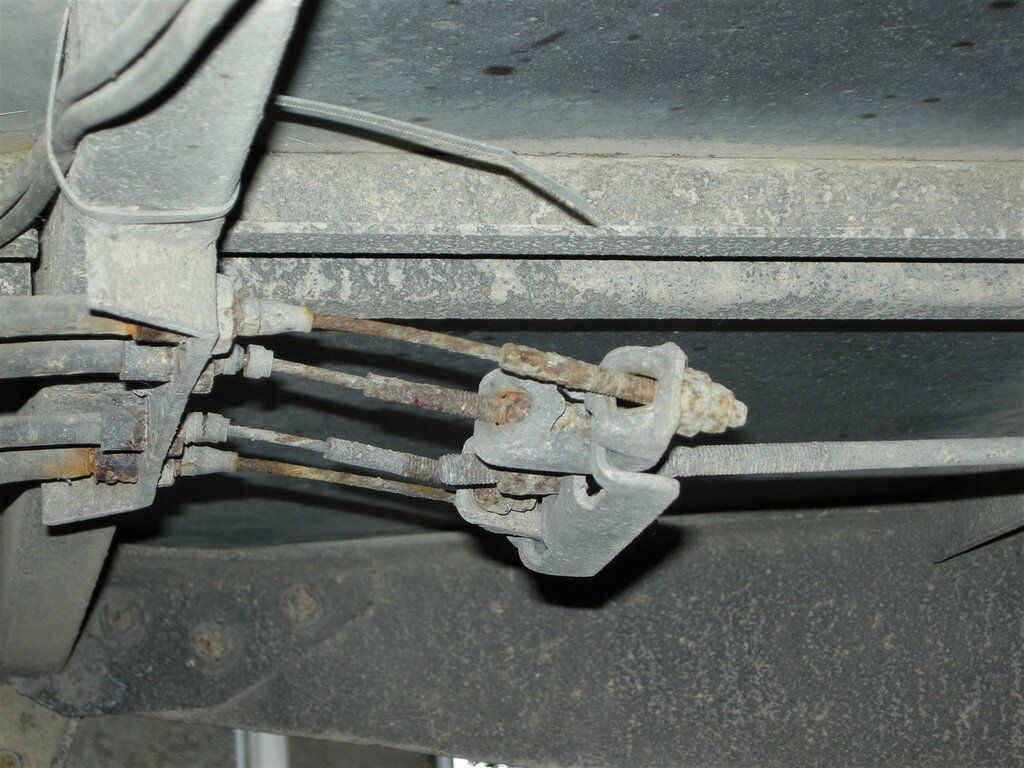
The cables were seized:


DSCN6680_zpslerzmgpd.jpg


The only good tyre was the wrong size and there wasn't a spare - One new wheel and five tyres purchased.

The old wheels and the brake backplates were powder-coated and new brake assemblies and cables bought.
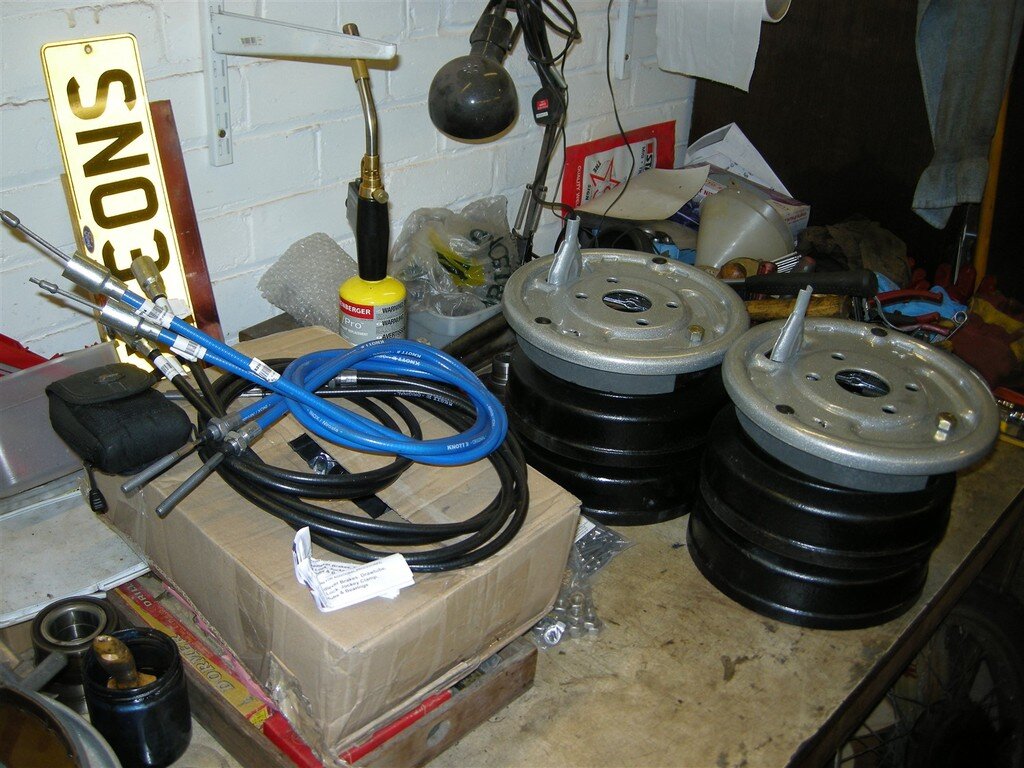
DSCN6691_zpshsj61yrx.jpg

Two of the wheels bearings were shot - so four new ones bought.

I found one broken spring so two springs for the rear axle and a set of eye bushes for the others. All new 'U' bolts & bump stops.

The axles were stripped back to metal and heavily painted (Hammerite).
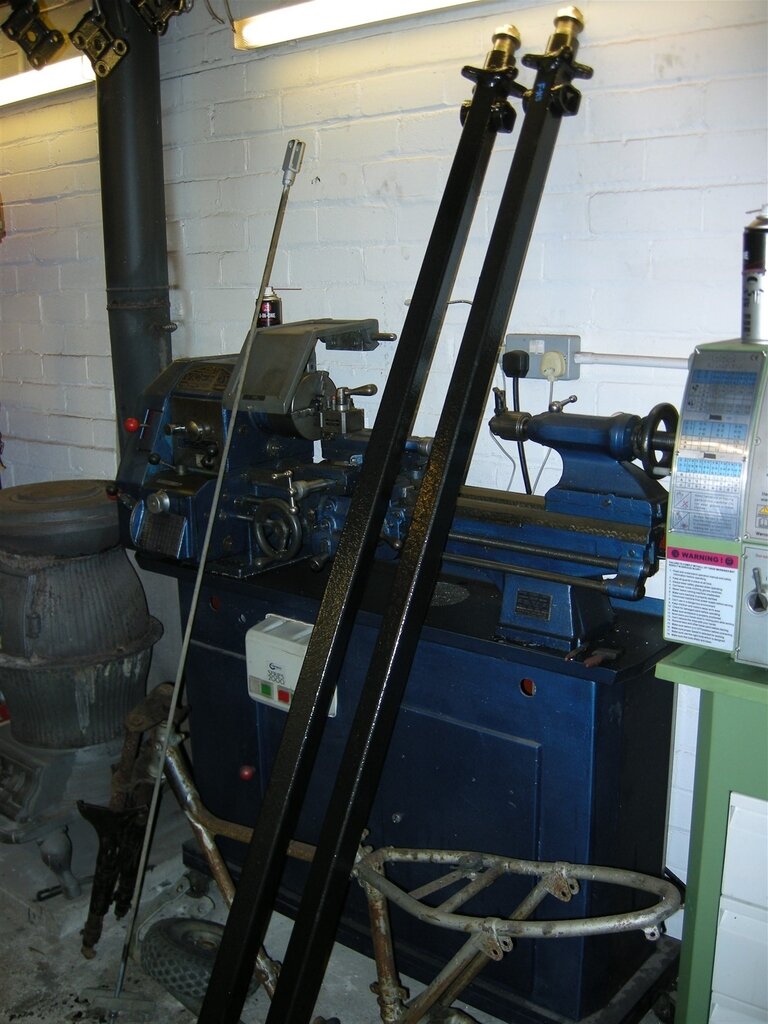
DSCN6692_zpsskji50np.jpg


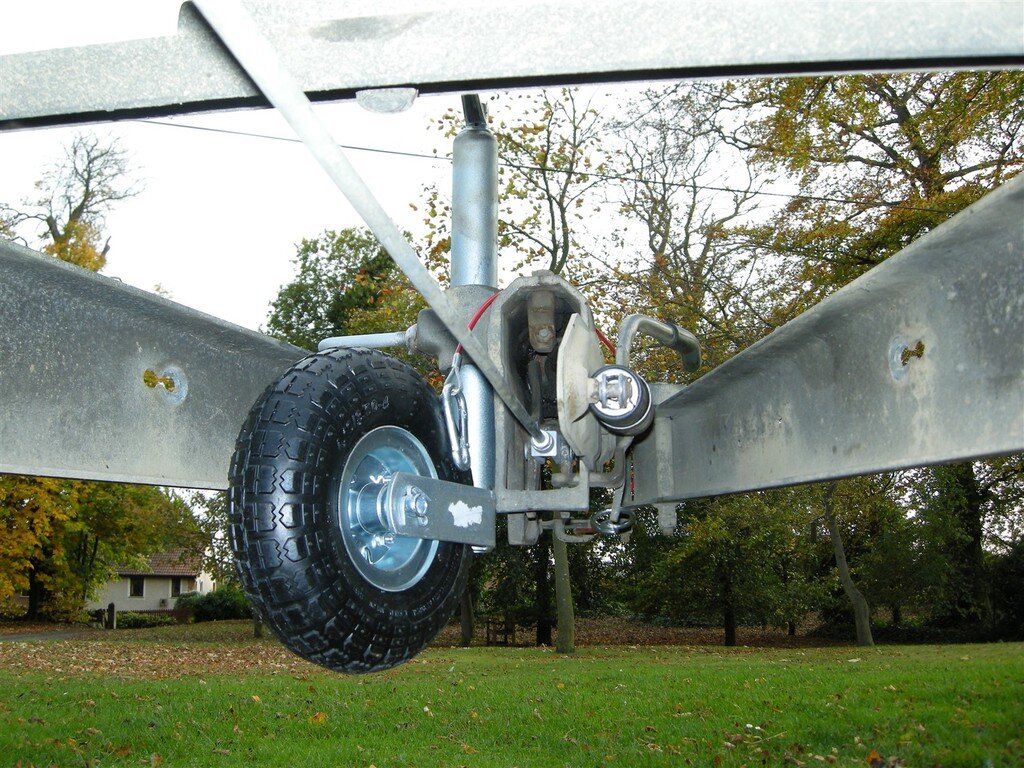
Even the 'Energy Store' on the hitch was shot - the spring fell out as a heap of 'anti-shake' washers :lol:).

Some of the welds on the ramp had failed so it came off, was re-welded and new Checker Plate fitted (3mm instead of the original 2mm).

Once it starts going together it looks (and feels) good.
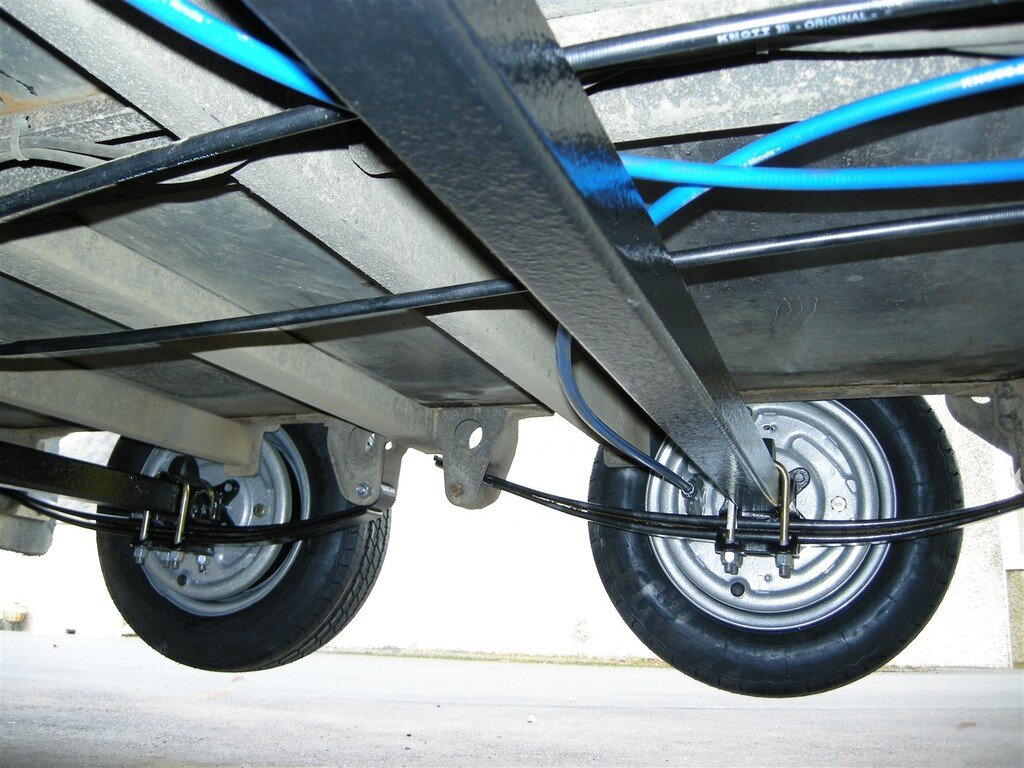
DSCN6693_zpsnjmojapx.jpg


DSCN6694_zpsvby7q9qi.jpg


DSCN6697_zpsxx5irmoe.jpg

DSCN6696_zpslsinyrax.jpg

The re-built brakes look fit for purpose (10" Knott brakes).
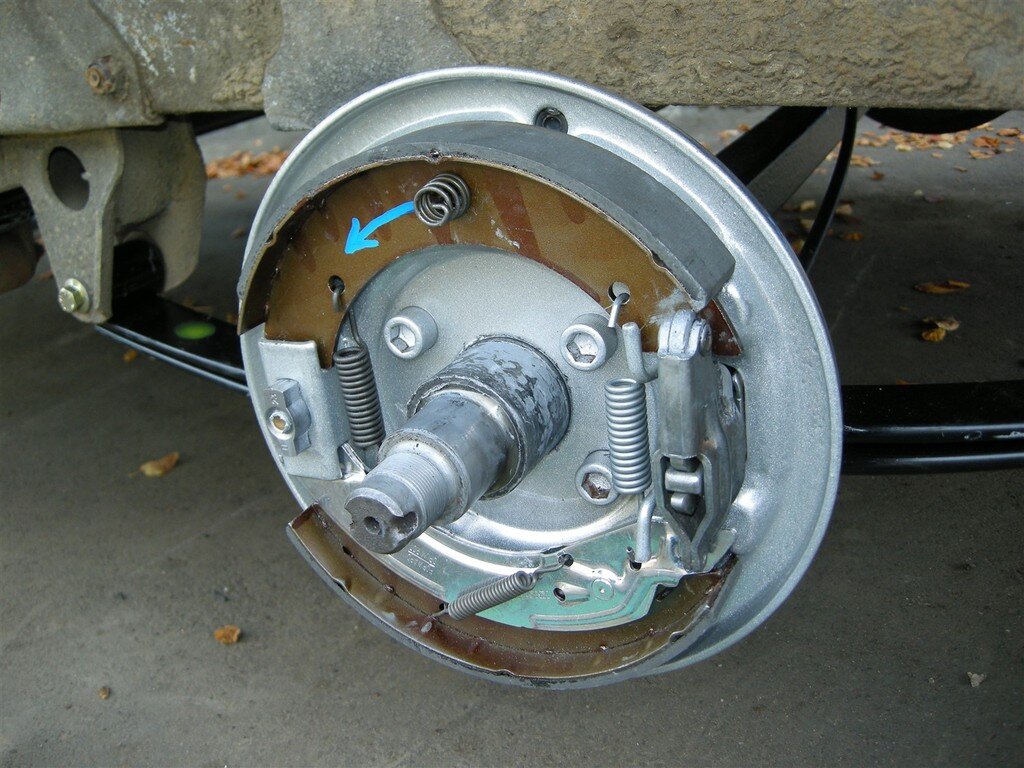

DSCN6700_zpsd5vpjrvp.jpg


The wiring was 're-done' with 7-core cable and a pair of junction boxes. All the marker lights and some of the reflectors were replaced. They all work!
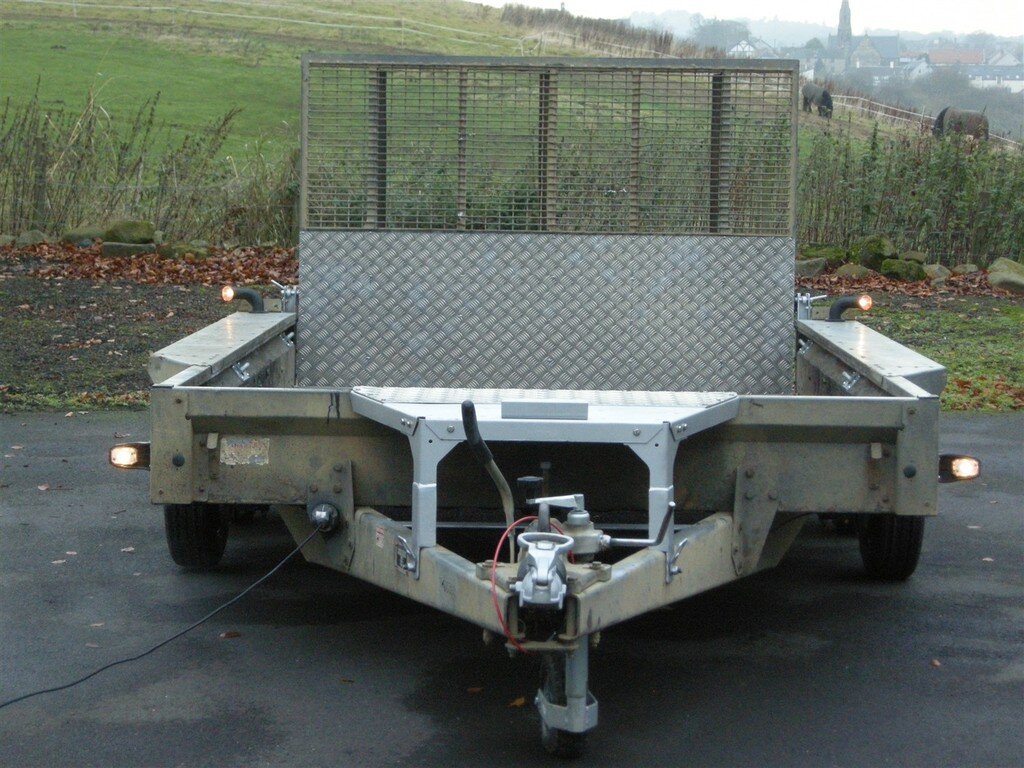

DSCN6721_zpsppelhqyo.jpg


This is a 2007 trailer. Later models have three pairs of heavy-duty tie-downs fitted as standard. I got a set from Ifor Williams. They fit to the sloping sides - above and clear of digger tracks.


DSCN6717_zpsjx7ubtbk.jpg


Almost there now. I just need to repair the hand winch and fit it.
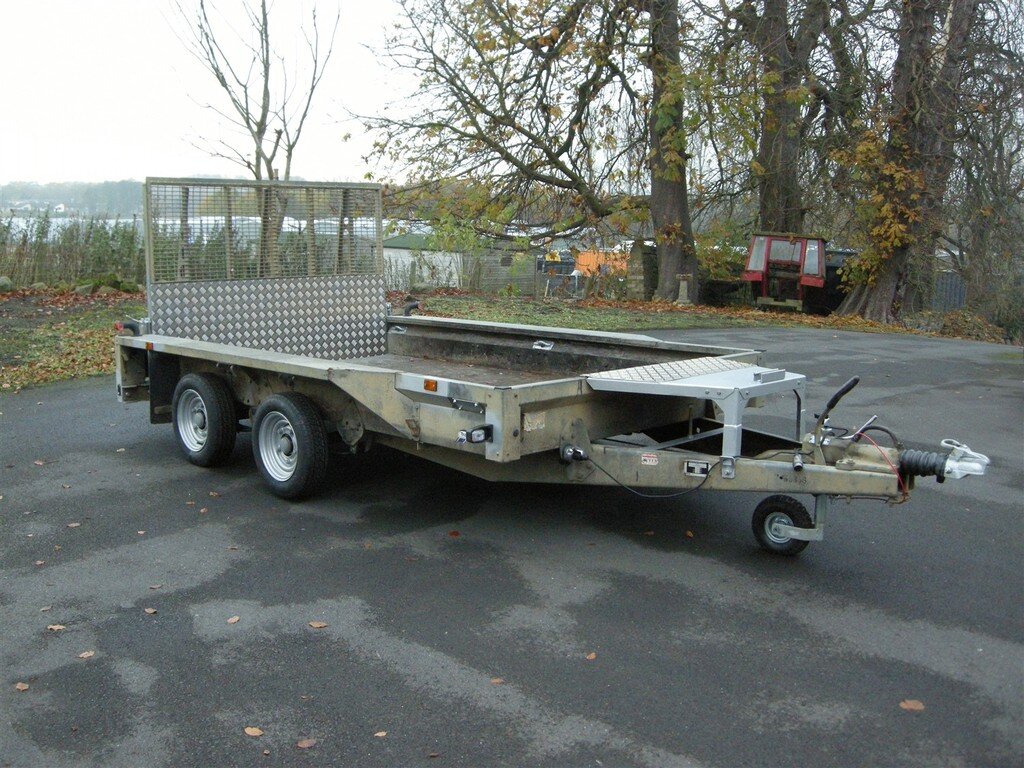

DSCN6713_zpsdavmlueq.jpg

DSCN6714_zpsyi5n5n36.jpg

DSCN6715_zpsssubhffn.jpg

Now I need to find a digger !

Bob.
 
While we wait with 'bated breath for Chris to unveil 'The Blue One' . . . .

I've just about finished fettling the 'cheap' (HA :shock:) Ifor Williams GX106 Plant Trailer (not a Landcruiser - but close to it :lol:).

As always, once I start digging into a vehicle/trailer/ piece of kit I find all sorts of things wrong that I "Just have to fix". This thing cost me £1,000, but I have now spent another £1,500 on it :icon-rolleyes:). At least I know that everything works.

Looks very smart. You know you can buy them brand new for £2.5K don't you?
 
Yes, the basic price of a new one is £2,500, but I couldn't avoid VAT (and probably delivery charge).

Anyway, I didn't intend to spend that much but a 3.5 ton trailer isn't something to take liberties with and I'm happy that everything works and the thing is safe. I've seen some horrendous things being dragged around the British roads in the past and I'm afraid its only a matter of time before they are all regulated and we are waist deep in paperwork because of them.

Bob.
 
Checked the 100 round at the weekend before the depths of winter set in and the antifreeze looked good and the internally system was spotless no rust or grunge.
I did the electrolysis test with a multimeter and had around 0.7v, I have not changed the coolant in my ownership of 50k miles and no record of when it was changed previously.
It is the first time I have tested coolant in this way, is it safe to leave or should it be replaced on the electrolysis test results?
Thanks in advance.
 
Don't like the adverts?  Click here to remove them
Well guys had two weeks of repairs regarding snapped bolts unfortunately. :anguished:

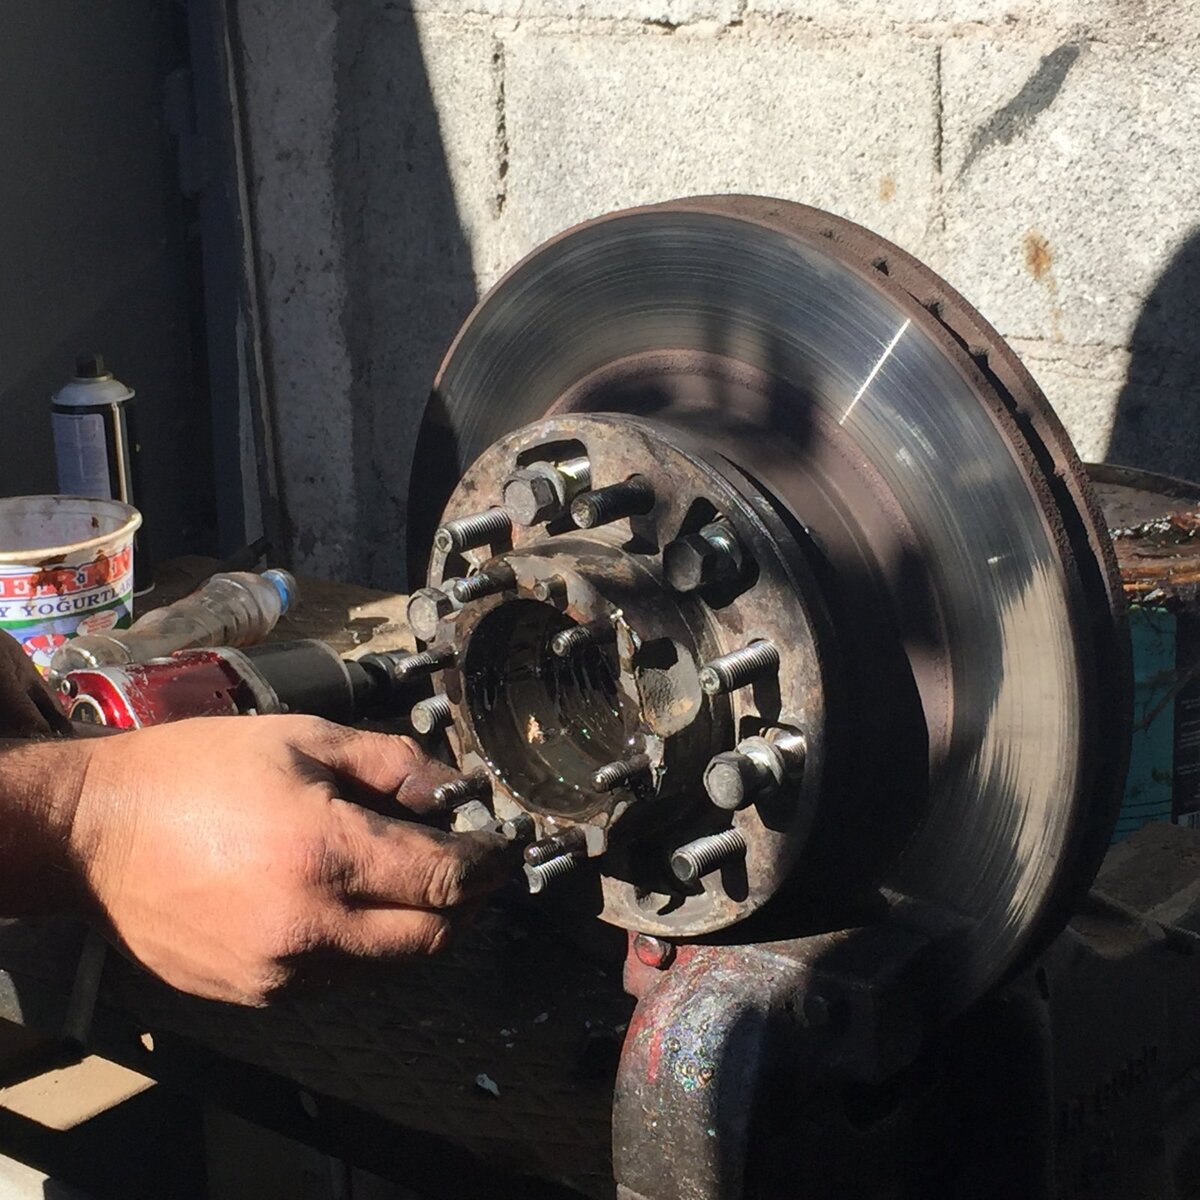
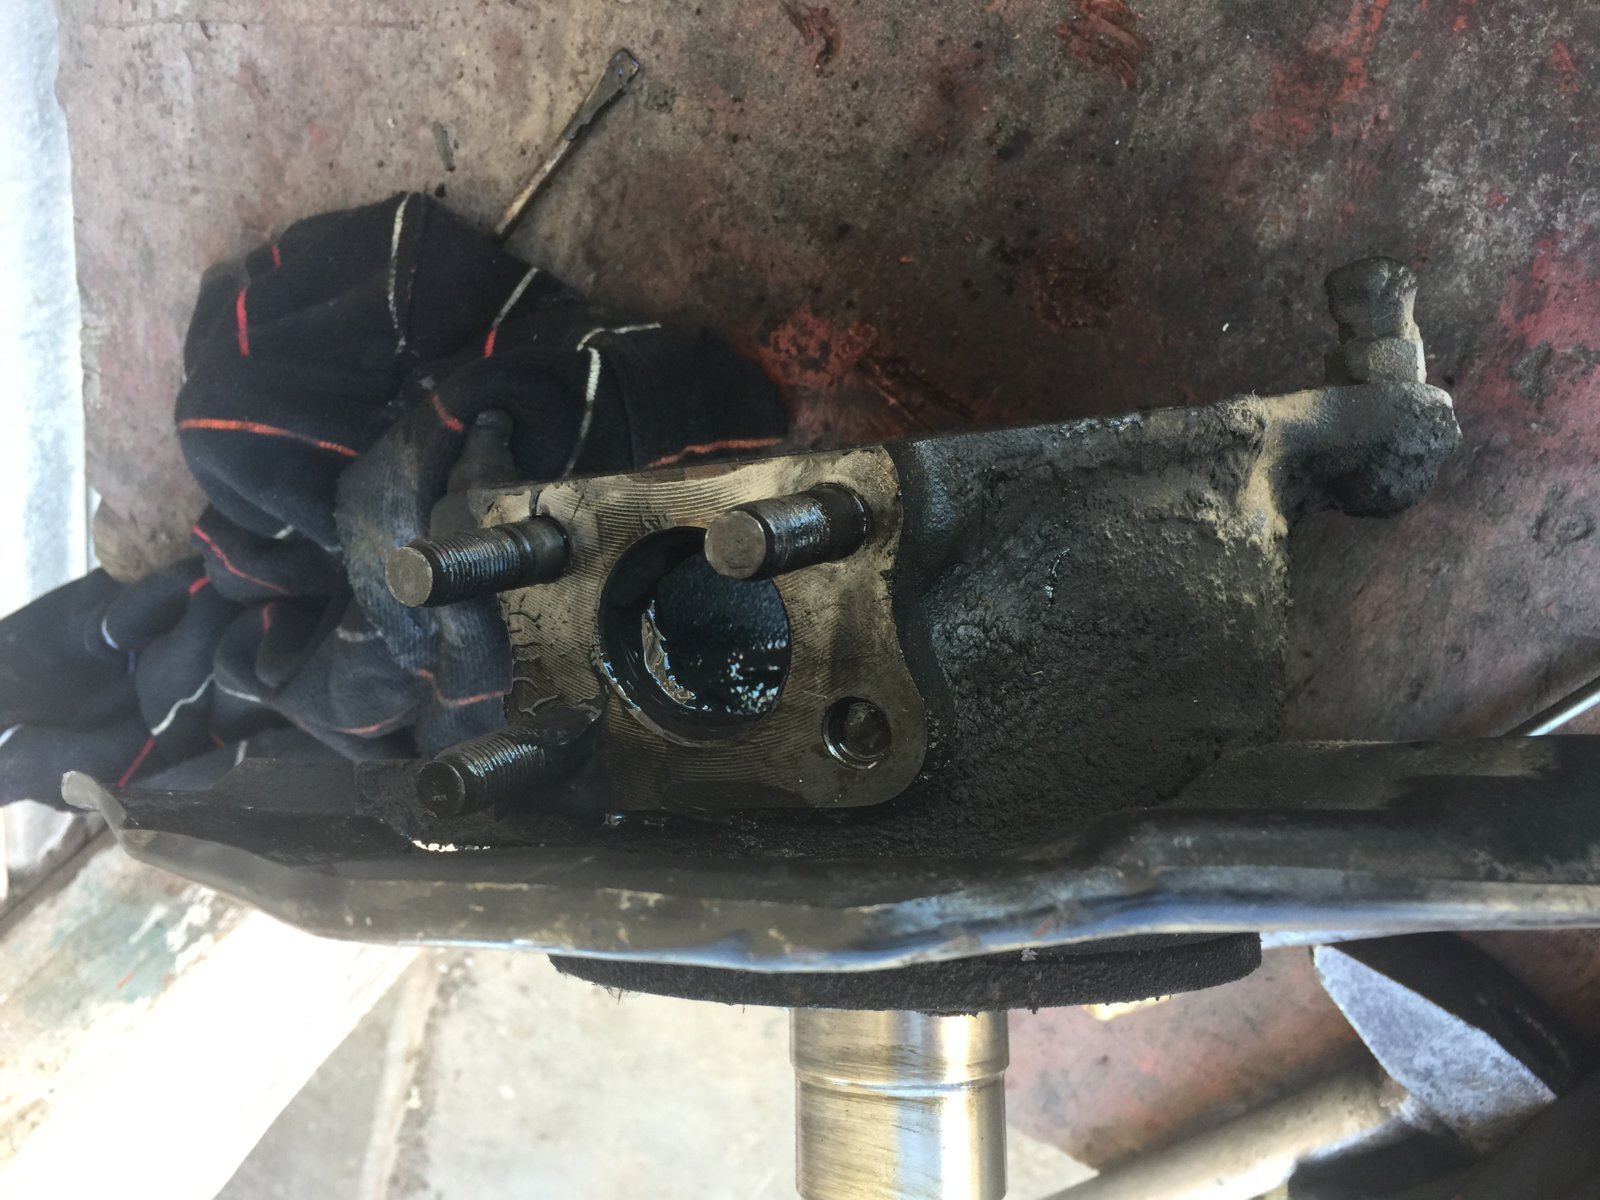
Last week had the front tyres finally balanced from the previous refit from the restoration process. I know now not to allow a compresser gun to be used as this snapped a bolt on the front right wheel while taking off the wheel.

Luckily had spares to replace but had to take apart the whole wheel including the disc itself to get to the snapped bolt.

Became alot more work then I initially thought. :dizzy:

IMG_4073.JPG
 
Last edited:
Yesterday went to get the tracking done from a new up to date system here (finally available ). The guy spotted the left side 4 bolts to the front Axle Knuckle & hub assembly mostly loose.
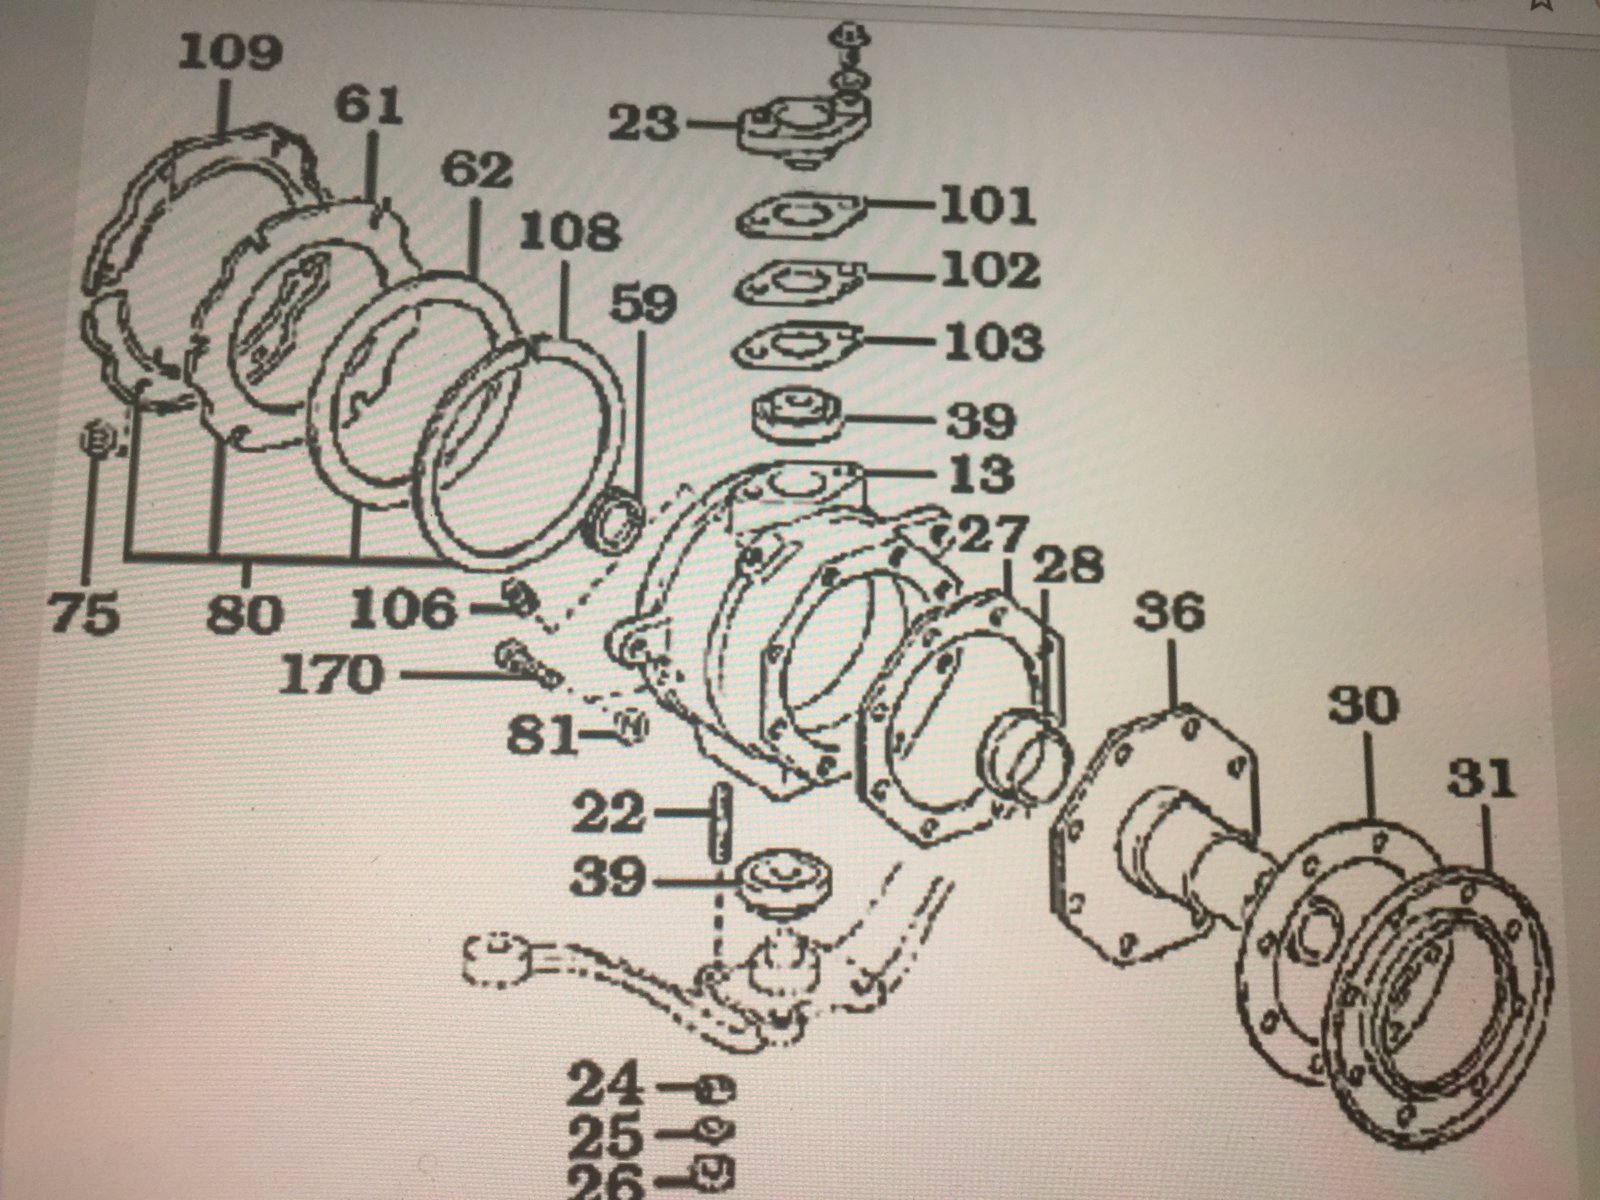
Went to tighten them up then part 22 snapped off. Oh know!!
I initially went to have this done as to figure out why the cars pulling to be left on the highway.
Thankfully spotted something that was clearly dangerious & first call this morning arranged to get this rectified.
Like most things it took a lot longer & became more involved as we looked at the problem closer.
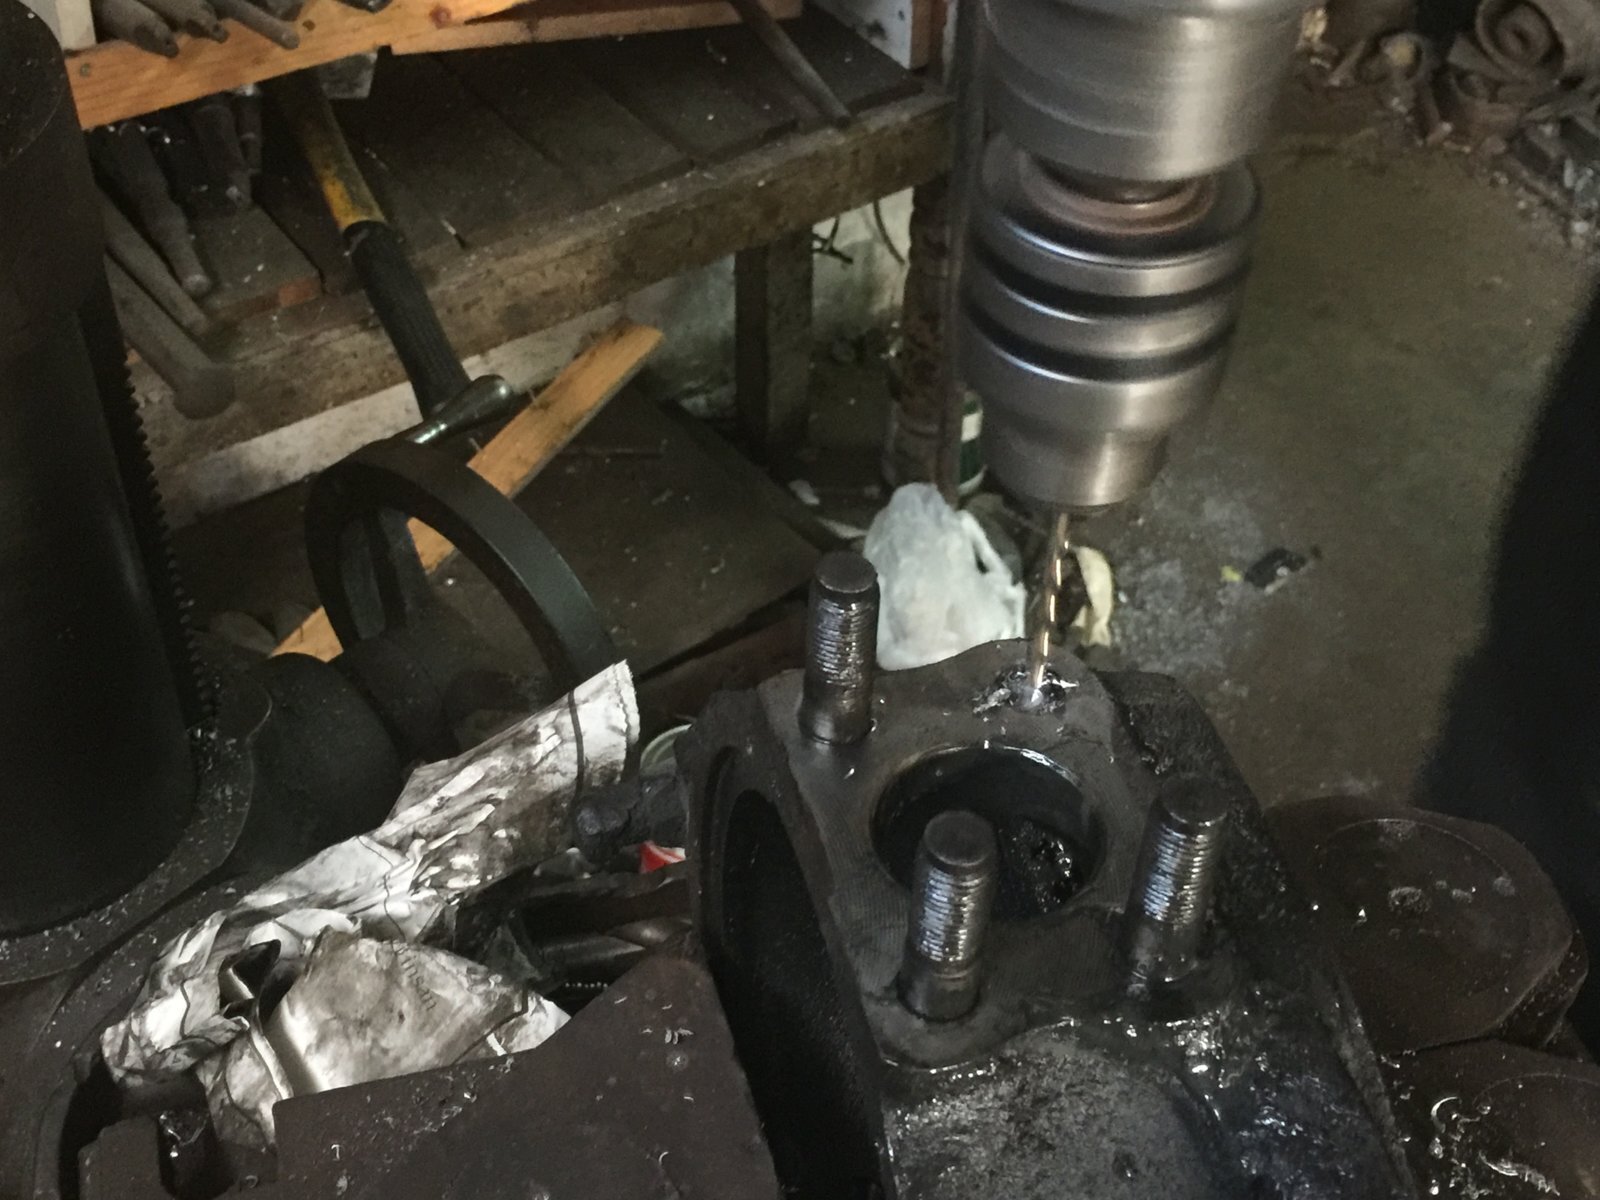
Had to take the whole thing including the hub out to get to the snapped bolt. Then drilled it out carefully not to cause damage to the thread.

IMG_4098.JPG IMG_4102.JPG IMG_4111.JPG
 
Last edited:
After re-threaded it all thanks to a friend who assisted the mechanic next to his workshop.
Next phase was to make a replacement bolt to the same grade spec metal as Toyota. This was milled out & threaded to fit.

IMG_4104.JPG IMG_4106.JPG IMG_4107.JPG
 
To my surprise the grease was very low in the hubs so much so I thankfully was sent by courier from the city original spec grease to regrease both hubs.

Thanks to Nippon Parts Nicosia :)

IMG_4108.JPG
 
Finally the regressing & putting back seeing a home run now.

So now looking forward to doing the tracking tommorrow where this all started.

Feeling relieved thanking all the guys who helped make hard job smooth. :blush:

IMG_4109.JPG IMG_4110.JPG
 
These studs can work lose (as you now know) and they should have a locking compound when you reassemble it.

Not so easy because you have to clean the grease out of the threads in the casting first.

Good luck Dervis.... good job!
 
These studs can work lose (as you now know) and they should have a locking compound when you reassemble it.

Not so easy because you have to clean the grease out of the threads in the casting first.

Good luck Dervis.... good job!

Yes Clive your right they were cleaned out was a lot invloved & a pricy fix for one bolt again but feeling reasursed now all is good. Thanks
 
Yes Clive your right they were cleaned out was a lot invloved & a pricy fix for one bolt again but feeling reasursed now all is good. Thanks

Of all the nuts and bolts on my 80, the only ones that I have a fear of coming loose are those studs, both sides.

It happened to me only once and it was a long time ago, but I've never trusted them since.
 
Of all the nuts and bolts on my 80, the only ones that I have a fear of coming loose are those studs, both sides.

It happened to me only once and it was a long time ago, but I've never trusted them since.

Here the same too Clive I couldn't for the life of me understand how they came loose & neither the mechanic & me didn't ever think to check them bazarly before even when checking the car over the wheel.
Just a real shame one bolt broke!!
Truly a mistery at this point for sure.
 
Last edited:
Today I made a start on wiring in the fridge, i bought all the cheap bits but not the pricey items yet so I think i've done the hard bit now anyway. That grommet is a pain in the arse!!!
IMG_6975.JPG
IMG_6976.JPG
IMG_6977.JPG
IMG_6978.JPG
IMG_6979.JPG
IMG_6980.JPG
IMG_6981.JPG
IMG_6982.JPG
Feel free to point out any mistakes so far.
 
Looking good. You probably already know this, but one thing that’s handy for grommets is a bit of string (like the way windscreens used to be fitted). Just a couple of turns round the grommet, poke the string through the hole , start the grommet in the opening and then as you unwind the string it’ll pull the rest of the grommet lip through.
 
It was more a tight squeeze with my hand in the corner trying to poke the cable through the hole. It was v. Tight!
Ps. I didn't know that, thanks :)
 
I might have been inclined to run it underneath clipped to the chassis and then found a way in at the back where the harness enters the rear quarter.

I don't know any real reason why one route would be better than another.

Still, a good job done there Nick. :thumbup:
 
I just followed some cables that were already there. You're a step closer to some jack Daniels BBQ chicken wings Clive!
 
Back
Top