Don't like the adverts?  Click here to remove them

1KZT engine conversion on 70 series

Del boy

Active Member
Joined
Dec 10, 2020
Messages
54
Country Flag
ireland
Hi All

I know when I began this conversion I found it difficult to get a comprehensive guide to swapping out the 2.4 for the 3.0 ikzt so now that mine is complete I can share the experience
let me know if its any value to other users on the forum or if anyone is interested? It would be great to hear from other people who have done similar projects.
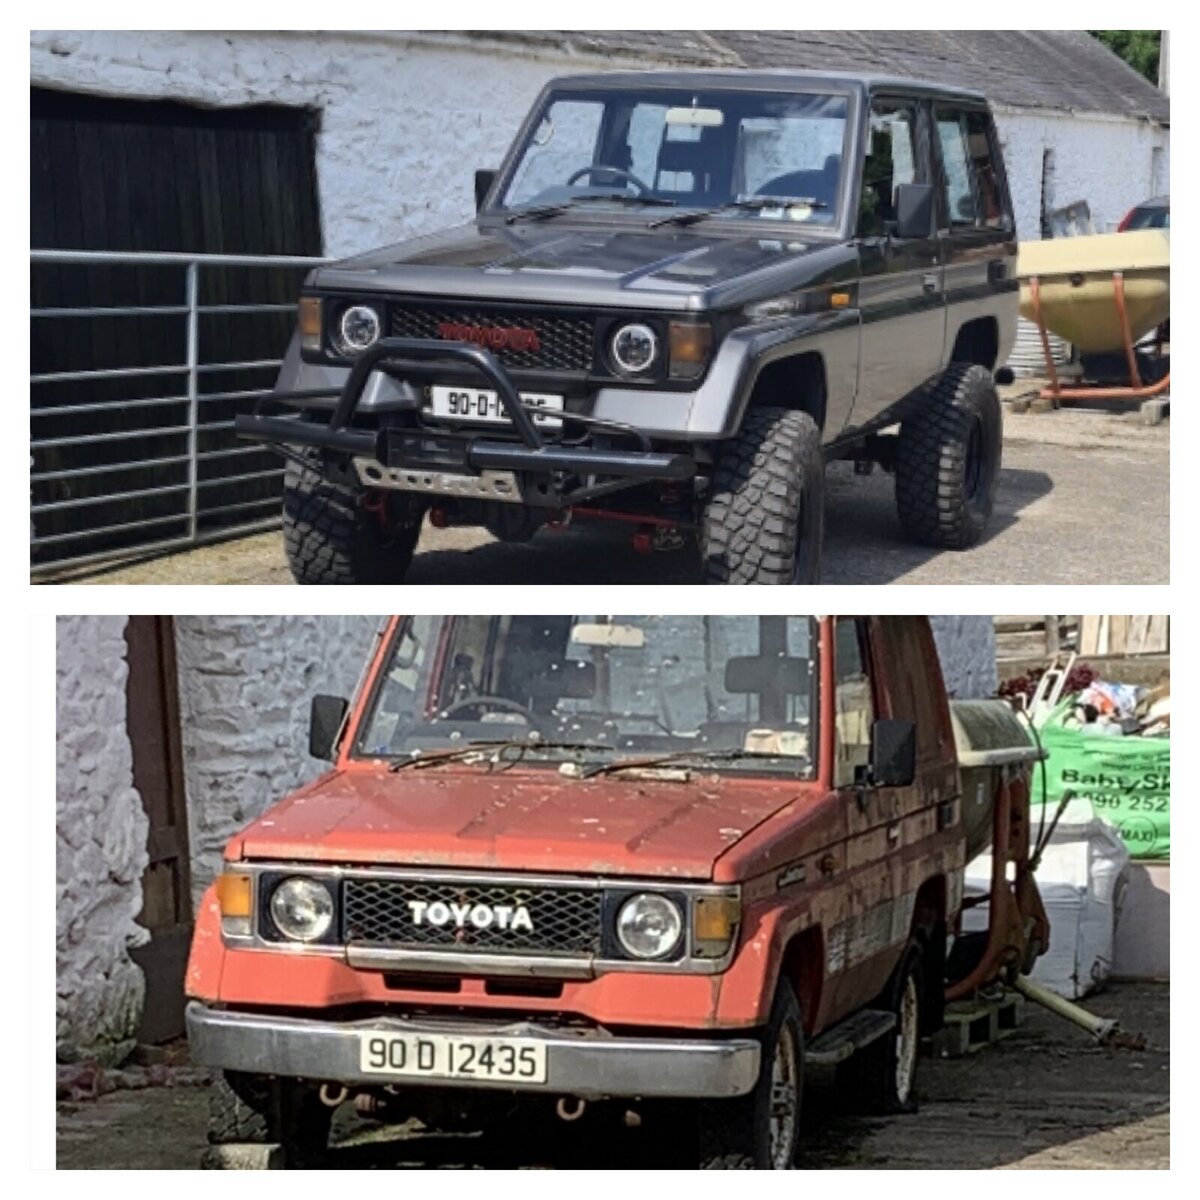
This project has fought me all the way but now that I'm nearing the end I think it'll worth it


20230616_140234~2 Copy.jpg
 
Hopefully this will assist others with swapping out the 2.4 turbo Diesel engine with the more powerful 3.0 ltr 1kzte engine fitted in later 70 and 90 series , Hi Lux and Surf models

Ideally you would have your donor engine ready to swap over, if you have space for the entire donor vehicle next to your vehicle to assist with measurements and small bits and bobs that’s an ideal scenario

If like me your just getting a donor engine make sure you get the loom , flywheel , fan , hoses , if possible get the model or ideally get a registration number from the donor vehicle, this will help identify certain parts such the clutch, starter etc as there are slight variations.

I’m going to bullet point the areas that require change then detail how the changes are executed

  • Injection pump /Throttle cable
  • Engine mounts
  • Bell housing
  • Sump/Oil strainer
  • Wiring loom
  • Cooling , radiator, fan cowling
  • Power steering


Fuel injection

Starting with the injection pump, more than likely your donor engine will come with the 1 Kzte injection pump, this was an early drive by wire sort of hybrid , a bit of a trans fuel system , everything is mechanical with the exception of the fuel delivery by wire.
This makes the transition quite simple as you only need to change the injection pump, I say simple in terms of physical changing of the pump but finding the replacement VE pump can be challenging, your looking for a four cylinder VE pump , Mitsubishi pajero 2.8 ltr , I also believe Daitatsu have a pump that will suffice, 12 mm plunger is a key requirement in order to achieve optimal power output. Once you have a pump it’s as simple as removing the old and fitting the new, injector pipes don’t change, fuel feed and return and stop solenoid are all straight forward , also no change to the injectors


Throttle control is now mechanical so you will need to redirect the throttle cable directly to the pump, previously your throttle opened the air intake butterfly in turn it controlled the fuel delivery by wire, now you can remove the intake butterfly by controlling the fuel delivery directly via the pump throttle lever . The likes of cablecraft in Dublin made up a new cable.
One other thing to watch for is make sure the pump given back with a mechanical spill banjo bolt and not the electrical solenoid type as there will be no way of controlling the later.
 
Engine mounts

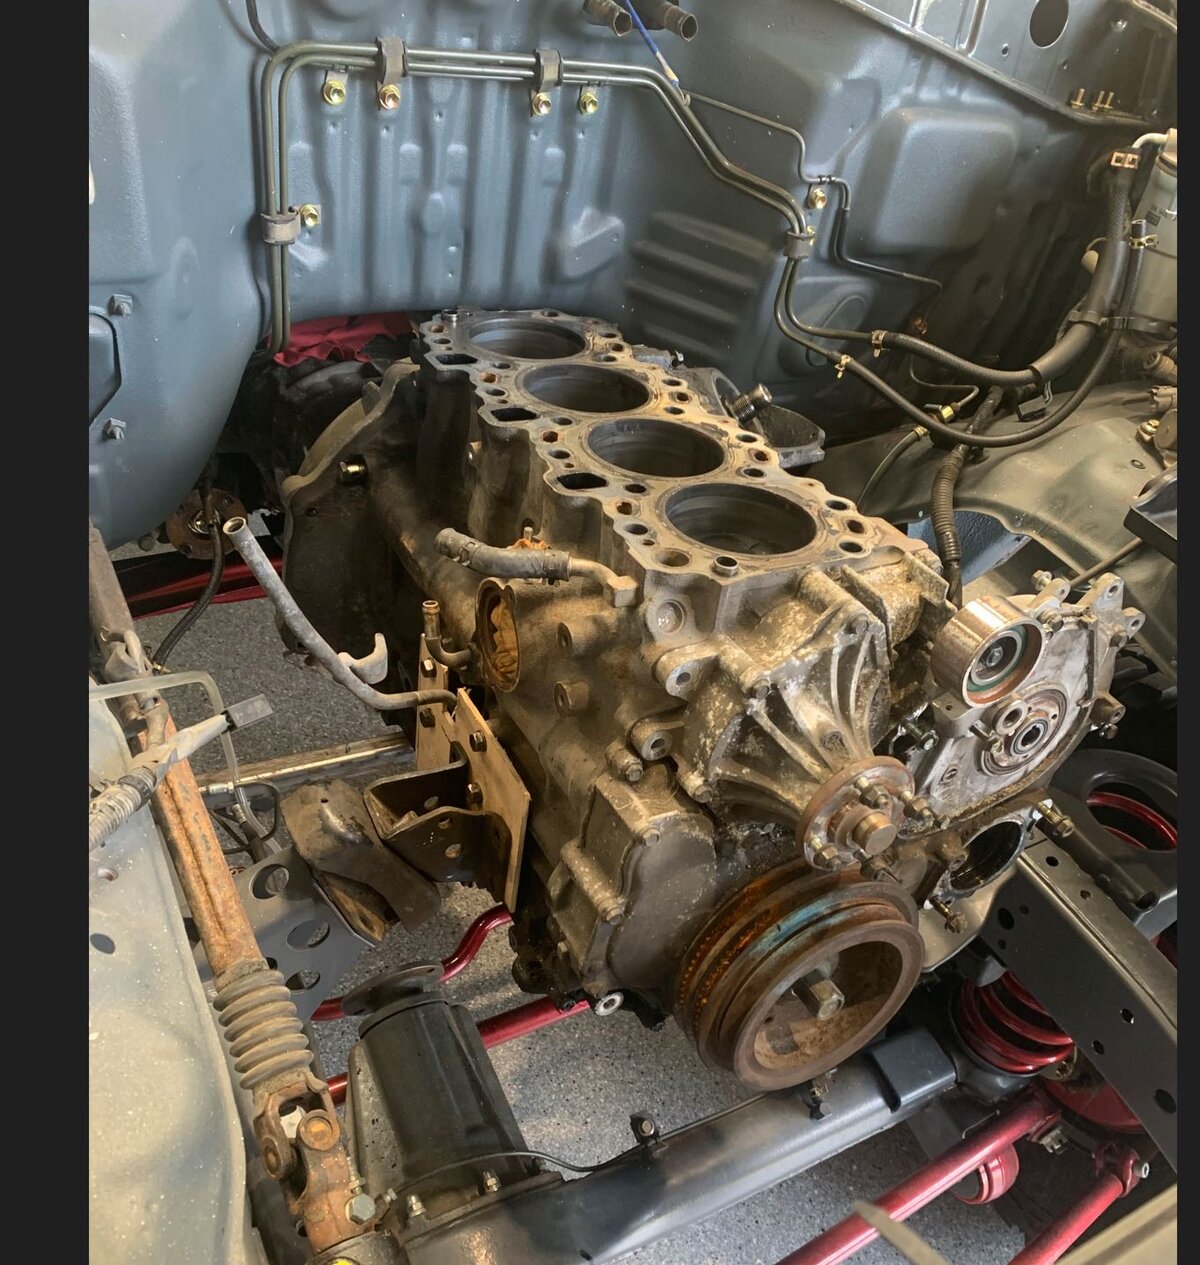
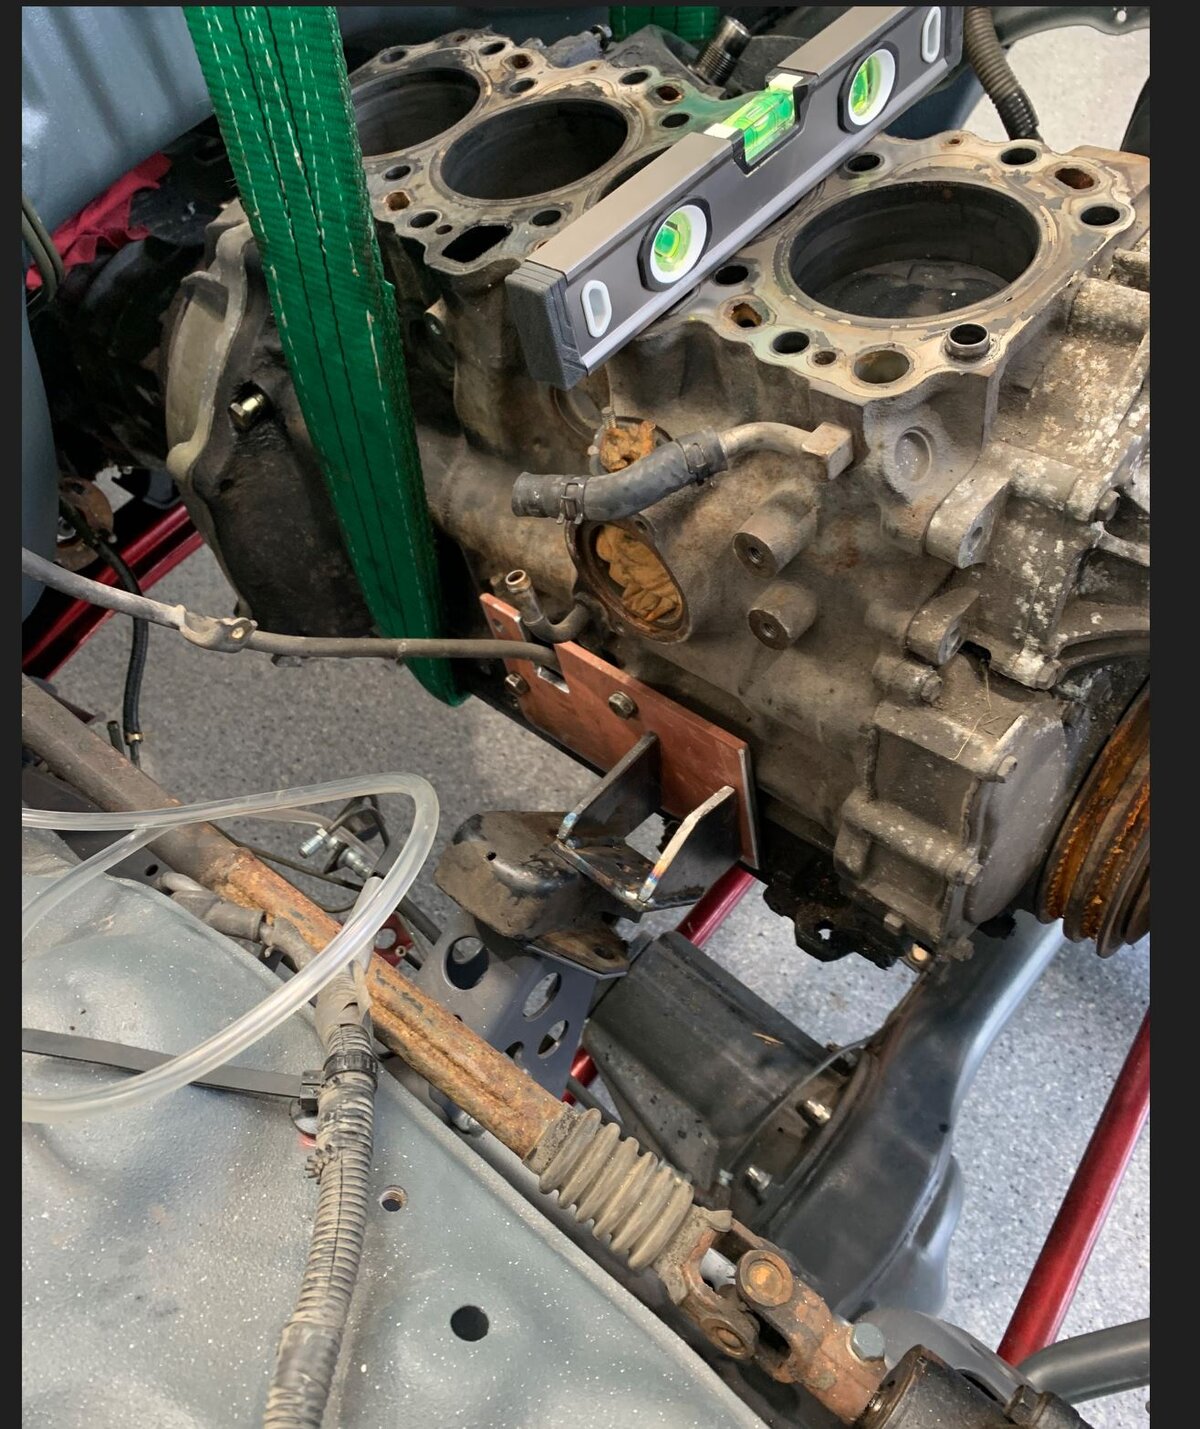
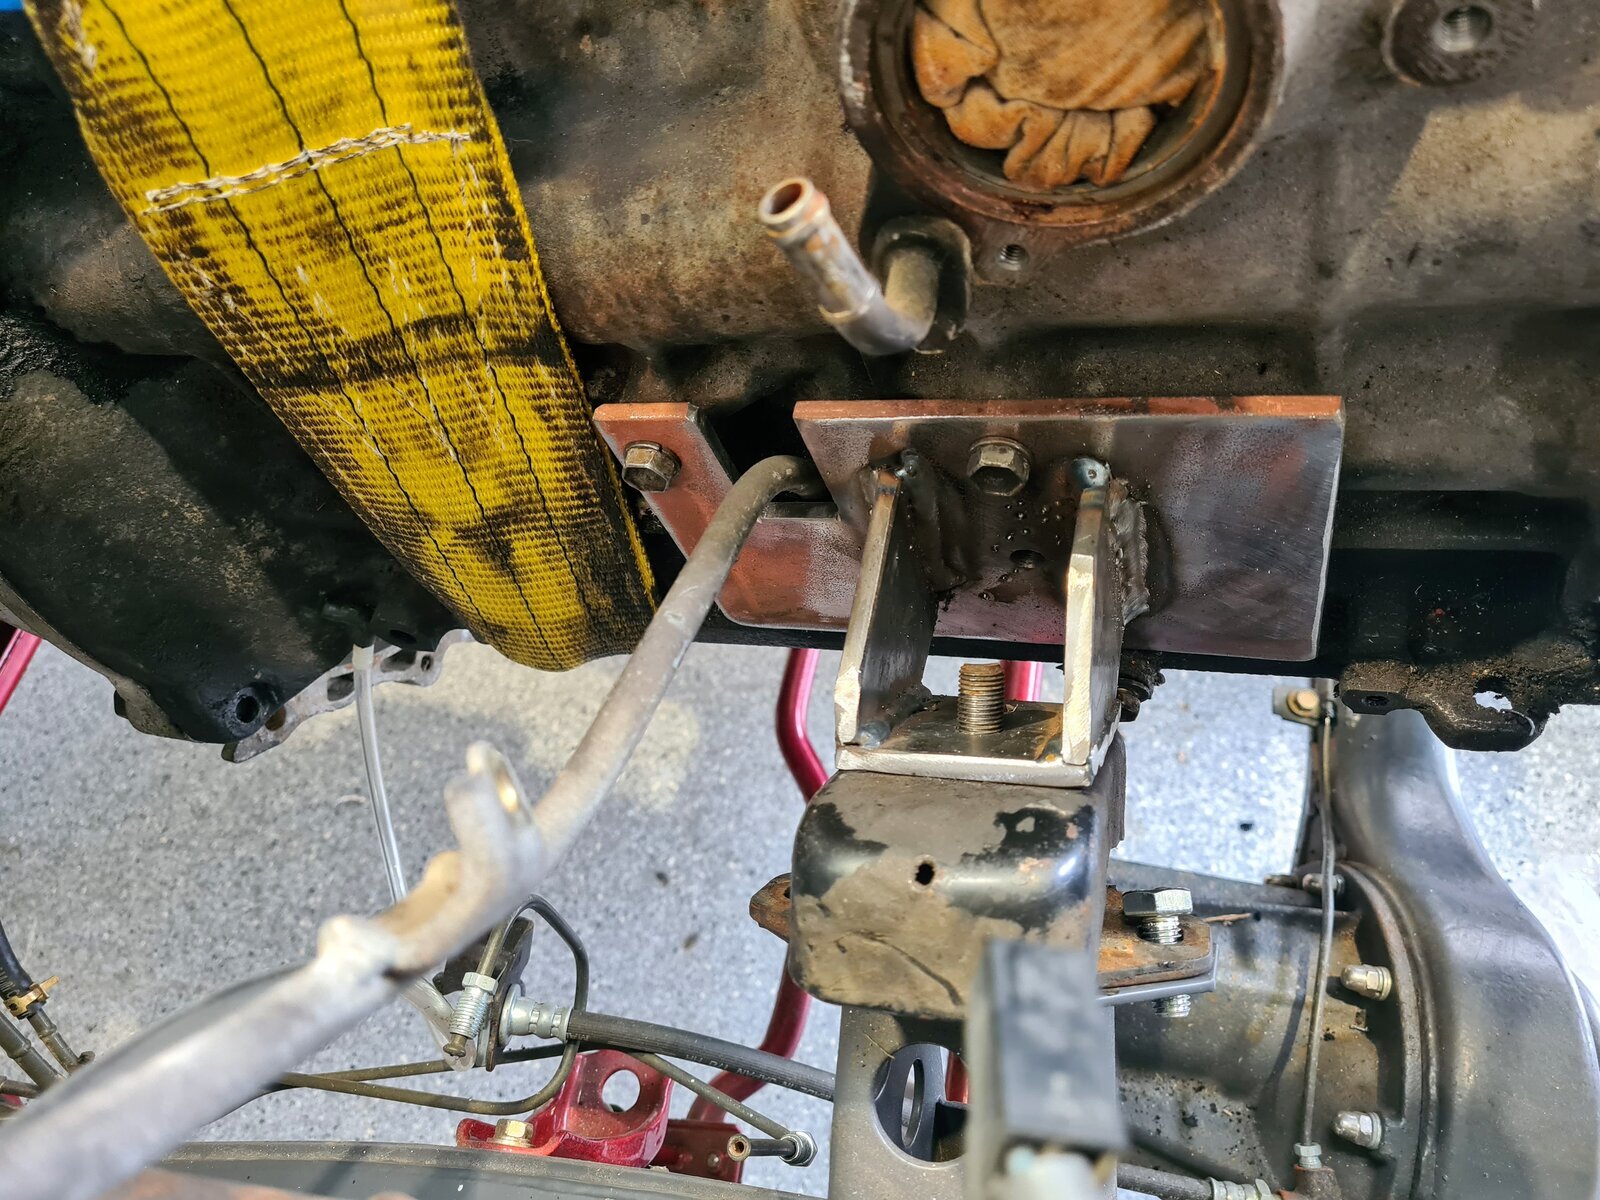
The 1kzte is mounted lower and further back , see picture of mocked up position
You have two options , move the position on the frame or make new engine mount brackets, I choose option two as the frame had already been powder coated.

In both cases I would recommend setting in your engine block with your transmission in place, get your engine centered and level,, as the originals mounts are cast there’s very little you can do with them, I did manage to reuse one of the brackets taken off the 2.4 engine and fabricated the rest from 6 mm mild steel(see pictures) my advise is to have everything in and lined up and tack weld in position regardless of which option you decide on. I also used hard cardboard to mock up the plates on the block

I will cover the fan shroud under cooling but again if you need to make up a new shroud as I did make sure you have the engine in the final position, locked in with the transmission as the slightest change in the angle of the block with throw out the shroud position as runs very close to the fan.

20220705_145950.jpgeng1.JPGeng2.JPGIMG_1898.jpg


Bell housing

The bell housing is very straight forward, use what was originally paired with the engine, it bolts straight to the 70’s gearbox . Do your best to get this with the engine.

Sump and oil strainer

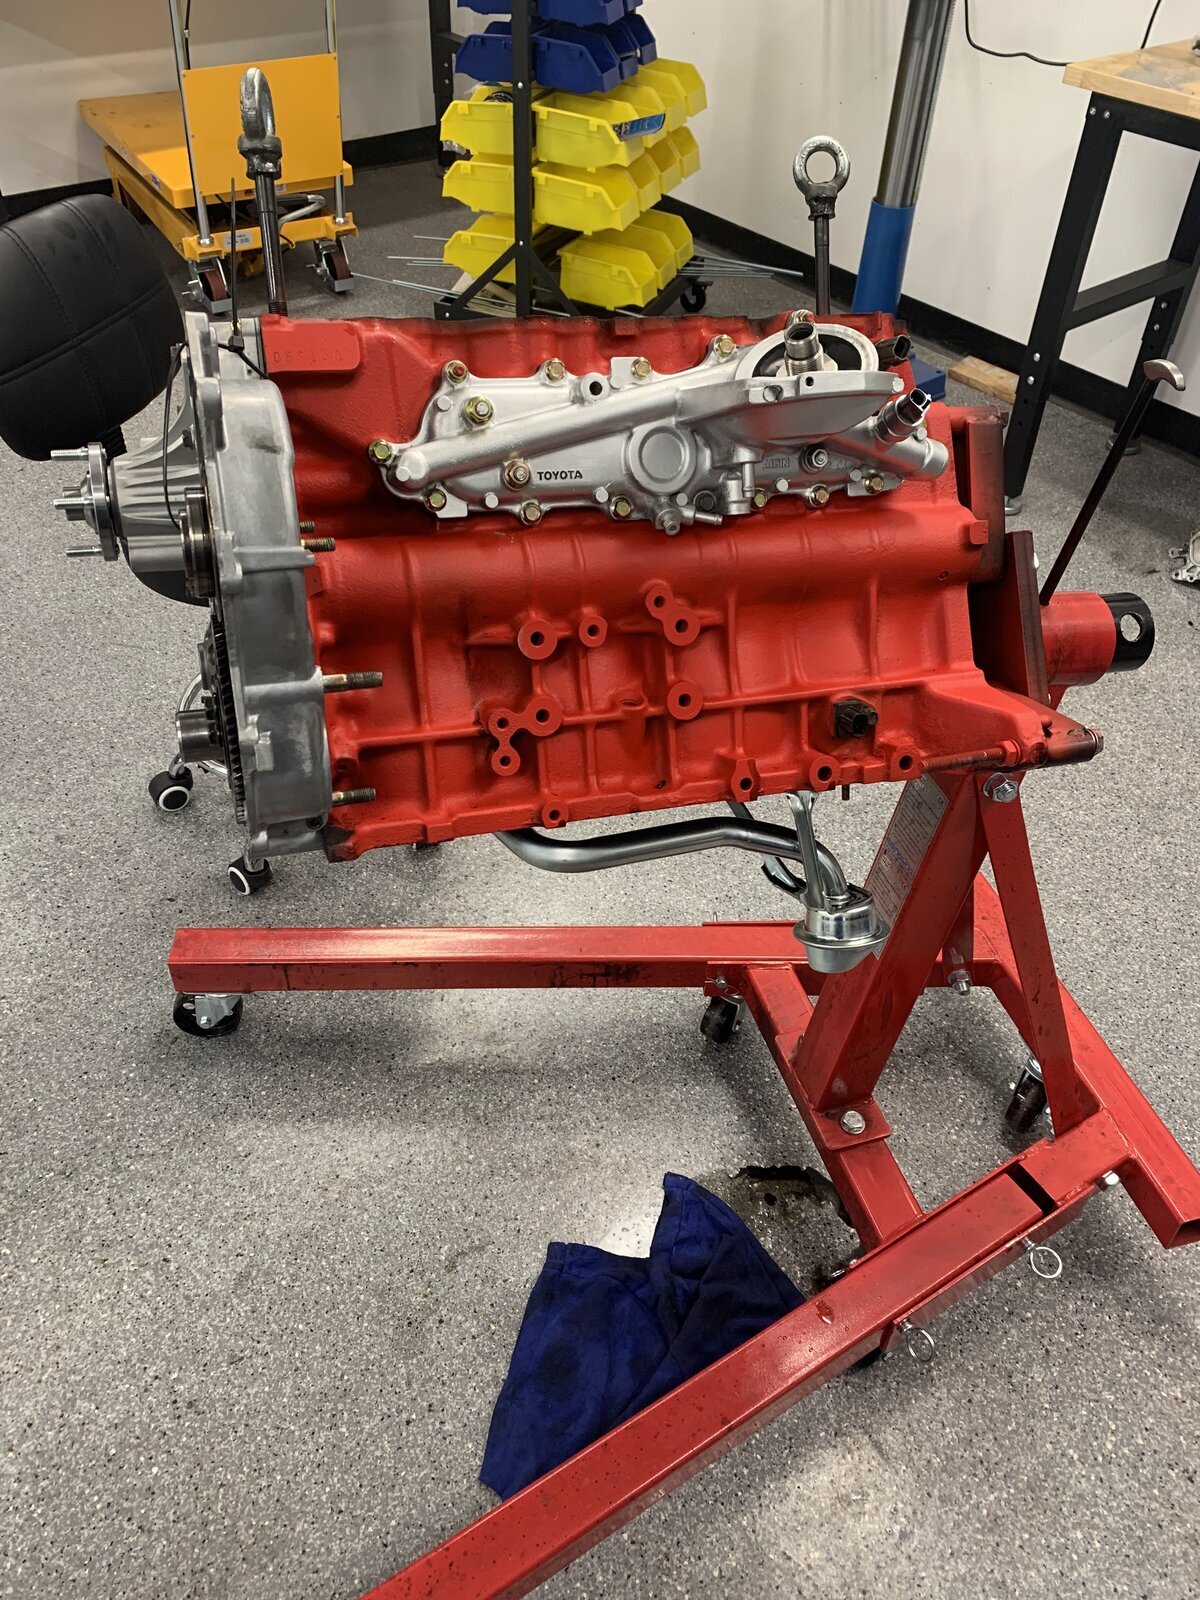
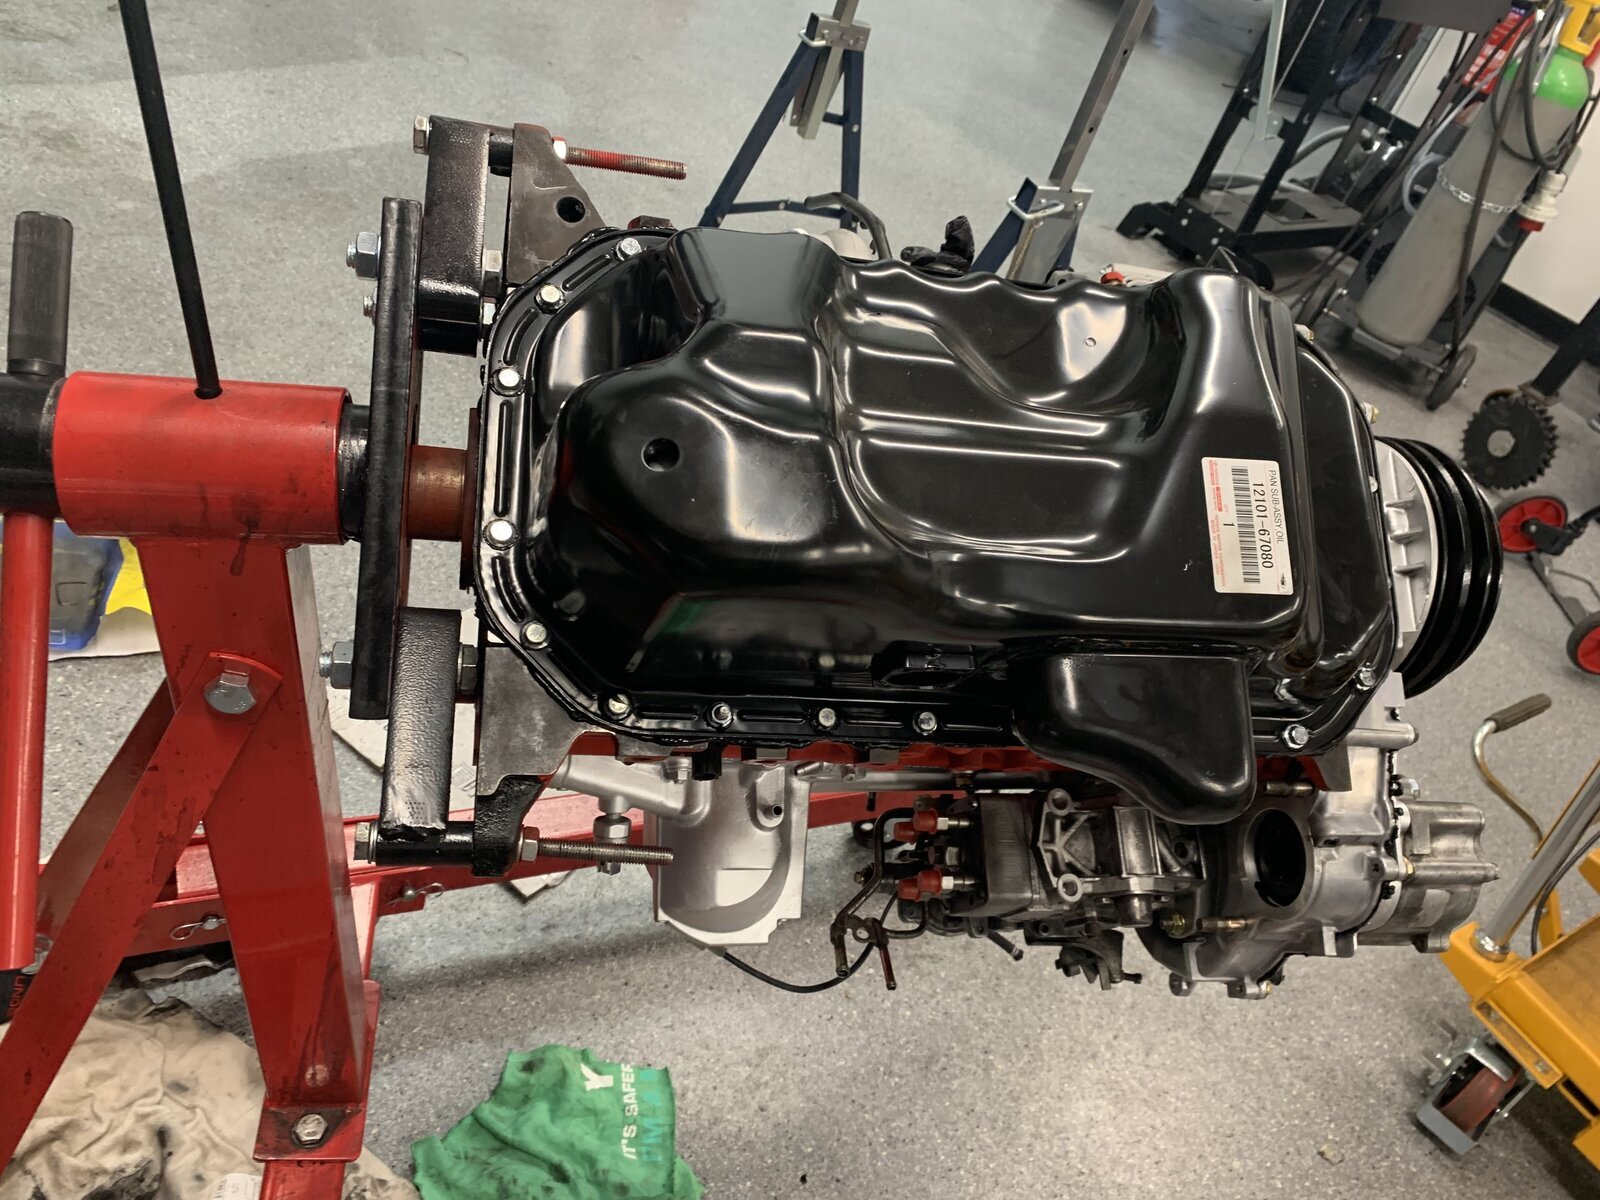
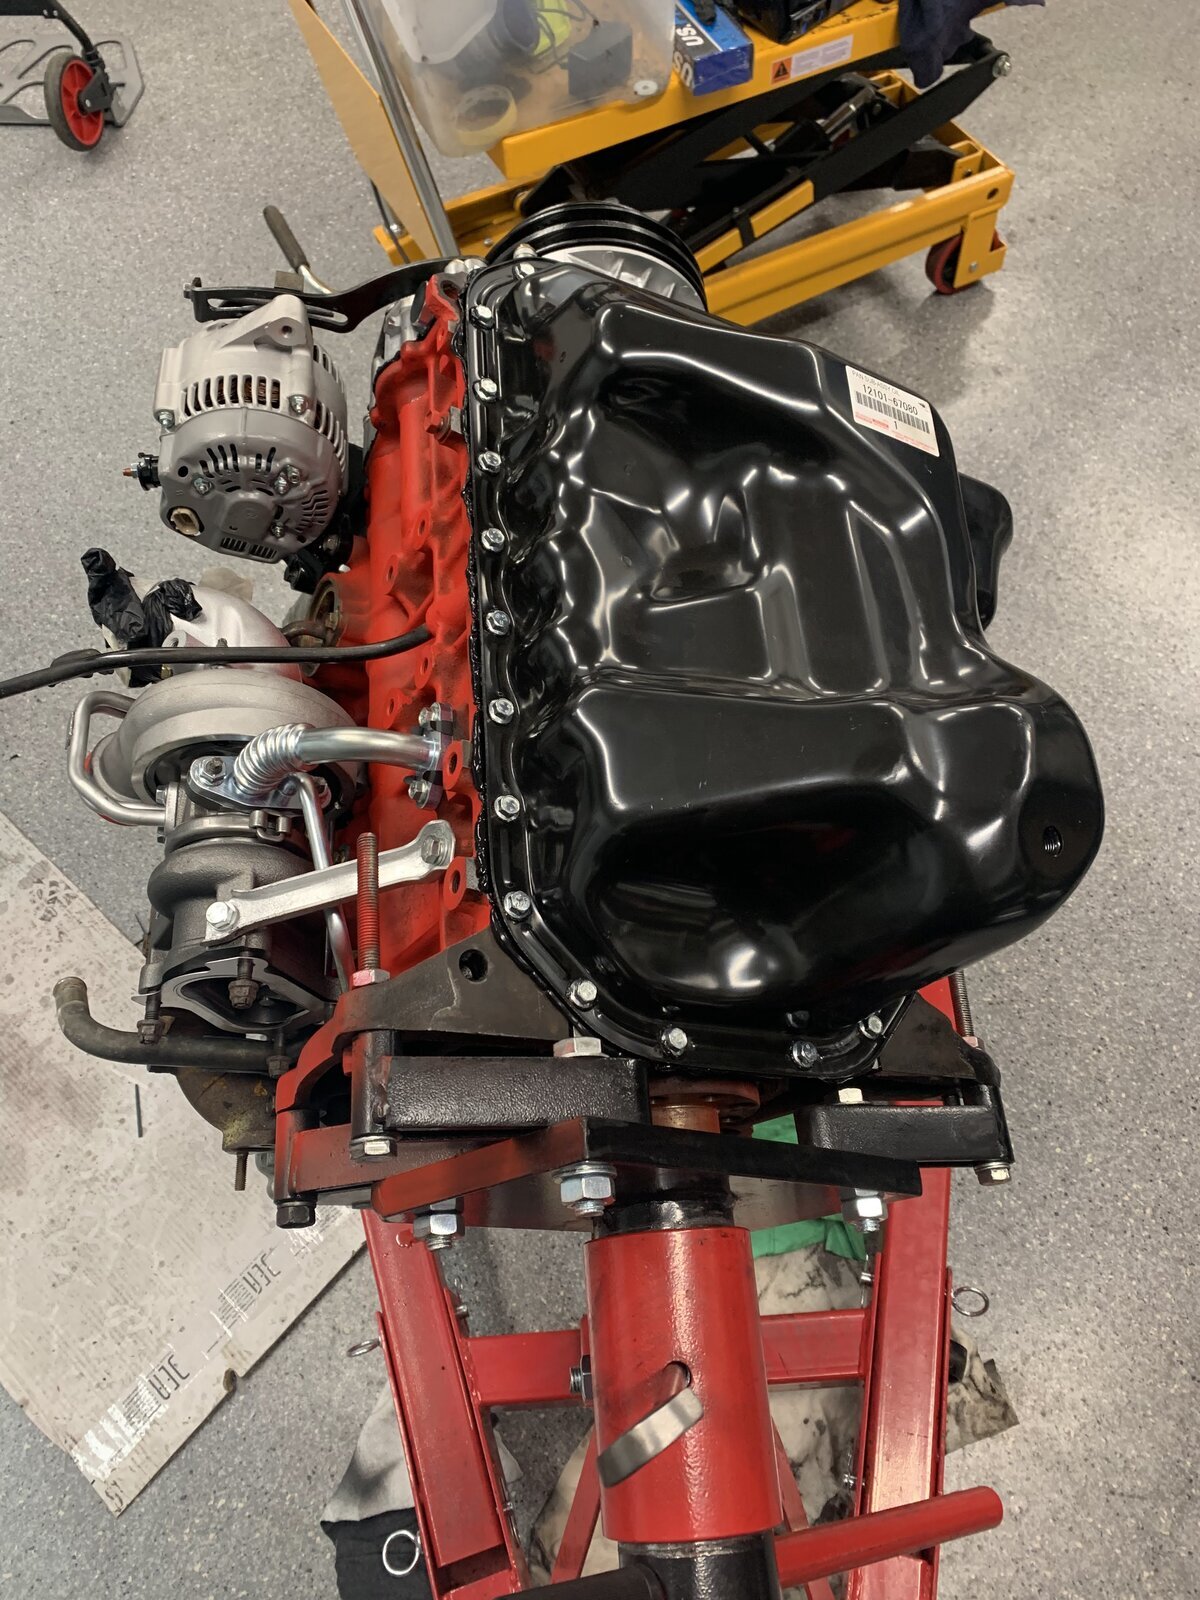
The sump that came with my engine was off a 90 series which will not work as it’s too deep towards the front of the engine, you need to find a sump and oil strainer from a
KDN 166 , Toyota hilux , Toyota surf 1996-2006 KZN 185.

Alternatively you can do what I did as I hadn’t time to go around scrap yards and purchased new one, I bought an original sump from KS international https://www.ks-international.com for £160.00 Toyota part number 12101-67080. The oil strainer I purchased directly from my local toyota dealer for €150 part number 15104-67050, a small tip when searching on the web for parts paste in the Toyota part number and search using images , it saves hours!
You will need to change the stud position for the strainer which is simple job

See pictures for reference

IMG_1291.jpgIMG_1320.jpg

IMG_1319.jpg
 
Exhaust

I just remembered to add in details about the exhaust
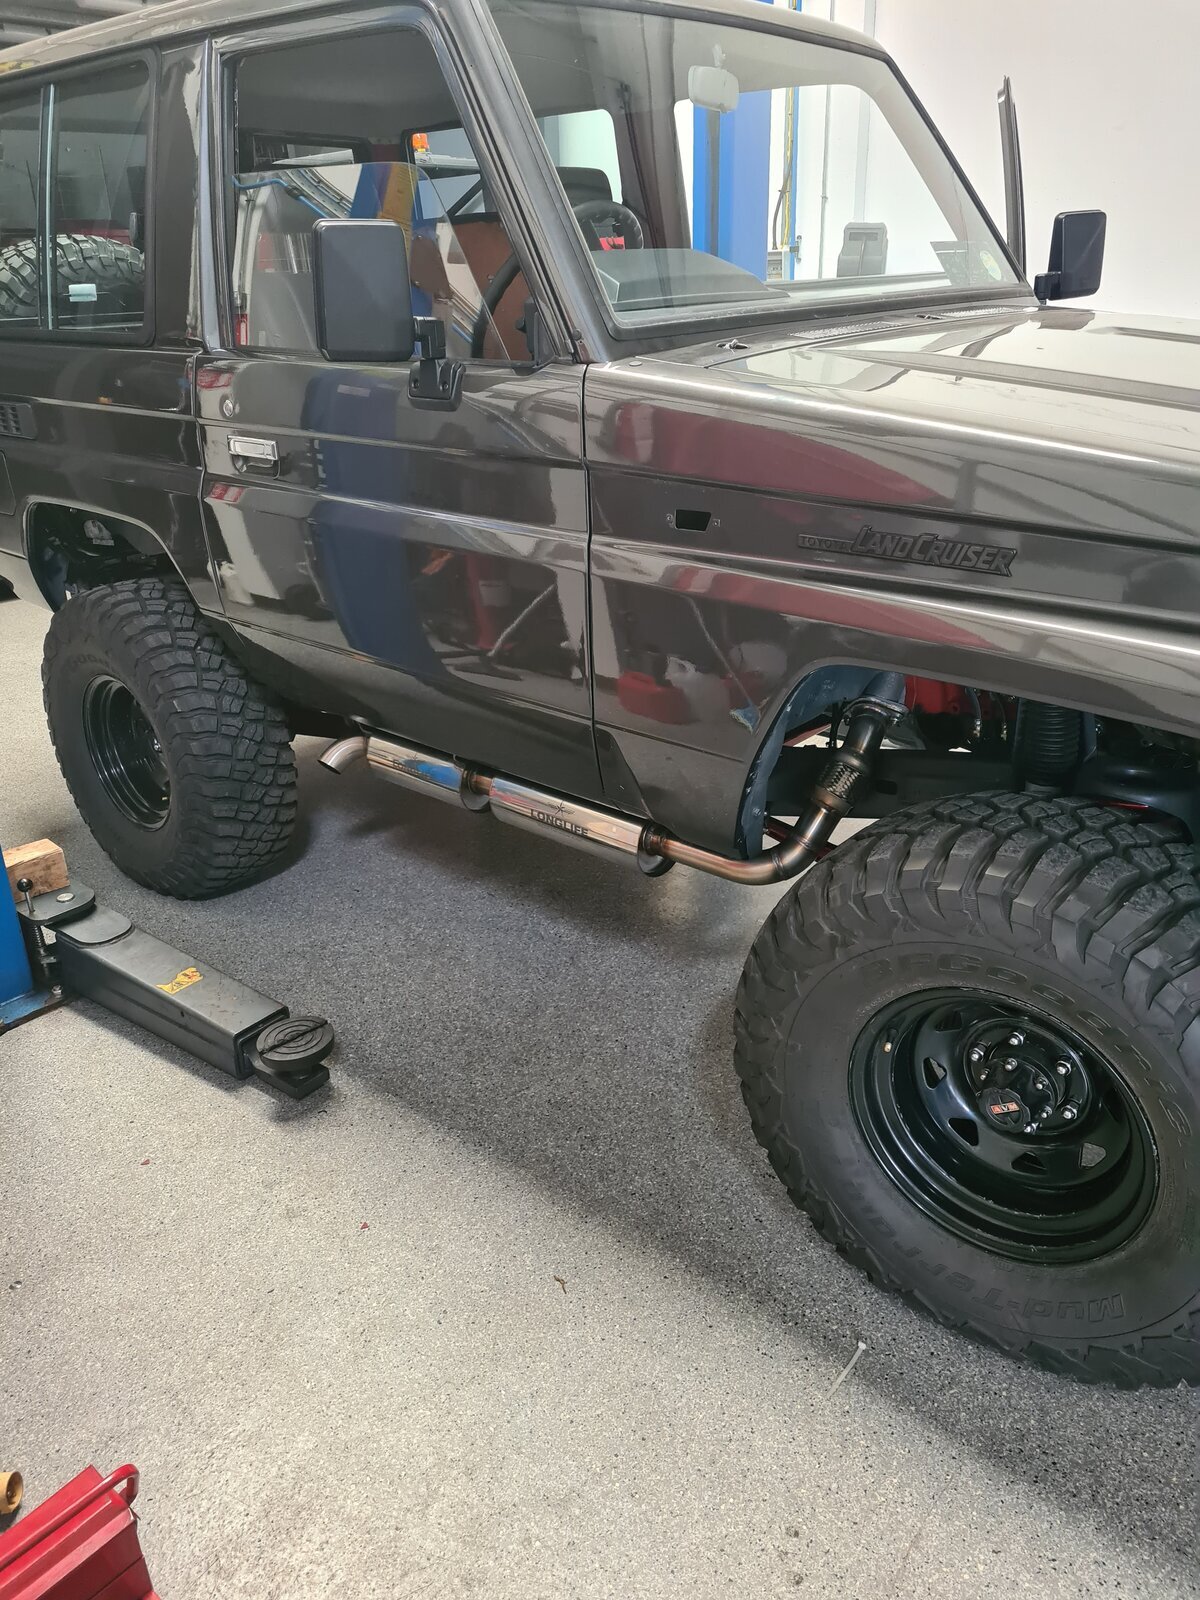
The Turbo dump pipe came from a company in NZ Product categories EXHAUST SYSTEMS Archive | Kaiapoi Repowers - [Leaving Land Cruiser Club]. I told the what it was fitting which must be common in NZ as it worked out perfect in every way, by way of coincidence my son was visiting from NZ so he was used a courier
The exhaust itself was custom made, not to everyone taste but I think it suits the look , if I can figure out how to put up a video you can also hear it, sounds like pig!


20230623_140327.jpg
 
Don't like the adverts?  Click here to remove them
Wiring

Throw away the complicated wiring loom from the donor 1KTE engine if it came with one , just hold on to the some of connectors to the likes of sensors , oil and temperature etc
Your really back to the bear minimum here so just extend the original wiring loom from the vehicle to reach the different locations on the block , your really only left with the following

Oil pressure
Temperature sensor
Fuel pump fuel cut off
Engine pre heat (glow plugs )
Alternator ( new alternator should have a built in voltage regulator )
Starter
 
Cooling system

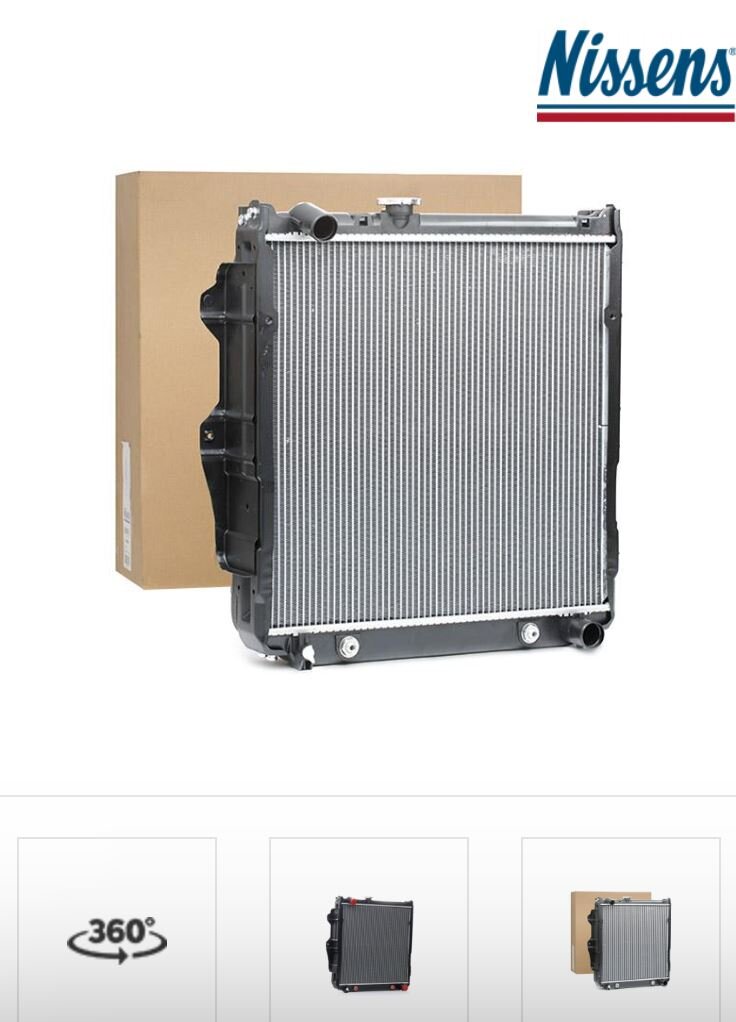
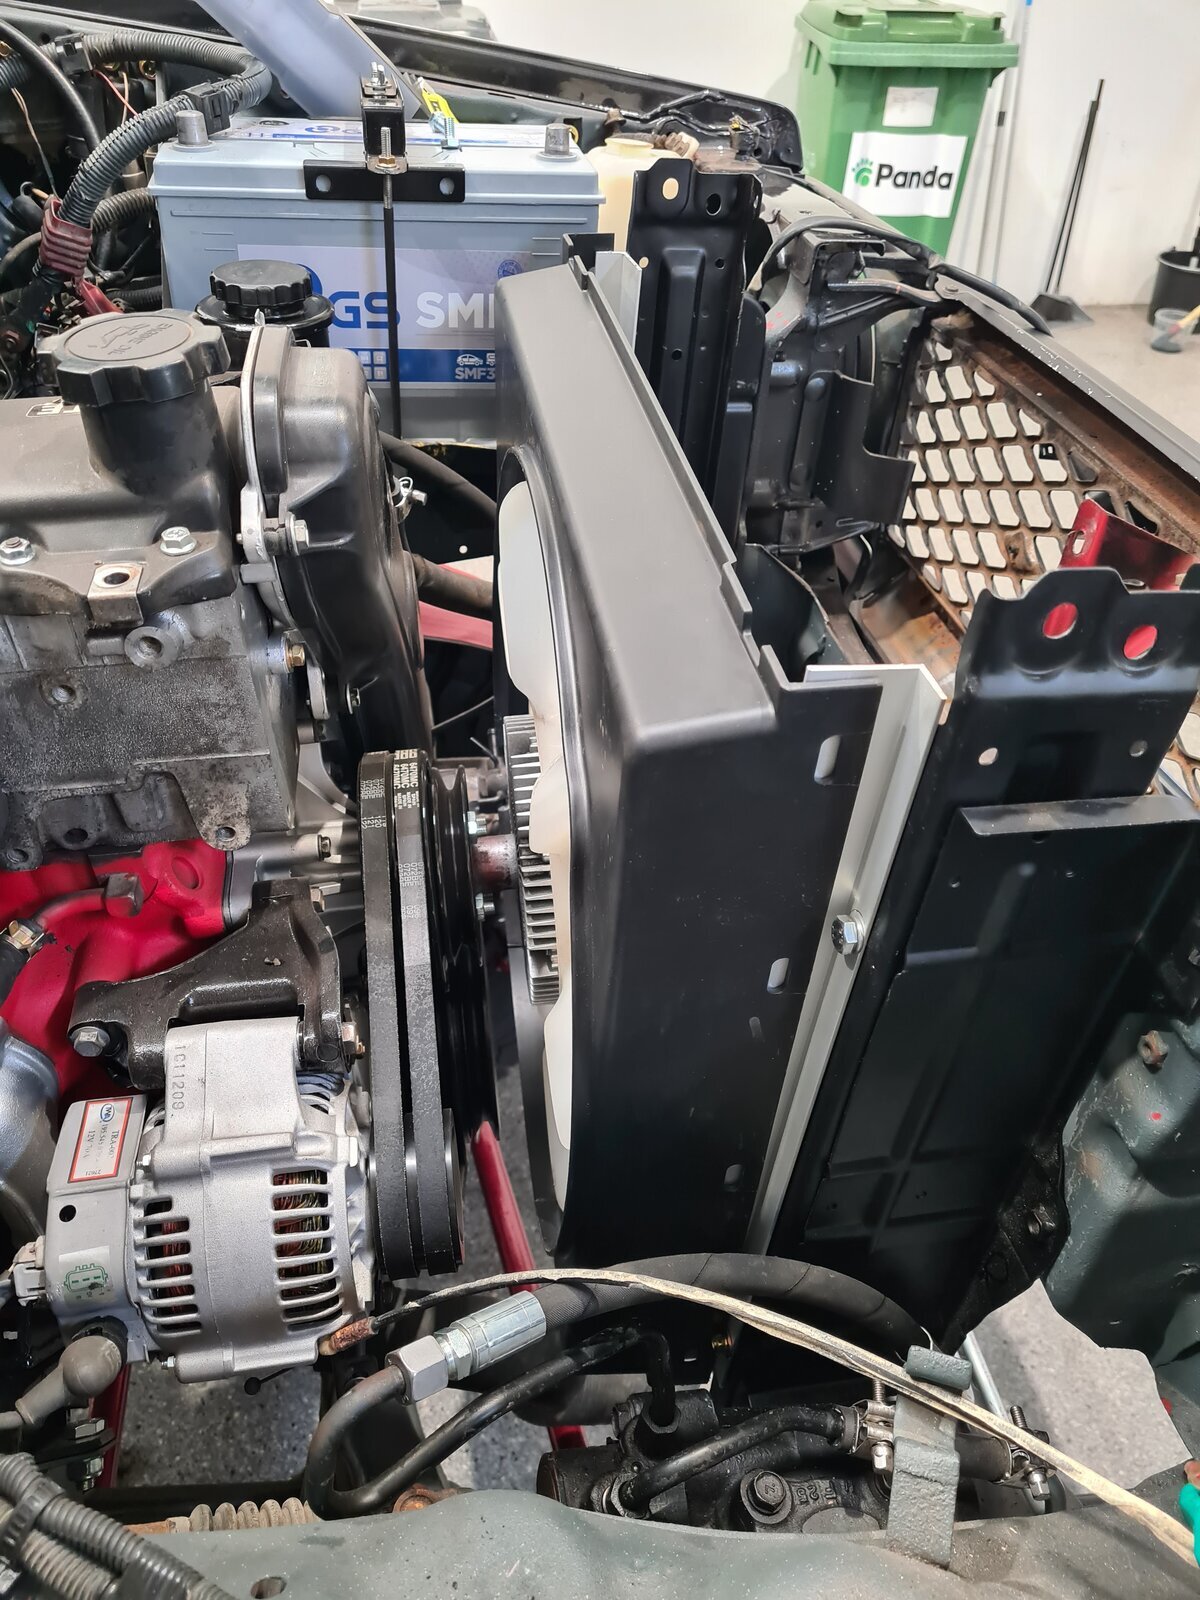
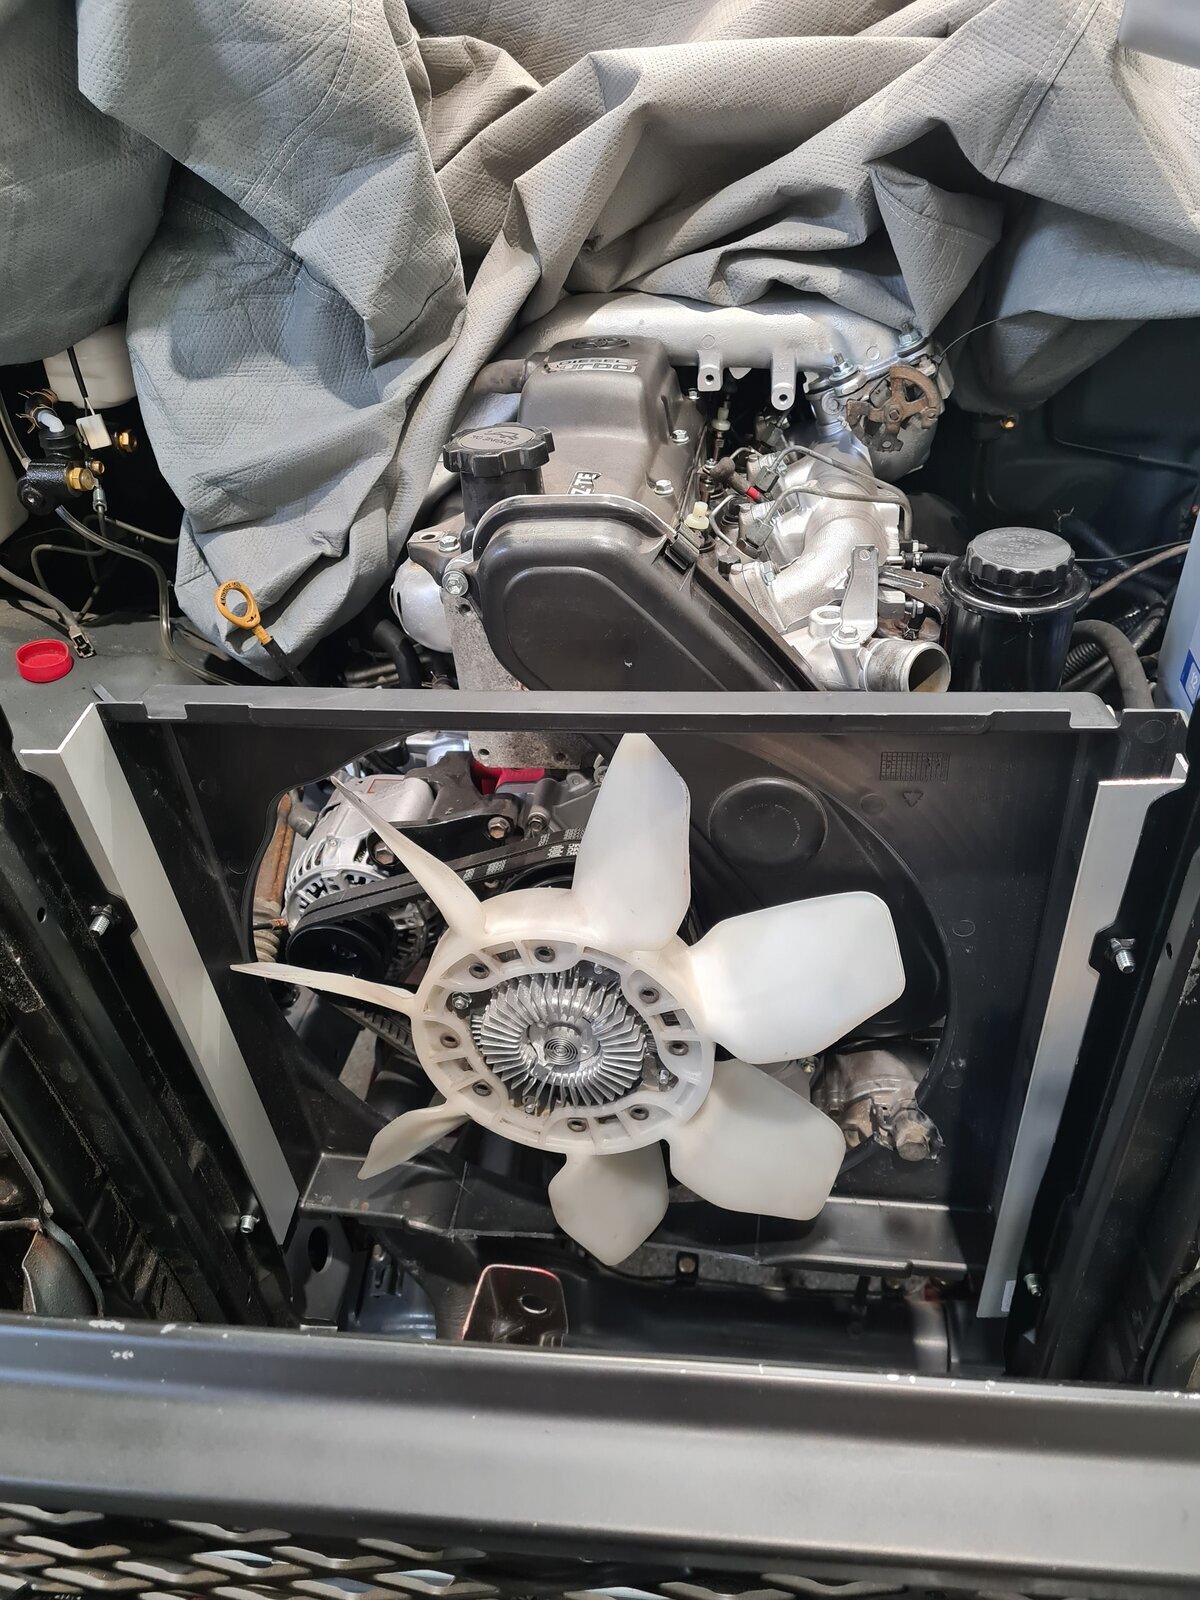
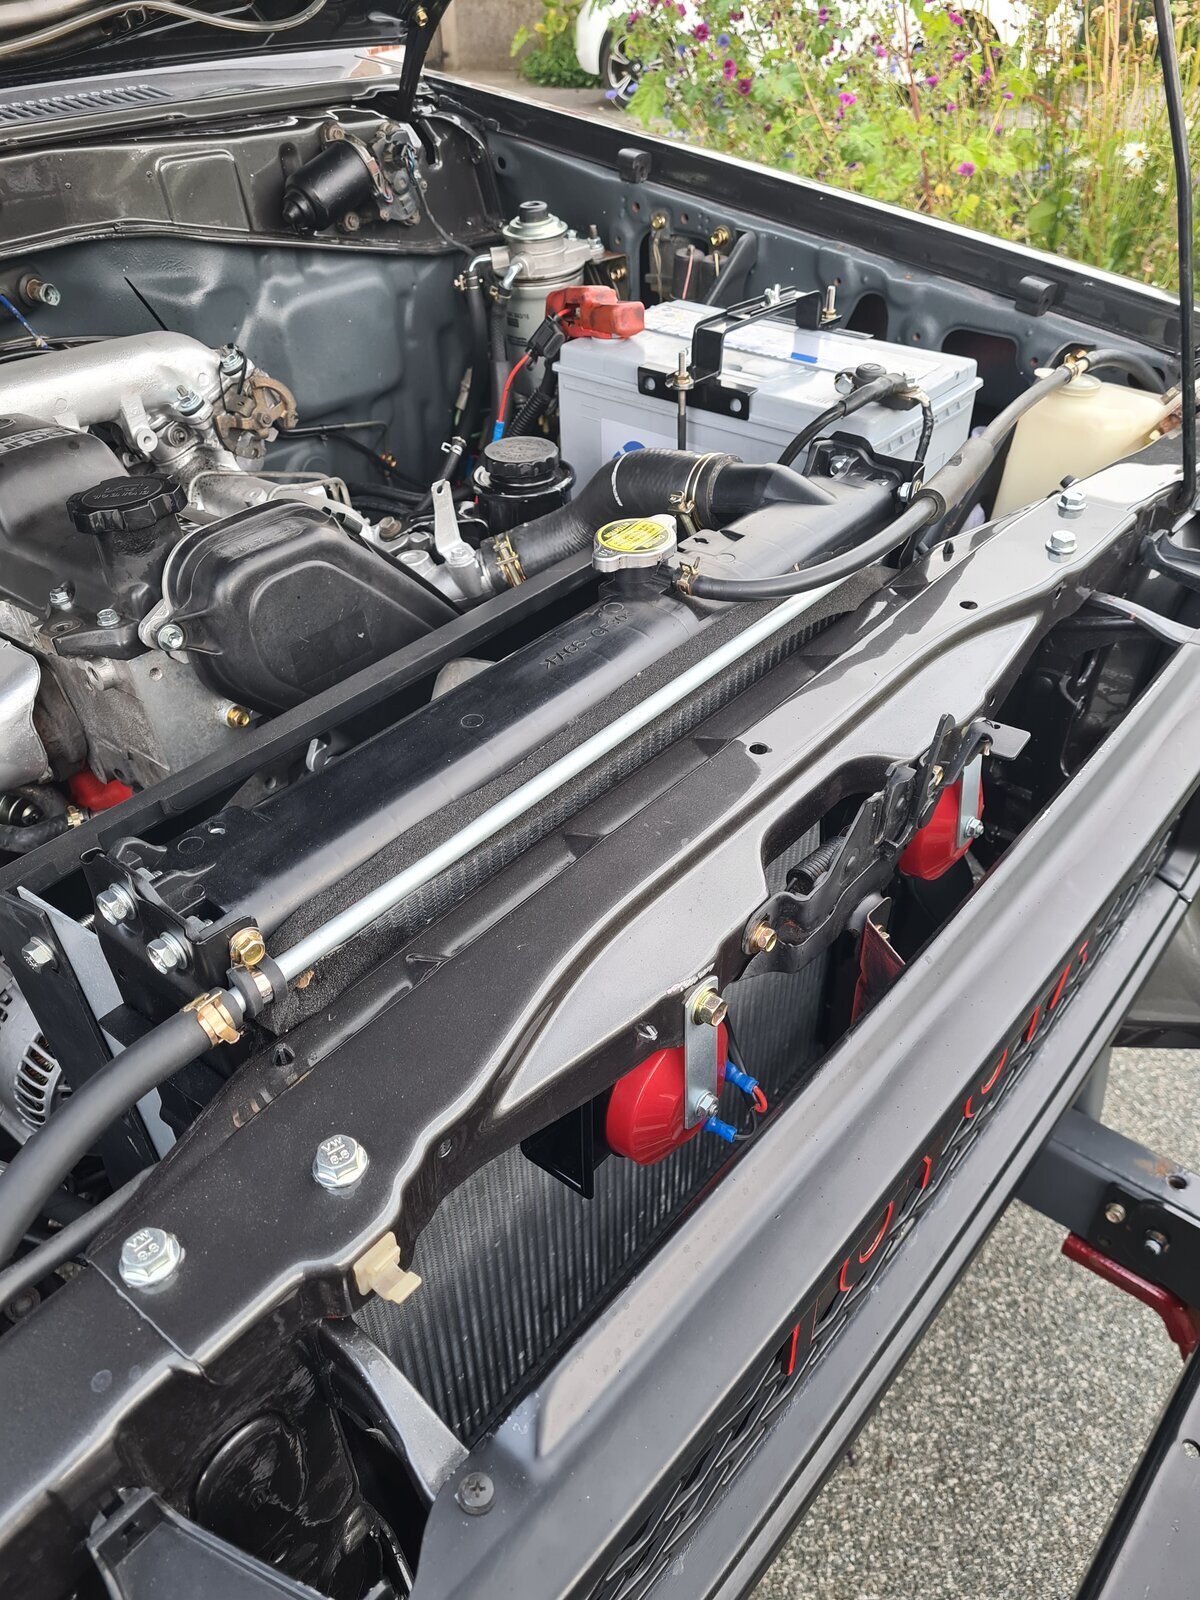
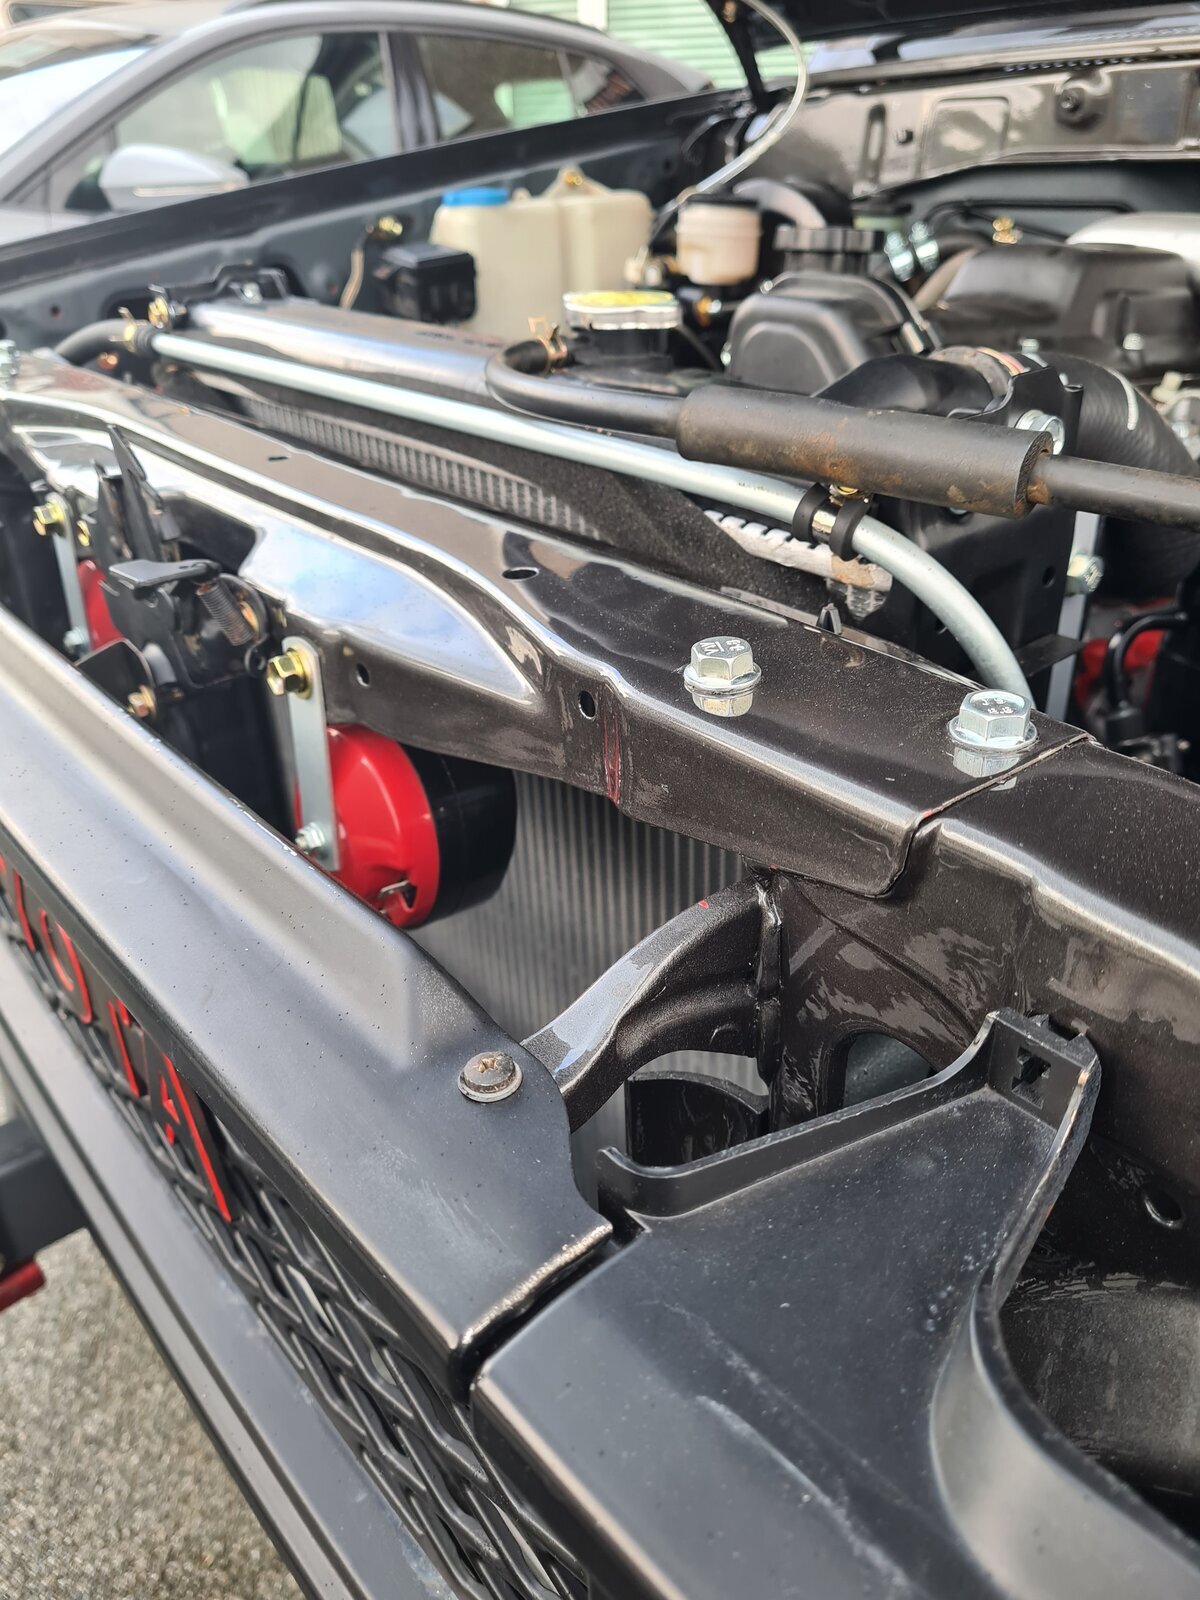
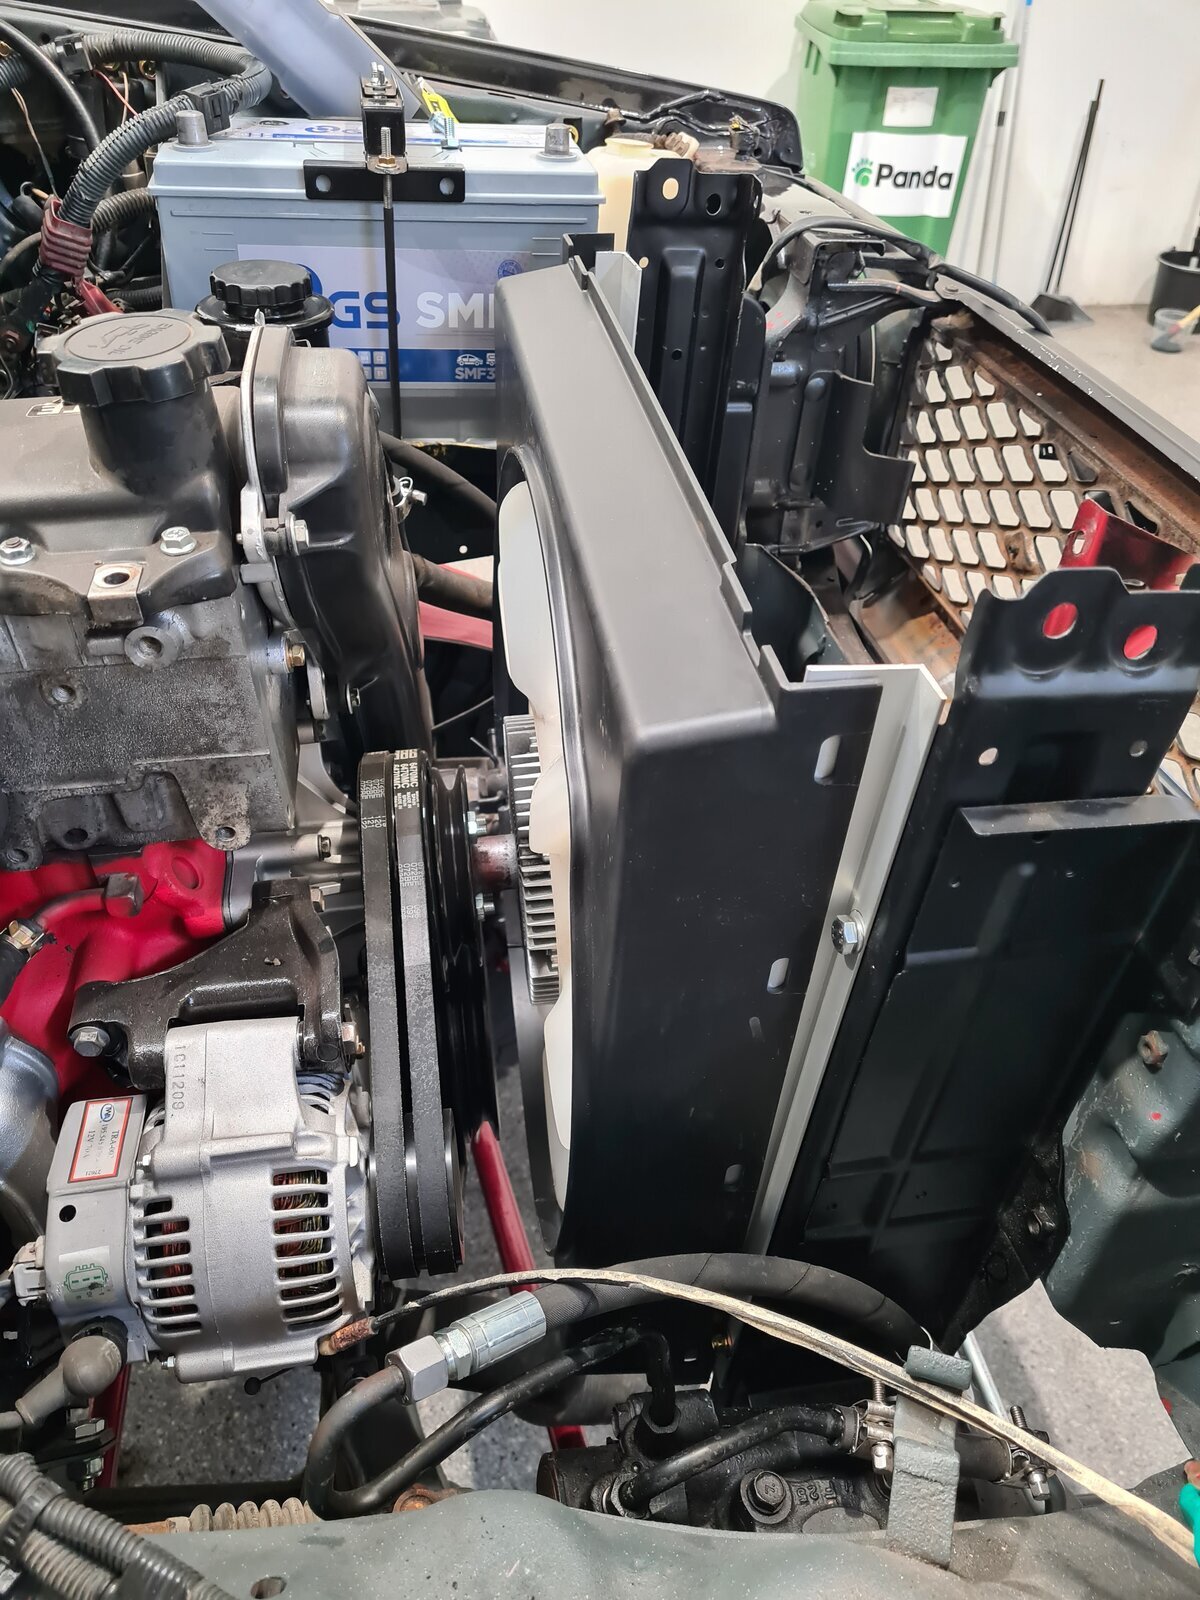
The cooling system upgrade is made simple through the fact that the later model 70 and Prada incorporated the 1kzte 3litre engine , by this virtue the radiator was upgraded to suit , if your searching second hand you’ll need to find a post 1990 prada or 70 series or alternatively you can purchase an after market radiator online by searching the number below , the fan shroud will also a require a change as the new rad and position of the engine will have changed, also lower rad hose is different

The shroud was a pain in the backside as I couldn't get one new or secondhand, unbelievably I somehow matched through an image only, a shroud off a Massey Ferguson which I bought of the net for €55, see link, it still took a lot of messing around but made it work, I still need to cover in the top section but it fits, remember when measuring up for this shroud make sure the engine and transmission are fixed in there final position as any change to the angle will cause it rub.

Radiator NISSENS 646862, Toyota 16400-67020

Radiator shroud 16711-67020, MF Radiator shroud MF Brazilian - [Leaving Land Cruiser Club]

Lower radiator hose 16572-67020


rad 1.JPG


20230608_135505.jpg20230608_135546.jpg
 
Power steering

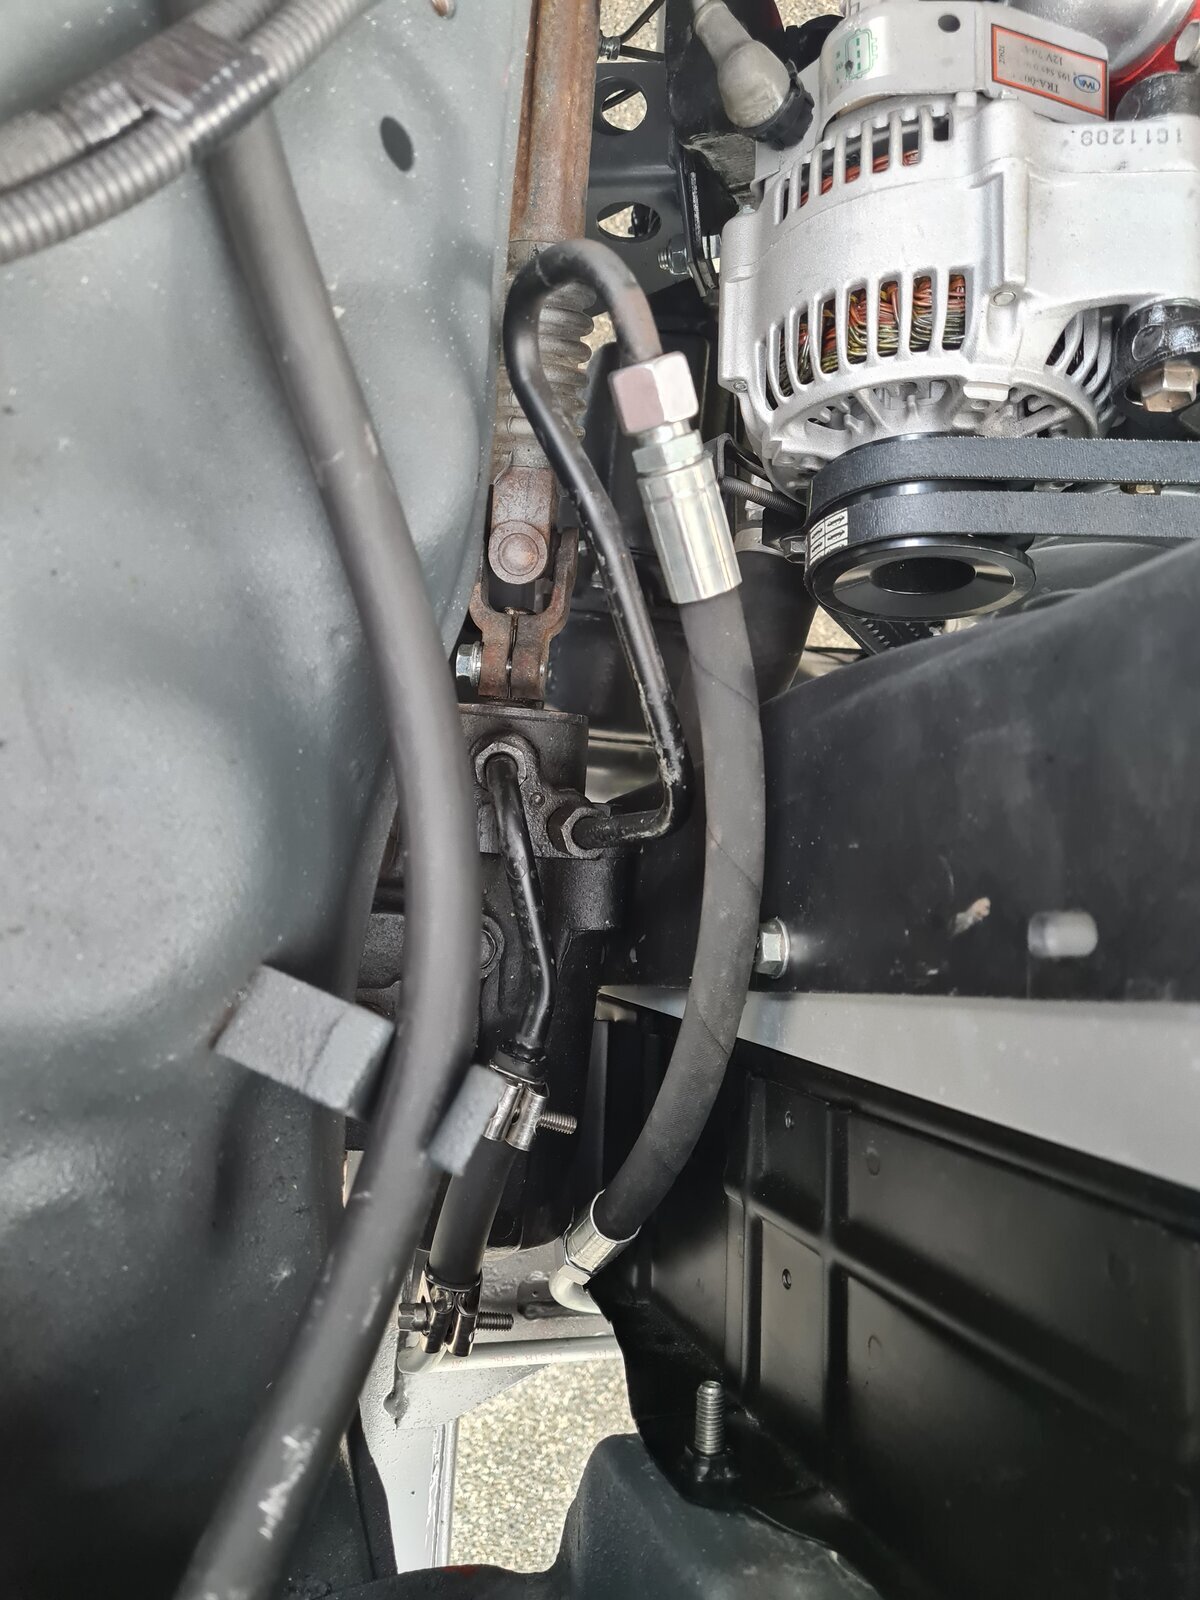
The power steering pump is configured differently on the 1kzte engine compared to the old engine, the main difference is the power steering pump is located on the opposite side of the block , similar to the radiator if you can find the pipe work off the a post 1990 prada or 70 series fitted with a 3ltr engine it’s as simple as swapping over the pipes , the chances of finding these pipes are slim so you will need to do get the pipes modified by your local hydraulic pipe provider as I did, I have included the Toyota part number and drawing of what new pipe layout should look like , I have also included photos of the modified pipes done by my hose guy.

Power steering tube assembly 44410-60360

Heater hoses

Very straight forward but made actually easier as the piping of the new engine are just below the heater valve

Brake vacuum pump

Like the PSP the vacuum pump is now located on the opposite side of the engine block, I got some solid 10mm internal sized pipe to run across the top of the radiator , then connect the solid pipe with rubber to the pump and servo

20230704_184223.jpg20230704_184229.jpg20230704_184305.jpg20230608_135505.jpg
 
okay I think that's about it, there's lots more photos if required or post some questions, hopefully this post can help another project
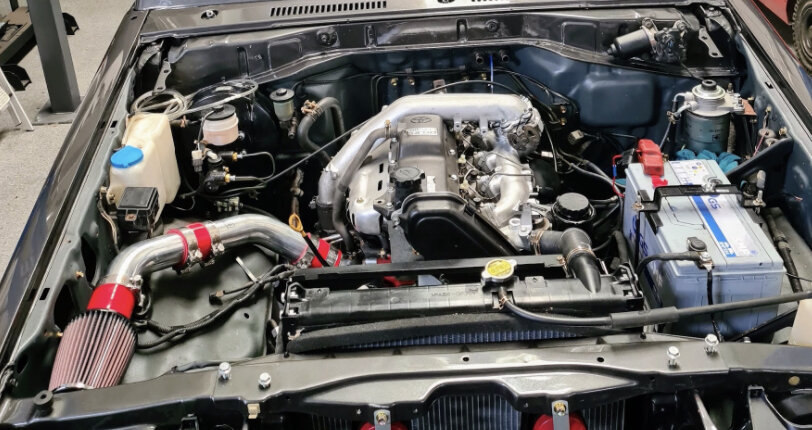
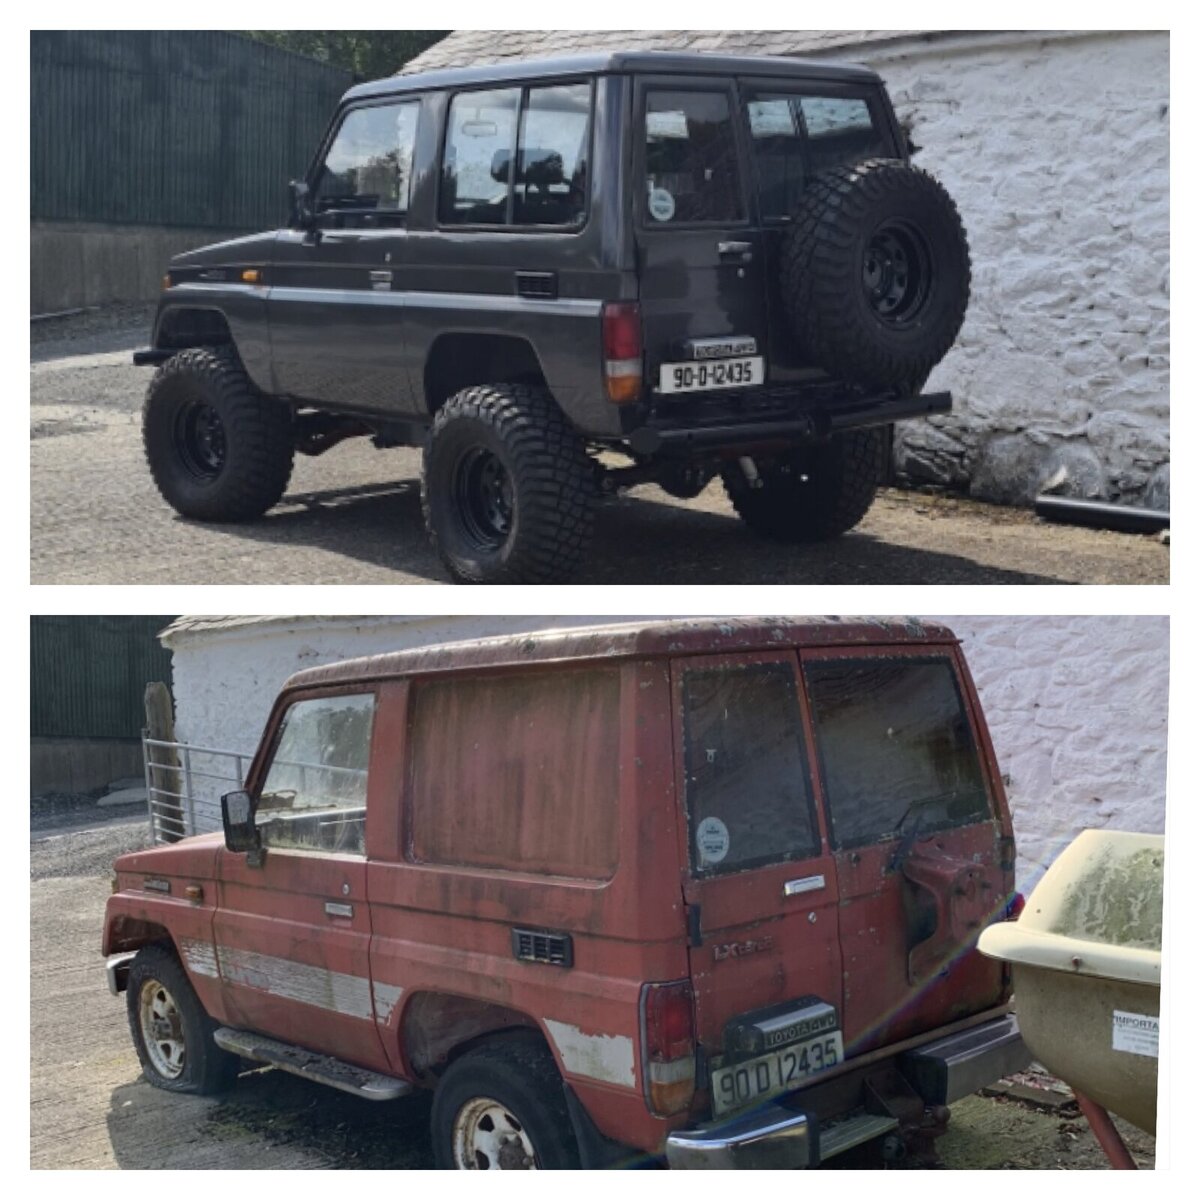
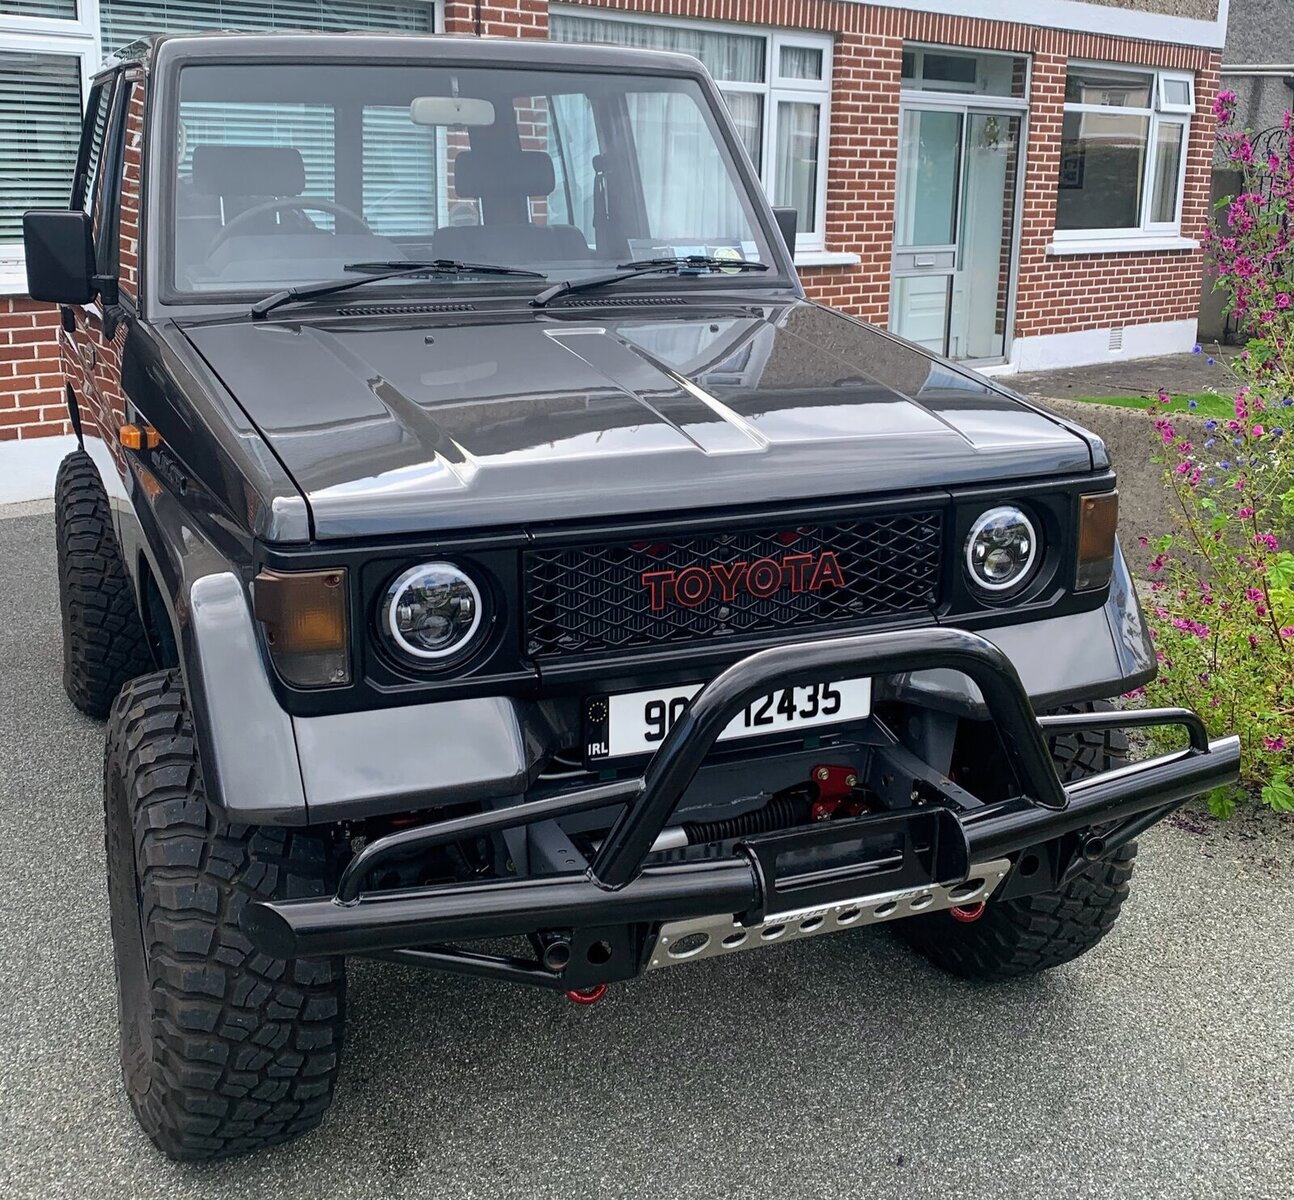
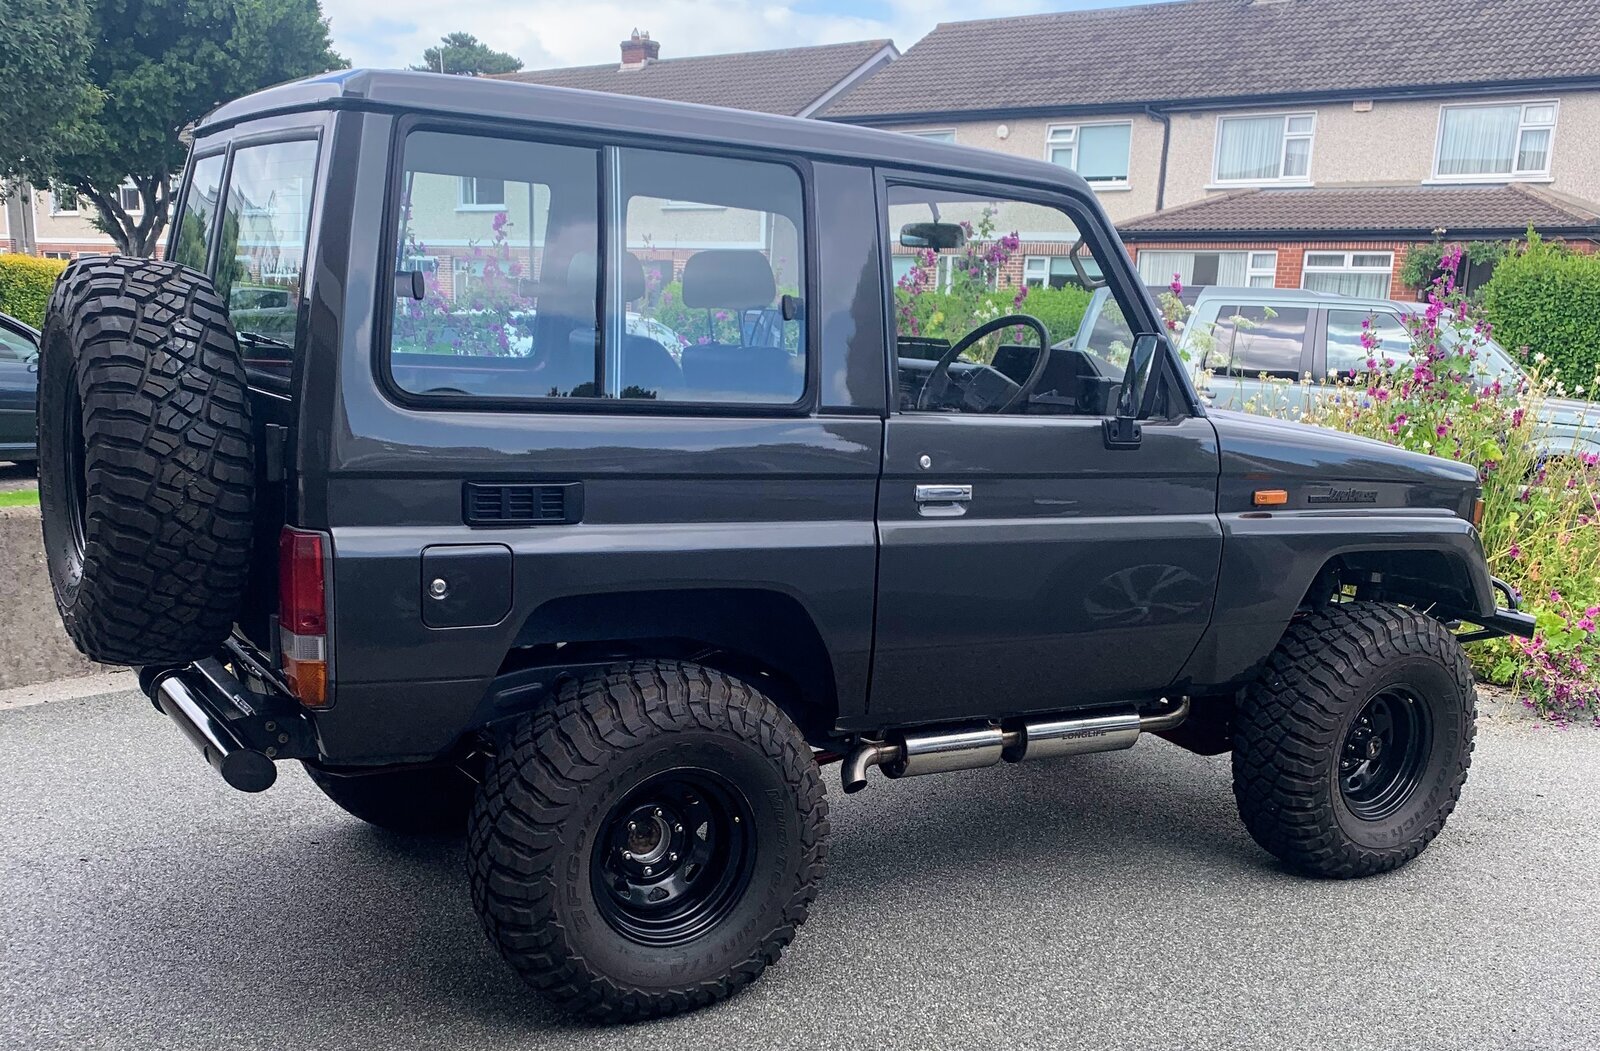
I'll leave with some pictures of the completed project, Enjoy and best of luck with your Landcruiser projects!

IMG_1924 Copy (1).JPGIMG_1923.jpg
 
Thanks for sharing this - awesome build, great attention to detail.
 
Back
Top