Don't like the adverts?  Click here to remove them

arduino & touchslide

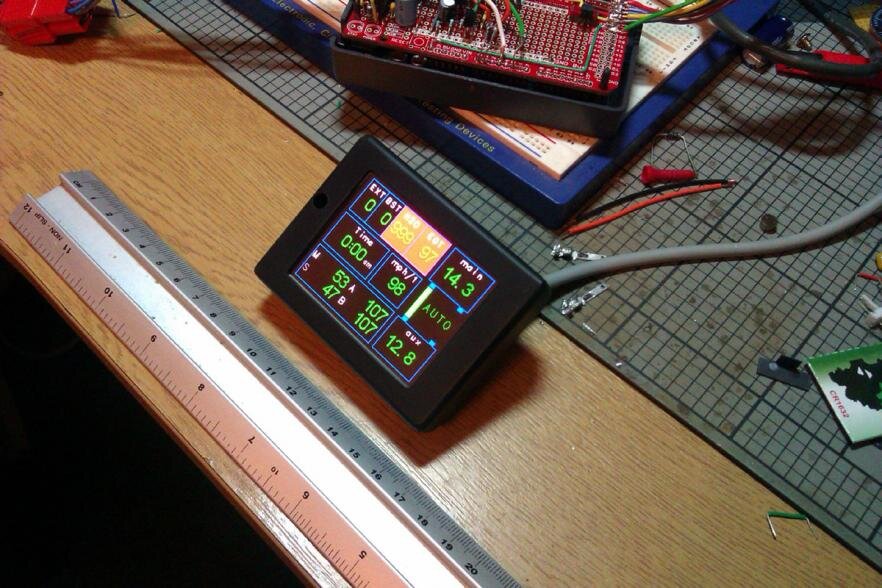
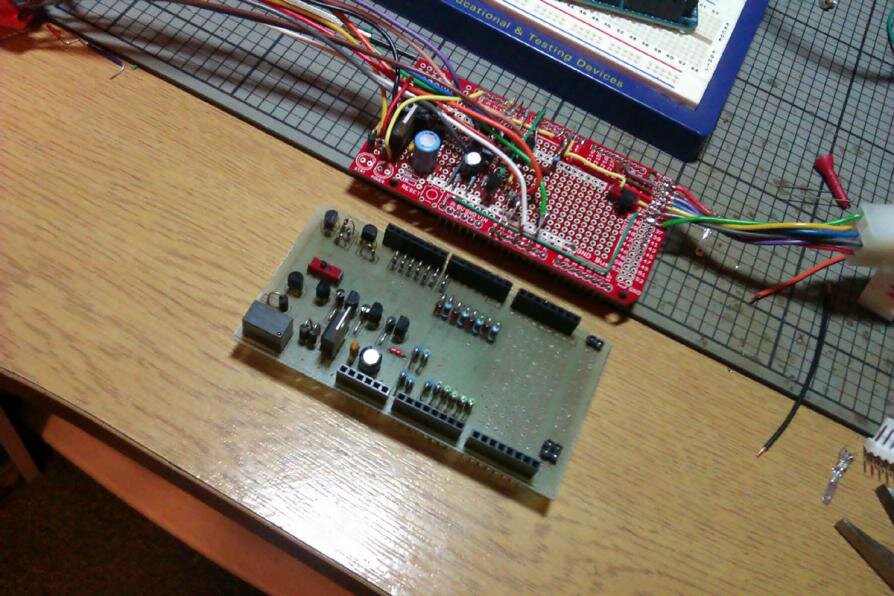
Building up an interface board for the Mk II, with slightly different power supply logic and different sensor requirements so the ATF monitoring is replaced with EGT and I've added a boost sensor and squeezed that onto the display. Still got to sort out cold junction compensation for the EGT for that to be up and running but the boost sensor input and processing is done. The petrol / lpg trips are just relabeled as Main and Sub with a feed from the sub tank switch so it will track usage from the correct tank. Bit more soldering to do and an enclosure for the display to sort out before it's ready to put in the 80.
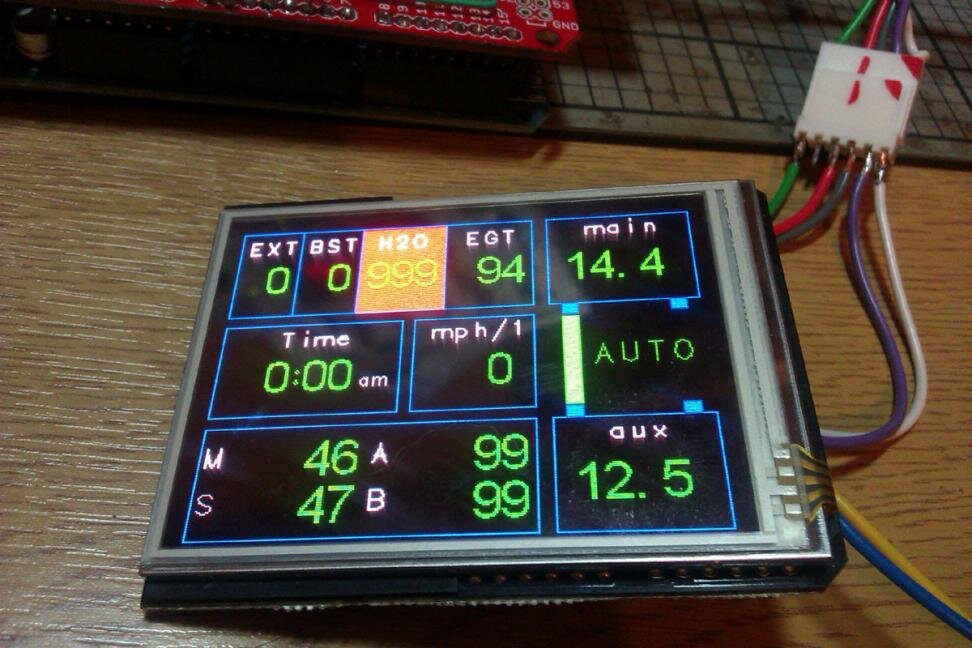
IMAG1306.jpg
 
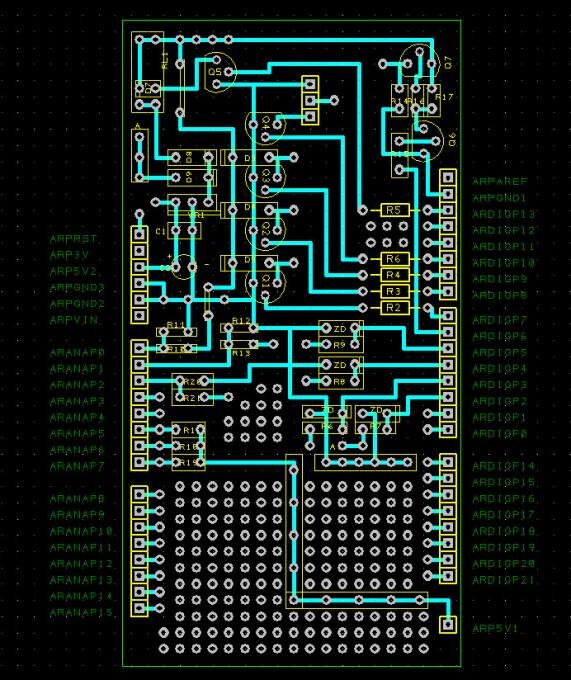
Been playing in DesignSpark to come up with a PCB design for the interface board to make it easier to put together and make extras or revisions. I'll have a go at making a PCB soon, not done that since I was at school, what could possibly go wrong :shifty:
interface1.jpg

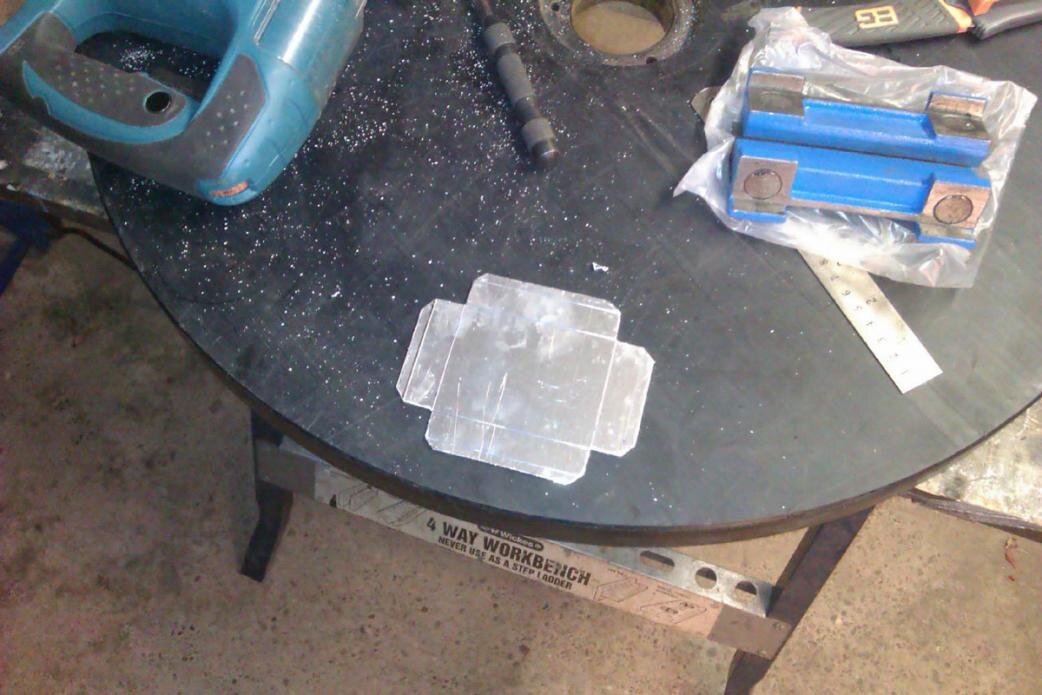
Also had a play at making a box for the screen this evening. Marked up and trimmed a bit of aluminium plate
IMAG1308.jpg

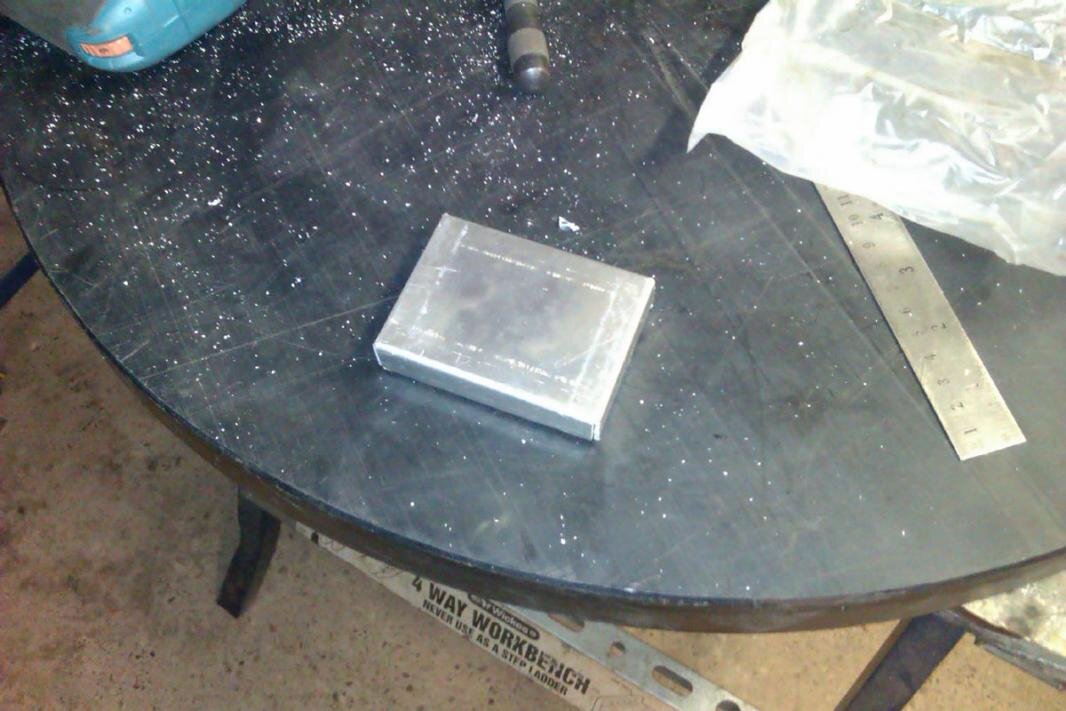
Used a little folder in the vice to fold it into a box
IMAG1309.jpg

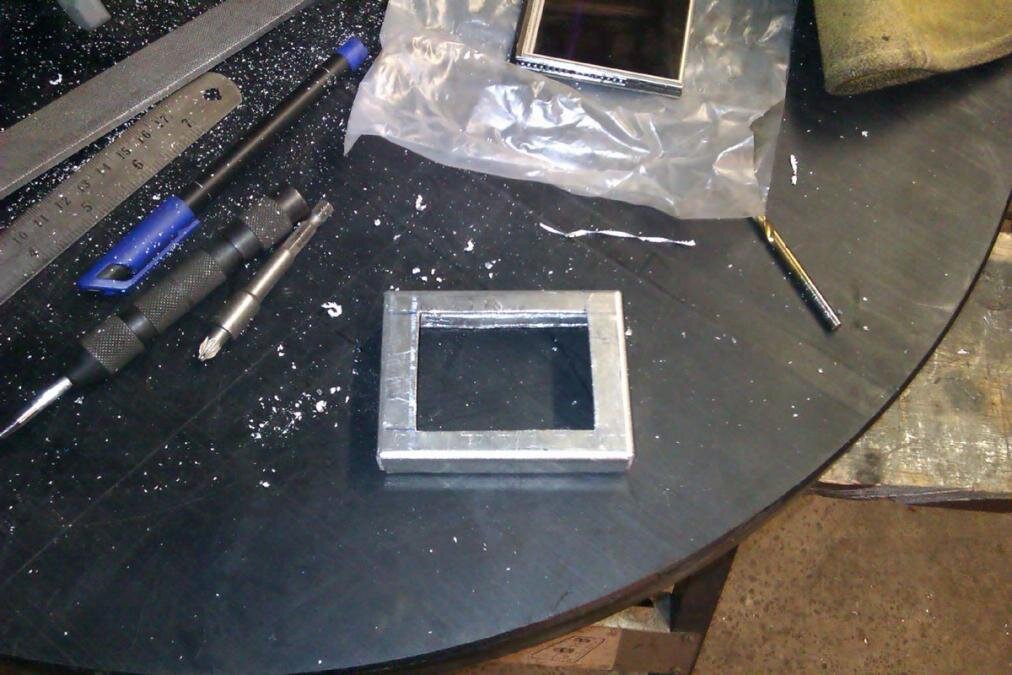
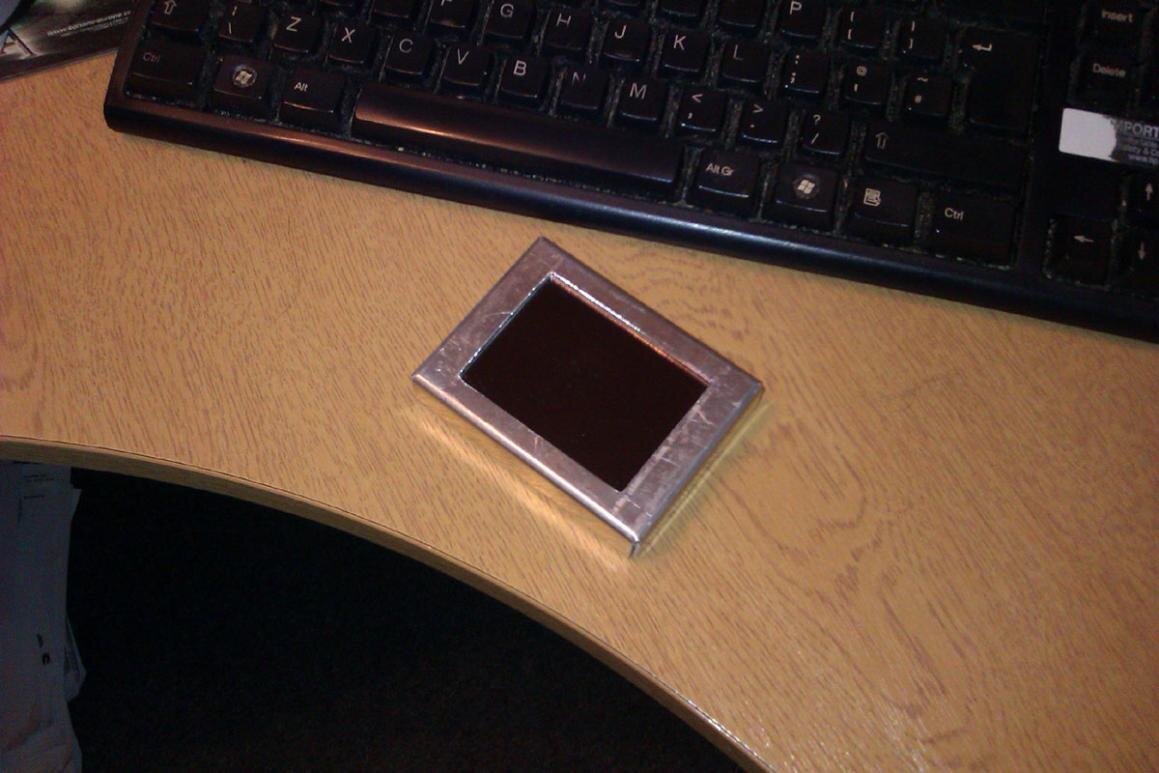
Cut a hole in the front
IMAG1311.jpg

This one was just going to be a bit of an experiment but it's turned out good enough to use with a bit more trimming, a back and a lick of paint :icon-smile:
IMAG1312.jpg
 
Shouldn't be too much of a problem Andy, so long as I don't splash the acid everywhere :lol: Lot of holes to drill though so I may chicken out and use a pcb fab place or I could just carry on using the pre-made project board I have been using till now as it doesn't look like anyone else is going to have a go.
 
Jon, I have a UV light for making the boards if you wanted to use that (You coming down for the electrical thing?) Another way is to use laser printer, glossy magazine paper and an iron.
Making the board is easy (after some trial and error) - drilling the holes is a pig.
Don't bother with HSS bits - if you're using glass fibre board, the 4th hole onwards will be burnt through rather than drilled. HSS gives up quickly.
Get some TC bits of fleabay and a drill/drill press for doing the holes. I did about ten by hand before I lost the will to live.
 
Don't like the adverts?  Click here to remove them
Thanks for the offer, yes I'll be at the 101 thing, but I have some pulsar fab in a box kit, so print, iron on, etch etc but it occurred to me that the high hole count (200 odd) was going to be unrealistic by hand and made me look at hobby pcb mill/drill machines :icon-cool: The only reason to frig about making boards though is if I needed to make one for someone else really, the project board I've used so far is fine for one offs, so reality is it's not worth making them and in the unlikely event someone wants one just pay to have them made so all the drilling is done as well. Think I got a bit carried away there for a bit thinking I needed to refine the build process when I have other things I could be doing instead :doh:
 
Progress seems slow on this. I welded up the corners of that box, made a back, painted it and put the screen in

IMAG1326.jpg

Still need to put an LDR in the hole to the side of the screen but I think it turned out ok. Might try milling the next one from a block of plastic to see how that works out compared to this method.
 
That is a quality finished product JW
well done it looks superb
 
That looks better than a bought one! Well done Jon - impressive work as usual.
 
Looks very good Jon - as always...

I'd be interested in a PCB/'kit' if your interested in producing one?
 
Justin I have ordered the remaining PCB making kit I need and plan to have a go at making them myself after all, so no doubt there will be some false starts but I should be able to get the hang of it so I can offer them for other people soon. It may be that the home etched one(s) are just proof of the board layout / design and then I get some made properly, it's not expensive really, unless you have to do it several times because there were design mistakes! I really wish the iModela Cool Components are selling had a slightly larger working area so it could be used to make these PCB's and mill a screen case :icon-cool:, but it's just a bit too small to be useful to me :cry:.
 
Last edited:
I like your plan Jon... you do all the hard work and we can all follow in your steps with 'solder by number'.... :icon-biggrin:

That toy you linked too looks impressive (albeit small) - although it looks like you're doing just fine without all the extra gadgetry... but if you DID manage to find a slightly larger unit the mind boggles what you'd actually produce :shock:

...continuing to follow with interest...
 
You probably won't even have to do any soldering Justin, unless you really want to, I'll populate the boards and test them so they're ready to plug and play.
 
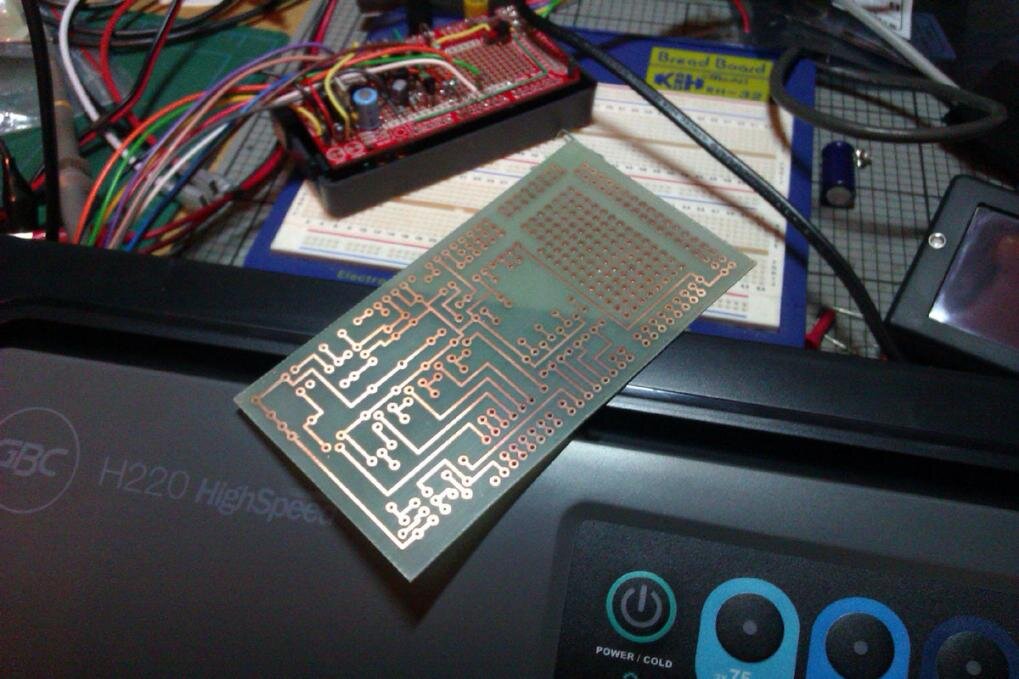
Been playing with the acid, first one off the line :icon-cool:
IMAG1339.jpg

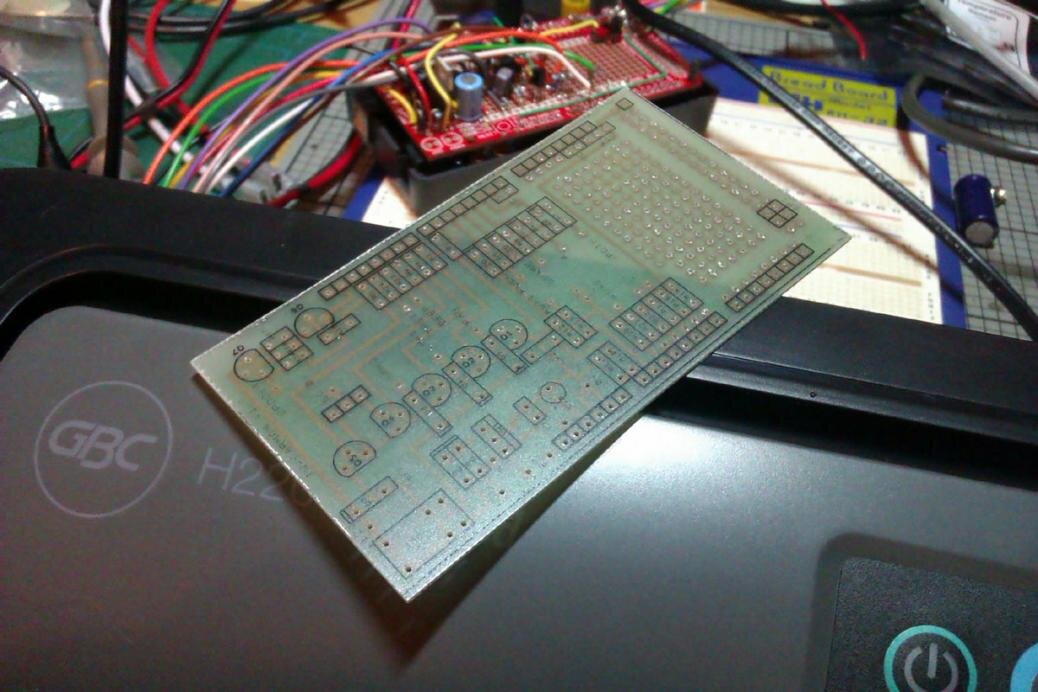
Screen printed for component locations etc
IMAG1341.jpg

Populated
IMAG1344.jpg

It works!
IMAG1345.jpg
 
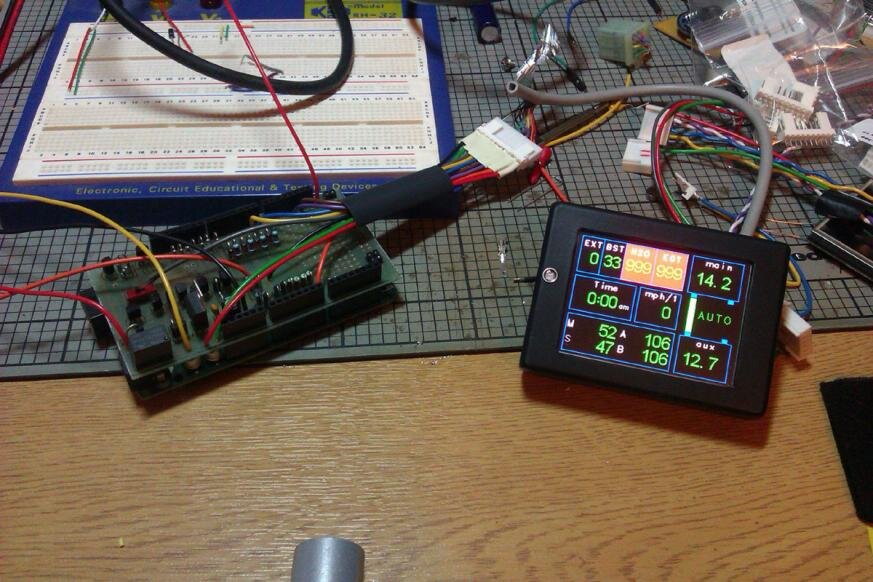
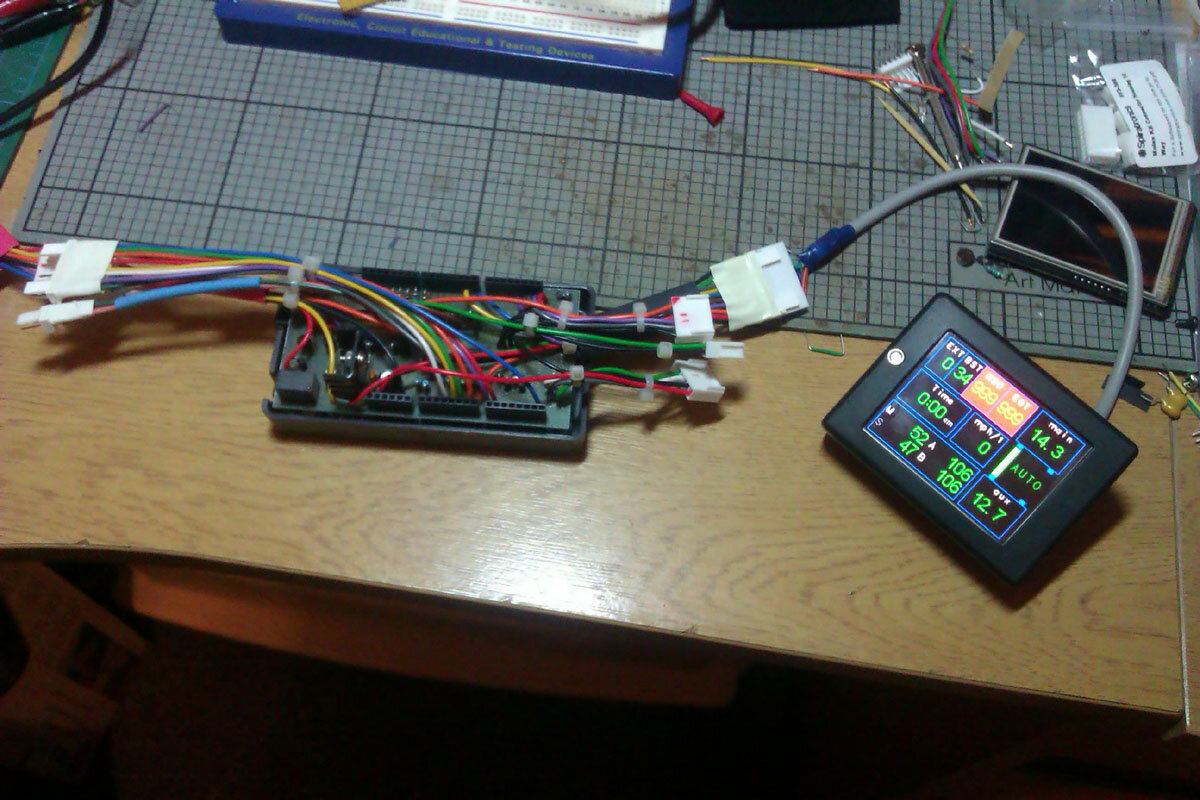
On a bit of a go slow with this at the moment with other things getting in the way but the interface board now has all the external connectors wired in so it's close to being ready to put in the 80 and start connecting things up. There will be quite a few wires running into it eventually for the various sensors but they can be connected up one at a time as I get chance to sort them out.
IMAG1358.jpg

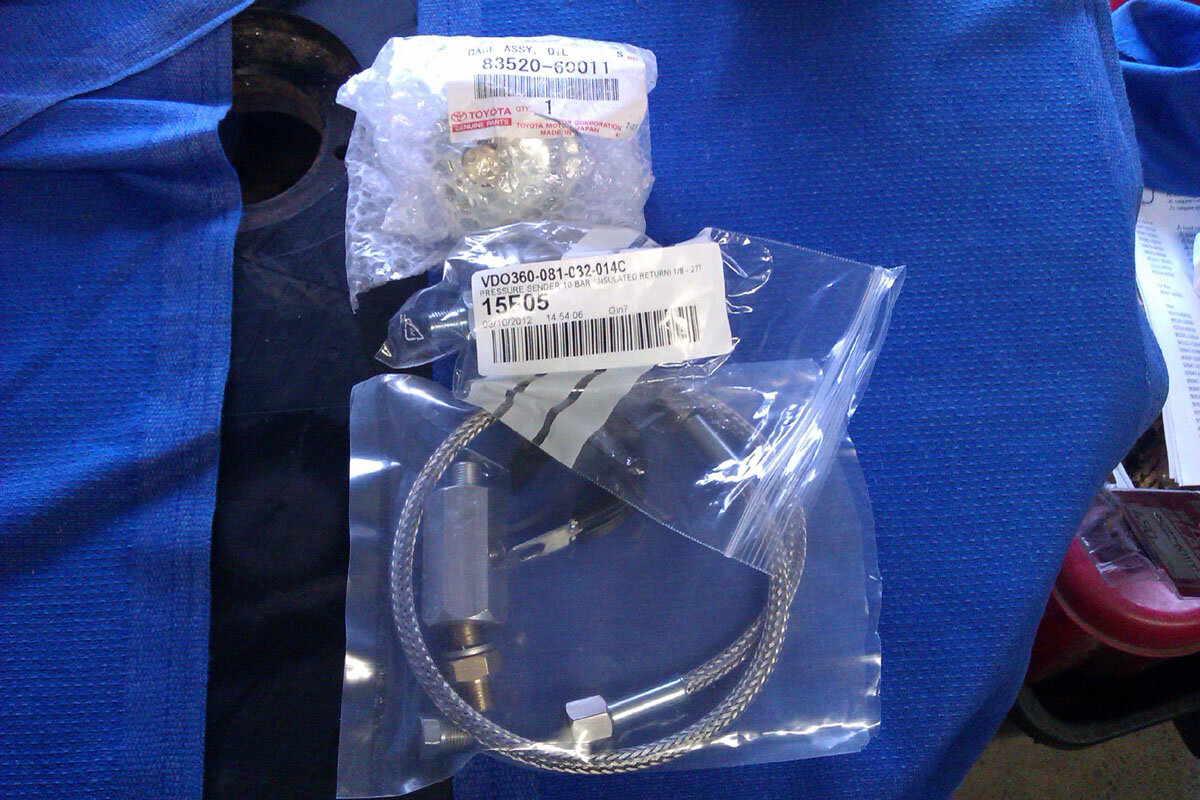
Also taken delivery of a VDO oil pressure sender, OEM sender and remote T piece to plumb them in with.
IMAG1357.jpg

When it's all connected, it will show the main and aux voltages plus control the split charge relay, coolant temperature, low coolant alarm, turbo boost, oil pressure, EGT, external air temperature, speed, speedo correction and trip meters with separate main and aux tank trips :icon-cool: That would be a lot of gauges and what not to find homes for if they weren't combined into a single unit.
 
Great job Jon - i need one - just need to get the 80 now:think:. What about adding tire pressures?
 
TPMS is planned and is a natural fit for this project but I still have some research and experimentation to do on that to make it work.
 
Back
Top