Well folks it pretty much does what it says on the tin. I have been a bit quiet recently because I have been banging away in the shed. 
The bumper and carrier that I had before was good. Very good actually but off road on steep angles etc it just wasn't helping. So I have taken that off and had it coated. It can sit in the garden now until I work out what to do with it.
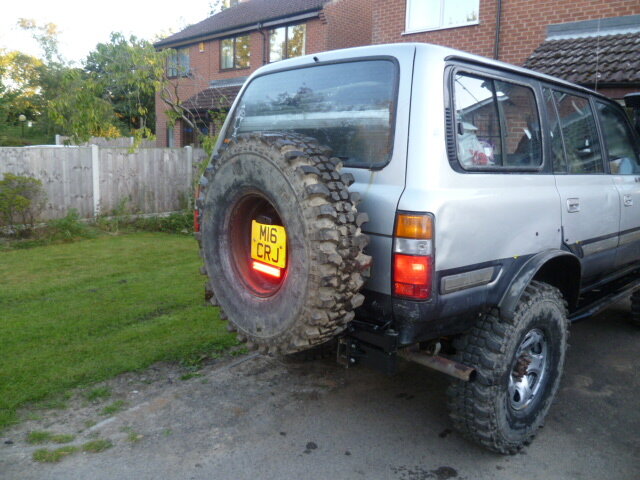
So, it's in two bits this time. A winch mount and a wheel carrier - no bumper! I went off road a few weeks ago with it all removed and it was virtually unstoppable. The loss of weight made it sit higher and the improvement in departure helped everything.
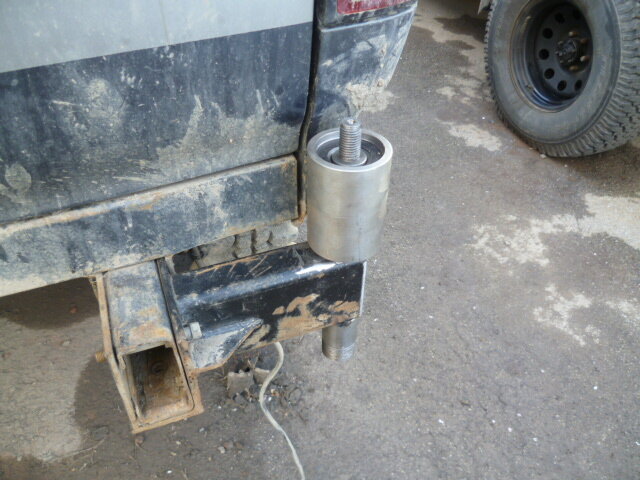
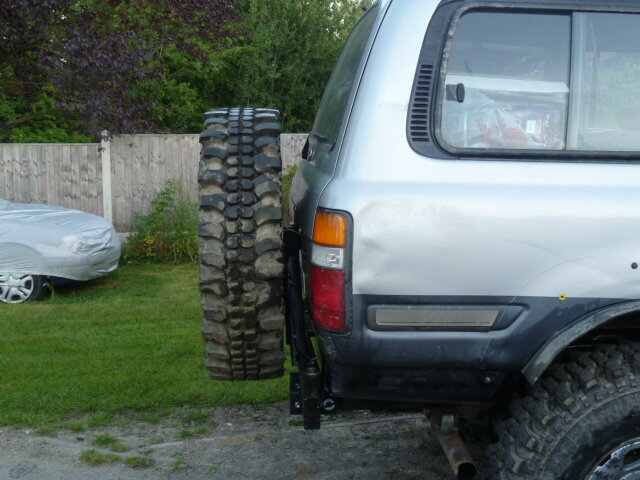
Here's a few snaps. essentially what I did for the carrier is cantilever off the chassis. Not ideal I know but you need to get far enough out with the hinge or you run into geometry hell. I used a trailer axle and hub for the spindle. Ready made really. All I did was machine off the flange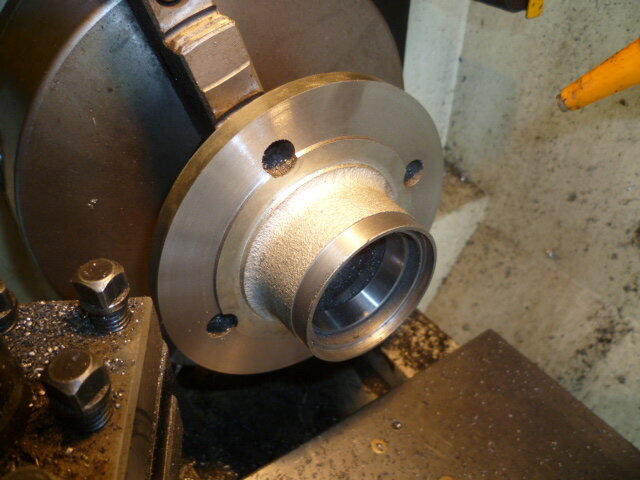
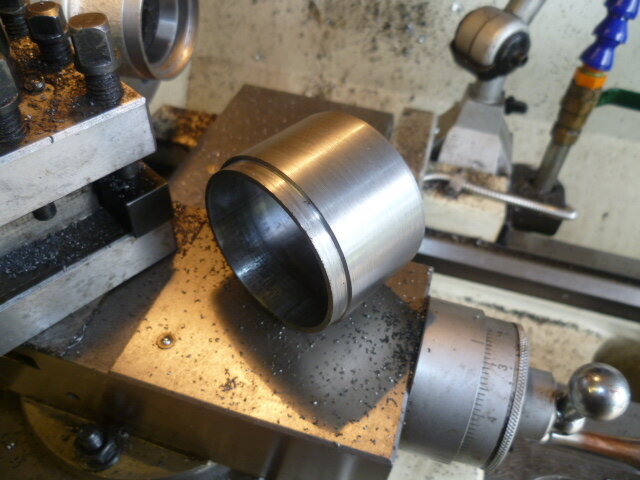
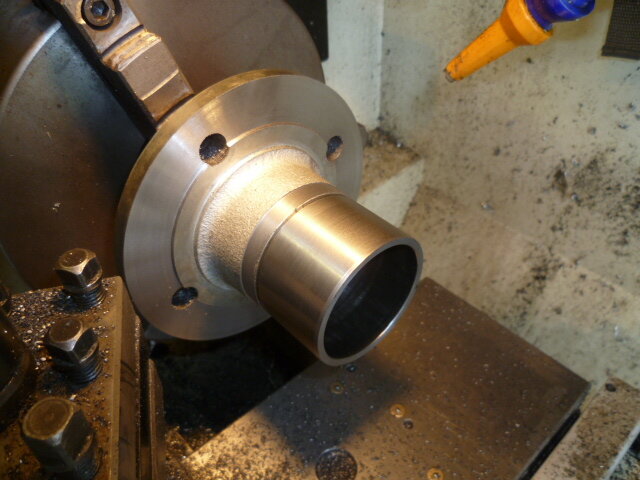 and add a small extension piece. I turned it down to fit inside the hub so that I could do a nice ovelap weld then stick it back in the lathe and turn it down. Man is weld tough!!!
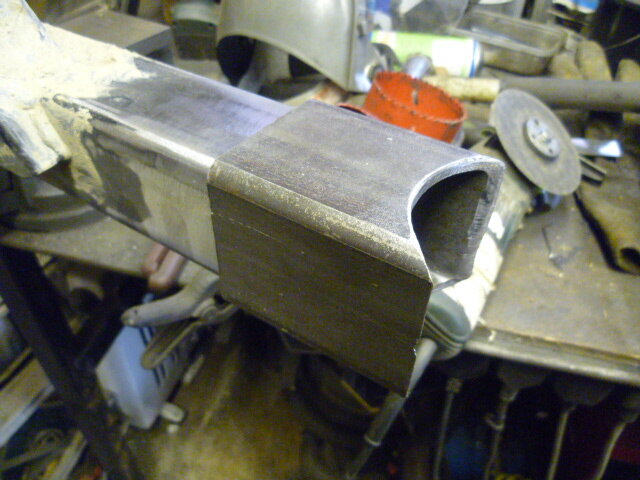
I used decent thickness steel and I have to say that I am staggered at the lack of deflection. I weigh more than the wheel, I know (no stranger to the cheese board) and it took my full weight no problem at all.
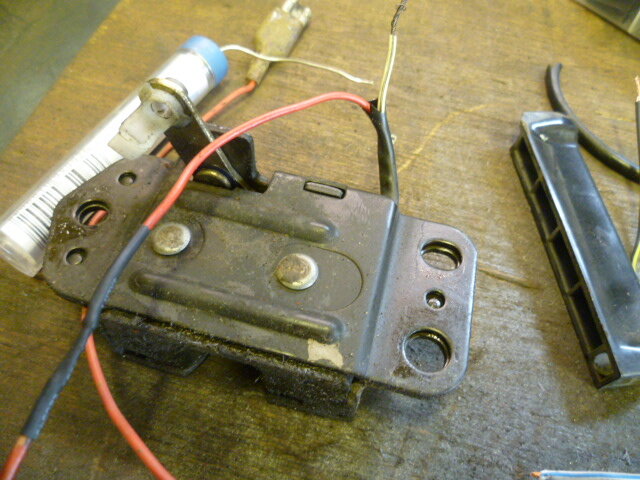
It has a slam catch which works a treat
The number plate is pure genius. Well I think so. You unplug the Flymo plug, slacken the aluminium wheel then pull out the two split collets.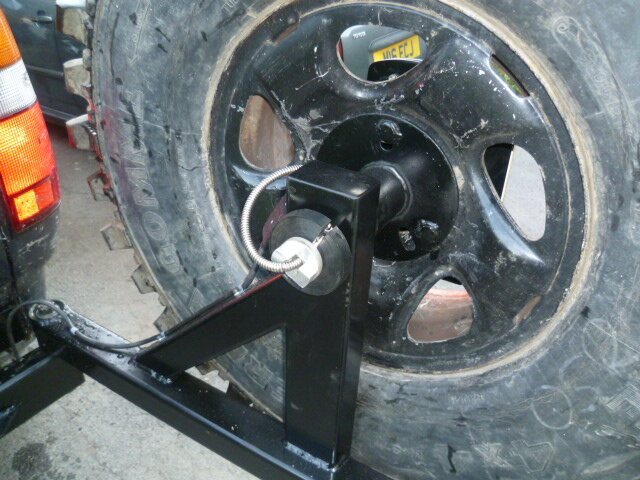 This then lets you pull the whole thing through the tube complete with the number plate.
 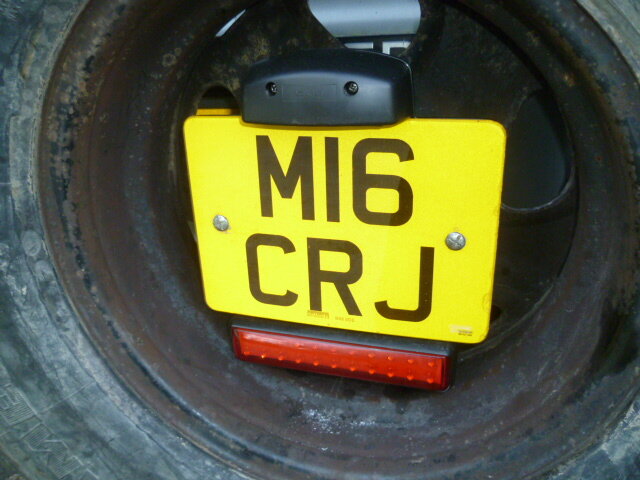 The plate sits on little tube feet located onto the top of the wheel nuts.
I have to make a stop and a hold open latch yet, but given the Lincomb deadline, it's been a race to the finish.
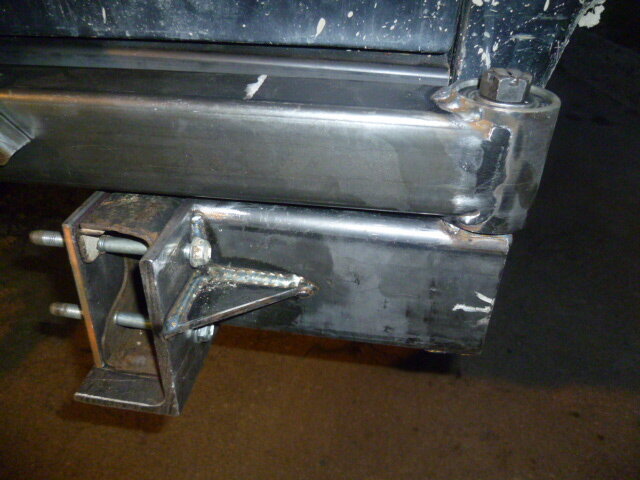
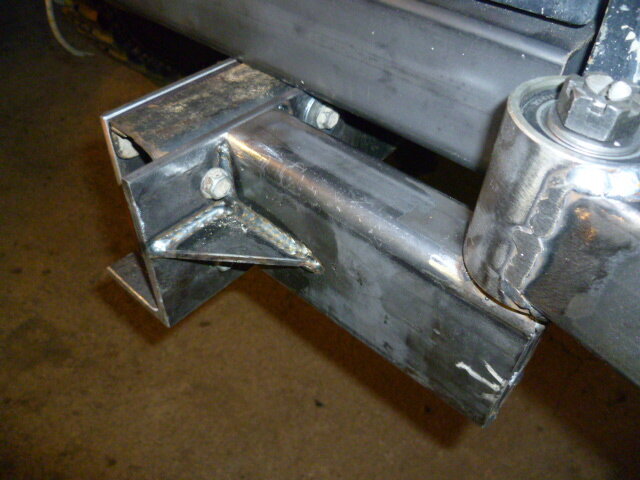
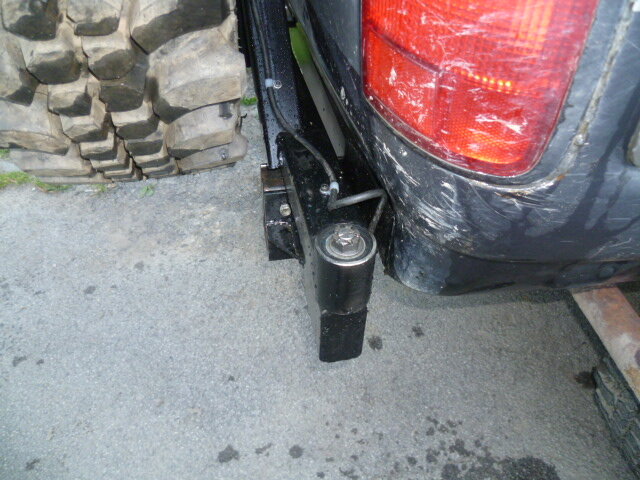
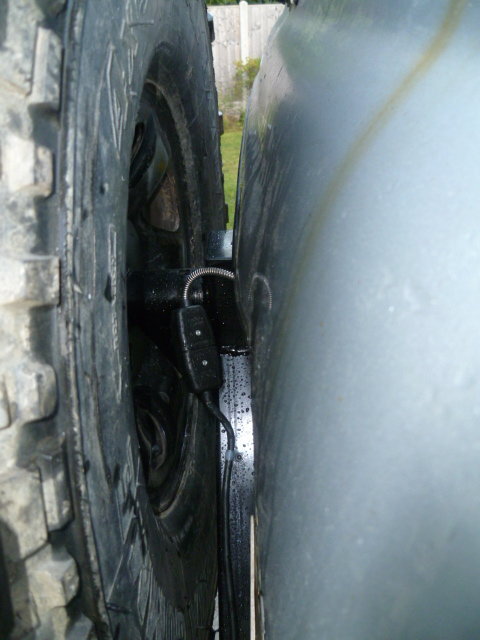
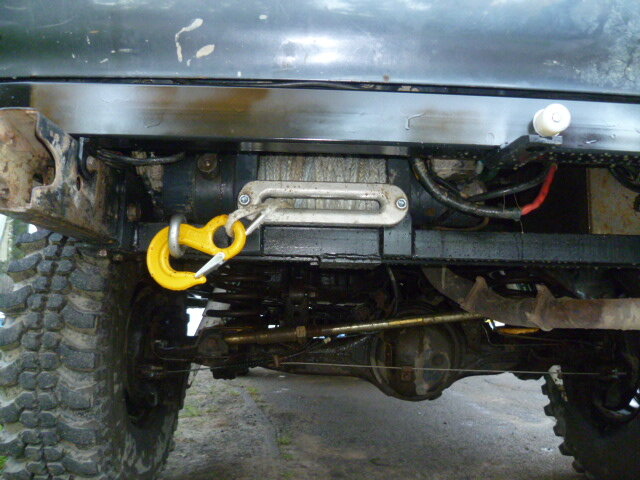
I need to cut off the chassis tube on the near side now (err I think) and sort one or two other bits. But essentially it's done. The winch is very solid and nearer in to the axle so the effective weight over the coils is less. It's much higher up too and out of the s***
So if you are at Lincoom this weekend and you wanna stick your head underneath and make sucking noises, feel free. But either way, I am going UP THAT HILL!!!!!!!!
I might not get over the top, but I am going up.
The bumper and carrier that I had before was good. Very good actually but off road on steep angles etc it just wasn't helping. So I have taken that off and had it coated. It can sit in the garden now until I work out what to do with it.
So, it's in two bits this time. A winch mount and a wheel carrier - no bumper! I went off road a few weeks ago with it all removed and it was virtually unstoppable. The loss of weight made it sit higher and the improvement in departure helped everything.
Here's a few snaps. essentially what I did for the carrier is cantilever off the chassis. Not ideal I know but you need to get far enough out with the hinge or you run into geometry hell. I used a trailer axle and hub for the spindle. Ready made really. All I did was machine off the flange


 and add a small extension piece. I turned it down to fit inside the hub so that I could do a nice ovelap weld then stick it back in the lathe and turn it down. Man is weld tough!!!
I used decent thickness steel and I have to say that I am staggered at the lack of deflection. I weigh more than the wheel, I know (no stranger to the cheese board) and it took my full weight no problem at all.
It has a slam catch which works a treat
The number plate is pure genius. Well I think so. You unplug the Flymo plug, slacken the aluminium wheel then pull out the two split collets.
 This then lets you pull the whole thing through the tube complete with the number plate.
  The plate sits on little tube feet located onto the top of the wheel nuts.
I have to make a stop and a hold open latch yet, but given the Lincomb deadline, it's been a race to the finish.


I need to cut off the chassis tube on the near side now (err I think) and sort one or two other bits. But essentially it's done. The winch is very solid and nearer in to the axle so the effective weight over the coils is less. It's much higher up too and out of the s***
So if you are at Lincoom this weekend and you wanna stick your head underneath and make sucking noises, feel free. But either way, I am going UP THAT HILL!!!!!!!!
I might not get over the top, but I am going up.


 I like it, a lot
