Don't like the adverts?  Click here to remove them

evolution of my 40

Hi Rodger love that cruiser can you put up more pics of the headers thanks a lot Tony R you and the good lady r ok .
 
I've been back and read the instructions again but I don't seem to get exactly the same box appear. Hopefully somewhere among this lot you can see the images.
End of the rainbow should be here
029a.jpg
 
We're fine thanks and Just for you Tony... (assuming it works!) DSCF9745.JPG
If you cannot see the image, let me know and we'll try again.
 
I think between them I've got them all but some are displaying and some not (I don't think it's you) even the same one displays on one and not the other.

Err, is that an immersion heater spanner holding that gauge…[emoji2]
 
Hi Rodger it has worked thanks a lot I will see if I can get sum made. Thanks from Tony.
 
Glad you can see the photos and yes that is an immersion heater spanner holding the rev counter. The rev counter is from a 60 series so matches to the engine but is too big to fit neatly into the dash and I didn't want to cut a hole in it but there was this neat hole in the dash return, so....
 
Don't like the adverts?  Click here to remove them
Beautiful truck Roger, love it and the way you've gone about the whole project.

Evolution, it can evolve with you till the end.... :thumbup:
 
Tony the system is two banks of three into one and then the two pipes into one. It has improved the performance and the fuel economy significantly. Really does help the engine breath and the sound... we have loads of tunnels through the mountains and dropping it down a gear ... well you can imagine!

Clive, Thanks for the comment. The truck was extensively modified for winch racing when we bought it which was part of its appeal but occasionally we wonder if we should have taken it back to stock but actually we like the fact that it is just that bit different. There is still a long list of the things we want to do with it but it all takes time.

Cheers,
 
Thanks to Blown80 and other members we've sorted the over-charging problem that seems to have been with us for far too long and that inspired us to start a job that we have wanted to do since we bought the truck, and that is to strip off the underseal from the body and chassis and get it looking something like.
But, just make life awkward and as this is our only vehicle, we are not going to take the body off but when we get to the front end we will remove the grille and wings etc. There's nothing like making things difficult...

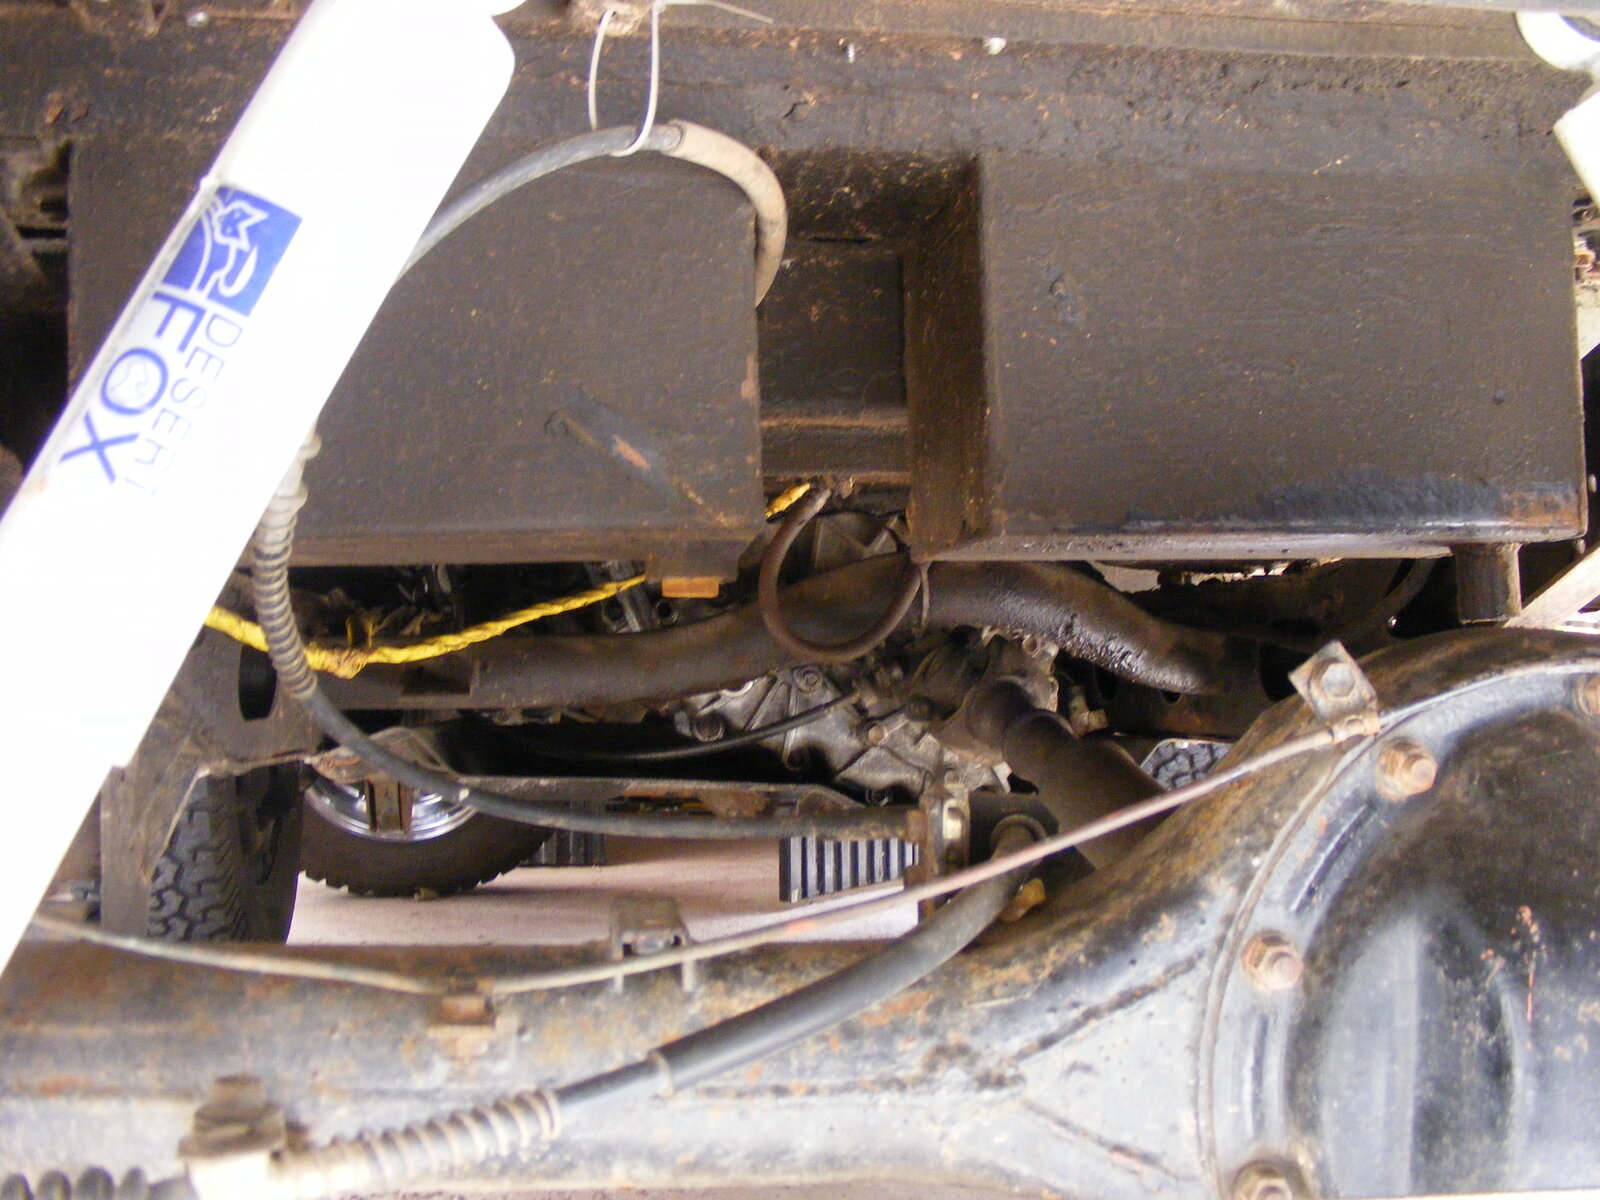
The first photo is taking a look underneath before getting started - not pretty but you can just see at the front of the truck the wheel that Corinne has refurbished and the second photo shows just how good the bodywork is - not bad for a 39 year old that has had a hard life IMO.

The process is spray with petrol and scrape then fine clean. That will be followed by a wash in a strong mix of Chassis Clean and the necessary rust areas treated with Metal Ready followed by a wash off, scuffing and paint. The inside of the chassis will be with POR15 the outside with POR chassis paint and the floor will be white using the Spanish paint they use straight onto bare-metal railings etc. It's probably full of all-sorts that isn't good for you but it does work.

I will add photos as we progress. The two boxes contain the batteries.
DSCF0284.JPG

DSCF0290.JPG

A long and dirty job

Cheers
 
Thanks to Blown80 and other members we've sorted the over-charging problem that seems to have been with us for far too long and that inspired us to start a job that we have wanted to do since we bought the truck, and that is to strip off the underseal from the body and chassis and get it looking something like.
But, just make life awkward and as this is our only vehicle, we are not going to take the body off but when we get to the front end we will remove the grille and wings etc. There's nothing like making things difficult...

The first photo is taking a look underneath before getting started - not pretty but you can just see at the front of the truck the wheel that Corinne has refurbished and the second photo shows just how good the bodywork is - not bad for a 39 year old that has had a hard life IMO.

The process is spray with petrol and scrape then fine clean. That will be followed by a wash in a strong mix of Chassis Clean and the necessary rust areas treated with Metal Ready followed by a wash off, scuffing and paint. The inside of the chassis will be with POR15 the outside with POR chassis paint and the floor will be white using the Spanish paint they use straight onto bare-metal railings etc. It's probably full of all-sorts that isn't good for you but it does work.

I will add photos as we progress. The two boxes contain the batteries.
View attachment 25536

View attachment 25537

A long and dirty job

Cheers

very impressive mate! Not an easy task especially when you can't just remove the cab, I'm looking forward to seeing the final photos of this keep up the good work!

What is the use of the underseal? It looks far better with the underseal removed.

cheers mate
 
Underseal is a petro-chemical product not dissimilar in texture to roof bitumen. The UK has rain - all year and in winter they put salt on the roads and those factors will destroy the underside of an old car. 40s were made before the manufacturers dipped or rust proofed their products. The underseal should always remain slightly soft and flexible but over years it dries out and gets splits and that's when and where the water and salt get in and the deterioration of the metal starts but this time it's out of sight.
When it is on there you can never get the surface to look any good. It was on there when we bought the truck and it has always nagged at me as to what is it hiding.... so time to find out.

cheers
 
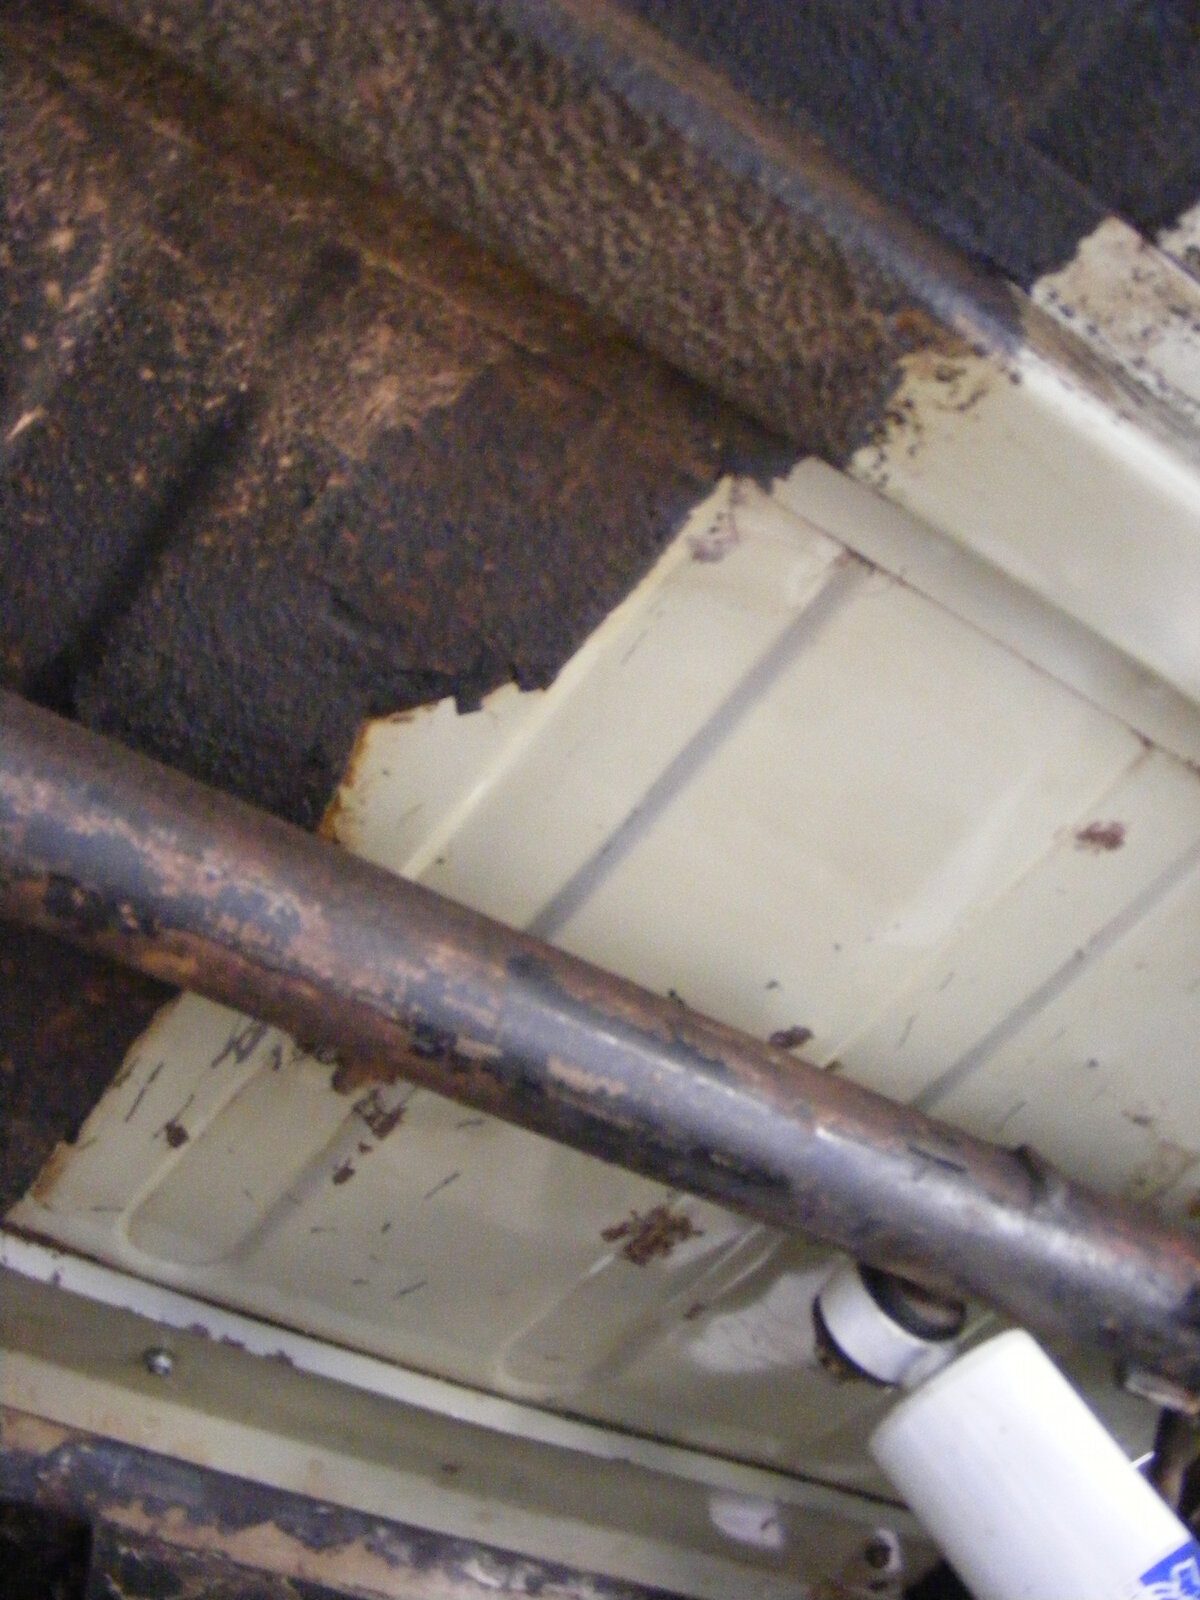
Most of the underseal is now removed (thank goodness!) and the old girl isn't looking too bad. A couple of bits attend to but the two main areas that had problems have had plates welded over by the previous owner so all I have to do is finish their work.
20160508_122221.jpg
20160508_122228.jpg
20160508_122417.jpg

And Corinne has started the chassis paint. The extra leg that you can see in the photo is the under body part of the rollcage. Anyway just a bit more preparation and then paint.

20160508_122349.jpg


Regards,
 
Thought I show a couple of photos of the finished under body.
20160514_183745.jpg
20160514_183757.jpg
20160514_183822.jpg
Next week we'll start on the front end.

Regards,
 
Hi Rodger That is looking a good job thanks for the pics r you and the good lady ok from Tony.
 
Blimey, turn that upside down and you could eat your dinner off that!
Bloody good job that is :thumbup:
 
How did you remove it? Glad it's not showing anything bad now that it's gone.
 
Looking brilliant Roger, lots of hard work but she looks all the better for it.

Glad to see that you and Corinne are keeping well.
 
Thanks for the kind comments.
Before we started , I'd searched the 'net trying to find the magic solution - spray it on the underseal and then have a cuppa while it all falls off - but it doesn't exist, well if it does I didn't find it. So encased in protective gear and lying under the truck, it is a case of spray an area with petrol (about a foot to fifteen inches square at a time), let it soak in and start scrapping. Sounds straight forward but each area will take around 4 or 5 sprays of fuel and the scrappers get smaller - down to scalpels and razor blades - and of course there are all the awkward bits above the transfer box and where the body sits close to the chassis. Then wash the whole area with chassis clean. It has got to be the most tedious and dirtiest job on any truck but worth it. I did most of the preparation underneath and Corinne did most of the painting and. yes, I do appreciate how lucky I am having my other have actively involved.
We did a couple of hundred Kms yesterday to meet some friends so this week we'll take the front end off and prepare the bulkhead and forward.

Regards,
 
Corinne has been busy with her paint brushes under the front of the truck.

20160601_142935.jpg


Meanwhile a retired trimmer friend said he would make us a new roof (ours is 14 years old and a bit sad and very draughty!) so we decided that the spare pair of hardtop side panels would make a good basis. Years ago we cut the tops off our doors so the standard roofs don't fit but if we made a frame then the new roof could perhaps be a better fit. Obviously they need finishing and painting but hopefully they should work.

20160601_142742.jpg

20160601_142801.jpg


We are also going to change the rear lights but cannot put them in the original position as there are recovery hooks on chassis extensions where the lights would go. This will save having the two little windows in the hood and stop the wear against the plastic.

Regards,
 
Back
Top