Don't like the adverts?  Click here to remove them

Has anyone fitted the egr blank plate.

you will need 10mm , 12mm sockets and the same with spanners if your engine is the same as mine , try to use 6 point sockets coz 12 point sockets can round the nuts off with them being small if they are tight as some on mine were quite tight , wobble extensions help with undoing the three bolts that hold the elbow of the EGR to the inlet manifold , Tony its not a hard job its more a fiddly job , and coz its a high engine bay I had to use something to stand on and at some points lay on top of the engine to get at things coz I am only 5 foot 7 inches tall . oh and try to pack the side of the cold engine you are working on with rags coz its easy to drop nuts and bolts and they seem to just vanish and never to be found again .

Thanks tony .
I will hopefully make a start sunday if the weather stays ok any you sound like me with nuts and bolts disappearing in to the abiss below.
Thanks very much tony*****.
 
you will need 10mm , 12mm sockets and the same with spanners if your engine is the same as mine , try to use 6 point sockets coz 12 point sockets can round the nuts off with them being small if they are tight as some on mine were quite tight , wobble extensions help with undoing the three bolts that hold the elbow of the EGR to the inlet manifold , Tony its not a hard job its more a fiddly job , and coz its a high engine bay I had to use something to stand on and at some points lay on top of the engine to get at things coz I am only 5 foot 7 inches tall . oh and try to pack the side of the cold engine you are working on with rags coz its easy to drop nuts and bolts and they seem to just vanish and never to be found again .

When you cleaned your egr did your car drive any better or sound quieter than before the clean.
Been told it makes a big difference. :text-bravo::flags-wavegreatbri:
 
When you cleaned your egr did your car drive any better or sound quieter than before the clean.
Been told it makes a big difference. :text-bravo::flags-wavegreatbri:
In all honestly NO difference was noted , but three days later when I fitted the full blanking plate (did not think of fitting one while the EGR was off the engine coz I bought a slotted one that you just slip in place when you unplug the common rail fuel connector loosen the two egr cooler 10mm nuts at the engine and loosen the 12mm halfway along the cooler and lever the egr cooler pipe with a screwdriver and just slip the blanking plate up under the cooler pipe , supposed to take 15 to 30 minutes but took me a hour coz I could not see the tag on the connector to press and I was pressing the wrong side but found it in end ) anyway after I fitted the blanking plate and fitted the oil catch can and vented the pcv to air under the passenger side of the car which only took 30 minutes to install, so only cool fresh oxygen via a K&N airfilter now goes in the engine instead of exhaust gas and crankcase gas from the pcv thats when I felt the difference the turbo spools up sooner , it is tested to add 17 to 25 bhp at mid range revs and runs so much smoother and auto box changes up sooner . but cleaning egr valve and inlet manifold entry could have helped the other mods work better .
 
Last edited by a moderator:
When you cleaned your egr did your car drive any better or sound quieter than before the clean.
Been told it makes a big difference. :text-bravo::flags-wavegreatbri:
Mine had 70k miles when I did mine and although it was dirty it was not built up with black gunge enough to restrict enough airflow to show a difference after cleaning , yours having three times more miles compared to when I did mine in 2016 will have a lot more muck built up , Unless its been done by a previous owner or garage as it it could have had new injectors or injector seats and it would be mad not to clean out the EGR and inlet at the same time .
 
Mine had 70k miles when I did mine and although it was dirty it was not built up with black gunge enough to restrict enough airflow to show a difference after cleaning , yours having three times more miles compared to when I did mine in 2016 will have a lot more muck built up , Unless its been done by a previous owner or garage as it it could have had new injectors or injector seats and it would be mad not to clean out the EGR and inlet at the same time .

Mine has had a good service history with previous owners including new timing bet at 189000.
It has 213000 now and hundreds spent on it.
Even with milage it's gear change and take off are very smooth just a little tappety when cold.
 
Mine has had a good service history with previous owners including new timing bet at 189000.
It has 213000 now and hundreds spent on it.
Even with milage it's gear change and take off are very smooth just a little tappety when cold.
All 1KD engines are tappet y when cold its normal for these engines ,
 
Don't like the adverts?  Click here to remove them
Guys, when you respond to posts, you only need to click reply. When you click quote all it does is make threads twice as long which is unnecessary
 
Guys, when you respond to posts, you only need to click reply. When you click quote all it does is make threads twice as long which is unnecessary

OK Chris thanks if it's my fault (my bad).
 
No problem. People seem to do it a lot and of course when there are pictures they all get repeated too. In a largely two person chat with quick exchanges quoting what the other person just said isn't necessary
 
All 1KD engines are tappet y when cold its normal for these engines ,
Tony I have some good news , I came across a Spanish 1KD site called Bricos -KDJoteros.com and on there they do a EGR clean for your 120/engine its not a video but its step by step photos and instructions , just tell your laptop to translate it to english , and I see your EGR layout is different to mine , and the good news its easier to remove yours as where mine has two upsidedown bolts holding the EGR valve body to the EGR cooler and are awkward to remove , yours are at the side with more space to undo them , I will say this though in the instructions it shows removing the inter-cooler at the Turbo side by removing the 4 bolts at the pipe end as you will see , well I remember my cousin doing that on his Hilux and the bolts were tight and ended up spinning in the the aluminium and would not tighten afterwards . so I would undo it like Ants on the video by undoing the rubber pipe at the turbo , just click under bricos and then click on EGR clean , hope this helps .
 
Thanks very much tony for taking the time to find information to help me.
I have still not hot round to it yet but the intercooler cover with the 3 bolts as 4th is held on with egr its self.
I have already had that part off no problem as the upside down bolt by the turbo side was a little awkward and other two were socket accessable
Will take some pict to show what i mean.

Thanks again tony
 
Tony I have some good news , I came across a Spanish 1KD site called Bricos -KDJoteros.com and on there they do a EGR clean for your 120/engine its not a video but its step by step photos and instructions , just tell your laptop to translate it to english , and I see your EGR layout is different to mine , and the good news its easier to remove yours as where mine has two upsidedown bolts holding the EGR valve body to the EGR cooler and are awkward to remove , yours are at the side with more space to undo them , I will say this though in the instructions it shows removing the inter-cooler at the Turbo side by removing the 4 bolts at the pipe end as you will see , well I remember my cousin doing that on his Hilux and the bolts were tight and ended up spinning in the the aluminium and would not tighten afterwards . so I would undo it like Ants on the video by undoing the rubber pipe at the turbo , just click under bricos and then click on EGR clean , hope this helps .

The pictures are from my 3 bolts that hold my intercooler on and my egr layout if it's different to you 1kd.
 

Attachments

  • IMG_20200331_143611.jpg
    IMG_20200331_143611.jpg
    321.7 KB · Views: 53
  • IMG_20200331_143619.jpg
    IMG_20200331_143619.jpg
    341.5 KB · Views: 51
  • IMG_20200331_143631.jpg
    IMG_20200331_143631.jpg
    214.6 KB · Views: 52
  • IMG_20200331_143703.jpg
    IMG_20200331_143703.jpg
    371.9 KB · Views: 47
The pictures are from my 3 bolts that hold my intercooler on and my egr layout if it's different to you 1kd.
your inter-cooler and egr layout is a bit different to mine as my intercooler is held on with four bolts , one on each corner like on Ants video , as well as held on to the throttle body by two cir-clips round the rubber hose and a rubber hose to the Turbo and to undo that you just undo the top circlip and wiggle it off while pulling up after you have pulled the intercooler from the throttlebody like in Ants video .
 
The pictures are from my 3 bolts that hold my intercooler on and my egr layout if it's different to you 1kd.
looking at your pics of your engine yours is the same as the site I found for you , the site makes it very easy to do coz every nut and bolt is circled in the pics step by step and will be a great help to anyone who is nervous if they have never done one before , infact in Ants video he undoes parts that are not seen coz his video cam can not pick it up coz its on a tripod , I am sure you will find the step by step photos that circle every nut and bolt a great help .
 
I don't know if this can be of any help, but this is what I did to stop my EGR from working on my 100.

I removed the rubber vacuum tube from the EGR actuator and put it on the vacuum valve, or you could just remove the tube and blank the rubber vacuum tube off, either way the ECU gets a message that the EGR is working because it's got something to suck against, and you should not get any warning lights on the dash.

So, I didn't need to blank off the EGR with a blanking plate, and I don't get any nasty gummed intake, just to be on the safe side, I put it back together for the MOT.

I understand you've got a 120 but the principle should be the same. Hopefully.
 

Attachments

  • IMG_1821.jpg
    IMG_1821.jpg
    399.6 KB · Views: 48
  • IMG_1823.jpg
    IMG_1823.jpg
    382.4 KB · Views: 45
I don't know if this can be of any help, but this is what I did to stop my EGR from working on my 100.

I removed the rubber vacuum tube from the EGR actuator and put it on the vacuum valve, or you could just remove the tube and blank the rubber vacuum tube off, either way the ECU gets a message that the EGR is working because it's got something to suck against, and you should not get any warning lights on the dash.

So, I didn't need to blank off the EGR with a blanking plate, and I don't get any nasty gummed intake, just to be on the safe side, I put it back together for the MOT.

I understand you've got a 120 but the principle should be the same. Hopefully.

Thanks for your pictures and I want to do my egr clean just no body has go my engine apparently.
My 1kdj120 egr clean I just wanted hints and clips on how to go about it. On YouTube the engines are all kd-ftv engines and same similar layout just bolts are in different locations.

Thanks Mr jabber
 
looking at your pics of your engine yours is the same as the site I found for you , the site makes it very easy to do coz every nut and bolt is circled in the pics step by step and will be a great help to anyone who is nervous if they have never done one before , infact in Ants video he undoes parts that are not seen coz his video cam can not pick it up coz its on a tripod , I am sure you will find the step by step photos that circle every nut and bolt a great help .

I have watched the clips on my phone and on my smart TV and 50% of it I have already removed to look into the egr valve.
Looking at his clips his egr in proper clogged up compared to mine.
I intend to tackle it Friday now as the wife is in work and it's the weekend if I get stuck.
P, s I translated it on my phone to English but my smart TV was not so smart.
Looks like my engine anyway and how the hell you found that site is beyond me but thanks for your information and hopefully by Friday nite I will be cleaned with blank plate with 7mm hole.
]
Looking at the step by step photos it should make it a lot easier for you instead of working at it blindly from scratch like I mostly did , post some pics if you can , posting pics is where I fall apart , I have no idea how you lot put pics up on here or anywhere else it seems so complicated for me to understand as I am crap with computers and other gizmos , my kids try to tell me how to do it when I ask them by phone when we speak as they still live in the UK and it all sounds gobbledegook and so I dont bother trying , but good luck and I hope all goes well , if I were you wear washing up gloves when doing the cleaning coz this gooey mess sticks to every thing , my wife gave me such a telling off for getting it stuck to the vacuum cleaner including the handles and pipes of the vac when I did the entry of the inlet manifold and number 4 and 3 cylinders , I used a long ice-cream teaspoon bent to shape to drag the black gunge near to the entry to scoop it out with a normal teaspoon , a torch helps alot to see what you are doing , it was just too sticky for the vac to suck it out and was sticking to the vac pipe and I felt I was pushing it further away further in the manifold toward 2 and 1 cylinder with the vac suction pipe coz I duck taped a flexible 16mm seethrough aquarium cleaning pipe to the vac pipe to get into the manifold as far as possible but gunge was too sticky to suck out but the spoons worked well as did rags soaked with oven cleaner to wipe the entry at the end of scooping out with spoons .
 

Well Tony as for posting photos I can do that but as far as the little arrows pointing and other hi tech stuff I'm just like you.

The pictures are a big help and after every thing is removed the egr is only bolted on with 4 bolts.

As for the gunk I am prepeared to remove the black stuff how much is another matter but all videos and clips help big time.

Just hope the weather stays ok and I get it all finished and my car runs better as removing all that crap can't do it any harm just good.

Thanks again tonycy11 your a input of useful information.
 
Well guys I finally got round to cleaning my egr valve today
Tonycy11 sent me a link to a site we're it matched my engine.
I say that as I have a Kdj120 not the 1kd ftv engine as big diffences in this project.
I never took pictures as the clips below was just like my engine and I will talk you through my process as the clips were from a Spanish site.

Step 1
Remove the black cover removing the 5x 10mm bolts as shown below.
EGR2-02-200x200.jpg


Step 2
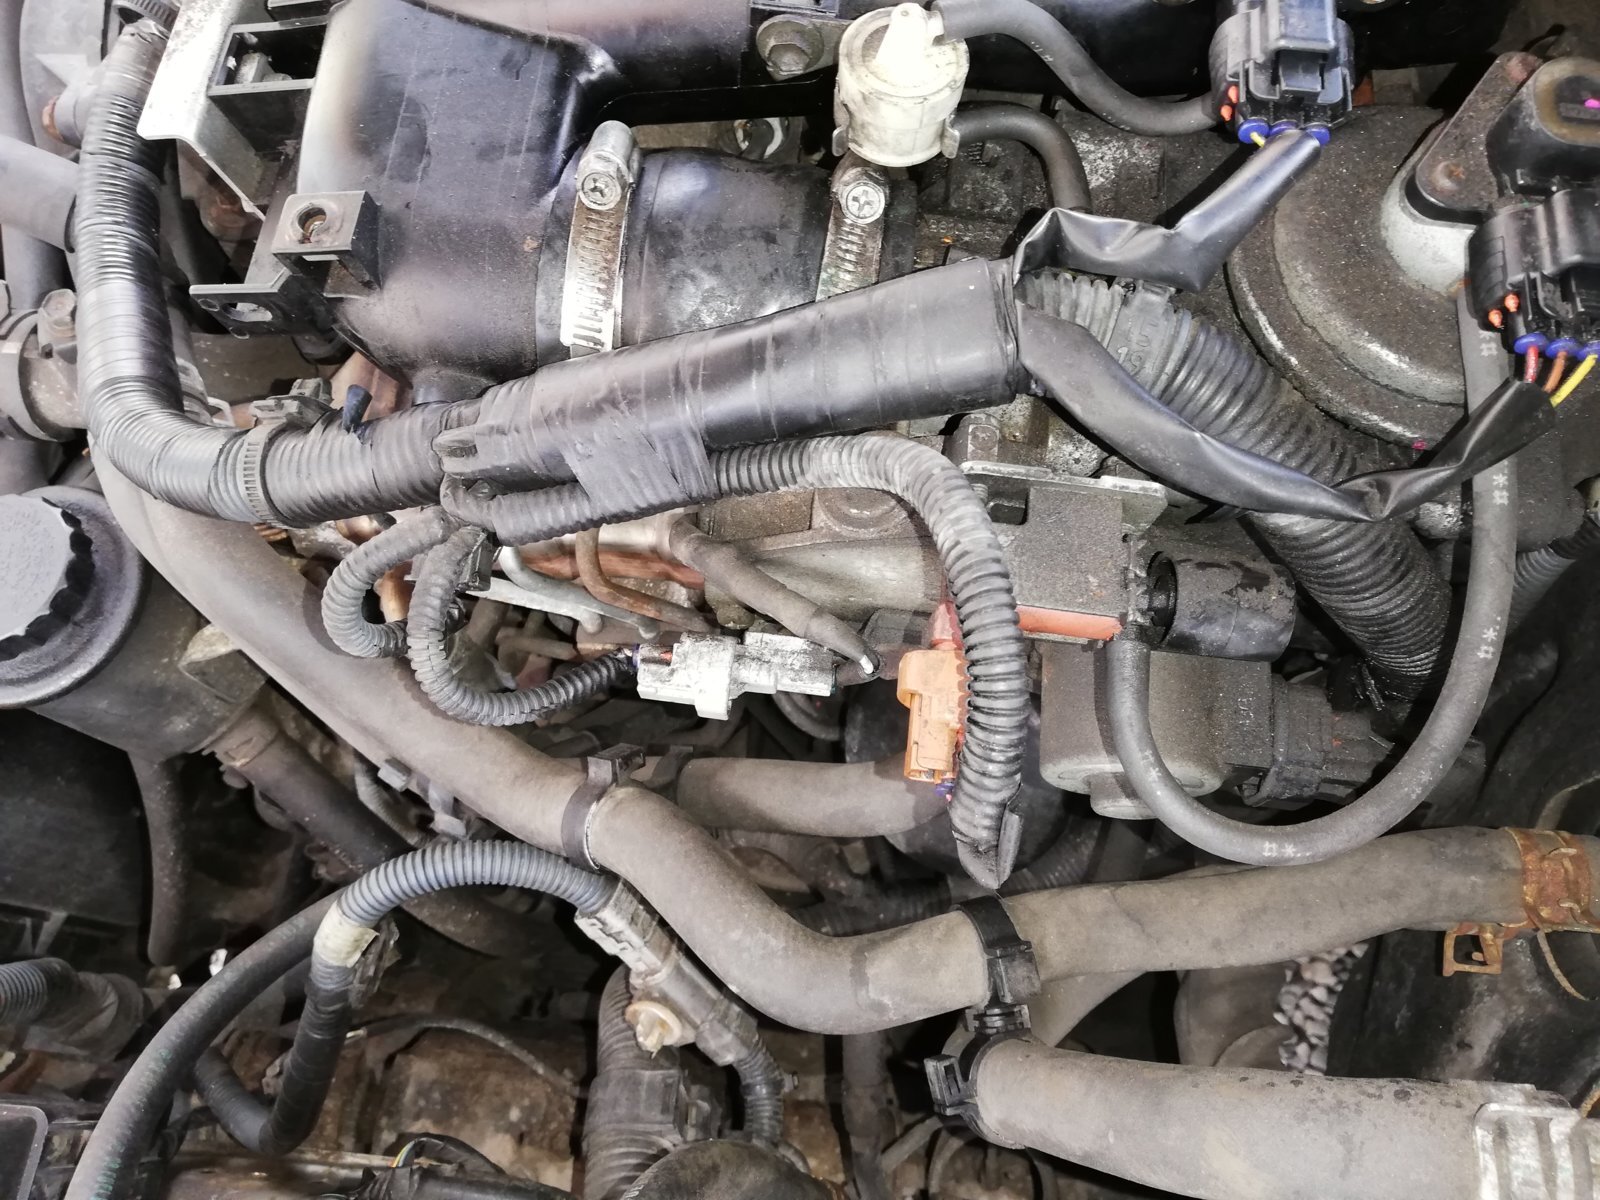
After removal of the black cover your engine should look like the picture below.
EGR2-03-200x200.jpg

Step 3
There are 6 electric connectors to remove on the passenger side of the car just unclip.
EGR2-04-200x200.jpg

Step 4
Release the black rubber pipes going into the egr unit held on with 2x10mm jubilee clips. Just release for now
EGR2-05-200x200.jpg

Step 5.
Release the harness clips as shown below. The odds are some may be snapped or missing due to past idiots but if not just follow the picture below
EGR2-05-200x200.jpg

Step 6
There are 4 x10mm bolts connecting the turbo pipe to the intercooler radiator just undo put the 4 nuts safe.
EGR2-07-200x200.jpg


Step 7
There are 3 bolts holding the intercooler radiator on and only 1 needs a 12mm spanner other 2 are socket accessable easy
EGR2-08-200x200.jpg

EGR2-09-150x150.jpg

EGR2-10-200x200.jpg

Your intercooler radiator should be OK to remove now and your engine should look like the picture below
EGR2-11-200x200.jpg

Step 8
There is a holding bracket on the passenger side of the engine next to your egr valve.
It has 4x10mm bolts I think and all easyish accessible with a socket. Just unbolt and just let it hang there out of your way.
EGR2-12-150x150.jpg

EGR2-13-200x200.jpg

Step 9
There are 4 bolts holding a metal bracket on the left hand side of the egr block and held on with 2x14mm bolts and 2x12mm bolts but easy access with socket. Just remove the bracket and bolts out the way safe.
EGR2-14-200x200.jpg

Step 10
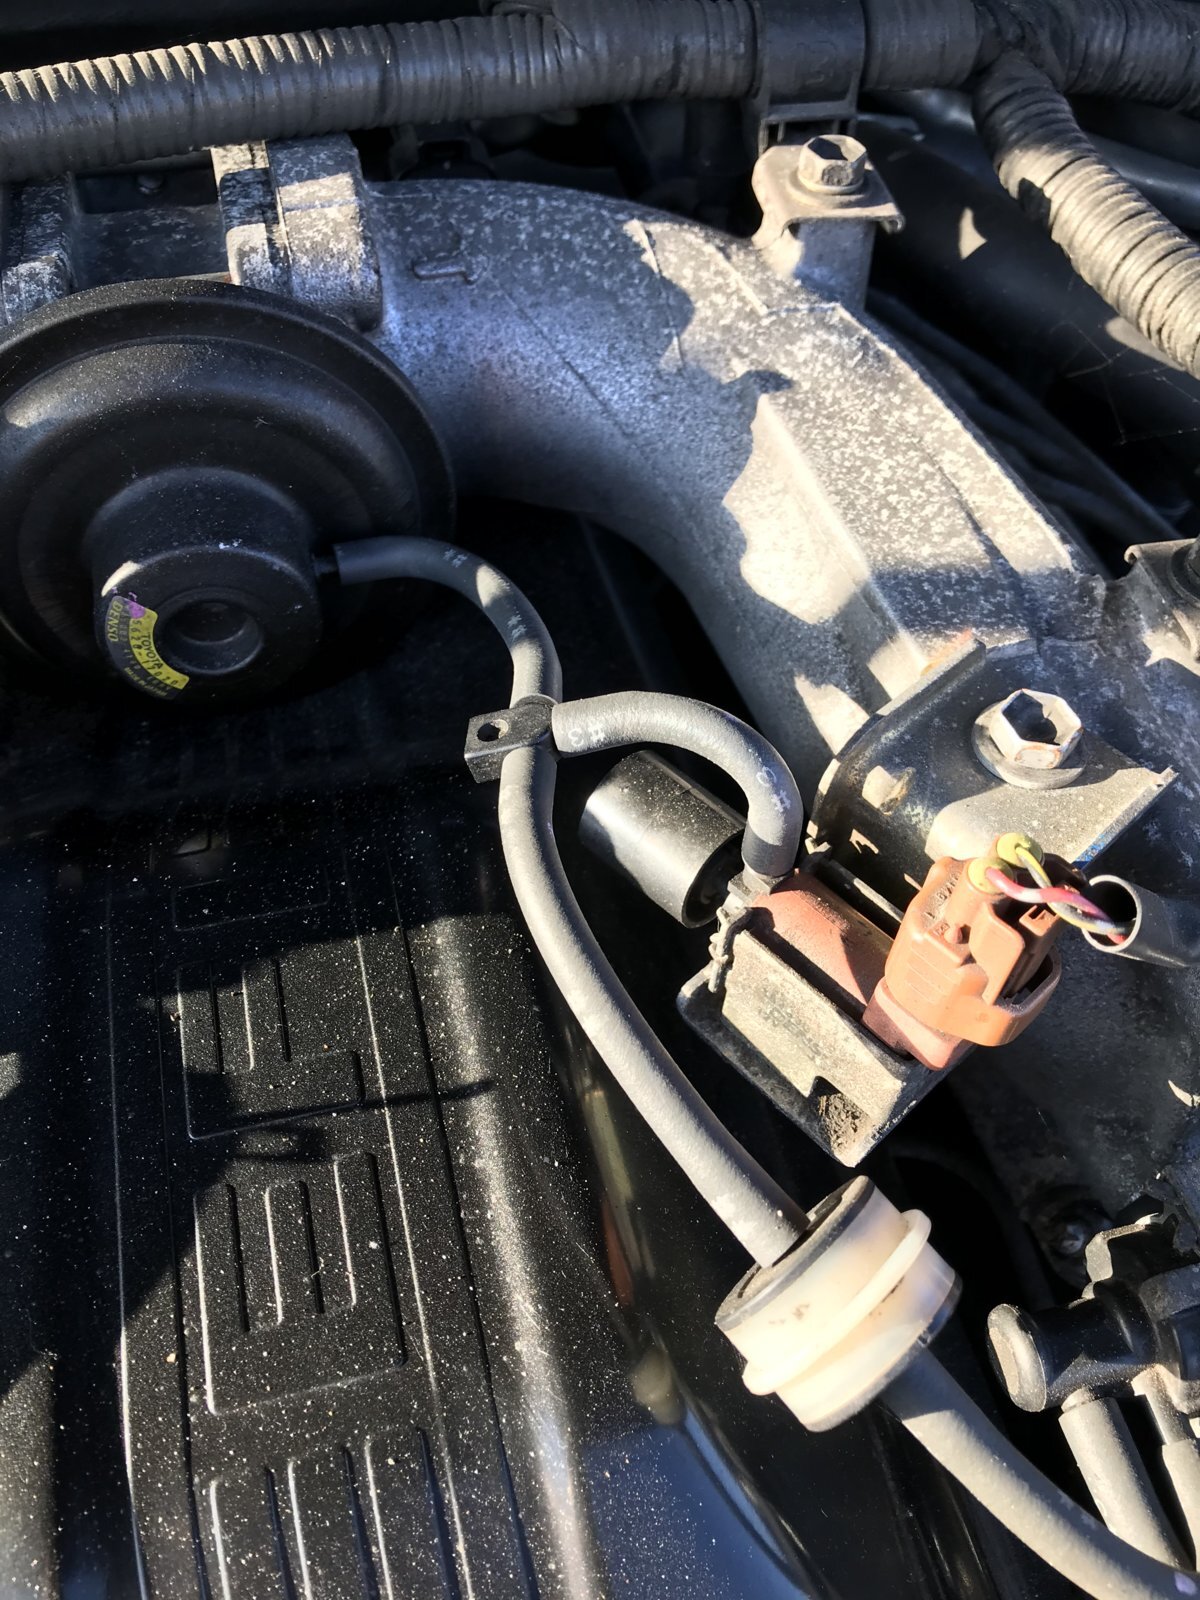
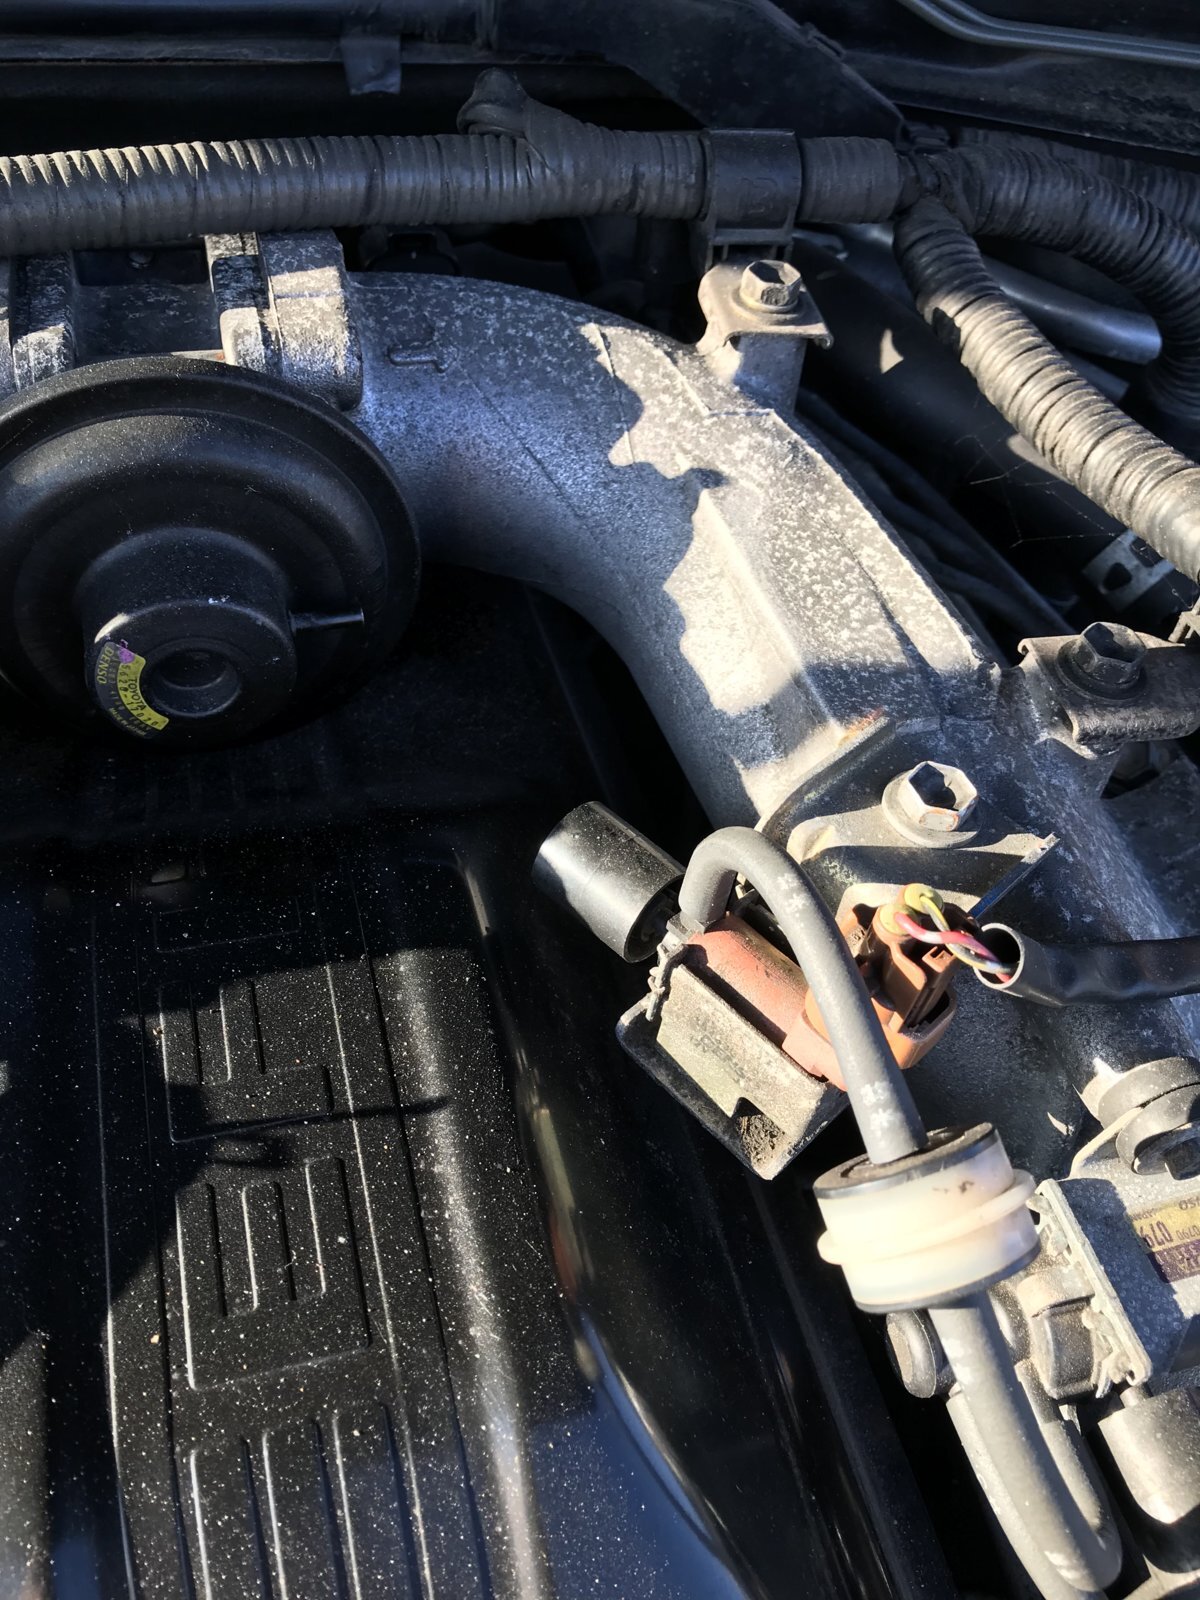
There is a bracket on the left side of the egr block with 2x10mm bolts with socket access and release the rubber hose going to the egr valve easy job.
EGR2-14-200x200.jpg

Step 11
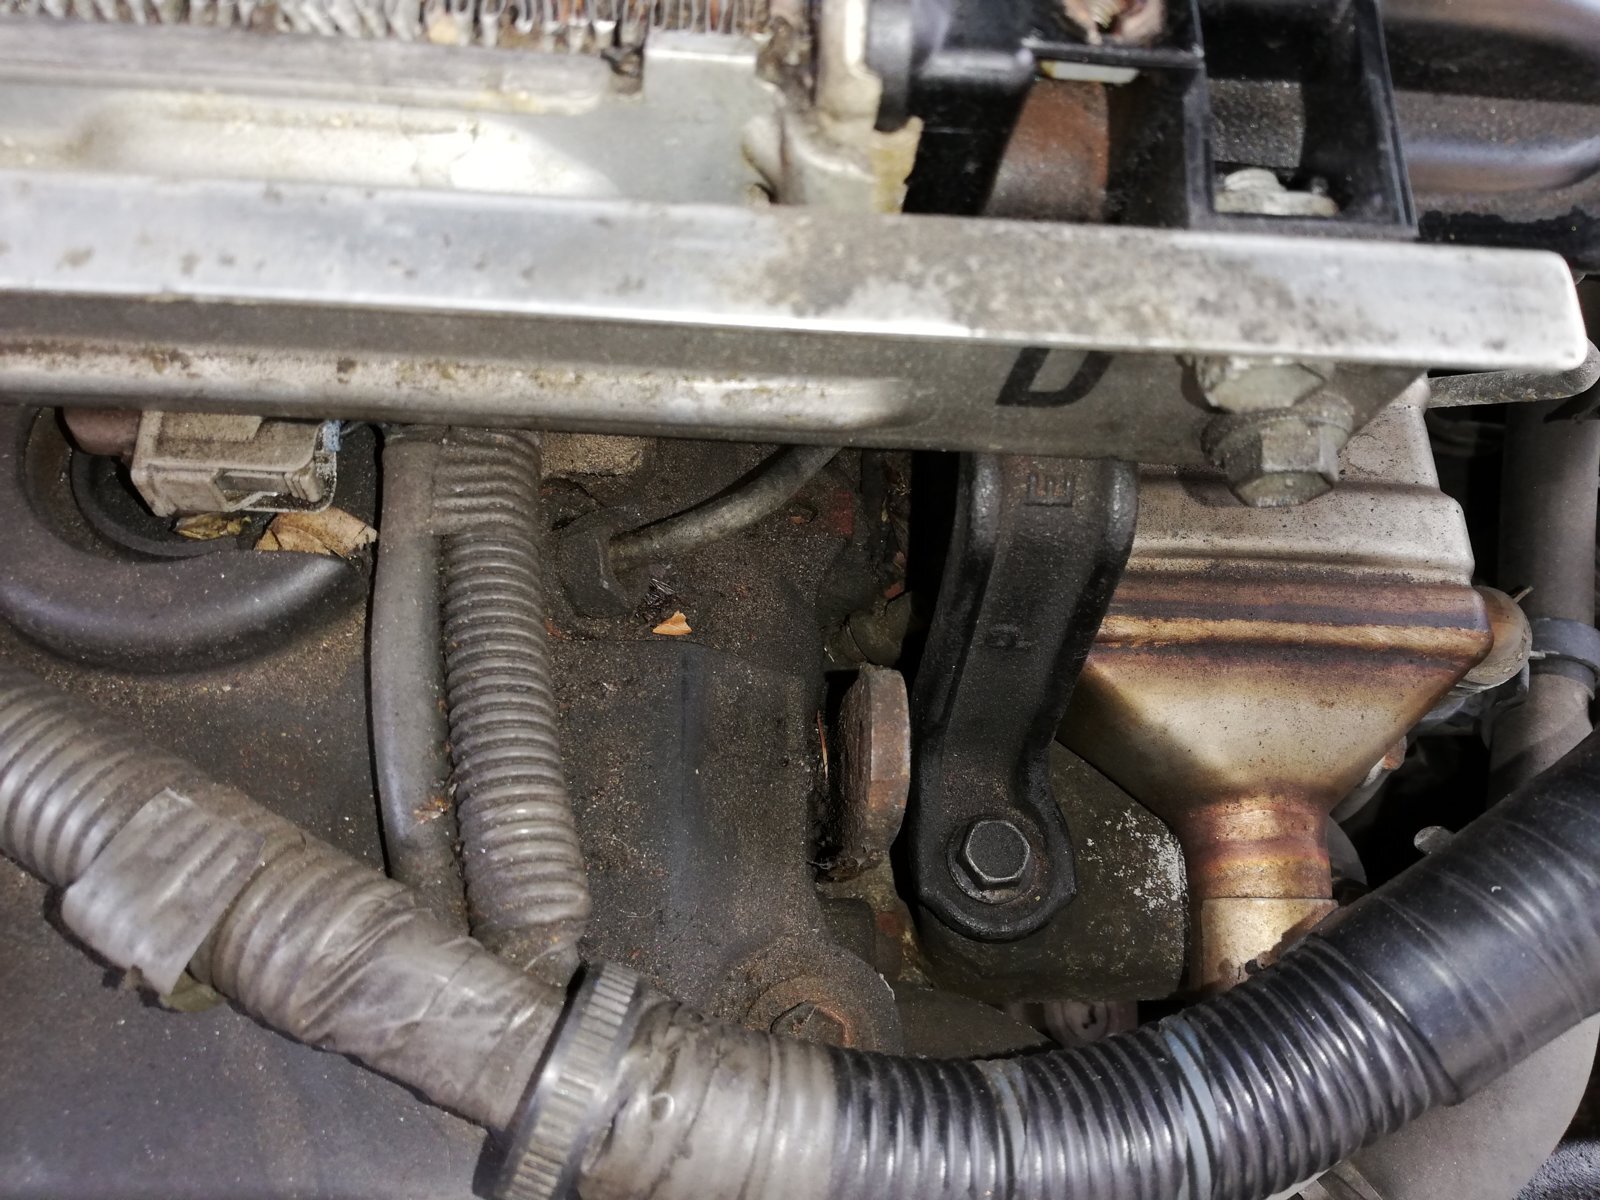
There are 3x12mm bolts holding the egr exhaust pipe bend on to the manifold block 2 bolts on the left and 1 on the right. All accessable the socket with extention bar as shown below
EGR2-17-200x200.jpg

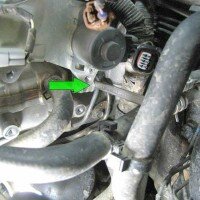
This is the right hand side with socket to show the location of the bolt on the right side.
Little awkward but with patience and good light will be achieved.
EGR2-18-200x200.jpg

Step 12
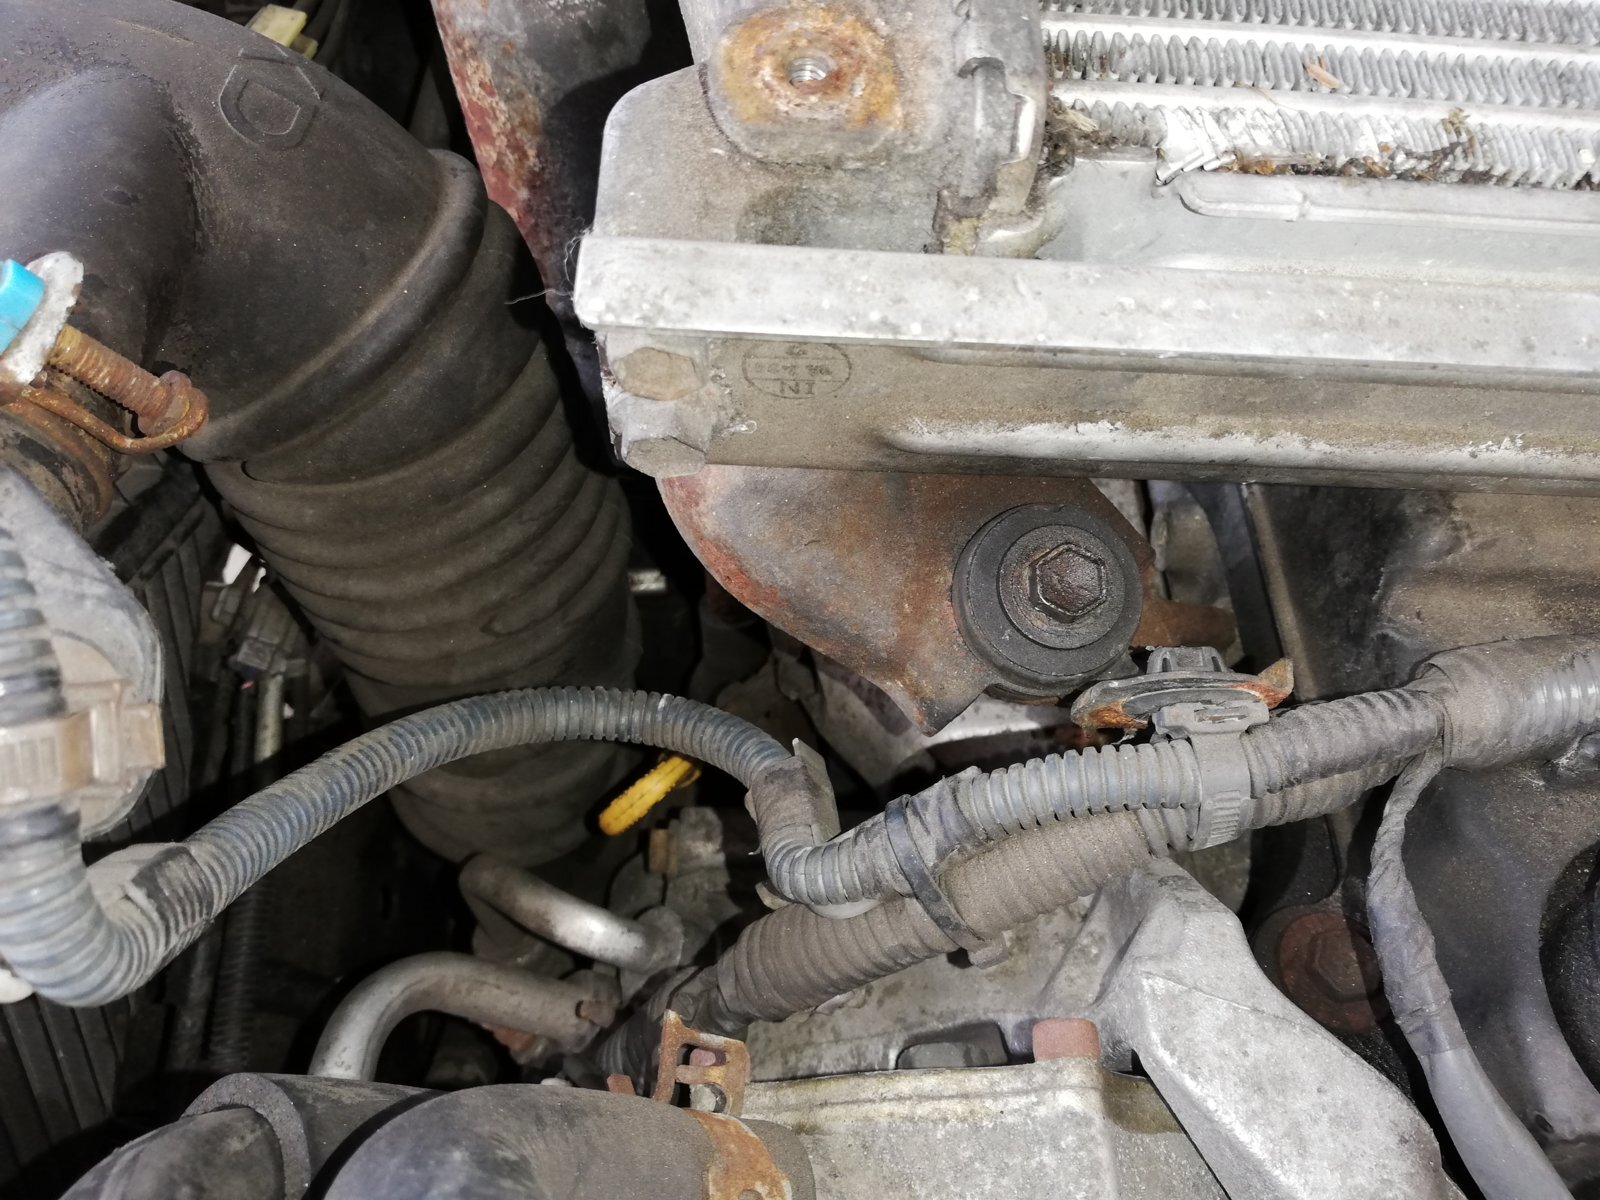
There is a 2x12mm bolts holding the remaining last 2 bolts holding the whole egr block to the body.
One on the left and socket accessable and one on the right I had to use rachet spanner because not accessable with socket due to water hoses etc.
This is probably the most timely job of the whole project as its OK if you have small hands or a wife or daughter handy.
EGR2-21-200x200.jpg
EGR2-18-200x200.jpg

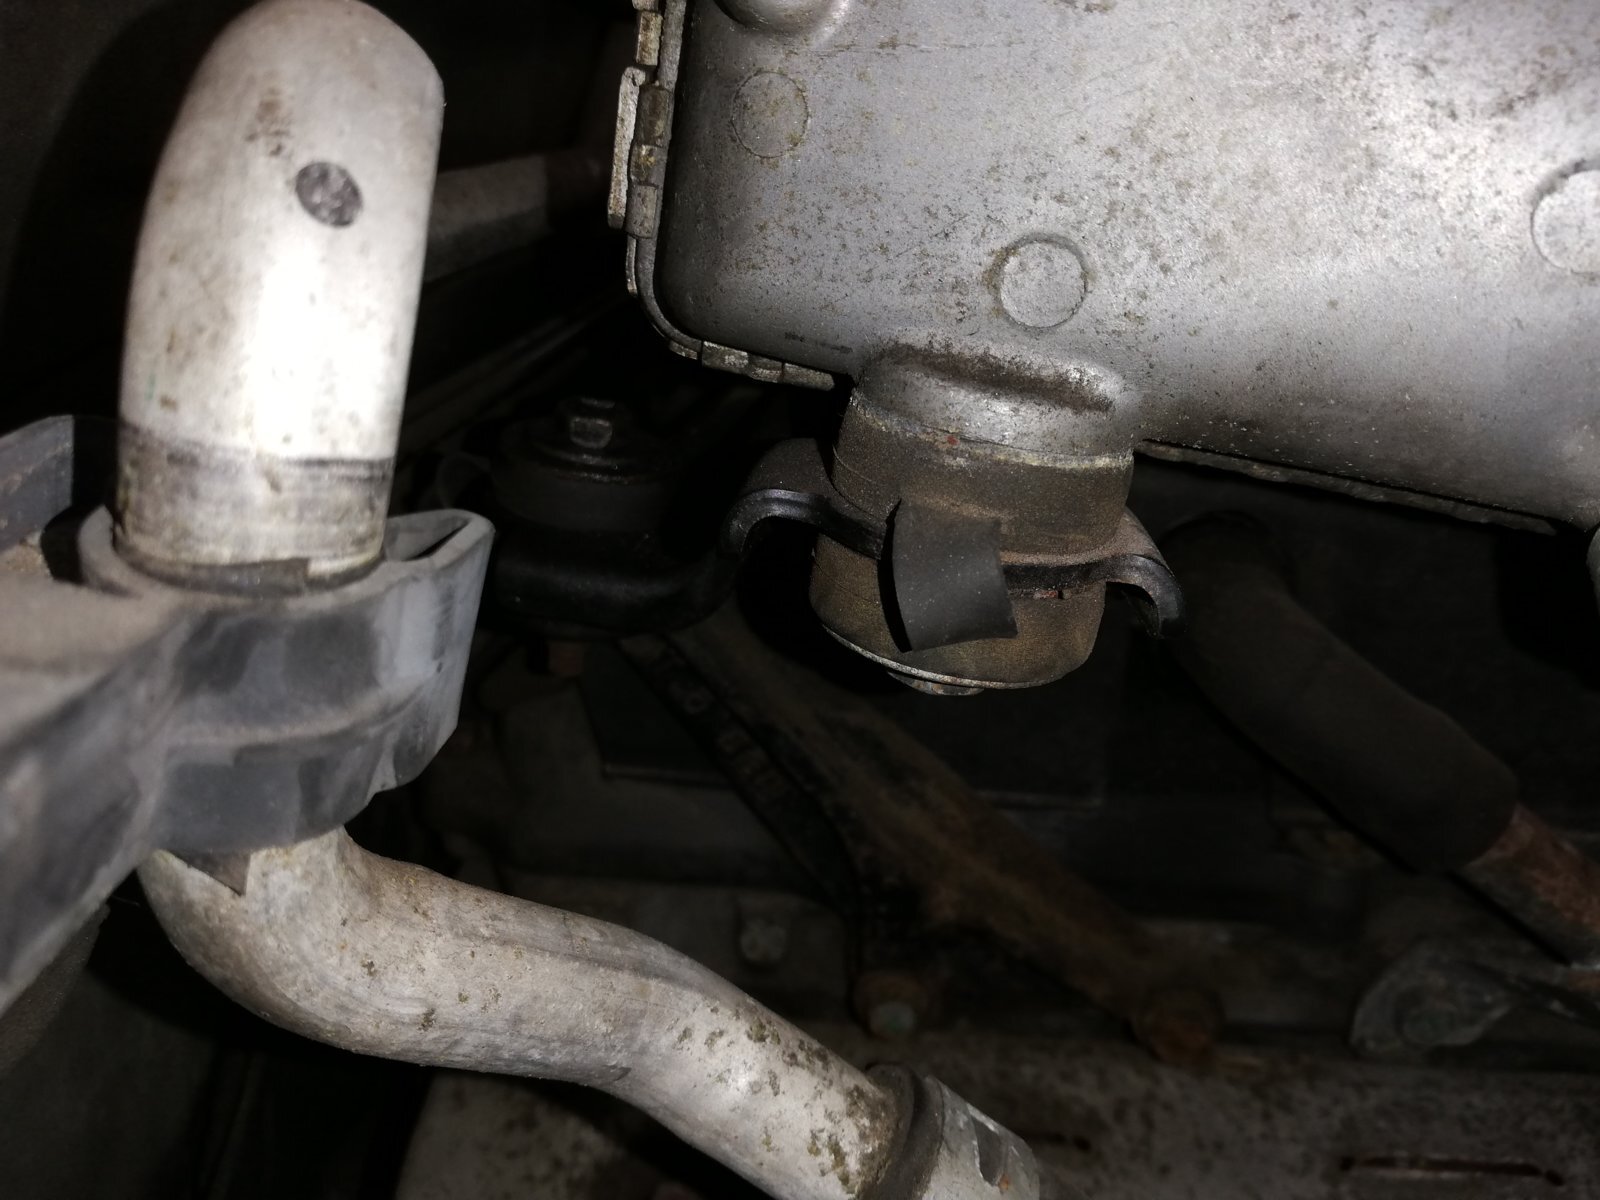
After removing the final bolts you can remove egr unit with a little wiggle and if any clips still attached just release.
The 4 bolts you have just released are as shown below that held on your whole unit.
EGR2-22-200x200.jpg


Now the time consuming part cleaning. The unit comes apart as shown below
EGR2-23-200x200.jpg

EGR2-24-200x200.jpg
.
My Kdj120 has done 213000 and somebody has done an egr clean in the past as mine was not bad at all but still needed cleaning regardless. I used carburettor cleaner only cos I already had it.
People use petrol /break cleaner/oven cleaner etc.
One tip I cleaned the spring on the throttle body valve and the flap even tho it didn't look that bad. After using my spray and letting dry I then used sandpaper to get excess crap off the walls.
After cleaning and ready to reassemble make sure all your gaskets are replaced and secure.
To save a lot of time and headaches replace the gasket that fits between the egr and the manifold block with a new gasket as this is the important one.
I reassembled my egr but take your time and replace all pipes and bolts and electric tabs but don't rush as it will cause mistakes.
Moment of truth after reassemble the engine start.
I started my car and let run for a few minutes just to check all is good and bingo.
I went on test drive and was surprised how crisp my throttle response was and went like a rocket.

Tools used.
1x10mm spanner
1x12mm spanner
1x10mm socket
1x12mm socket
1x14mm socket
Plenty of patience for time consuming.
Hope you achieve your egr clean and put a tick on your mechanic skills.
Good look
 

Attachments

  • EGR2-20-200x200.jpg
    EGR2-20-200x200.jpg
    16 KB · Views: 53
Back
Top