Don't like the adverts?  Click here to remove them

Hedgehog - LC100 build thread

I had a DVD changer in that space. Interesting how different markets have different fitments.
Those heat exchangers get very very hot...
All those right angle bends are going to significantly reduce water flow plus you need to ensure that the plastic elbows are rated to high temps or will become brittle and fail.
I'd be putting in curved copper bends. In fact I'd be bending up copper tube to replace half of what you have so a lot less points of failure.

Any idea what your TARE weight is now :) for what its worth, we can get 3.7 tonne GVM ratings on the standard axles in Aus.

Thanks Womble some good thoughts - so PVC is pretty stable up to 140C (it goes brittle at low not high temps). Water system should stabilise around 82C due to radiator thermostat - but could get to say 100C max (bear in mind that I don't have heat radiation from the engine to worry about unlike in your install...and also it is in a temperature controlled environment of the passenger cell.....actually the general concern is that it wont get hot enough). If I have water at over 100C then I have real problems elsewhere and I can use it to vent the steam :) . I get your point about the angles - I'll only really know if there is sufficient flow when I've finished commissioning.....it is all a bit of an experiment and there are a lot of other variables too - like shower pump flow rate, exchanger ratio, losses etc. Also my thinking is that if the engine water pump is turning at the same rate and pushes the same volume then any elbow bend in the circuit only really serves to increase the load on the pump (marginally) and the flow rate is only constrained IF the pump/engine is unable to cope with the extra 'friction' of the elbows...personally I cant see that happening in this case

Having lots of potential points of failure is an issue I agree but in the scheme of a car with thousands of potential PoF these additional ones don't really make much difference. If I did have a catastrophic leak here then I'd short circuit the joins/or remake them, top up with water and carry on.......with on-board storage of over 50 litres then I'd have enough to top up to get out of a desert even.

This may be an area to look at after my Europe shakedown later this year....I'm all for simplification and reliability of the critical items. Keep the observations coming!
 
Any idea what your TARE weight is now :) for what its worth, we can get 3.7 tonne GVM ratings on the standard axles in Aus.

I'll be taking it for an all up GVM weigh in in the next couple of weeks....now that the winch is on it I'll be pretty close to the handbook GVM with full diesel/water, occupants etc. Will let you know how many kilos. May need to go on a diet soon :)
 
Finally commissioned the water tank today and now properly connected to the rest of the water system. Took some time to flush the tank as I thought it may have crap in it....and I didn't want to fill the strainer up with that.

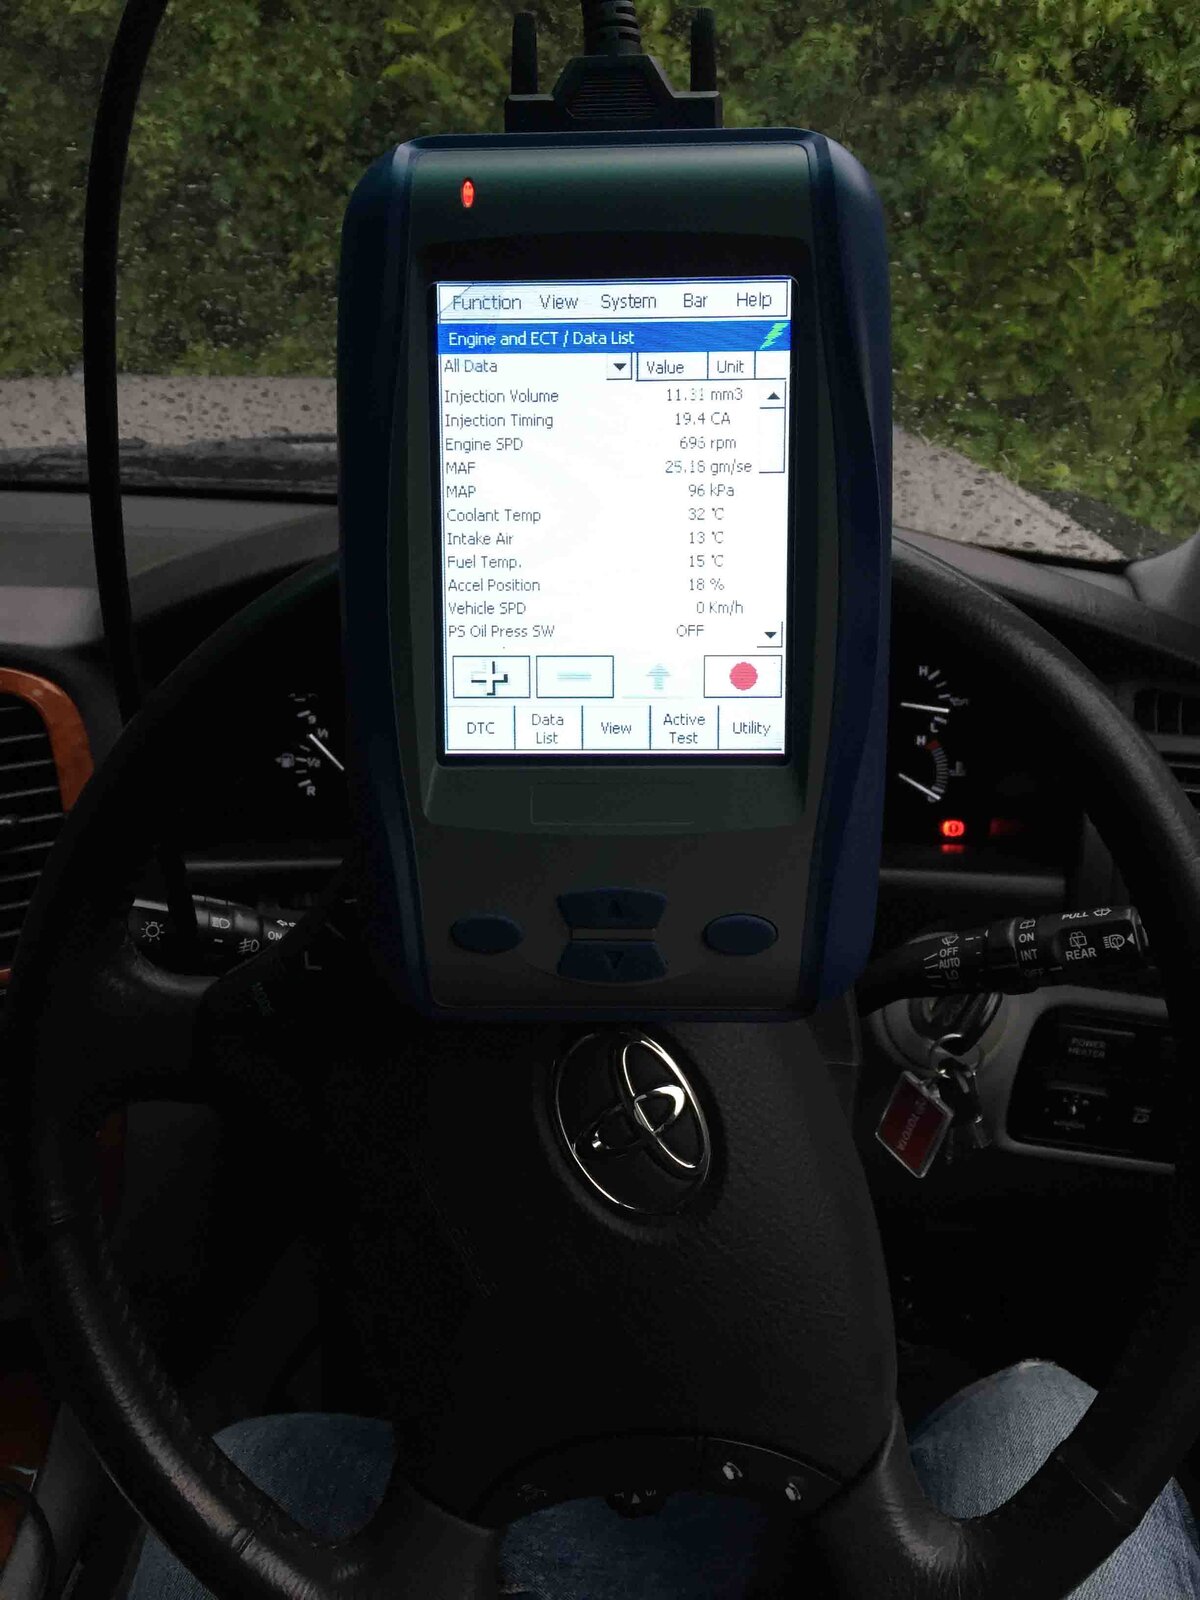
Also had a play with the Toyota Intelligent Tester that turned up

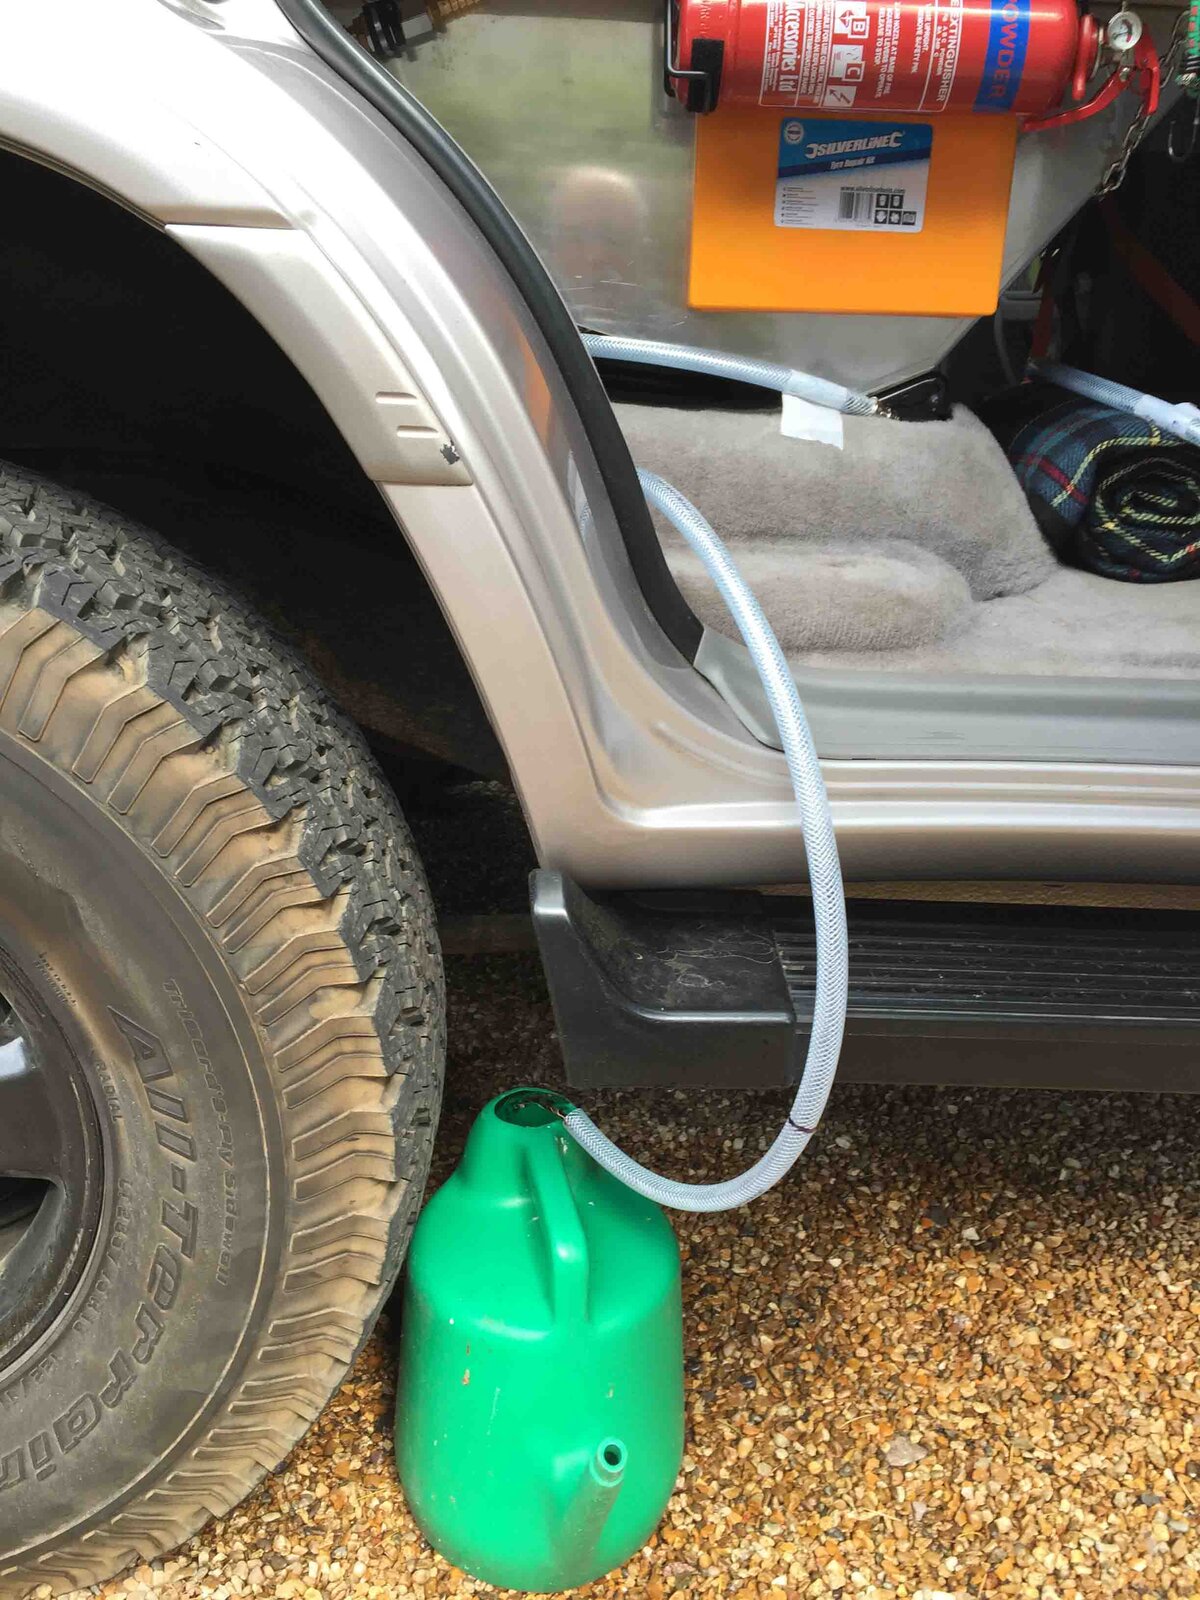
Syphoning 55litres out....wasn't wasted as went on the flowers

IMG_1645 low res.jpg

Tester connected up and showing no DTC.....I need to spend a lot of time with this gadget to get the most out of it

IMG_1649 low res.jpg
 
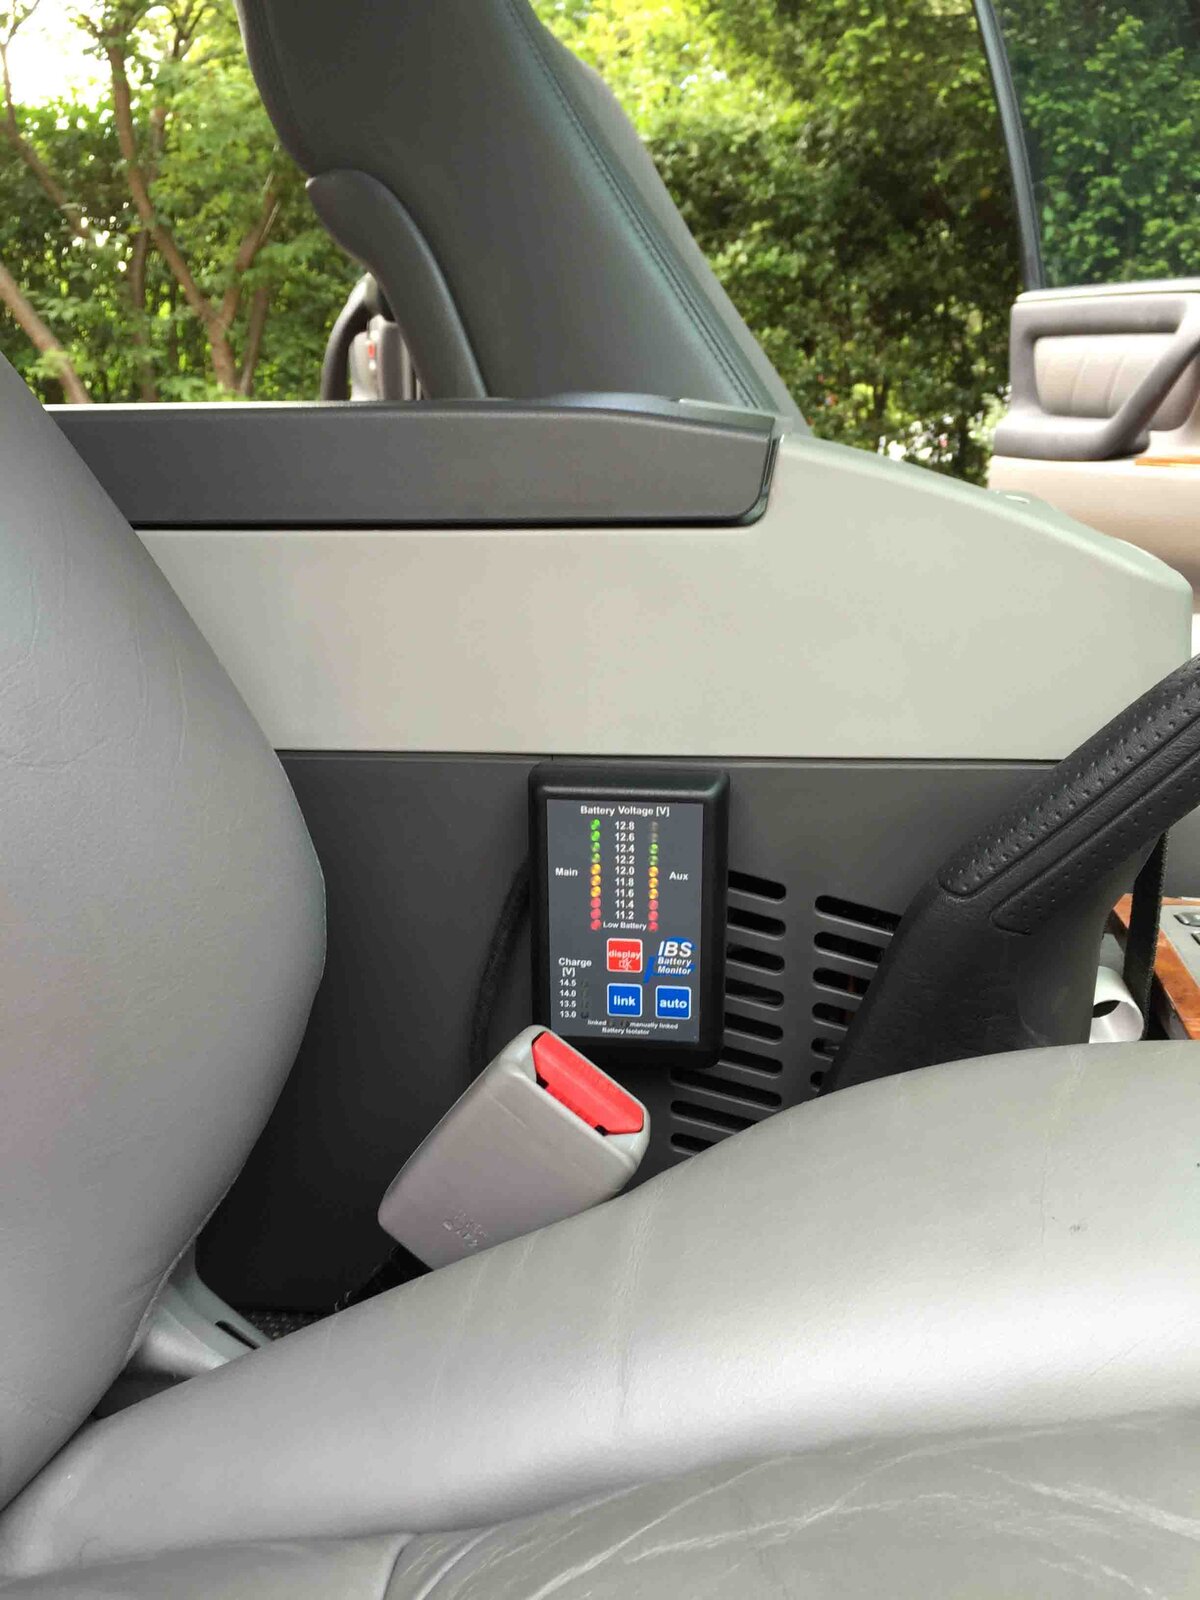
The IBS (Intelligent Battery System) split charge control system is now installed and operational.


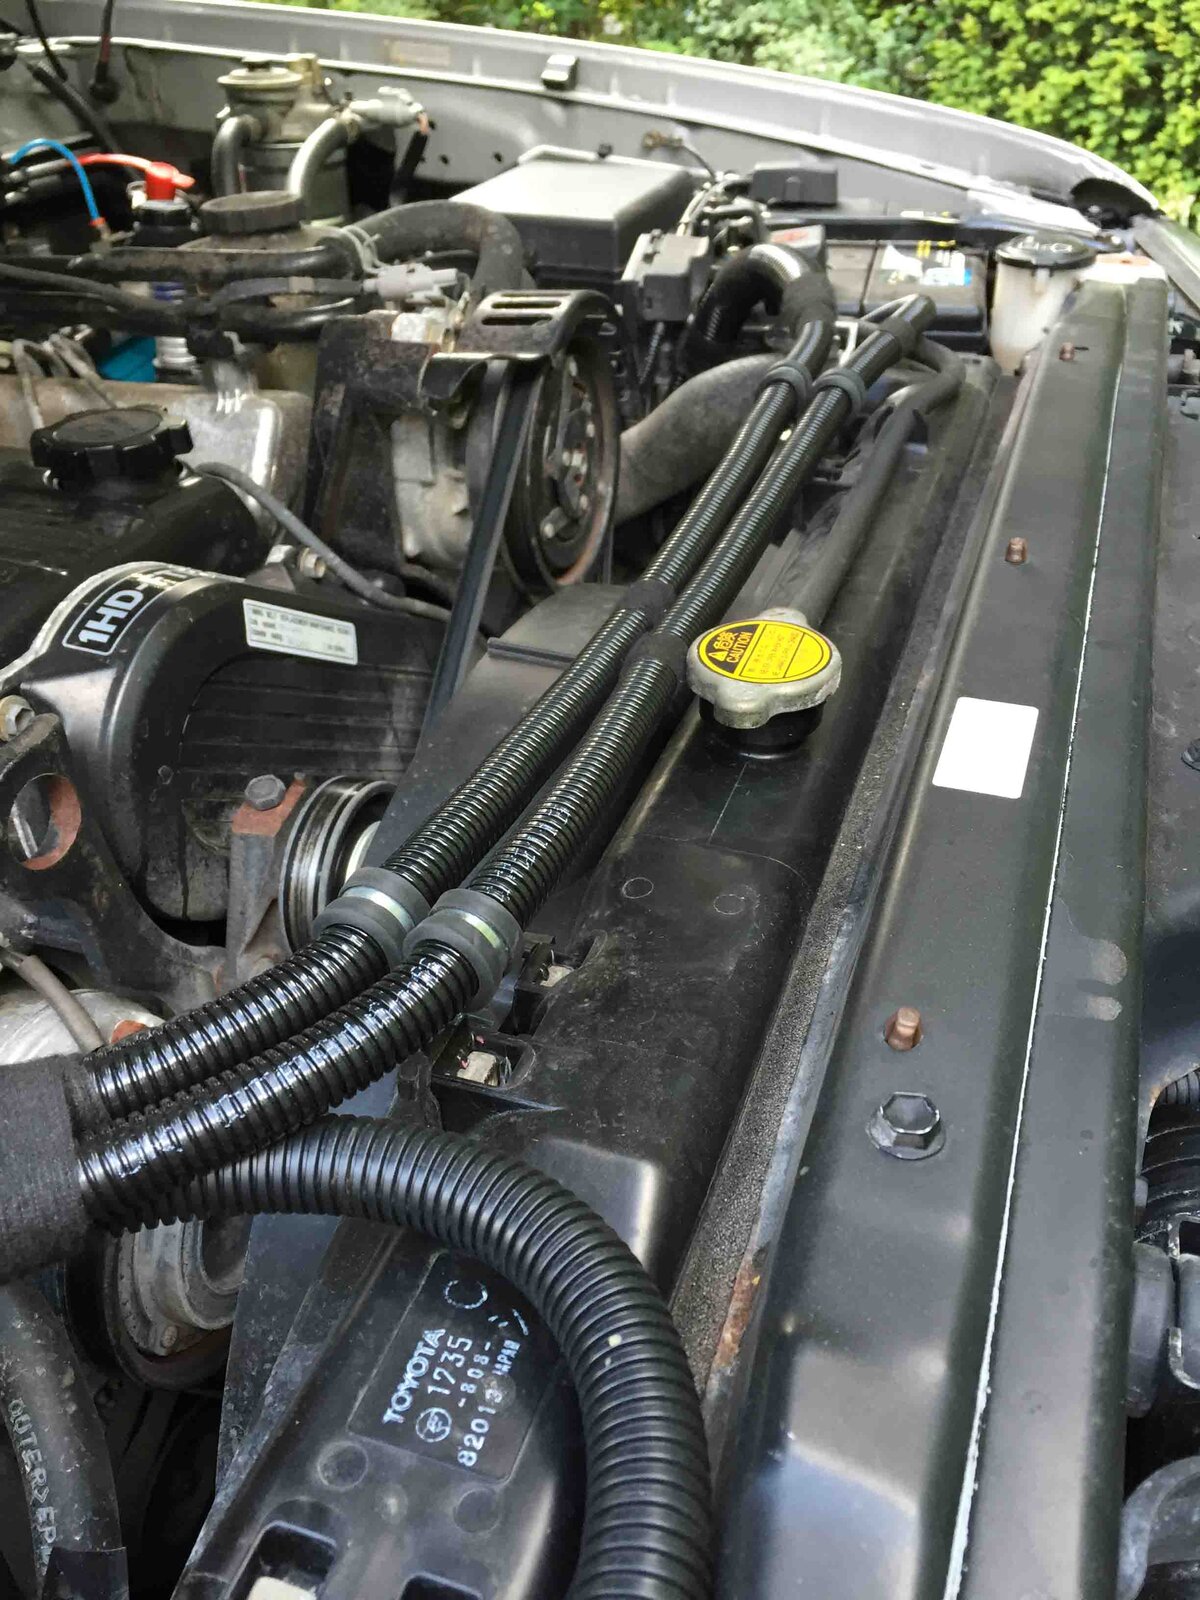
Wires flowing across the engine to the relay bank. There is some winch wiring in amongst this too. More on that later
IMG_1651 low res.jpg


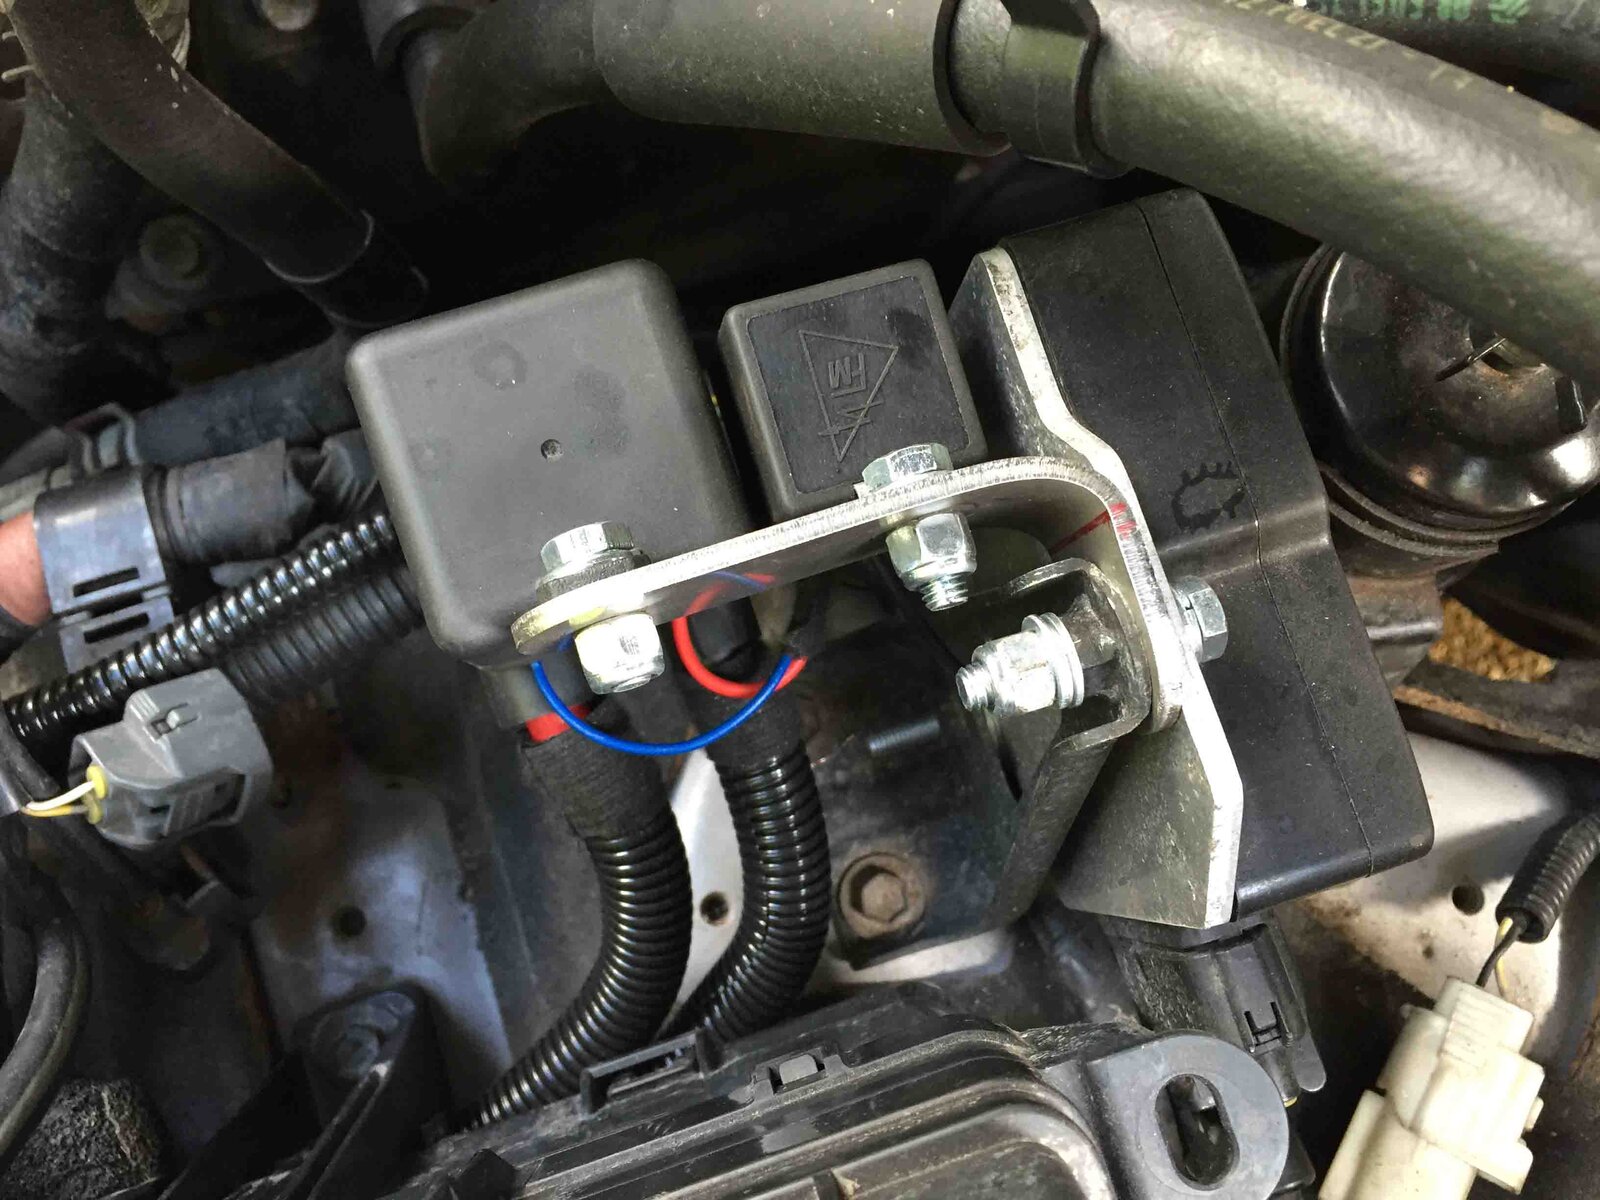
The main relay (200A) and the relay booster module mounted to a stainless bracket

IMG_1679 low res.jpg

Main control/display unit stuck to the side of the centre console switch. Not shown is the multi-way plug which once disconnected allows a full reset in case of problems....easily accessible. Next step is to mount a convenient connector to take the solar panel output direct to Aux battery. The IBS system auto detects additional charge there and will link the two batteries so that both benefit....although not sure if there is a minimum trigger voltage for this to happen

IMG_1673 low res.jpg
 
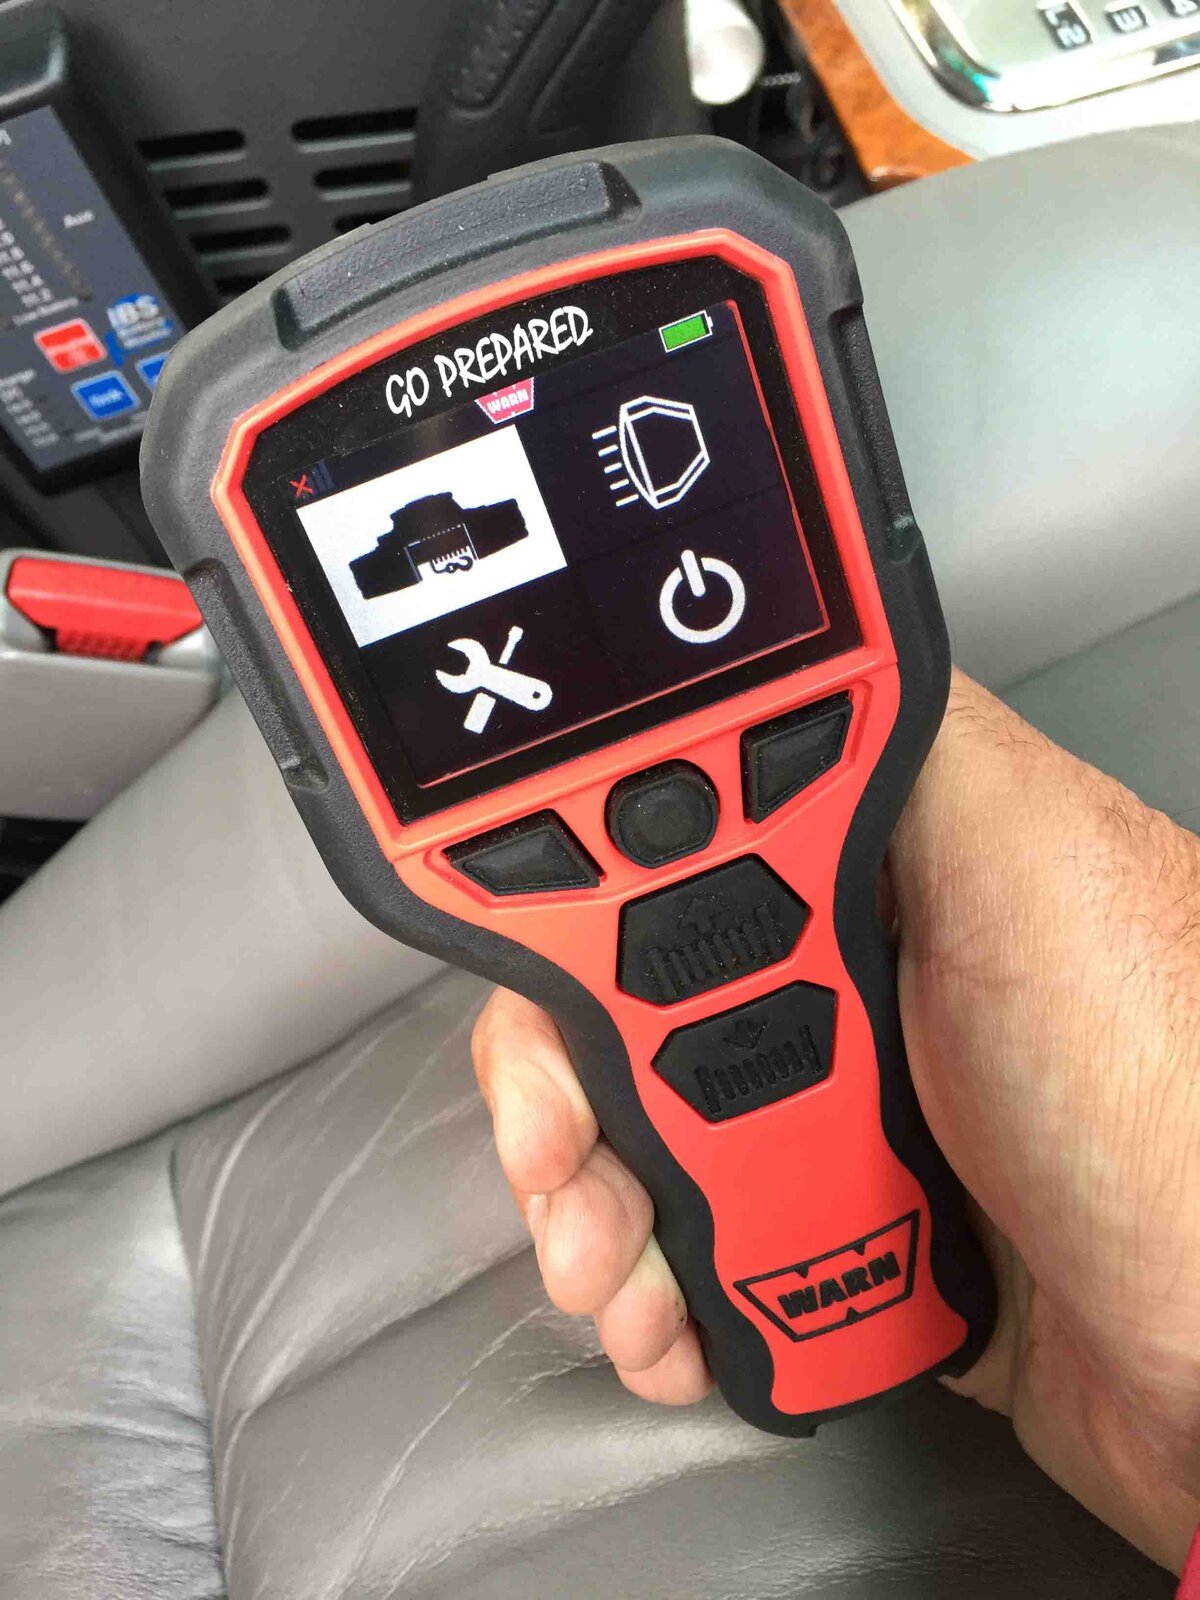
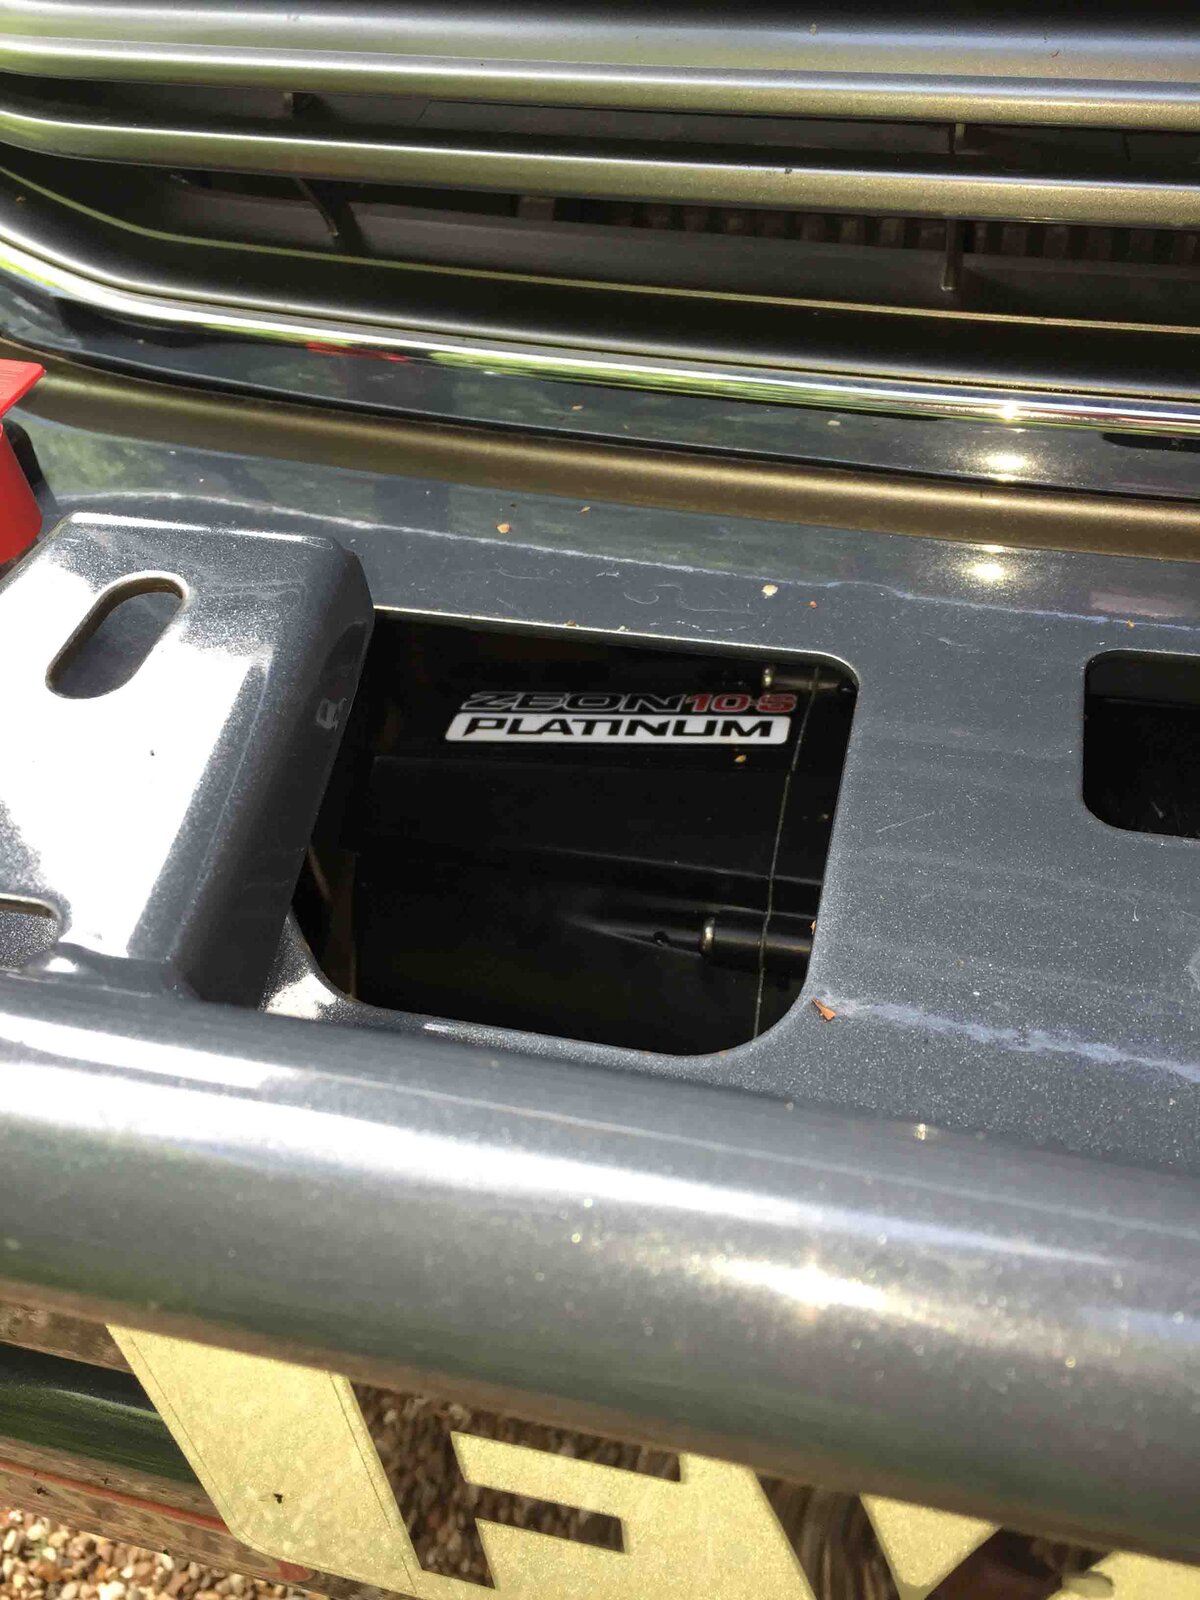
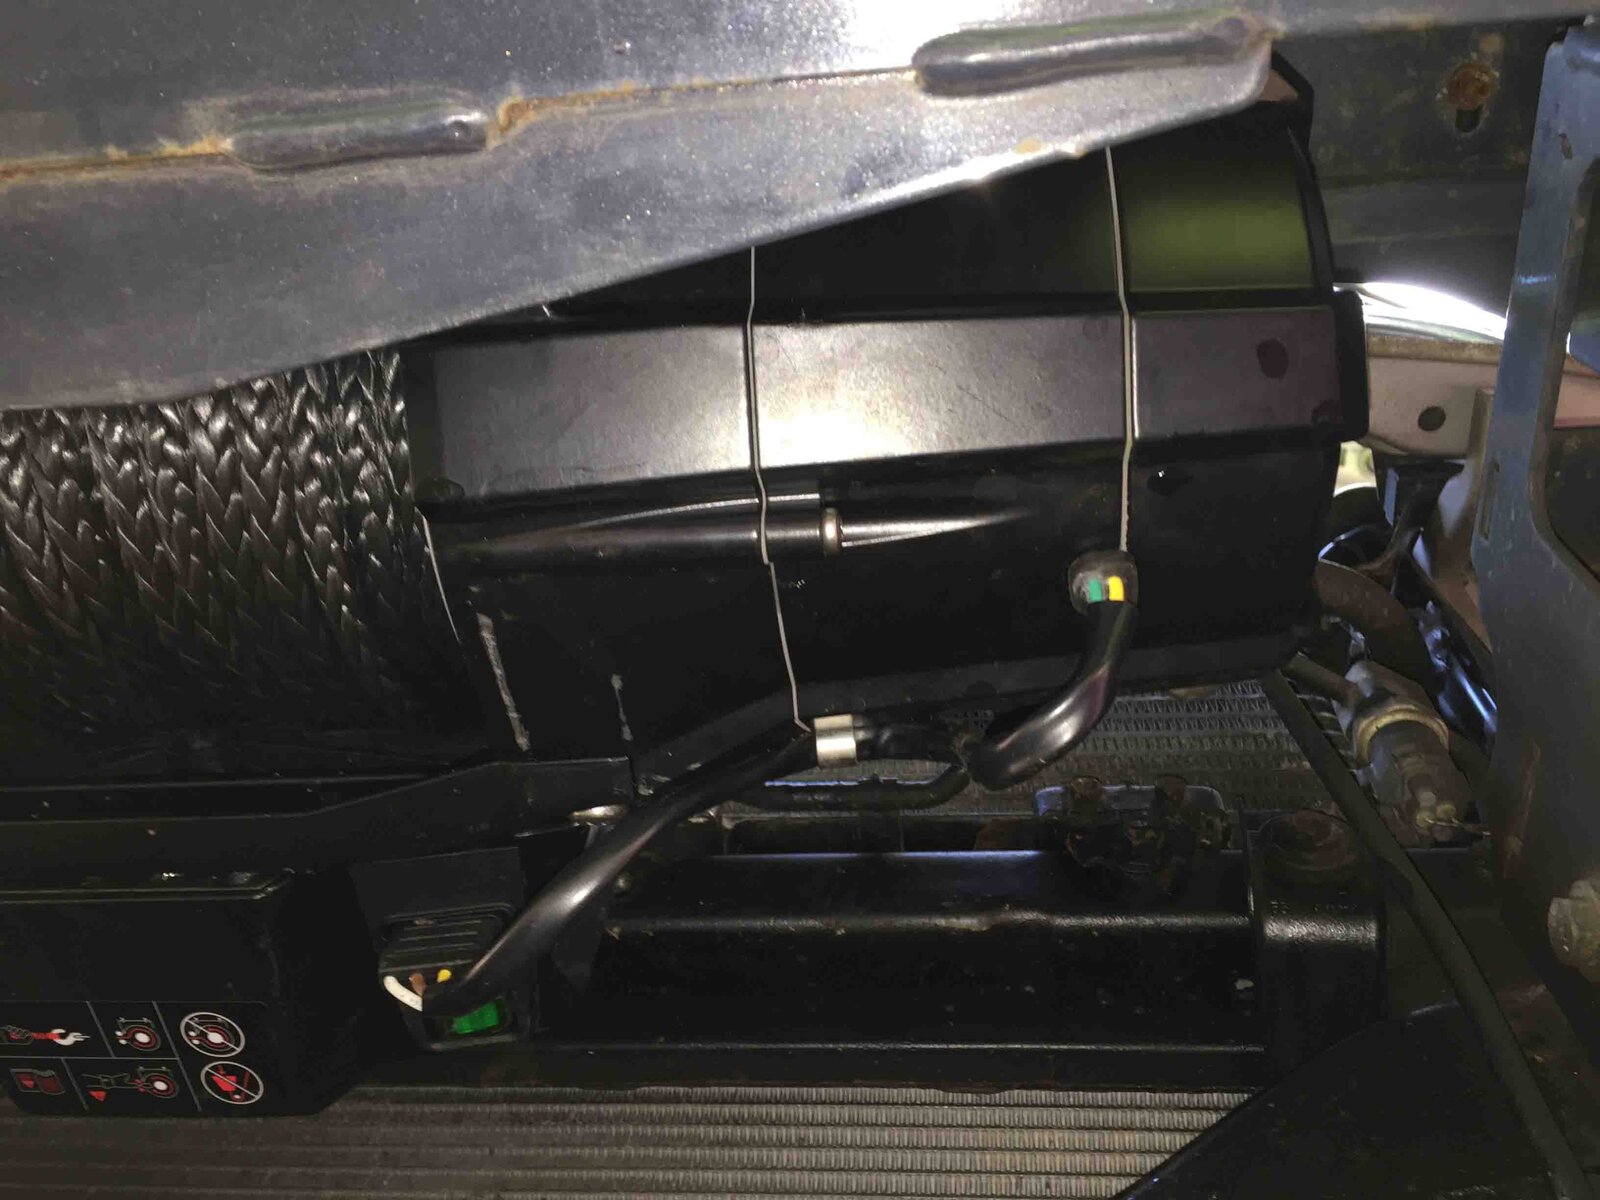
Warn Zeon Platinum 10s now installed. Need to find somewhere to try it out

The wifi based controller - no wires and clutch operated from here too. USB charging/power. 30m range.

IMG_1676 low res.jpg

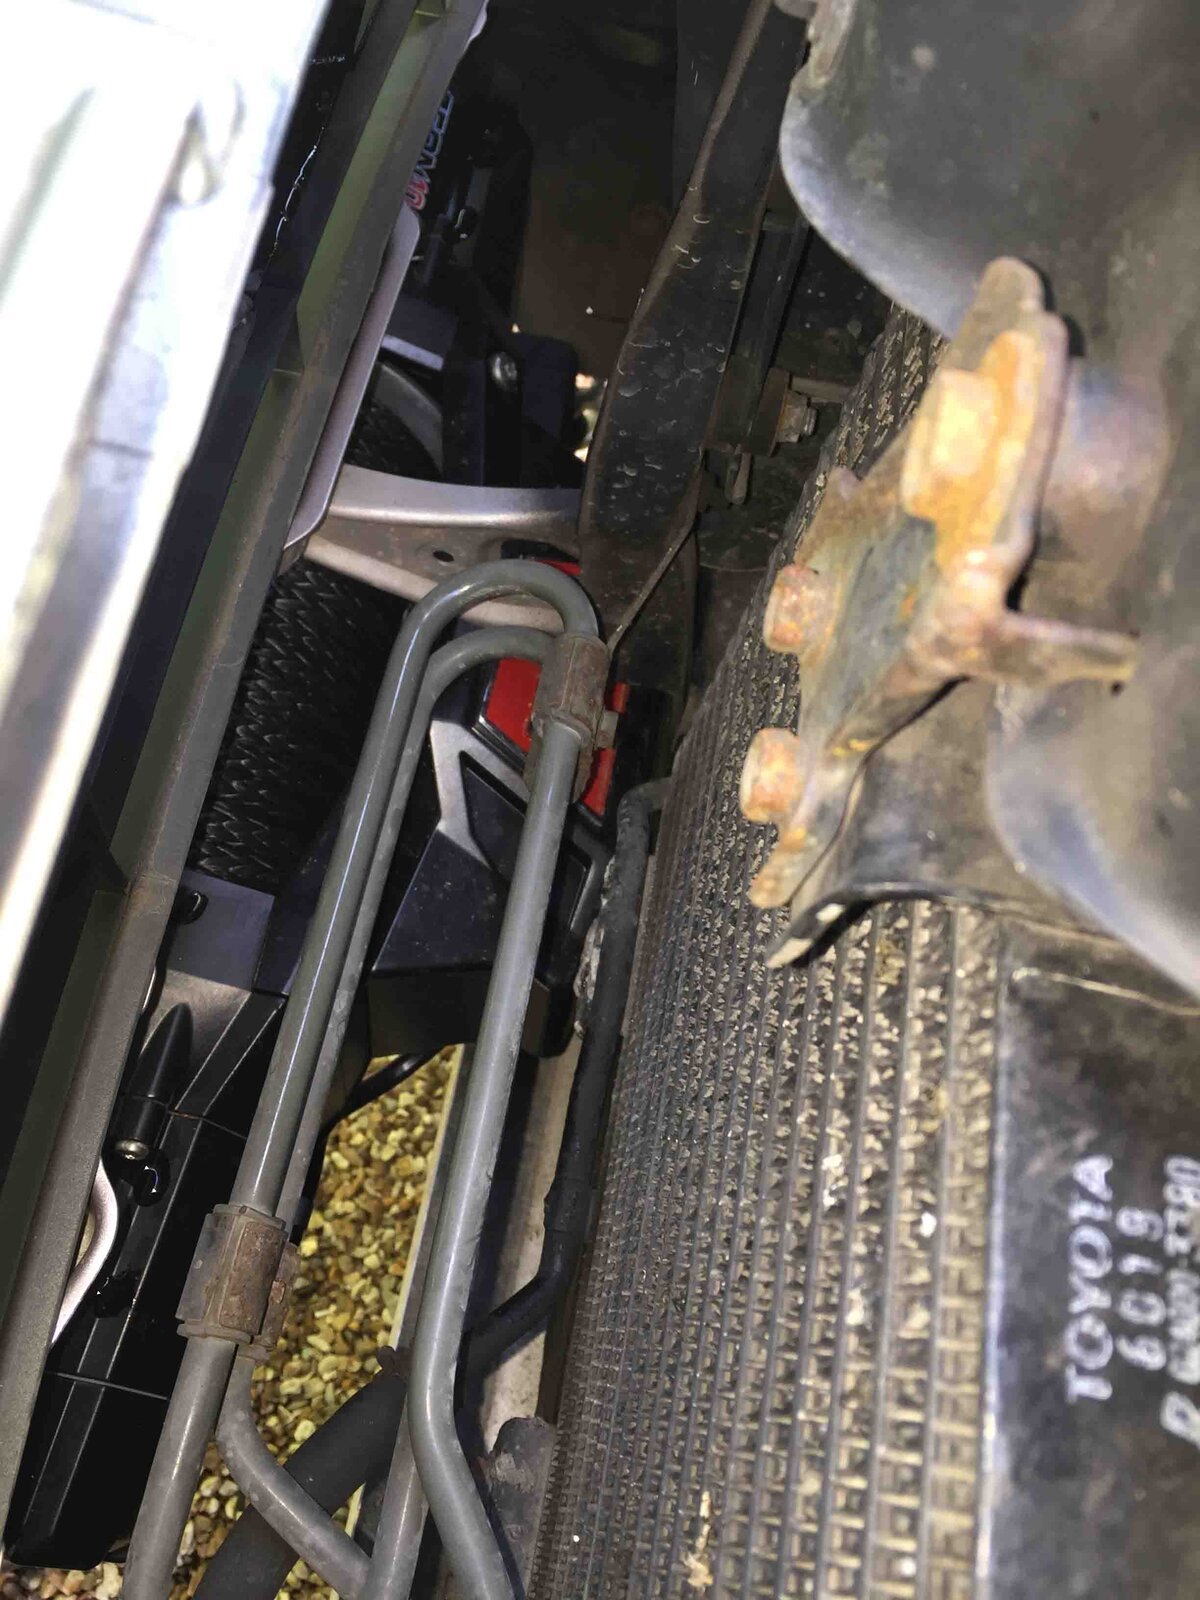
Not much space on the feet-first mount...but enough

IMG_1665 low res.jpg

All nicely tucked away behind the winch bar

IMG_1668 low res.jpg

the view from the underside looking up showing the main controller on/off switch

IMG_1663 low res.jpg

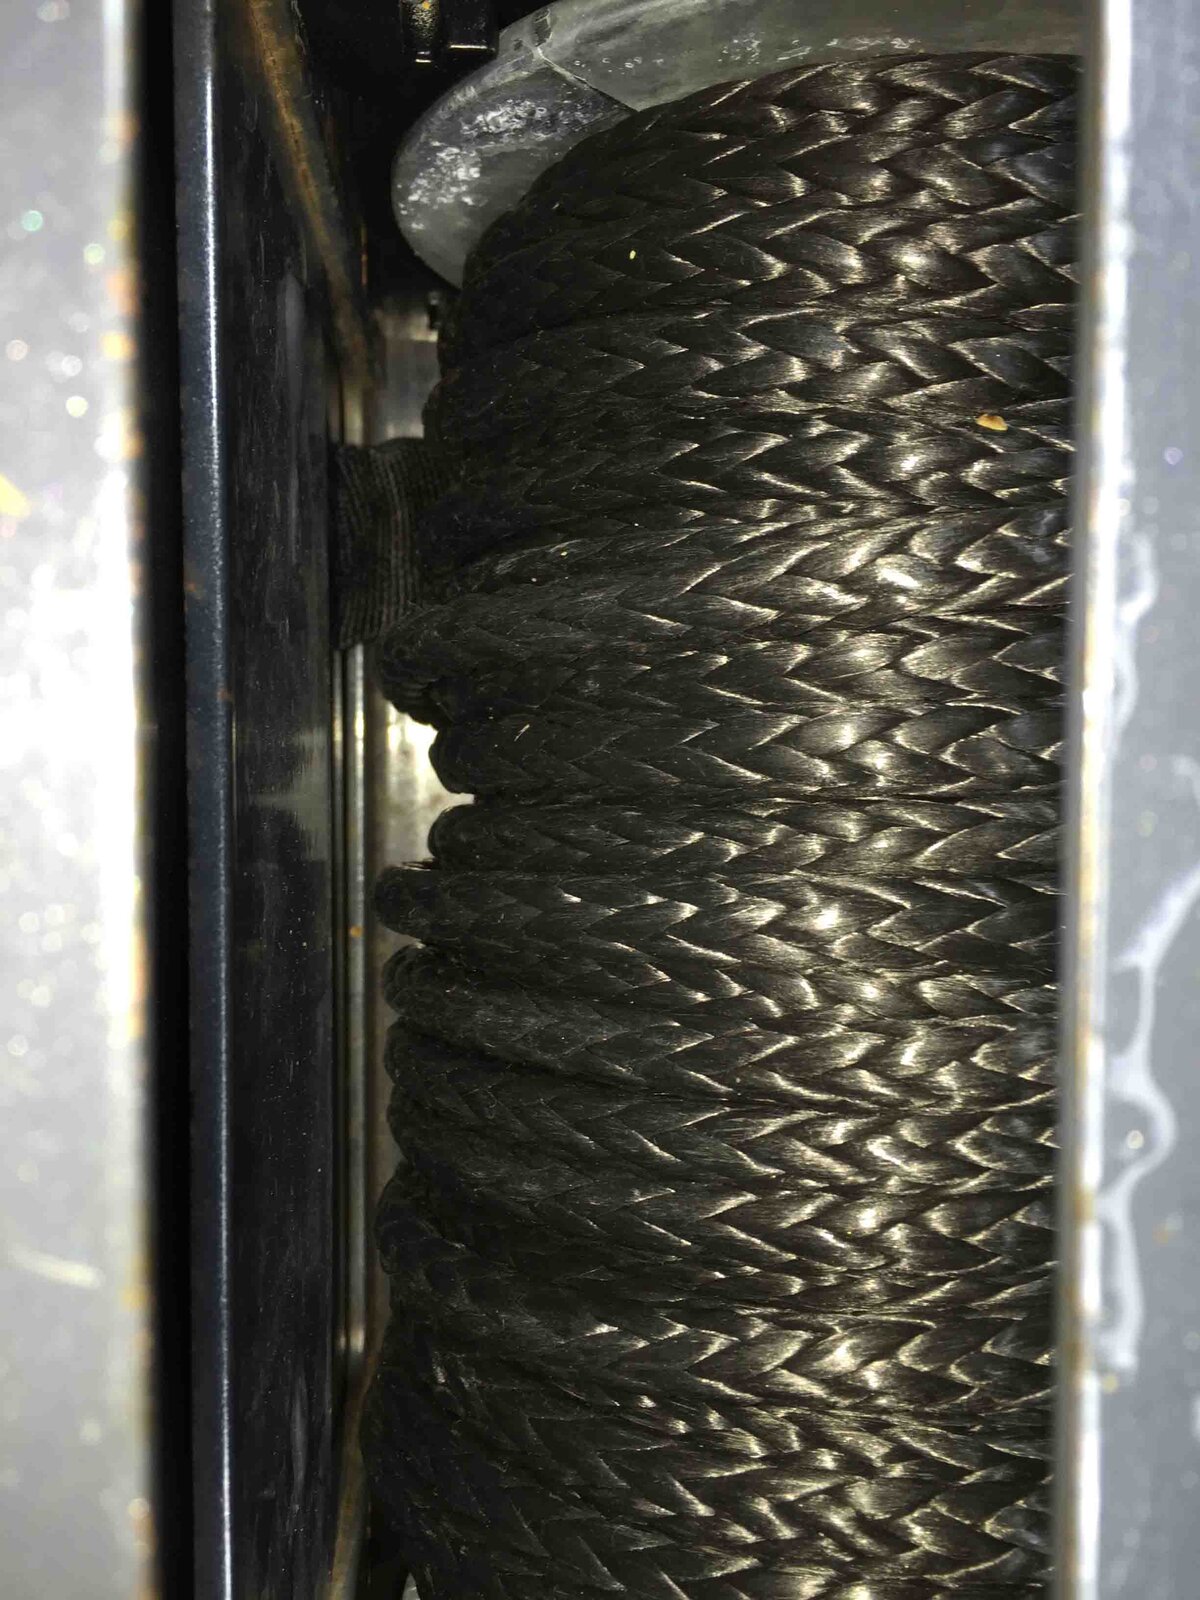
rope on the drum

IMG_1671 low res.jpg

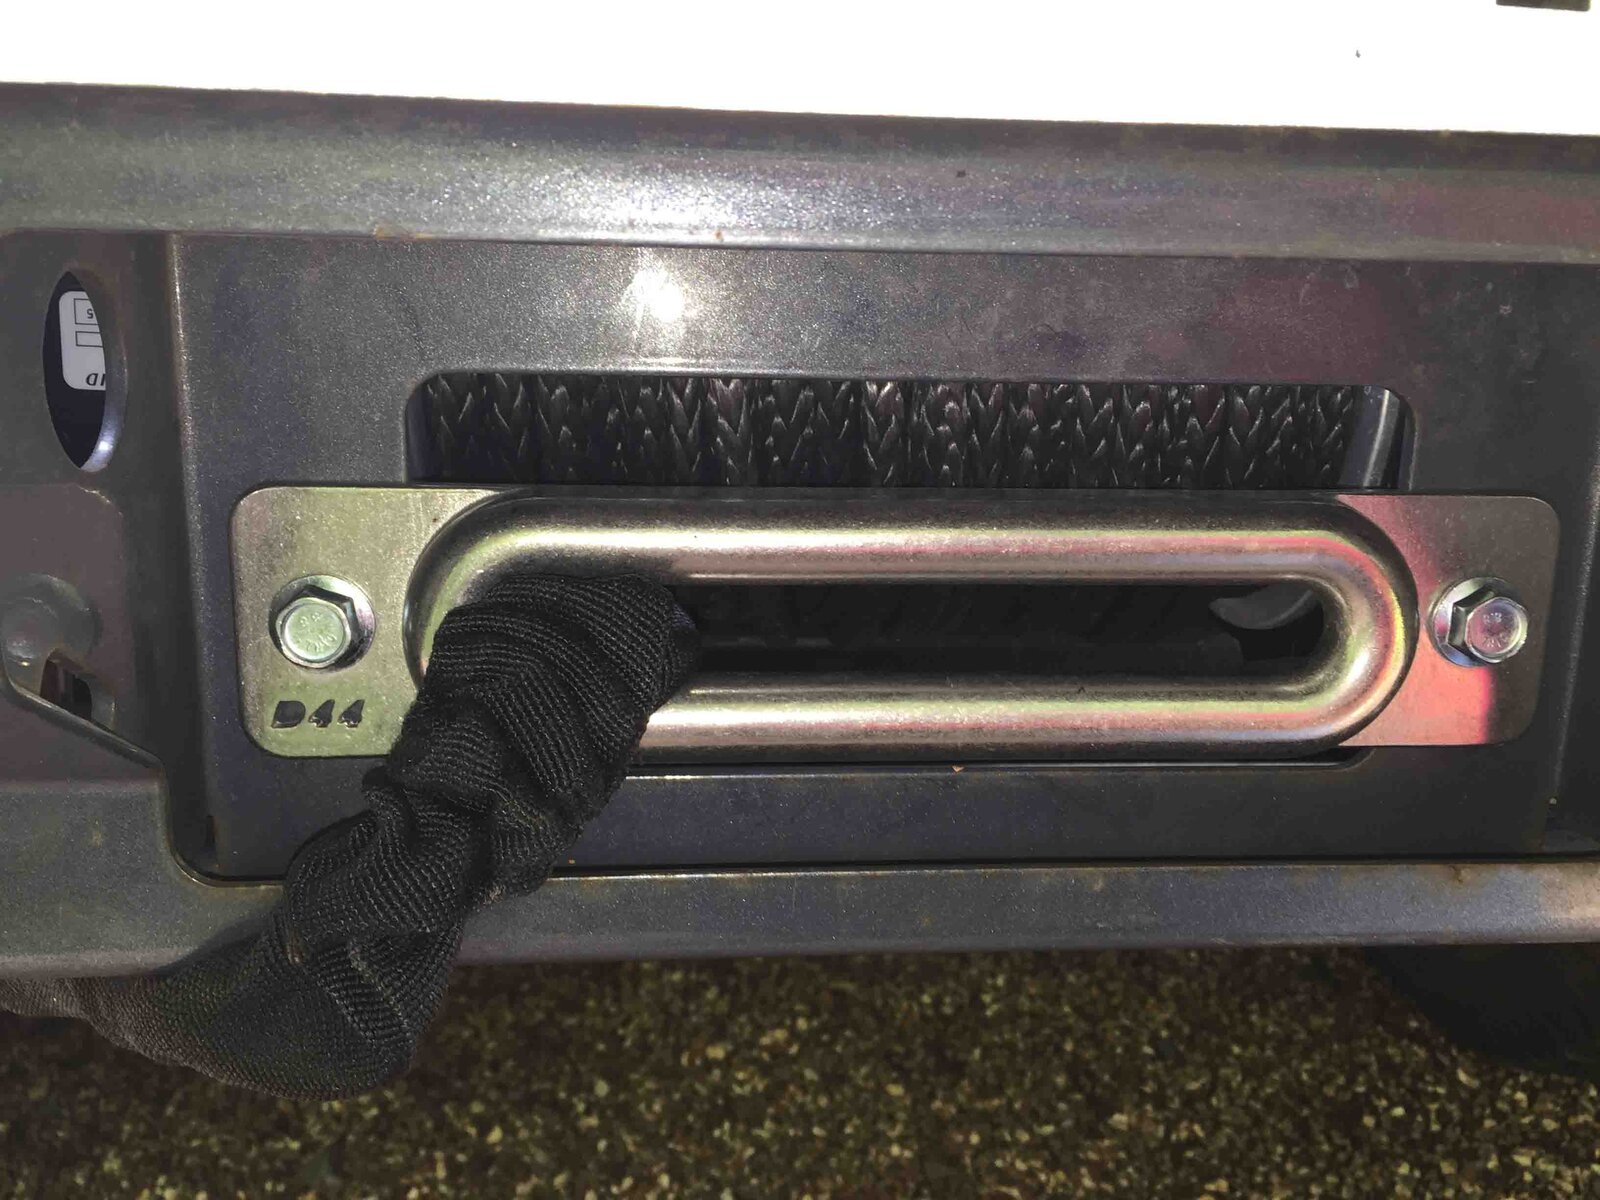
Used a stainless D44 fairlead rather than the alloy Warn one which looks nasty after a bit of road salt

IMG_1669 low res.jpg

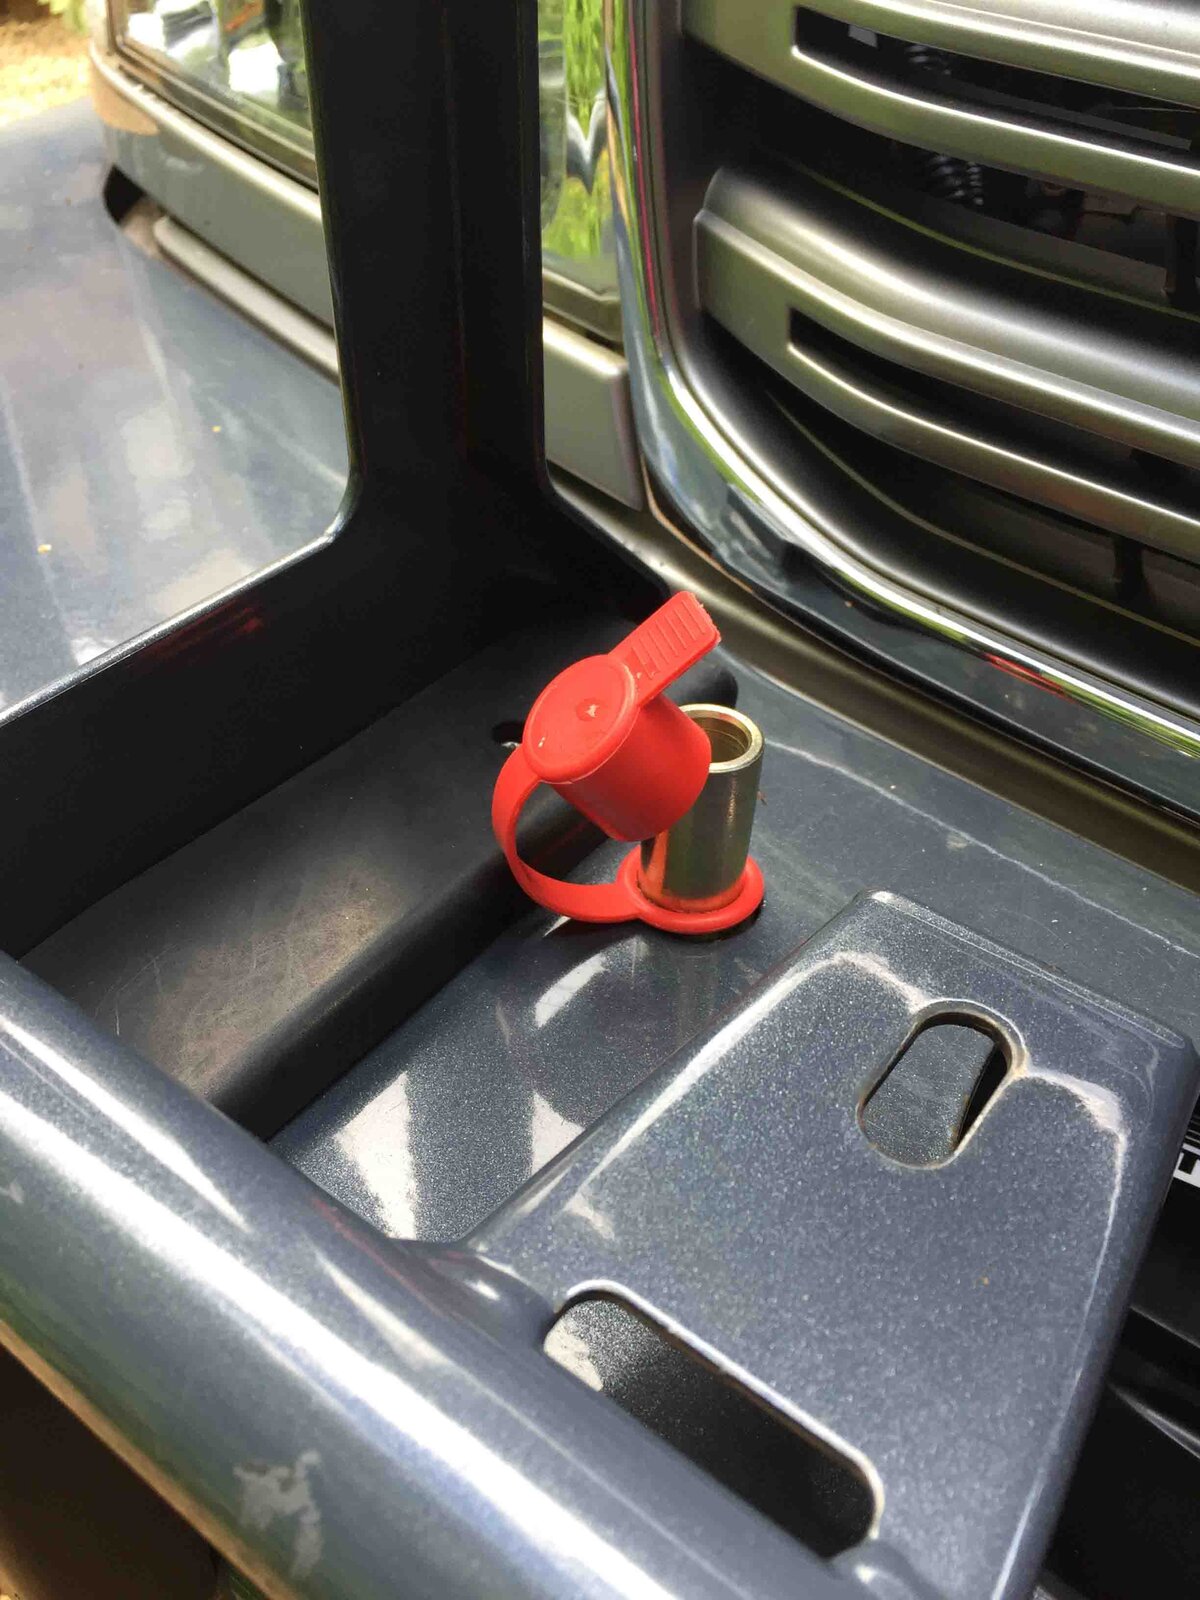
isolator position on top of the bar

IMG_1677 low res.jpg

Now I'm ready to go and play in the dirt..... :icon-biggrin:
 
Don't like the adverts?  Click here to remove them
Update on the EFS rear springs - to see what the height of the front and rear is. Took some readings (road to top of wheel arch) at nearly full overland weight with the old OME springs and again with the EFS stiffer springs

R1R2R3R4AverageAxle Av
Rear Near907904906907906.0903.8
Rear Off900908898900901.5
Front Near935935936940936.5937.4
Front Off936939940938938.3
Difference Front to Rear-33.6
No passengers
OME 2863 +200kg rear springs
Full fuel, full water, simulated camping load
no winch and no 6th wheel

and with the EFS upgraded springs....and more vehicle weight.....

R1R2R3R4AverageAxle Av
Rear Near949947948948948.0946.9
Rear Off943949948943945.8
Front Near935930933927931.3927.1
Front Off923922924923923.0
No passengersDifference Front to Rear19.8
EFS TLC113HDE +300kg rear springs
Full fuel, full water, simulated overland load
incl winch and 6th wheel


so approx. 40mm up on the rear axle and approx. 10mm down on the front axle....winch and 6th wheel etc but no change to the torsion bar settings. Overall effect is 53mm lift front to back over the original OME medium weight springs (which were sagging at the back). Not sure if I will need to have a stiffer front torsion, or anti-roll bars - the shake down over the next few months will help decide. Even if I keep the front bars the measurements suggest that the OSF torsion bar needs a couple of turns on the adjuster
 
Adjusted the Tough Dogs today - simple job to hand-turn the dial. Originally set to their softest setting of 0, they are now at 3 (out of max 9). Also tested at setting 5 but felt this was just a little too stiff. Tests done on undulating country lanes at a range of speeds but not off road yet. I will retest once I get to Iceland and get an idea of which settings work best. This will also give me the chance to put a few miles on the truck.

Also checked the overall height on the new springs complete with roof tent and full overlanding weight. It tops out at 2.250m. I have 2.290m height to get it in the container door.....4cm spare.....a bit tight but doable
 
Not sure if I will need to have a stiffer front torsion, or anti-roll bars - the shake down over the next few months will help decide. Even if I keep the front bars the measurements suggest that the OSF torsion bar needs a couple of turns on the adjuster

Steve
Are you aware of the lower control arm cracking issue around the torsion bar mounts?
Very common problem once lifted or upgraded Tbars fitted. Caused by the LCA hitting the bump stops and forcing the metal apart.
There are kits available to either screw or weld (best) over the affected area and stop the control arm destruction.
ARB sell them for around A$30 per pair. TJM also make them as well as others.

Lots of info available but here's a couple of quick links
http://www.lcool.org/forum/viewtopic.php?t=25384&highlight=lca+strengthening
https://www.flickr.com/photos/88181325@N02/

No one down here goes for stiffer anti roll bars (never found any available anyway) as it limits flex so much but the torsion bar mods are a must have.
Running the factory Tbar in a lift situation means that you will no longer be in the mid range area of the spring rate. You have a similar setup to mine and it rides a whole nicer with the next size up bars.
I can't remember the sizes but there are three in the range. The biggest size has been known to cause a lot of issues with metal tearing due to the torsion.


Re tare weights. You'll get a fright with this.
Again you have a near identical setup to mine. With the truck as empty as possible (front, rear and side bars, winch, dual batteries, LR fuel tank and roof rack in place, one spare wheel, 3rd row seats removed, rear drawers and fridge removed, only 10 liters of fuel on board and no bodies inside - the truck weighs 2.97 Tonnes. Add two bodies and its likely over the factory GVM of 3.2 Tonne without any camping gear inside whatsoever.
Currently having the truck re-engineered to GVM 3.7 tonne which still doesn't give much leeway when fully loaded for a lengthy trip...
100's are very heavy trucks.

Womble - thanks for the heads up on the cracking issue - I have had the strengthening plates fitted.

Yes the weights are scary....going through a process of stripping out unused brackets etc. Even took out the rear ashtrays yesterday :).

Basically I now need to attack the truck and put it on a diet - carpets, window motors, brackets and handles etc.....but try to retain the peace and luxury for the front cabin. We have a 3 month Europe shakedown starting soon which will also help us to determine the kit we use and don't use. For example power hook ups and a battery charger.....we have solar panel/split charge, so that all seems superfluous. time will tell. The diet is my winter project.

with a kerb weight of 2495kg and a GVM of 3260kg there is not that much in the middle.
 
I have provided a trip report of our Iceland to Greece leg in the Trip Reports sub-forum section - includes some photos of the journey. No real problems to report but a whole load of minor improvements to the everyday living space to make after the shakedown
 
Right - down to the business of upgrade/update now that we're back from our 3 month road trip. Actually there were no real major issues to report - which is nice.
1 - some clicking on cross axled - suspected anti-roll bar bushes but nothing wrong on roadside/camp inspection. Rear ARBs changed under warranty by Super-pro as a precaution. Also on putting some BIG levers around the suspension there was some slight play in the off-side front upper wishbone bushes. On inspection the bush was intact/undamaged but the steel sleeve was not a press-fit and had some slight play between the sleeve and the wishbone. Replaced upper wishbone (other side was done last year)
2- diffs, transfer box oils replaced. Investigated oil misting on front diff, checked breather open - no fault found. Misting remains a mystery but now dry. Rear diff had small signs of water from all the fording in Iceland. No obvious leaks
3 - replaced windscreen as cracked by flying stone in Iceland
4 - cut access holes in under-belly plates to get to u/j nipple (front prop)
5 - 10,000 mile service

Jobs still to do:

6 - need to reduce background current draw on the leisure/car 12V circuit - add a switch to isolate just the dual USB power socket
7 - replace leisure battery - old age
8 - add permanently-on 12v cigarette socket to rear of truck (alternative solar panel charge point
9 - add fold down cooker shelf to rear wheel carrier
10 - sort out a number of small improvements around the kitchen area including better storage of utensils, additional surfaces to put things on etc
11 - add another 80W solar panel (single 80W panel only just enough)
12 - reposition rear number plate and reversing light to rear bumper to allow maxxtrax to be mounted on rear wheel carrier along with trasheroo
13 - lots of minor bits and bobs
 
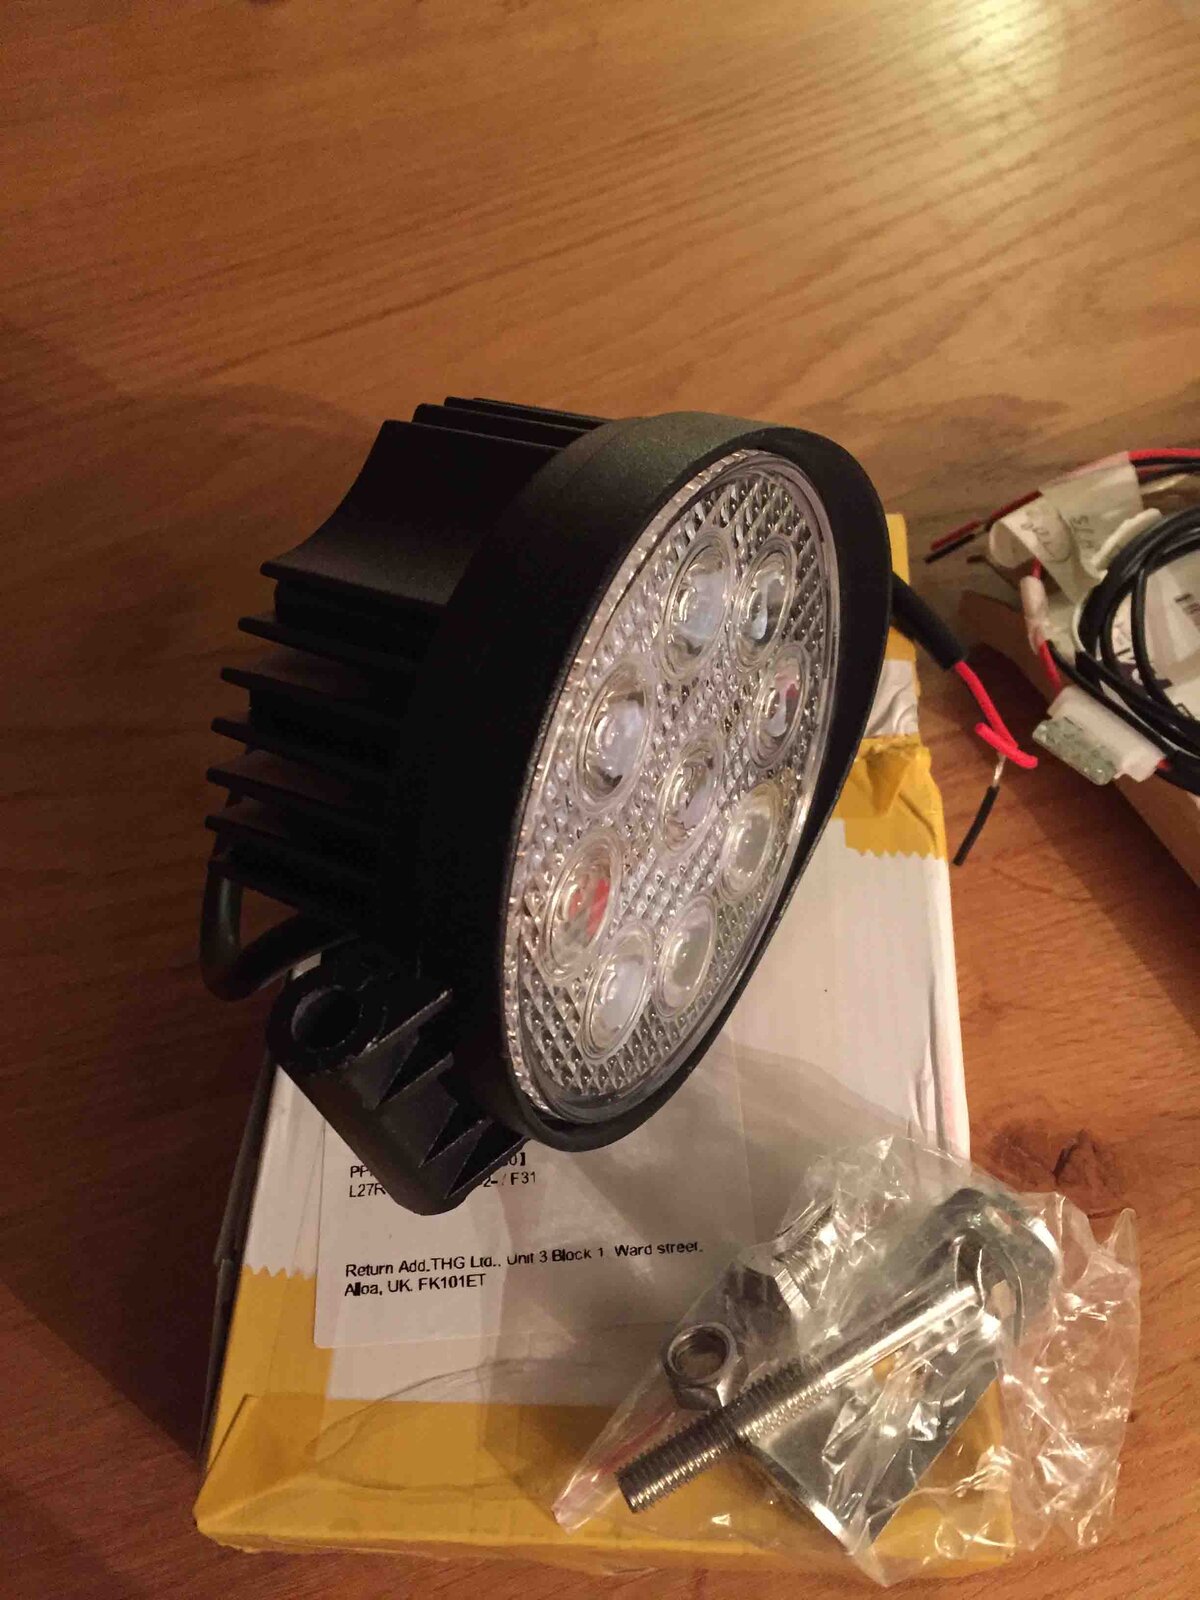
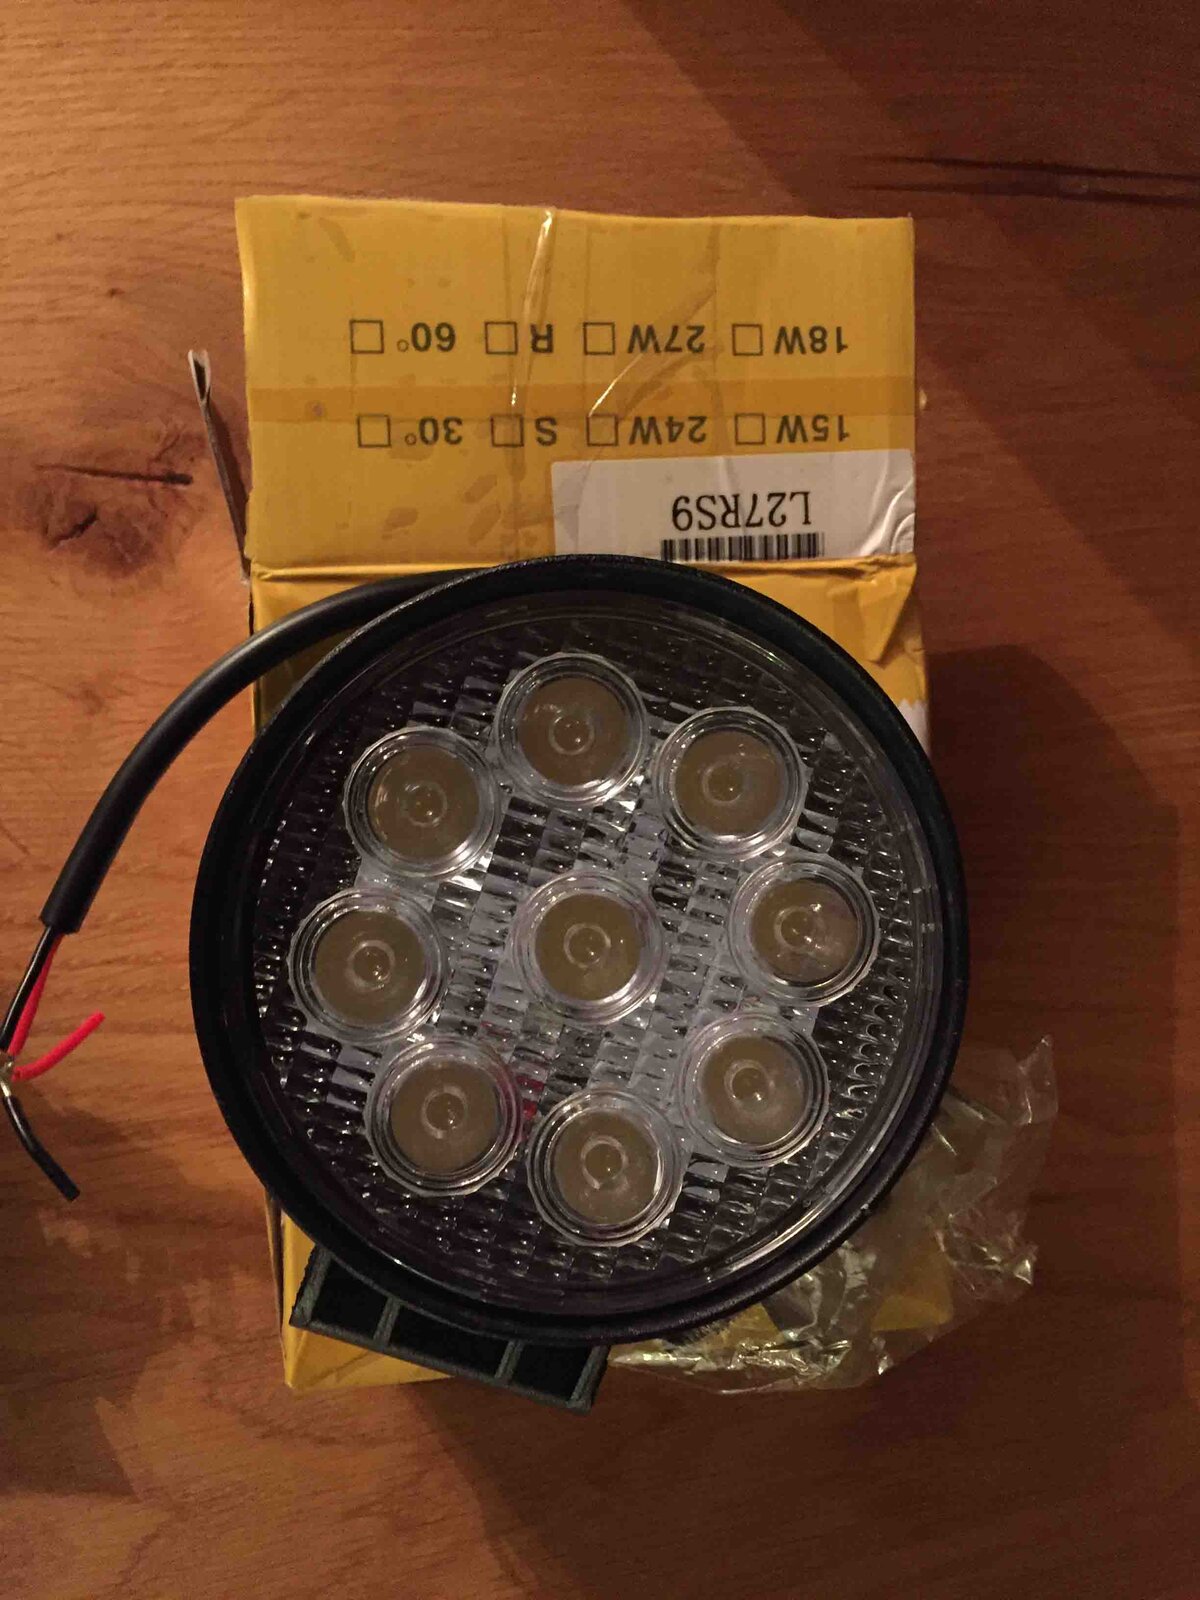
One of the key improvements is to add DRLs to the truck as many countries now insist on these and by using LED units I can save on current draw and halogen headlamp bulbs from being on all day when we're touring. For EU use they should have some logic to switch them off/dim when the headlights proper come on and obviously switch on on ignition. I have chosen these LED fog lights as they should fit in the space in the ARB bar for fogs. I haven't tried them yet but they look to be solid and robustly made and complete stainless fittings. I'm hoping to mount them direct to the steel flanges behind the bar rather than in front of the bar

jpg.gif
 

Attachments

  • IMG_2791 low res.jpg
    IMG_2791 low res.jpg
    184.4 KB · Views: 314
  • IMG_2790 low res.jpg
    IMG_2790 low res.jpg
    190 KB · Views: 296
  • IMG_2789 low res.jpg
    IMG_2789 low res.jpg
    204.2 KB · Views: 315
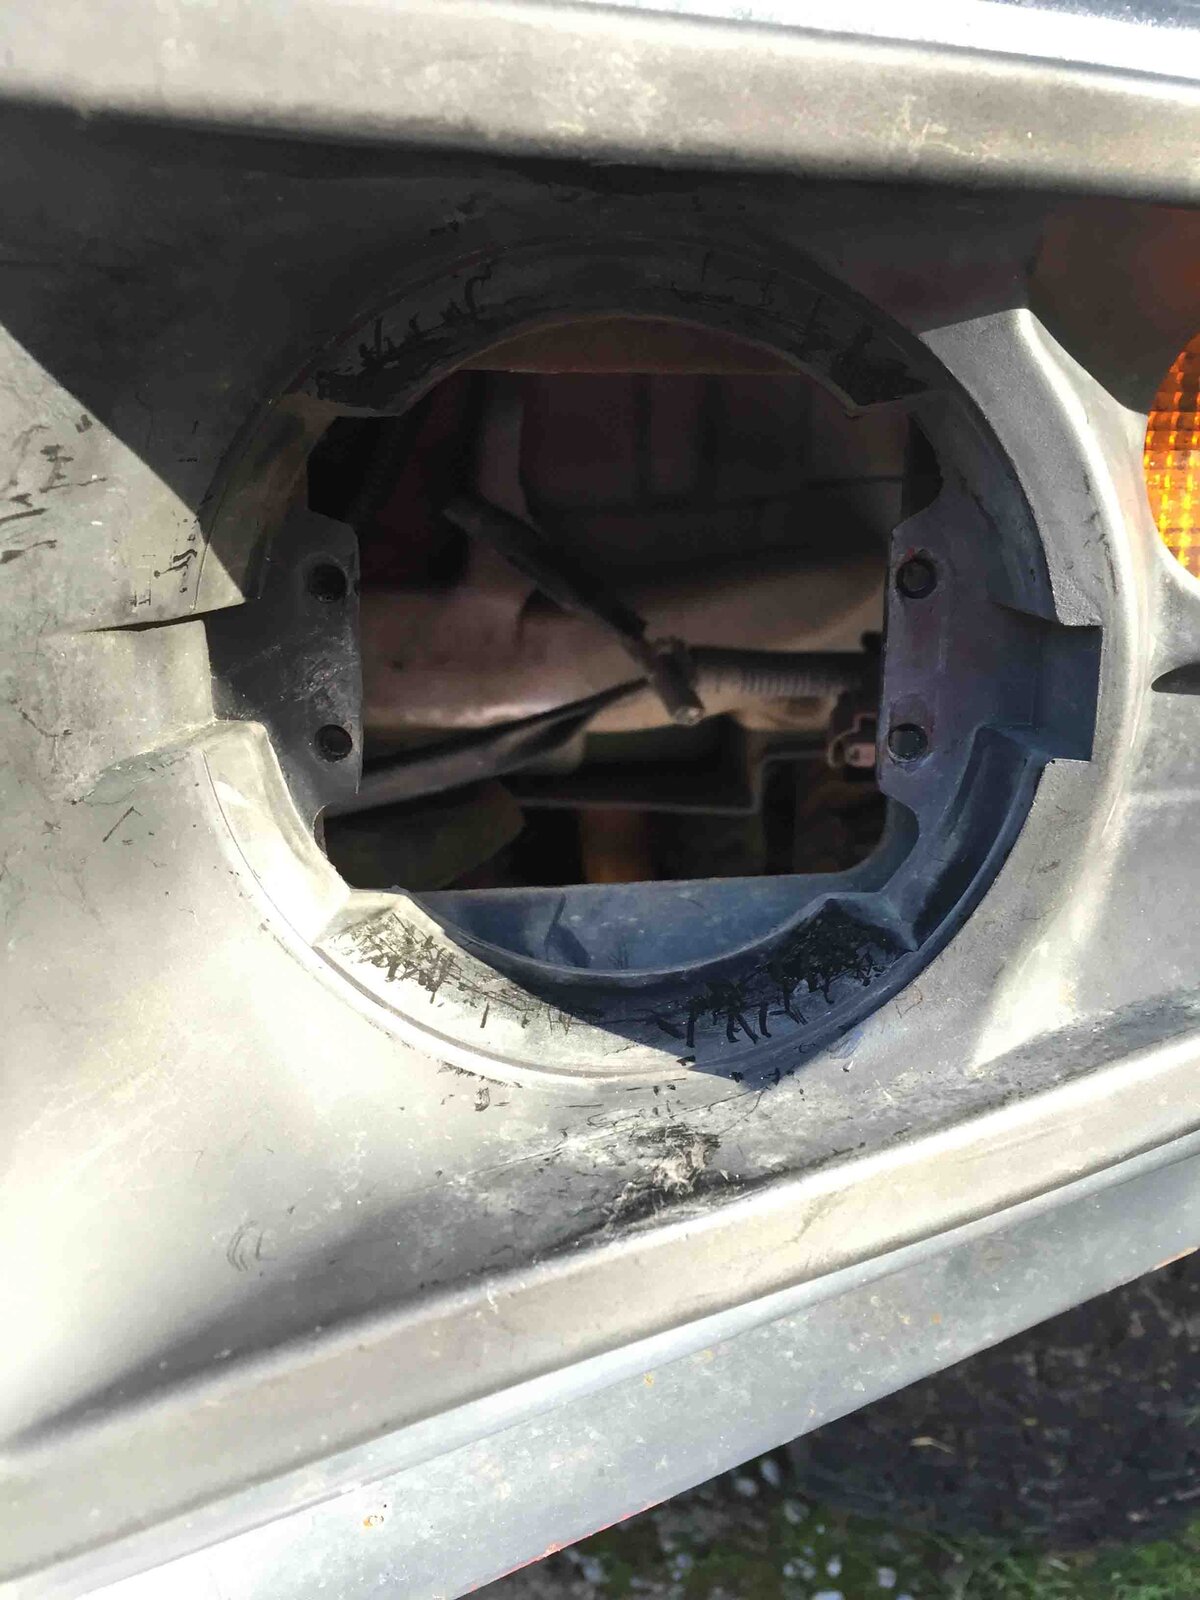
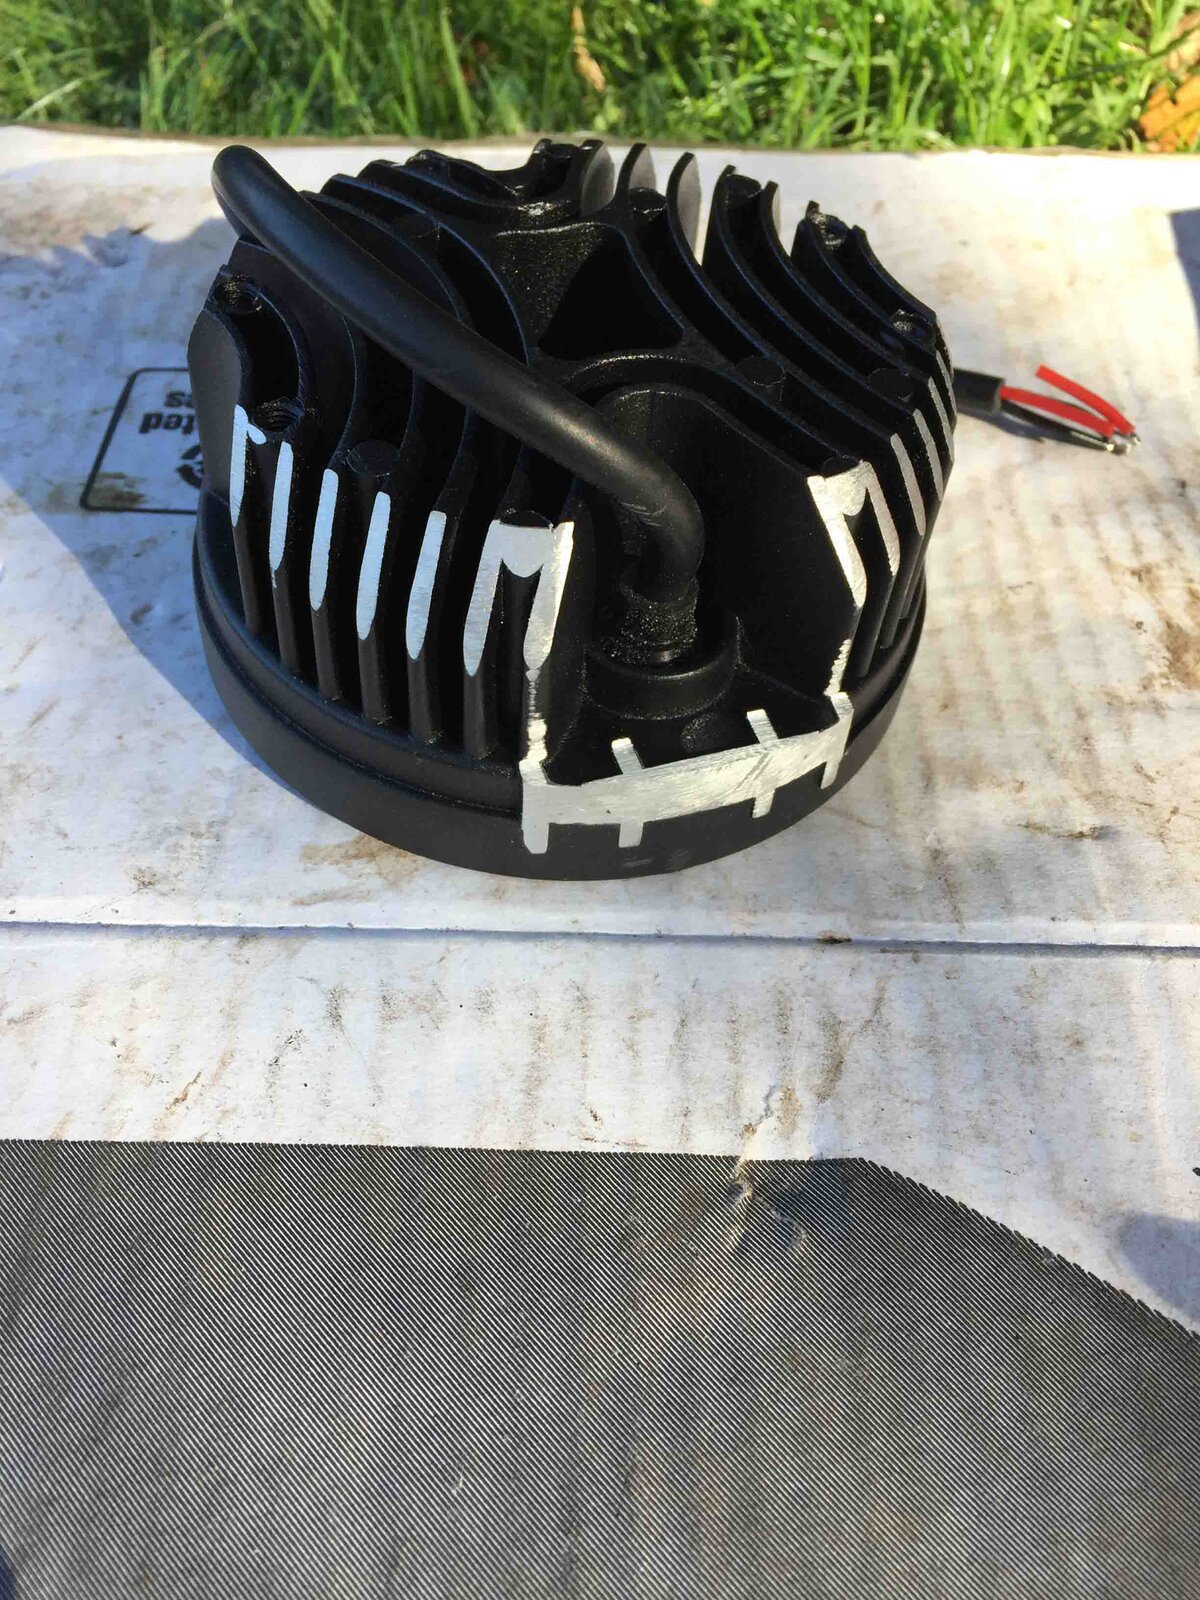
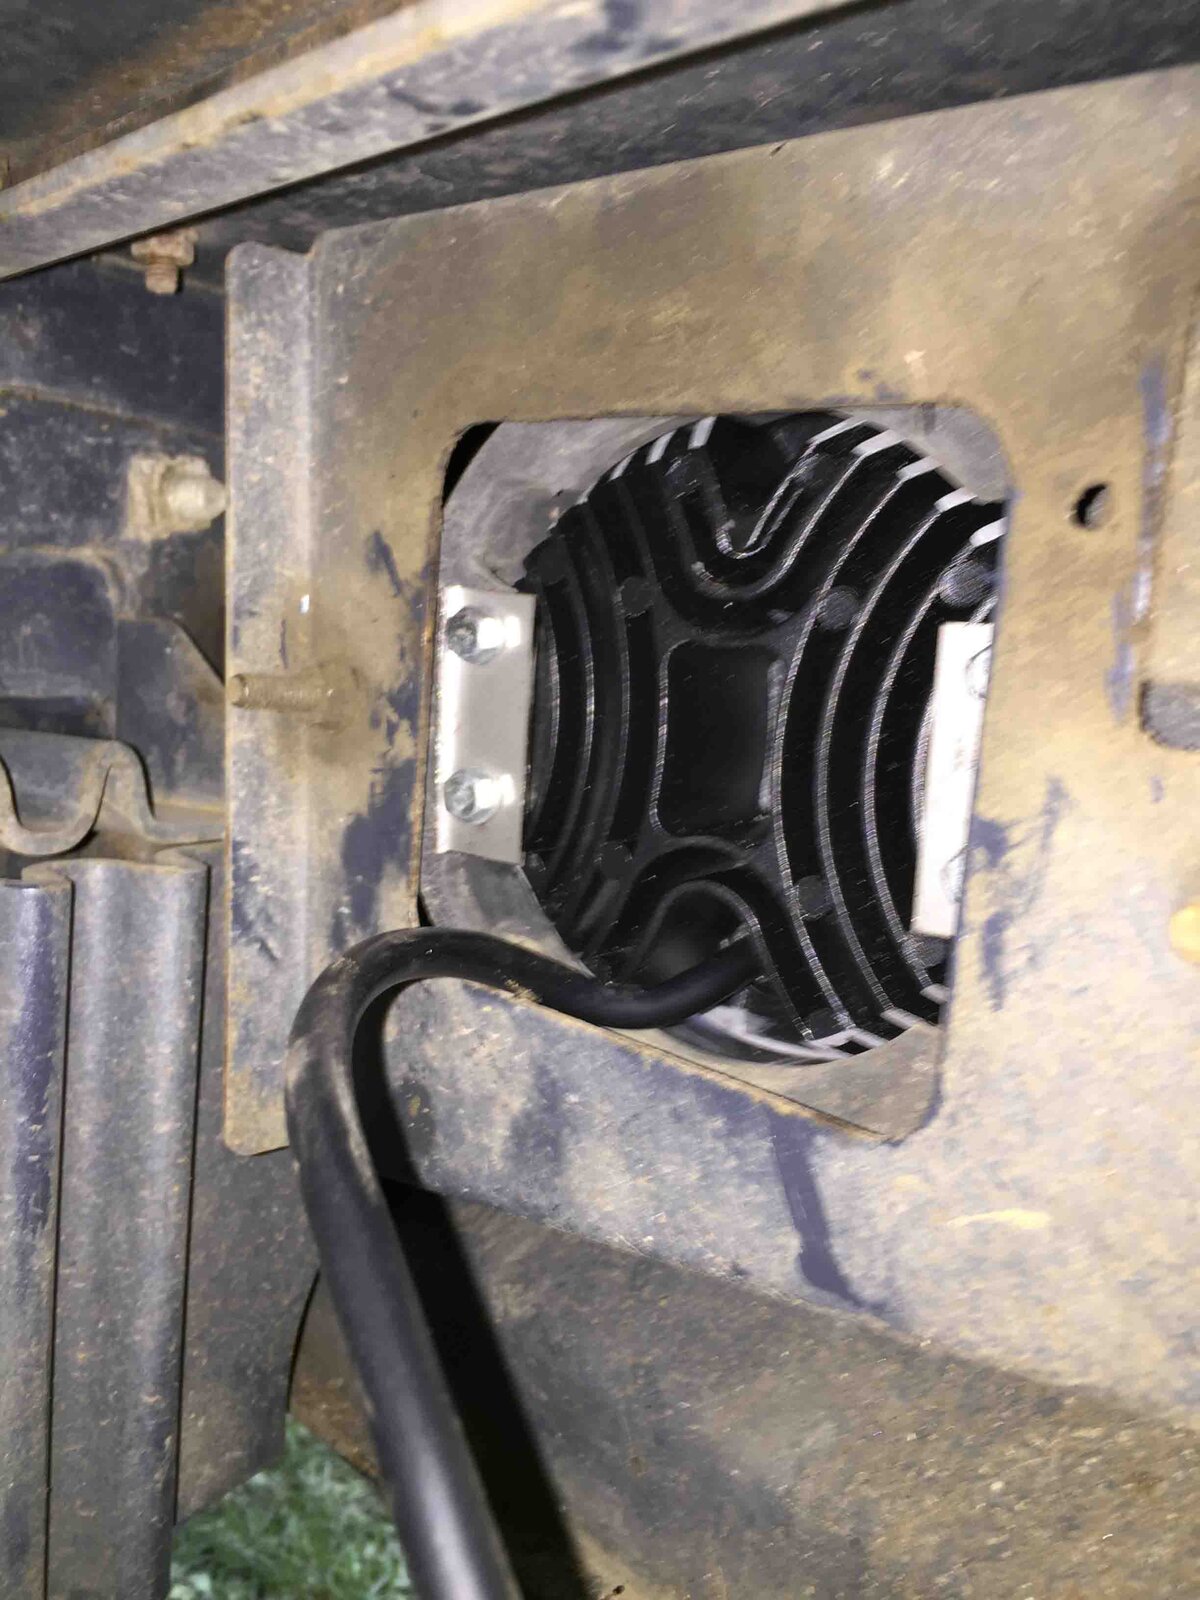
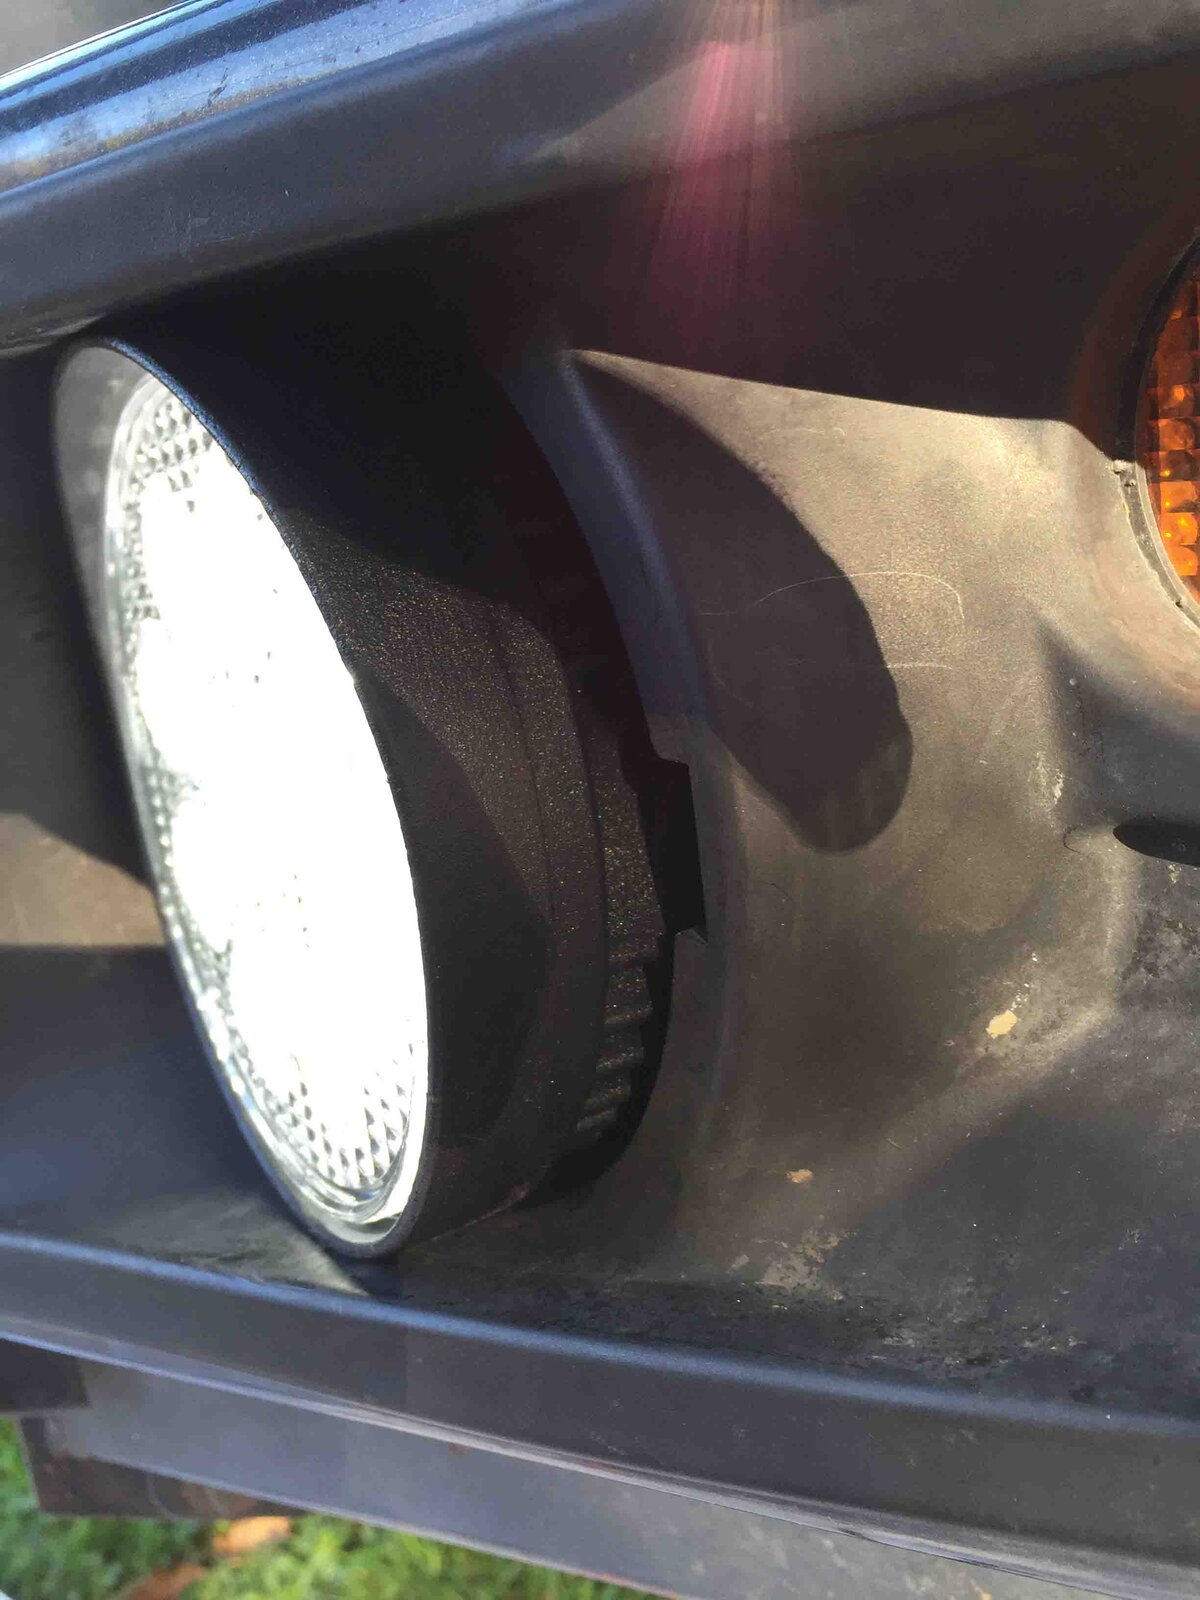
The DRLs need a bit of fettling to get them to fit into the ARB fog light rubber surround. Either the rubber, on as per my case, the metal of the fog light heatsink needs to be modified so that the lights sit snugly. The lights do come with mounting hardware and could easily be accommodated on the usual lamp brackets in front of the radiator. However these brackets often come loose and flop around or they block a little of the grill area which I want to avoid if I can (they are small lamps - not like a pair of massive of spots). The ARB surround does have some rubber mounting tabs to take the ARB spots and these have been cut back slightly and used to mount the fogs that I bought. Also the metal fins were filed back (aluminium so quite easy) so that they narrowed to fit the rubber surround and allow this to provide support. A couple of bits of spare stainless sheet offcuts were used to clamp the lights to the ARB surround utilising existing threads on the LEDs

The ARB rubber surround showing the tabs before opening out the holes
IMG_2808 low res.jpg

The lamp after the fins have been filed to fit
IMG_2806 low res.jpg

The rear of a mounted lamp c/w clamp plates
IMG_2814 low res.jpg


How the lamp fits into the ARB surround
IMG_2802 low res.jpg

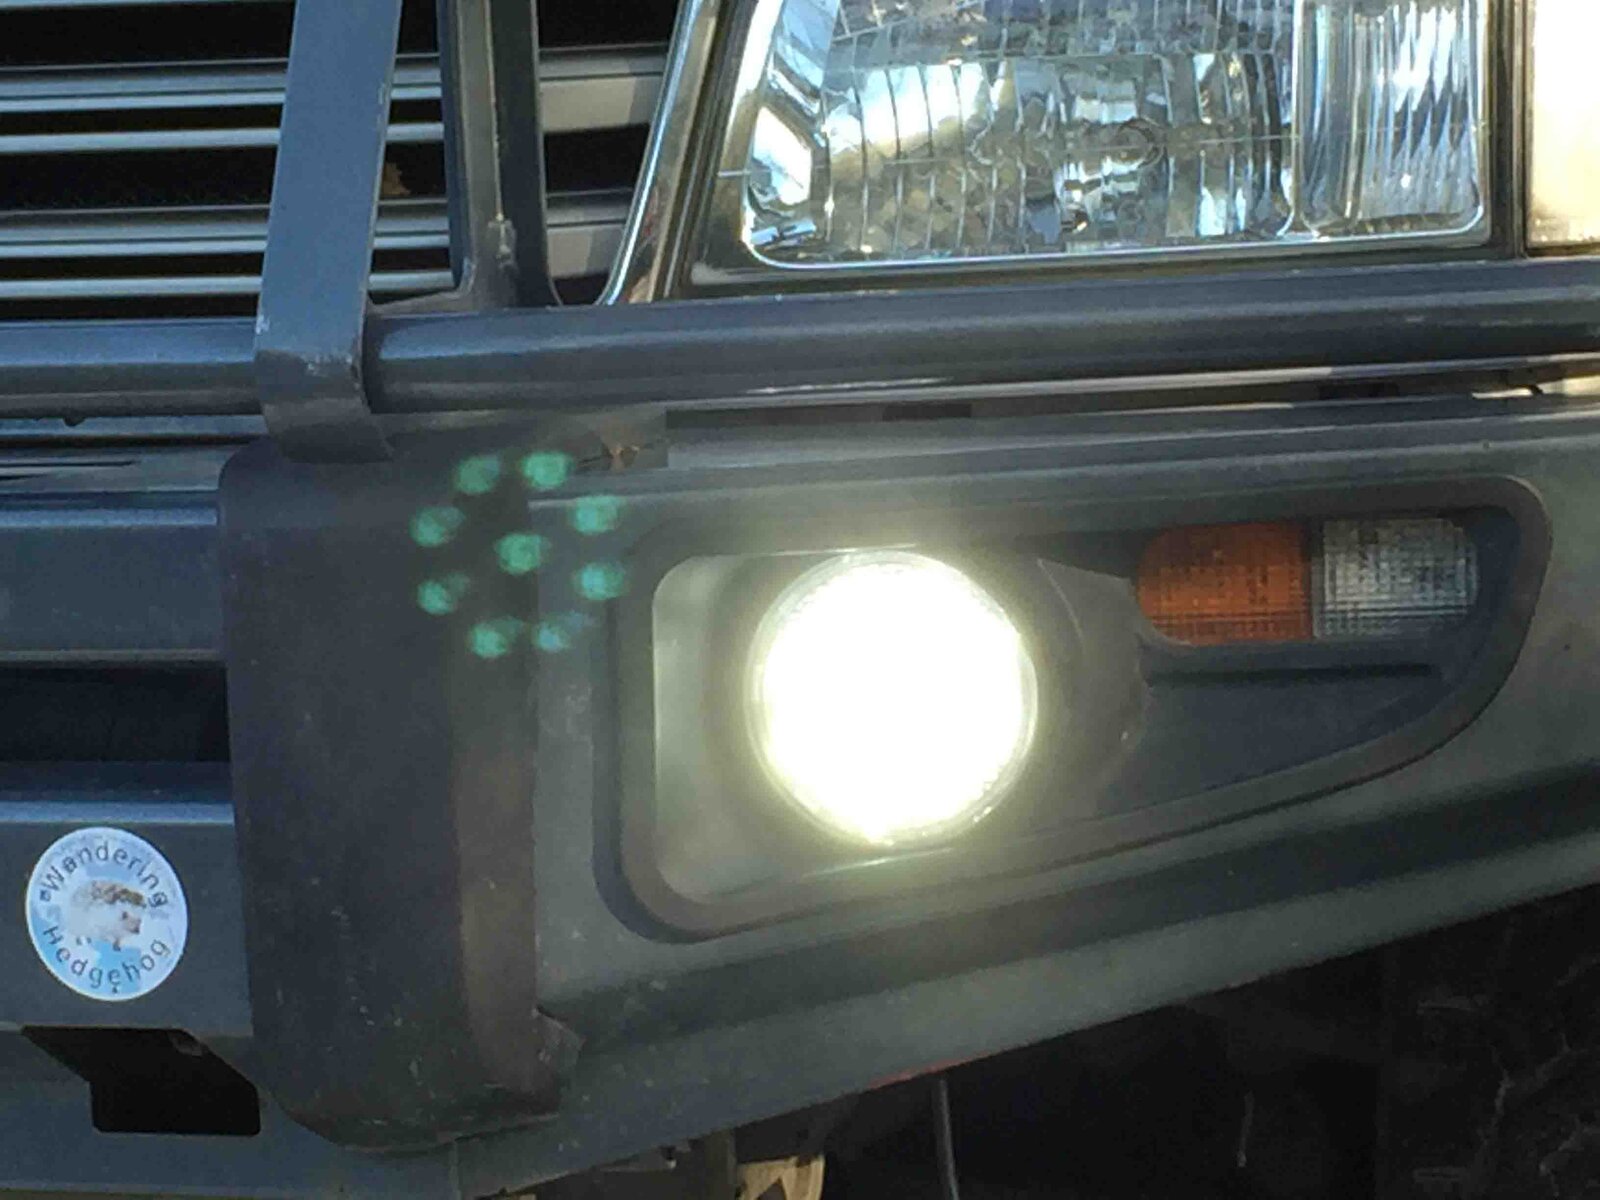
The view from the front
IMG_2799 low res.jpg

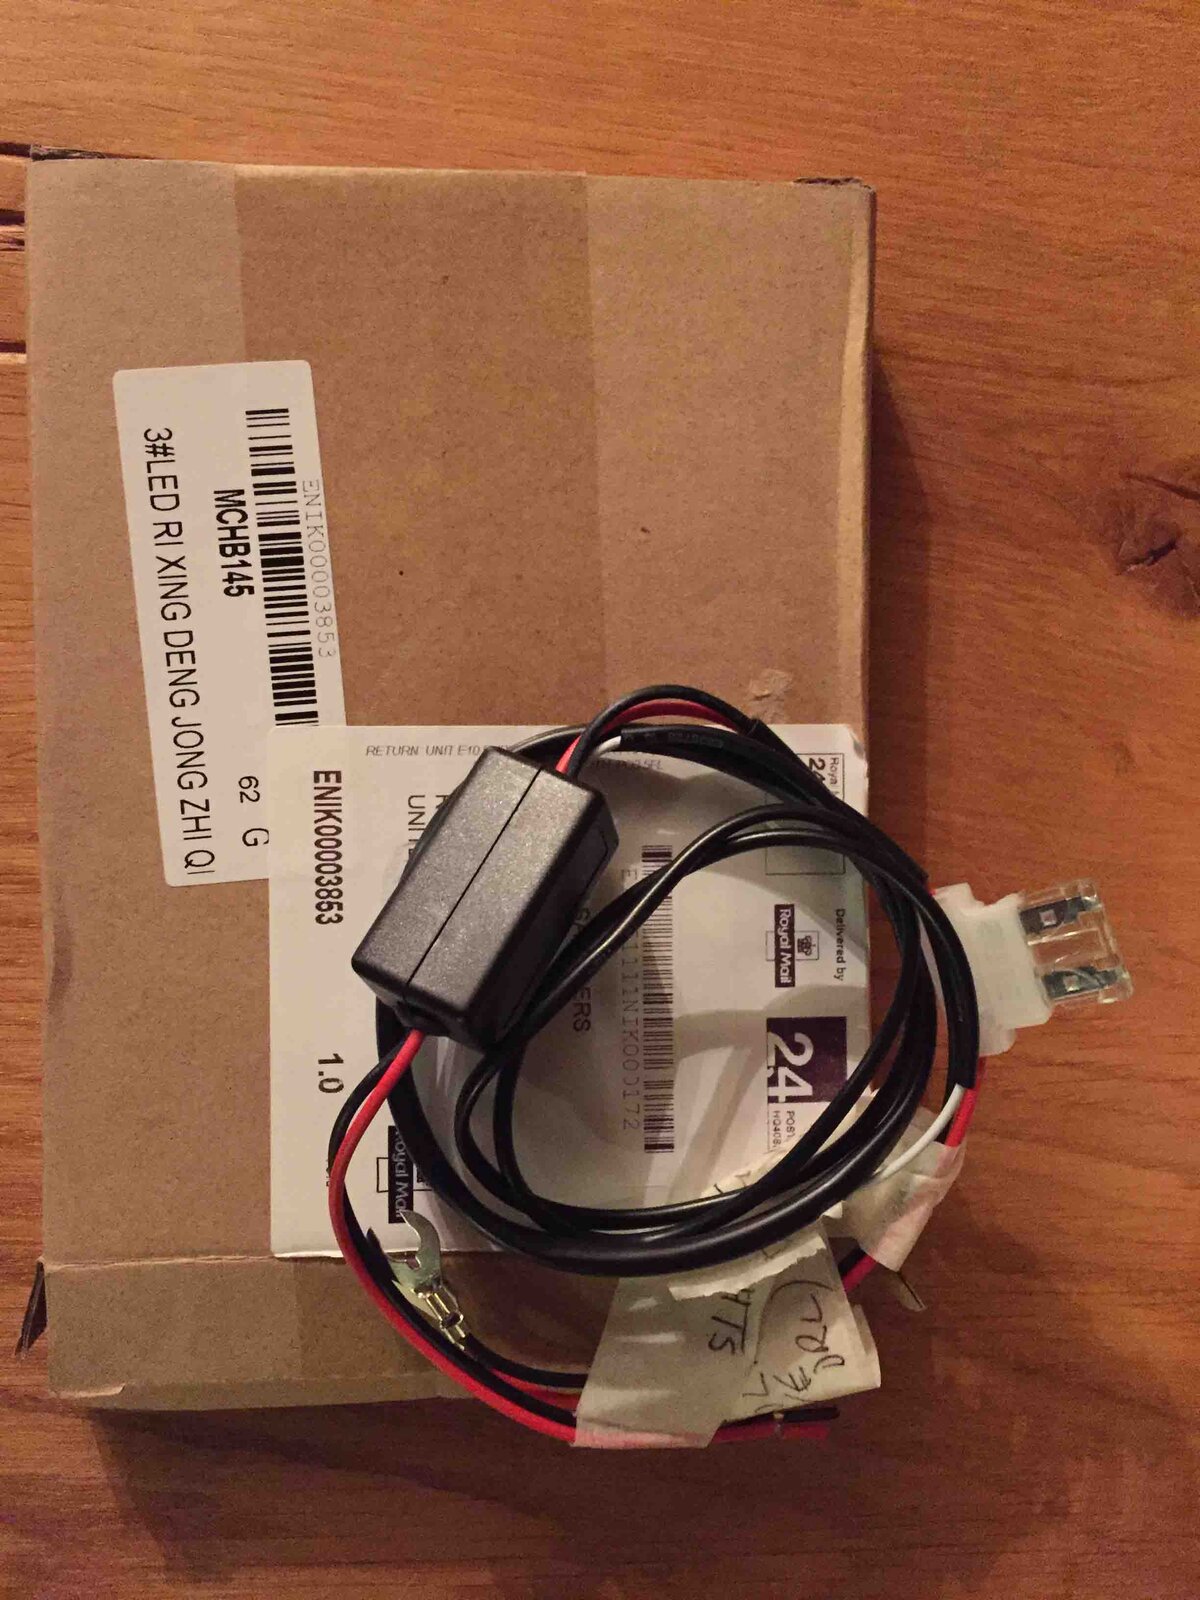
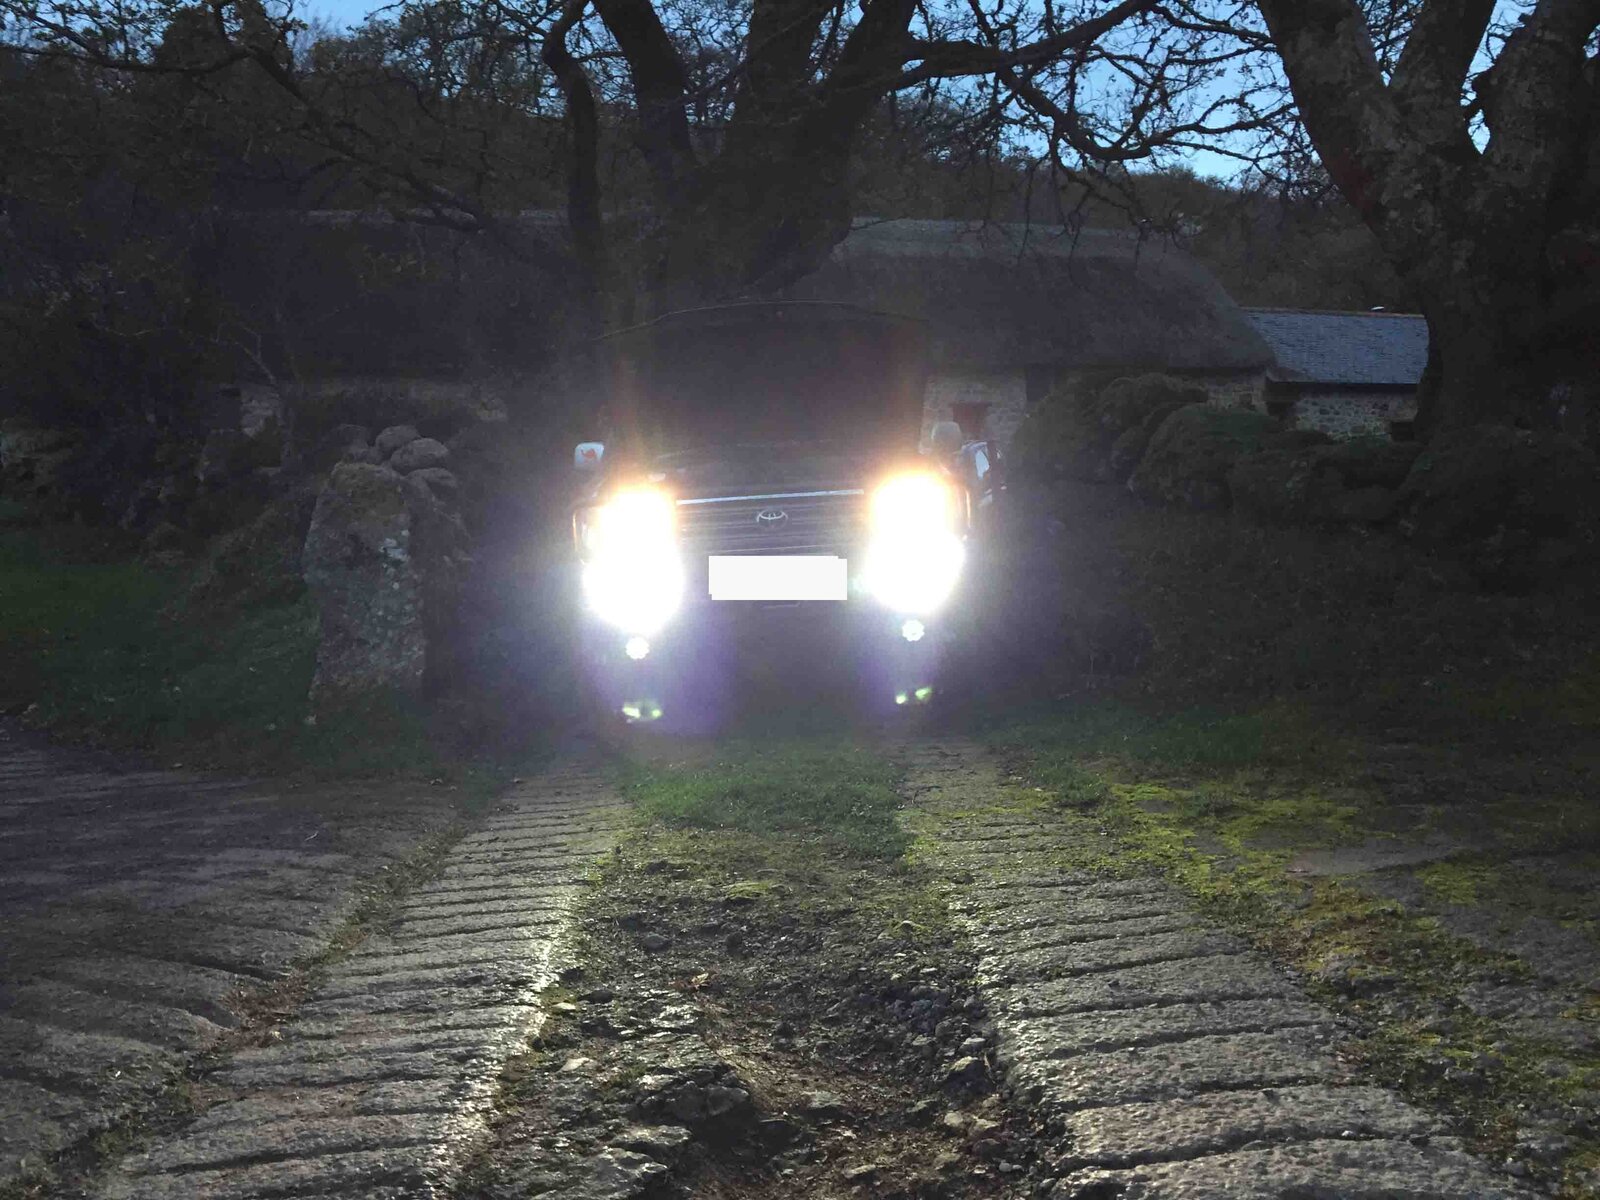
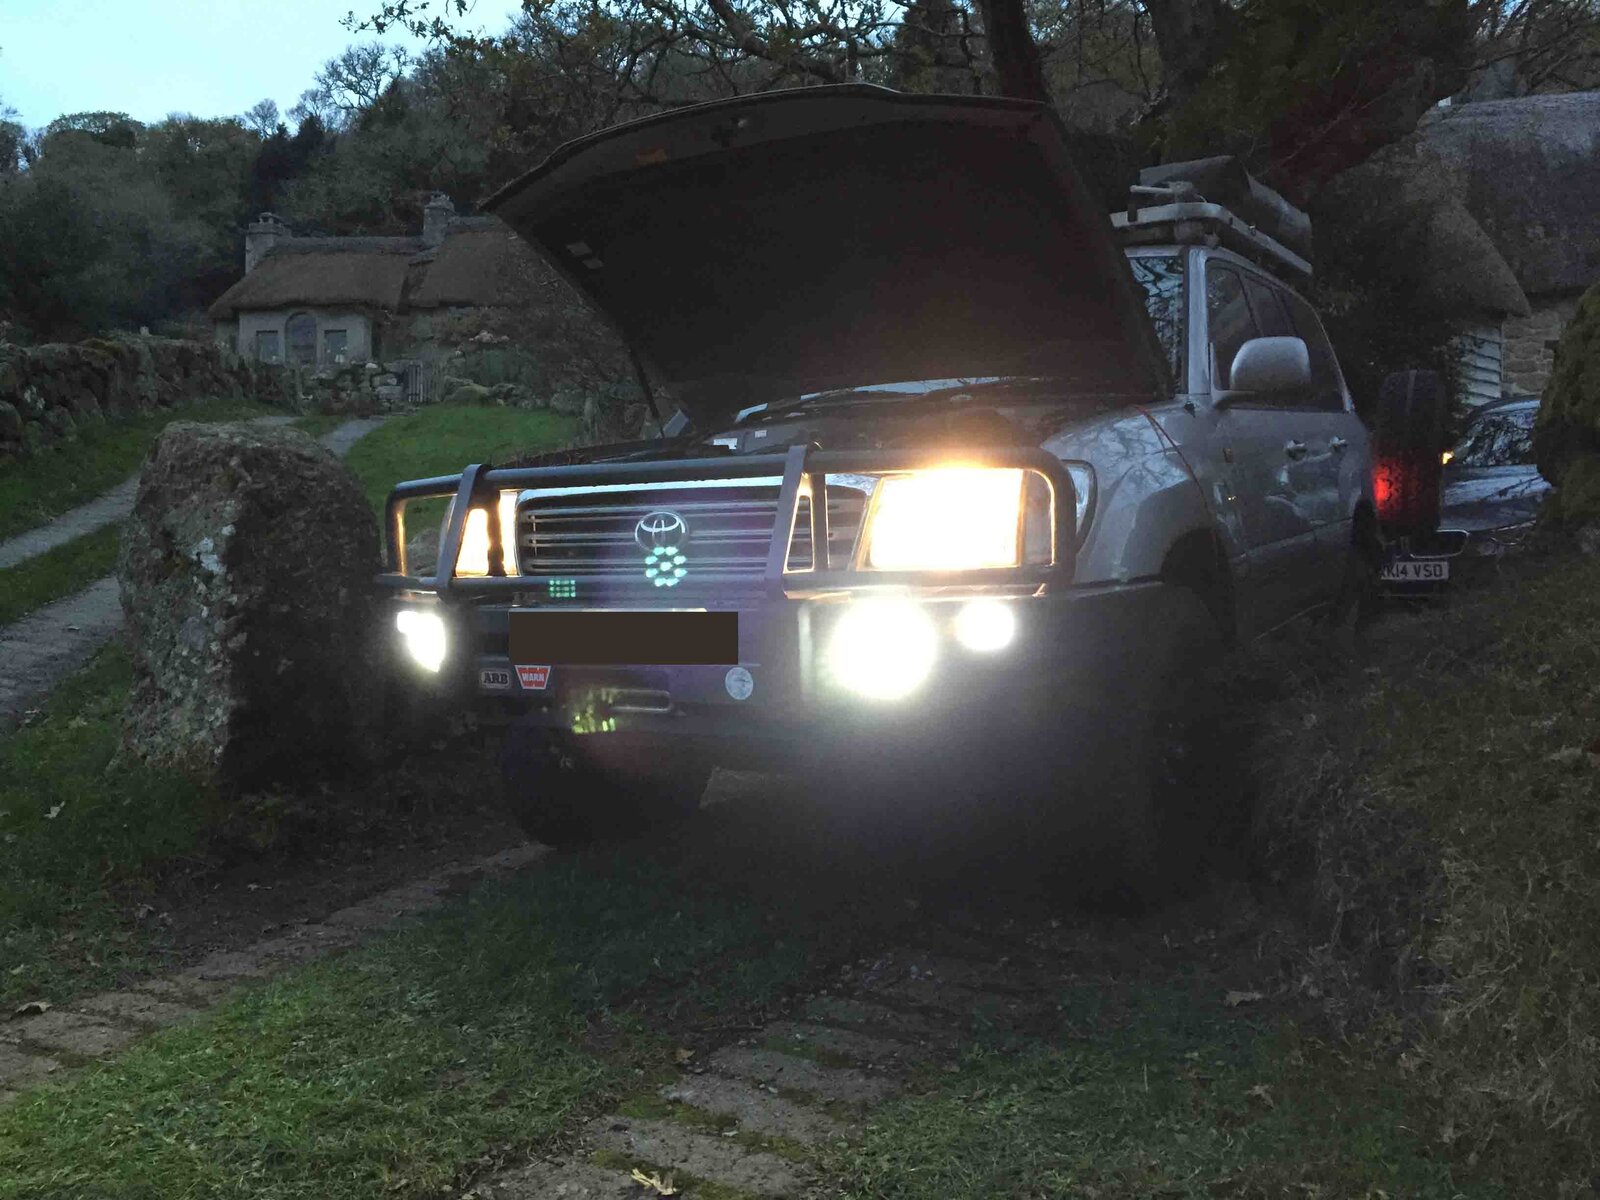
I'll take some shots in twilight to show the light balance versus the dipped beams. The only thing I am unhappy with is the DRL control circuit - £5 off ebay - failed after 30 mins.....got to get that replaced. The lights are just lashed up at the mo'
 
Some shots of the LEDs against the dipped beams. Note that once I get the DRL circuit replaced the LED/DRLs should be at half brightness when the headlights are on - these photos show full brightness

On axis
IMG_2815 low res.jpg

Off axis.
IMG_2817 low res.jpg

The 2x DRL/LEDs combined use 3.3A - so about a 1/3 of the dipped beam.
 
Nice mod there Steve, I own a 105 series cruiser and ARB dont make a bar with the fog light provision for them, the bar only has blinker/indicators which is a bugger.
 
Nice mod there Steve, I own a 105 series cruiser and ARB dont make a bar with the fog light provision for them, the bar only has blinker/indicators which is a bugger.
.

Wierd that - you'd think that the steel cut-out would be the same whatever - particularly as ARB would want to sell additional lights no doubt - with just the rubber cover different for different markets. Is yours a non-safari bar?
 
Got the replacement DRL control circuit from the ebay seller - no hassle just sent a new one. I'll try mounting it up next weekend. I don't have high expectations that it will work reliably at the moment ('cos of the failed first unit) but time will tell
 
Nice mod there Steve, I own a 105 series cruiser and ARB dont make a bar with the fog light provision for them, the bar only has blinker/indicators which is a bugger.

Yes they do.
The Deluxe bars dont but the Sahara bars do.
 
.

Wierd that - you'd think that the steel cut-out would be the same whatever - particularly as ARB would want to sell additional lights no doubt - with just the rubber cover different for different markets. Is yours a non-safari bar?

Yeah i called many outlets and none could tell me definitively so i went in to a store and asked and the fella there said the 105 bars didn't have them.
I have just bought a Deluxe Bar, for the extra hoops as protection from Kangaroo collisions.

Wombling, I'm only going off what i was told, I saw the Sahara bars and asked about them having for light provisions for 105 series and they said they weren't 100% sure but they thought only the 100s ifs bars had fog light provisions. I almost went a TJM branded bar because they have fog lights but decided in the end to go arb and ill add small LED light bars infront of my headlights at a later date to use as for lights
 
Back
Top