Don't like the adverts? Click here to remove them
You are using an out of date browser. It may not display this or other websites correctly.
You should upgrade or use an alternative browser.
You should upgrade or use an alternative browser.
Higgys 80 restor/project
- Thread starter Higgy
- Start date
- Joined
- May 26, 2014
- Messages
- 4,809
- Country Flag
ive been looking forward to you finishing the Ferrero Rocher and polishing off that bottle of warnicks advocate to see some more progress on this.Well its been a while, But a quick thread resurrection, Got the wheels back on and after nearly a Year the Old 12 valve Finally touched the Ground... And with a gentle tug, Shes Down... Then set too Tearing the engine out.. Progress View attachment 162887 View attachment 162883 View attachment 162884 View attachment 162886
Last edited:
Don't like the adverts? Click here to remove them
Higgy
Well-Known Member
- Joined
- Mar 6, 2018
- Messages
- 3,407
- Country Flag
Yeh! Often wondered what Nick looks like,..Not sure what his Avatar is!.....Is it from Star Wars ?The job in hand is lookin good there man! You look the spitting image of my old friend Martin! You can never tell how a member look's from an avatar lol! Get on with it!
Higgy
Well-Known Member
- Joined
- Mar 6, 2018
- Messages
- 3,407
- Country Flag
When I bought it i knew it had piston ring issues on No 5 (so i was told) ..It drove ok but breathed heavy.. So Decided i was gonna have a complete Piston and Ring change And BEBs a complete once over, Plus with the Engine out the way i can sort engine bay and other bits and re spray engine bay etc etc.. Thats my plan, But it seems to be taking a while with work and other stuff going on in life......
Iwan
Well-Known Member
- Joined
- Mar 28, 2011
- Messages
- 1,908
- Country Flag
Oh no5 brings back a memory for me! There was an 80 local to me that was running but missing and breathing the same as your's also not knocking unlike the one I have here.
As your's isn't knocking then your sounding in the clear which is excellent! But be slightly prepared that the piston could be cracked on no5.
Be interested to see some pictures when the head comes off.
Also when you refit the engine there's the massive heater element in the inlet manifold by no5, see if you can isolate the wiring to it and just use the 6 glow plugs on the top of the head as it's too much of a coincidence that no5 goes west and has the heater element going directly into it!
Also be interested in finding out whether the piston tops measure 36mm (post 08/92) or 40mm (pre 08/92)..
Good luck with it!!
Higgy
Well-Known Member
- Joined
- Mar 6, 2018
- Messages
- 3,407
- Country Flag
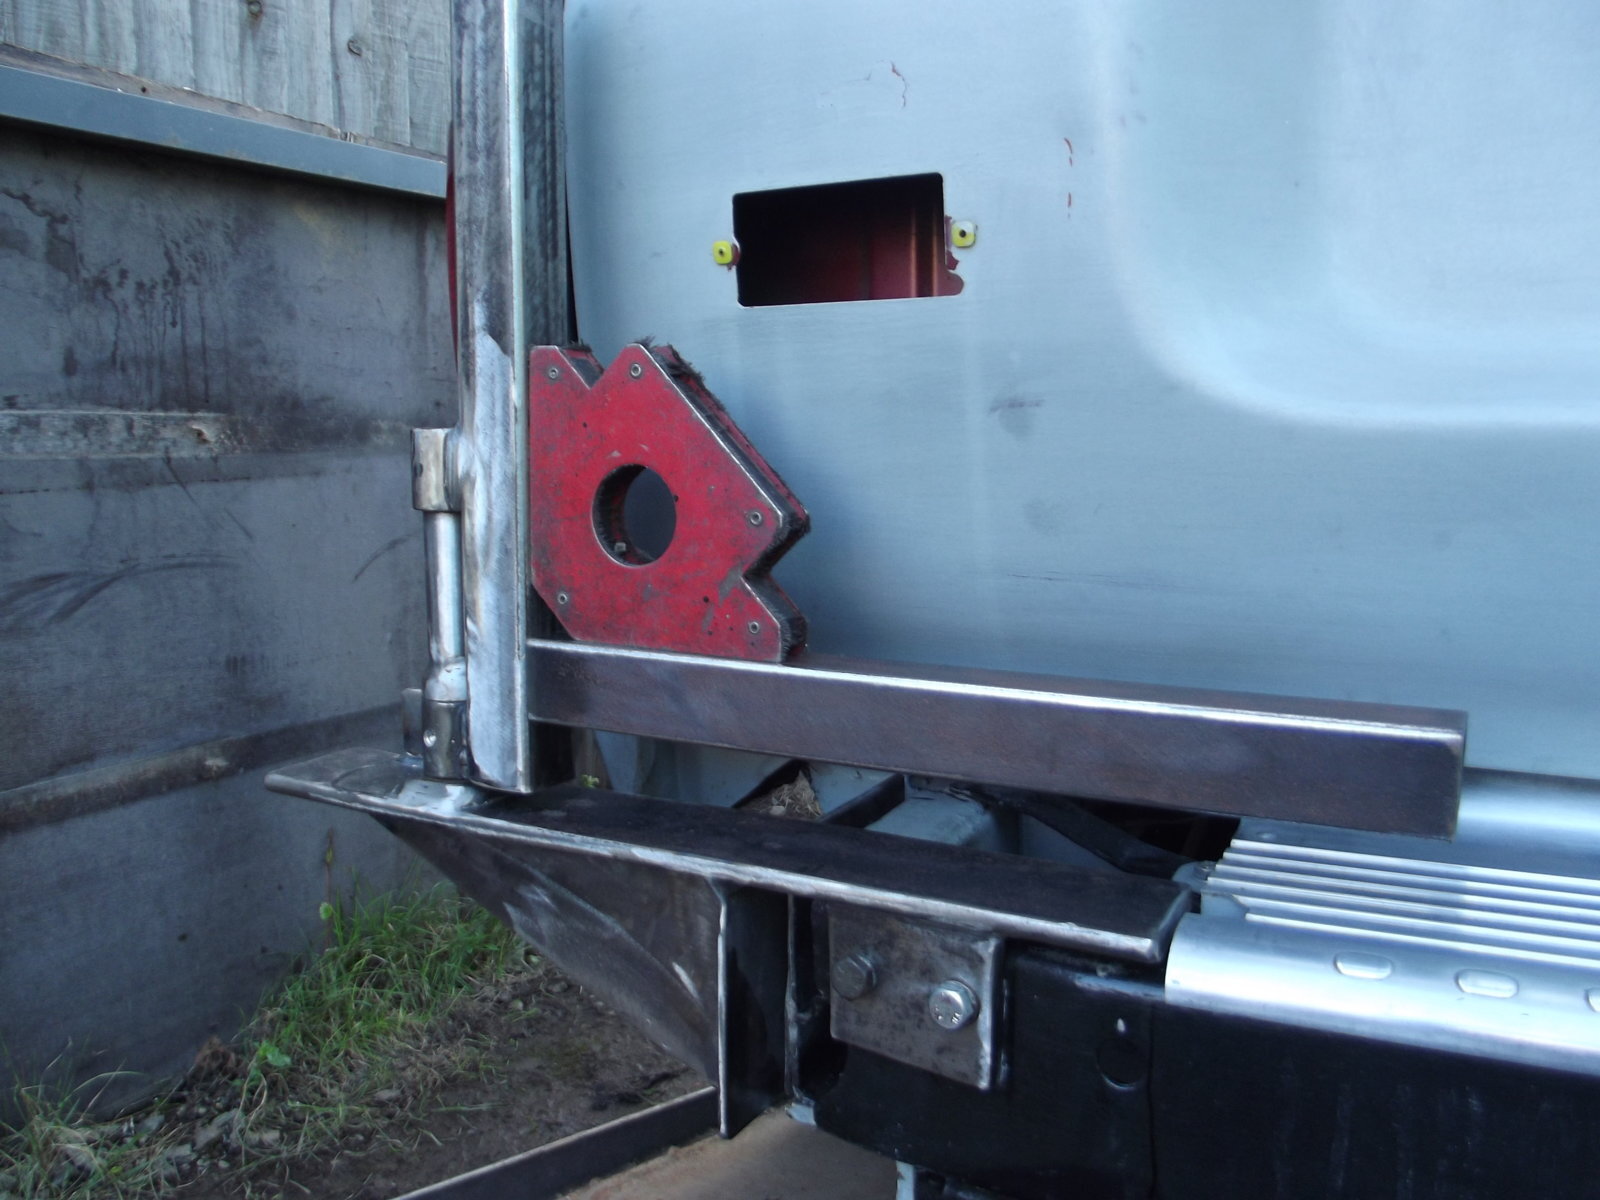
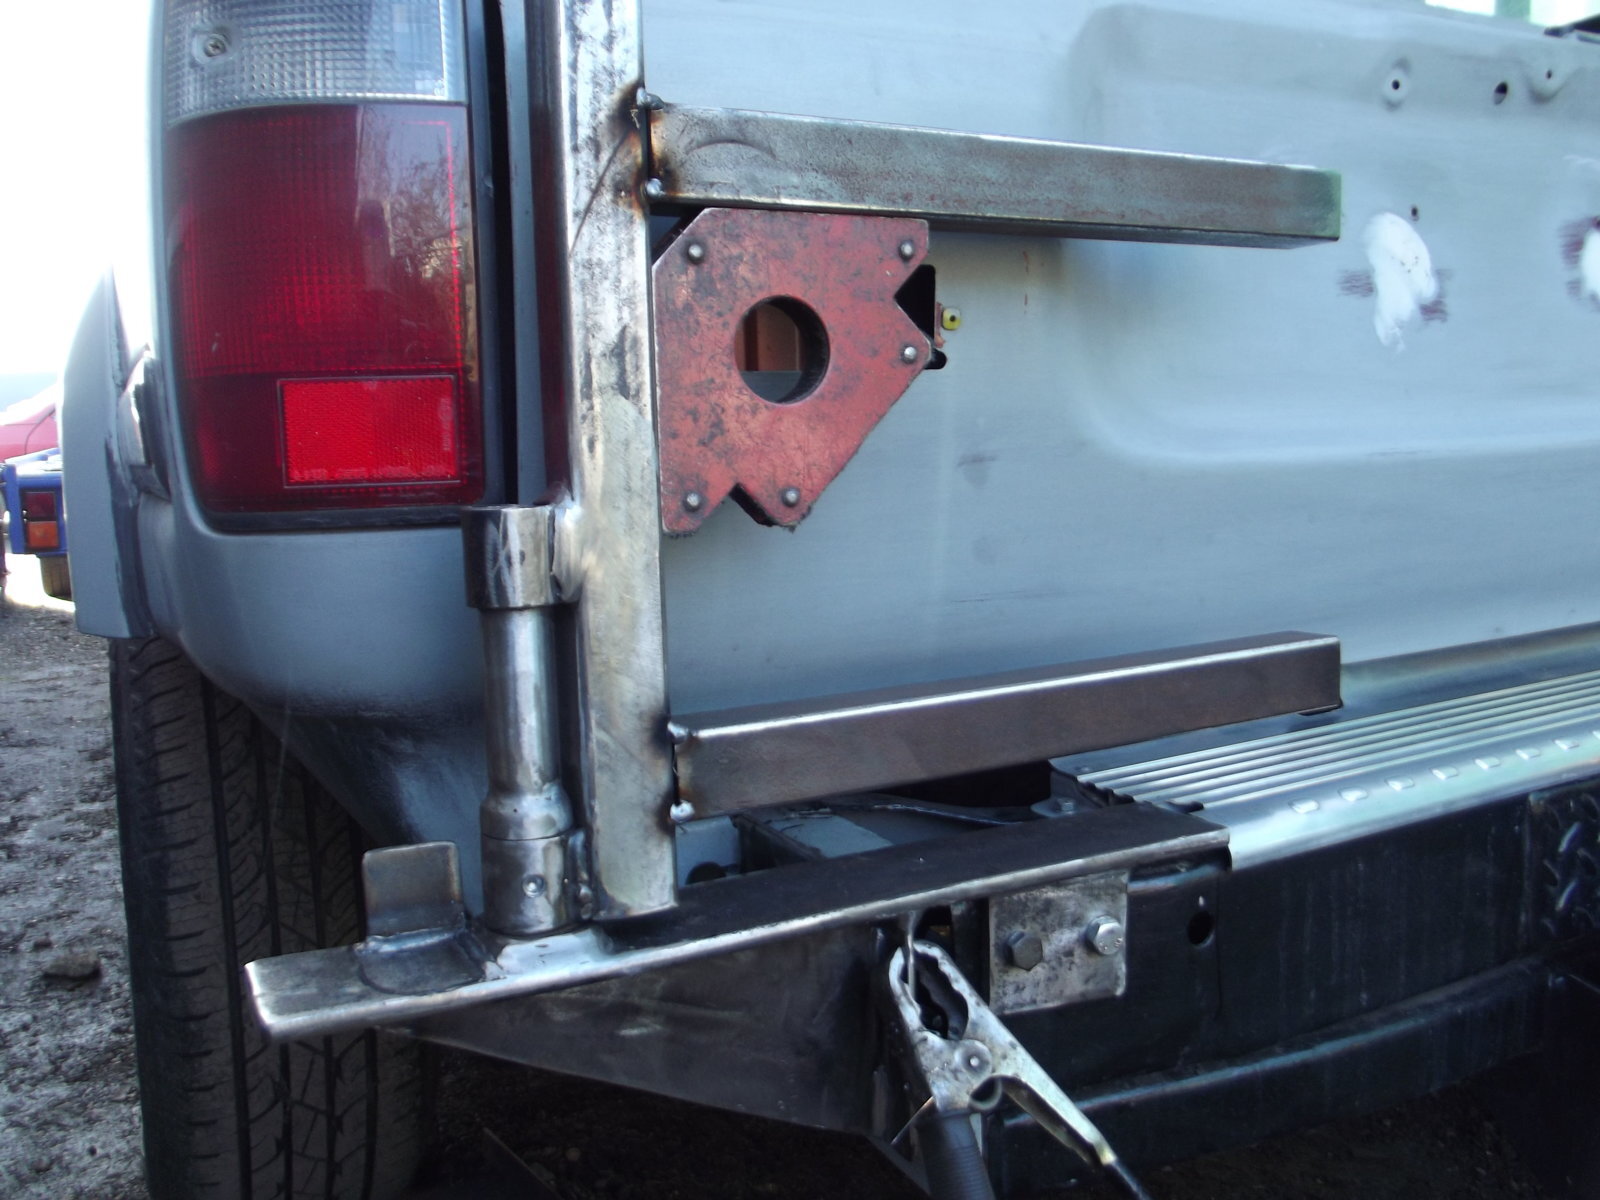
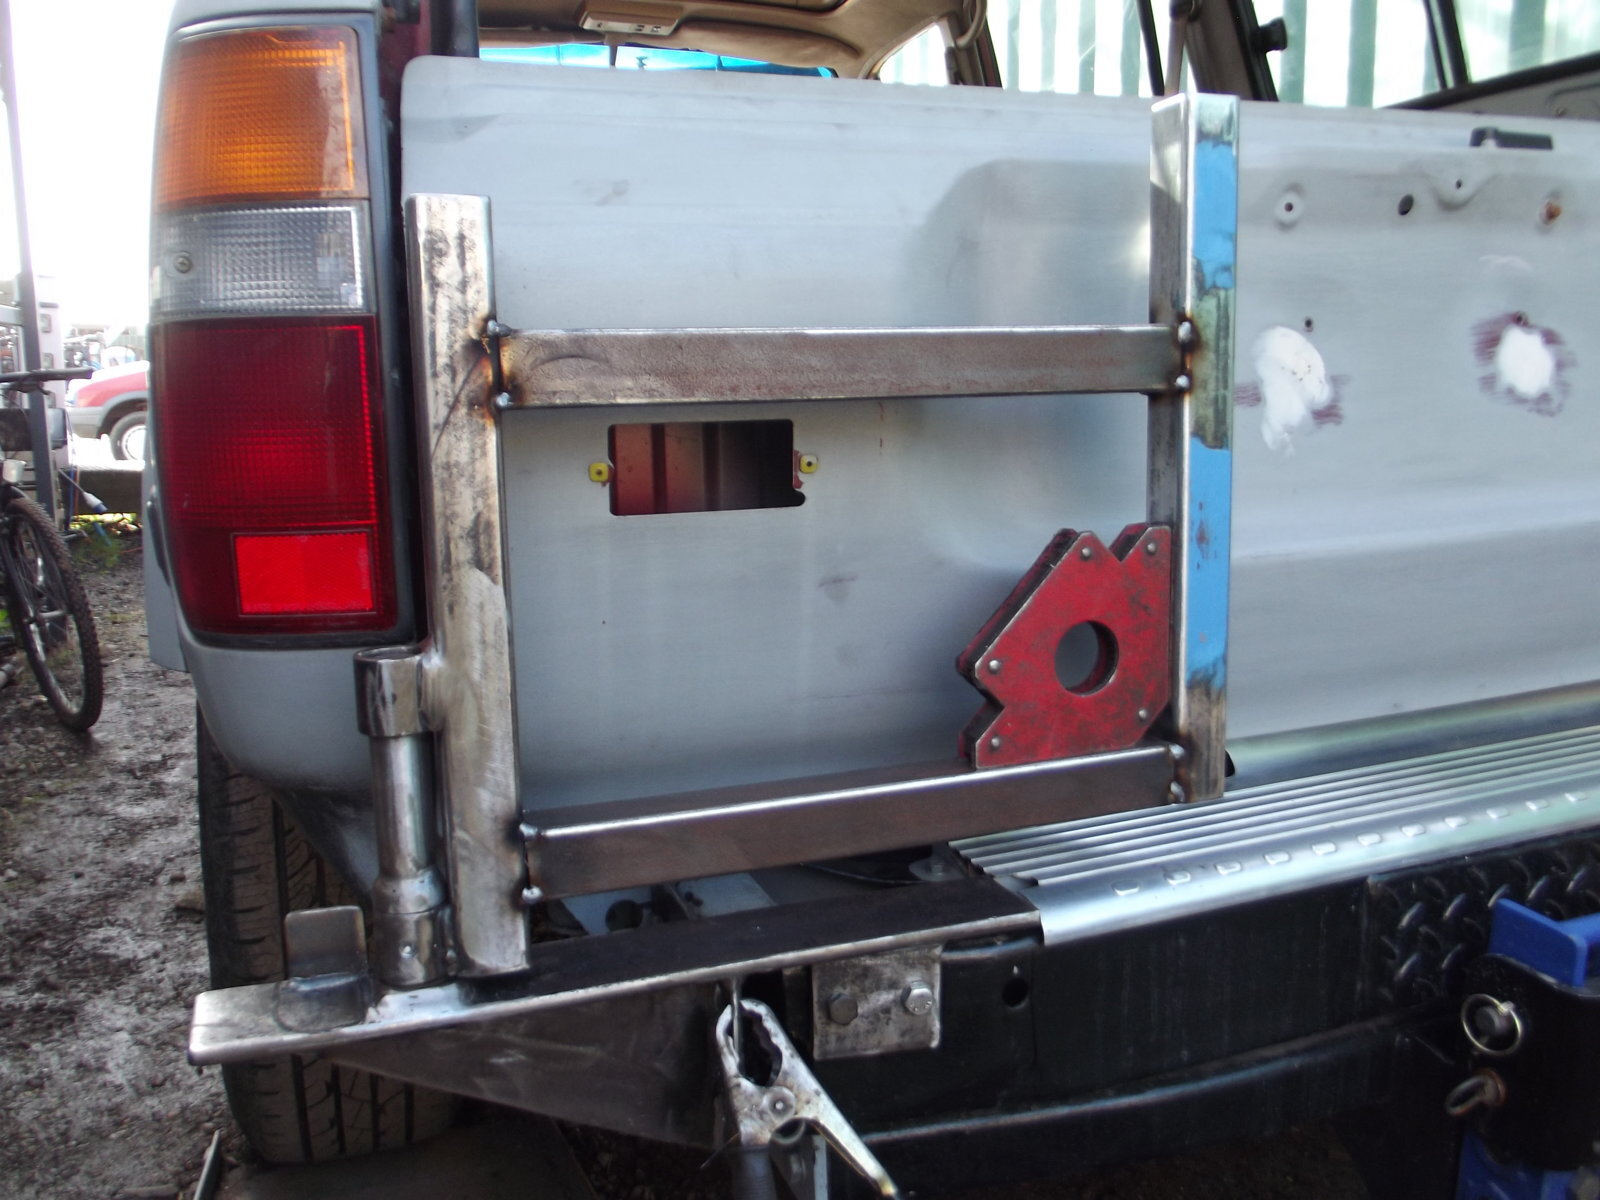
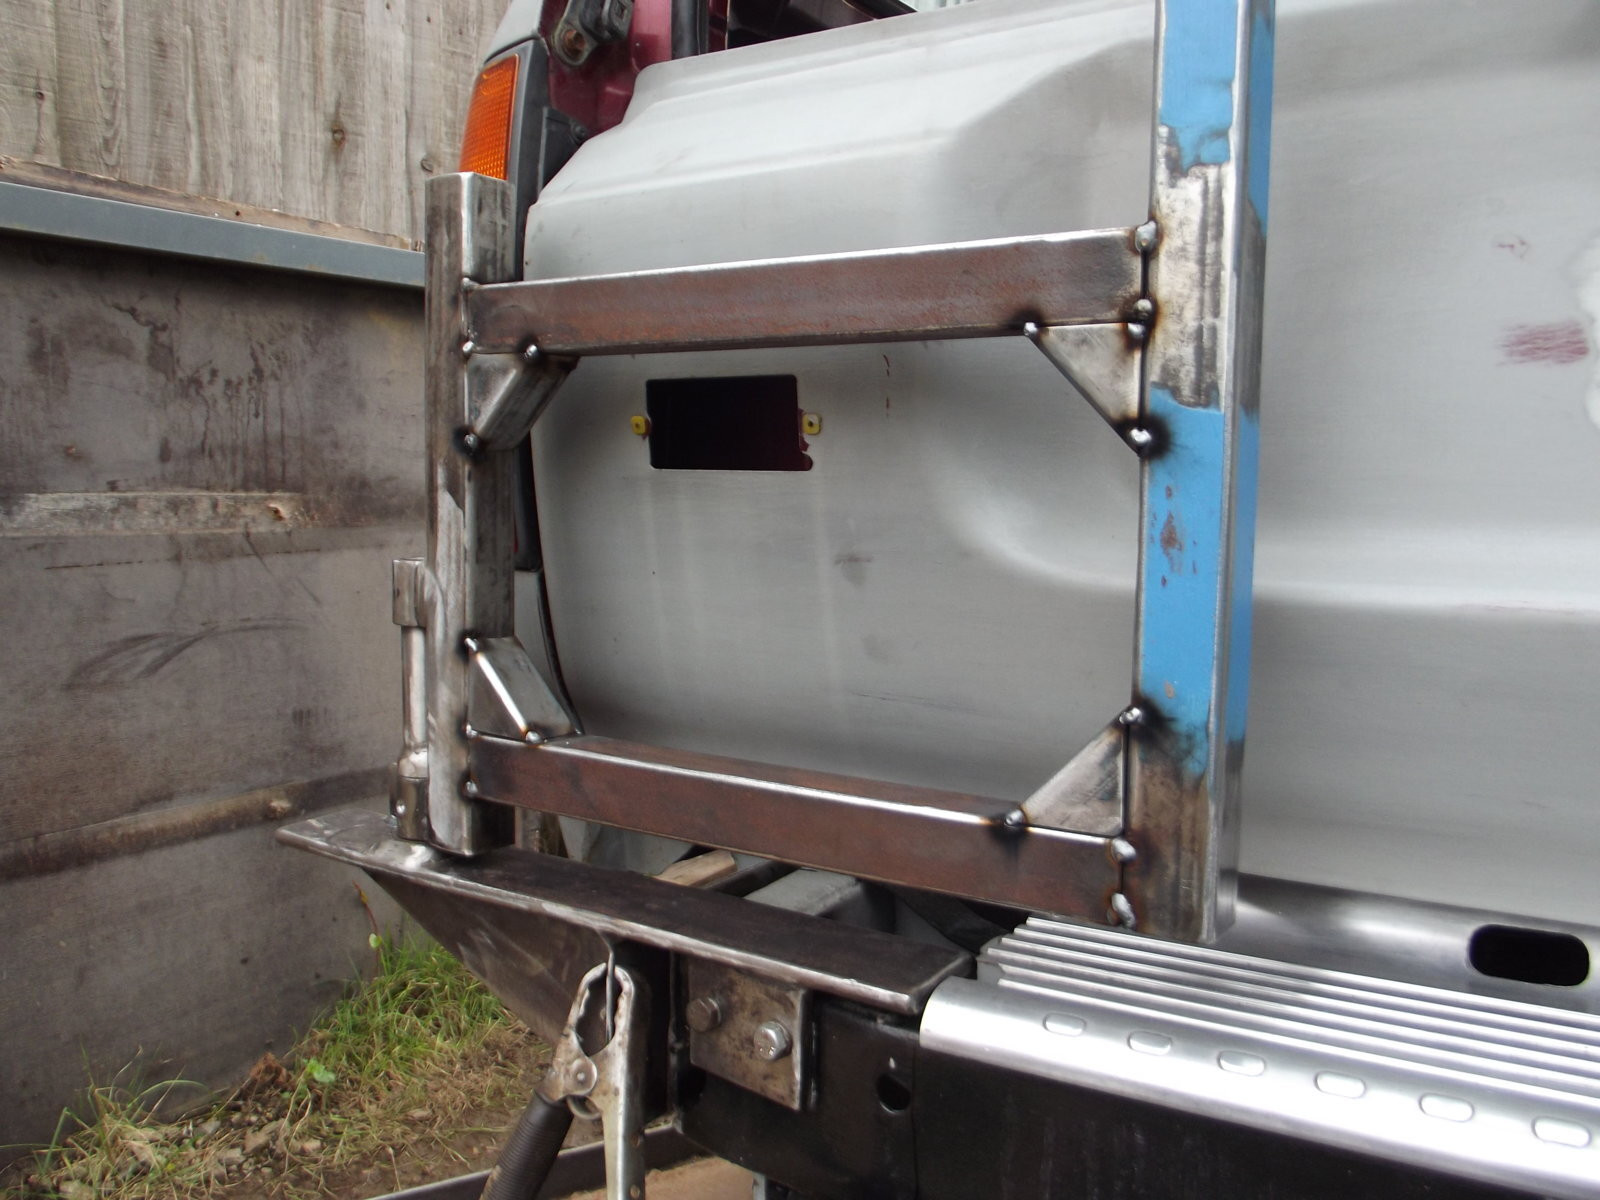
After looking at a recent post from Lorin, I thought id have a crack at a spare wheel carrier..thought id put it here as not to thread jack Lorins Post..Its just trial and error and made up of bits iv had Knocking about..


 ... Decided to go off centre instead of in the middle, and if my guess work is up to scratch it should sit quite low so there is still some visibility out the back window..


 ... Decided to go off centre instead of in the middle, and if my guess work is up to scratch it should sit quite low so there is still some visibility out the back window..
Higgy
Well-Known Member
- Joined
- Mar 6, 2018
- Messages
- 3,407
- Country Flag
Higgy
Well-Known Member
- Joined
- Mar 6, 2018
- Messages
- 3,407
- Country Flag
Just googled images of spare wheel carriers, I dont think there are Two the same Out of loads of self builds . Found Stu mog's on google, Looks good, Is there a photo of Finished product...Found a flaw in mine already that will be an easy fix.. Every day a School day...
Higgy
Well-Known Member
- Joined
- Mar 6, 2018
- Messages
- 3,407
- Country Flag
Just a mini digger bucket Pin and bushes, Both grooved for grease..There is no play to speak of.. The pin and bushes were Brand new, I didnt use old worn stuff, with sloppy Bucket syndrome...Need to get some Toggle clamps sorted, And positioning of No plate etc.. Its been a good learning curve.. Im gonna make one for the 24V but i think that will be different, Now i know the pro's and con's of certain things..But iv enjoyed doing it that's all that matters..
Higgy
Well-Known Member
- Joined
- Mar 6, 2018
- Messages
- 3,407
- Country Flag
No play to speak of really. Now iv got the bottom grease nipple in, Just keep em topped up with grease, Those pins and bushes are bloody hard steel, I broke two Taps trying to put the thread in for the nipple, So i ended up welding it in, There was slight flexing in the Box section where the wheel holder sits, So i doubled up the clapping plate to 10mm thick, It seems to have sorted it, Once i get the Toggle clamps fitted, Im expecting Zero movement... Fingers crossed!.. A pin and bush kit was around £60 for a mini digger,... Im thinking of going up to a 3ton digger kit where the pin is a tad longer and a bit thicker for when i do the 24V..
Last edited:
Similar threads
- Replies
- 4
- Views
- 65


