Don't like the adverts?  Click here to remove them

Higgys 80 restor/project

Thought id have a go at Making some corner Bumpers, The plastic ones on the 12v were Knackered... Got an old head board off one of me Trailers, And set to...
DSCF9969.JPG
DSCF9972.JPG
DSCF9975.JPG
DSCF9976.JPG
Each piece was cut and welded....Pain in the arse job to be fair. But Pleased with it.. The one on the other side will be more of a challenge cutting round the wheel Carrier. Made up brackets so as to use the existing mounts, Painted the inside with chassis Black but il find a good two pack maybe for the top and spray them once they are fitted.. Crack on :thumbup:
 
Last edited:
Nice job mate! I'm a big fan of these.. my original corner's are hanging in there in good condition. But will follow suit in the future!:thumbup:
 
This thread should be called "How to save an 80" :clap:

Wishing now i'd bought steel to make bumpers 2 months ago because your bumper corners prompt some rueful hindsight ,
 
Thanks for the reply's.. This was going to be a tenplate , for a pair to be made out of Thicker steel, But was impressed with how Rigid it is, I thought sod it il keep this one..... Its just 2.5mm Galvo from a trailer head board... I did brace it with stainless bar on the inside... I think it will withstand a decent Knock...
 
I had to follow the new profile when i cut out the troublesome rear panels, But the new corner pieces hide it well just like standard plastic ones do.... I hope!
DSCF9982.JPG
DSCF9986.JPG
Me arse end's coming along
 
Don't like the adverts?  Click here to remove them
Tah! Dah! Its out... Went better than i thought it would.. The process of taking it out is Pretty easy, Its all the rest of the crap that comes with it was the ball Ache...
DSCF0074.JPG
DSCF0077.JPG
DSCF0080.JPG
DSCF0081.JPG
 
Last edited:
I did look into it Mate, But Sat Nav says 4hrs 10 mins, From here to camp site, So 'erm' No.. Looks a great site hope you all have fun.. Just dont have the time at the Minute Jacob...
 
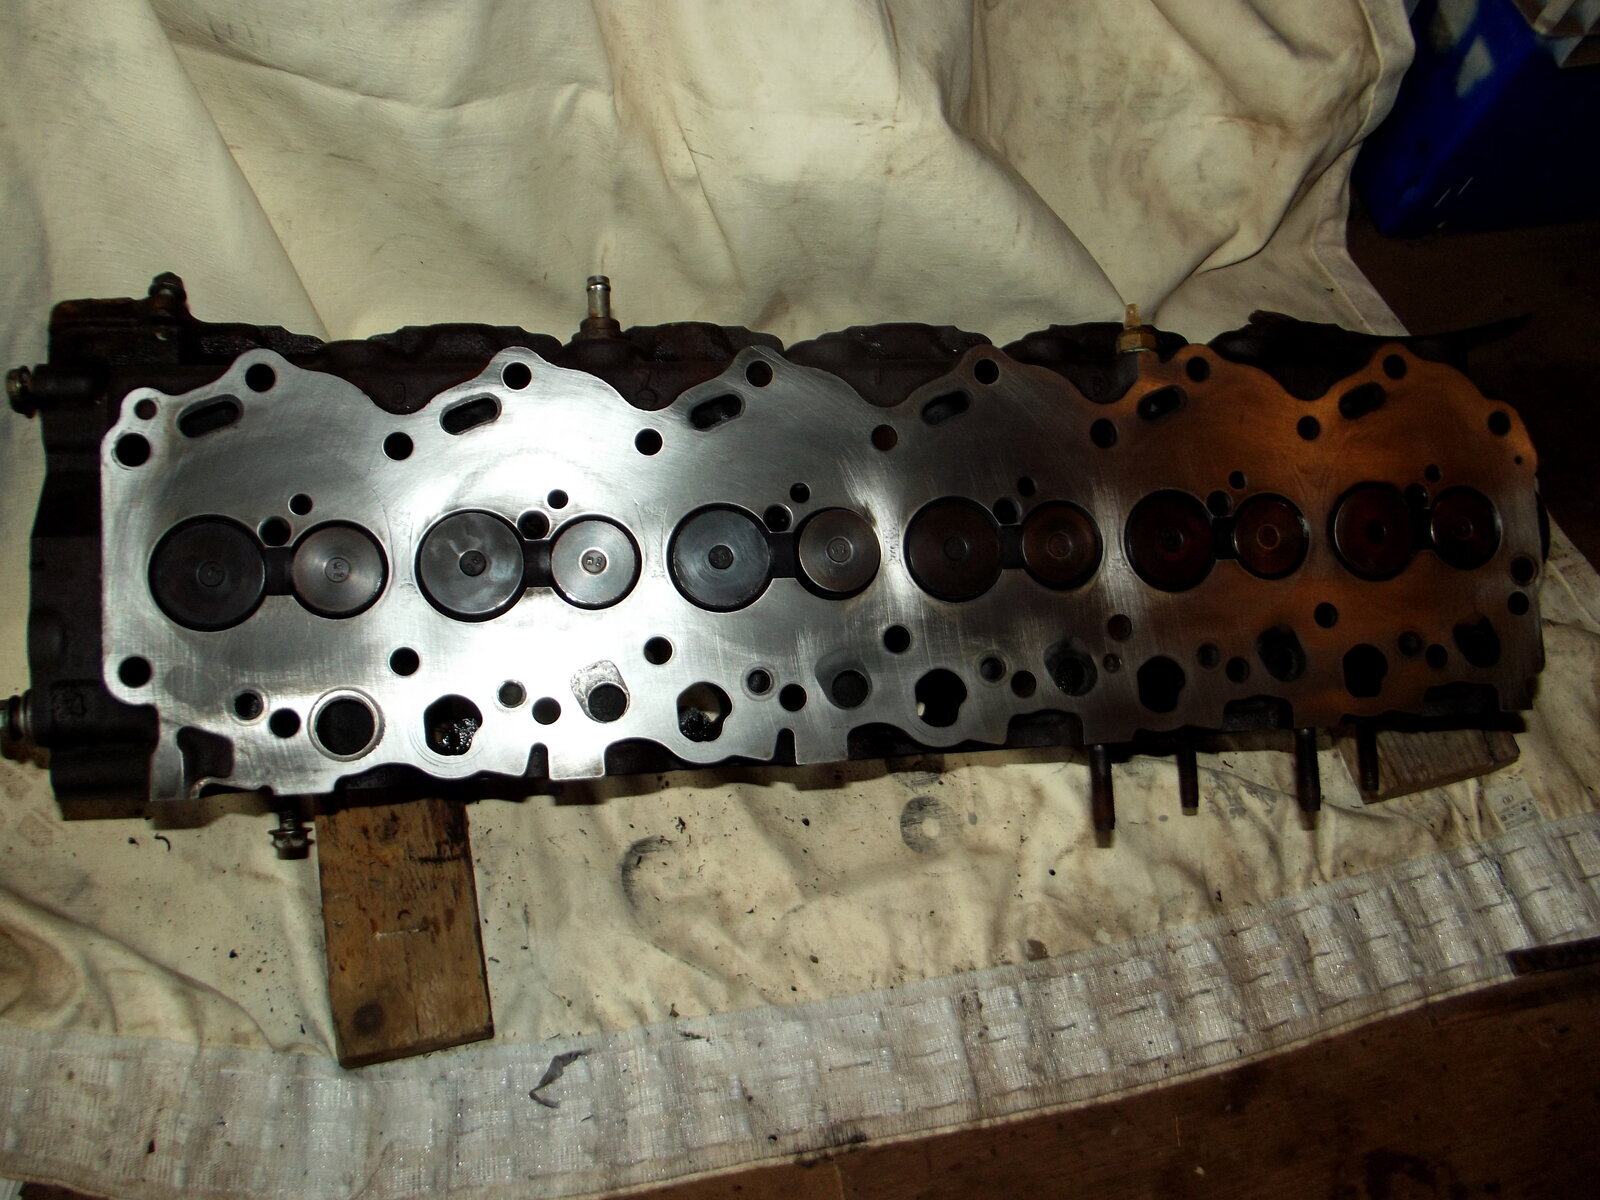
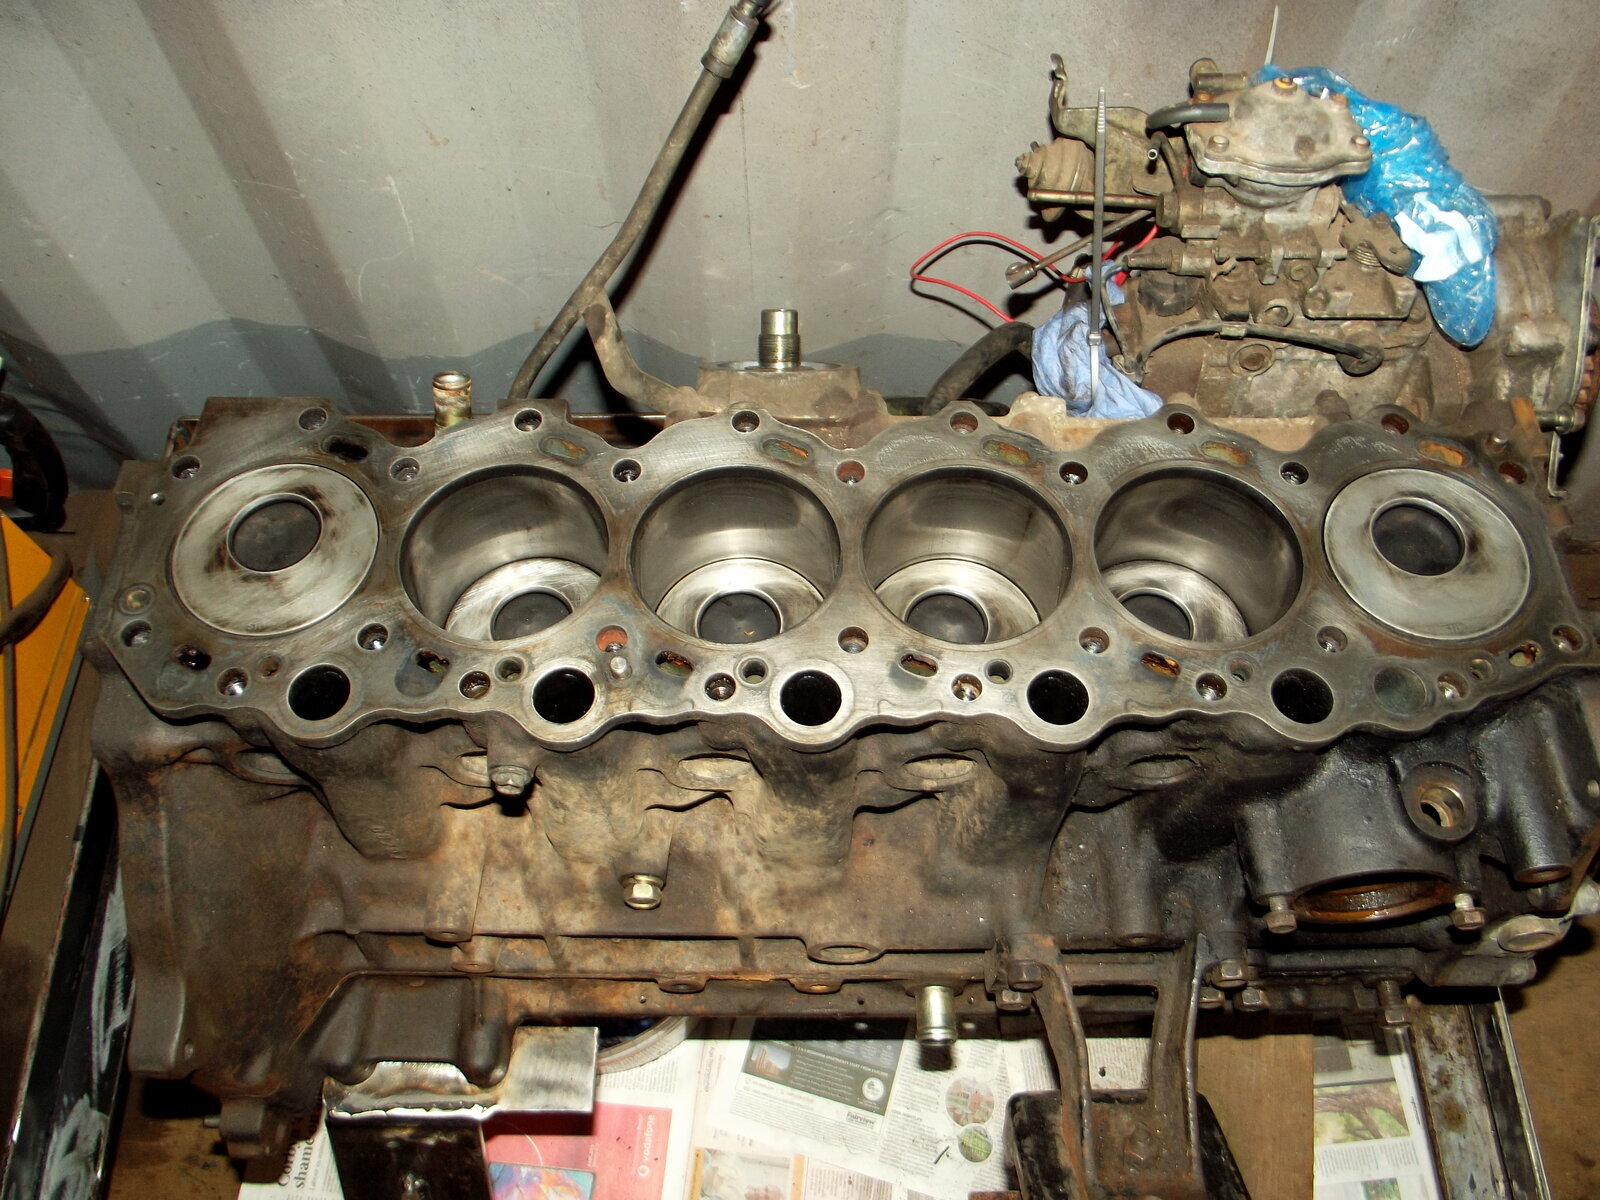
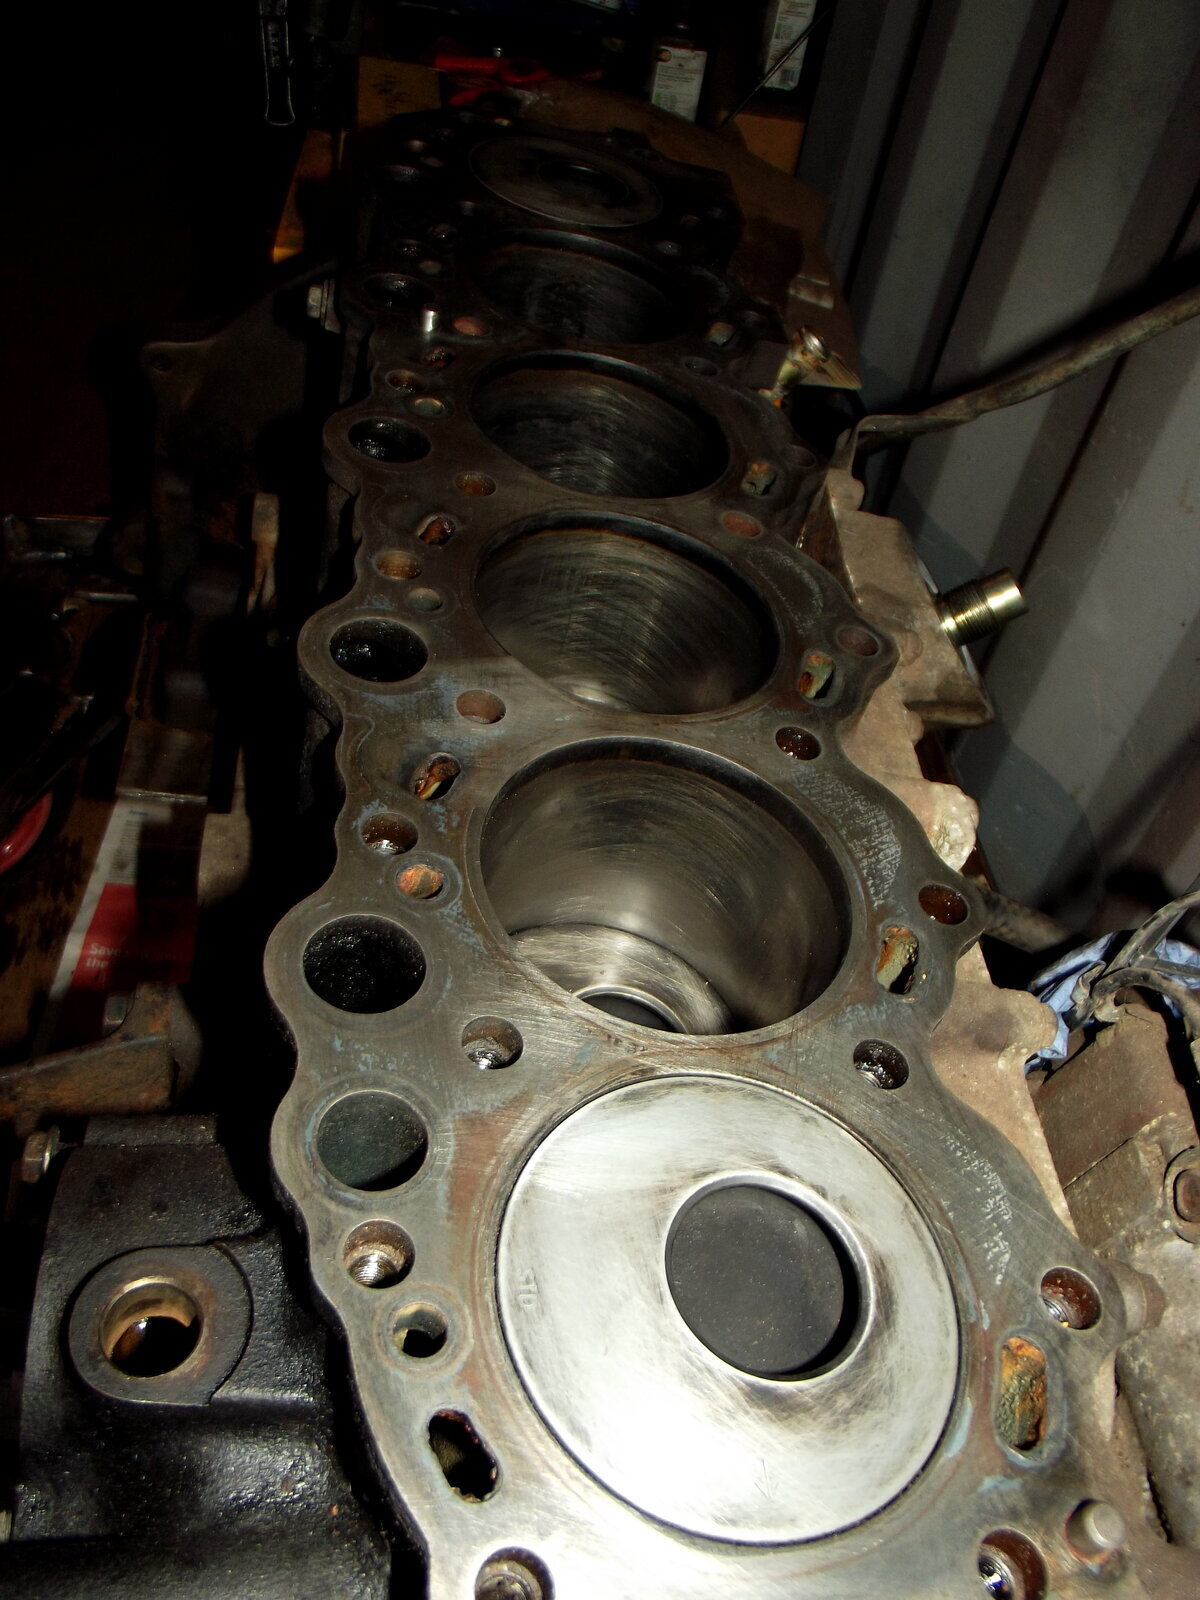
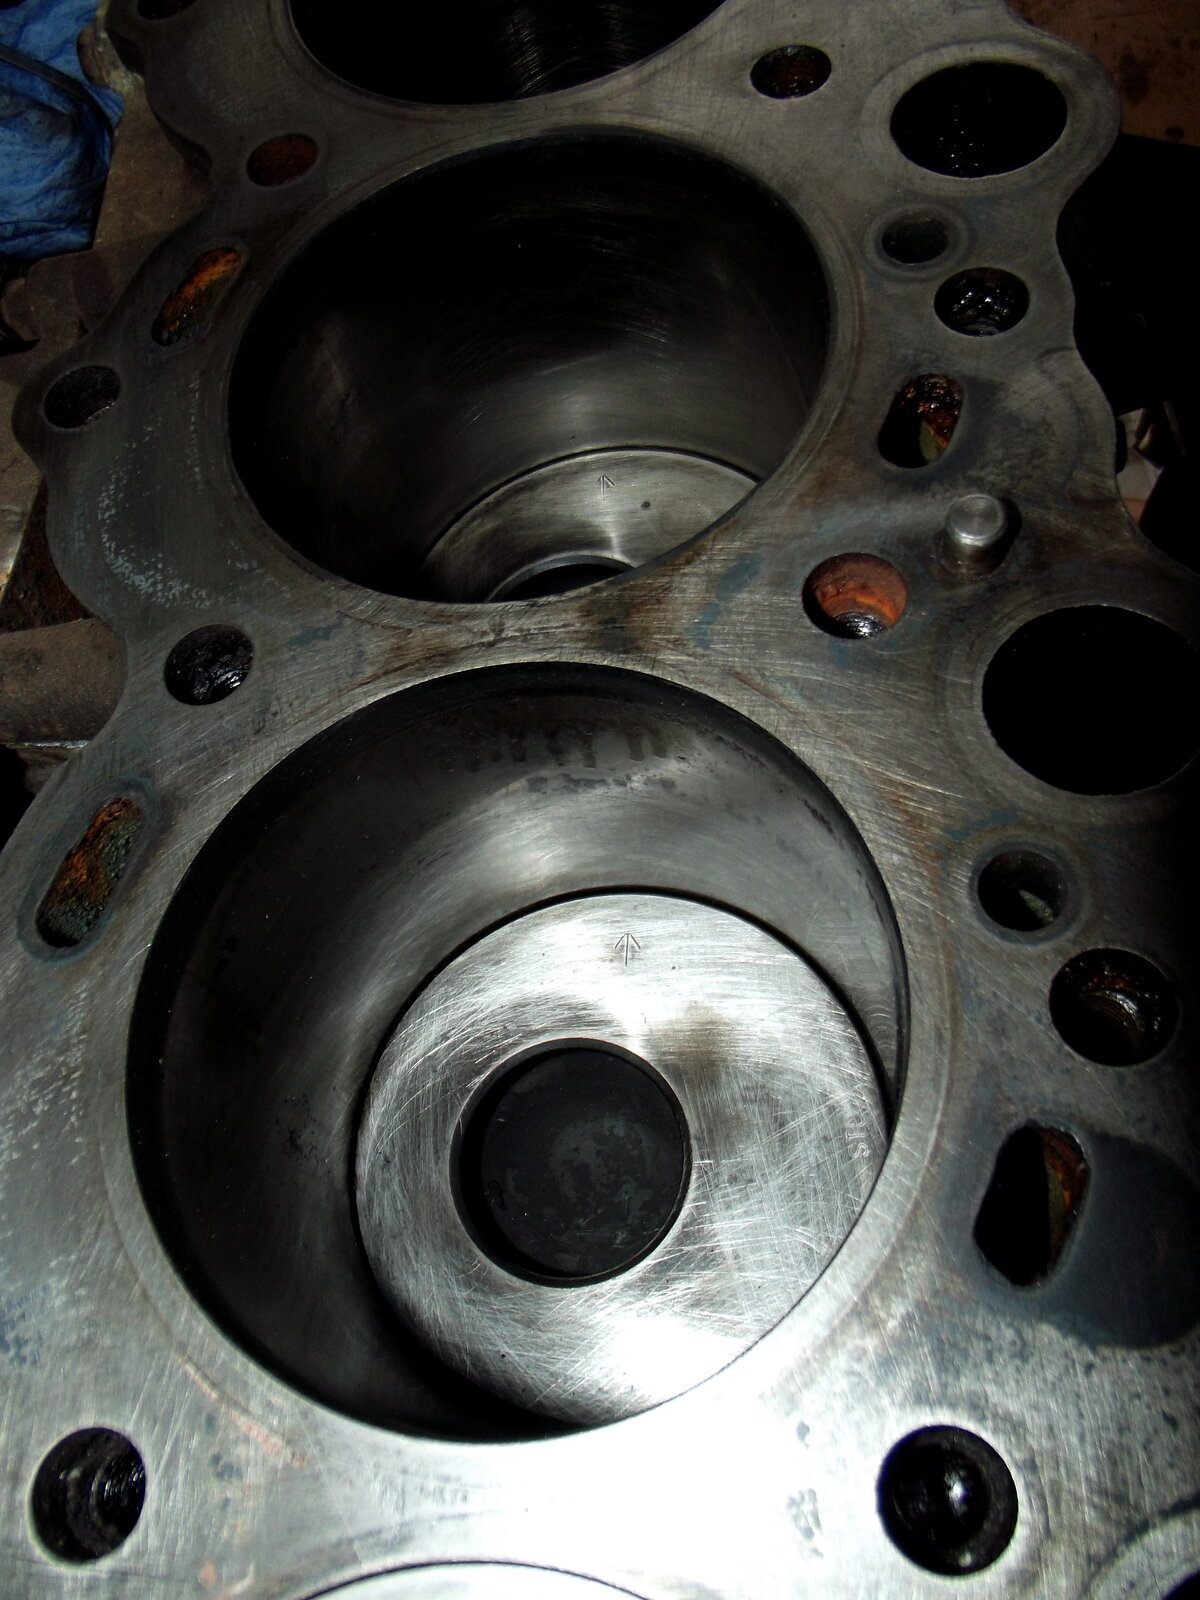
Well after getting the old lump in bits, I was kind of in a sick way hoping to find something very obvious as to why it was breathing Heavily, But as far as i can see, Nothing really, Barrels in excellent condition,tops of pistons all good, Head gasket and head cleaned up like New, No tell tale signs of head blowing, I even got the Magnifying Glass out and checked for Hair line Cracks etc..... The only Possibility is there is a bit too much Play in the Pistons in the Barrels, I know there is a certain Tolerance but i think this is a bit more than that. I dropped the sump off and every thing looks good as far as i can tell, Everything nice and tight, Took the injectors out and they looked good for a 250,000 mile engine,,,,,, Soooooo! dont know... Im gonna get new pistons /Rings and BEB's done anyway ... And fingers crossed :thumbup: Its difficult to see from the Photo's, But it all looks good to me...... Anyone with knowledge of the slack in the pistons, Appreciate it
 

Attachments

  • DSCF0084.JPG
    DSCF0084.JPG
    320.5 KB · Views: 25
  • DSCF0085.JPG
    DSCF0085.JPG
    398.2 KB · Views: 28
  • DSCF0086.JPG
    DSCF0086.JPG
    302.5 KB · Views: 26
  • DSCF0087.JPG
    DSCF0087.JPG
    298.4 KB · Views: 25
Piston rings are sacrificial thats why you have to run an engine in when you replace them , given its sprung i guess the only way to tell if they are worn is to compare them with new ones .
 
It would be nice to get away with just re ringing it..... But your right, Get the old stuff out and compare..
 
did you check compression higgy?

ive never seen one of these engines yet that doesnt have blow by. thats why they have the PCV hose attached to the intake.

the specs for piston/bore clearance, ring/groove clearance etc are all in the FSM and haynes manual.
 
Thanks Mike, But No i didn't check compression.... Il check clearances .. No 5/6 piston when you turn it over and put the piston in a different position in the Bore ie top. bottom, middle etc there is a difference, And in the middle to lower position, You can hear it Tapping when you rock the piston side to side so to speak. That's not good. Next job is to make a frame up so i can spin the engine/ upside down/ inside out.. Only if:thumbup:
 
Got rid of the old sound proofing or whatever it is in the engine bay, And replacing it with Heat and sound proofing material it has about 5 different layers, Fire and heat proof, I cut the shapes round the inner arches etc and got the sail makers on the Marina to stitch it all together....... And started to put the front end together.. Progress at last :thumbup:
DSCF0109.JPG
DSCF0110.JPG
DSCF0111.JPG
DSCF0113.JPG
DSCF0119.JPG
 
there must be easier ways to read the paper higgy..
 
Cork returning in a sustainable Style was an interesting read.... Floating Furniture 'eh'
 
Back
Top