Don't like the adverts?  Click here to remove them

Prado 120 soft overland build

leeloo

Member
Joined
Jul 29, 2018
Messages
148
Country Flag
romania
Part 1.
I decided to make a thread with the evolution of my Prado 120, to keep some kind of log of the changes, the good and the mistakes, perhaps some people can learn from them.

So the story started in August 2018, when I bought the car, with 294 km on board, it is an 2009 Prado 120, last year of manufacture and hopefully with most of the early issues fixed.
It replaced a Subaru forester, which was a very good underestimated car but could not handle the weight I was putting in it with all the camping gear for 3 people extended trips, specially when I was offroading. Empty when off road, was doing great. Because of the weight I had a lot of issues, the car was bouncing heavily and also I had even brake fading on a very steep descent, lucky I was off road and doing like 15 km/h..

My goal with the car is to be able to take long trips, and be able to wild camp 2-3 days in a row, without moving to charge batteries, and be able to tackle medium difficulty tracks, just to be able to get to the nice spectacular wild places..
I won't be able to do more than 2 longer than a week trips /year, for sure some short week-end summer trips so in my case at least it is not worth to do a very complex setup similar with the needs of some one living in the car 3-4 months / year minimum in very remote places.

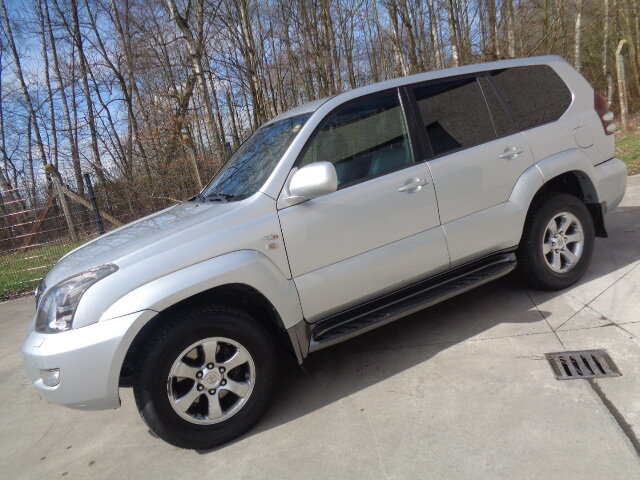
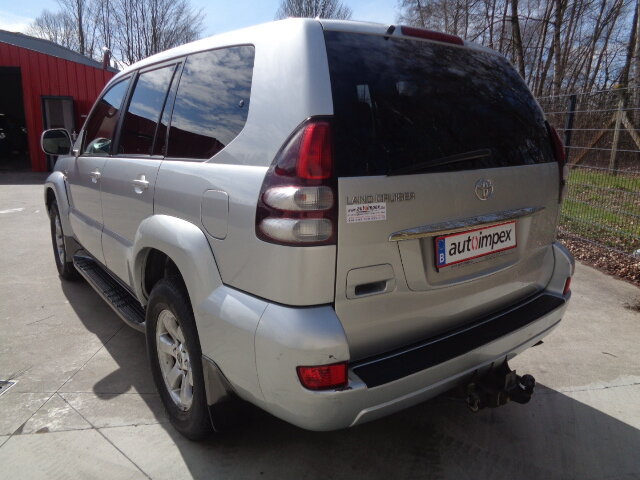
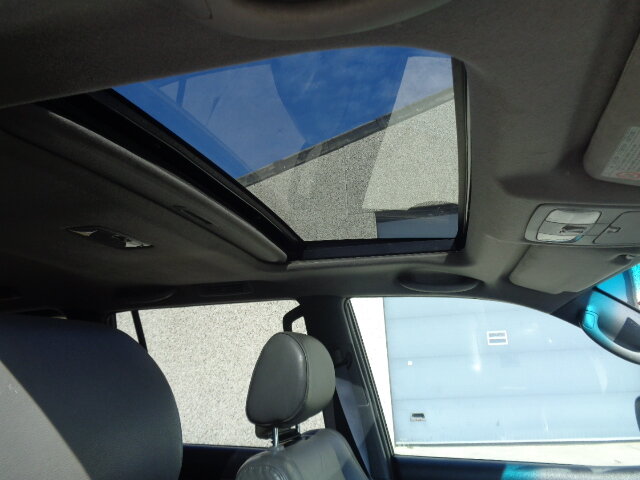
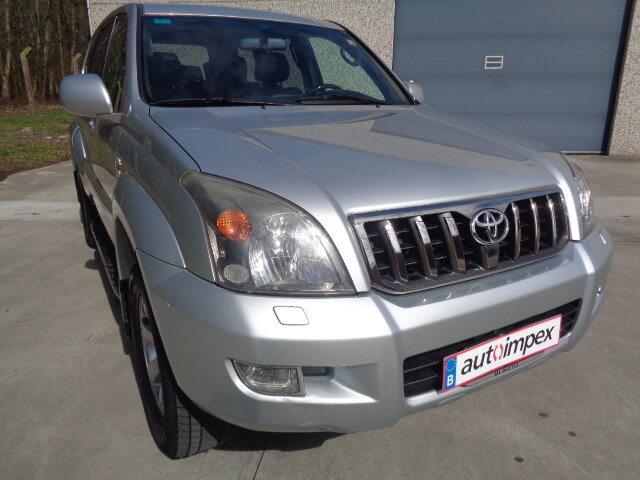
So this is the car when I bought it. Decent shape, it was imported from south Italy so no rust issues, top trim level called in UK LC 5, with rear camera, air suspension on the back, heated seats, a surprisingly good Bose sound system, factory dual battery system... etc...
It had a detailed service history, all wheel bearings replaced around 270k km, oil service done on the transfer and the automatic gearbox, all electrics were working, some bents on the corner of the rear bar, some fine scratches on the side, but very few and superficial. The AC was not working as I discovered during the drive test, and the Ac compressor was replaced by the dealer with a new Denso unit.
DSC03053 (1).JPG DSC03061 (1).JPG DSC03067 (1).JPG View attachment 155932
DSC03109 (1).JPG

First thing I bought were some new AT Tyres, I opted for some Yokohama Geolandar 015, they are all season as well, had them on the Subaru and I was happy with them. In US they also give a 60 k miles warranty as well, so they should last well. They are more road biased, the only issue is on wet asphalt on low temperatures, the braking distance becomes pretty long, otherwise in the snow they do fine. Noise is ok.

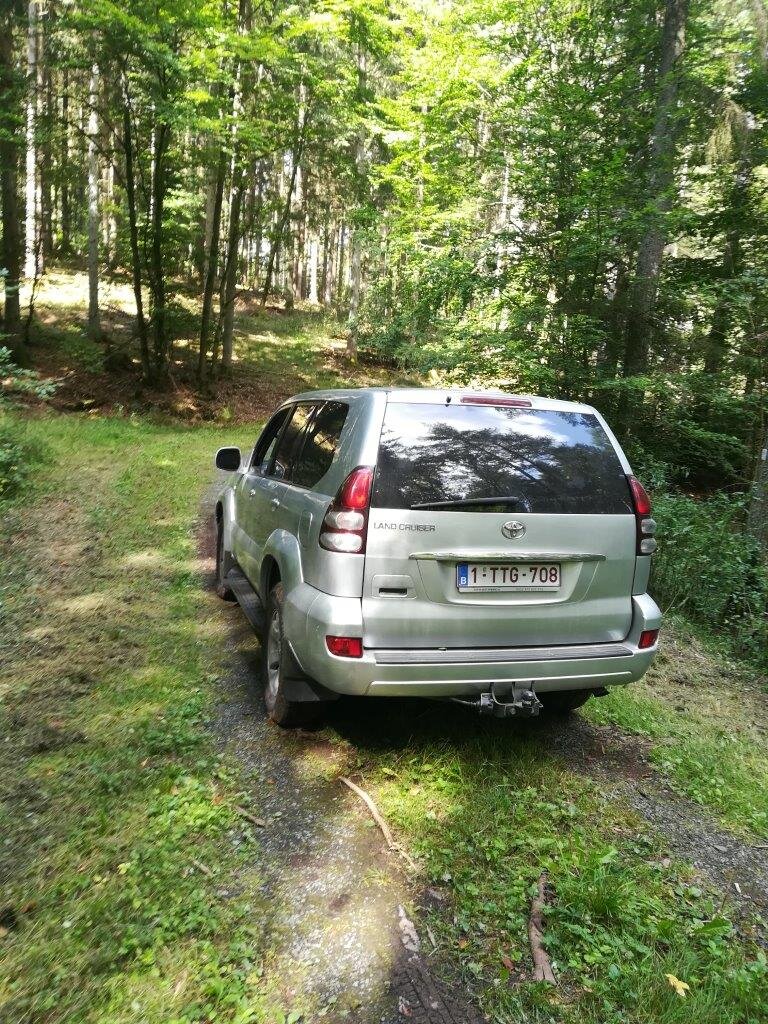
First time out on 60 km off road track in Belgium .
IMG_20180901_131524.jpg


The last trip I got in to some pretty deep mud mixed with clay actually, up to the axels/ engine shield and managed to get out with no digging... :) so they are a decent all rounder..
As a recovery gear I also have some Maxtrax boards, had them on the Subaru as well, and shovel. Had to use the Maxtrax once so far, more to make a bridge so I would not hit the bottom of the car.

Next I did the timing belt service, due each 100 k km and I was close to 300 k, and replaced the front braking rotors and pads, and of course oil and filter service. The back was replaced recently before I bought it. So far this is the only mechanical work I did on the car, except oil and filter service, and I did about 15 k km with it. So far I spent about 400 euro on the maintence of the car. so very cheap to mantain, I am very happy with this.
I suspect if it had some kind of hidden issue since before I bought it, it would had surface by now.


The plan was to install an RTT and a setup for a fridge.
So to install an RTT you need some roof bars or a roof rack.
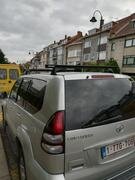
So I bought some roof bars, Heavy duty Rhinorack roof bars.
IMG-20181208-143657.jpg


Mistake no 1. : I bought the roof bars before knowing at least the exact model of RTT I was going to buy. For a hard shell RTT, the bars need to be at minimum just as wide as the tent itself, otherwise you void the warranty and you can crack the shell as well. Had no idea about that tough I researched the issue a lot.
90 % of the time standard roof bars will do, but I am one of the few oeple who bout a the bigggest size RTT there is, good for 2 adults and 2 kids ( I travel with wife and 11 year old kid, but I like the extra room ) .

My roof bars were 145 cm wide and the RTT I got was 165 so... not good. Had to buy new wider
ones, got to reuse the feet tough, but added an extra 90 euro for bars tough..
 
Last edited:
Part 2.
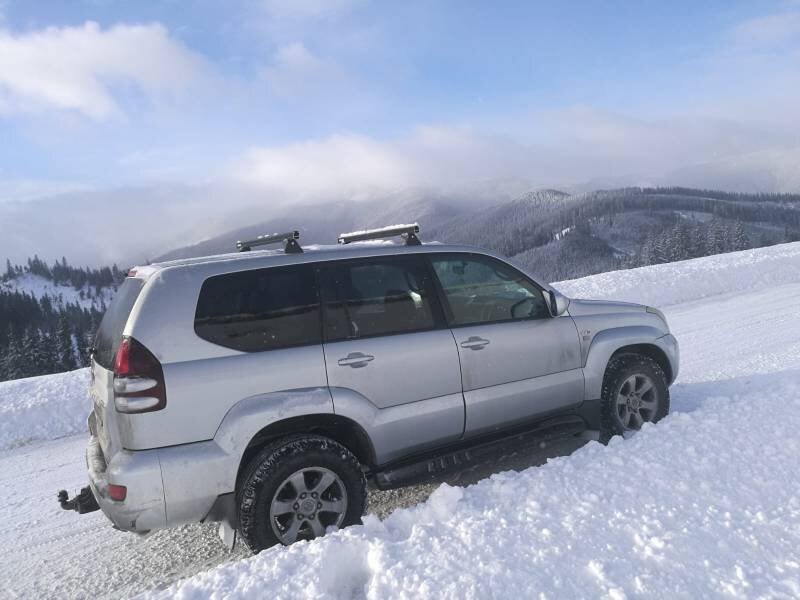
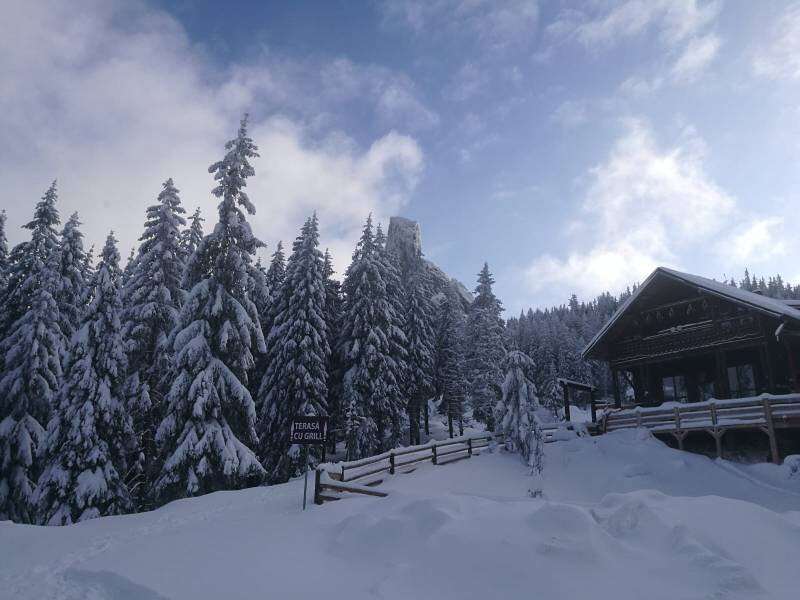
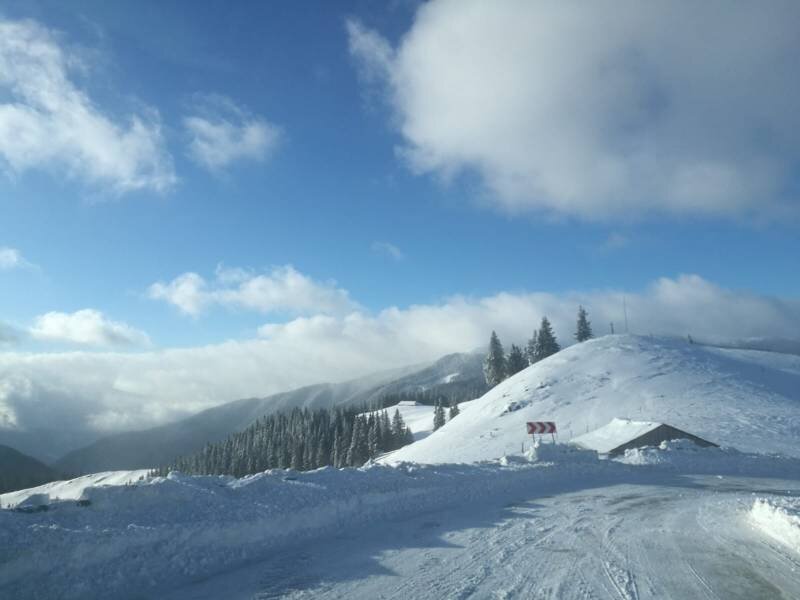
Some pics form the first winter trip with the Landcruiser, in Romania, no issues in very deep snow and steep mountains with the tyres.

IMG-20181225-WA0002.jpeg IMG-20181225-WA0006.jpeg IMG-20181225-WA0011.jpeg

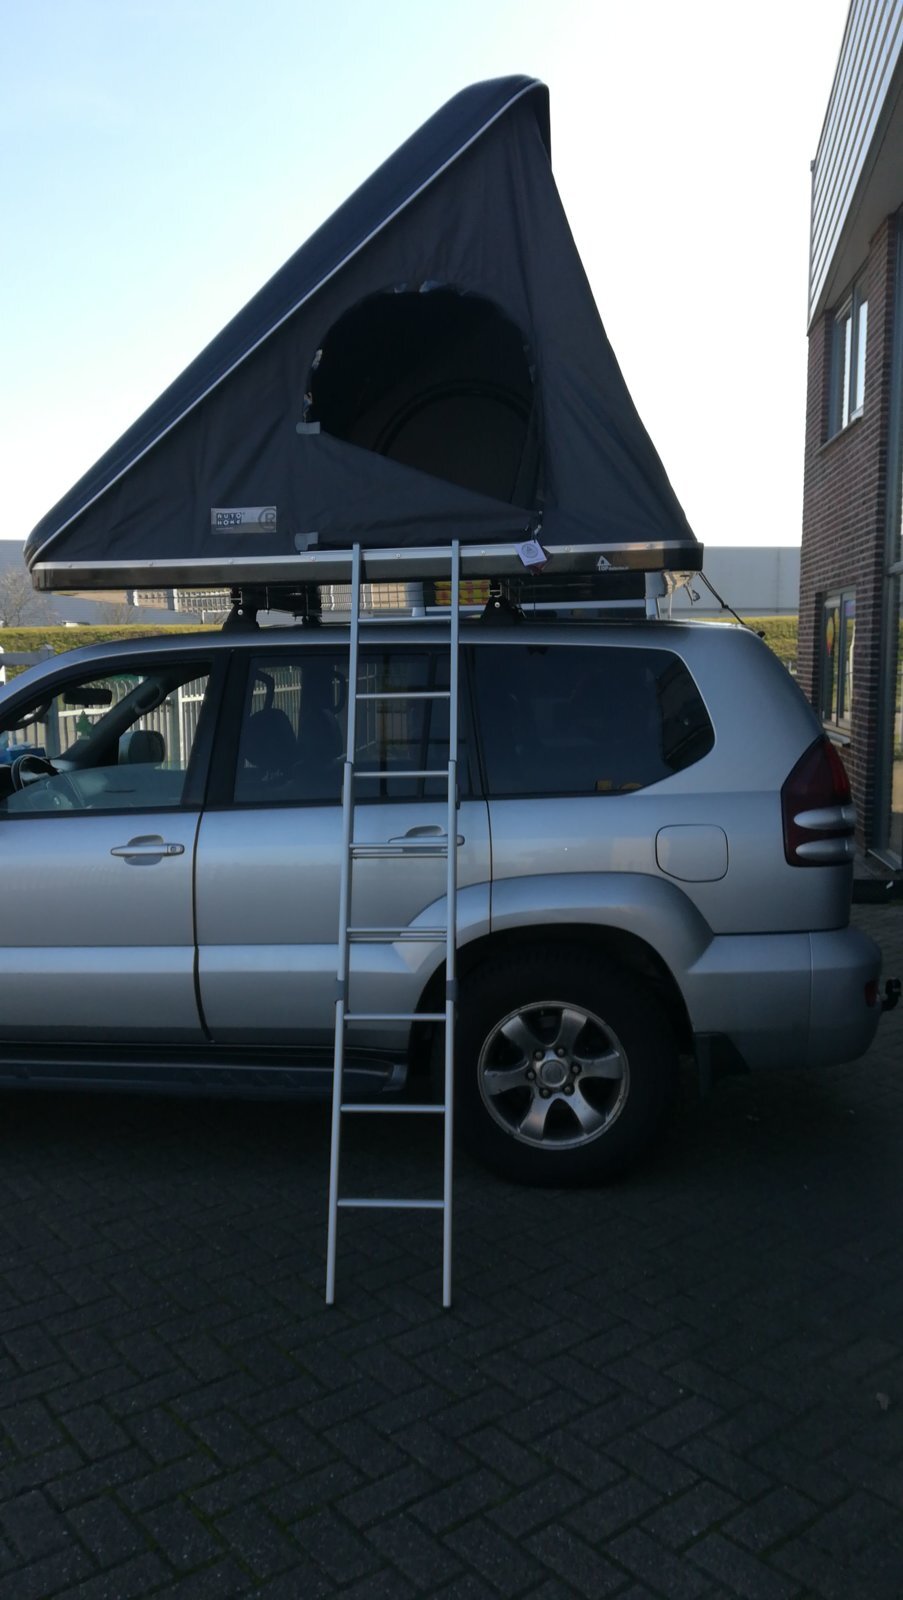
So next came the RTT. After a lot of research I decided not to go cheap and buy from one of the reputable RTT builders,I decided on Autohome and went to see a few models at a dealer I found in Holland, there is none in Belgium, but it was close enough from me, about 120 km.
The showroom was closed on Saturdays, but if you mail the owner you can make an appointment he will open it for you. For people in Belgium, Netherlands I can only recommend this guy, he is located in Tilburg, he was very helpful, explained everything, helped me set it up on the roof bars, gave me a nice price. very good service.
https://topdaktenten.nl/

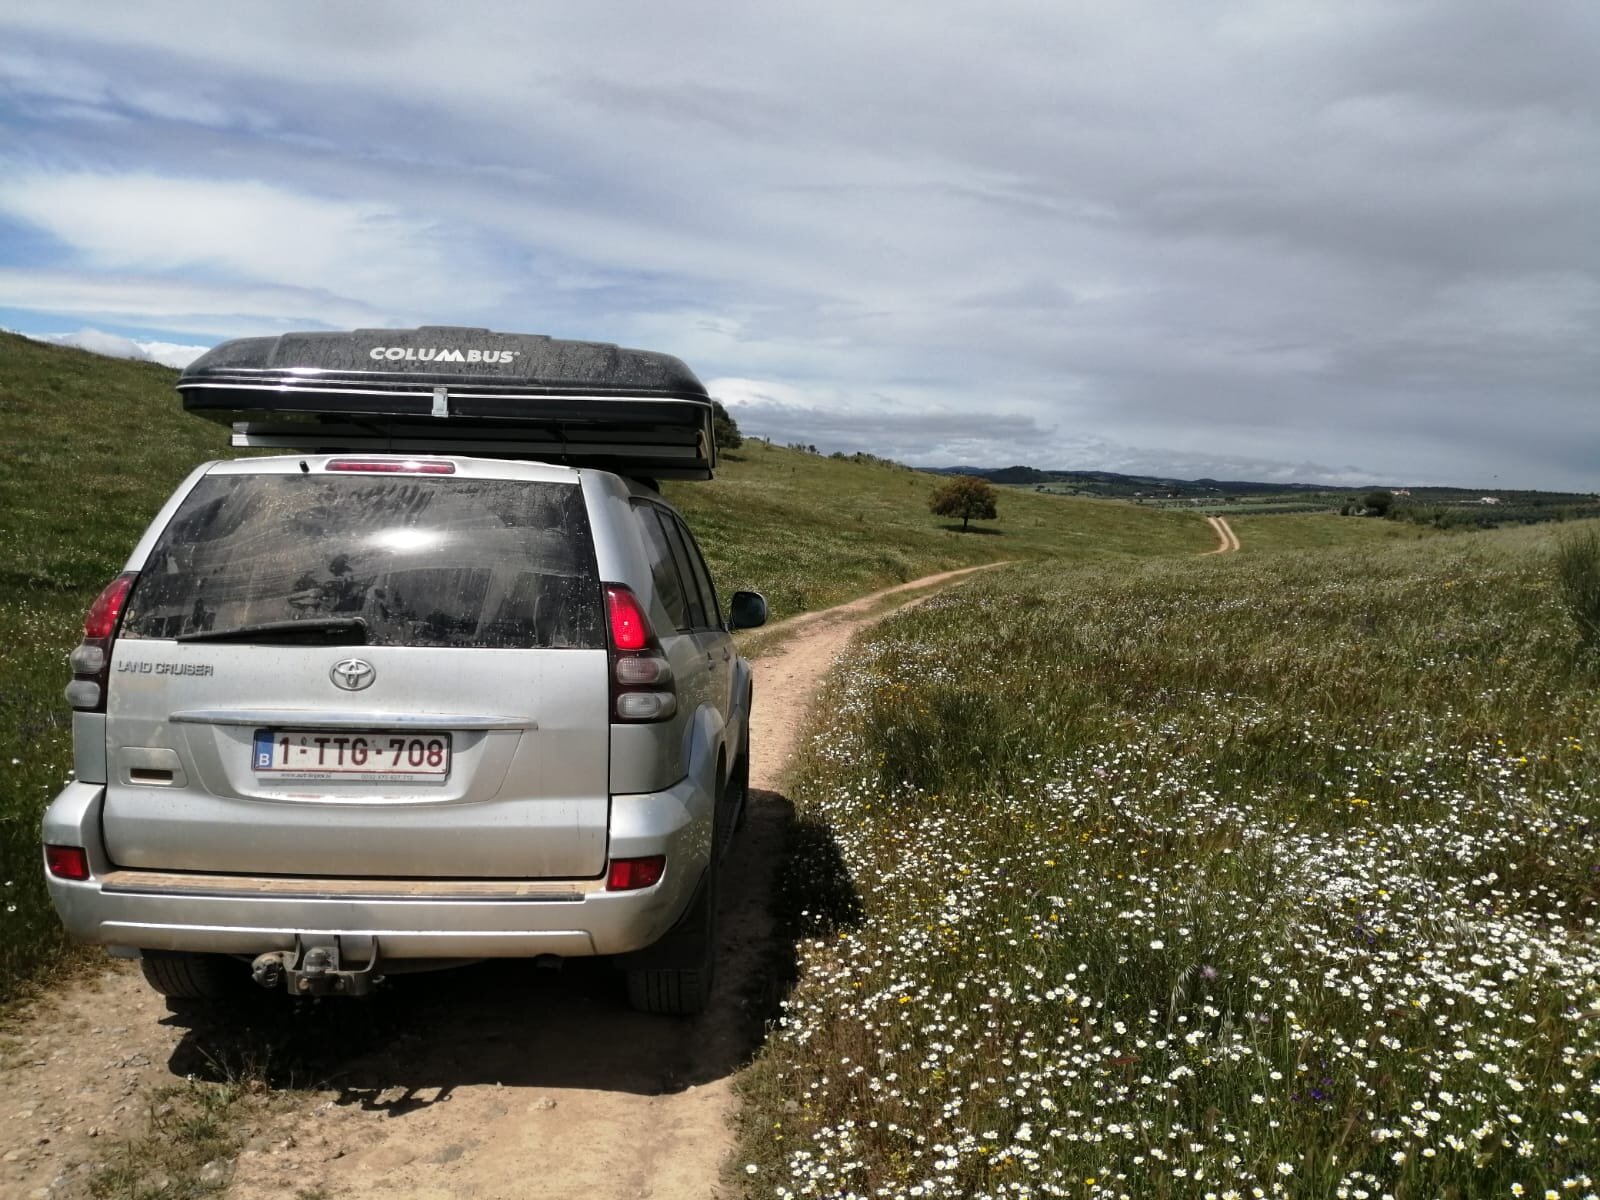
I decided to get the Columbus variant, L size, for the ease of setup and for the extra height one one end when opened, makes changing clothes inside a lot easier. The tent wight is 77 kg, for 2 persons is possible to take it down , but to put it back on, because of the volume,weigh and the height of the car it took 3 persons. If you have a garage you can get a RTT winch/rope system from Thule at a decent price, easy install on the ceiling and you can actually store it there, hanging by the ceiling, so not a lot of space lost.


For smaller tents, standard size, I think it will be possible for 2 persons to mount/dismount for storage but not this. The same tent but small size is under 54 kg, so much easier to handle.
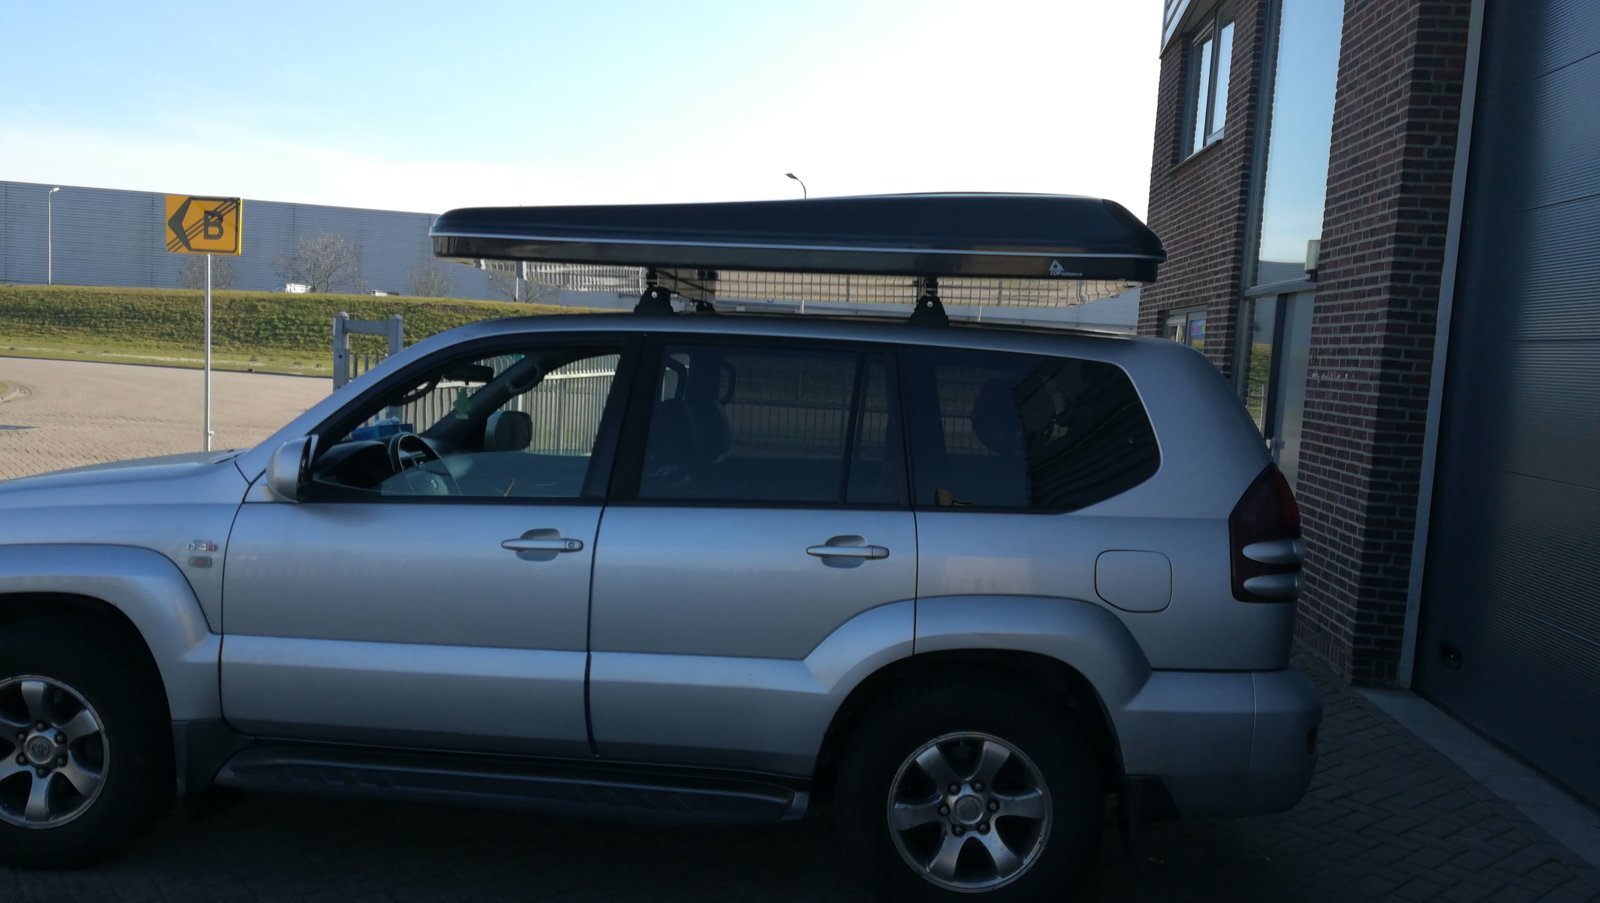
So for me because I live in the city in an apartment with no garage, it became a permanent fixture on the car.
I do have storage place but the hassle to put it on/off between trips is to much for me, and hard shells do fine as permanent fixture on the car.
The disadvantage with this is the extra fuel consumption when you do trips were you don't actually need it, in my case about 0.5l/100 km on highway..
IMG-20190223-WA0002.jpeg IMG-20190223-WA0010.jpeg


Things to consider before buying an RTT - size packed, research what kind of roof bar, rack you will need , hard shell vs soft shell, weight , if it is soft shell it needs to be stored between trips, so does it fit in your storage place ? can you mount it easily on ? ..

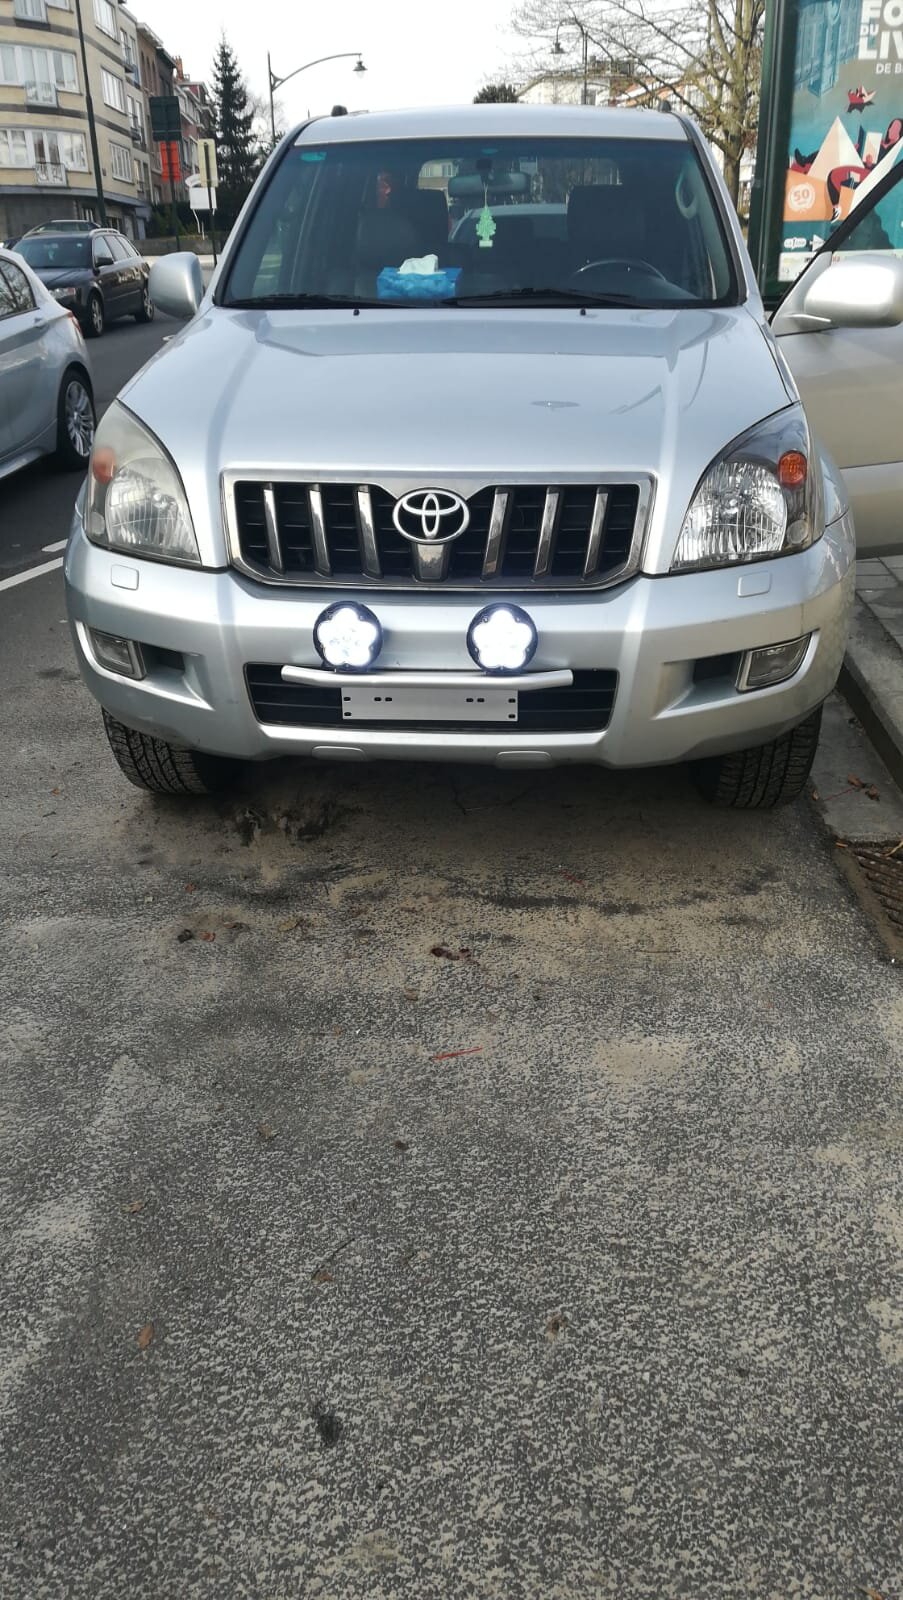
I added some off road lights. Combined pattern pencil/wide beam, 55w LED, cheap, had good reviews on Amazon. About 100 euro, they do have a polycarbonate surface, and IP67 rated , plus a wiring kit about 120 euro in total + plate support system for mounting them.
Be aware that on the 120 Prado the front bar is very narrow, no room for any kind of lights or light bars, Either you go for number plate support system like me or you mount a light bar on the roof. My option was chosen to avoid drilling holes in the roof..

IMG-20190213-WA0002.jpg
They also have some covers, that I keep on all the time because if if I turn them on by accident on normal roads I will provoke an accident for sure, they are very powerfull. The install I did myself, it is an easy job, the ready made wiring harness had good instructions. Didn't catch fire yet so it is ok so far.. :)
Never had a chance to use them yet, but I did to some tests while wild camping and they seem powerfull enough, you can see every rock and branch and leave for 300 m ahead easily. Time will tell how well they hold.

The button is nicely integrated in the dash, had spare location and found a factory looking switch. I did not complicated things to connect it to ignition, the switch has an LED indicator so I know when they are on to avoid getting the start batteries flat..

Fridge setup : I got Snomaster 35l the cheaper one made of plastic, got it on a sale 20 % off on the raid 4x4 french site, it is sturdy enough tough, it performs great. Depending how much beer you drink ( we drink a lot while camping :) ), it holds easily perishable food for 2-3 days, and in Europe it is almost impossible to be further than 40 km from a supermarket.. For trips in more remote places with supply issues I will have to rotate the beers more often... :)
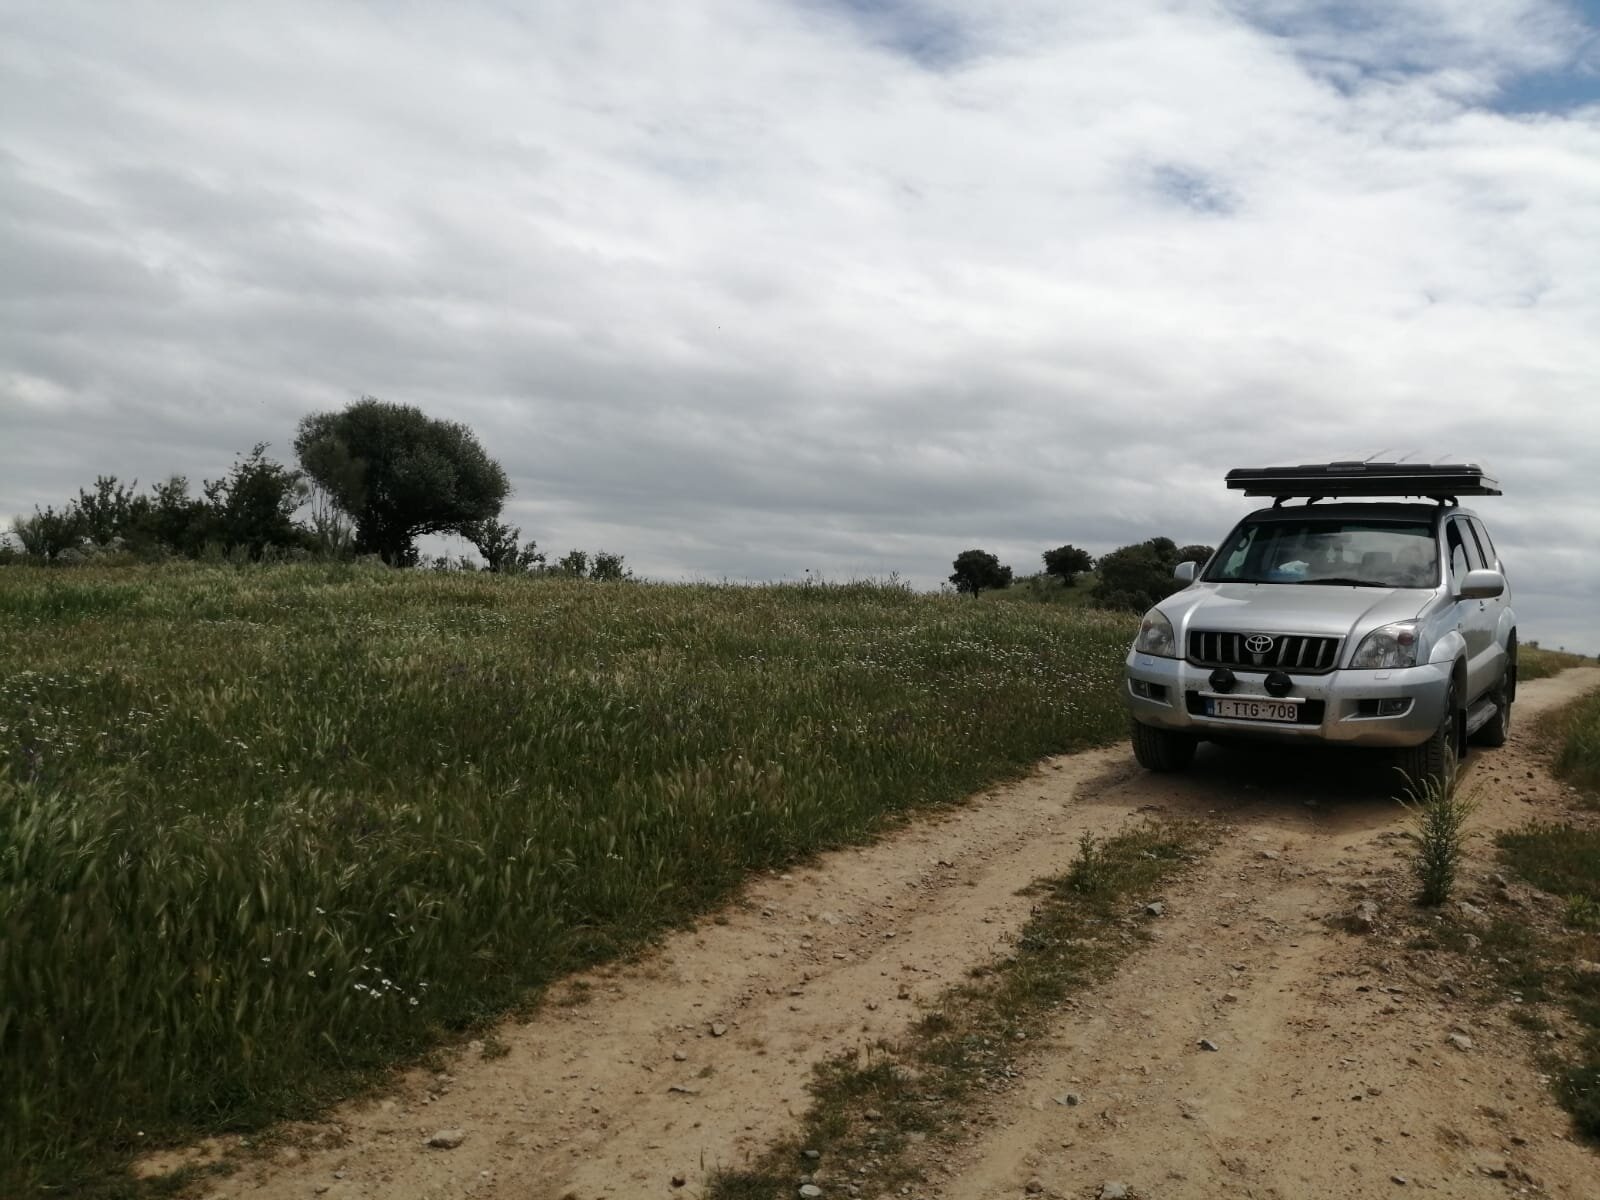
My first trip was in Portugal, a 12 day off road tour.
To power the fridge for this trip first opted for a portable Li-ion pack, Suaoki 400Wh. It is very light, compact, it has a 300W inverter included, mppt solar input. I knew I will not do a lot of wild camping, so it was enough, it can power my fridge for a night easily, I was not planning to spot in 1 spot for more than 1 night, so I would be able to recharge it either in a campsite or while driving.
The drawback of this unit is the charge rate. Either on an AC plug, or plugged to car it draws only 40-50W from a supply who can get to 120W easily ( like the cigarette plug in the trunk ) , so the charge time is very long. Unless you will drive a minimum of 4-5 hours, not good enough.
So for the next trip planned in mid July in Albania, I need another setup.
I am not sorry I bought this, it is light, versatile unit, 6 kg only, it has the inverter, I can crank the engine from it as well in case of battery failure, it takes little space.
Some pics form the Portugal trip.
IMG-20190415-WA0005.jpg IMG-20190415-WA0009.jpg IMG-20190415-WA0012.jpg
If you did not lost it already.. more to follow :)
 
Part 3. Future mods and the main limitation of my build.

Because the city of Brussels went crazy., all euro 4 diesels , like mine will not be able to enter the city starting 01.01.2022. I am not talking about a few street or the city center, but all the area inside the Highway Ring.
So I will be either forced to sell it before than, in 2021 and start again with some other vehicle. or move it out of the city, a difficult option as well, costly + the issue that it will not be close to me to be able to fiddle with it any time I like :)


I do have a small hybrid daily driver so this car is used only for hobby activities.
After promoting diesel for decades, now they tax us to death and forbid us our hobbies vehicles even. Climate and polution is a real issue, but this is just about screwing people. When I will see better public transport ( crap in Brussles) and each cow that emits greenhouse gasses as much as a car taxed a minimum of 400 euro /year like in belgium, 800 for the landcruiser as it is now, OK, but until that day comes, .. screw this..
Sorry for the rant, but I really like my Landcruiser and there are absolutely no petrol options for it in Europe and I would really hate to sell it.. ( even petrol euro 3 will not be banned )

So you see my problem, any expensive modification I do needs to be transferable to another vehicle. That is number 1.
2. Under no circumstance to get even close to the GVM, maximum 100 kg under it.
No matter what you do to the suspension to take the extra weight, the rest of the vehicle will not take it. I am talking about engine, transmission, articulations, etc. Many things that make the Landcruiser such fantastic and reliable car will go out the window the moment you go over GVM.
Even on professional builds you see on Youtube after they pile on 40.000 euro worth of crap on car, they realize that no matter what they do , weight is the number 1 enemy and no amount of money you trough at the vehicle to carry more does not solve the issue, best is to spend money to things that make you stay under the GVM, not to beef up suspension to go over it.
At least that is my opinion.

With that in mind, future plans.
1. Auxiliary battery system - absolutely need it for the next trip in Albania in the summer.
I just order all the necessary bits, waiting for delivery. Details in another post.

2. Awning - maybe you guys have some suggestion for something that can be fitted to roof bars or some kind of universal fit, the one from Autohome for my tent is 250 euro I think, and not only that, it seems very small.

This are the most urgent ones needs to be done before July.

3 . Clearance - suspension.
No plan to modify the suspension, it works great, I love it, I love the sport mode for highway driving, makes the car more stable so I can stay at high speed even fully loaded with RTT.
I love the comfort mode of off roading, it sits high enough for me, even when loaded because of the auto leveling feature.
On beach or mudd you probably can use better clearance but I never did beach driving and extreme off road/ rock climbing is not for me.
In a stock Landcruiser like mine you will probably hit the running boards more often than the bottom , and the bottom will be fine with shielding for engine/transmission.
I do plan to replace the running boards with rock sliders, to increase the lateral clearance a bit and to protect the door panels from damage .
I estimate I did about 4000 km so far in off road both with the Forester and the Landcruiser, and at least on the type of trips I did, clearance was not a big issue. Makes your life easier for sure, but tyres and good judgement are more important.

Anyway for those who modify the suspension, this should be the last thing. Put in all other mods, check the weight front/back and only after that choose a setup. saves you from buying 2-3 times shocks and springs at lest..
4 . Recovery.
With enough Maxtrax boards, minimum 2, 4 recommended and a shovel, you can get out of everything, except a river crossing. \Might involve a lot of effort and time, but you will get out .
I would feel better with a winch, mostly for peace of mind, since 90% of the time so far I traveled alone, but it is not urgent. Having a winch might also make me take more risks.
There is factory mounting plate for J120, I think it is about 2-300 euro, discreet, no need for a bull bar illegal in most EU anyway. The winch I will be able to use on the next car in 2021 if I will be forced to sell it.
5. Water crossing.
If any of my future trips will involve it, I will prepare for it with snorkel and diff breathers. But I hope I will avoid any crossing higher than the factory thing. Other things will be affected as well.
 
Auxiliary battery.
My Prado 120 has a factory dual battery setup, with 2 crank batteries.
First I considered removing 1 of them to replace it with a leisure battery, of course with a DC- to DC charger and isolator. After some thinking and research, I decided against it. I am pretty sure that the dual battery has something to do with the air suspension, because only the LC5 PRado with this type of ride have them, but since I absolutely want to keep the air suspension and the adjustable shocks I dropped the idea.
It would for sure made my life easier, and for those who own an LC 5 and go for an aftermarket suspension setup, for sure it is a good option.
So the auxiliary battery will go in to the trunk.
Since it will only be used on only 2 long trips / year, and only during the summer, I want to make it removable and keep it on a budget.
DC to DC converter - ctek DS250sa . I just found it on sale at 265 from 365 euro.
For anyone interested the sale is still on, and they ship all over europe with no extra cost.
https://www.waveinn.com/nautical-fishing/ctek-d250sa/136694816/p


True enough, people use them in the engine bay as well, it is not rated for it, so those who do might have some issues.
Mine will be in the trunk close to the battery. I looked also at Intervolt and redarc, but they were more expensive and did not need the extra toughness, since it will sit in the trunk.

Also got a DIY wiring kit that includes all the need it fuses , and it can be ordered at custom length, all the connections/crimping made the right way and size, from Simply Split Charge UK.
I plan to do the wiring myself. I will have to make some modifications, since this will not be a
permanent fixture on the car.
The ctek will sit on the battery box on velcro.
The battery box will be fixed with a tied down on one of the latch points in the trunk, or if need it I will drill some holes and make a custom latch point, if don't have one where I want it .

I want to insert on the wiring a couple of Anderson plugs, 1 between
the cables from the Main battery and the IN of the converter and the other for the Out of the Auxiliary battery box , so when I need I just disconnect the 2 plugs and remove the whole thing.
In between trips, the battery will sit in storage connected to a charger/maintainer.
I got a cheap battery box, about 27 euro, and I opted for a 100 Ah AGM deep cycle, medium priced but with good reviews, on amazon it should be enough to power the fridge and charge a couple of phone/tablets for a couple of days if I do not move.

But most of the time I will be driving every day. On top of this I plan to buy a foldable 200W panel just in case I decide to sit in one place longer.

So far I spent around 700 euro for the DC to DC charger, wires, the 100 Ah deep cycle AGM battery, battery box, and a lot of other of small things like extra wires for the consumers, fuse boxes, panels with usb/ lighter plugs, fuses, velcro to tie things down, special auto graded wires ( those are really expensive ) etc..
Right now I have 2 issues with my plan.
1. Not sure where I can get a good Earth connection in the trunk of the Prado . Any suggestions are welcomed. In theory, any point on the body of the car will do, but not sure how reliable would be.

2. Since late prado 120 like mine have a smart alternator, I will need to connect a wire from the CTEK to a live ignition wire. That control wire does not carry many amps, I can use ordinary cheap wire so I could extend it back to the inside fuse box, but I would like to avoid that. More work and less access in case of issues.
If no one has any suggestions I will have to test a bunch of wires in the left trunk sidewall to see if there are any live only when the ignition is on and try to piggyback on it..It should be some at least.

As soon as everything is delivered, first week end with pleasant weather I will start the install and post pictures of every step.
 
Last edited:
so I installed the CTEK charger, no pictures yet, becouse I think I might have an issue.
Only the alternator light stays on when the car is started, with some light consumers connected at the service battery ( a phone and a lamp )
In manual of the CTEK does not say anything about only the alternator light being on.

The AGM 100Ah is completly full, shows 13.7 V I just took it off a 220v charger/maintainer.

At the in I have between 13.8 and 14 V, it is to be expected, it is a smart alternator. the earth is checked and good. With the engine off I have 12.7 V .
The smart alternator wire it is connected at the cigarrete plug wire, and it is on only when the ignition is on, so that should be ok.

I connected now the fridge and let it drain the battery over night, to see if it will charge after. I think the voltage is now too high on the service battery
 
Don't like the adverts?  Click here to remove them
If you turn the car off and put the head lights on it should flick back to the leisure battery soon enough.
 
what is worring for me is that the small green light ( the one with an i ) is not on. Only the yellow alternator one.
So I left the fridge on at -8 and in an few hours the voltage on the AGM dropped to 12.8.
Started again the engine, waited for a while, the start batteries reached very quickly 13.1 V, at the input I had 14.V but this bloody thing was still not charging. Either 12.8 V is not enough to trigger a charge or this CTEK unit is deffective.
I even tried connecting the wire from the main battery to solar, via the Solar input should charge no matter what.
I mailed the support, from CTEK I will wait and see, maybe try to discharge the battery more tomorrow, bring it to 12.6, than it should charge no matter what, 12.6 for an AGM is 75 % .
 
Have you had a chance to check the circuit once? You really need to tighten the connectors on the ctek all the way (to specifications).

I have noticed that the ctek does not switch immediately. There is always a bit of a gap between a situation change and the ctek changing. But trying to think back, have never had a situation where only the starter side is on. Could be negative connections?
 
I am not sure about wiring the main supply to the solar input on the ctek. That sounds like trouble.
 
Kb, you know mine was playing up, it seems to have been that loose earth, 200 odd mile round trip yesterday sent it from 50 percent to a 100 replacing 50ah. (100 set by rosys red arc, ta matey)
 
So on the alternator connection it charges only under certain condition. I connected to solar just to test, with the solar connection it charges as soon as it detects a minimum of 11.3 V, even if the battery is full it should trickle charge.

All the wires are from a split charge wiring kit, so all the terminals are done professionally and the correct size, good quality.

I spent 2 h yesterday checking every voltage at each connection and fuse. I have 0 drop. If have 14.02 V at the alternator, at the IN connection on the ctek, 5 m wire I have the exact same, 14.02 V.
I measured the auxiliary battery and I have 12.82 V at the terminals, and same at the out of the CTEK. checked all the earth connections.
The weird thing it is not flashing any error codes, if something is not connected properly it should flash something.
When I connect the first time the Alternator IN it does flash all the LEDs for a few seconds like a self test than only the yellow alternator one stays on.

Only this alternator light on is not described in the manual either as normal operation or as an error.


I am really pissed, next week end I will be a wedding in Romania, and for the week-end after I was planning to take a trip in France. I will wait for an answer from CTEK support, maybe they will have an interpretation of why only this light is on.

But I think I will order a VSR, since all the wiring is done, it should take no time to fit, for this trip and decide if I return this CTEK unit after..
Honestly, at the amount of trips I will be doing and unless I will really need solar a VSR should do ok.
 
I had a problem before where it wasnt charging/ not very well because I had earthed the leisure battery. I moved the earth so it was from the ctek to earth and it worked. Dont know if that's any help and I dont know why it made a difference as it was all connected.
 
It is helping. So now the CTEK Earth is connected to the auxiliary battery terminal earth , and from there I have an earth wire to the body of the car.
I will go this evening when I am back form work and test, I will connect the CTEK directly to the earth on the body, this is a very good idea.
 
What you have is how I HAD it when I first installed. I moved the earth from the battery and took it from the ctek and it worked, I still dont understand why. Earth is earth
 
so I moved the ground wire from CTEK, put it straight on the body, there is a proper earth connection in the back, behind a plastic panel near the left lights, used also by the Toyota OEM electrics.
Same thing, no joy unfortunatly.

I ordered already a VSR, to have for the next trip, and if I don't get a solution from the ctek people, this CTEK unit will be returned.
 
The VSR was delivered, a Durite , and I wired it exactly as the CTEK, I just changed the fuses from 30 A to 70 A, and it works fine, all 3 batteries charge.
So for me it is clear the that the CTEK is faulty, and it will be returned on Monday. If it works out well next trip I take on 27 may, until I feel the need for solar, this will do. Considering that 8 months / year the AGM will stay in storage with a charger/maintener, I think the AGM will be fine in the long run as well.
 
Did this long week-end a trip in near the Vosges mountains, in Vale D'Ajoul I think is called.
IMG_20190531_112012.jpg
Nice country, plenty of tracks to go roaming a round. Got stuck in some kind red clay, 10 cm deep, had 0 traction, I had to use the Max trax.. took 30 min to do 100 m.. :) It was fun though.
The fridge died on me last evening. The Snomaster I have has a fuse in front of fridge on the same panel with the plugs. I just like touch it ( i was trying to plug somehting in the USB port next to it ) and immediately the fridge died, and the fuse was intact. Took apart the fridge back home and the connection between the wire and the fuse holder broke down.. this is a new fridge that had like 3 trips maybe... I was so pissed off + to get to behind the front panel there are some screws that are behind the sticker with the plug labels, went crazy looking for them and had to remove the sticker that now looks like shit... well..anyway.. not so easy to remove the front end.
I am starting to think that all this fuss with brand name equipment is just that, a fuss .. I don't think you get the proper value for the money you pay..for most things.. it is just random....
 
Last edited:
Nice area of France man.. many moon's ago I worked close to the area for 5 months and took weekend out trips in and around the area! Nice one!:thumbup:
 
In preparation for the trip in Albania I bought an awning, rhino rack sunseeker III, the 2 m one.
I chose this one because I expect it to fit easy on my rhino roof bars. Not to heavy either. within the spec for the roof bars.
I also ordered and engine skid plate at a rediculous price in Romania, and some inox rock sliders. I will put them there, will do a short stop 2-3 days before going to Albania.
 
Back
Top