Don't like the adverts?  Click here to remove them

Upper ball joint boot

AdventureWagon

Well-Known Member
Supporter
Joined
May 13, 2019
Messages
792
Country Flag
australia
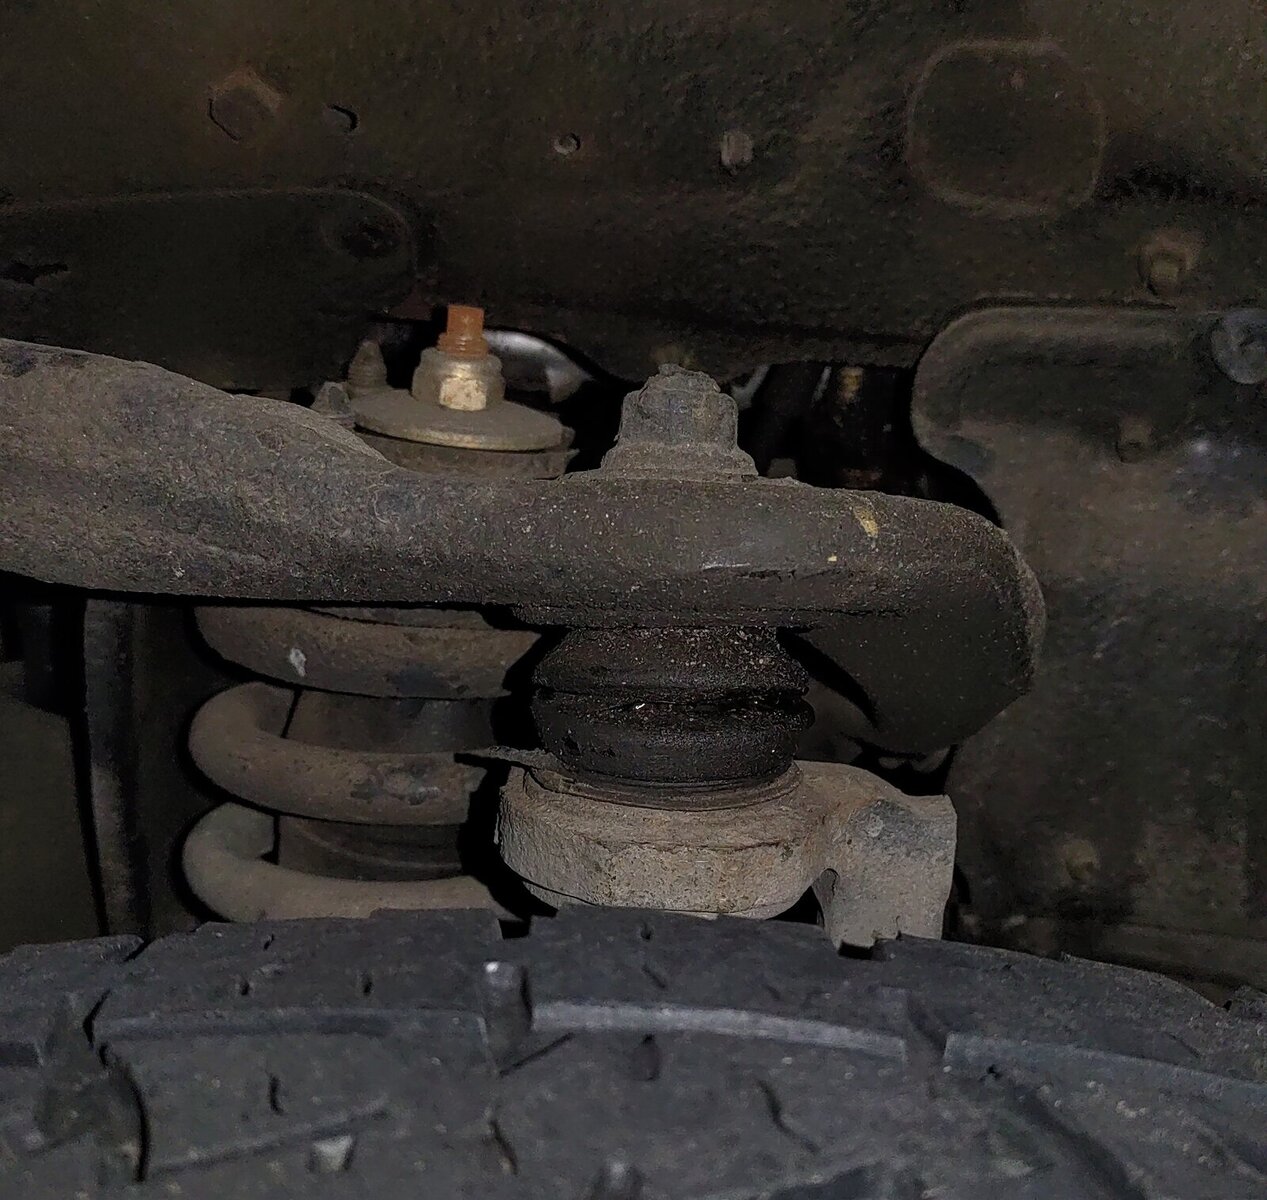
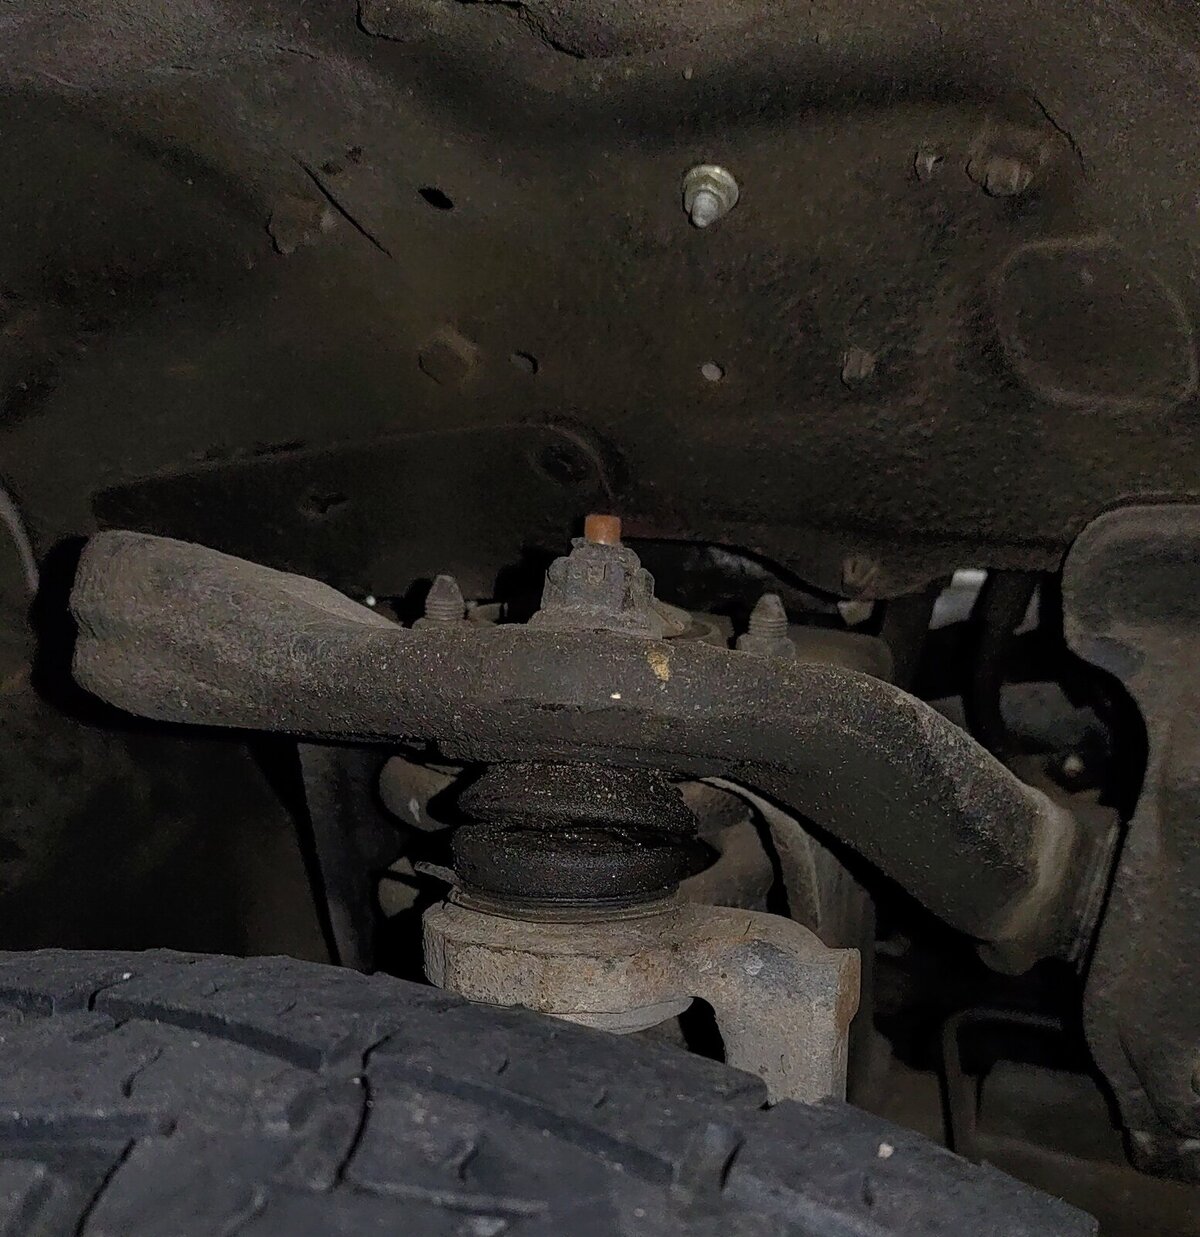
So I was looking around today and found a split in an upper ball joint boot. Looks OK inside and it's just a narrow slit at the moment plus I don't think it's been there long as I last inspected them 6 months ago.

Anyway looked in the trusty Haynes manual and replacement of the UBJ (or UBJ boot) seems simple, looks like you unbolt and split the UBJ off the upper control arm then the whole knuckle droops down. Doesn't look like you need to remove any other suspension components or half-shaft etc.

Surely it can't be that simple? Has anyone done it and if so what kind of splitter did you use?

LBJs have been done already, not sure if the UBJs are original. Car has 390,000km on the clock.
 
I have done it - but a long time ago.

You are right, there is nothing else to do apart from support the lower wishbone, undo the top nut and split the taper . . . . if only it was that simple :doh:.

Being in Oz, you may not have the rust problems I had here in salt-laden Scotland:


DSCN5991.JPG


From memory, I used one of those forked, tapered ball-joint separators and a Club Hammer - once I'd drilled-out the split pin and used a gas torch to free the top nut.

If you are changing the top bearing - the retaining circlip can be fun (not) :icon-wink:.

Then use a gas torch to free the bearing from the steering knuckle.

Send us some pics :thumbup:

Bob.
 
Thanks Bob seems like something I might be able to do. Here are some pics. Hopefully not as rusty as cars your way get but I expect it will put up a fight!
 

Attachments

  • IMG_20210925_192333~2.jpg
    IMG_20210925_192333~2.jpg
    379.8 KB · Views: 39
  • IMG_20210925_192348~2.jpg
    IMG_20210925_192348~2.jpg
    407.9 KB · Views: 30
Got this job done today with thanks to Bob's advice and also the great Timmy the Toolman video on the 3rd gen 4-Runner UBJ replacement.

The BJ separator I used is from this set:
I used this set as it had a guy in the reviews saying he'd used it on a Prado 90 for the same job.

This is the Timmy video:

The procedure I used was as follows. Note though I am not a mechanic so this may not be correct.

1. Jack up and remove wheel and wire knuckle to the spring. You don't want much slack in the wire as otherwise the brake hose will get stressed. This car doesn't have ABS but if you do you might need to remove some sensor wire bracket.

1_wired_knuckle_to_spring.PNG

2. Remove cotter pin and castle nut and turn castle nut upside down and screw it back on leaving about 1-2mm of space before it touches the UCA. The setup separator and tighten 1/2 turn to hold in place:

2_puller_attached.PNG

3. Wrap separator in rags and tie up (in case it flies off or breaks):

3_puller_wrapped.PNG

4. Separate UBJ and free from the UCA, Luckily my grease hadn't become full of road dirt:

4_ubj_free_split_boot.PNG

5. Clean up UBJ and check for freeplay etc. My Haynes manual says <= 0.5mm acceptable but I could detect none in mine and it was still reasonably stiff but not over stiff:

5_ubj_clean.PNG

6. Repack UBJ and boot folds with grease and then tie off UBJ with wire. Note the wire twist tang should be pointing front or back, not to the side:

6_ubj_rebooted.PNG

7. Remount UBJ and torque (Haynes manual says 105Nm) and install new cotter key:

7_ubj_remounted.PNG

8. Rinse and repeat! Note I used a spare car jack to support the LCA.

8_lhs_done.PNG

These are the boots I bought (ebay). They are pretty good quality I think but I couldn't work out the wire thing they supply (step 6) - it was a bit like a loose keyring and flat. I just used some galvanised wire I had hanging around.

9_parts.PNG

This was the grease I used:

10_grease.PNG

Test drive:

11_done.PNG
 
Don't like the adverts?  Click here to remove them
Back
Top