Don't like the adverts?  Click here to remove them

Who is doing what maintenance today?

It's just a vent Bert.

Crankcase pressure should be zero (or close to it as possible) and all the pipe does is allow it to vent to prevent pressure building up.

The problem is, that what is vented is hot oil mist, so that has to go somewhere. In the old days, it would just spew somewhere, and nobody cared less, now folks earn a fortune "because they care" and they have to justify their living.

It could be 100k miles before Nick's catch can fills up, or, if his bores are a bit worn, it would just be less.

Nothing to worry about.
 
....now folks earn a fortune "because they care" and they have to justify their living.......
You know how it is, someone posts shiny stuff on the forum, and the magpies are out with a glint in their eye. Anything new and nice looking works its evil magic on my weak mind.... New bits in engine bays, cabins or on the underside are like Toyota mermaids to me.......
 
In regards to Catch cans, I recently have learned that the oil vapor that the catch can catches also lubricates valves and valve guides on some engines. Removing the vapor may cause premature wear of those items. Not certain how correct this is but something worth looking into if doing this mod.
 
In regards to Catch cans, I recently have learned that the oil vapor that the catch can catches also lubricates valves and valve guides on some engines. Removing the vapor may cause premature wear of those items. Not certain how correct this is but something worth looking into if doing this mod.

IMO, the engine has open oil vapor ways throughout. The block, head and all components open to it get a dose of vapor including the pistons (below the bottom oil ring) valve guides, rocker assembly and the like.

Ideally, there wouldn't be a need to vent it, but nothing is perfect so some compression gasses do get past the rings and does cause alight crankcase pressure.

This has to be vented somewhere.

Where you vent it to is what's being discussed here, the environmentally sensitives in power have devised it can only go the atmosphere if you burn it or if you catch it and dispose of it correctly.

So we have a choice, send it back into the inferno, or to catch it. Simples.
 
Don't like the adverts?  Click here to remove them
Now there's an idea.......

The trouble is it's a mix of good and bad, IMO. It has oil, which I inject into my chassis sections anyway, once a year, but this stuff also has contaminates from combustion, carbon, sulphur, et al, and I imagine some of that is a bit corrosive. And you'd likely be dripping oil from the chassis drains, eventually.

It would behave more like a lamerover :lol:
 
Mrs Cowell arrived home yesterday with the passenger side front looking like a low-rider. And an admission it looked a bit "forward" when she set off. Hmmm.

Couldn't find an auto factor who could get a new shock til Monday. So 26 quid for a Saturday delivery from Roughtrax!

To be fair the shock looks a little worn.
IMG_1759.JPG

Getting it off was what I believe engineers refer to as a right old ball ache. The top of the strut was seized nicely to the turret. Ended up dismantling the strut insitu so I could heat the top mount and knock it off.

IMG_1760.JPG


Now for a cup of coffee and wait for the distant rumble of a courier's van.
 
Last edited:
Saturday deliveries with courier are at best a 50/50 gamble for me, probably as I live in a rural location.
Good luck, hope it arrives!
 
I don't even bother giving them my address. Having no road name is not conducive to deliveries. Goes to a neighbour, on a street. And occasionally they still get missed as "not found".
 
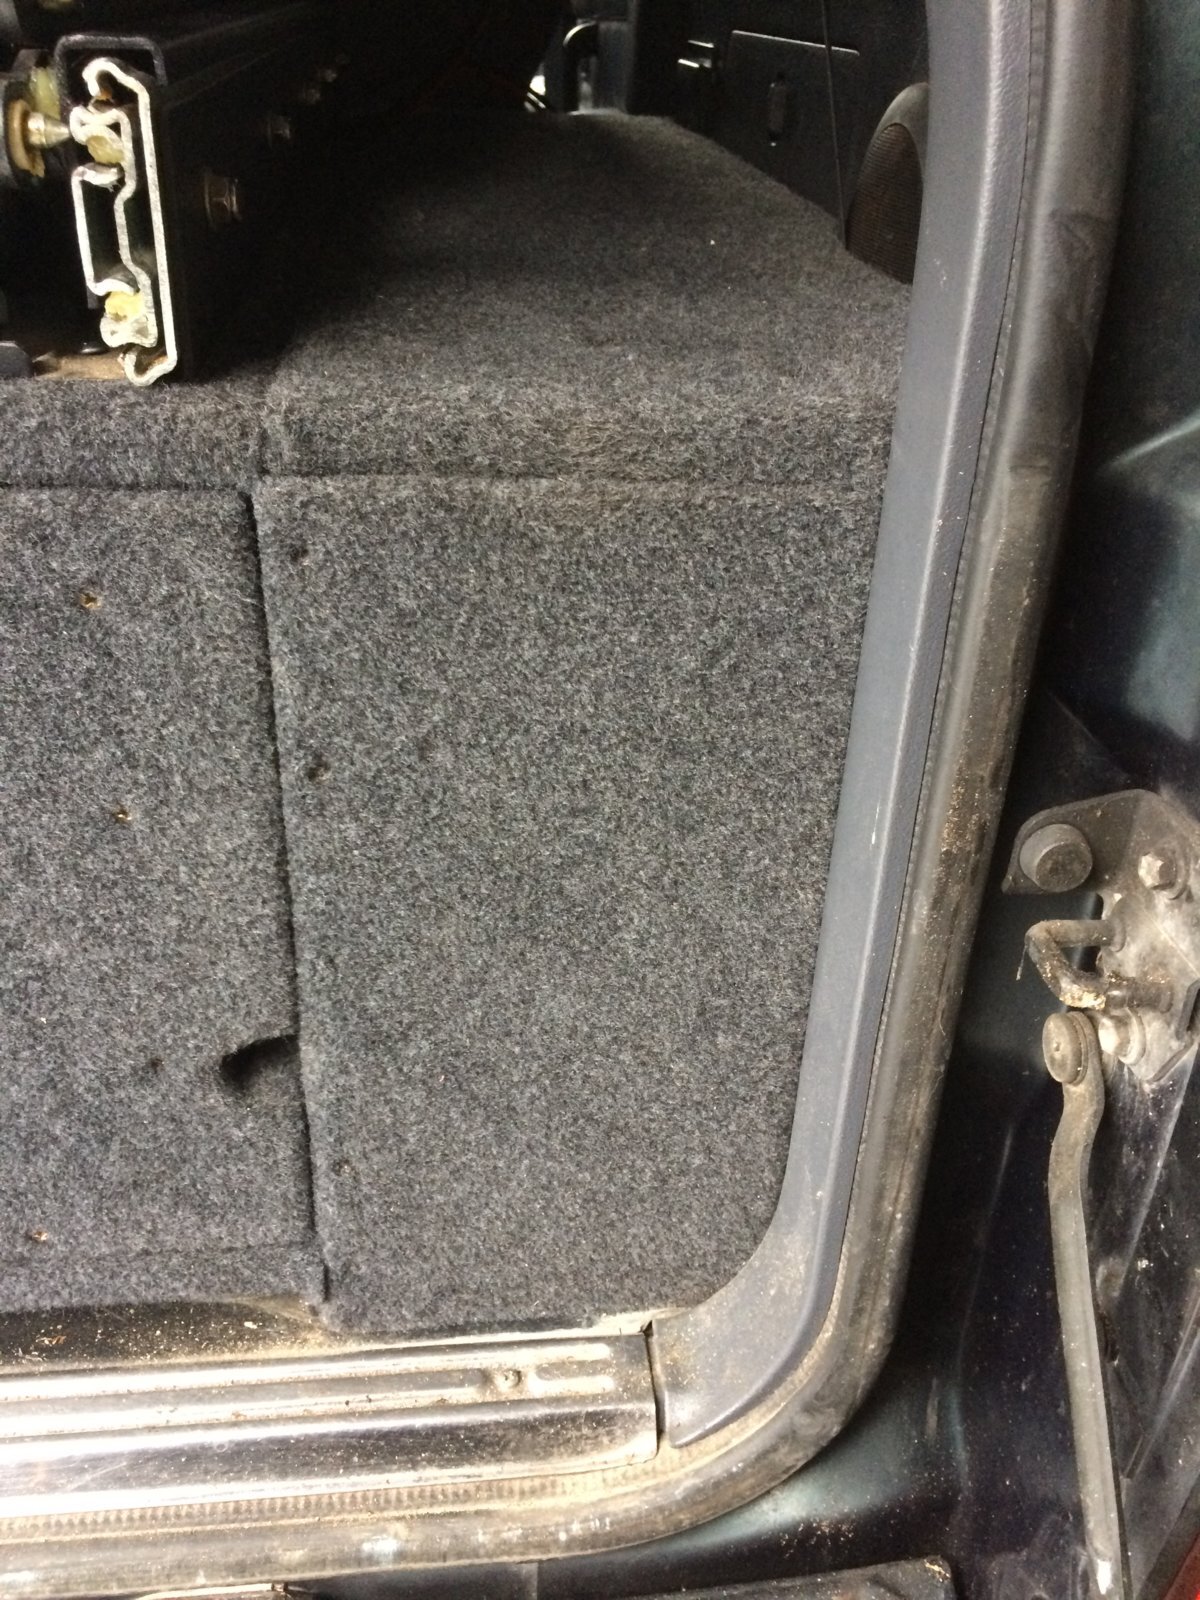
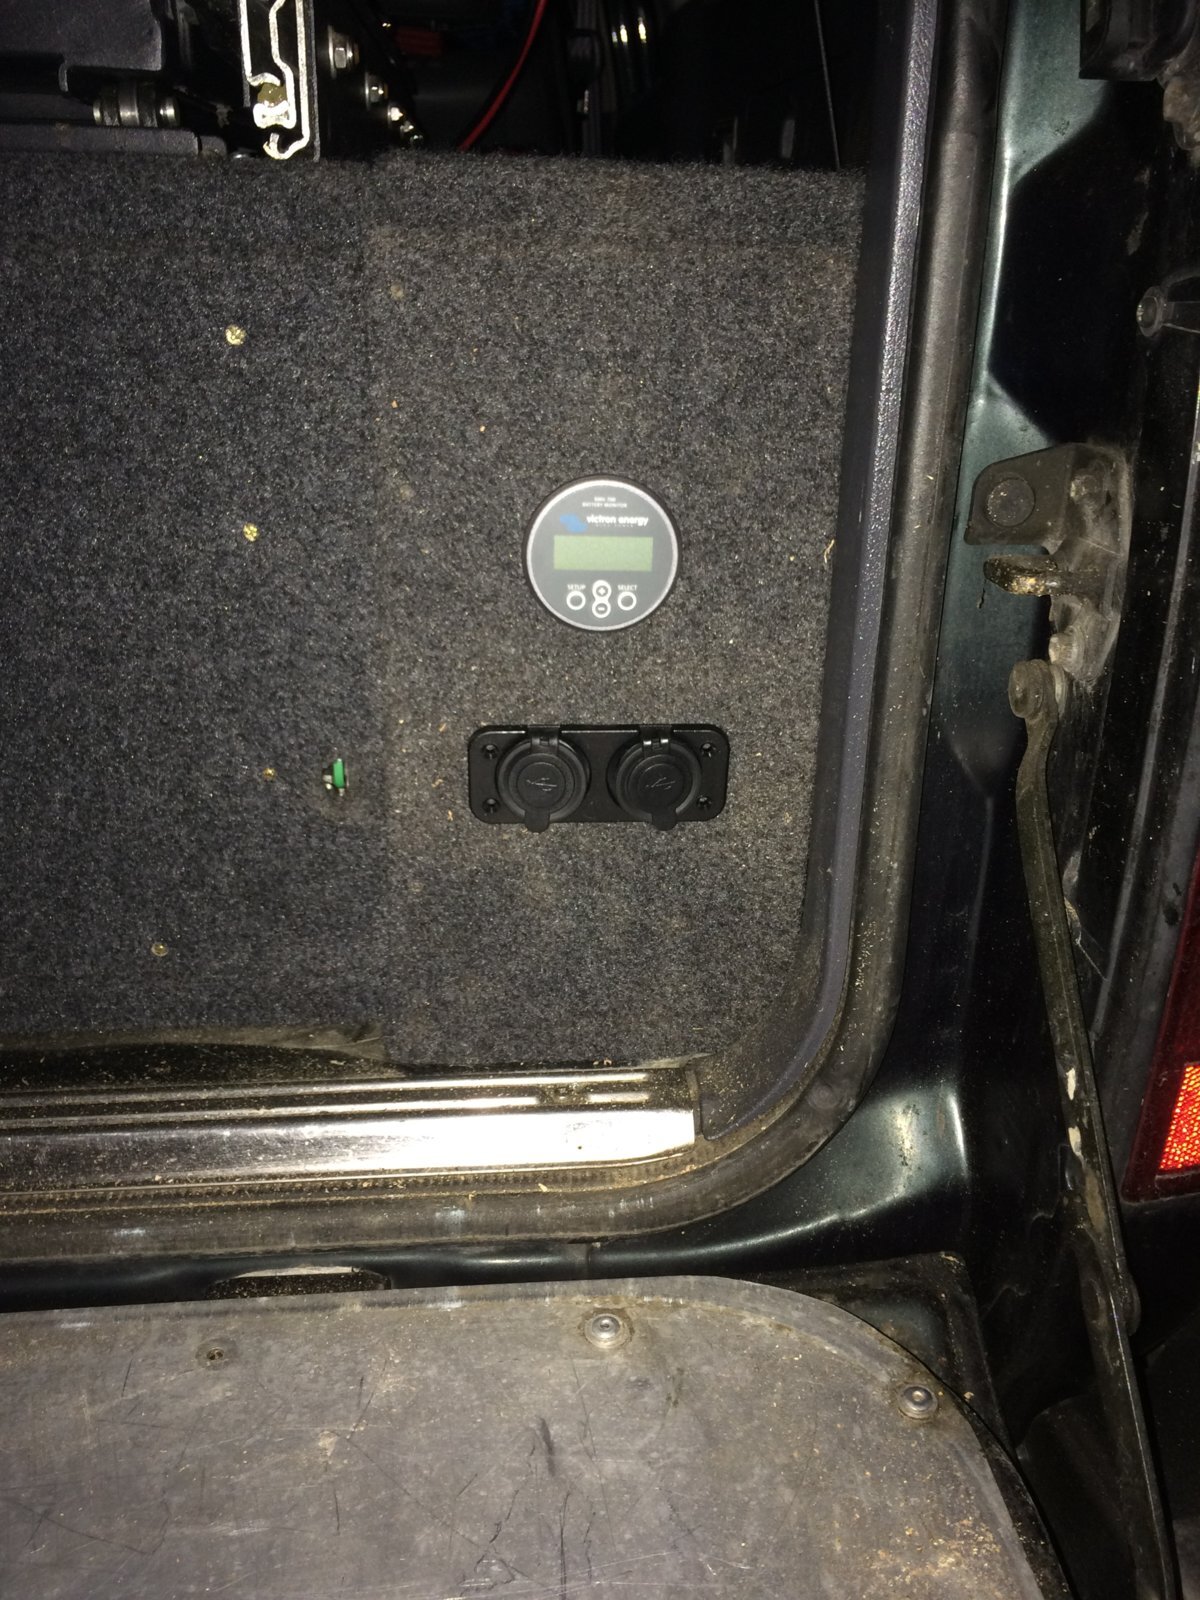
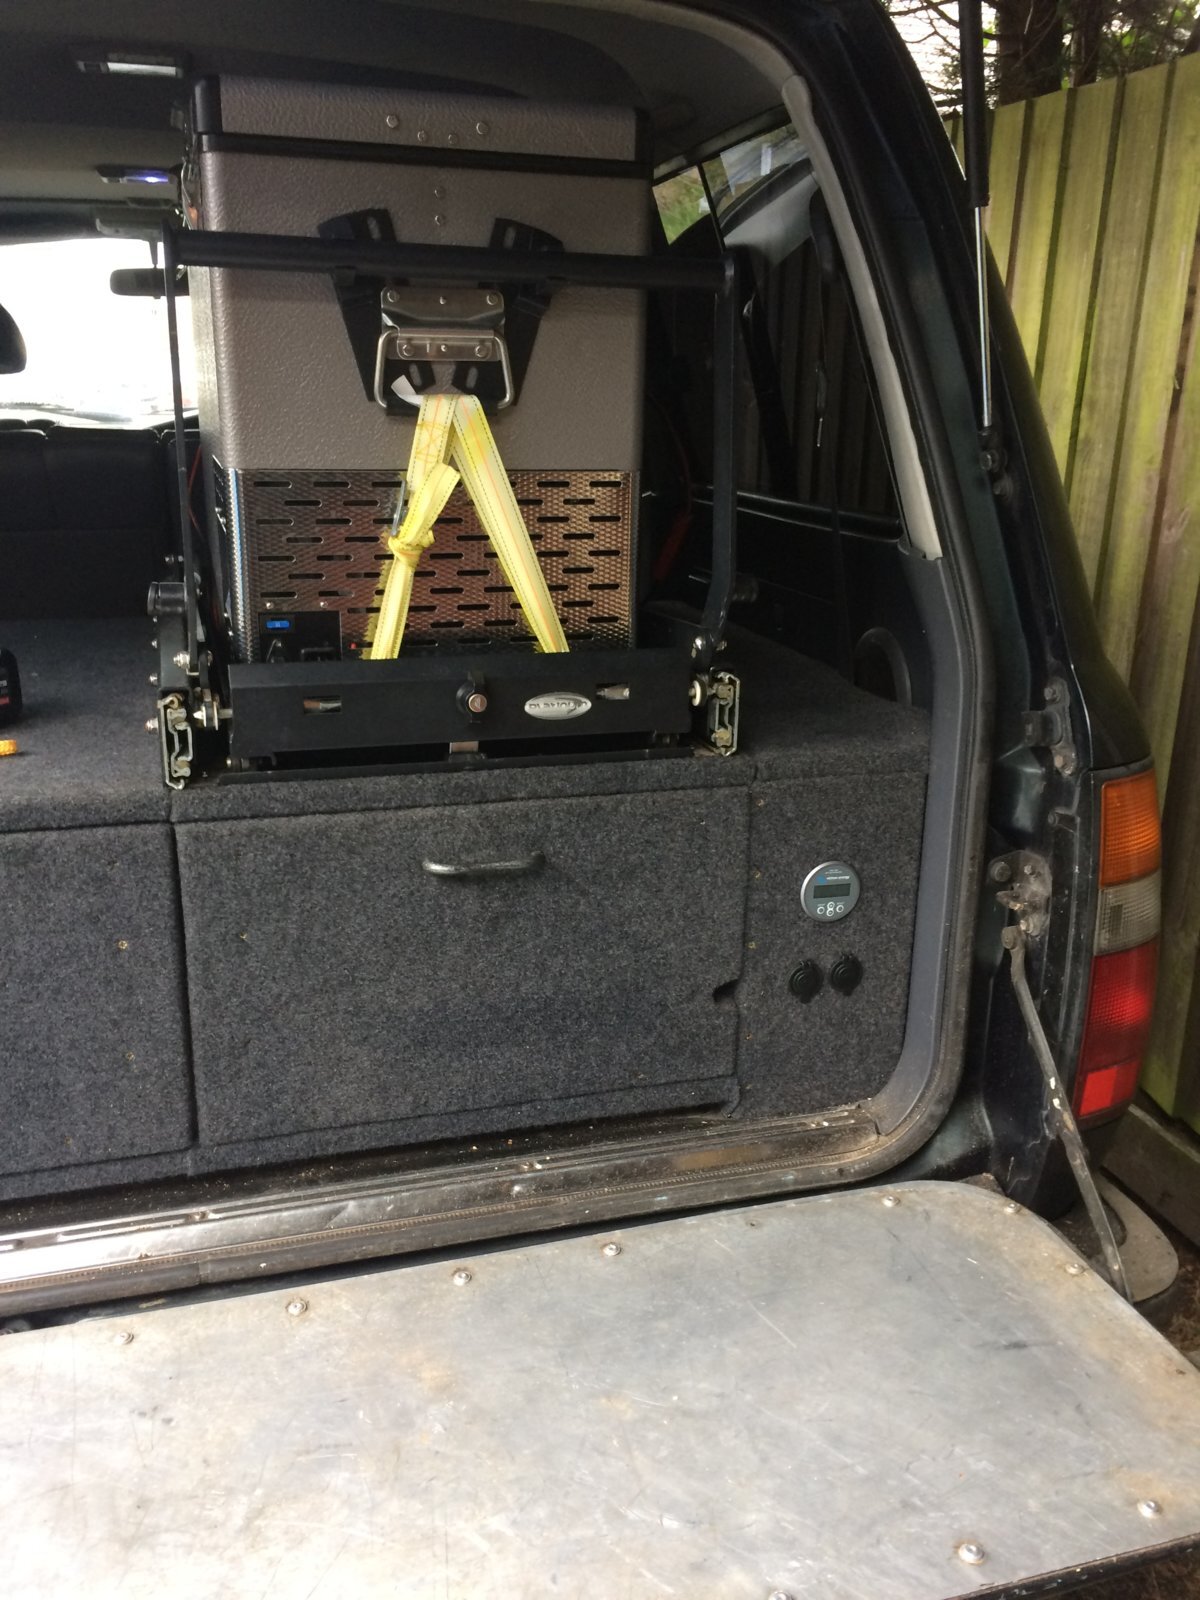
Yesterday afternoon I started on the victron and usb charging sockets for the rear of the truck.
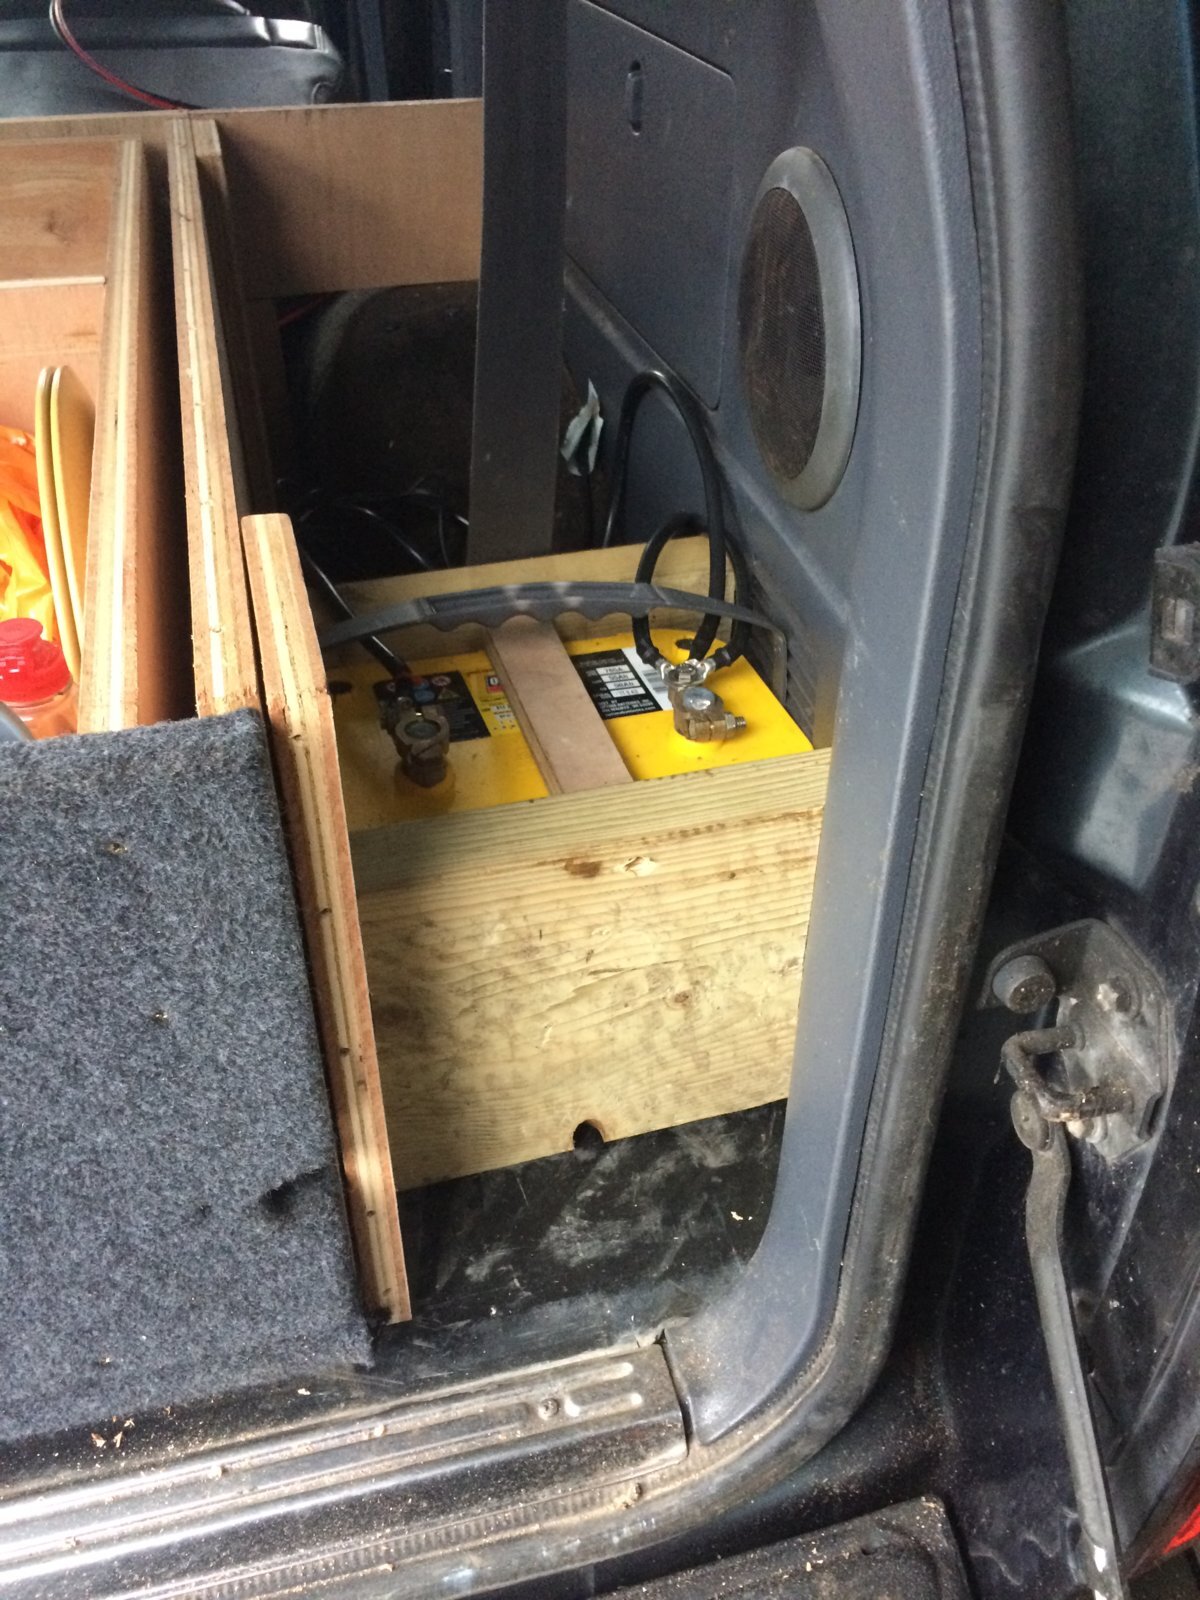
It's going where the battery lives here
IMG_7347.JPG
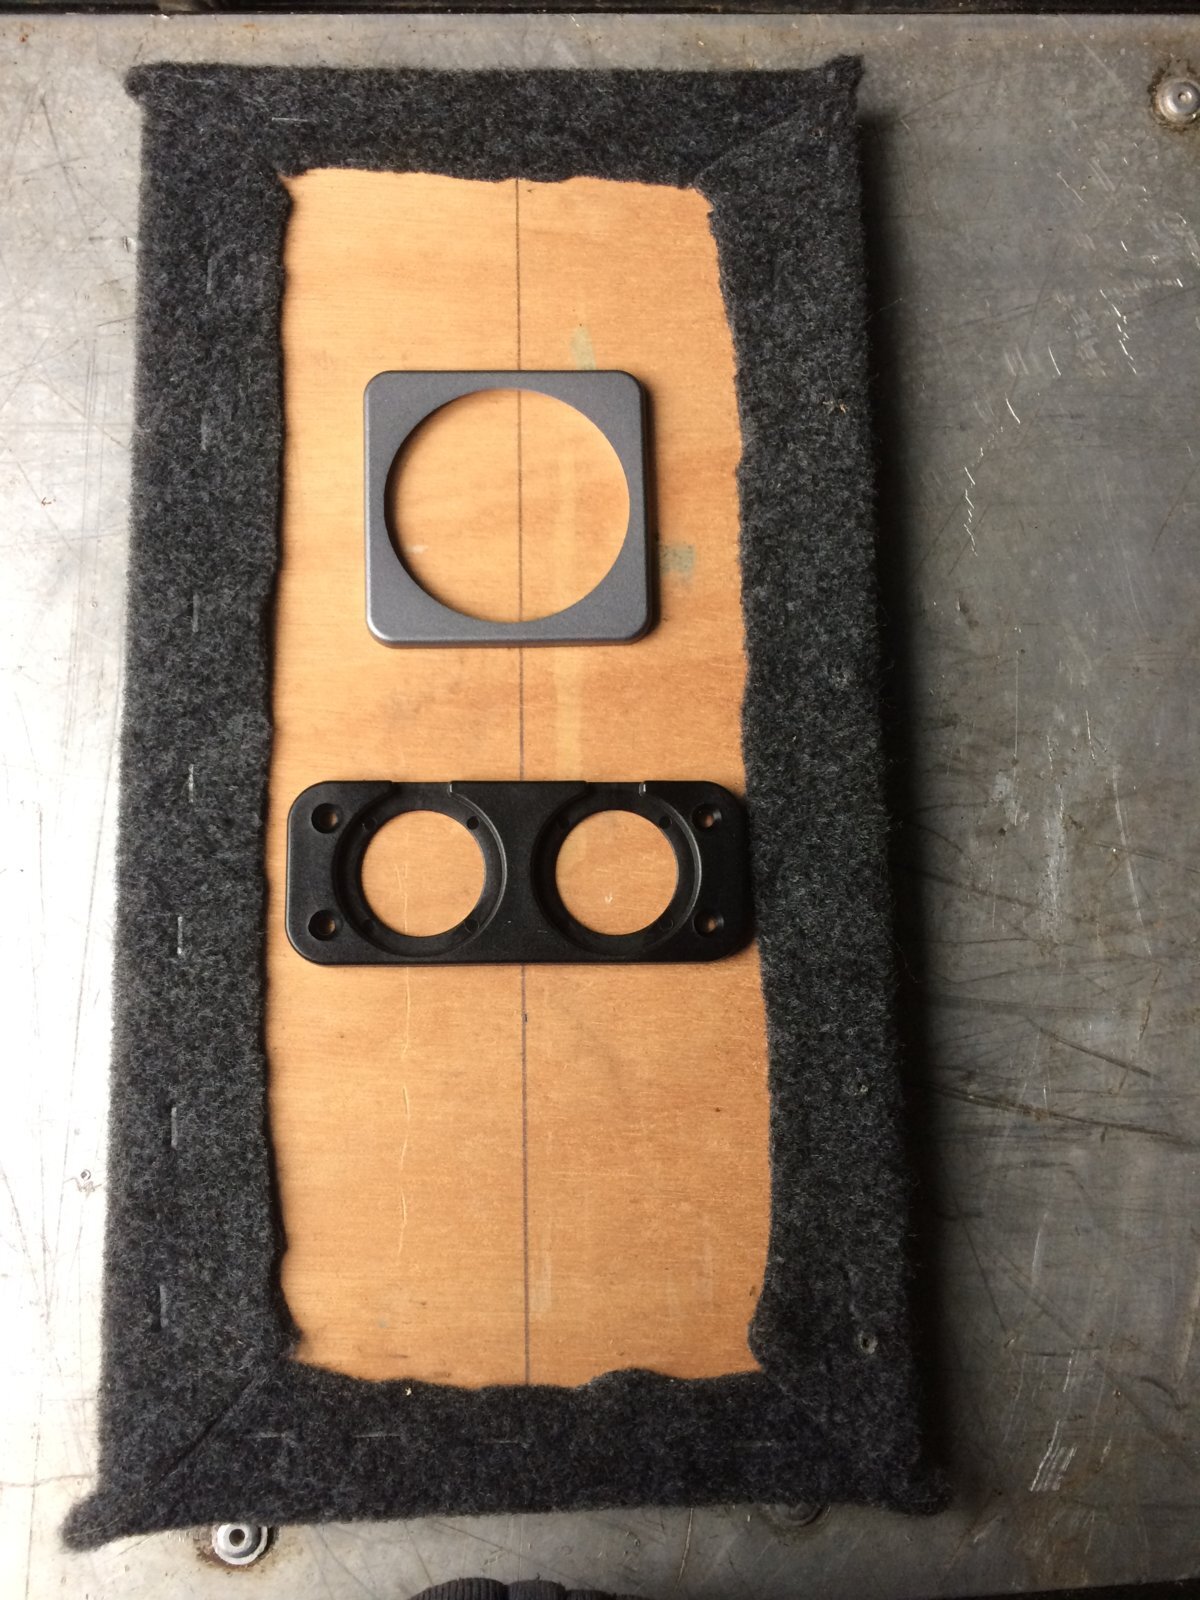
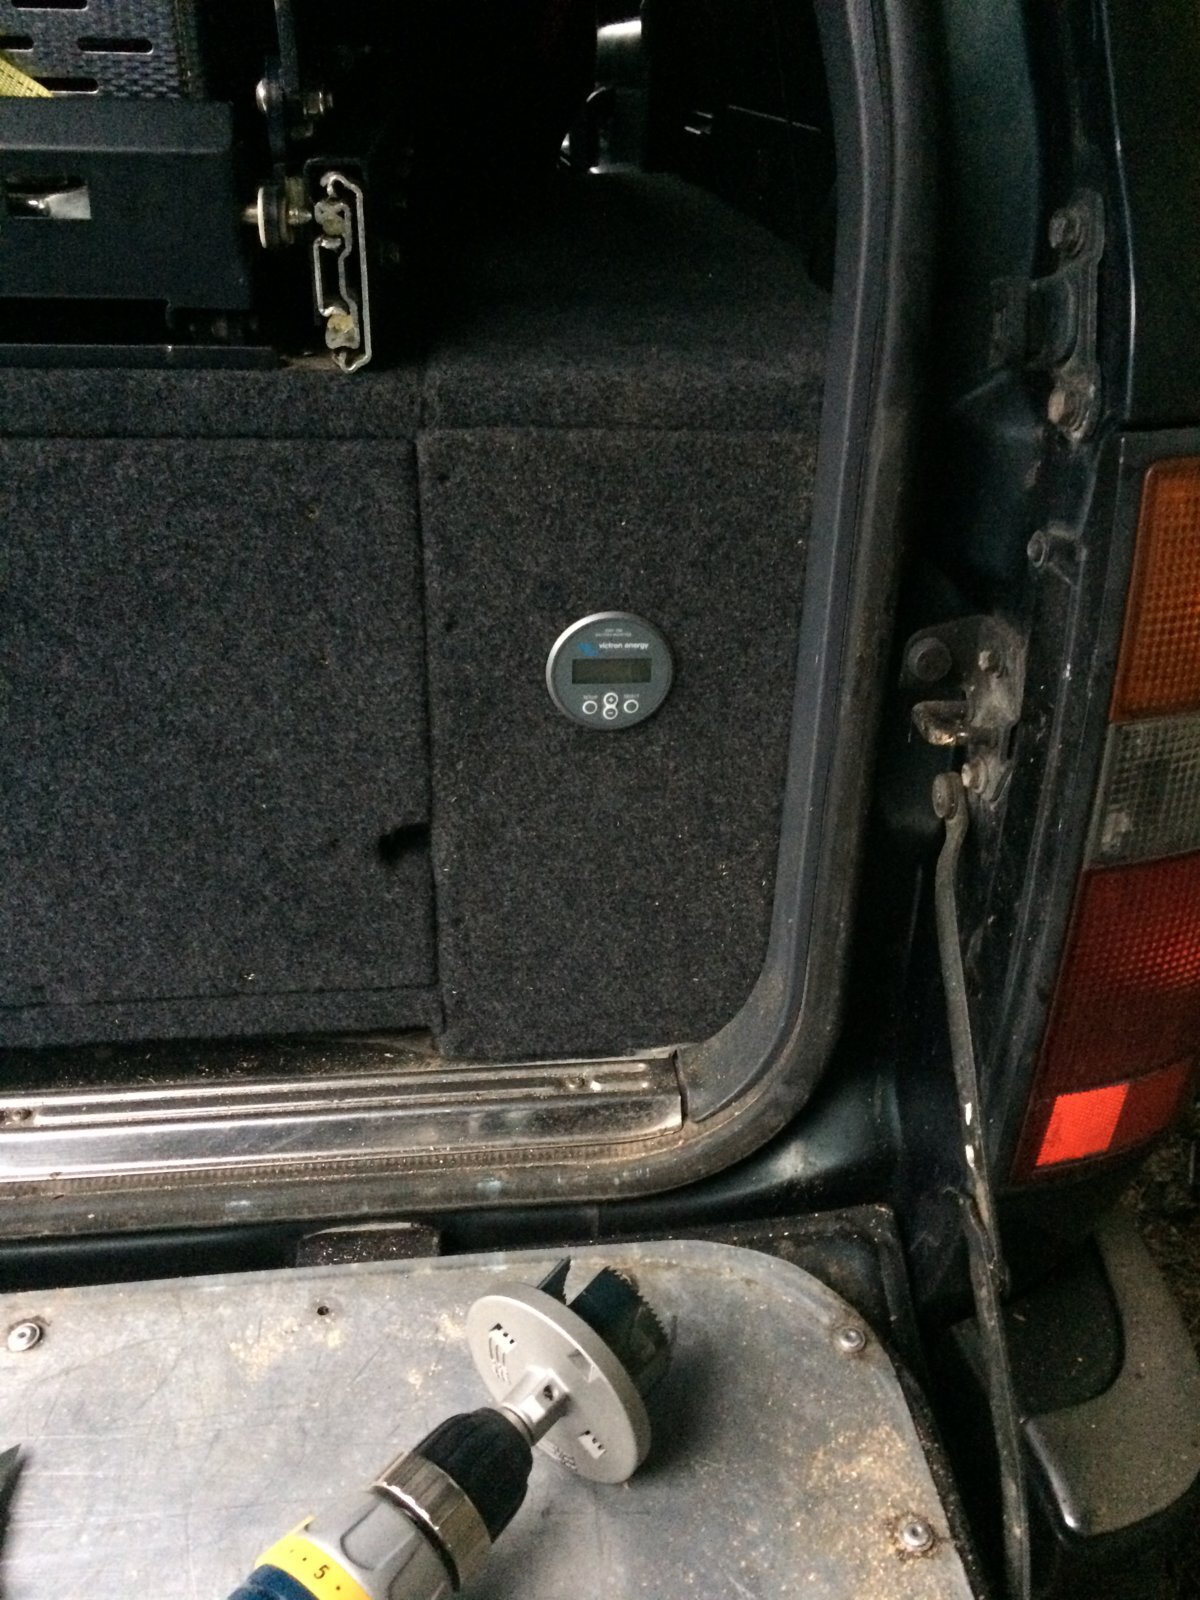
removed the panel and guestimated where things were going
IMG_7348.JPG
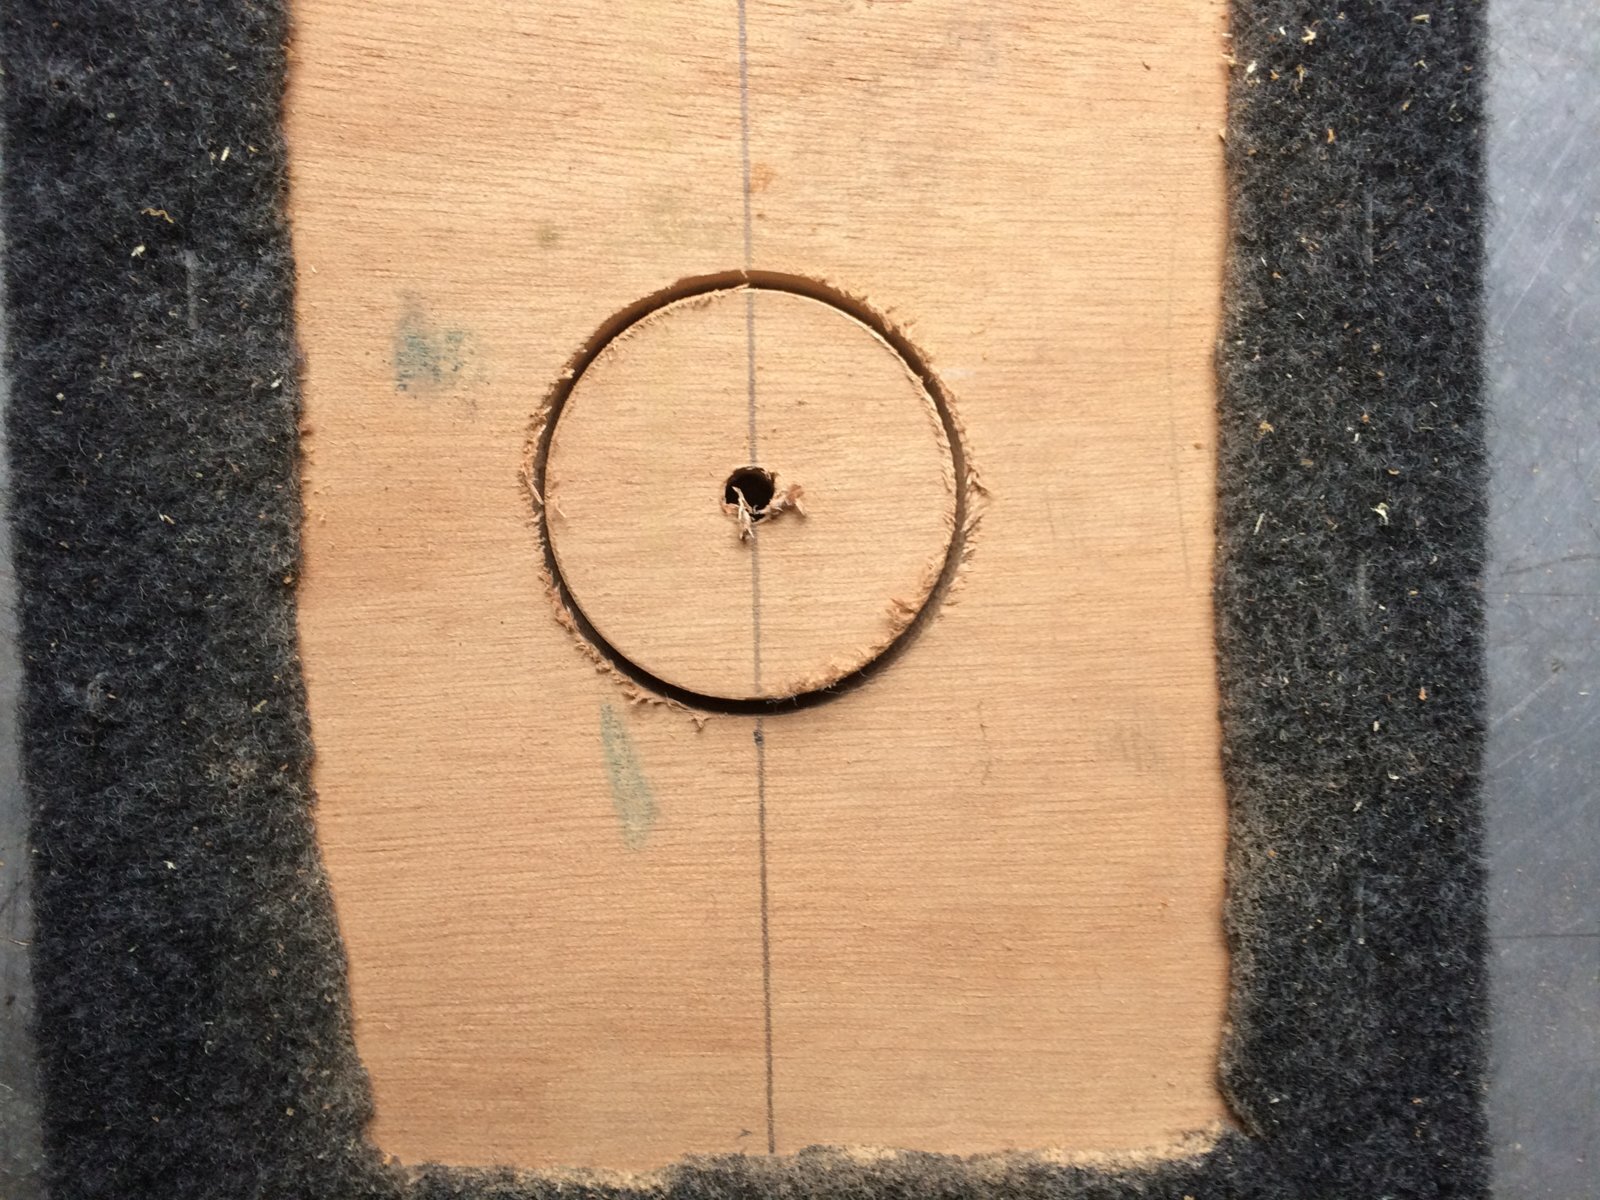
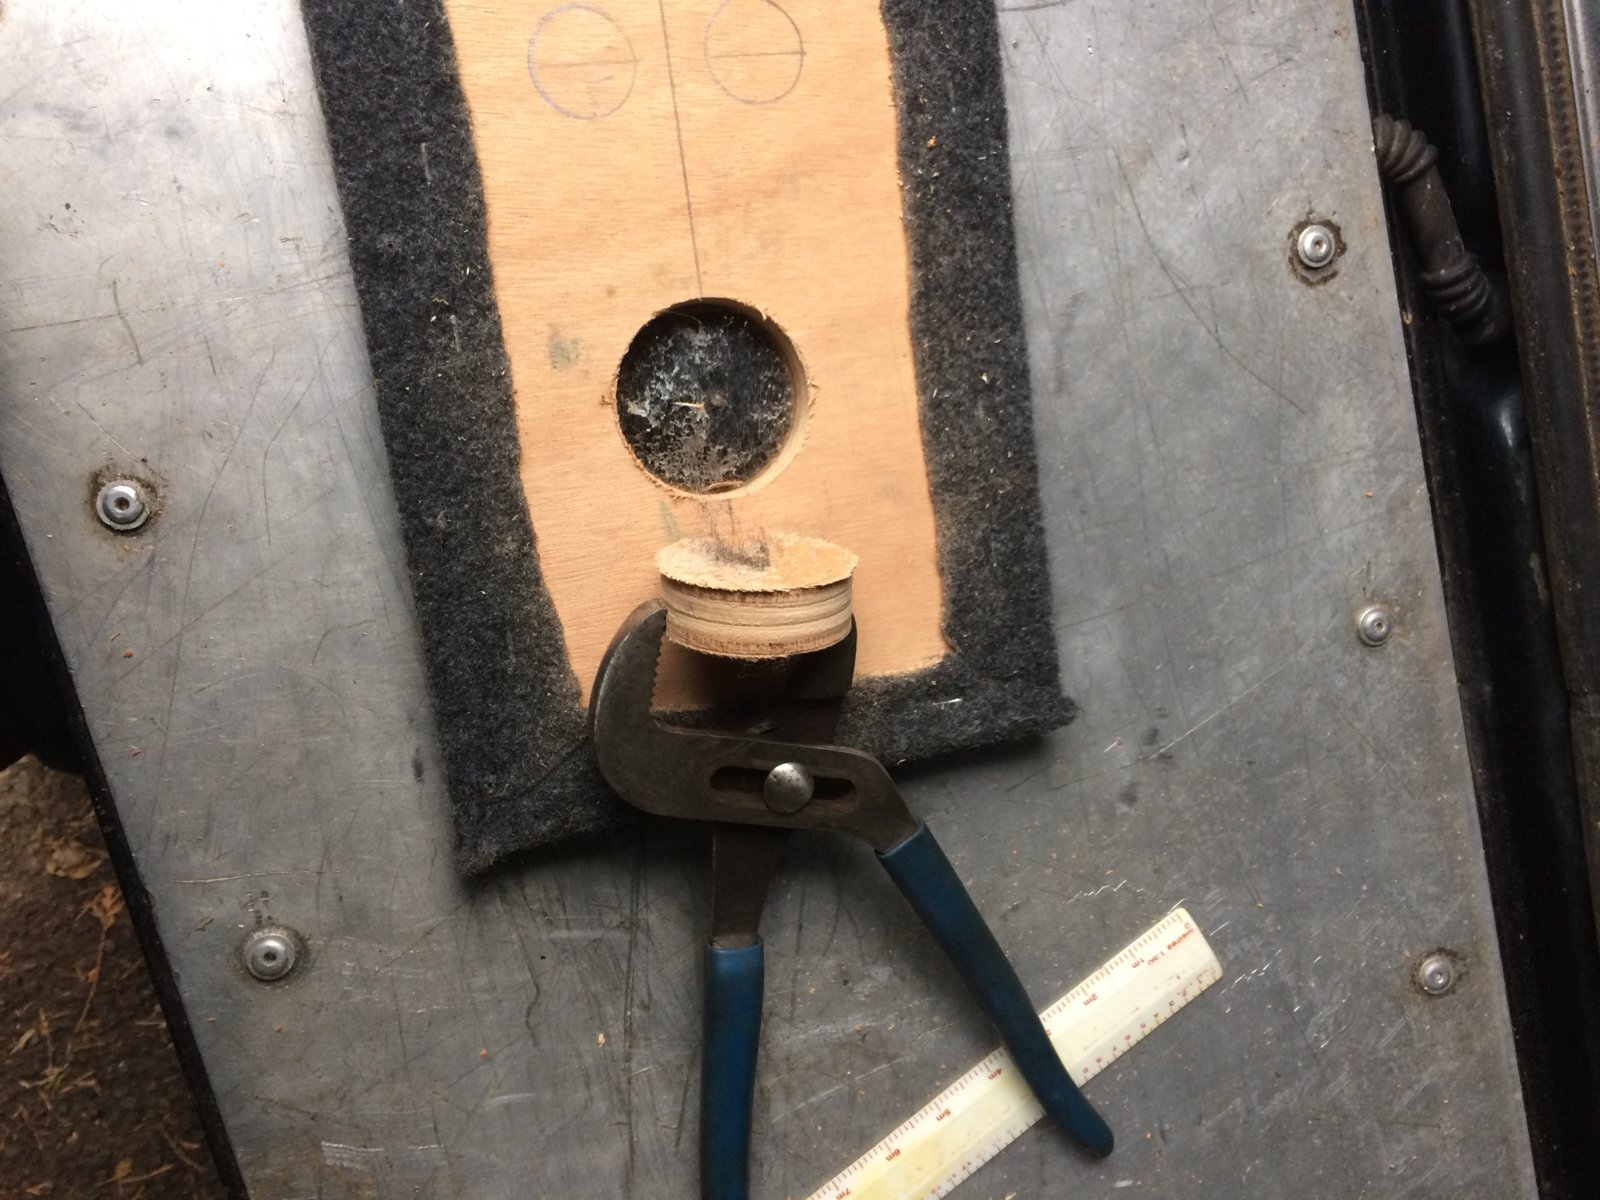
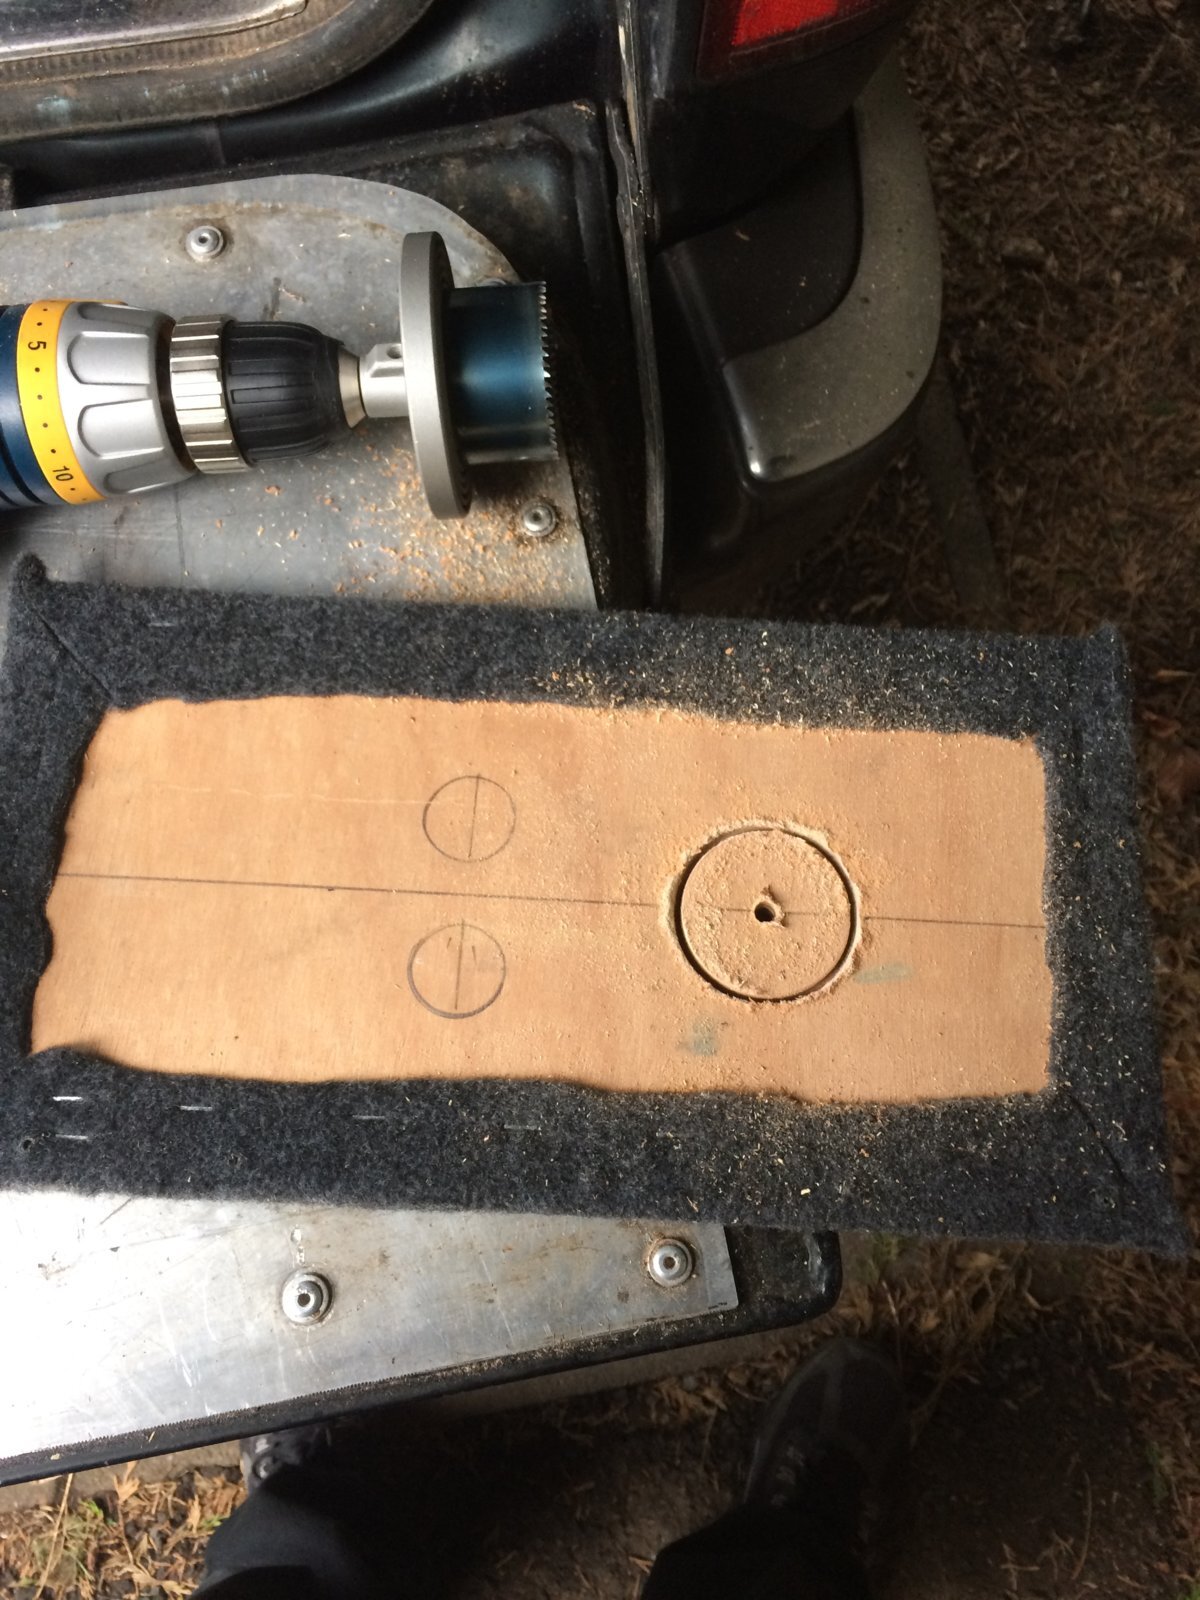
As long as they are in line with each other i'm happy. Bought a hole saw and made a start, doing my best not to go through the carpet, didn't fancy having to redo it.
IMG_7351.JPG
Stopped just in time
IMG_7350.JPG
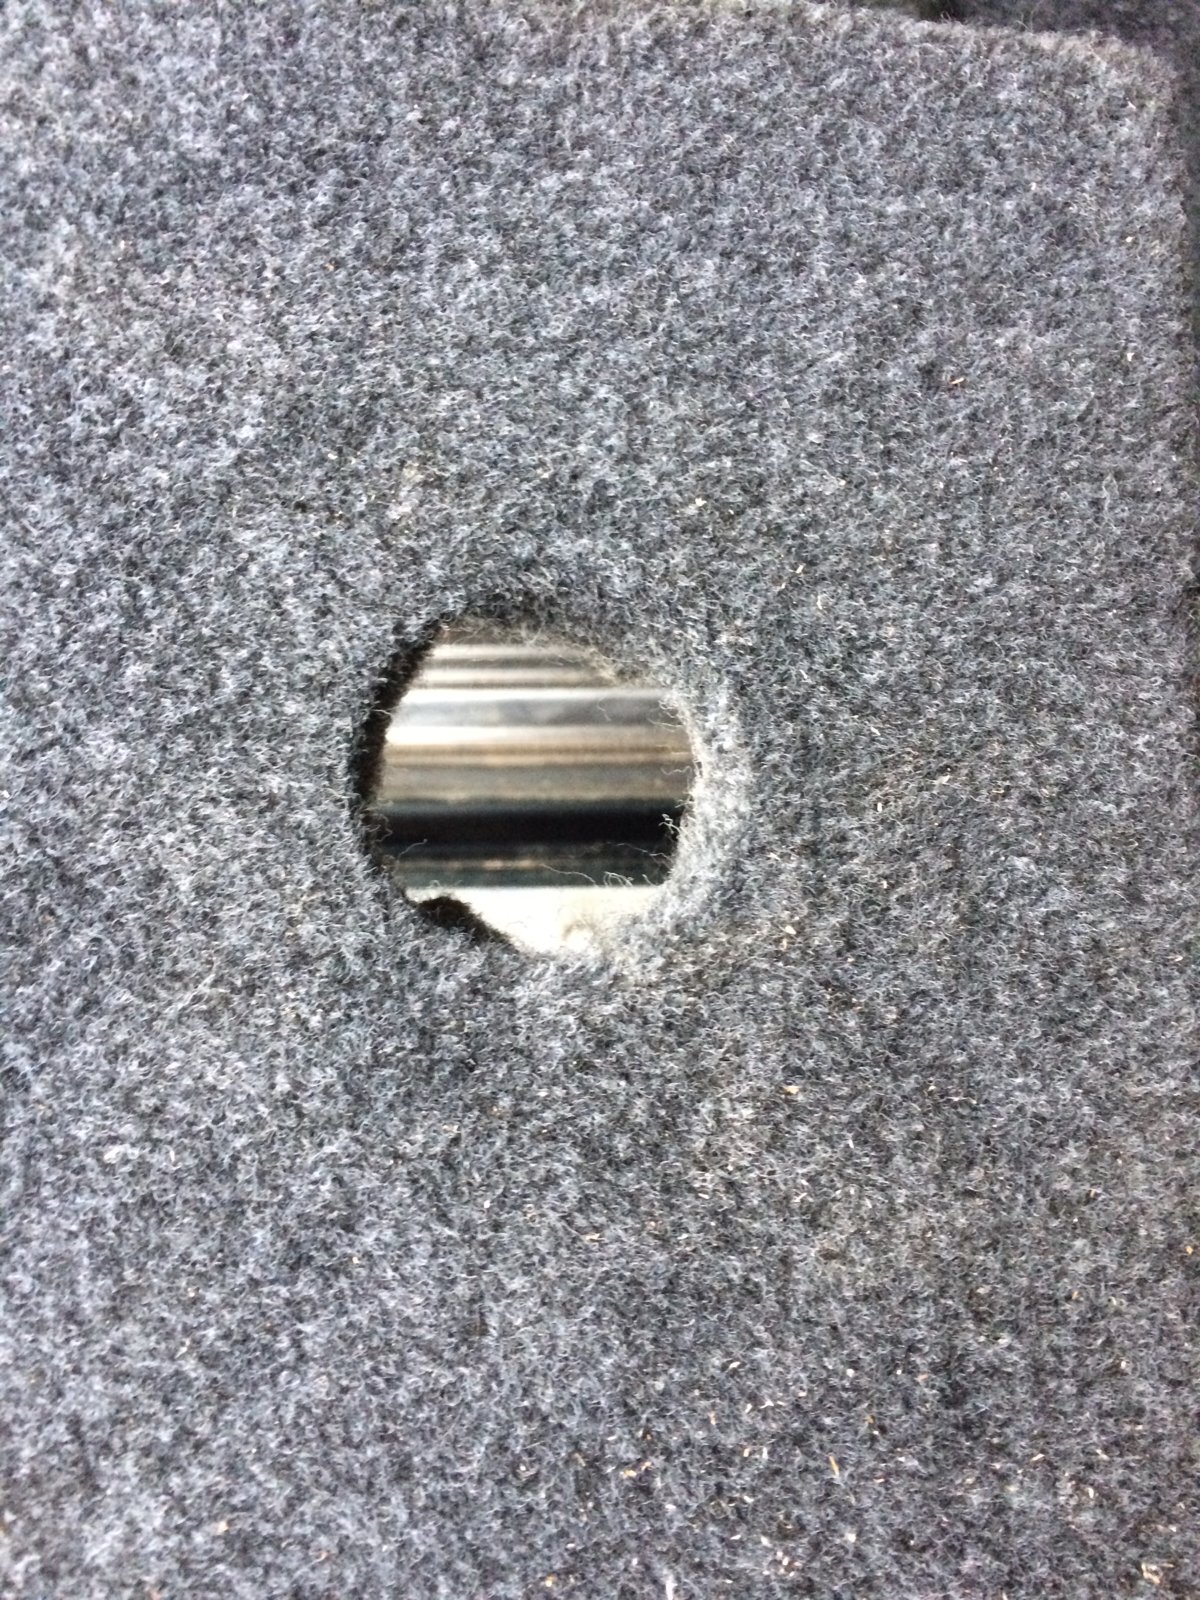
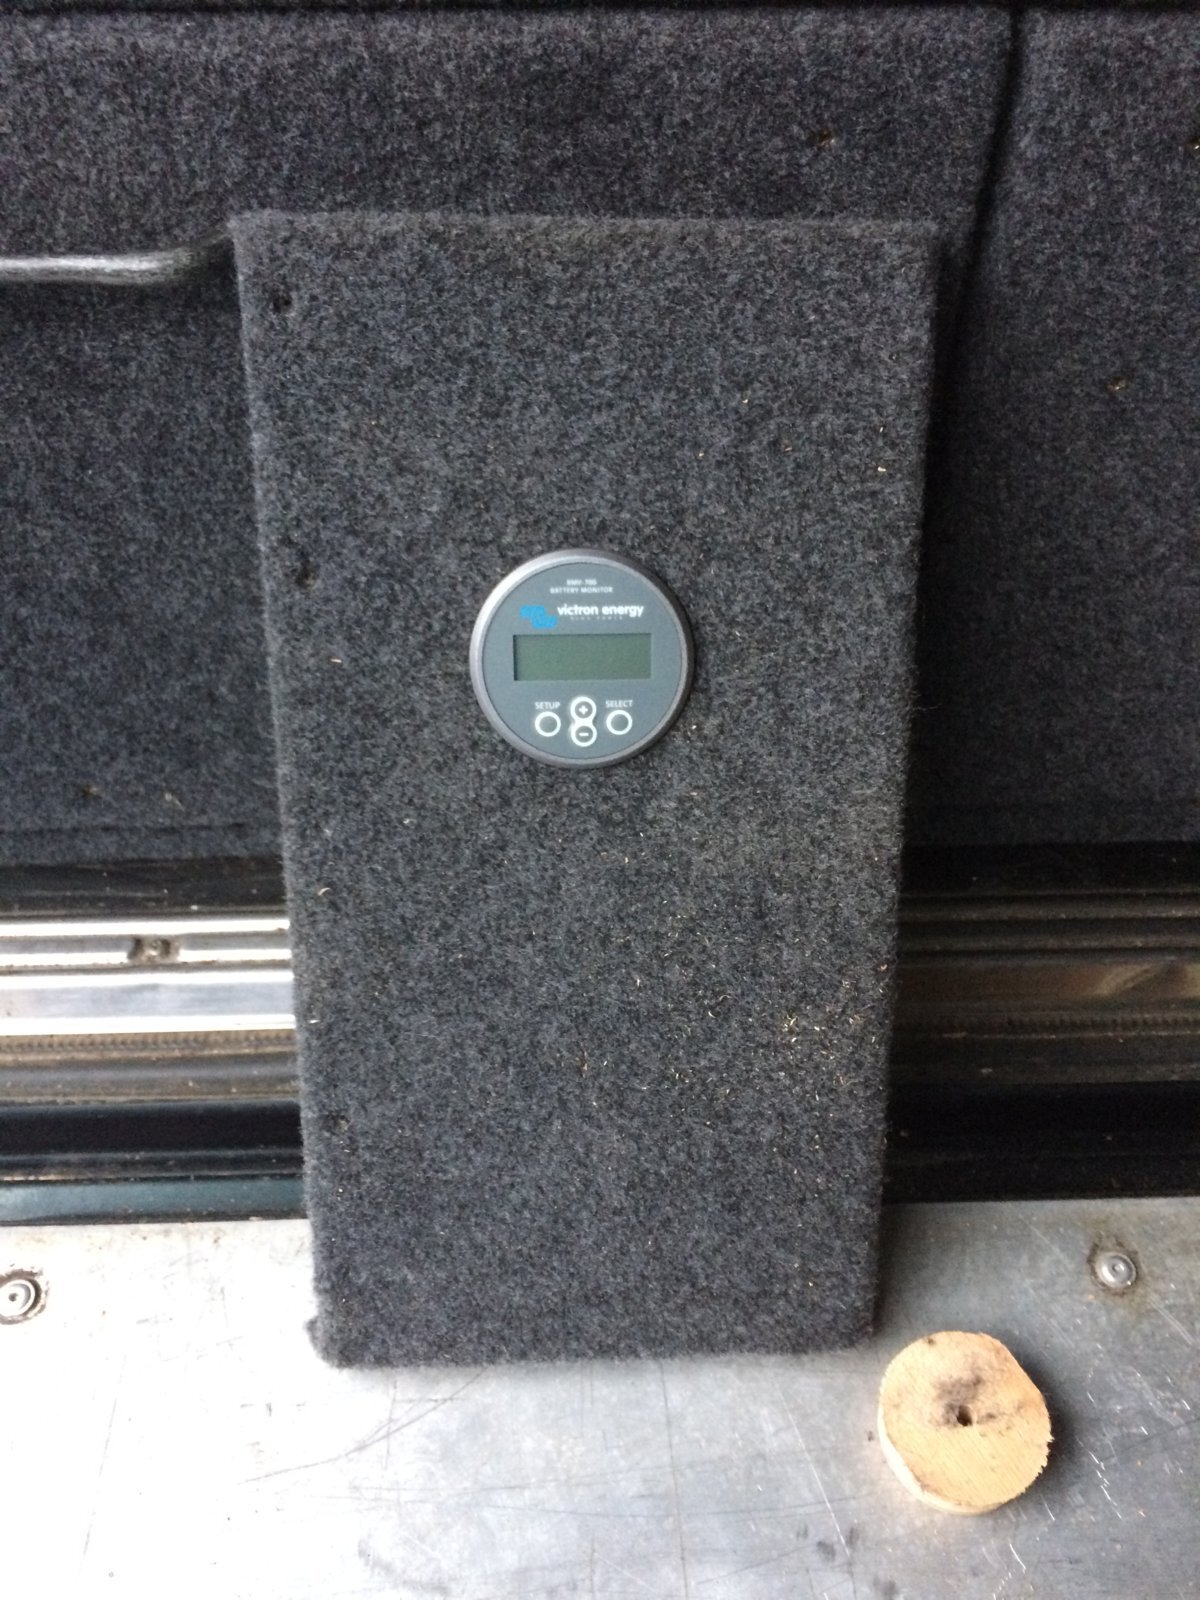
and pulled the wood out and trimmed the carpet.
IMG_7353.JPG
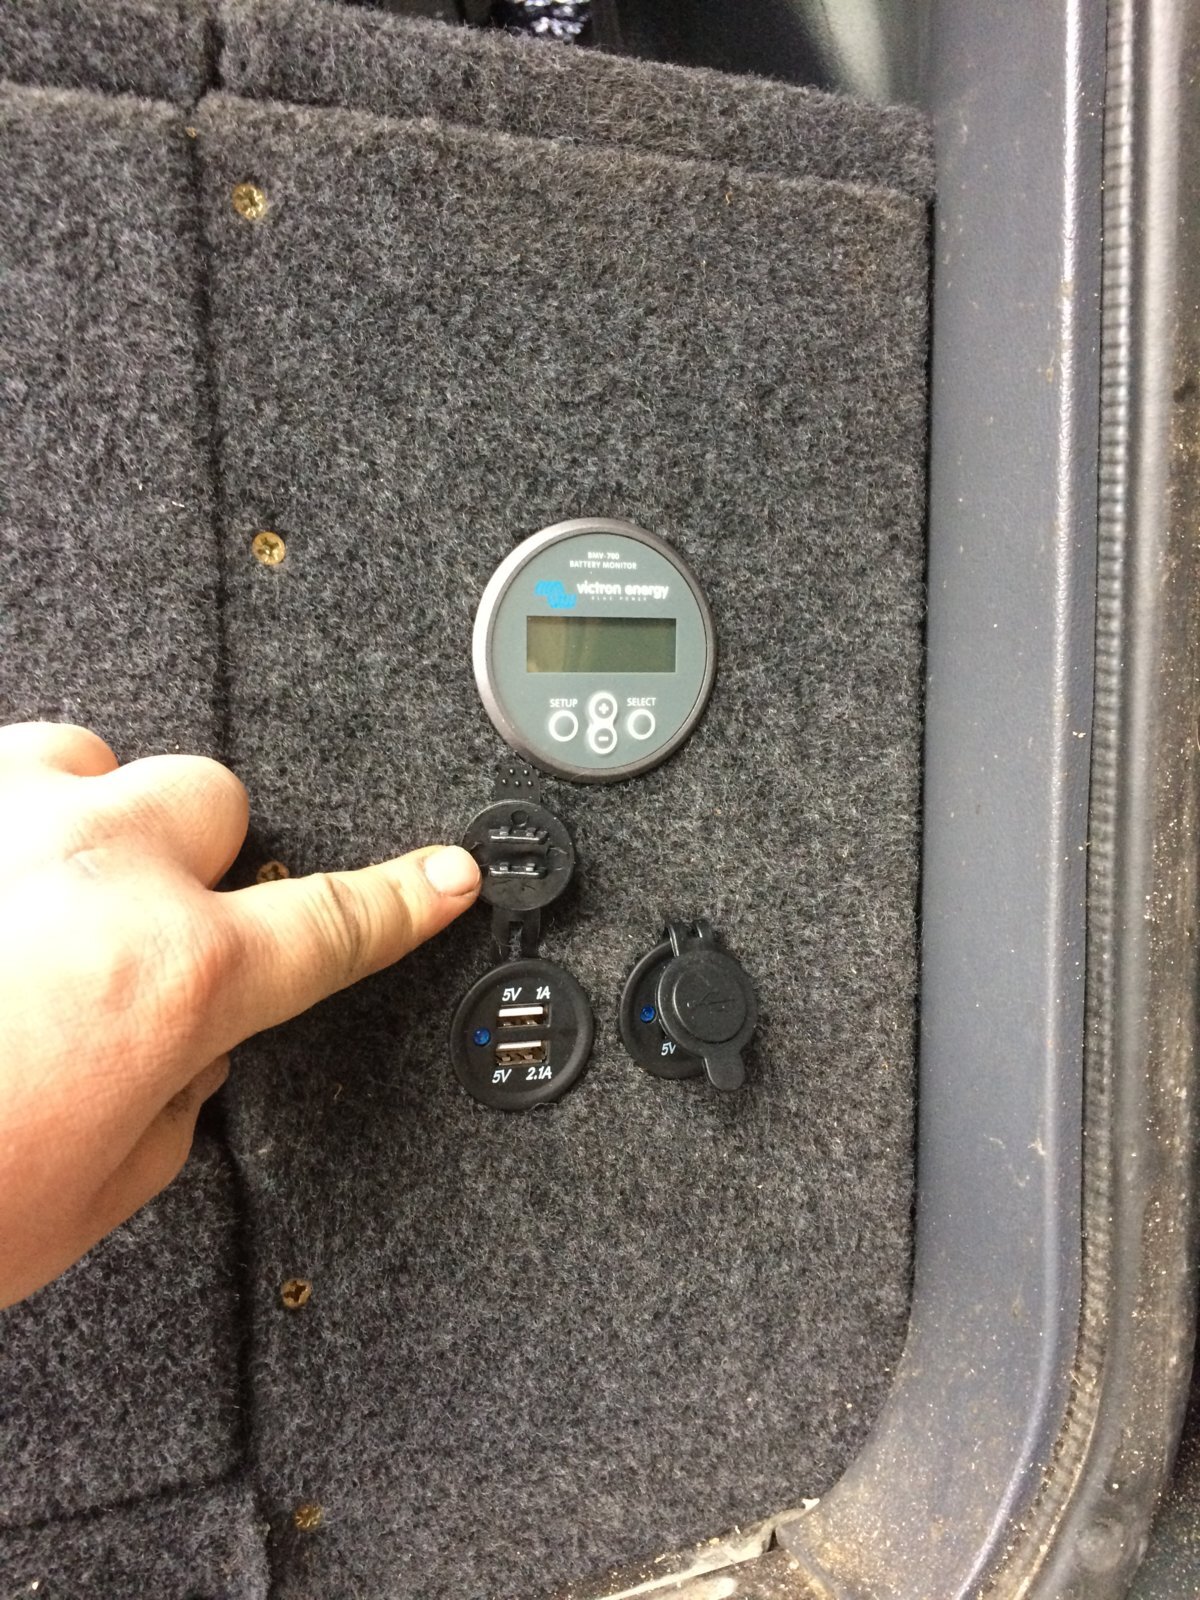
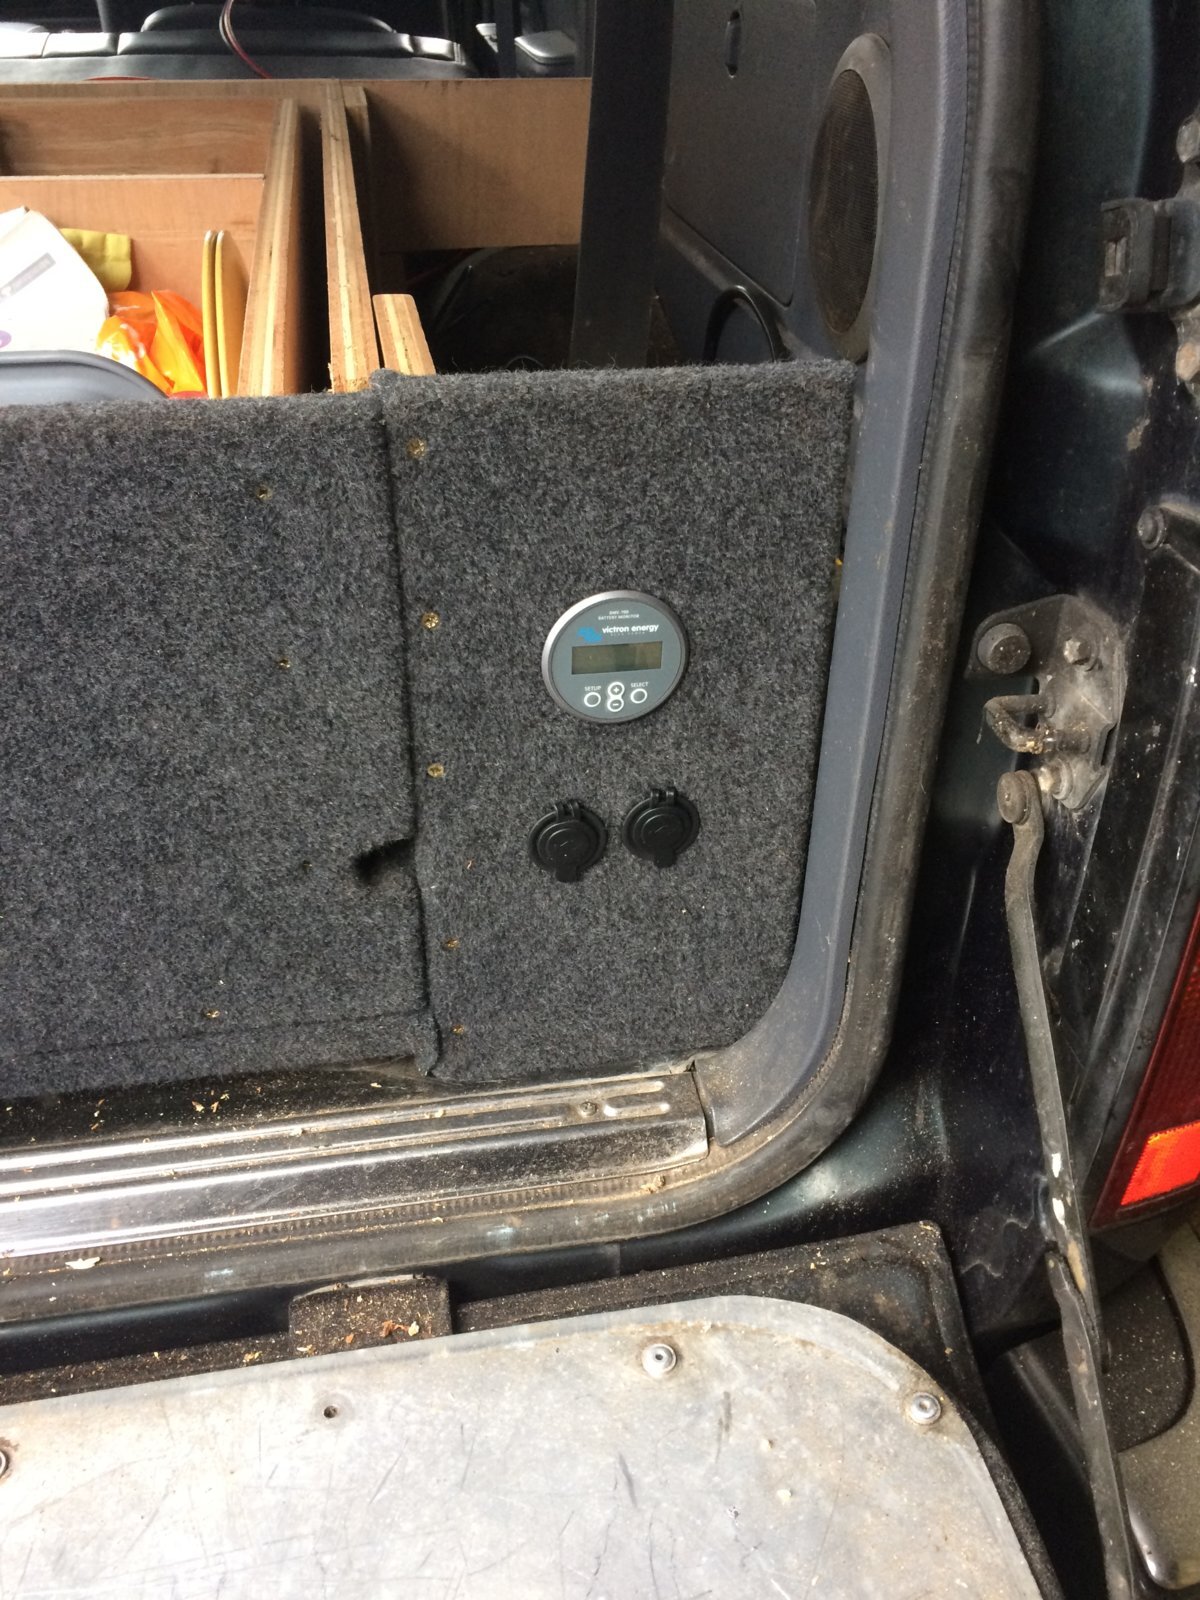
I didn't, have a drill big enough or a hole saw small enough to fit the usb sockets and unlike on the front end last week where i just drilled lots of holes and made it fit, I didn't want to have to redo my "wing" if i bodged it up. So went to a builder mate and we drilled out the holes for the sockets Which i don't seem to have taken any photos of, but this is what i ended up with.
IMG_7356.JPG
Before i wire it up I wanted to secure the battery as it's only been wedged in with foam and a lump of wood, I bought a battery strap like the ones at the front but couldn't figure out how i was going to attach it to anything so using what was at hand i've knocked this up
IMG_7357.JPG
Not the lightest solution but hey ho.
Put it all back together, didn't like the surround of the usb ports so didn't put it on. This is as far as i've got so far as it's started to rain
IMG_7360.JPG
IMG_7361.JPG IMG_7352.JPG IMG_7354.JPG IMG_7355.JPG IMG_7358.JPG IMG_7359.JPG NRBA7841.jpg IMG_7349.JPG
 
image.jpeg
Not directly land cruiser related, but the trailer was attached to it so I think this counts... Finally got round to replacing the engine in the SJ, after springing a leak in the radiator and cooking it at Walters Arena a little while ago.

I don't have any hard standing or an engine crane so had to improvise by putting the tractor down at the end of the garden. It worked surprisingly well!
 
Replaced the old bust non-OEM radio antenna with a nice new OEM one. Replace a LED light bulb. Umm - that's it. Well it is a Wildsmith 80 lol. Did find some more nasty rust though :(
 
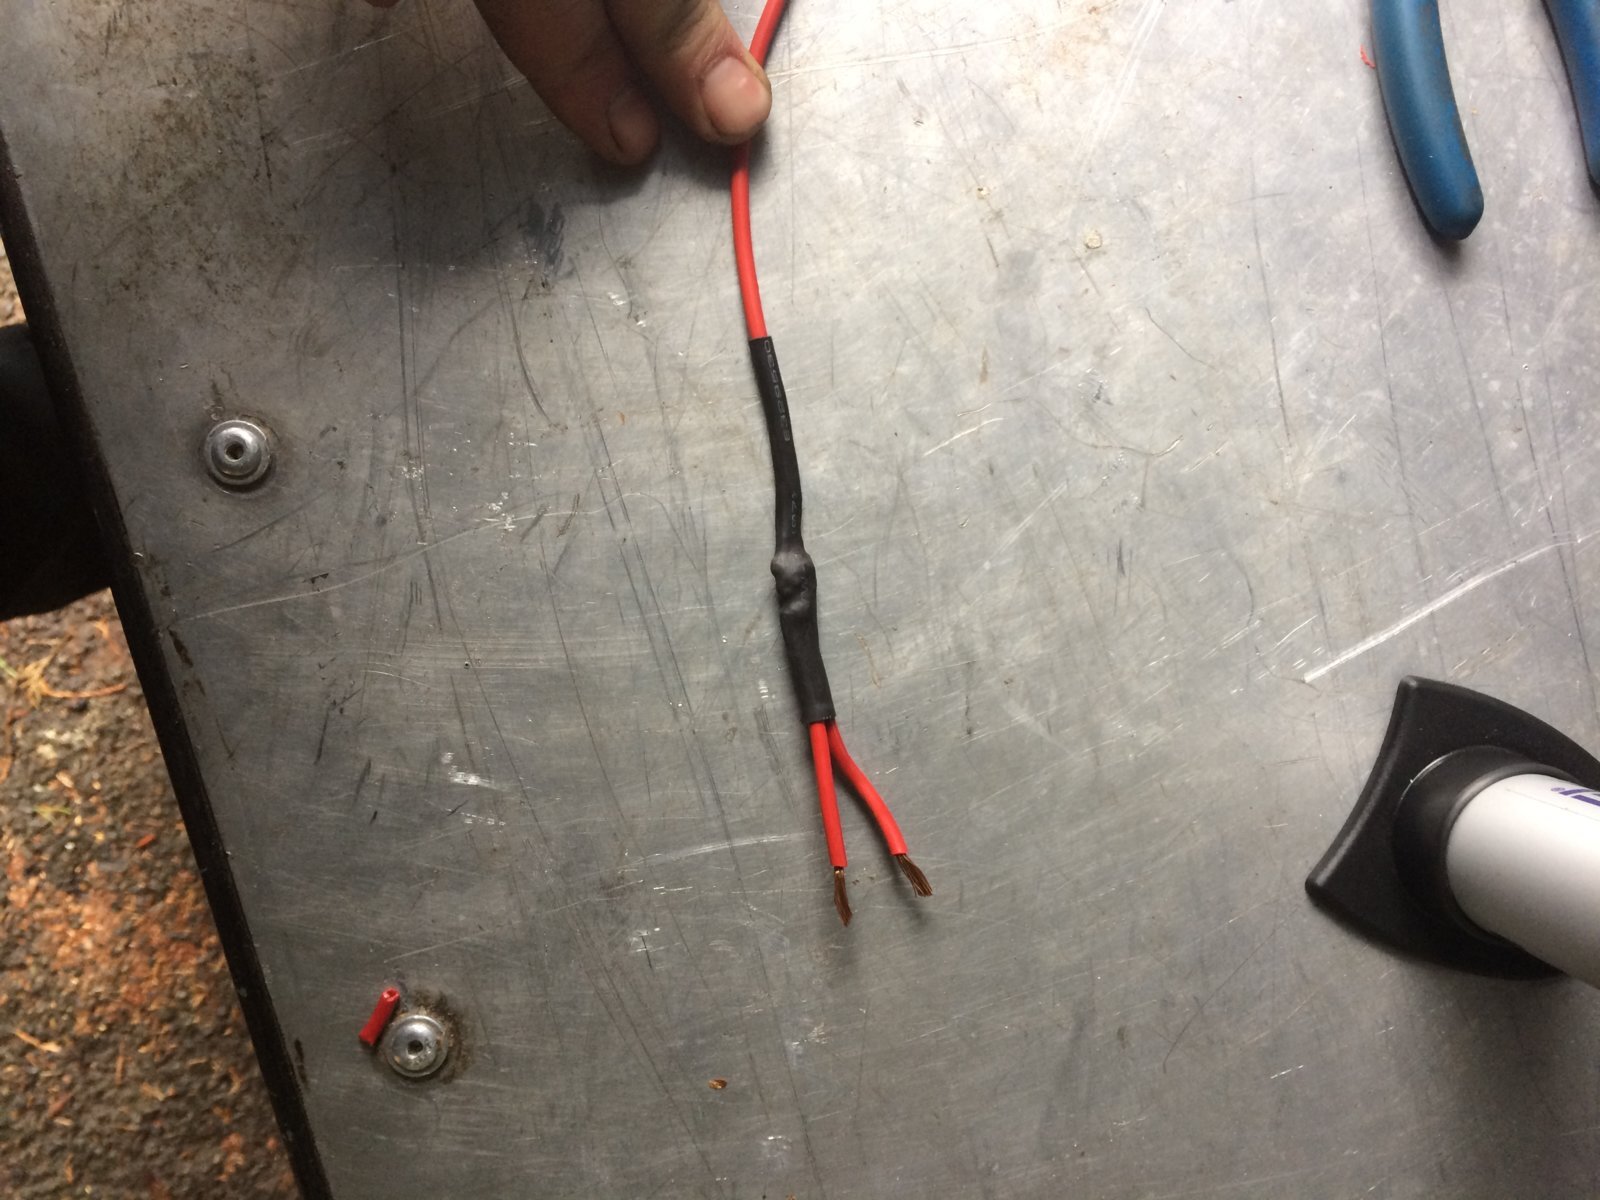
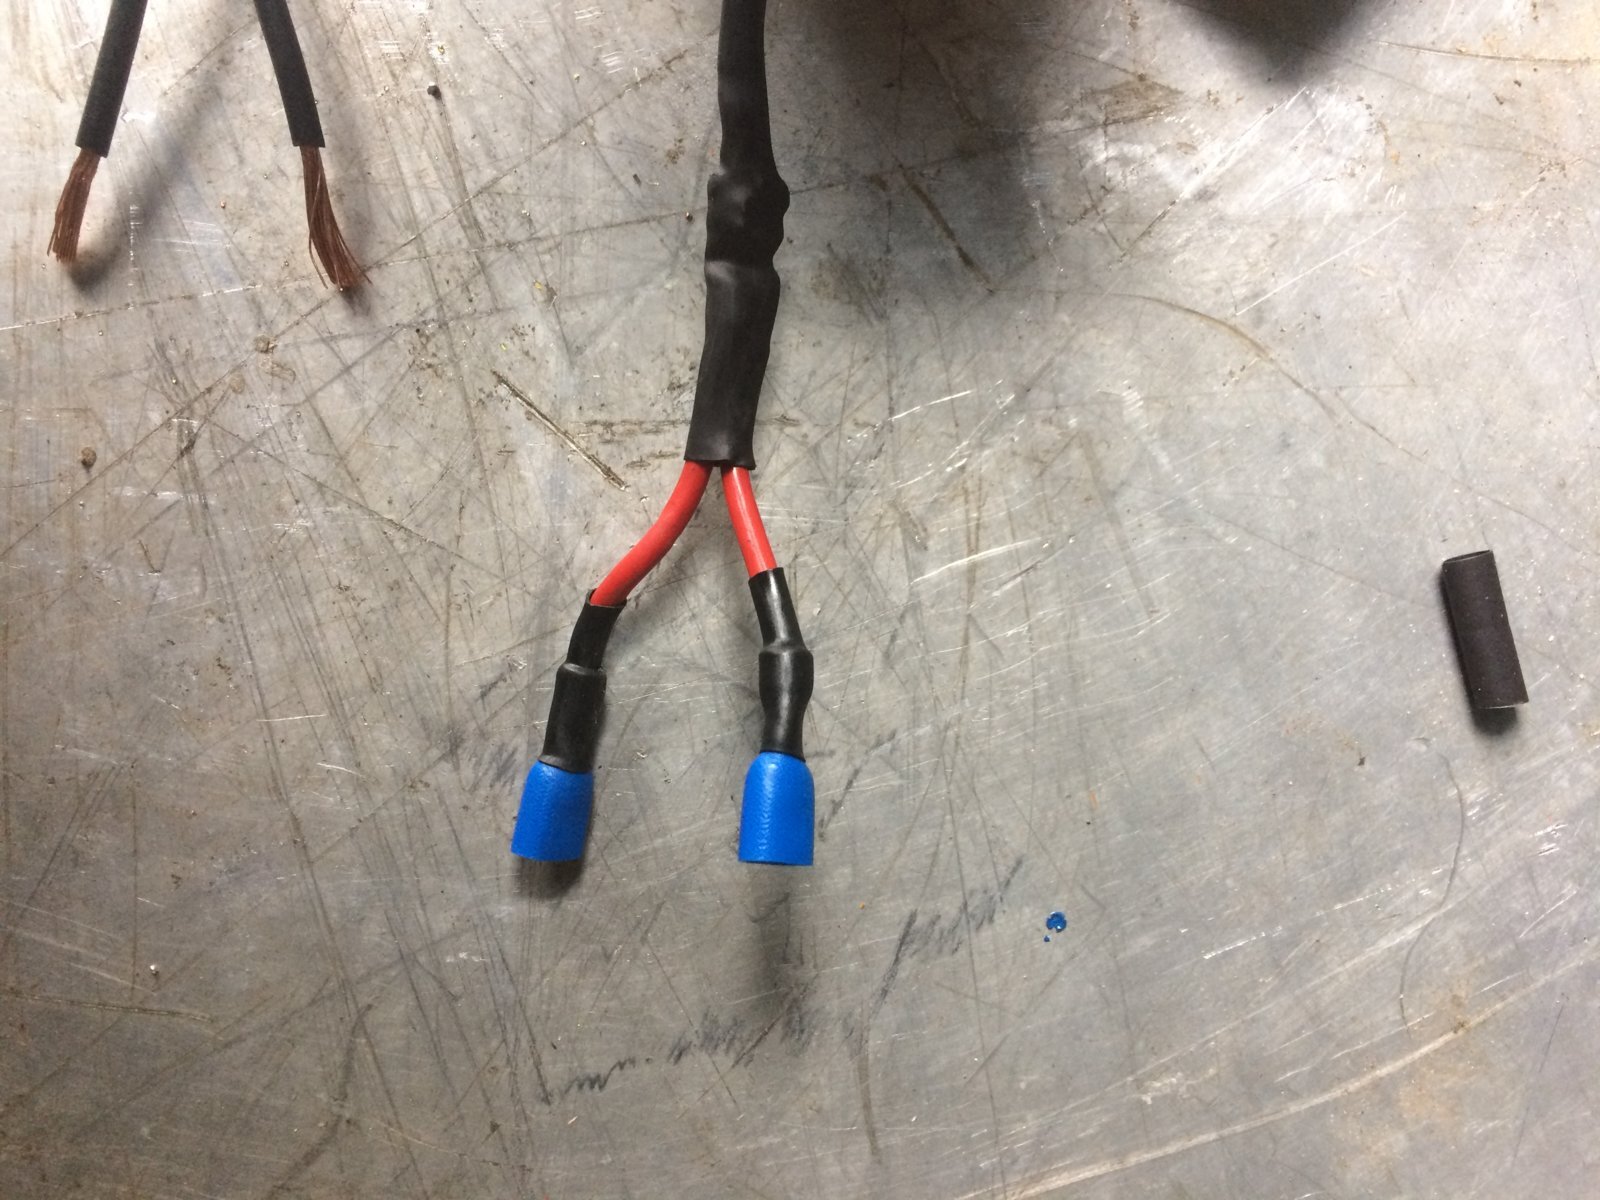
Did a little bit more. My soldering is still crap but I did get some of that magic solder from dad which at least stuck to the wires. Hoorah for shrink wrap
IMG_7362.JPG IMG_7363.JPG IMG_7364.JPG
Didn't get any further as I need some more terminal cramp thingies. Stuck the ends of the cable on the batterie and the leds lit up. For the time being they will be permanently on. May fit a switch later. I'm also gonna tidy up the cables from the ctek after seeing @Marius De Kock install.
 
Yesterday afternoon I started on the victron and usb charging sockets for the rear of the truck.
It's going where the battery lives here
View attachment 123473
removed the panel and guestimated where things were going
View attachment 123474
As long as they are in line with each other i'm happy. Bought a hole saw and made a start, doing my best not to go through the carpet, didn't fancy having to redo it.
View attachment 123461
Stopped just in time
View attachment 123460
and pulled the wood out and trimmed the carpet.
View attachment 123463
I didn't, have a drill big enough or a hole saw small enough to fit the usb sockets and unlike on the front end last week where i just drilled lots of holes and made it fit, I didn't want to have to redo my "wing" if i bodged it up. So went to a builder mate and we drilled out the holes for the sockets Which i don't seem to have taken any photos of, but this is what i ended up with.
View attachment 123466
Before i wire it up I wanted to secure the battery as it's only been wedged in with foam and a lump of wood, I bought a battery strap like the ones at the front but couldn't figure out how i was going to attach it to anything so using what was at hand i've knocked this up
View attachment 123467
Not the lightest solution but hey ho.
Put it all back together, didn't like the surround of the usb ports so didn't put it on. This is as far as i've got so far as it's started to rain
View attachment 123470
View attachment 123471 View attachment 123462 View attachment 123464 View attachment 123465 View attachment 123468 View attachment 123469 View attachment 123472 View attachment 123475
Very nice
 
Back
Top