Don't like the adverts?  Click here to remove them

Who is doing what maintenance today?

Guys had a A/C leak with the new fridge console fitted. Thankfully found it to be a simply fix with a new o ring used on the connector and a more appropriate screw uses to tightern it back together.

Also with a long standing oil leak it was diagnosisd with a micro camera at the garage it deriving from the fuel pump. Today preceded the long winded job of removing this only to find the O ring torn and streaded.

With half day on Saturdays will fix and put it back together on Monday now.

C93ECCCF-074B-40DE-8599-45B010629D4F.jpeg
 
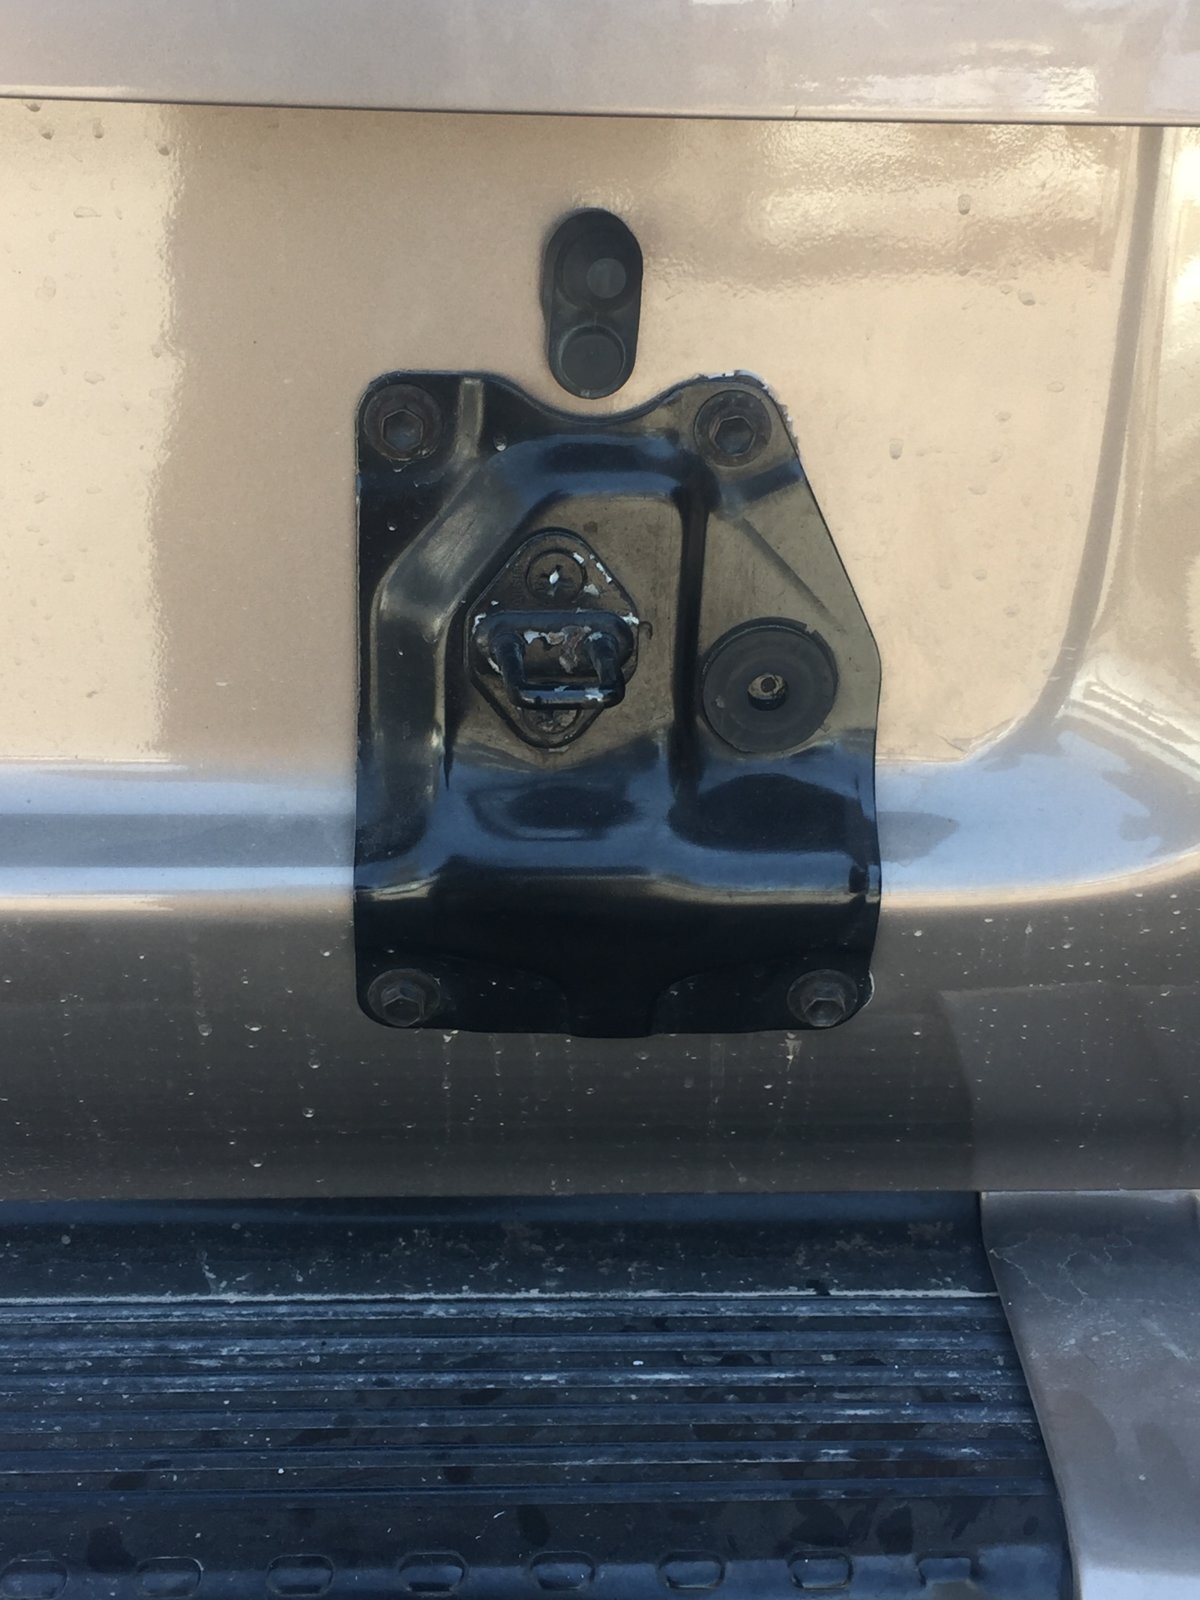
Sam knocked me up a ladder for the tailgate yesterday out of Galv conduit, kept the rungs shallow enough so it doesn’t hit the roof tent base when the tailgate open. Quick spray over with hammerite, would have been better powder coated , but maybe the next one when time permits!


6F603BD3-95BF-4E13-82D5-41E15370382C.jpeg
2D1C512C-DE06-4AAA-AE75-1CE7EE12AE59.jpeg
 
Nice, but take care when using it ‘cos you’ll probably leave toe marks/scratches in the paintwork on that bottom rung.

You might not care if it’s a “working” truck but if you want it to stay presentable, a strategically placed stainless protection plate riveted/bolted to the tailgate wouldn’t look too unsightly.

My ladder is mounted to ambulance doors on my 80 so I could afford to have the rungs spaced away from the door, avoiding the chance of toe marks.
 
Just a few tasteful mods recently.

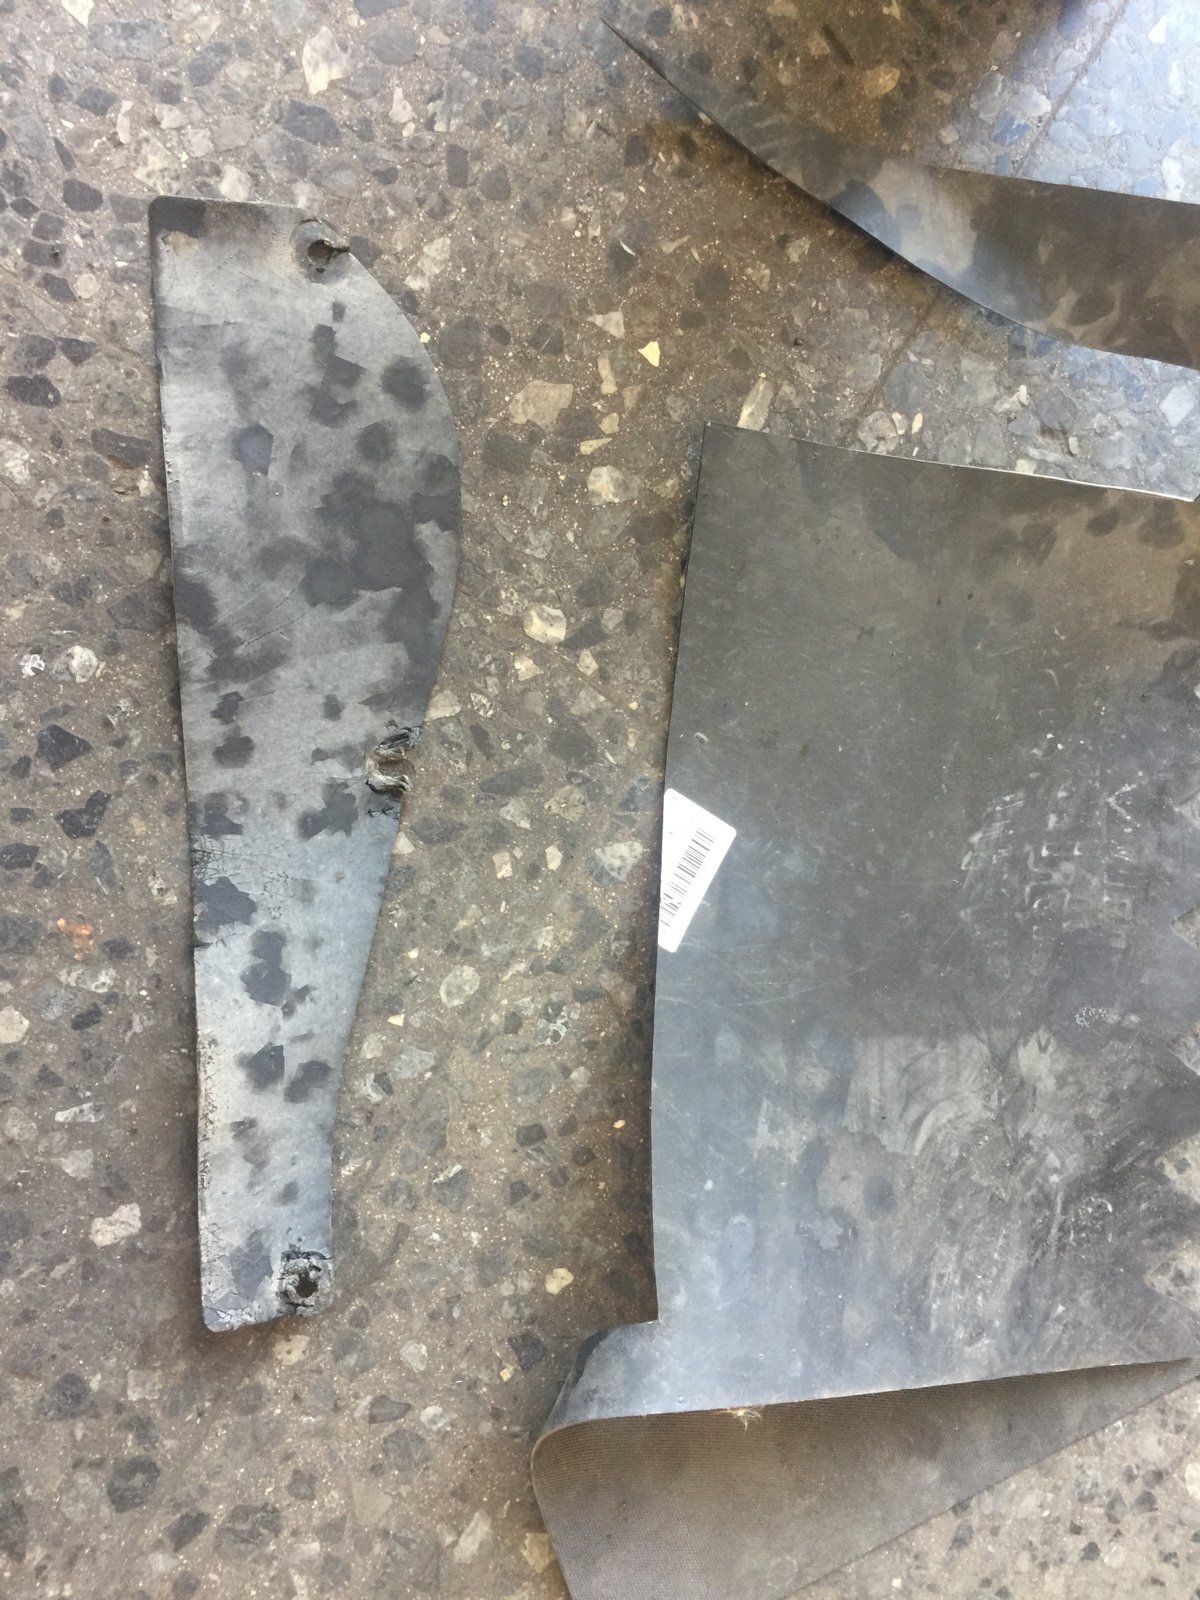
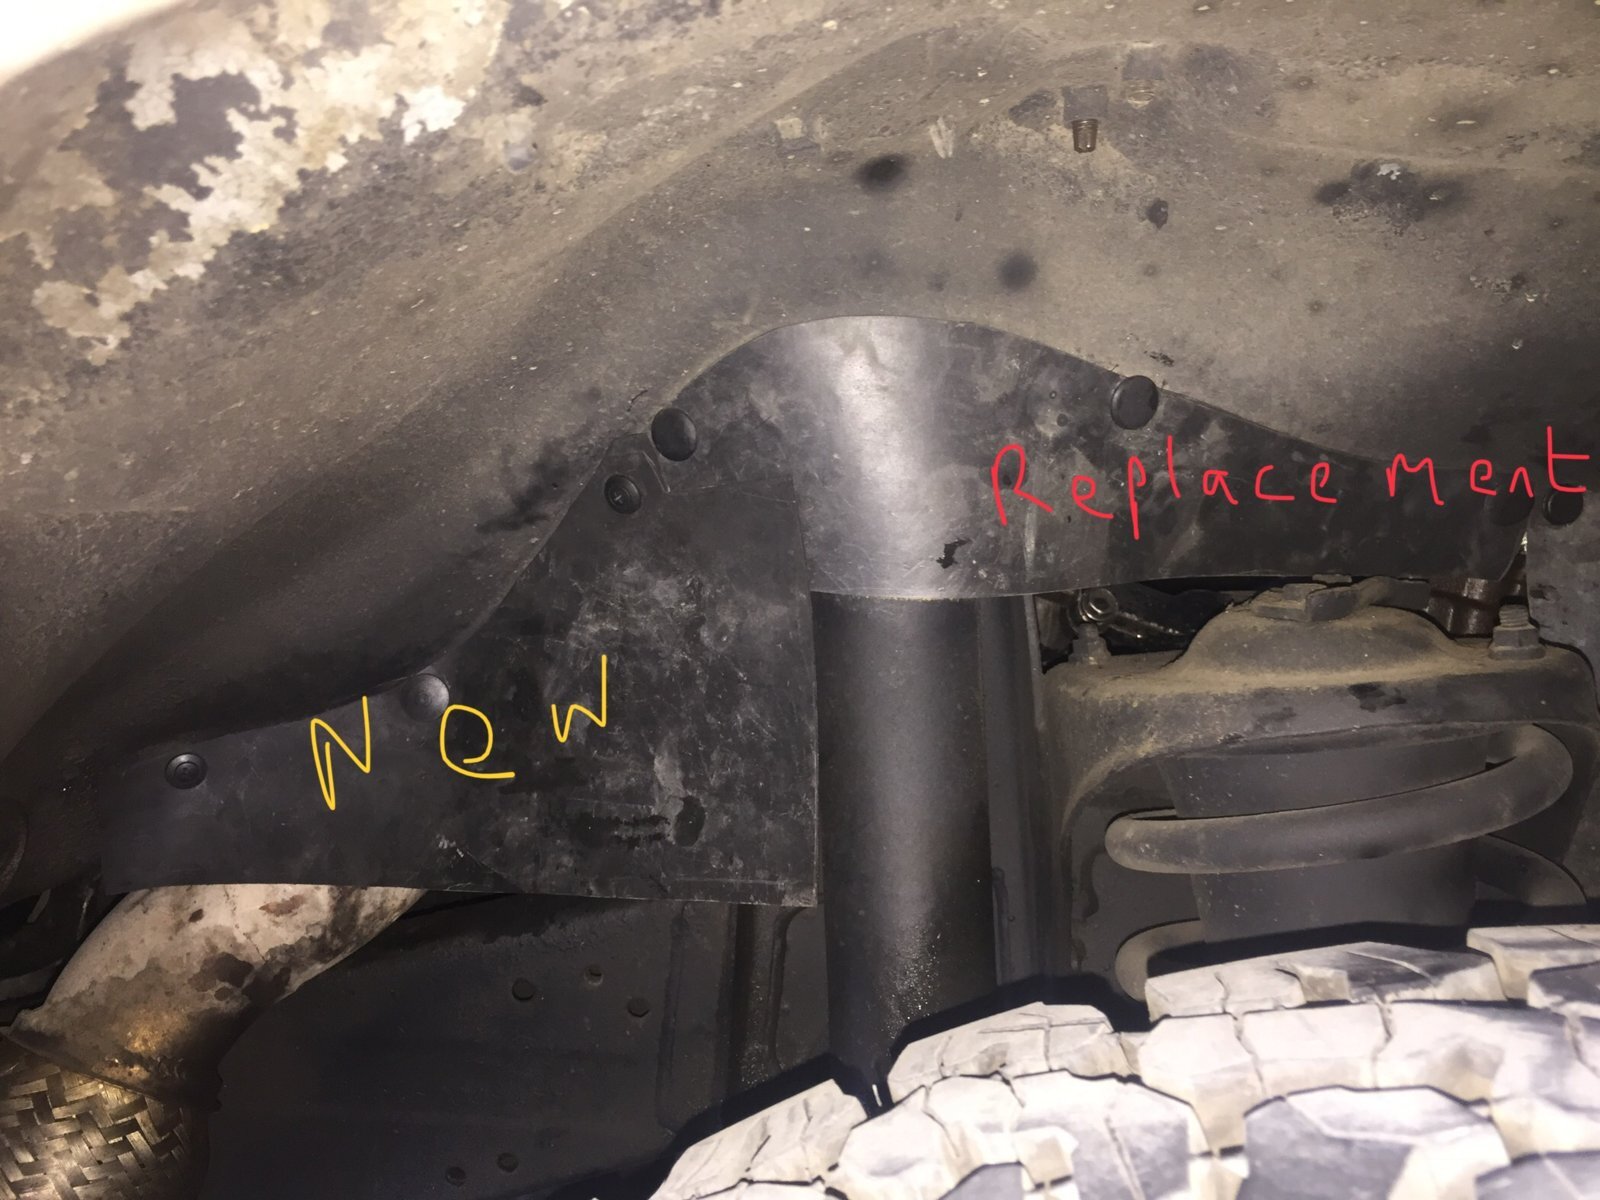
Recut and made one new and one replacement dust covers.

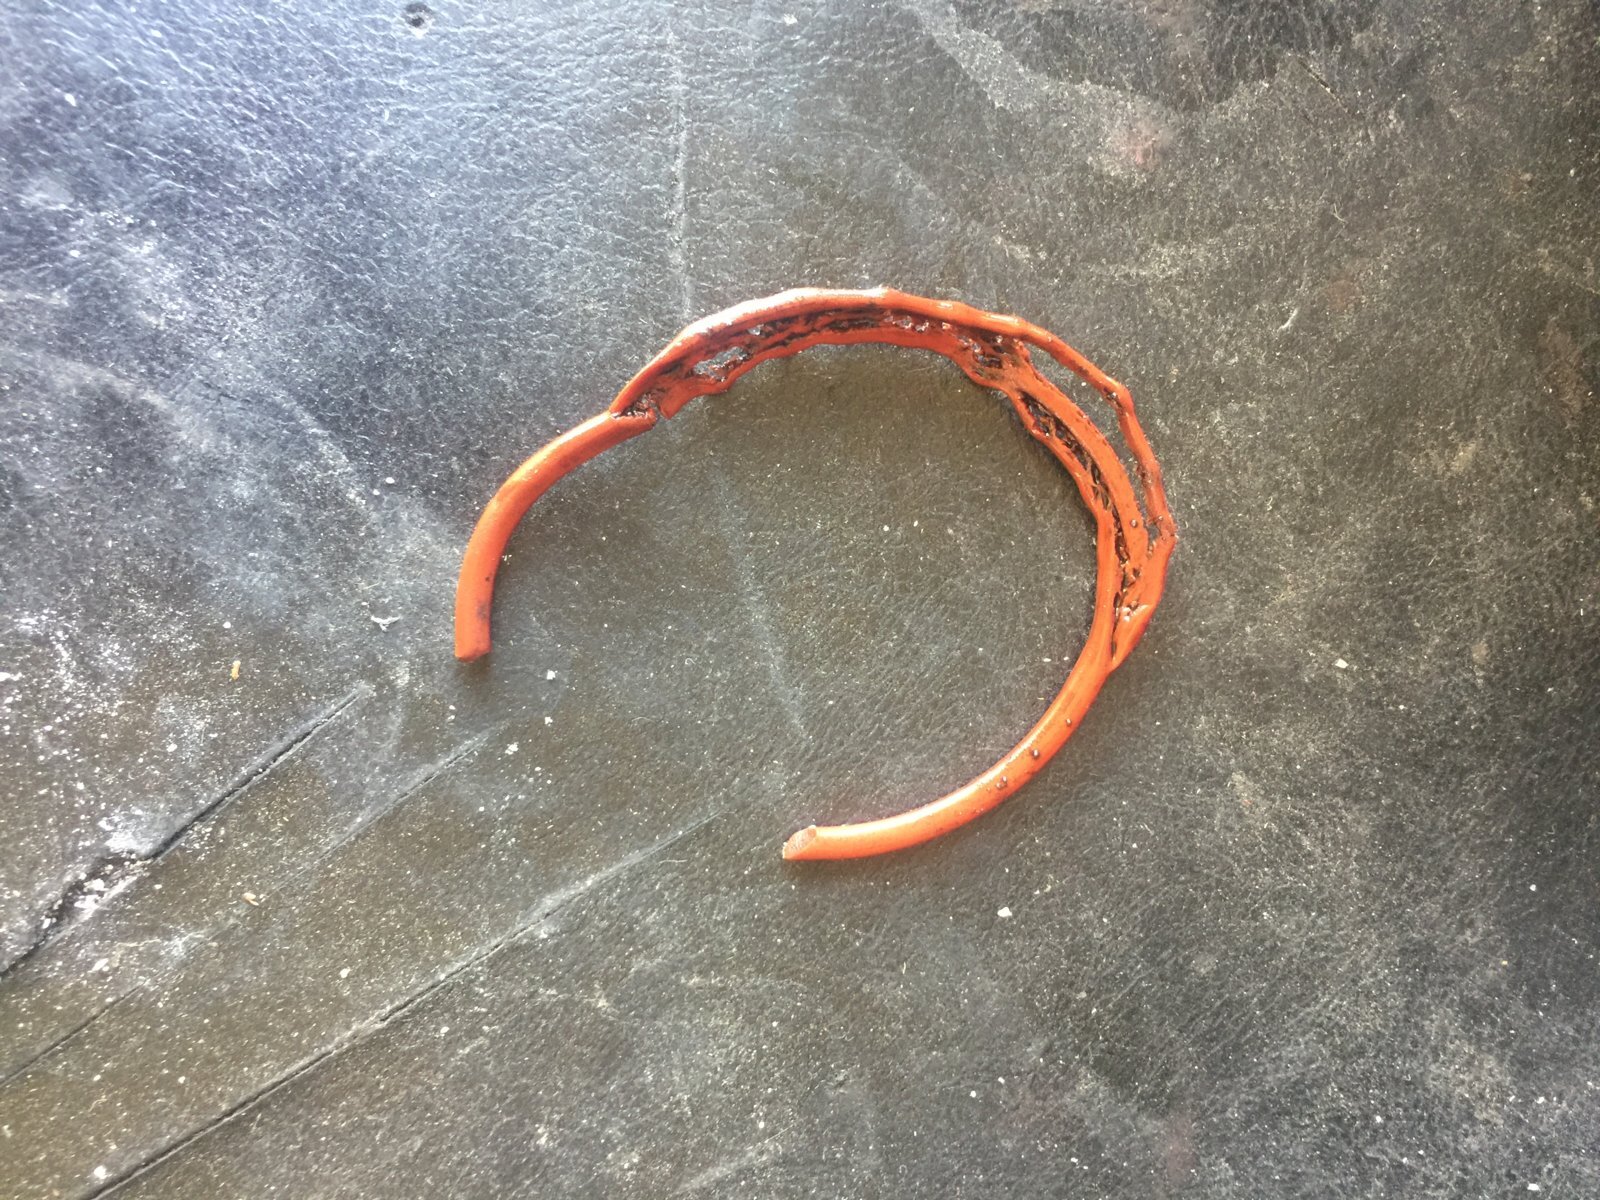
Also for years missing and having to slam dunk the rear wheel carrier closed finally relised the plastic part missing and thus made a suitable one. Now with a just a slight push it clicks into place thankfully.

7BA2E6AE-5B0F-42D3-B88C-4291C6B0505F.jpeg DA8DE6DF-B7DC-4CDE-8194-A43E65AD6A6A.jpeg 043C5617-E243-4DCE-A283-D82570A08126.jpeg
 
Yesterday, the new sump arrived for the 4.2l Amazon.

Now to find a time when No. 1 daughter isn't towing horses and boldly go into the unknown.

Not looking forward to this :?.

Bob.
 
Don't like the adverts?  Click here to remove them
Replaced a sump on a Subaru Forester once
Had to jack the engine up to get access to all the bolts

But had no external front diff to deal with !!!
 
Yesterday, the new sump arrived for the 4.2l Amazon.

Now to find a time when No. 1 daughter isn't towing horses and boldly go into the unknown.

Not looking forward to this :?.

Bob.
The old chaps still in denial about the porous sump on his 100...
 
Been a while since I did anything to mine, including driving it. But with a big trip coming up, I decided it was time to change all of the wheel studs and nuts. Roughtrax currently have genuine studs for the 80 in stock, so I plundered the parts dept and bought a full set. My 80 has done 250,000 or there abouts and has had the wheels off hundreds of times. All of that grit and heat as well as the load on them and the torquing up does take a toll and I think that at this mileage, age and use, stud failure could be right around the corner. I'm swapping to my steel rims this time with the muddies on and those rims do need to be really tight. If not, they flex and you can feel it. If they're going to be torqued properly tight then it might just be the catalyst for some of them snapping. OK going to be a bit of a drag fitting them, but I wanted to swap the wheels, check the hubs and bearings anyway.

Screen Shot 2018-08-02 at 18.34.13.jpg
 
Been a while since I did anything to mine, including driving it. But with a big trip coming up, I decided it was time to change all of the wheel studs and nuts. Roughtrax currently have genuine studs for the 80 in stock, so I plundered the parts dept and bought a full set. My 80 has done 250,000 or there abouts and has had the wheels off hundreds of times. All of that grit and heat as well as the load on them and the torquing up does take a toll and I think that at this mileage, age and use, stud failure could be right around the corner. I'm swapping to my steel rims this time with the muddies on and those rims do need to be really tight. If not, they flex and you can feel it. If they're going to be torqued properly tight then it might just be the catalyst for some of them snapping. OK going to be a bit of a drag fitting them, but I wanted to swap the wheels, check the hubs and bearings anyway.

View attachment 147832

Always a good idea Chris something easily missed with age.
Bought a whole set of studs too a while back Chris and only having changed the left front so far. Certainly worth having them at hand as they do snap often and a pain to just change one bolt rather than all 6.
I remember the front wheels are a lot
more work to change from the rears.
 
Failed the MOT today, 3 ARB bushes and the horn wasn't loud enough.

2 front bushes had perished, the rear was another washer issue where it pushed over the flange/rebate again (3rd time)

What's wrong with the horn I say, press it he says.... remember those toy teddy bears in the 1960's that made a mooing/baaaing kinda sound when you flip them over, it sounded like that only not as loud... fair enough :lol:

£40 in bits from roughtax will arrive tomorrow, and an £11 "Move Bitch get out the way" 150dB Air Blast jobbie from the bay and we're good to go :dance:
 
Did the rear brake pads, but more importantly, fixed for gearstick rattle that had been bothering me. Followed the method used here by Stephen a couple of years back,drilled and pumped in some Tec7 sealant. Cured it with the heat gun for a couple of hours and hey presto, it's like a new truck.
 
I fixed my gear stick by drilling a hole through it and bolting it up :)
 
I got an advisory on my horn. Not functioning correctly. I too pressed it. FFFFppppaaaaaaarrrrppppppp!!!!!!
What's wrong with that I said. It could wake the dead.

Should be one single tone, I was told. What? Well, in yours, they said, you can hear two distinctly different tones - a high and a low.

FFS.
 
Today its been an Archaeological dig to try and find a way to get at the sump on the 100.

First - Remove the three under-trays to reveal a corroded sump.

Drain the oil (12 litres).

DSCN8315.JPG


There isn't much room between the front of the pan and the power steering rack - I'll have to remove that stud in order to slide it back a bit when the time comes.

DSCN8318.JPG


Then remove the cross-member and the front axle torque arm. these bolts are tight, I couldn't shift them with a 24" power bar but fortunately my 'rattle gun' made short work of them.

I also removed the front plastic and foam shield which was soaked in oil.

Note the front diff mounting bolt and the hole in the fixed cross-member, they feature later.

DSCN8323.JPG


The bits accumulated so far:

DSCN8328.JPG


Now remove the front of the front prop shaft (more bloomin' tight bolts):


DSCN8331.JPG


Next I undid the inner boots on the front drive shafts, the intention is to wriggle the diff about to separate the quad bearing from the tulip housing and drop the diff out. This may be difficult, I shall see.

The diff is supported with a wood block on a trolley jack and the two mounting bolts loosened off . . . . HAH !

The front wouldn't move, even with my very powerful Milwaukee gun - so I shoved the MAP torch into the hole in the cross member and fried the captive nut.

After about six attempts at heating it came apart in a shower of rust. The bolt is quite waisted from the corrosion and I think I'll be giving Simon a call for a new one.

DSCN8333.JPG


DSCN8334.jpg


DSCN8335.JPG


The rear mounting bolt came away quite easily, but it required a (six-point) spanner on the M19 nut .


DSCN8337.JPG


With the diff lowered (but not yet free) I can see the O/S sump set screws. There are 27 screws and three nuts on studs - all M10 heads.


DSCN8341.jpg


Finally (today) I managed to dig out the foam rubber in-fill at the back of the sump - it was saturated with oil!


DSCN8342.jpg


Tomorrow I'll remove the ARB, its probably not essential but will make the job easier. I'll also support the chassis on axle stands and let the front suspension drop to full articulation. Maybe then I'll be able to remove the diff, leaving the drive shafts in place. If that's no good I'll just work around it.

The joys!

Bob.
 
Last edited:
More work on the 100 in an effort to reach the sump today.

After a lot of faffing about with jacks and axel stands I concluded that I couldn't remove the front diff without removing the drive shafts from the hubs first - which would be a few steps too far.

So I left the diff hanging and removed the ARB. . . . Why is there always something in the way (in this case the Torsion Bars) :icon-evil: . I got it out eventually, but it was a fiddle.

Murphy's first law of Toyotas . . . "The part you wish to remove is always overlaid by something else" (this holds good all the way down the chain :icon-wink:).


DSCN8343.jpg


One of the bushes is badly worn - its only three years old :think:.

With the ARB and the prop shaft out of the way I have a good view of the sump flange.


DSCN8345.jpg


I seem to be getting oil down the N/S of the block, from the area of the oil filter - yet it was all clean and tight when I fitted it. This needs investigating.


DSCN8346.jpg


Next problem . . . The two block-to-gearbox support brackets overlap the sump flange at the rear and need to come off.


DSCN8347.jpg


No sooner said than done.


DSCN8350.jpg


And now the back is clear.


DSCN8352.jpg


Then, with my little 1/4 inch drive socket set I removed the 27 set screws plus the three nuts. This left three locating studs - two at the rear and one right at the front, where there isn't enough clearance between the sump and the power steering rack to drop the sump off the stud. The stud had to go.

As usual, one can see the problem but can't get hands or tools on the nuts. I had to remove the power steering pipe brackets and use a pair of 10mm ring spanners to lock two nuts onto the stud and wind it out - it took an hour :doh:.


DSCN8356.jpg


And now all that is holding the sump on is the black mastic sealant so tomorrow's job it to go around it with a paint scraper separating the sump from the block - then a big clean-up is in order.


DSCN8358.jpg


I would have done it today but neighbours are away and I had to go and feed their cats :icon-biggrin:.

To be continued.

Bob.
 
If the sump is anything like the 80 then it's double skinned. The only real way to get it off is to get angry with it. The goop holding it on is industrial strength. As you are replacing the thing, there's no need to nanny about with it. Not that you would, but I find it best to get into the front corner with a big lever of some sort. Once you get a thin crack, get a knife in there and work around like you would an oyster. Keep pressure on and slice away with the knife a little a time on both sides and then suddenly the whole thing will go.
 
Sunday before last, as I pulled up outside the apartment in the city, my power steering hose (pump to steering box) let go.

The metal pipe at the steering box end parted company with the flexi, at the crimped joint. That pipe is composite, metal at the pump/rubber/metal (at the “U” bend”/rubber/ then metal again at the steering box, all crimped connections.

I thought about an after-market replacement, but it looks to me that one on there may not be genuine, so I bit the bullet on an OEM pipe. 7 days delivery and a quick kidney sale on eBay later, it’s fitted now, and working fine.

Missed the truck like crazy having to drive the little car all week, but now me and the Truck are friends again. :lol:
 
Keep pressure on and slice away with the knife a little a time on both sides and then suddenly the whole thing will go.

I had to take the sump off a RAV4 last year (in order to get the front inner cover off before removing the head). That was the same.

I used a thin paint scraper to work around the joint and then it suddenly dropped a bit and was easy from then on. I'm hoping this will be the same :think:.

Bob.
 
I thought about an after-market replacement, but it looks to me that one on there may not be genuine, so I bit the bullet on an OEM pipe. 7 days delivery and a quick kidney sale on eBay later, it’s fitted now, and working fine.

I had to replace a couple of Power Steering hoses three years ago - I couldn't believe what they cost from Toyota (but bought them anyway) :shock:.

Glad to hear that yours is now OK :thumbup:.

Bob.
 
Back
Top