Don't like the adverts?  Click here to remove them

Hedgehog - LC100 build thread

If tyou made the tail gate from checker plate it would not reflect the light as much as a sheet of smooth Ali.

As mine spends a lot of time on west coast looking out to sea the tail gate nearly alsways has the sun directly on it could be why i found ity a problem.

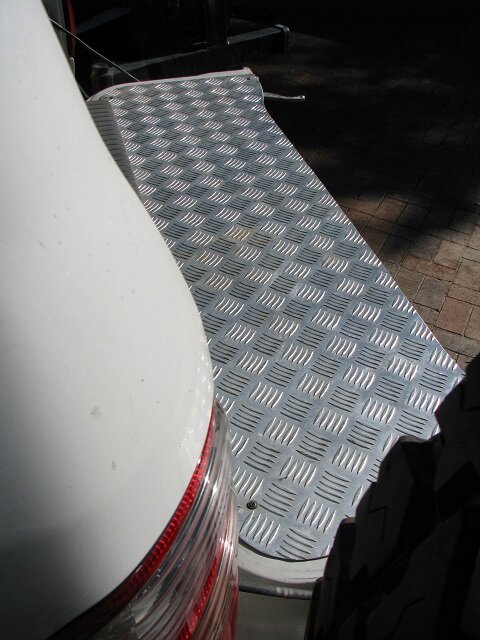
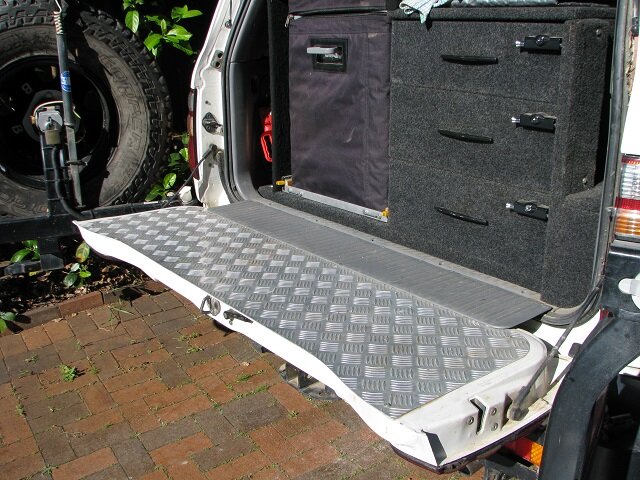
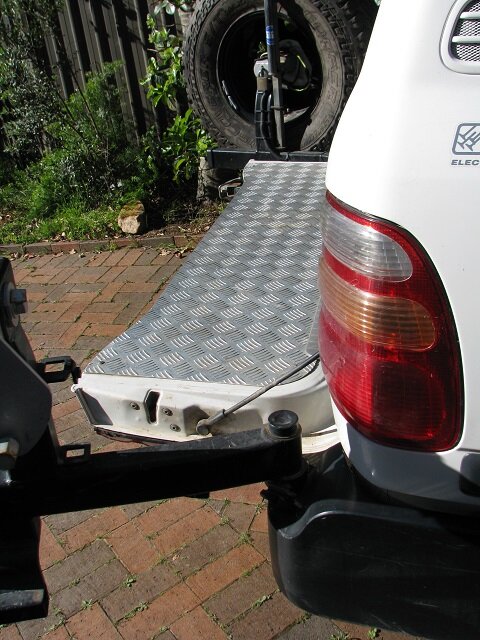
Well being checker plate, the light is bounced about a bit by its not being a flat reflective surface. Also the raw ali surface oxidises and has little reflective surface anyway. I don't polish the deck at all, it gets scrubbed clean but is in no way polished to a factory shine.
I guess I use my truck differently to you as well. For anything other than day tripping, I usually have a collapsible table that then lives under the pullout awning. The tailgate is only really used for day tripping or maybe a weekender.
For me checker plate is ideal. I can prepare meals from it, sit on it, stand on it to gain roof access and use it as a mechanical workbench when I break the truck out in the bush. Just wash it down and carry on. Its very practical.
I'll try and get a pic of it this afternoon with some reflection on it so you can see what I mean.
 
If tyou made the tail gate from checker plate it would not reflect the light as much as a sheet of smooth Ali.

Stu
here's a few pics taken this avo with the sun off the back and some 40 degrees up. No really annoying sun glare although you can see car reflections in the centre pic. It would be completely different if it was flat sheet but the checker provides grip as well.
tail_left+64.jpgtailgate_64.jpgtail_right_64.jpg
 
My tank was in the truck when I bought it but I'm not aware of that requirement.
Is your factory tank under the passenger side or at the rear?
Our main is under the passenger side and the sub is at the back by the spare wheel. The LongRanger replaces the spare and the sub tank. As such it uses the existing sub sender assembly which mat be longer.


I use this filter for our water ingest - http://www.bestwaterfilters.com.au/ very good and widely used here. I use it as a hose attachment as it serves double service on my camper trailer as well. Works with colloidal silver so safe to humans but kills everything else.


Well thats a problem I have never really considered! I've had the water in my camper trailer under slung tanks freeze up at temperatures around -7c and the poor old pump had some 'issues' with that but it was only a problem until the sun rose enough to thaw things out. I just keep the kettle full and boil it now but I can appreciate your problem.

If your heating pad ever has issues its going to be a real bugger to remove/replace, especially on the side of the road somewhere, plus you have to get the wires into the tank. Why not source a 12v heating element and screw it into the side of the tank like a domestic hot water cylinder. http://www.hydrogenappliances.com/hotwater.html

If I use the heat trace approach then it is just a stiff cable introduced to the tank through the filler (a T-off and mastic). If I use a heat pad then they stick to the outside. Both easy to repair. I looked at a traditional de-frost element but am unsure if there is enough space between the chassis and tank and exhaust system to fit AND to remove one/install one is a tank-out job, also it would only be effective if the water tank is 50% + full. Introducing another hole would also weaken the tank and give another point for leaks to develop.

If it ever failed at sub zero temperatures then I'd light the Coleman stove underneath
 
Hi Steve

Might have a misunderstanding about the collapsible steps. This is the sort of thing we use -
http://www.supercheapauto.com.au/on...lding-Stool-120kg-Rated.aspx?pid=341728#Cross

Folds down into a slim package for easy storage but has enough height to let the wife get to the top of the 80L fridge.

malcom

We've got a couple of those - the best £10 we ever spent.....we use them as small tables for a cold one when we're sat relaxing, snacks etc - and they make good steps as you say. They are not terribly stable if the weight on them leans out - as I would be if I was leaning far into the back of the truck. I think the health and safety police may have banned them here in the UK now. They're also not great on the side of a hill nor on soft muddy ground 'cos they sink
 
Don't like the adverts?  Click here to remove them
No, the bottom bit is the fuel area. Water is at the top.

Yes - I know. Heat rises and is transmitted well through liquids/solids - not so good for air gaps when the fuel tank is empty - but nonetheless better than nothing....the water tank has a 'nose' which protrudes over the exhaust and heat applied here would be direct onto the water section. In any case it is a very unlikely event
 
Lawn rollers have them as standard, can't be too difficult to mod one to fit on the back of an 80, might catch the rust infection though....lol
 
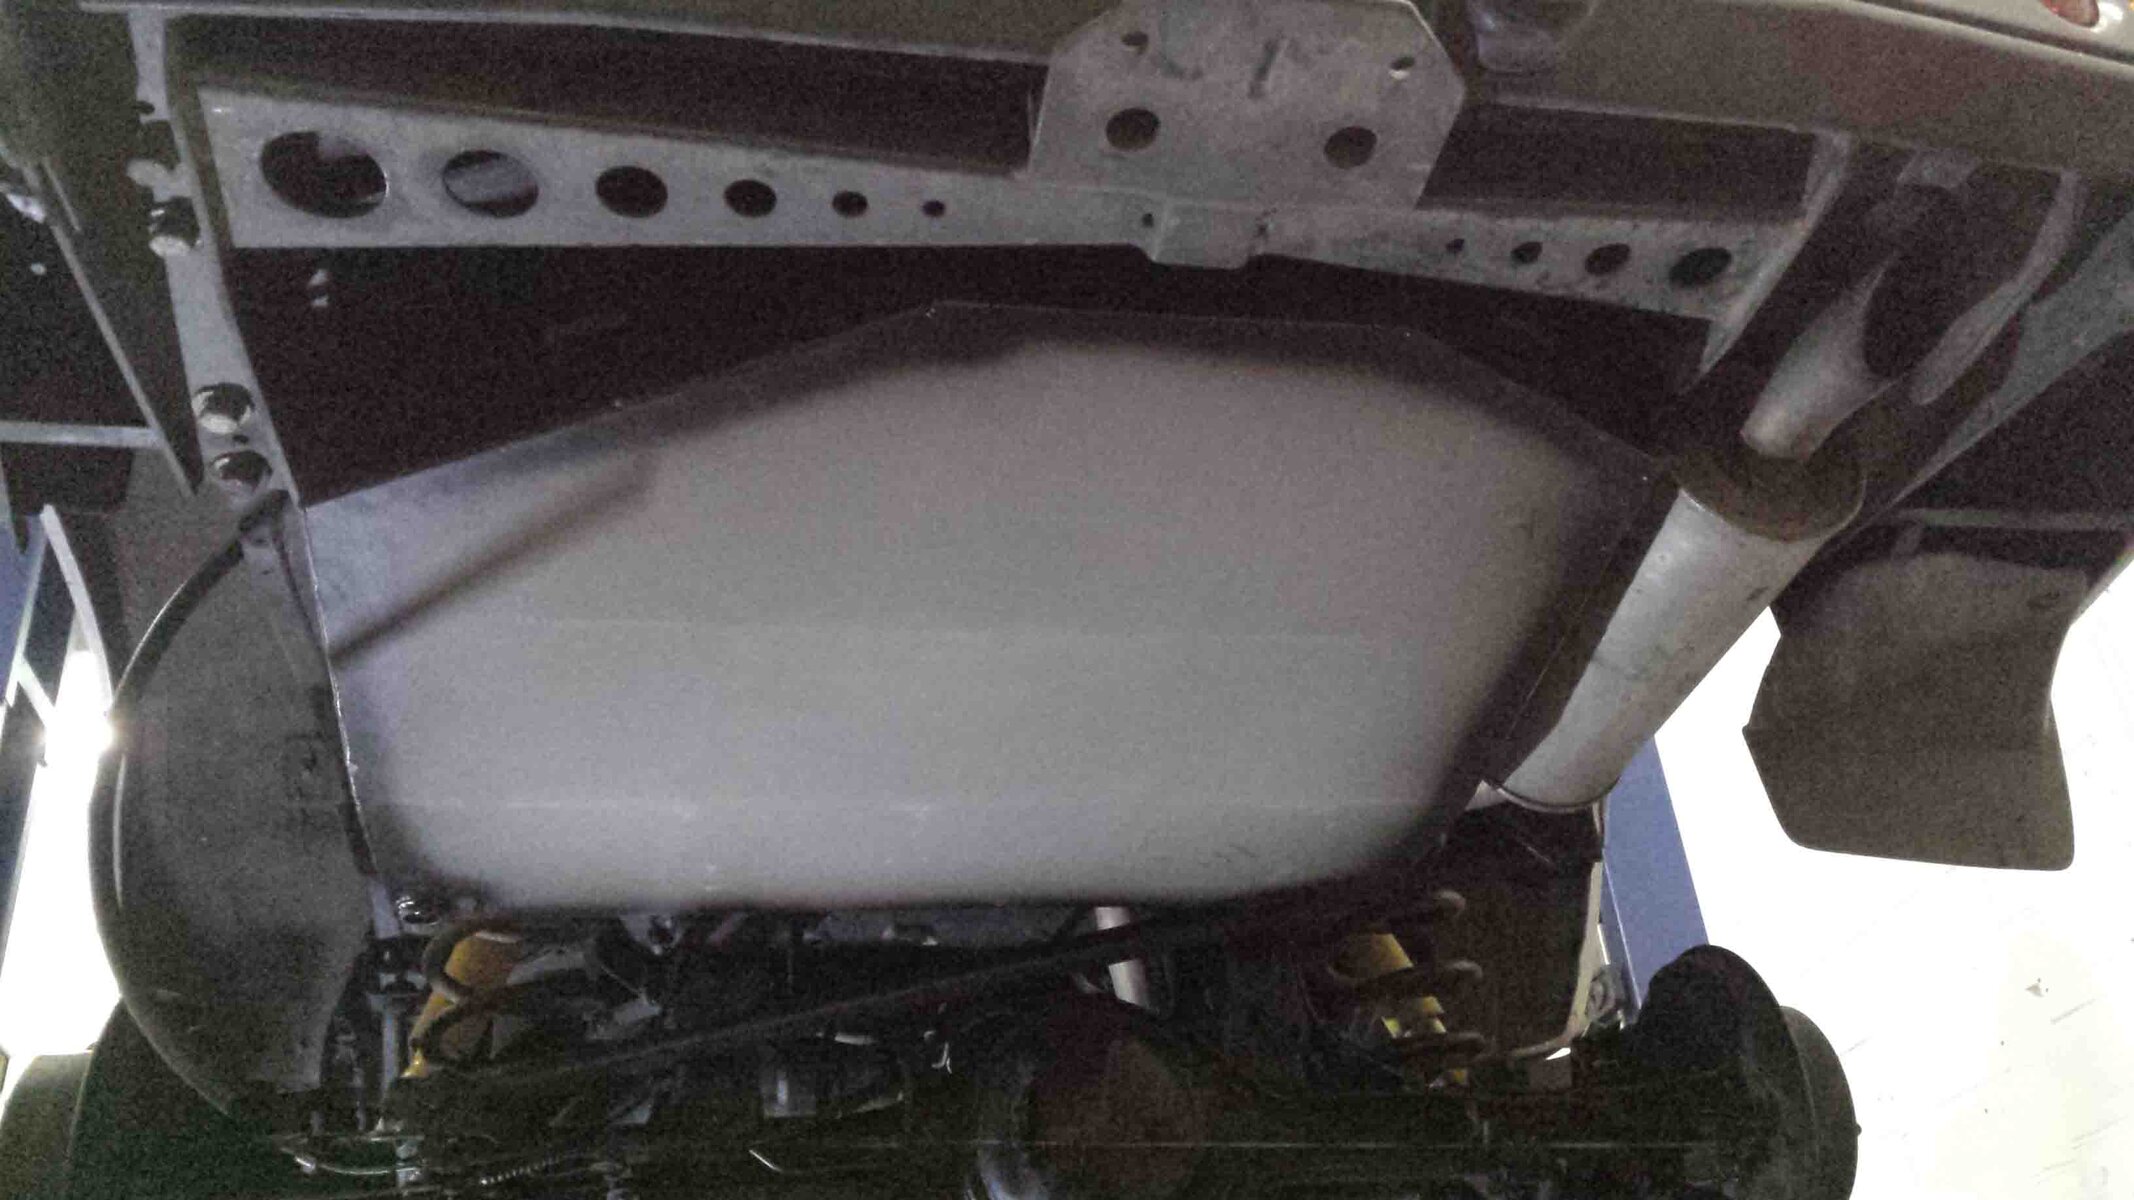
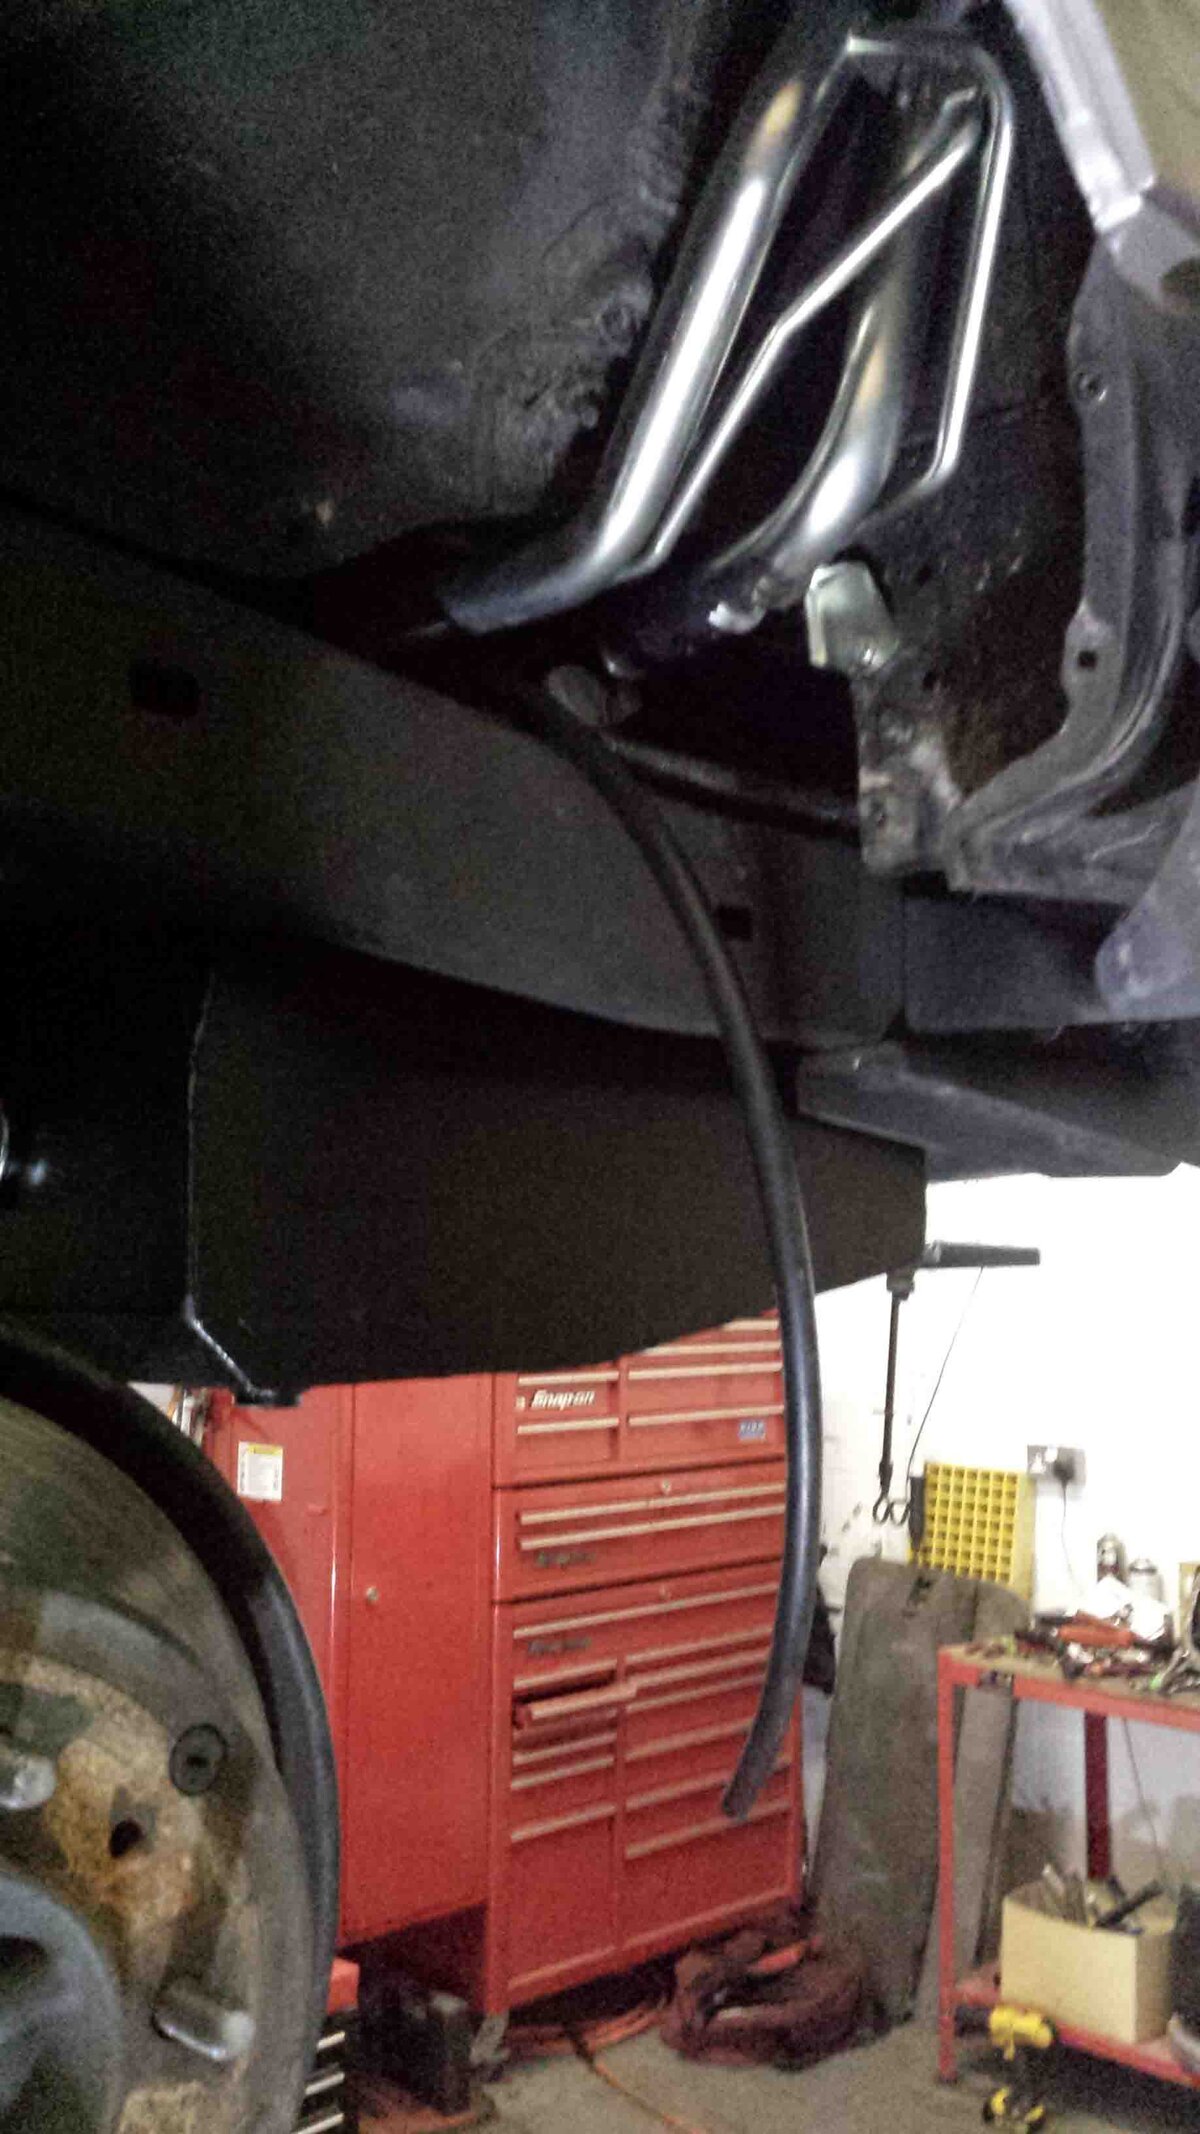
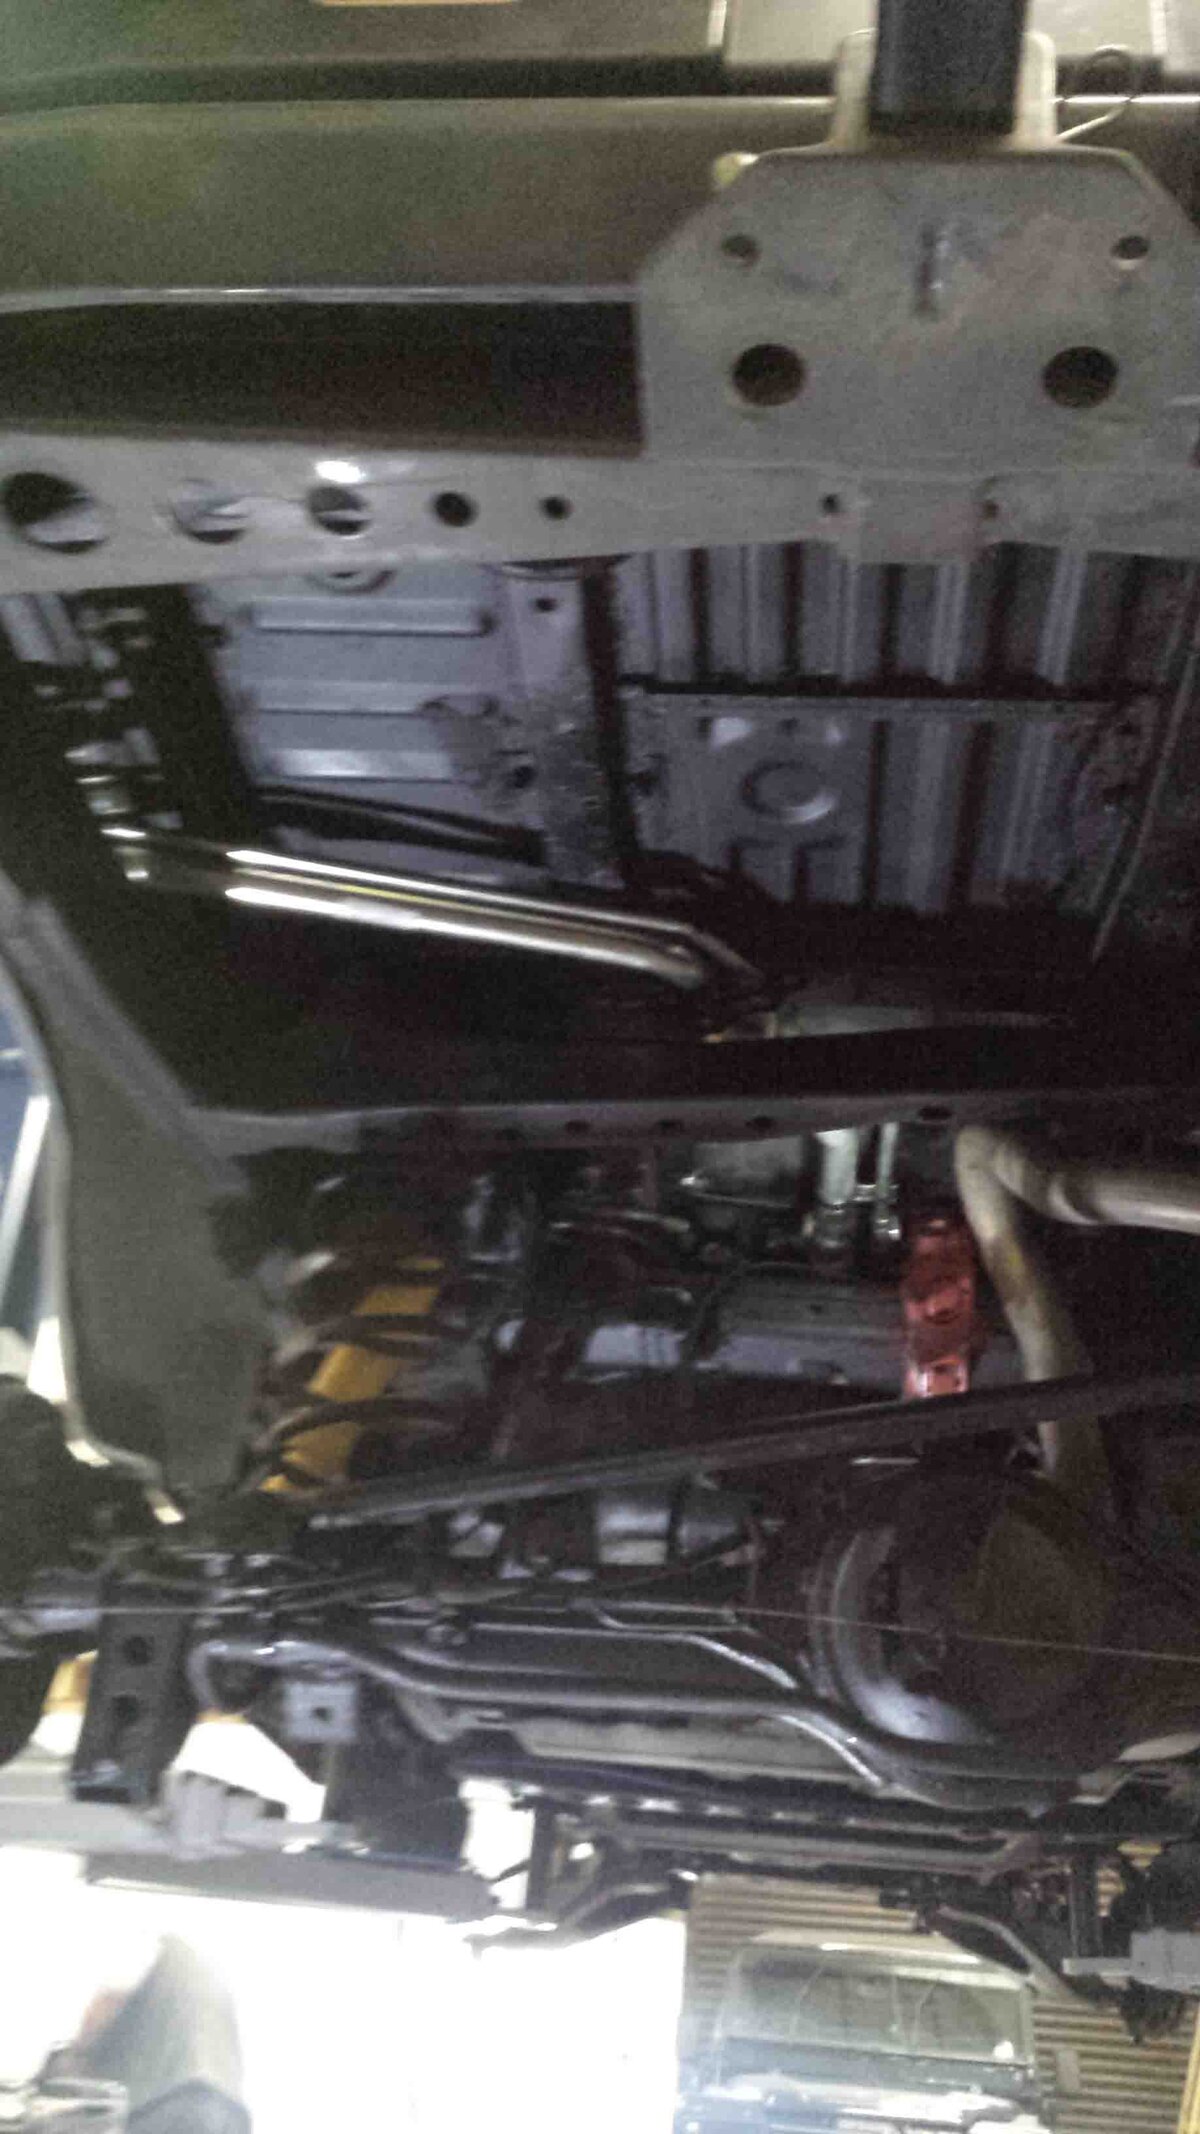
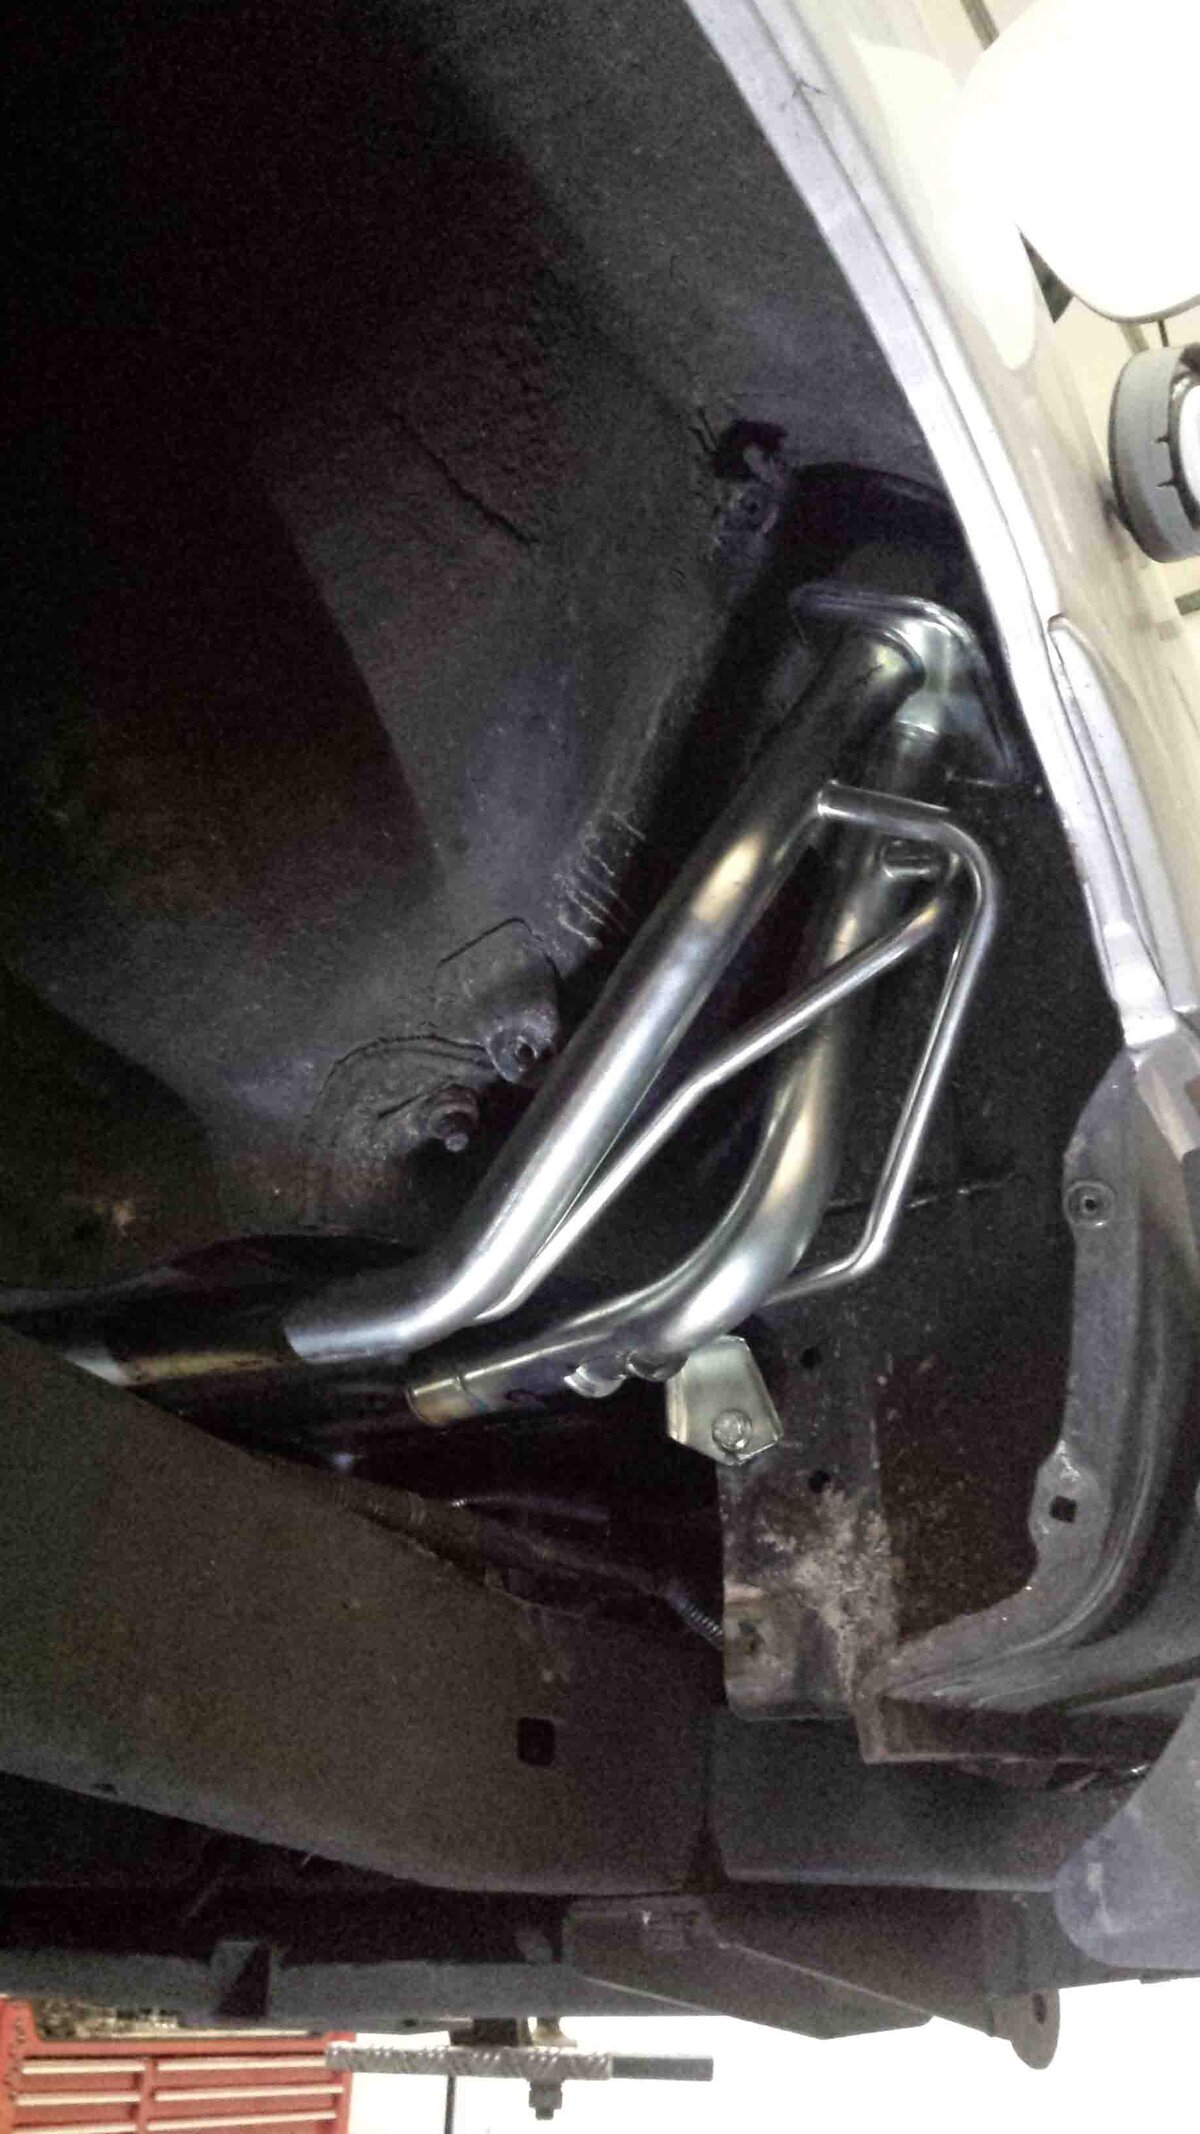
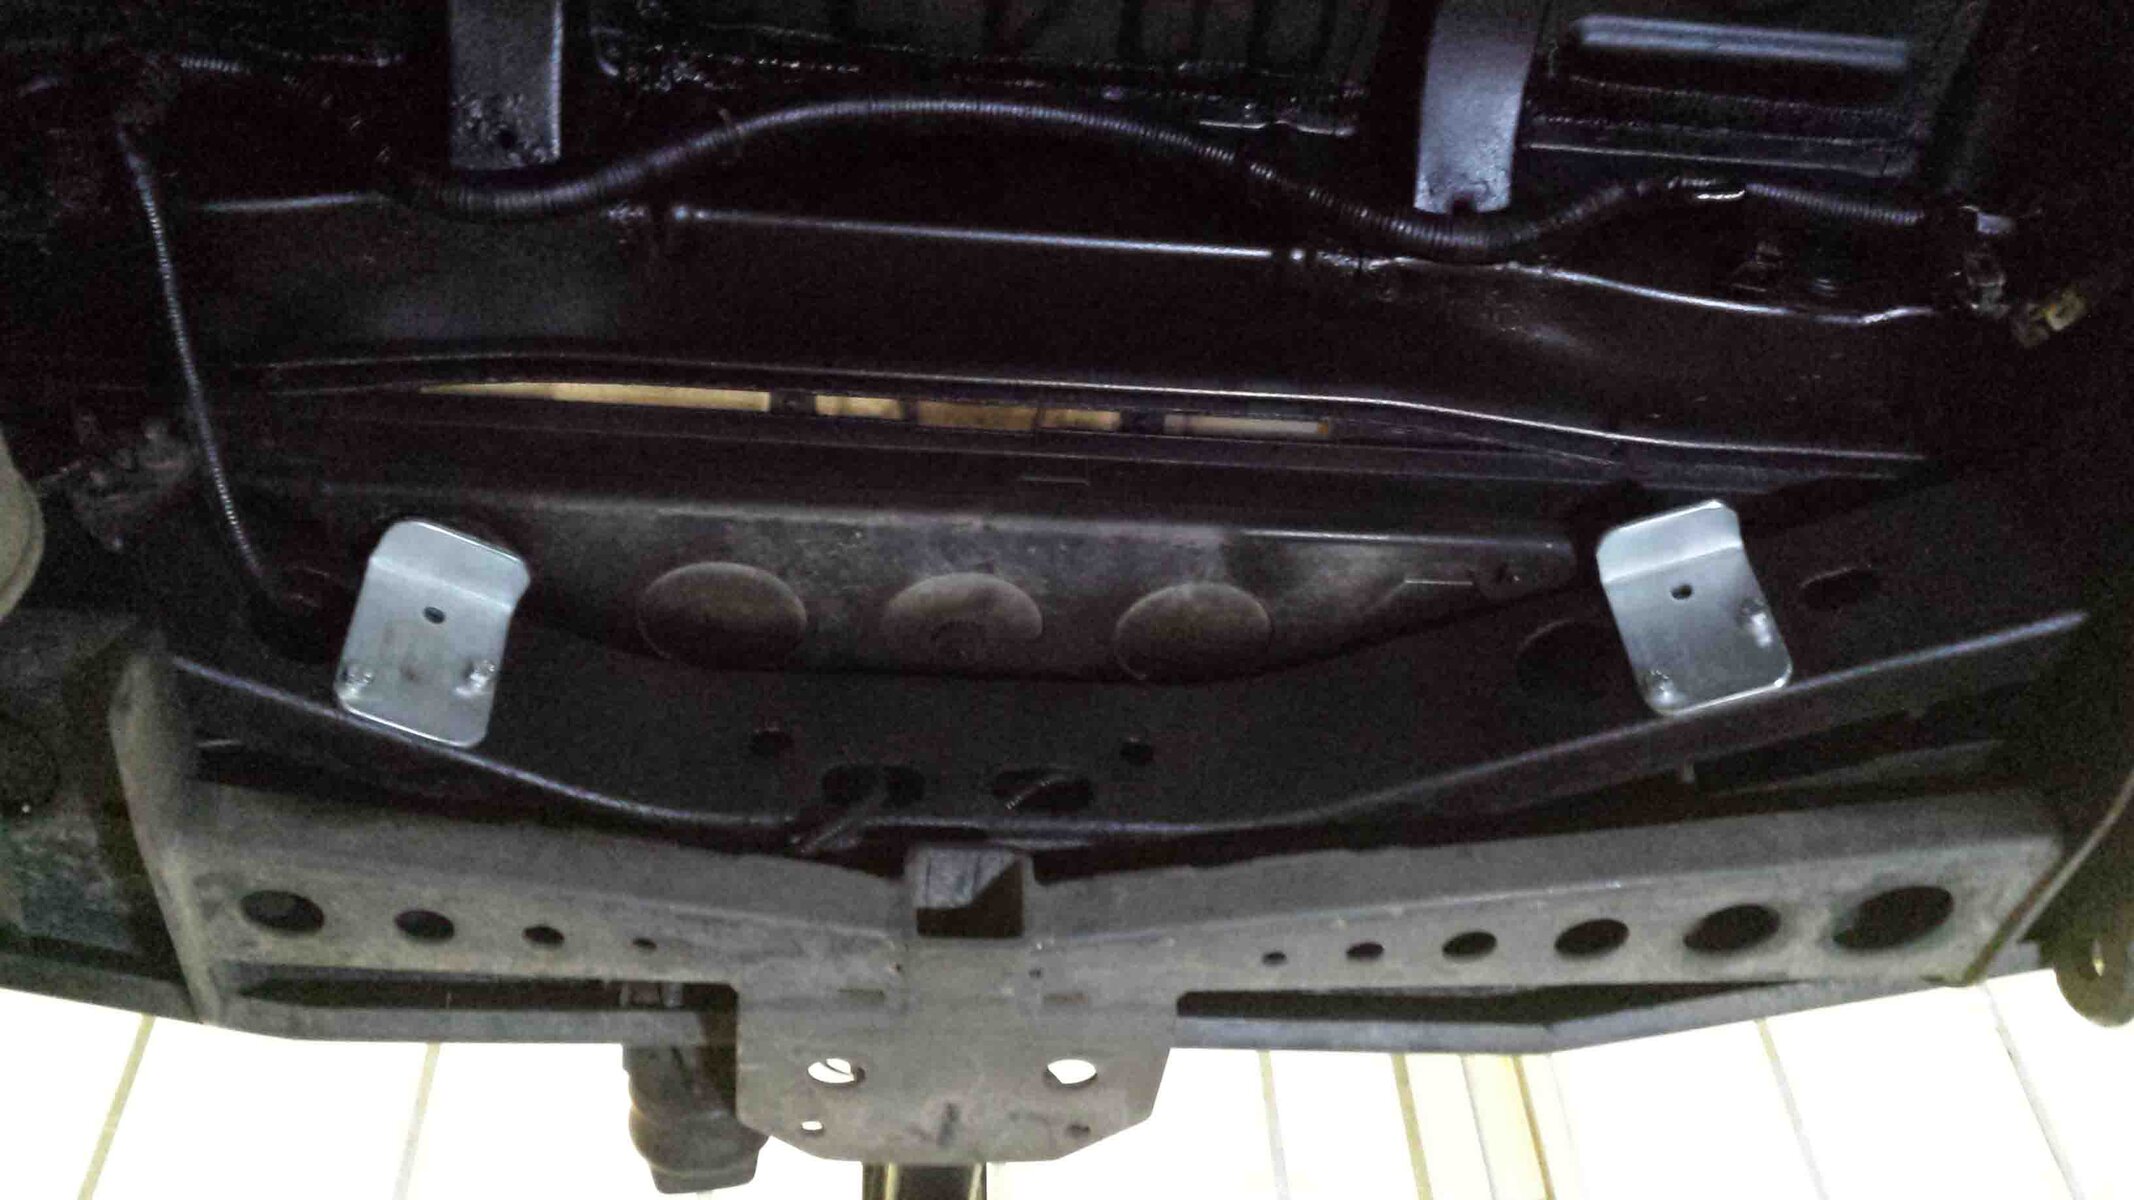
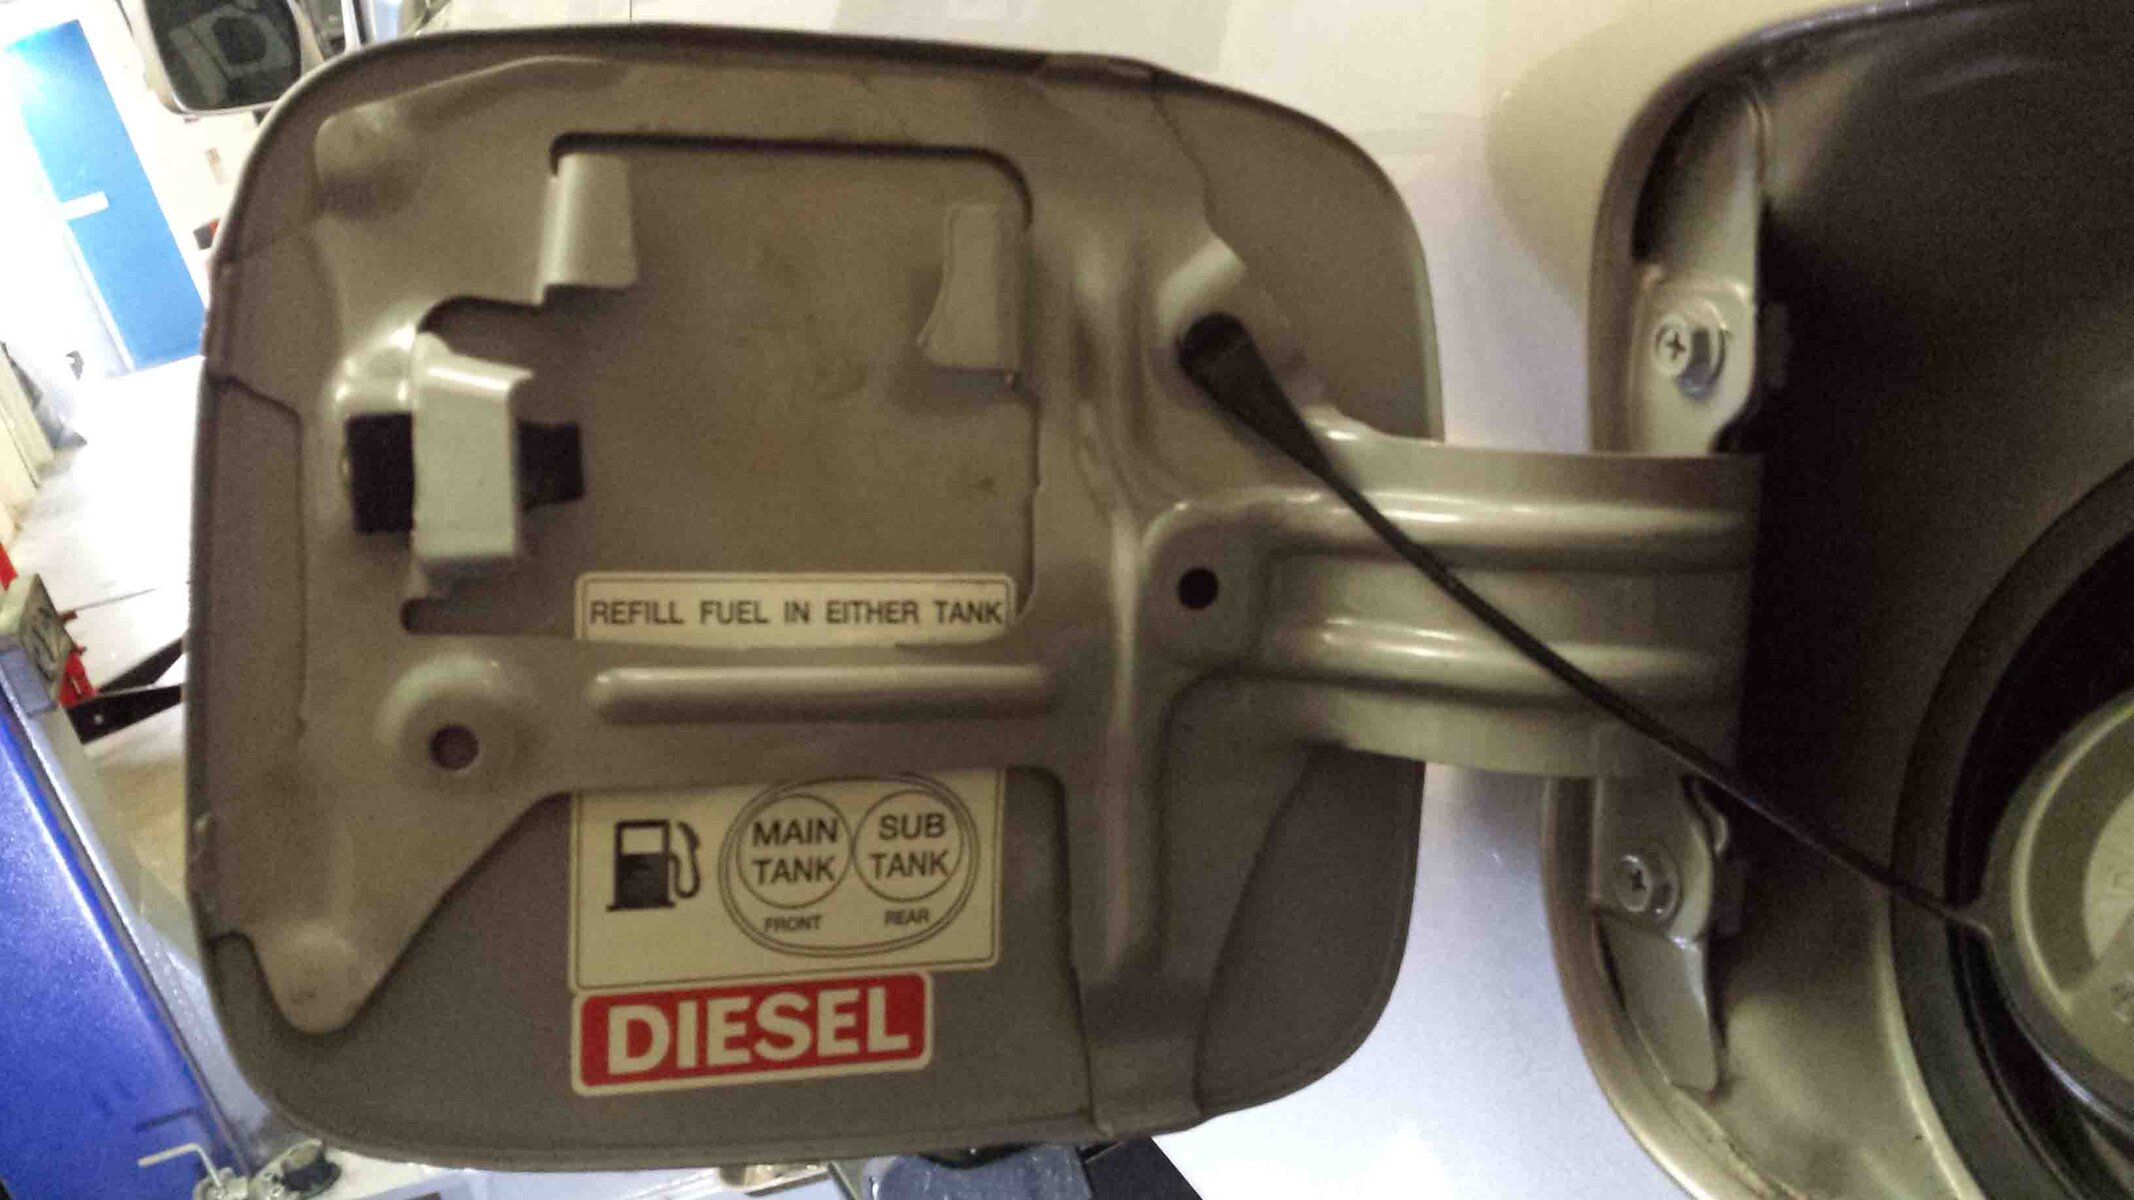
So the tank is going in - tight fit, and requires some fettling to get it in - nothing too serious. The tank has a diesel and a water section. The water tank is stainless and the diesel is aluminium over steel. But best to cover it in dinitrol whilst the surfaces can be accessed. The water tank will have a heating element inserted inside (trace heating cable) to protect it from frost when we're up in the Andes etc, and has been covered in heat reflective aluminium tape and tank wrap.

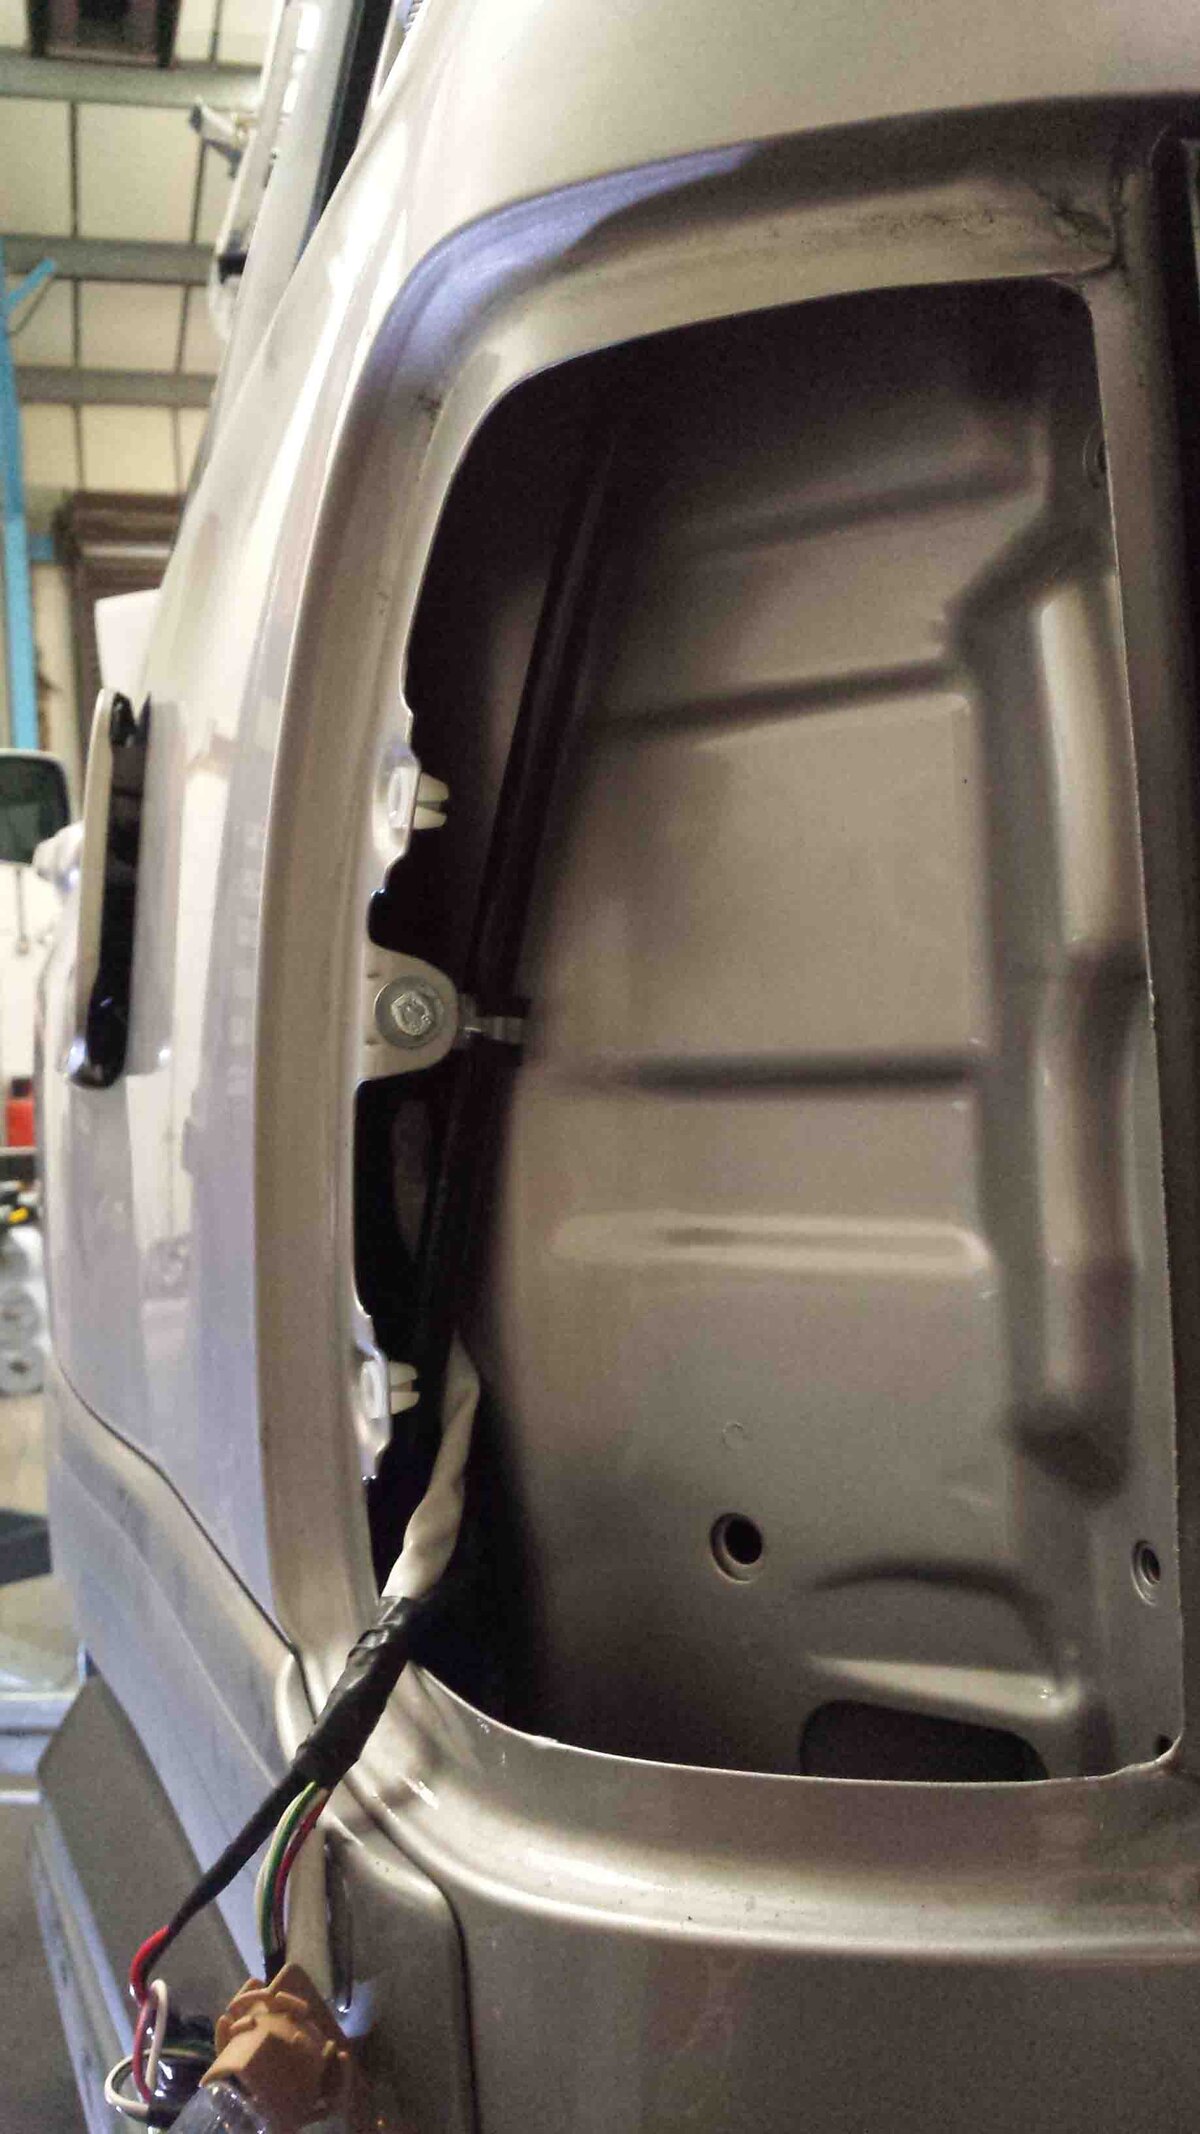
The water tank breather is to be taken into the car - so we can ford rivers at some depth. Next step is to connect up the fuel solenoids to switch between tanks and the gauges etc
20141008_165638 low res.jpg20141008_170828 low res.jpg20141008_170851 low res.jpg20141008_110249 low res.jpg20141008_110324 low res.jpg20141008_113726 low res.jpg
 
Strongly suggest that you do NOT put the breather inside the car. When you fill the tank from a hose, you'll blow water out the breather before it overflows the filler. Remember also the surge effect of the water slopping about whilst on a hill etc etc
My breather wound up with the fuel filler pipes as in your second to last pic. Fitted a 180 bend on the pipe so its pointing down for some 20mm at the top which keeps the dust out. Has an irrigation type inline filter on the end so it can breathe but nothing large (insects) can enter plus I can open it to check whats going on.

Been through a lot of deep river crossings with nothing noticeable entering the pipe.

Depends how long it is - how high it goes. Once inside the car it will be extended to near roof height up the D pillar.
 
Its also one more body penetration that may (read most likely will after a few thou corrugated miles) leak during river crossings...

Its always a good laugh here when someone gets stuck in a river and the car fills up with mud and water. Simply amazing how non water proof even recent model 4bys are.

I agree with the body penetration issue - but needs must. Have you seen how much water can find its way into the rear tailgate area under the carpet? seems to find its way via a convoluted route through the chassis pressing/rear boot floor. Anyway a bit of water doesn't worry me - I got webbed feet from when I had my Defender :). No car is totally sealed as they all have to breathe and equalise pressure
 
The tank is in and fully commissioned. Buying over 200 litres of diesel gave the bank manager a bit of a shock, and I learned that petrol station pumps stop before I could fill both tanks.

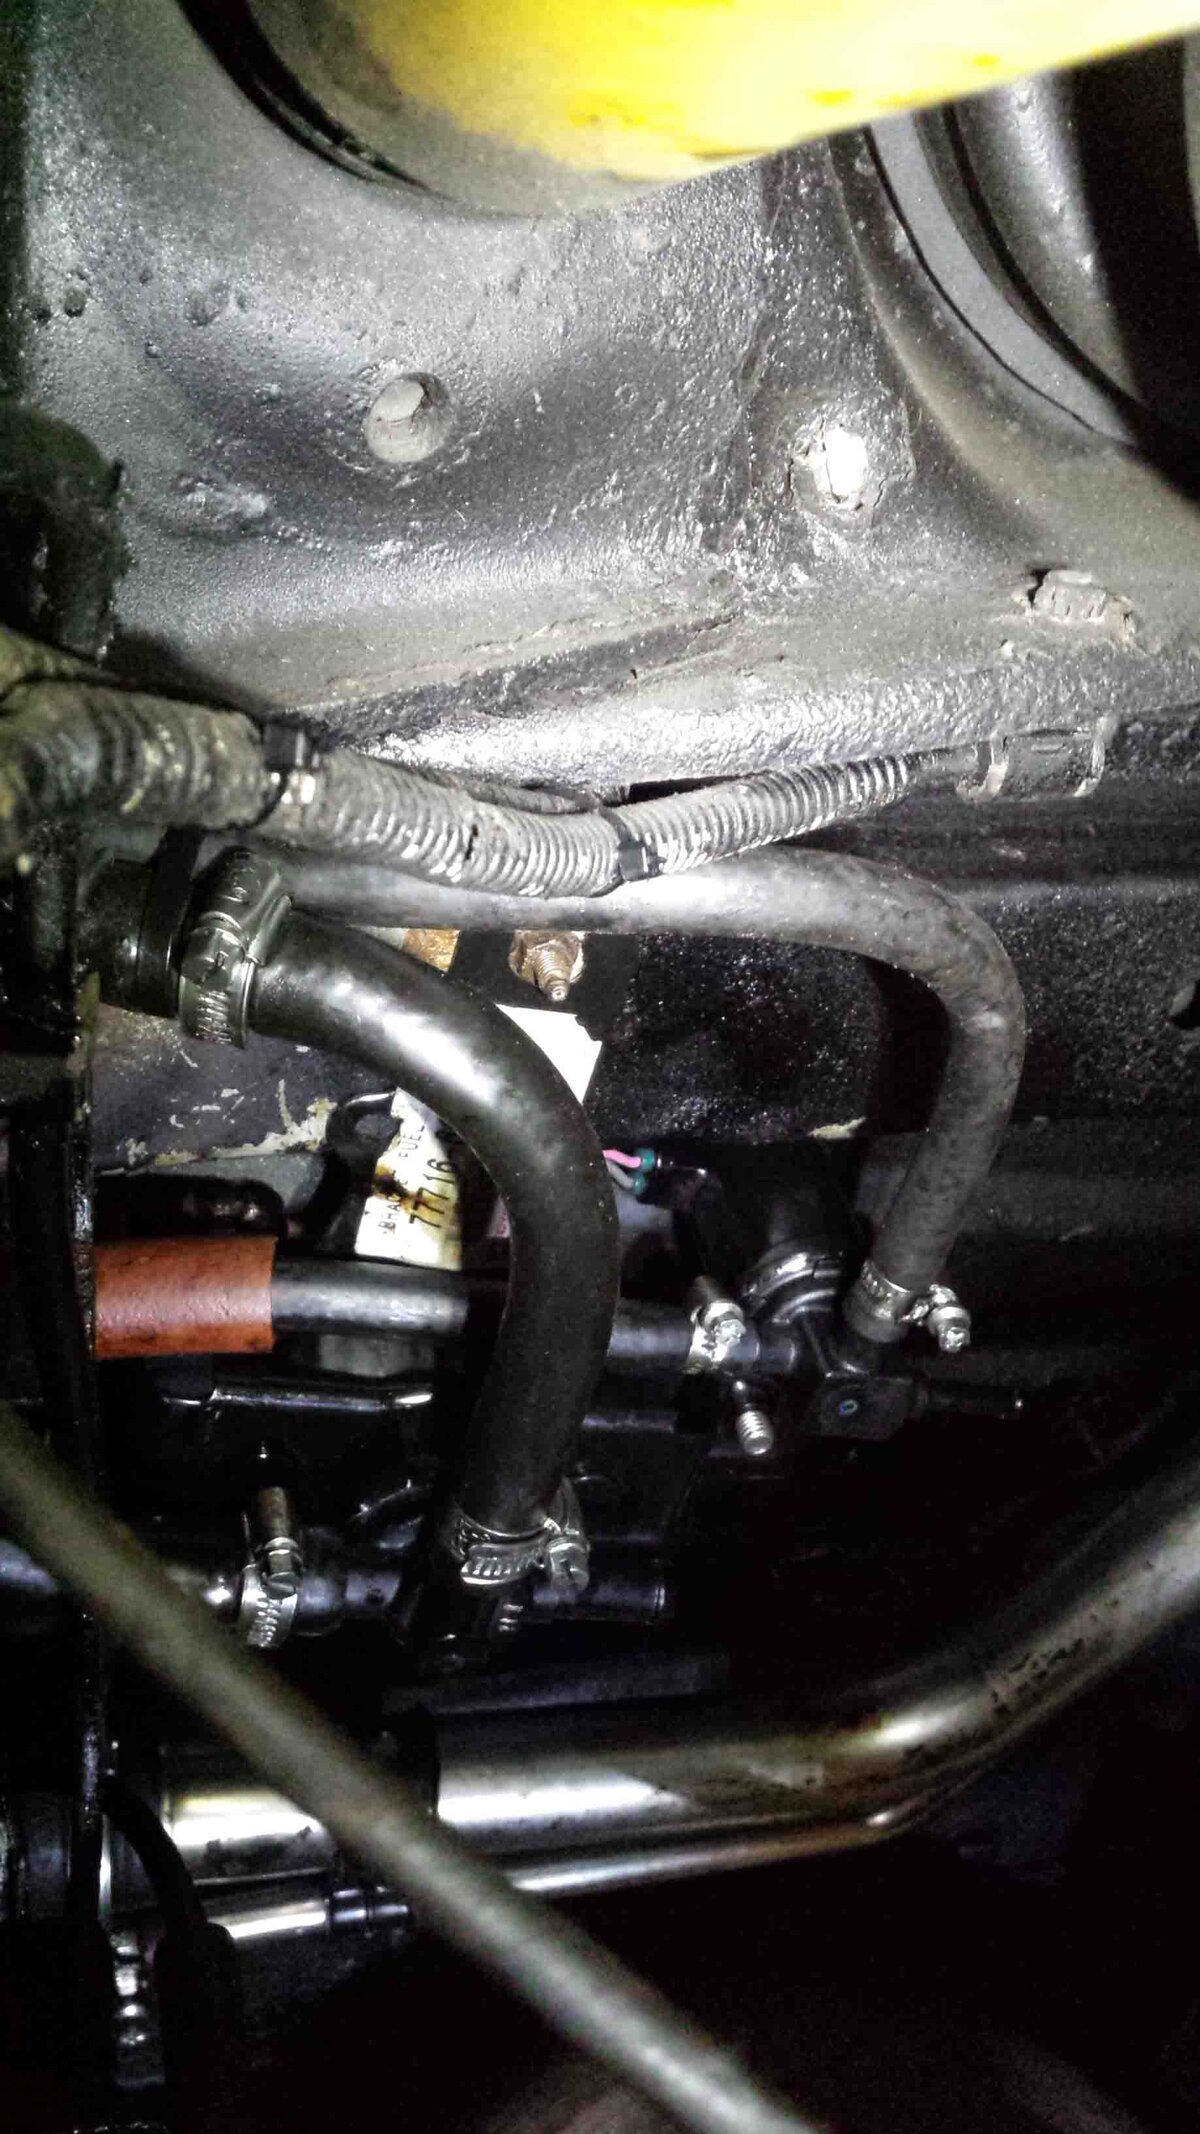
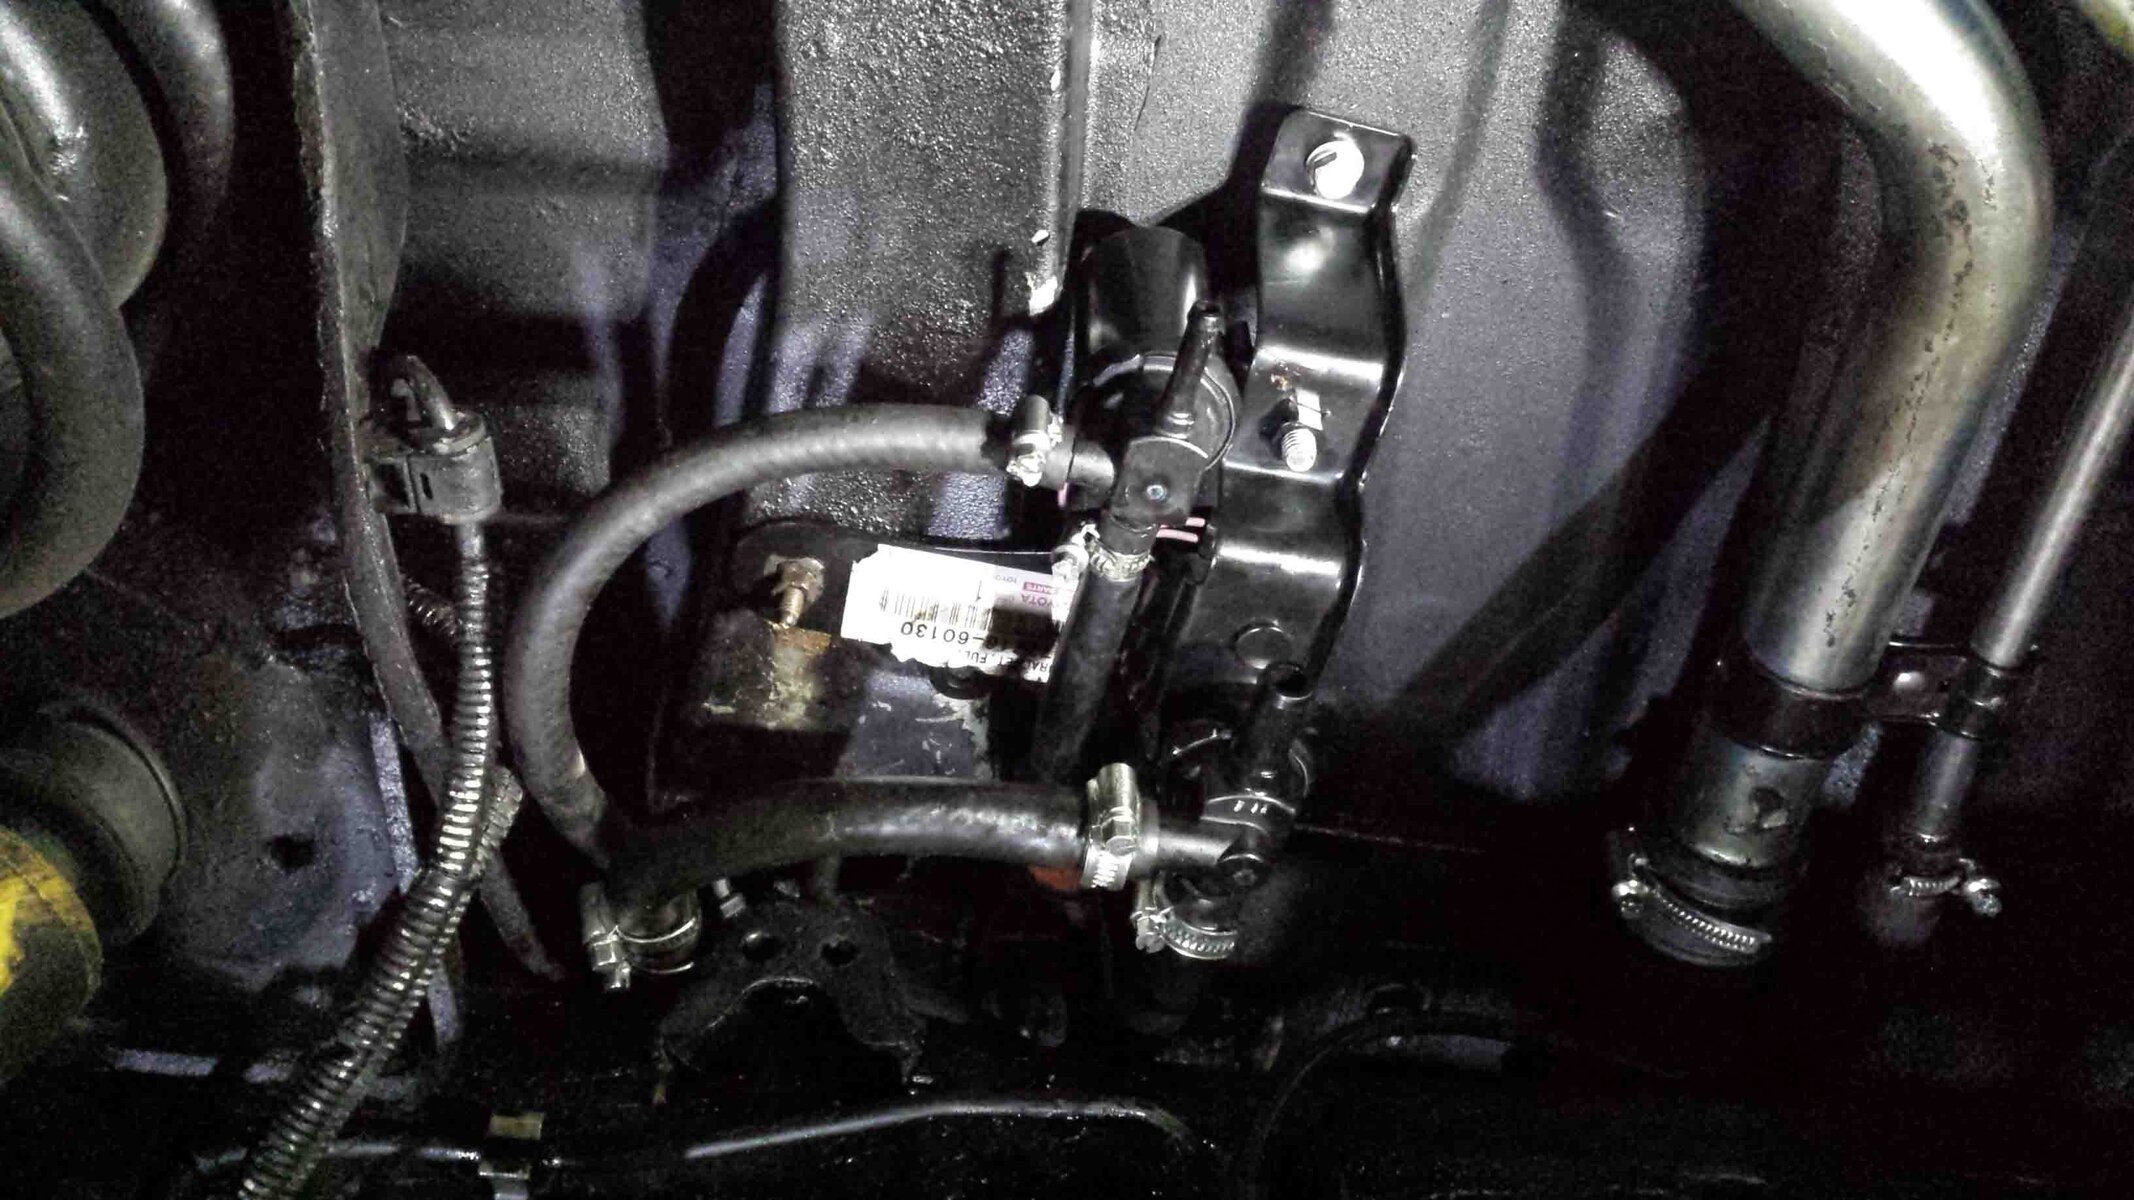
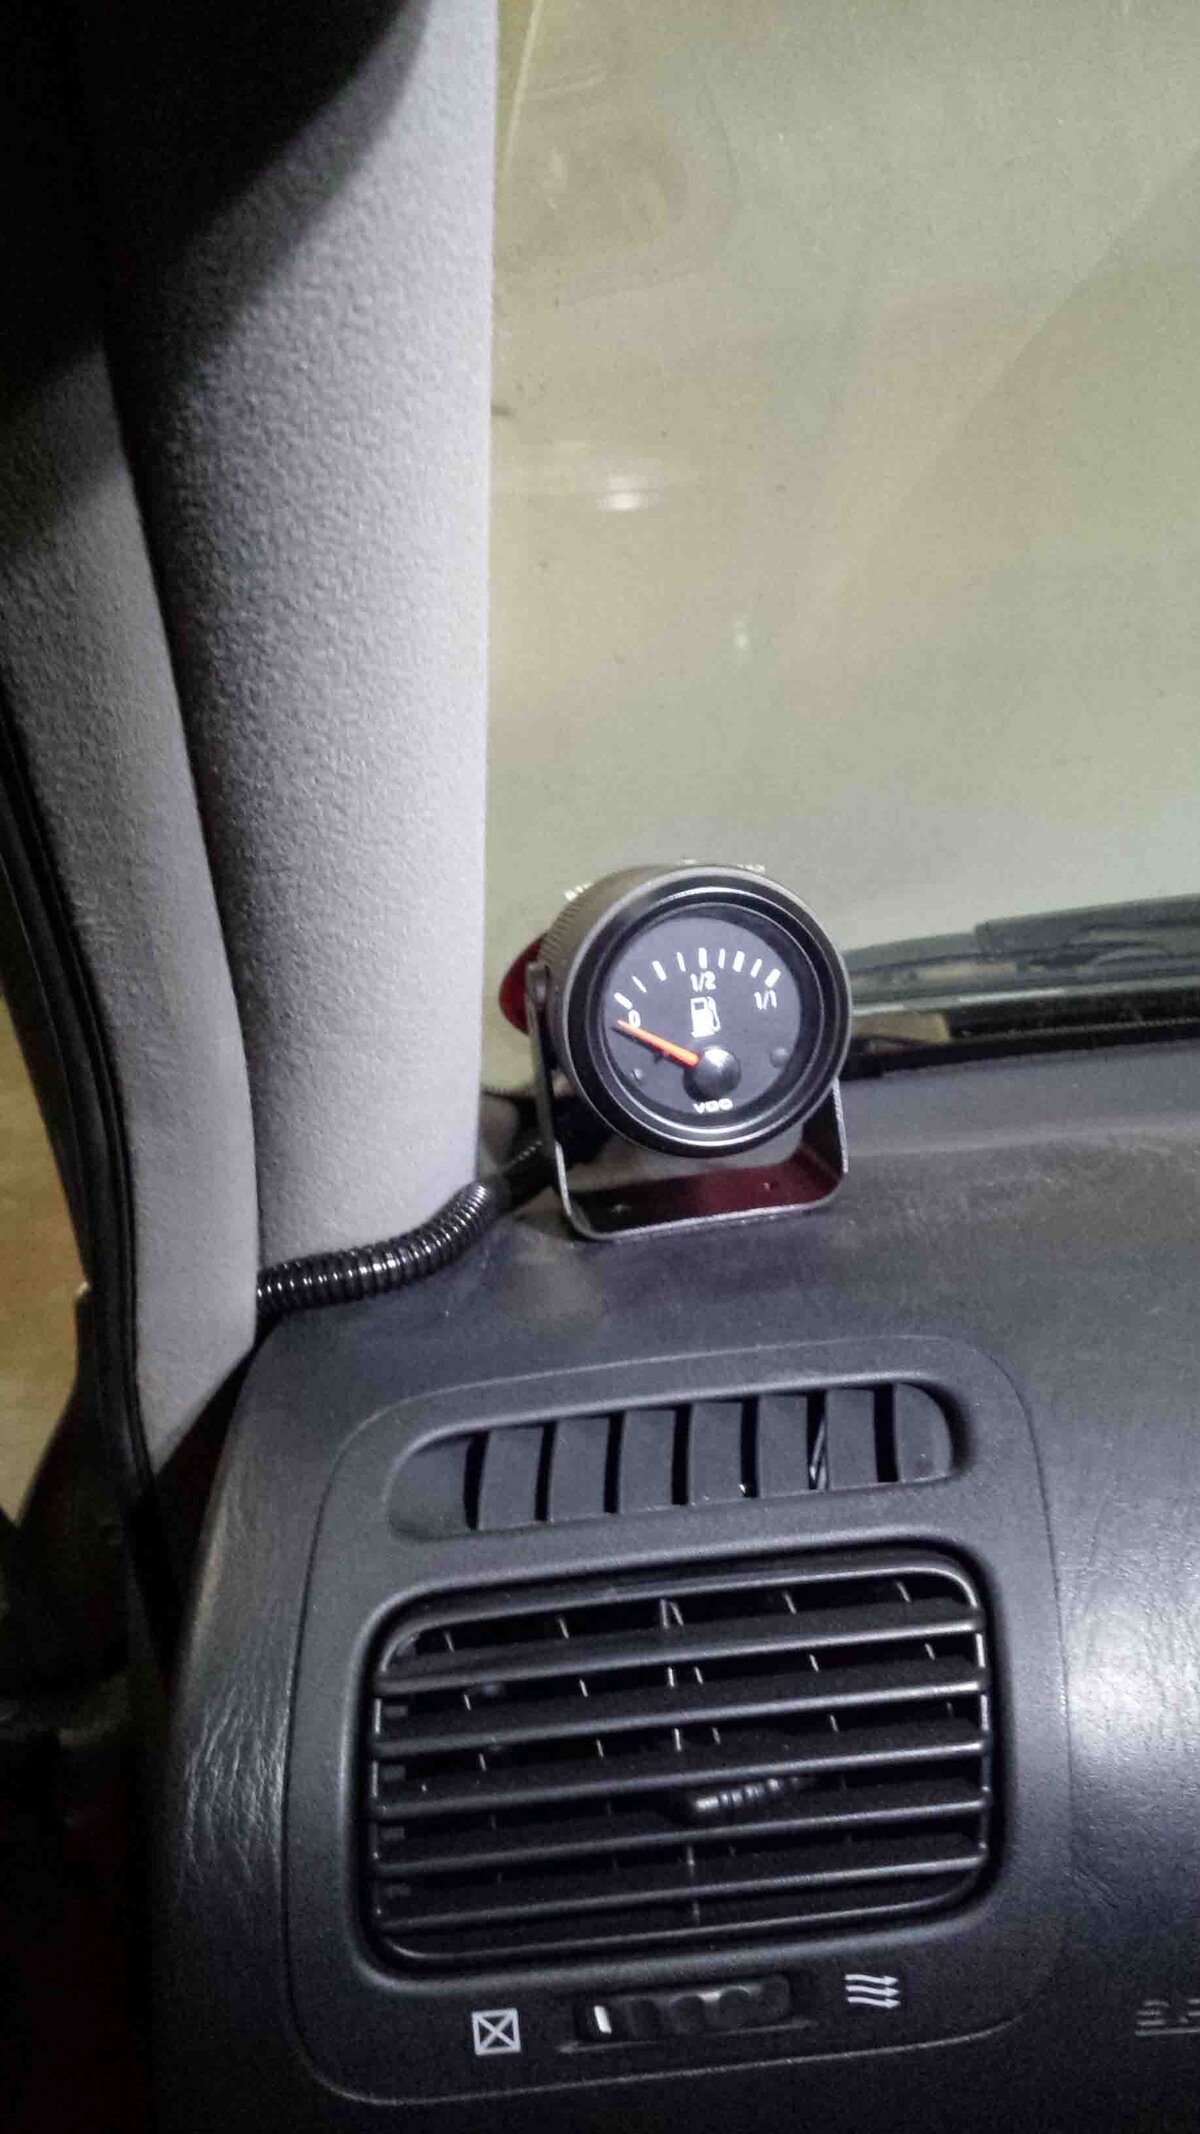
The tank is installed with dual change-over solenoids controlling the flow from either tank, operated from a carling switch on the centre console. The reserve tank fuel sender level needs a bit more fettling as it reads too high at 0 end.....

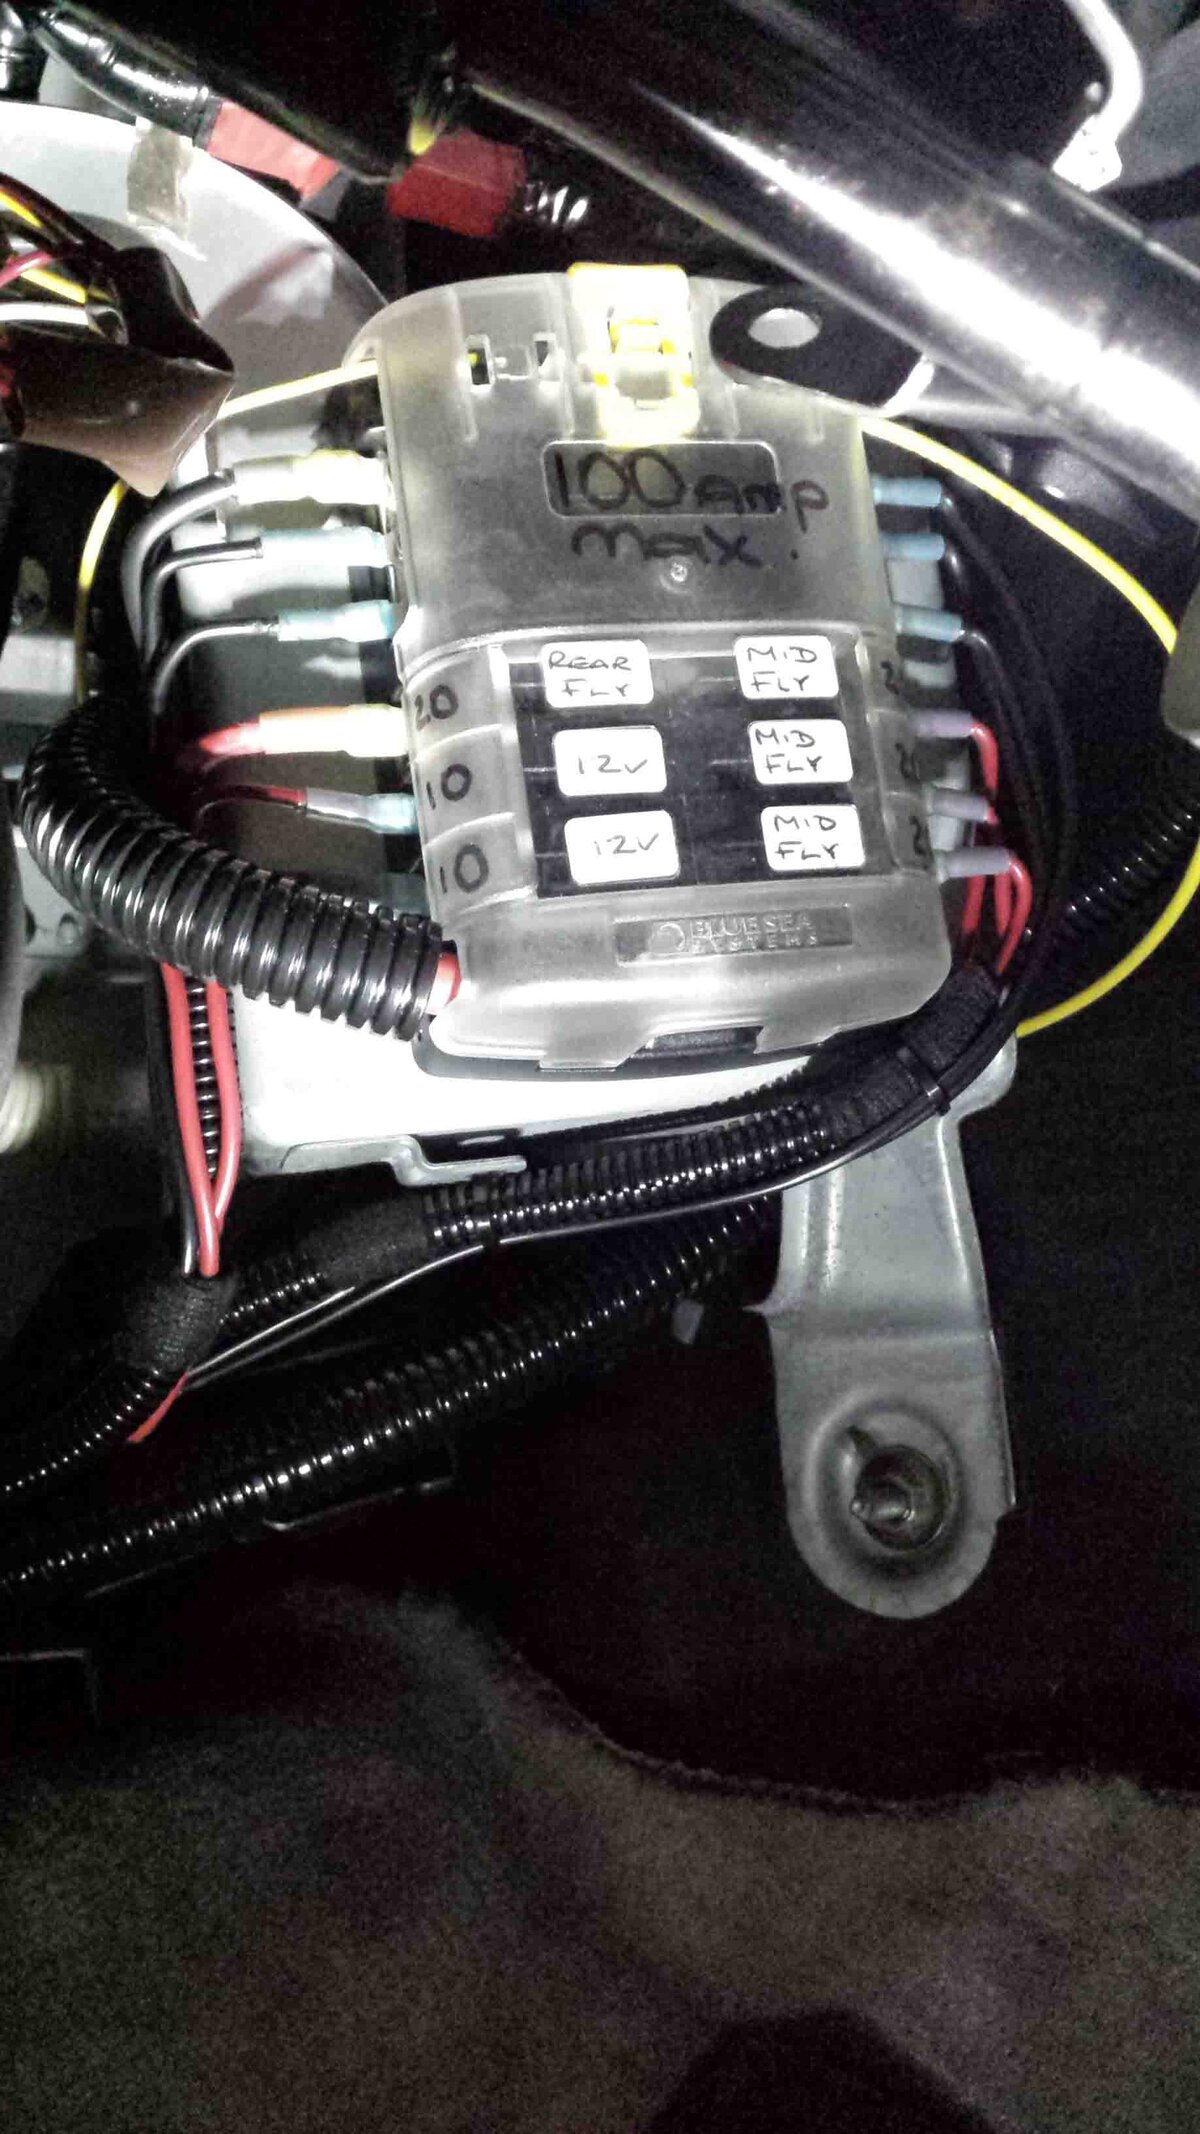
The second fuel gauge and the fuel tank system fuse are temporarily mounted until a permanent place is found.

The water system is not fully commissioned as I have to sort out the drinking water filtration system/pumps etc. Presently only the tank fill and breather are commissioned until I get the (General Ecology Seagull IV??) water filtration system in place. I am also conducting some experiments with trace heating elements/heat pads for the water tank defrost circuit.

20141017_112358 low res.jpg20141017_112303 low res.jpg20141017_114558 low res.jpg20141023_112046 low res.jpg
 
The carling switches are from front to back:

100A isolator/relay switch for blue sea fuse board
ARB front locker compressor ON/OFF
Reserve/Master tank solenoid change over switch

The small bulge coming out of the spare switch slot is the temporary fuse location. 3 permanent 12V/20A circuits (switched off the 100A relay) have been put in to power the fridge, mini freezer, hand tools (and a 12V hair dryer for the missus :) ), and to power the other 12V items (I don't like invertors). The normal 10A 12V circuits have been left in place for less demanding applications. Of the 3 new 20A circuits, one goes to the rear tailgate area (where there will be an Anderson connector on the rear drawer face, the other two go to a central area behind the centre console and will be for the fridges etc. All are on flying leads at present as I'm waiting to install the deck/floor where the rear seats were.

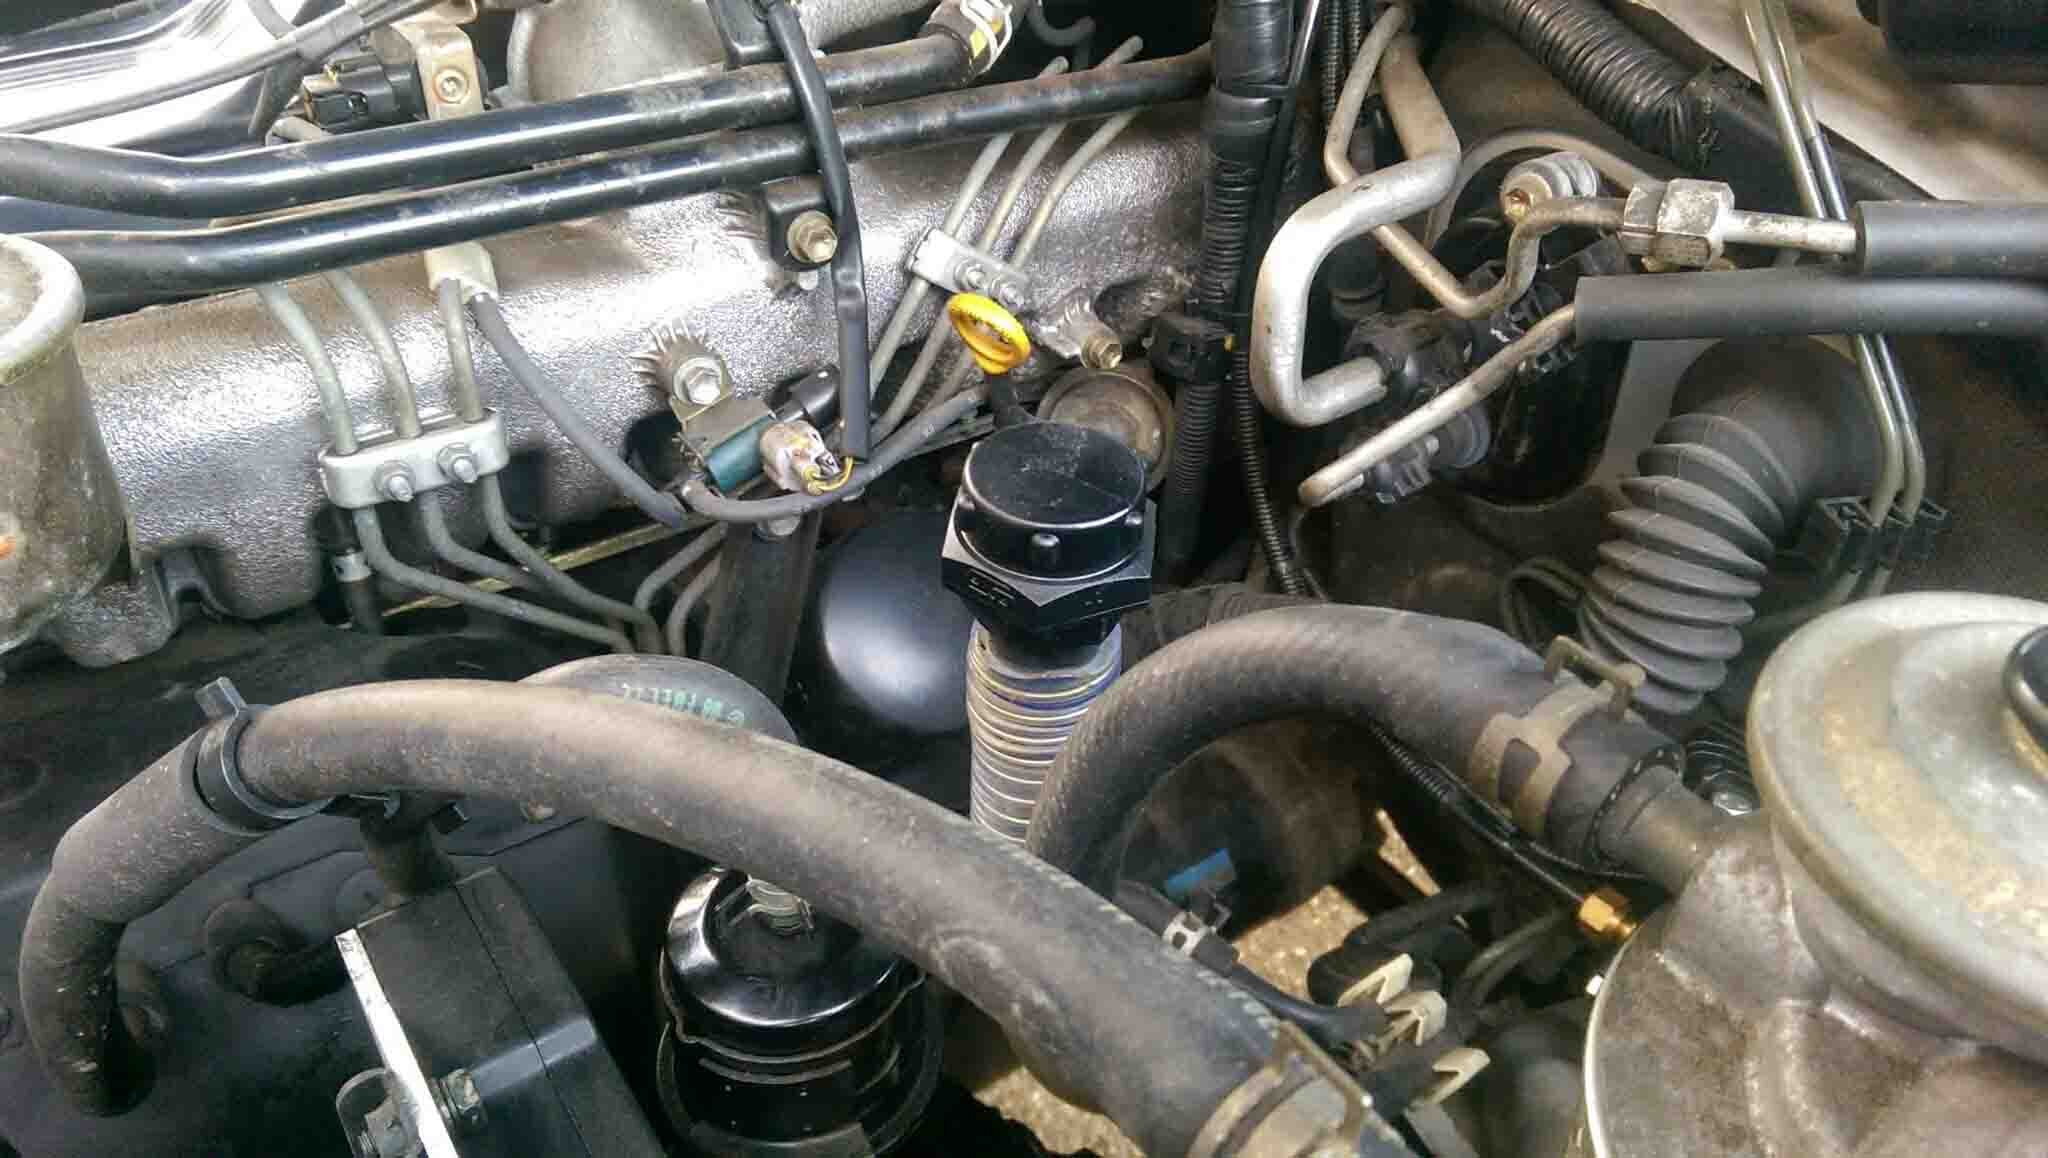
The last picture is of the water fill pipe in the engine compartment

20141029_142550 low res.jpg20141029_142646 low res.jpg20141029_142736 low res.jpgIMAG1431 low res.jpg
 
So now that the internal flooring is about to be fabricated up (the CAD has been done and waiting for quotes) I can get the 'mattress' materials together.

I've ordered the 'firm' grade foam at their recommendation from here 75x1400x2000mm

http://www.efoam.co.uk/?FoamCutToSh...1&thickness=70&length=2000&width=1400&meas=mm


And some green cotton canvas covering from here 1.5m wide

http://www.ebay.co.uk/itm/Cotton-Canvas-Fabric-Forest-Green-100cm-x-150cm-New-by-Dcf-/310686767809

The other half is going to dust down the Singer out of the loft and run up the covers to go over the foam. The foam mattress will be cut into an L shape around the mounted Waeco fridge. At this point I'm not sure whether I will keep the mattress permanently in place or when not in use to some how strap up to the ceiling to help stop it getting damaged. Will need to have some practice runs when everything is in place.
 
The mattress cover fabric has arrived promptly. It is pretty similar to my Hannibal mattress in the RTT

IMG_1367 low res.jpg


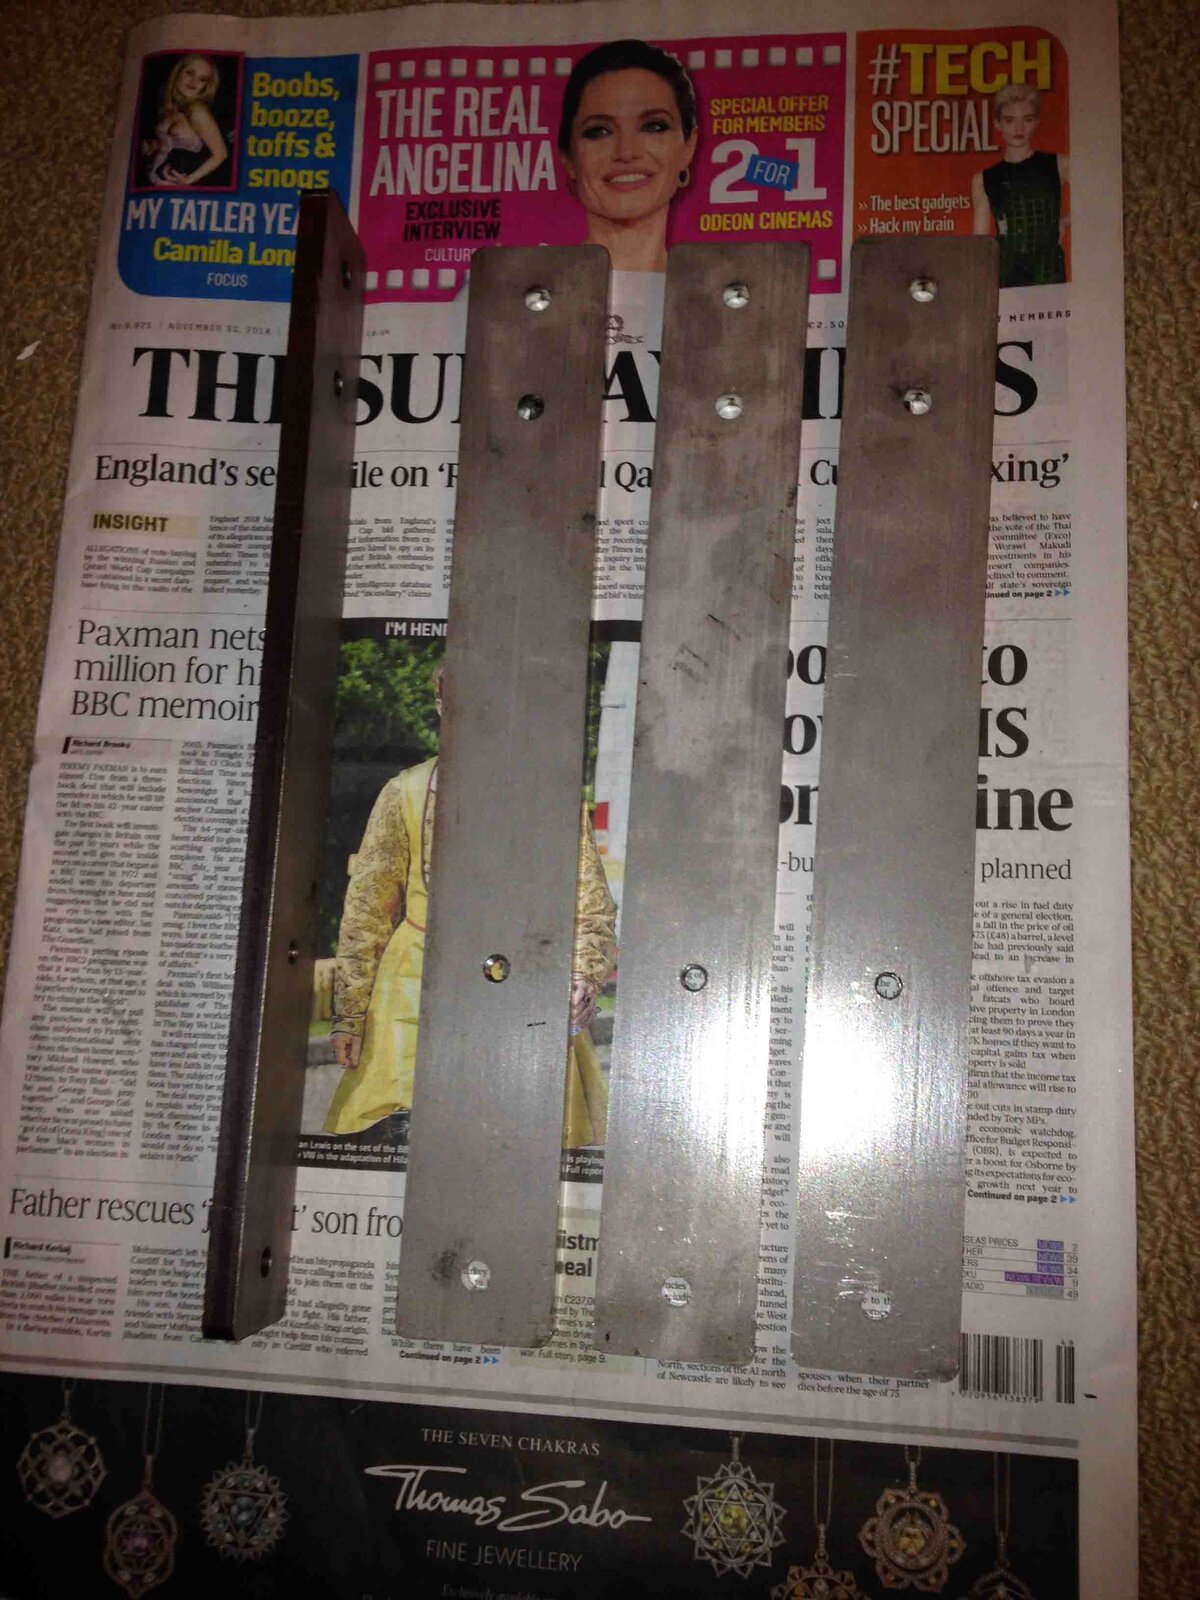
And the roof tent mounting plates have arrived. These are a bit of an experiment. The idea is that they stay mounted on the tent base when the tent is taken off and allow the tent to be bolted into place without getting inside the tent and messing with bolts while it is precariously sat on the rack. The tent mounting plate bolts are on the outside and will use the C-shaped bolt retaining channel on the Hannibal rack to retain them and allow the tent to be positioned along the rack. I intend to remove the tent when containerised and when not in use (I can use the internal platform for the occasional day out) and did not want to be messing about too much on the docks when the container is being un-stuffed. Also standard height shipping containers (not hi-cube) have 2.38m high door opening. With the tent on the rack it will not fit (I know that I just scrape the roof on 2m car-parks and therefore this will be tight/impossible and therefore if I take the RTT off then I can save a bit of cost by not needing a hi-cube

They are made from 10mm laser cut stainless

IMG_1366 low res.jpg
 
The foam for the mattress has arrived. Just waiting for the deck floor to be fabricated (it sits where the 60% centre seats were) so I can then position the fridge and then cut around the foam to make a mattress tailored to the space available

IMG_1373 low res.jpg
 
Back
Top