Don't like the adverts?  Click here to remove them

LJ70 Build Thread!

Brilliant Ben, no other way to describe what you’ve achieved.

Love the color BTW... :thumbup:
 
Thanks Clive. :thumbup:

Its my favorite colour that they offer the new 70's in!

But its not that popular for some reason. :icon-rolleyes:

I get why white is the most popular colour, its a hot country and it makes sense. :flags-australia:

The silver and grey are also very popular and I get that, their probably my second 2 favorites after the blue. :clap:

I even get the sandy taupe colour, thats also nice and looks very retro. :icon-cool:

But what I really dont get is how popular that maroon red is! :puke-front:

For some reason thats more popular than the blue! :crazy:

Anyway, rant over, back to the build! :lol:


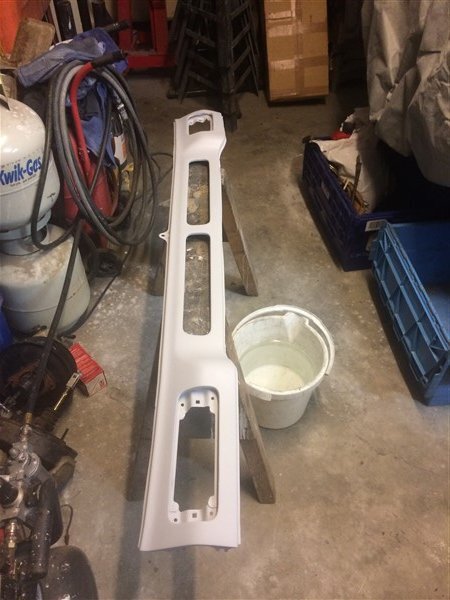
My next job was to sort out all the panels for the front end, as well as the windscreen surround.

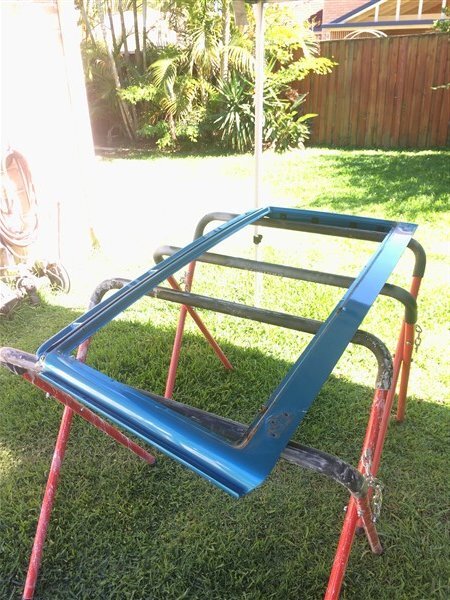
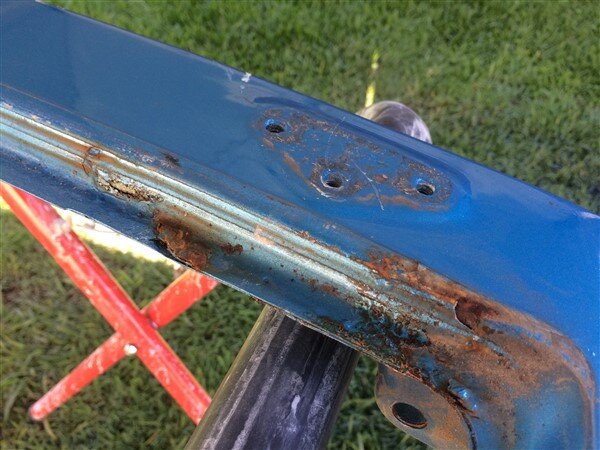
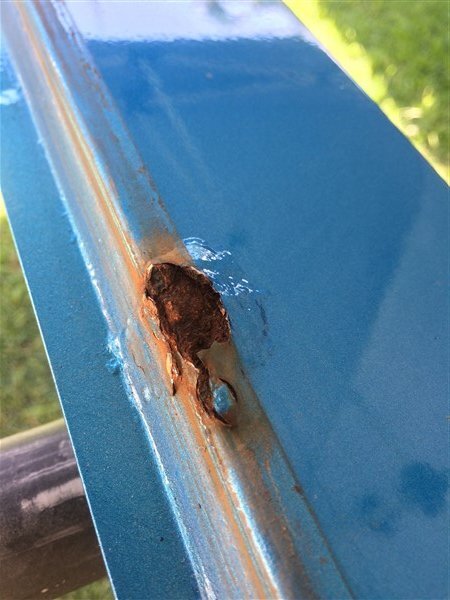
The OEM windscreen surround that came on the body had a couple of rust bubbles showing through so I had already prepared myself for the worst.

I removed the screen and like the one in the 78, managed to crack it in the process. :doh:

Luckily my car insurance let me have 1 free screen per vehicle per year. :shifty:

IMG_4782.jpg

IMG_4784.jpg

IMG_4786.jpg

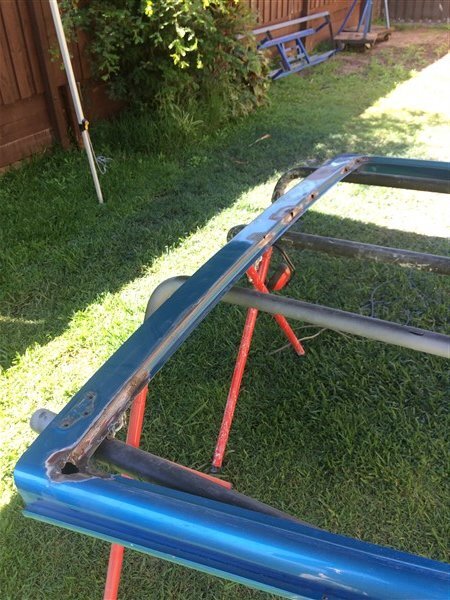
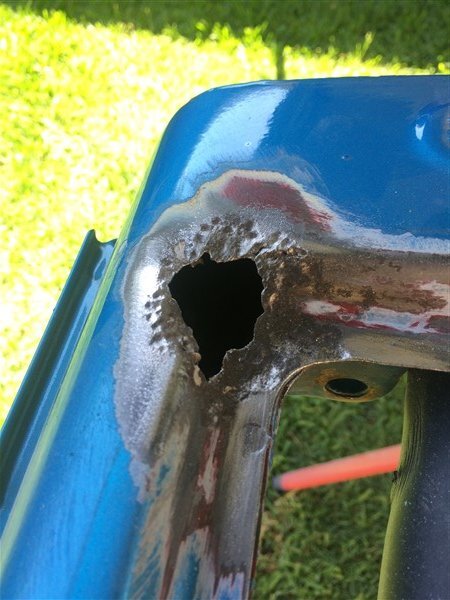
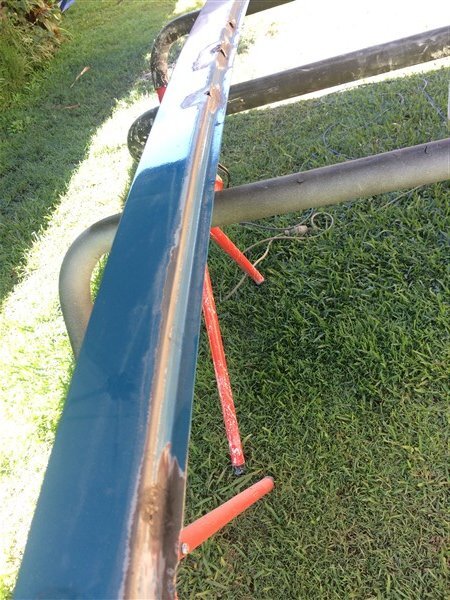
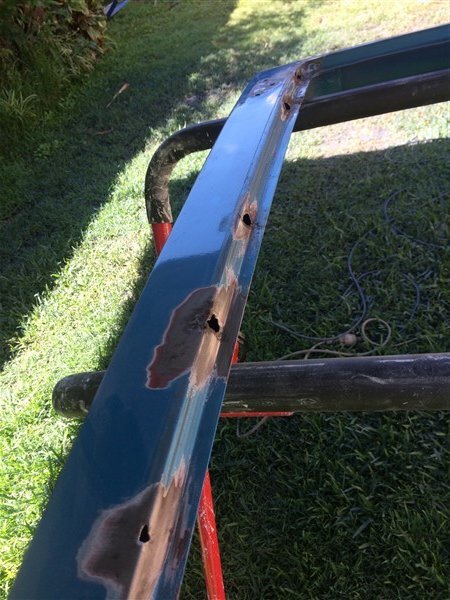
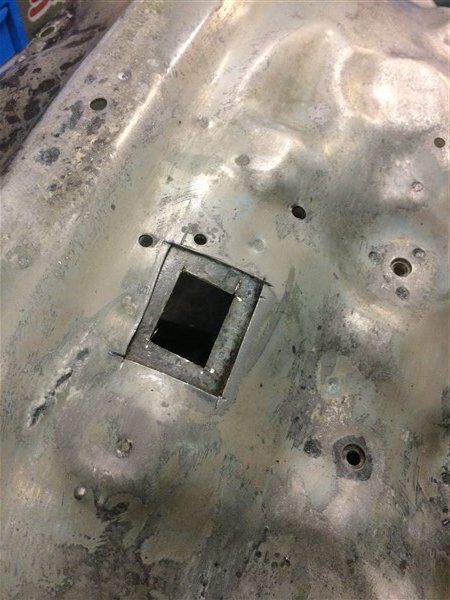
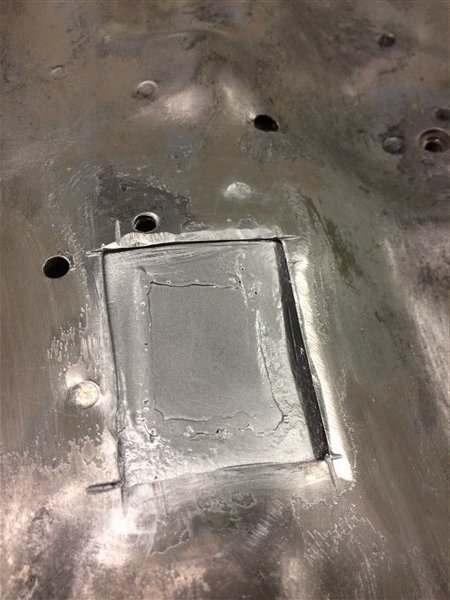
After hitting it with a wire wheel in the grinder, which revealed the previous previous owner had been up to his old tricks of filling straight over rot holes.

It looked like this.

IMG_4787.jpg

IMG_4789.jpg

IMG_4791.jpg

IMG_4791.jpg

IMG_4793.jpg

I've still not entirely decided what to do with it, I have 3 options.

1. Fix it up, paint it and use it.
2. Use the spare fibreglass one that came with the body.
3. Source a new OEM metal one.

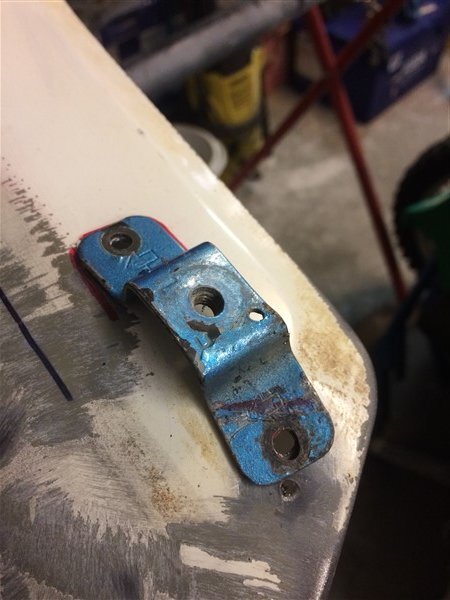
I'm swinging more towards option one as then I will still have the soft top channel that is spot welded to the top of this original soft top windscreen surround. The fiberglass one doesnt have it as its a 75 series one which is an identical screen surround apart from they dont have the soft top channel spot welded to the top.

I could drill all the spot welds out and try and attach it to the fiberglass one some how, but to run the fiberglass one technically, it would need to be signed off by an engineer to say its safe and road worthy as that is the only way you're legally allowed to replace any body panels with fiberglass ones.

A new OEM one would be nice but their $600+ and I would still have to spot weld the soft top channel to the top. :think:

Anyway................
That is all on hold for the moment as I figured that can be sorted out later, when were back in Melbourne if need be. :shifty:

So for now I need to concentrate on getting all the front end repaired, painted and fitted. :icon-biggrin:

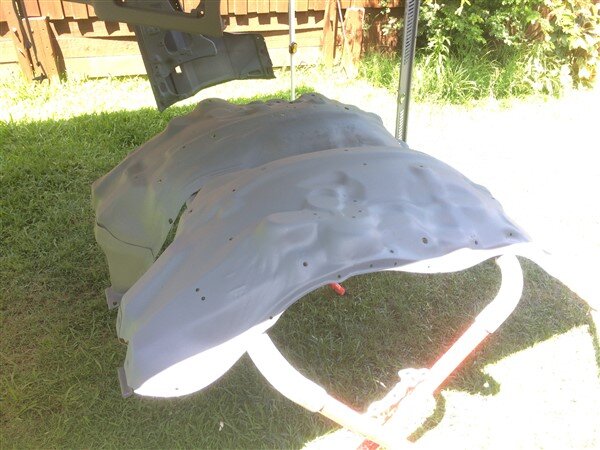
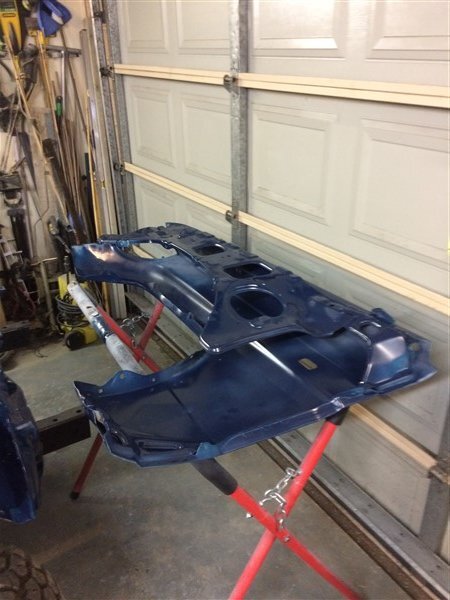
I cleaned the inner arches up with a wire wheel in the grinder and sprayed them with rust convertor.

IMG_4794.jpg

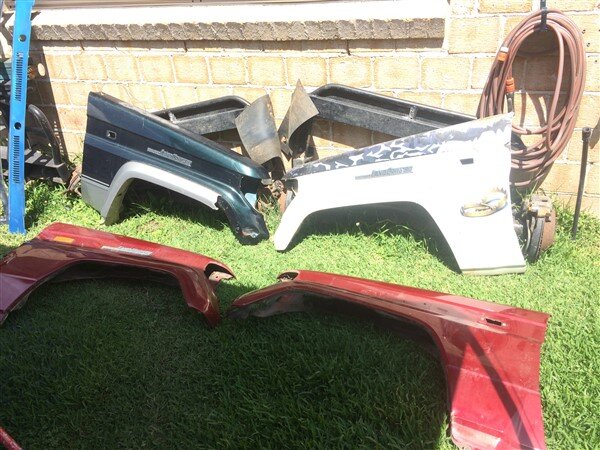
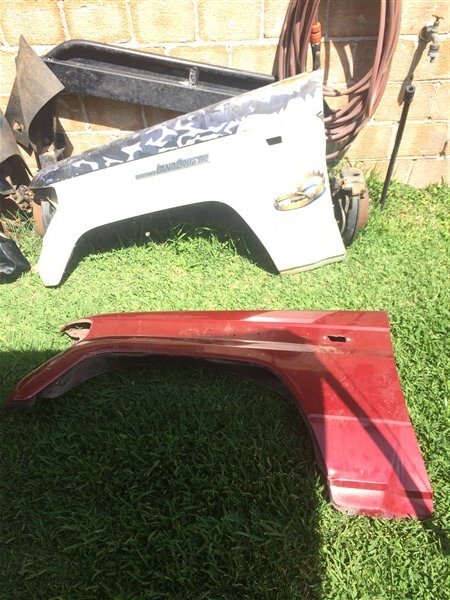
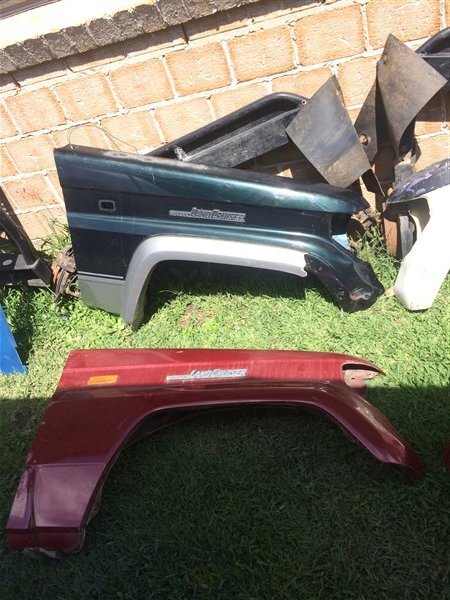
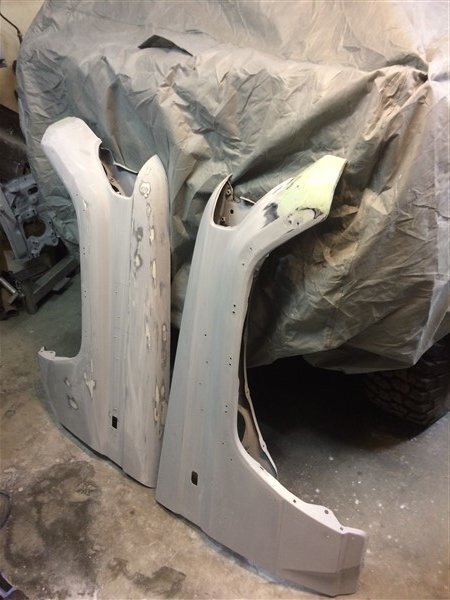
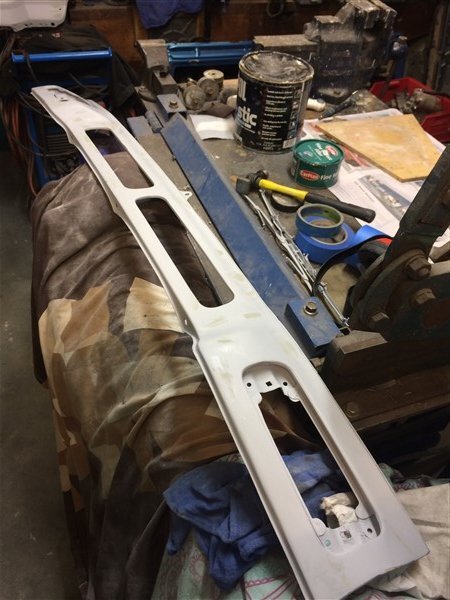
And then got all of my front guards/wings out so I could select the best.

Sadly non of them were perfect and they all had damage in different spots, so it was a case of choosing what I thought would be the easiest to repair and would come out the best.

IMG_4795.jpg

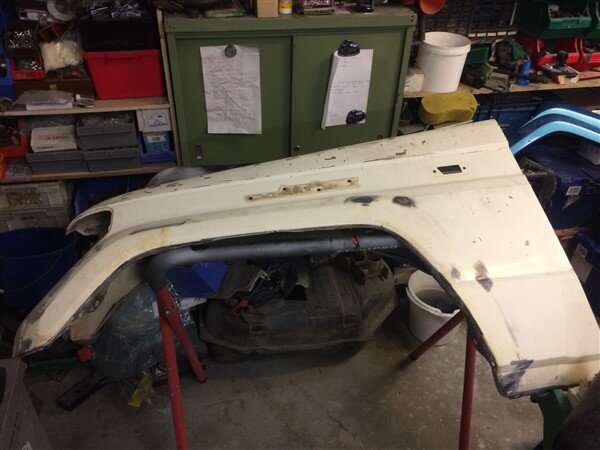
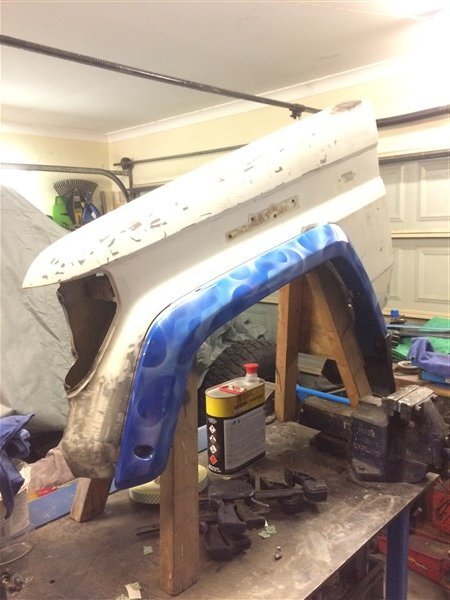
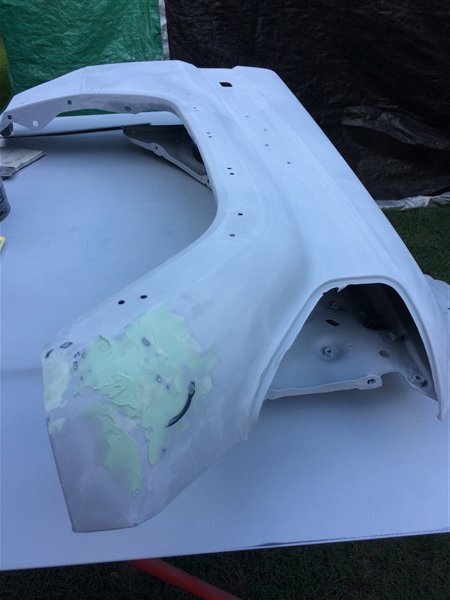
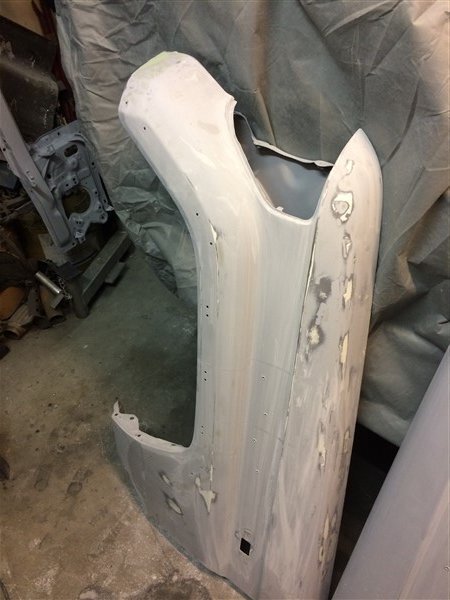
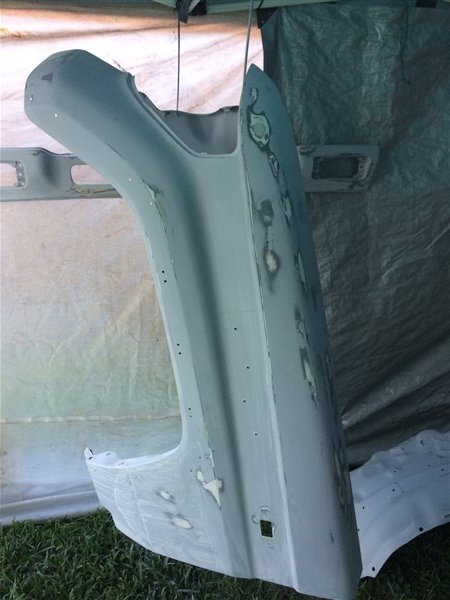
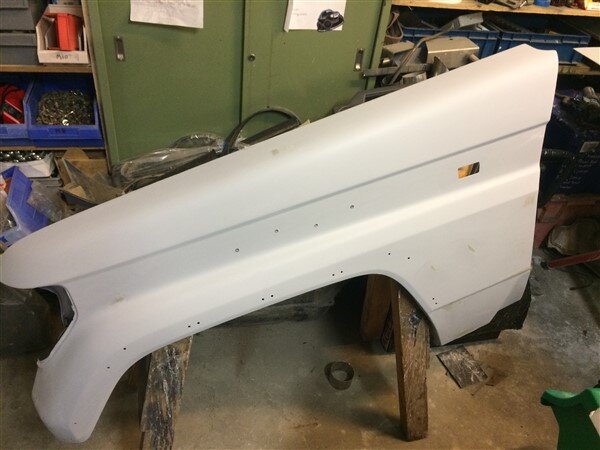
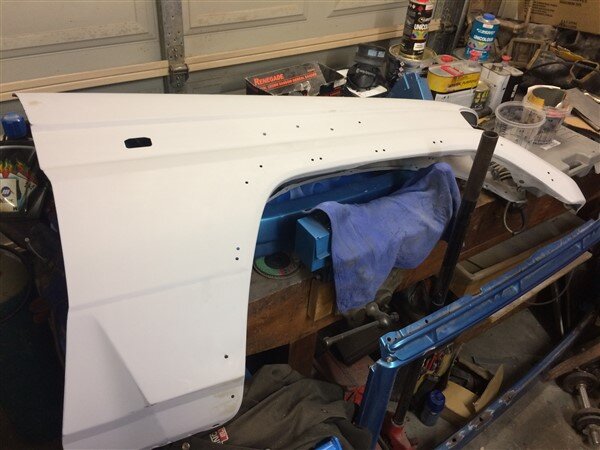
On the passenger side I went for the white LJ70 guard that came off a fire damaged vehicle and had old vinyl wrap/graphics along the top.

Because it was pretty straight and dent free, unlike the red one which had a lot of filler right on the very front corner.

IMG_4797.jpg

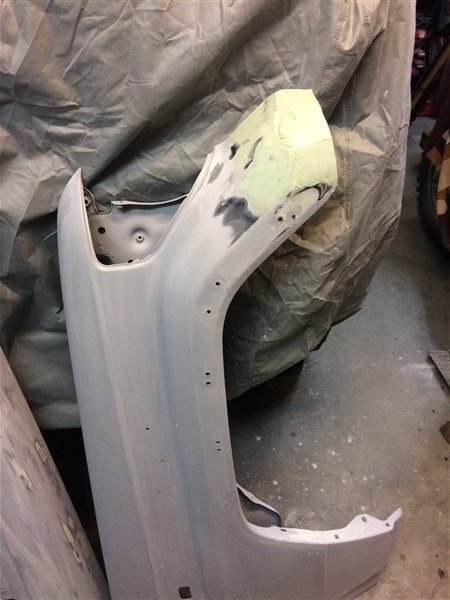
On the drivers side I went for the slightly damaged KZJ78 one as although the front corner was badly damaged, I decided it would be a lot easier to repair than the nasty crease along the door edge on the red one, which I couldnt seem to hammer out as I couldnt get any tools into it.

IMG_4799.jpg

The other advantage of the KZJ one was it already had all the holes/brackets for the flares.

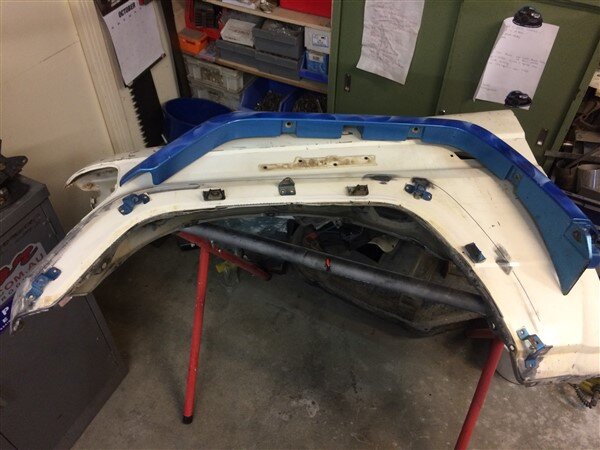
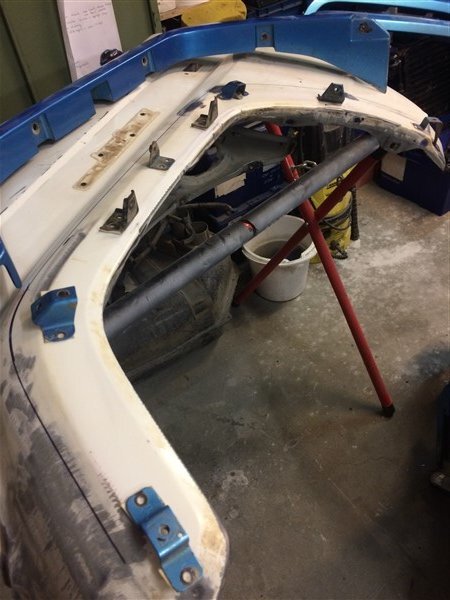
The white passenger side didnt, so my next job, after removing all the old burnt stickers, was to drill all the holes for the brackets.

IMG_4801.jpg

IMG_4802.jpg

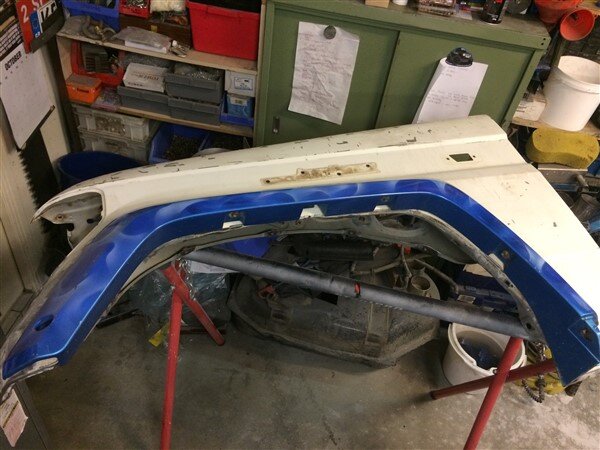
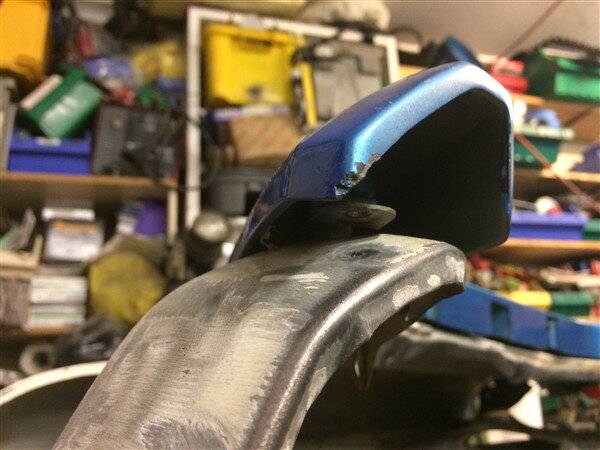
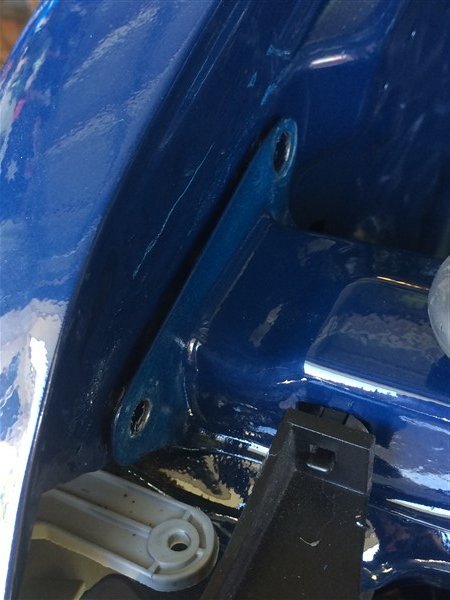
I discovered that the earlier round headlight front end flares (which these are) are different to the square headlight front end, which I'm fitting. :doh:

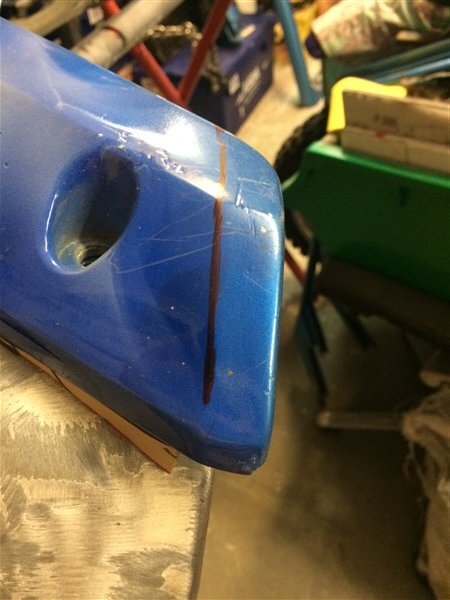
Not only do they hang below the guard, they also dont meet it properly right at the very front.

IMG_4803.jpg

So I will have to get some fiberglass and modify them slightly.

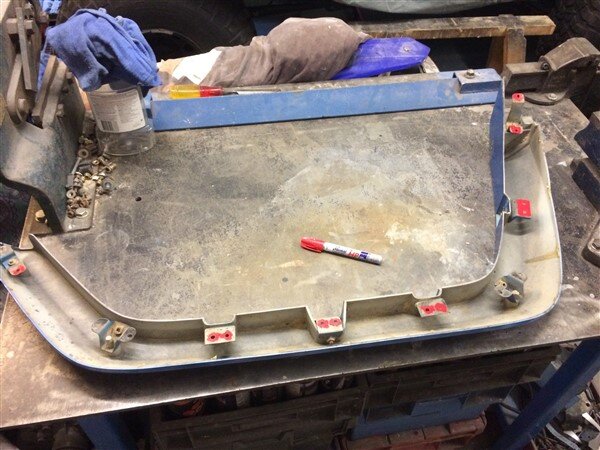
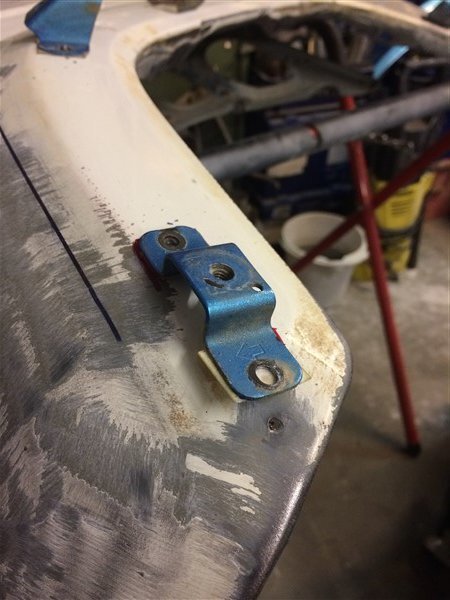
I needed to mark where all the bracket mounting holes needed to go.

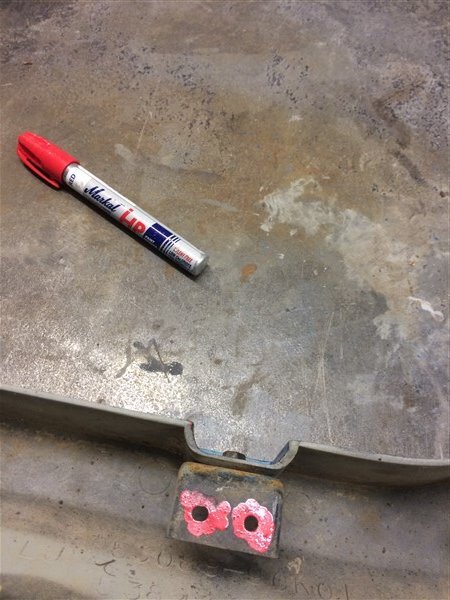
So I thought I could put a good coat of paint on the brackets with a paint pen, then hold the flare in place and apply some pressure to leave marks on the guard. :think:

IMG_4804.jpg

IMG_4805.jpg

That didnt really work, but then I had a much better idea! :dance:

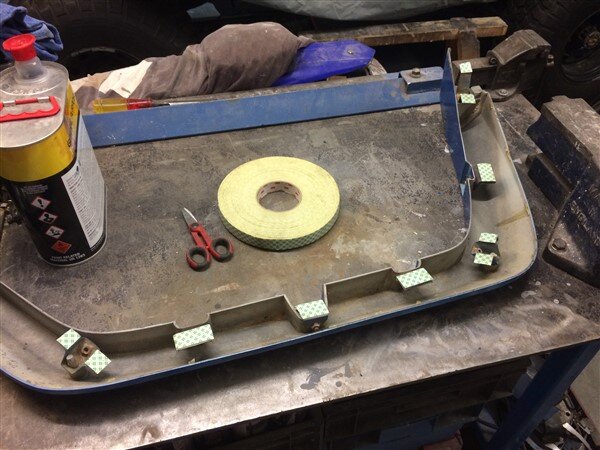
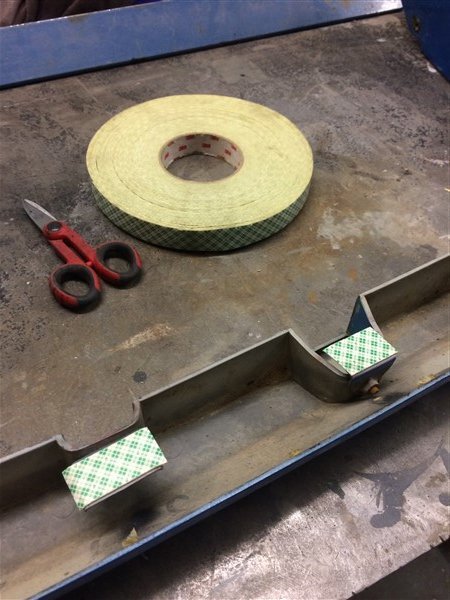
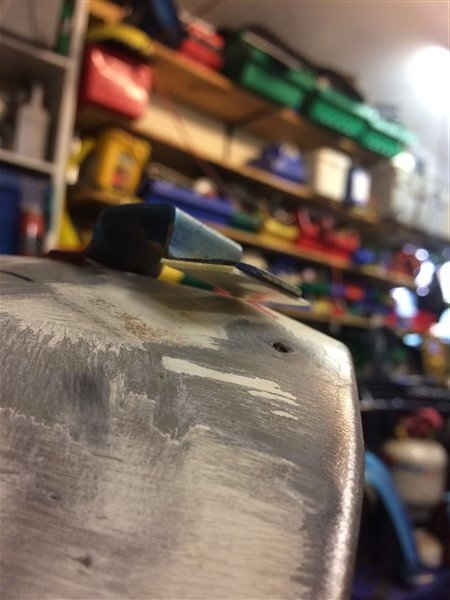
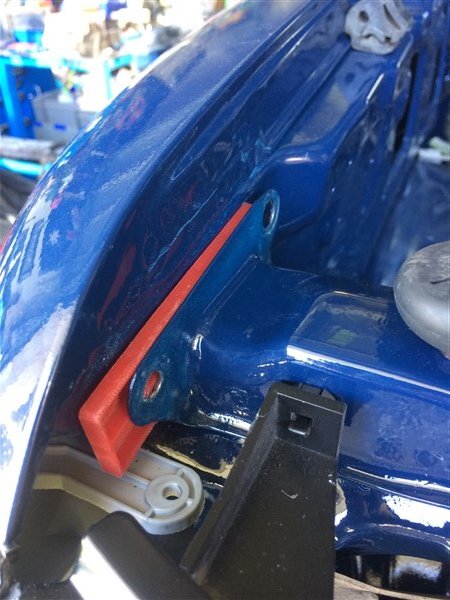
I applied double sided tape to all the brackets.


IMG_4806.jpg

IMG_4807.jpg

Then pushed the flare in place and applied some pressure.

And the flare stayed in position.

IMG_4808.jpg

Then I could carefully unbolt the flare, leaving all the brackets stuck perfectly in position. :dance:

IMG_4810.jpg

IMG_4811.jpg

I could then drill through the brackets and through the guard, ready for riveting them on later, after paint. :icon-biggrin:

IMG_4813.jpg

This very front bracket needed some slight adjustment, as its obviously not meant for this guard.

IMG_4814.jpg

That was soon bent and the second hole drilled.

IMG_4818.jpg

I made a cardboard template of exactly how much fiberglass I needed to extend the front of the flares by.

IMG_4815.jpg

IMG_4816.jpg

I also marked how much needs trimming off them.

IMG_4817.jpg

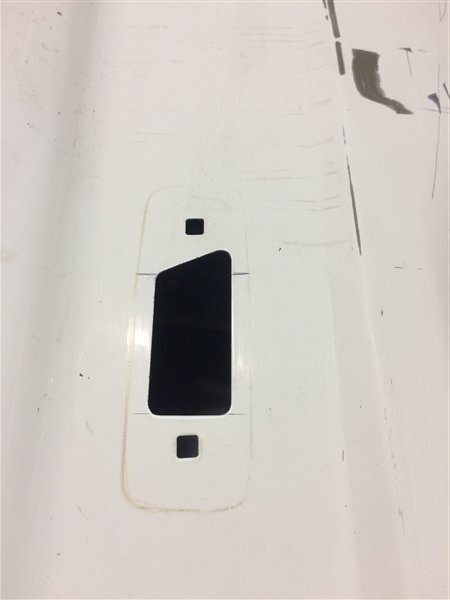
The KZJ78 guard had the perfect cut out in it for the side repeater, but the passenger side needed to be adjusted slightly.

IMG_4820.jpg

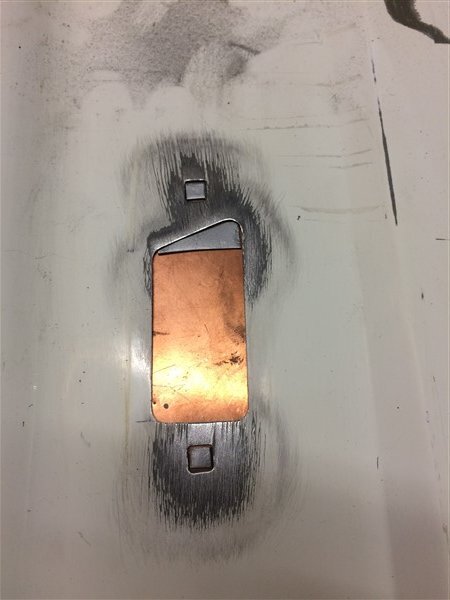
Put a strip of copper underneath it and cut some little piece of metal to weld in.

IMG_4822.jpg

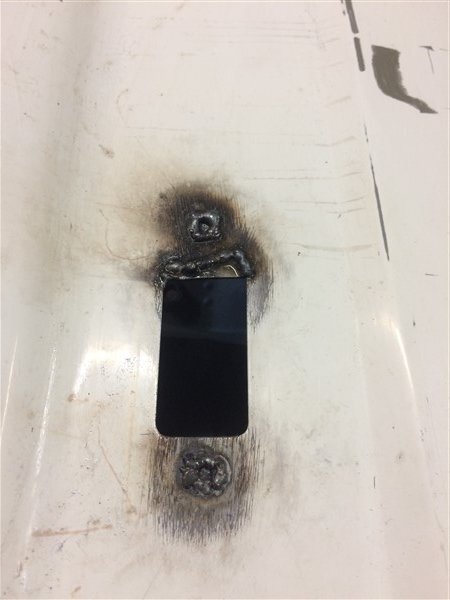
And welded them in.

IMG_4823.jpg

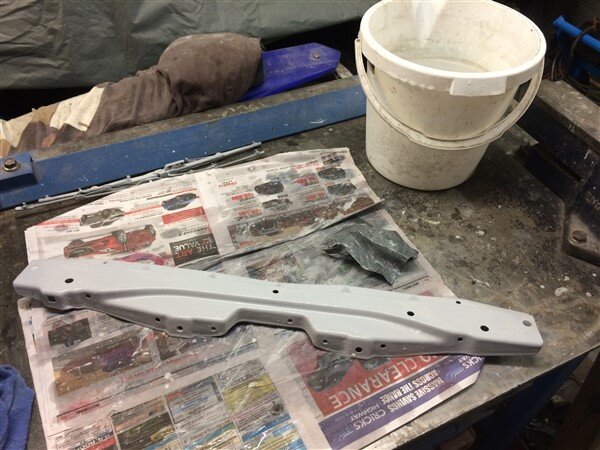
After grinding the welds down and giving all the panels a good sand it was time to get a coat of acid etch primer on them.

IMG_4825.jpg

IMG_4827.jpg

But first I just needed to repair one little rot hole in the drivers side inner arch.

IMG_4828.jpg

Cut out the rot in both layers.

IMG_4829.jpg

Welded the bottom layer in, smoothed the welds down and gave it a coat of the zinc weld through paint.

IMG_4830.jpg

Then welded the top section in and ground the welds down.

IMG_4831.jpg

Now they were all ready for the etch primer.

IMG_4833.jpg

IMG_4835.jpg

IMG_4836.jpg

IMG_4838.jpg

IMG_4840.jpg

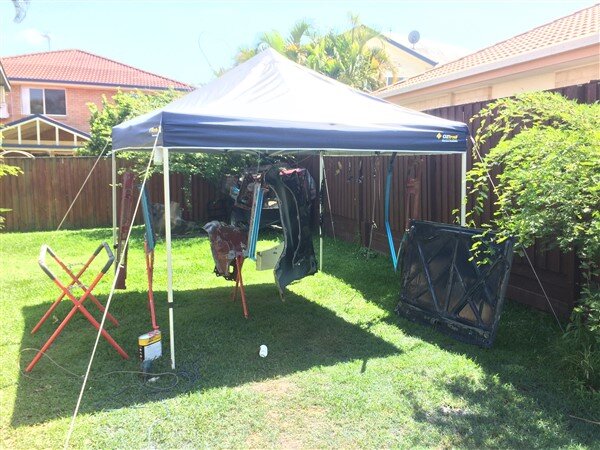
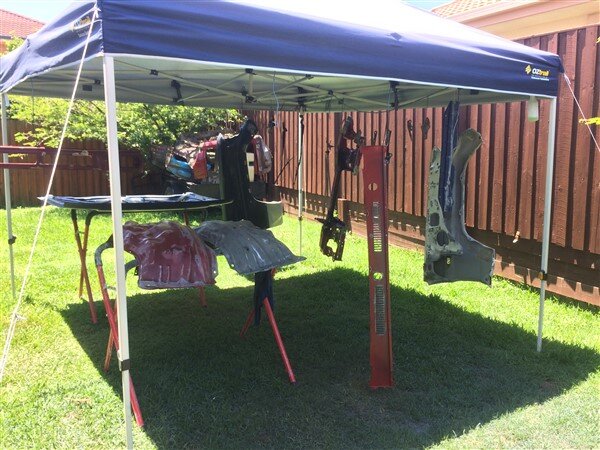
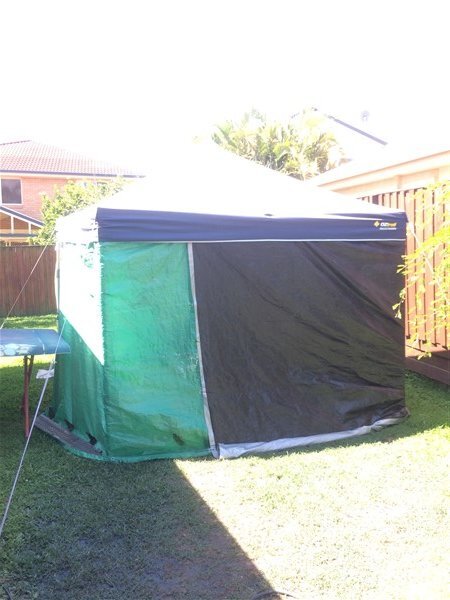
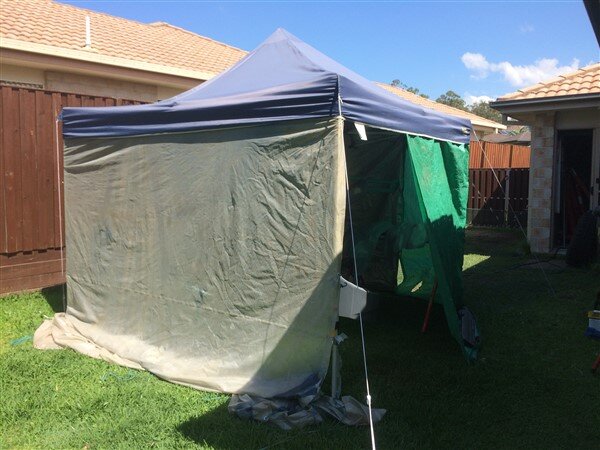
After throwing a litre of etch primer at them I decided I would have to enclose the sides on the gazebo before going to the 2k paints as it was pretty windy and I didnt want that blowing all over my neighbors property.

So I set some tarps up.


IMG_4842.jpg

IMG_4847.jpg

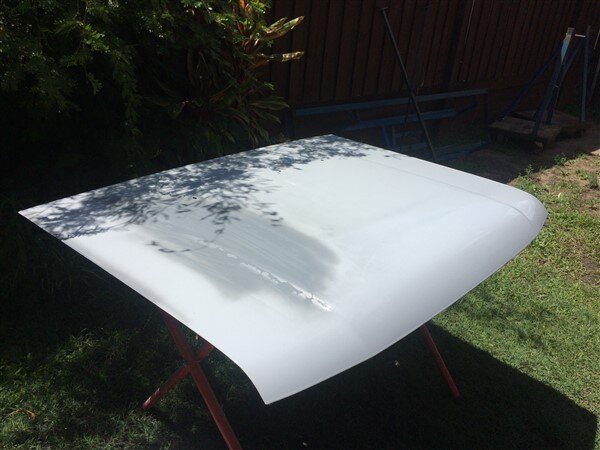
I sanded LJ's original bonnet down and finally decided to fix the dent it sustained in the roll over in Wales all those years ago. :shifty:

IMG_4844.jpg

IMG_4846.jpg

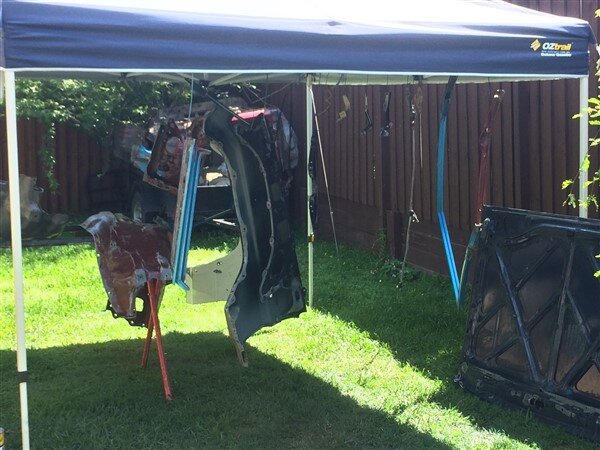
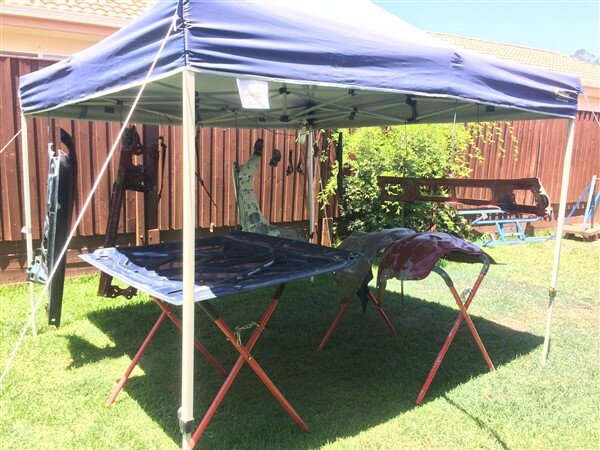
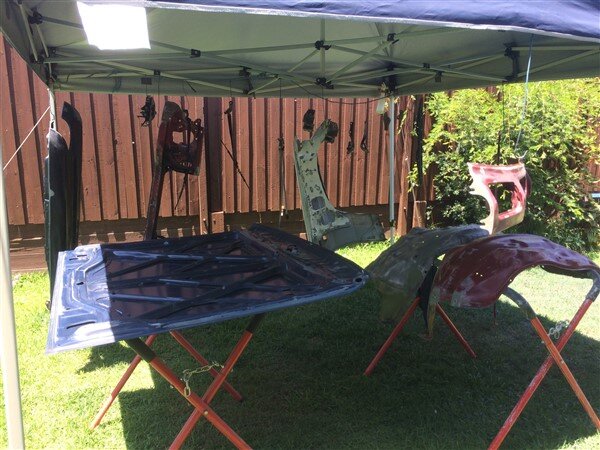
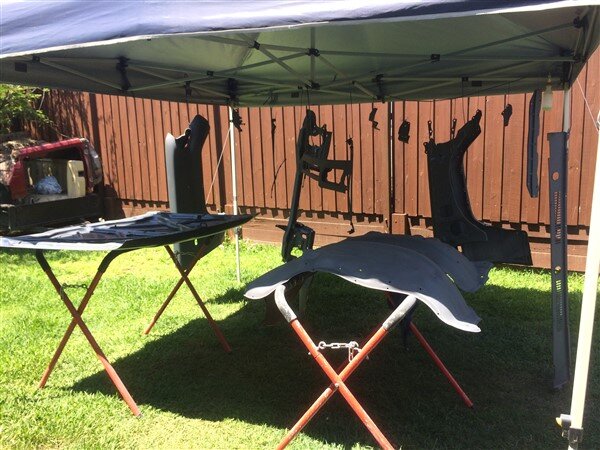
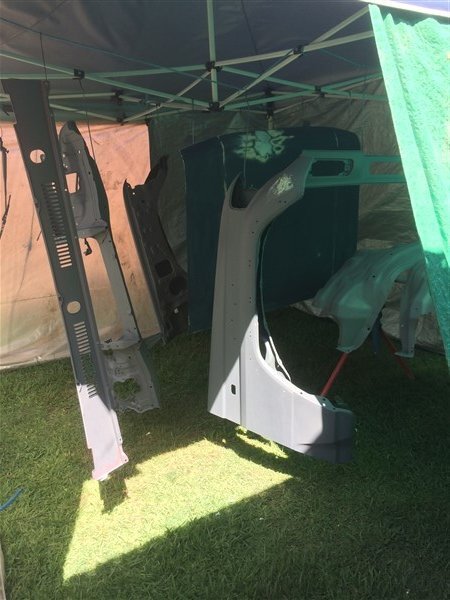
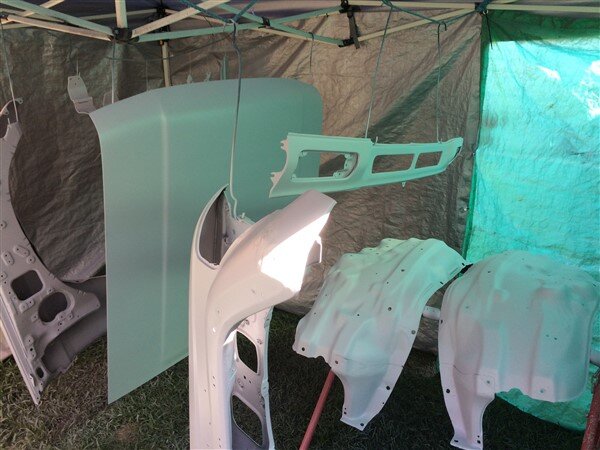
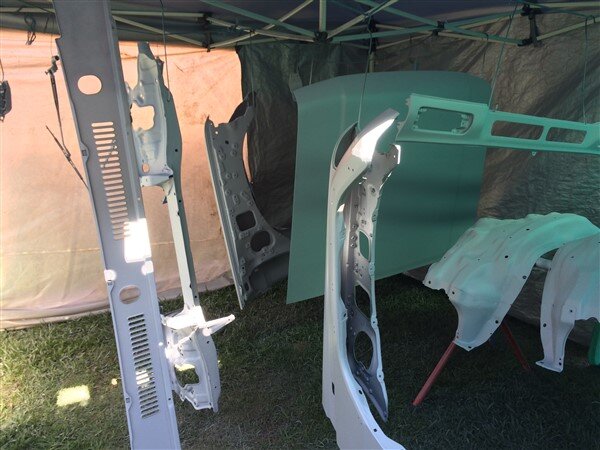
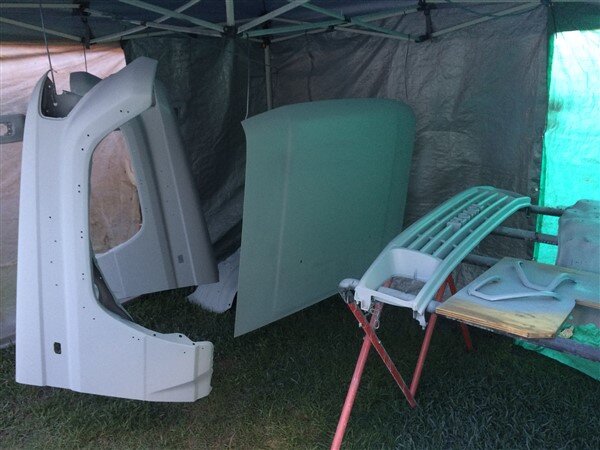
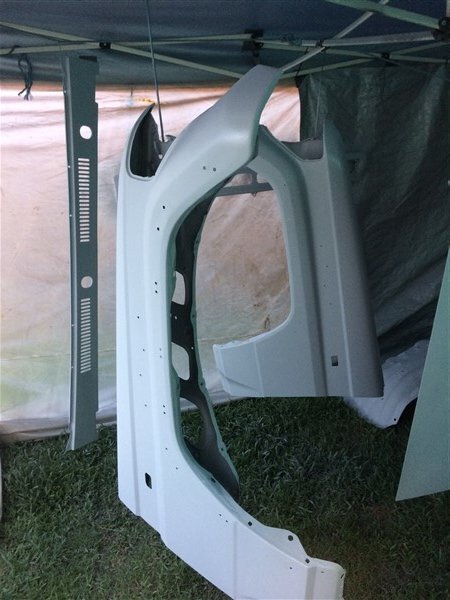
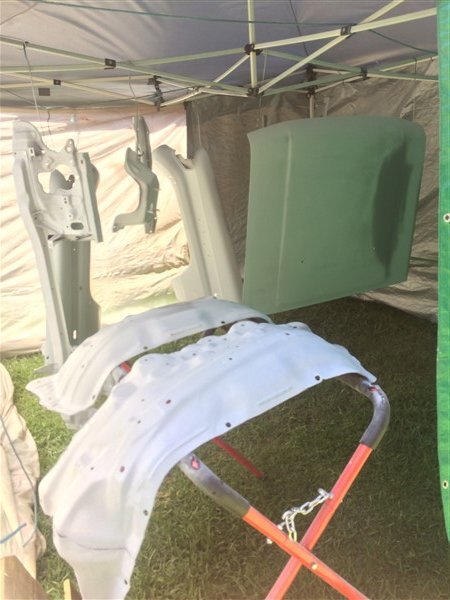
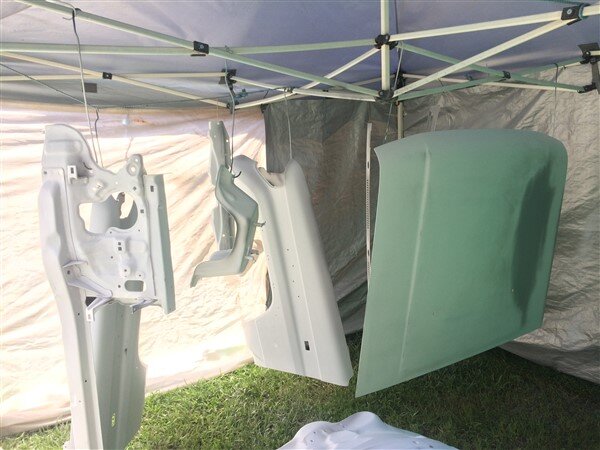
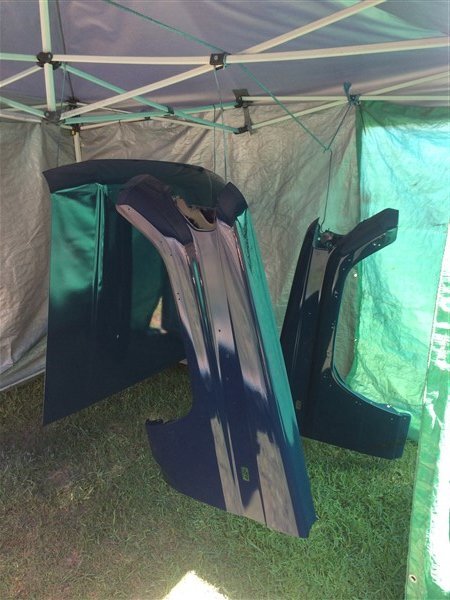
Then I hung everything up in the gazebo ready for the 2k primer.

IMG_4850.jpg

And got some primer on them. :icon-cool:

IMG_4854.jpg

IMG_4856.jpg

IMG_4858.jpg

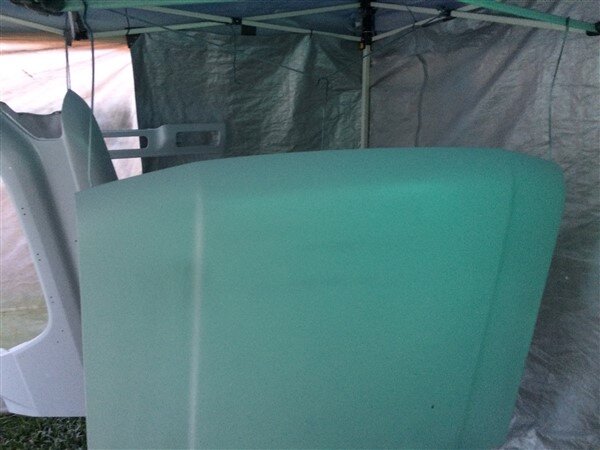
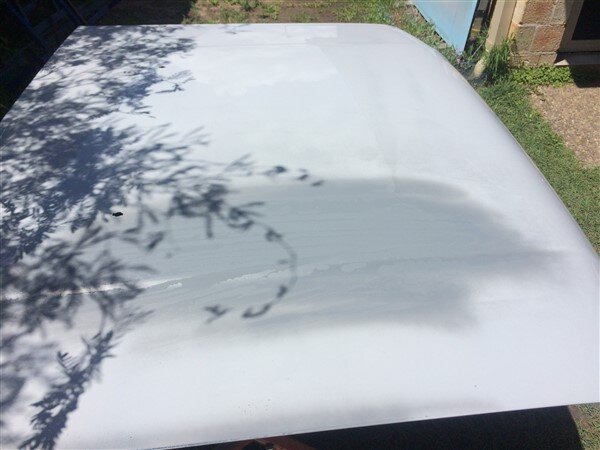
Then it was time so sand them all down with wet n dry paper and get everything nice and smooth.

IMG_4859.jpg
 
Last edited:
Frustratingly I cant bring the bigger panels to work with me to sand down, as that would be a brilliant way to help kill the 6-7 hours of sitting around with nothing to do that I have to contend with every day working at the hospital. :|

But I did bring some of the smaller parts in to sand down. :shifty:

IMG_4861.jpg

Yesterday I got home and spent a few hours sanding down the bigger panels.

IMG_4867.jpg

There was also a little bit of filling to do.

IMG_4868.jpg IMG_4869.jpg

IMG_4870.jpg

I did a bit more this morning at 2:30am. :crazy:

Normally I've been waking up at 3am and then not being able to get back to sleep, so going out and doing a few hours everyday in the garage, but today it was 2am! :sleeping-sleep:

Anyway, I did a bit more sanding and filling.

IMG_4872.jpg

IMG_4873.jpg

IMG_4874.jpg

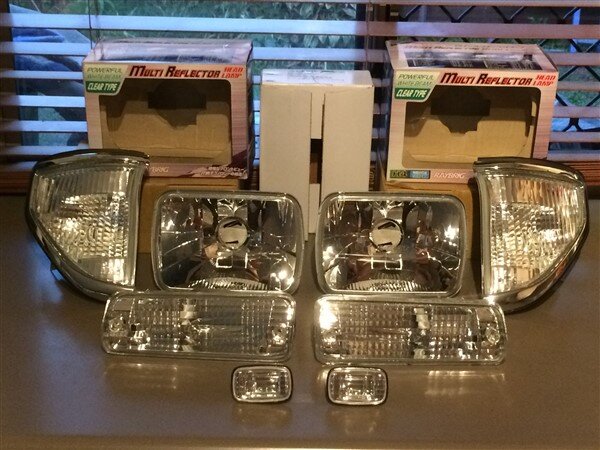
I got a delivery yesterday! :dance:

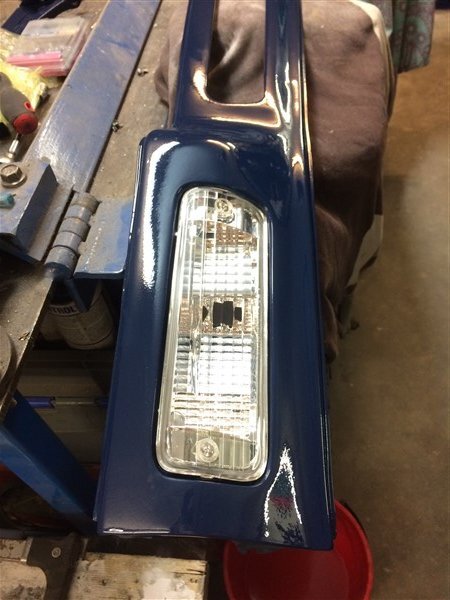
Sexy new clear front lights for that super modern, cool look! :icon-cool:

I got them for The 78 and love them, so had to have them for this build. :icon-twisted:

IMG_4871.jpg

Only difference between this build and The 78, is on the 78 I embraced the chrome everywhere as its quite retro.

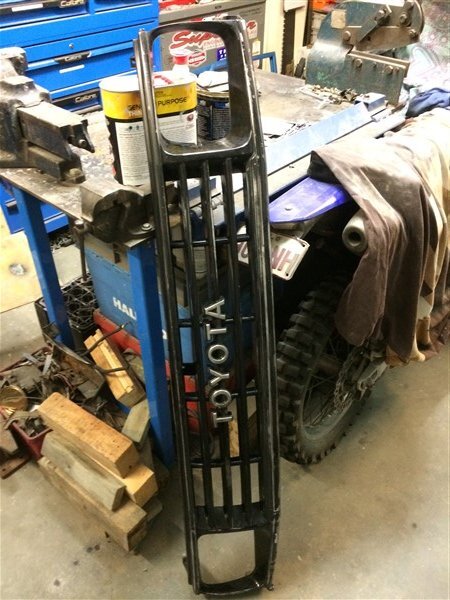
But on this build it will be more aggressive looking and will have a black grill and virtually no chrome apart from the door handles and lock cylinders. :icon-twisted:

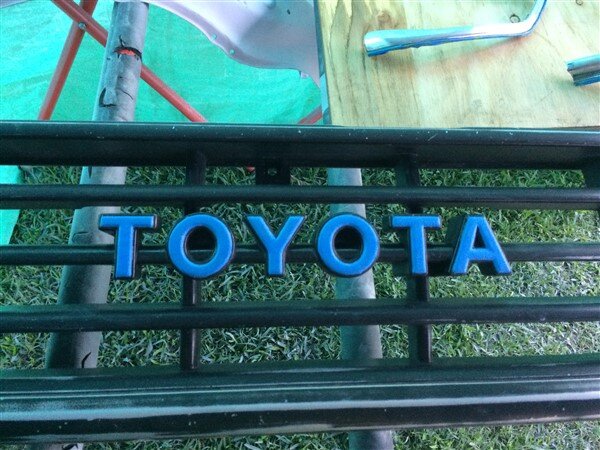
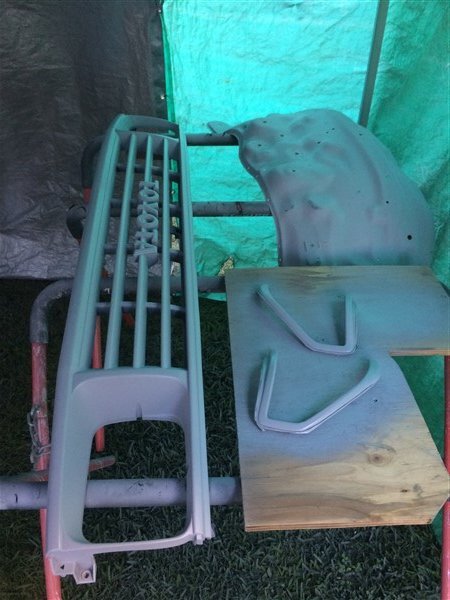
So I sanded down the grill ready for it to get painted in 2k primer followed by 2k satin black.

I had painted it before but only in rattle can black, so 2k will be far superior. :ugeek:

IMG_4875.jpg

And my final job this morning before I ran out of time (god I hate running out of time, when I'm happily working away in the garage and I've got to come to work to do a job that bores me to death, wasting my day away sitting around with nothing to do when I have a mountain of work to do at home. :angry-screaming:)

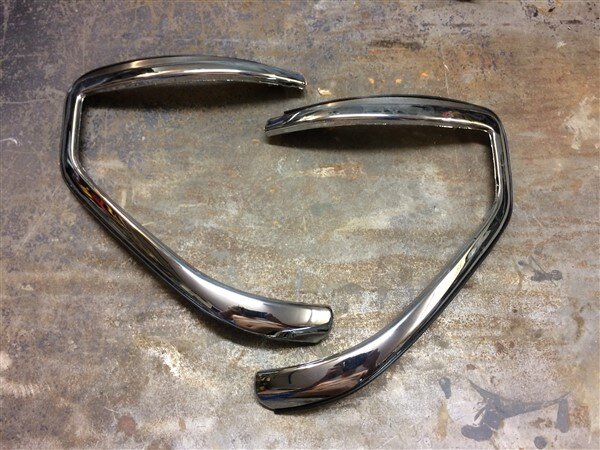
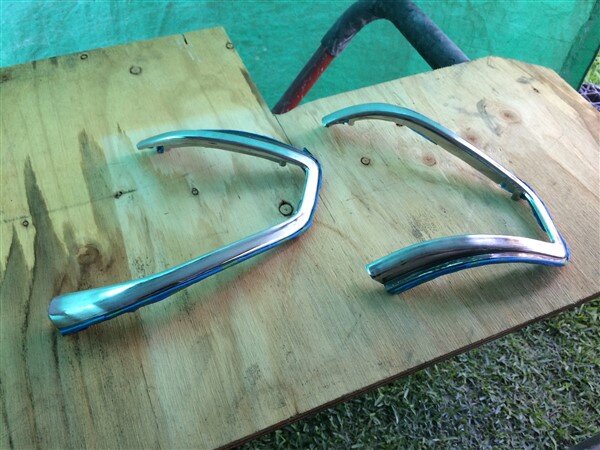
Was to remove the surrounds from the new side lights as they will need to be painted black to to match the grill. :icon-biggrin:

IMG_4876.jpg

I started work at 5am today, so I can finish early and be home by 2pm.

Hoping to get all the sanding and filling finished tonight and hopefully get some primer on the sections I've filled and the grill and side light surrounds, ready to get some colour on them tomorrow. :thumbup:
 
Thanks Clive. :thumbup:

Its my favorite colour that they offer the new 70's in!

But its not that popular for some reason. :icon-rolleyes:

I get why white is the most popular colour, its a hot country and it makes sense. :flags-australia:

The silver and grey are also very popular and I get that, their probably my second 2 favorites after the blue. :clap:

I even get the sandy taupe colour, thats also nice and looks very retro. :icon-cool:

But what I really dont get is how popular that maroon red is! :puke-front:

For some reason thats more popular than the blue! :crazy:

Anyway, rant over, back to the build! :lol:


My next job was to sort out all the panels for the front end, as well as the windscreen surround.

The OEM windscreen surround that came on the body had a couple of rust bubbles showing through so I had already prepared myself for the worst.

I removed the screen and like the one in the 78, managed to crack it in the process. :doh:

Luckily my car insurance let me have 1 free screen per vehicle per year. :shifty:

View attachment 136204

View attachment 136205

View attachment 136206

After hitting it with a wire wheel in the grinder, which revealed the previous previous owner had been up to his old tricks of filling straight over rot holes.

It looked like this.

View attachment 136207

View attachment 136208

View attachment 136209

View attachment 136209

View attachment 136210

I've still not entirely decided what to do with it, I have 3 options.

1. Fix it up, paint it and use it.
2. Use the spare fibreglass one that came with the body.
3. Source a new OEM metal one.

I'm swinging more towards option one as then I will still have the soft top channel that is spot welded to the top of this original soft top windscreen surround. The fiberglass one doesnt have it as its a 75 series one which is an identical screen surround apart from they dont have the soft top channel spot welded to the top.

I could drill all the spot welds out and try and attach it to the fiberglass one some how, but to run the fiberglass one technically, it would need to be signed off by an engineer to say its safe and road worthy as that is the only way you're legally allowed to replace any body panels with fiberglass ones.

A new OEM one would be nice but their $600+ and I would still have to spot weld the soft top channel to the top. :think:

Anyway................
That is all on hold for the moment as I figured that can be sorted out later, when were back in Melbourne if need be. :shifty:
So for now I need to concentrate on getting all the front end repaired, painted and fitted. :icon-biggrin:

I cleaned the inner arches up with a wire wheel in the grinder and sprayed them with rust convertor.

View attachment 136211

And then got all of my front guards/wings out so I could select the best.

Sadly non of them were perfect and they all had damage in different spots, so it was a case of choosing what I thought would be the easiest to repair and would come out the best.

View attachment 136212

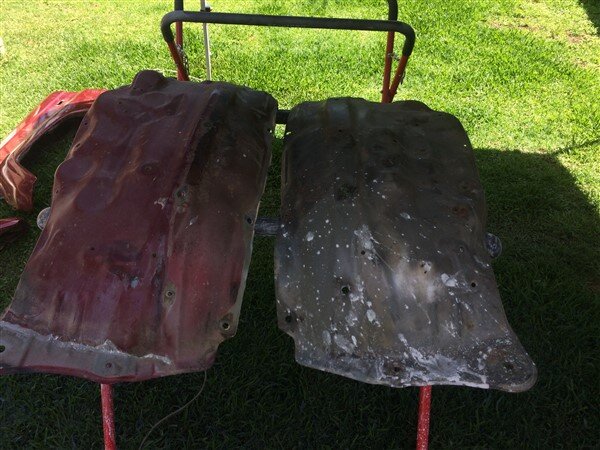
On the passenger side I went for the white LJ70 guard that came off a fire damaged vehicle and had old vinyl wrap/graphics along the top.

Because it was pretty straight and dent free, unlike the red one which had a lot of filler right on the very front corner.

View attachment 136213

On the drivers side I went for the slightly damaged KZJ78 one as although the front corner was badly damaged, I decided it would be a lot easier to repair than the nasty crease along the door edge on the red one, which I couldnt seem to hammer out as I couldnt get any tools into it.

View attachment 136214

The other advantage of the KZJ one was it already had all the holes/brackets for the flares.

The white passenger side didnt, so my next job, after removing all the old burnt stickers, was to drill all the holes for the brackets.

View attachment 136215

View attachment 136216

I discovered that the earlier round headlight front end flares (which these are) are different to the square headlight front end, which I'm fitting. :doh:

Not only do they hang below the guard, they also dont meet it properly right at the very front.

View attachment 136217

So I will have to get some fiberglass and modify them slightly.

I needed to mark where all the bracket mounting holes needed to go.

So I thought I could put a good coat of paint on the brackets with a paint pen, then hold the flare in place and apply some pressure to leave marks on the guard. :think:

View attachment 136218

View attachment 136219

That didnt really work, but then I had a much better idea! :dance:

I applied double sided tape to all the brackets.


View attachment 136220

View attachment 136221

Then pushed the flare in place and applied some pressure.

And the flare stayed in position.

View attachment 136222

Then I could carefully unbolt the flare, leaving all the brackets stuck perfectly in position. :dance:

View attachment 136223

View attachment 136224

I could then drill through the brackets and through the guard, ready for riveting them on later, after paint. :icon-biggrin:

View attachment 136225

This very front bracket needed some slight adjustment, as its obviously not meant for this guard.

View attachment 136226

That was soon bent and the second hole drilled.

View attachment 136230

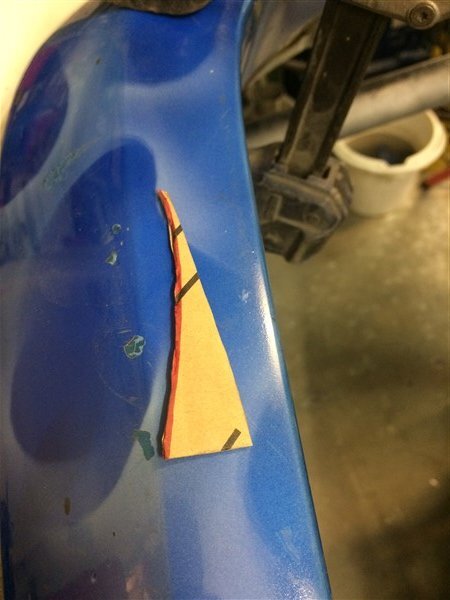
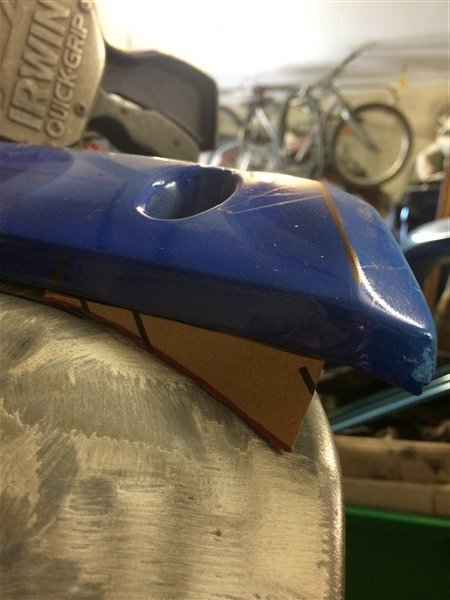
I made a cardboard template of exactly how much fiberglass I needed to extend the front of the flares by.

View attachment 136227

View attachment 136228

I also marked how much needs trimming off them.

View attachment 136229

The KZJ78 guard had the perfect cut out in it for the side repeater, but the passenger side needed to be adjusted slightly.

View attachment 136231

Put a strip of copper underneath it and cut some little piece of metal to weld in.

View attachment 136232

And welded them in.

View attachment 136233

After grinding the welds down and giving all the panels a good sand it was time to get a coat of acid etch primer on them.

View attachment 136234

View attachment 136235

But first I just needed to repair one little rot hole in the drivers side inner arch.

View attachment 136236

Cut out the rot in both layers.

View attachment 136237

Welded the bottom layer in, smoothed the welds down and gave it a coat of the zinc weld through paint.

View attachment 136238

Then welded the top section in and ground the welds down.

View attachment 136239

Now they were all ready for the etch primer.

View attachment 136240

View attachment 136241

View attachment 136242

View attachment 136243

View attachment 136244

After throwing a litre of etch primer at them I decided I would have to enclose the sides on the gazebo before going to the 2k paints as it was pretty windy and I didnt want that blowing all over my neighbors property.

So I set some tarps up.


View attachment 136245

View attachment 136248

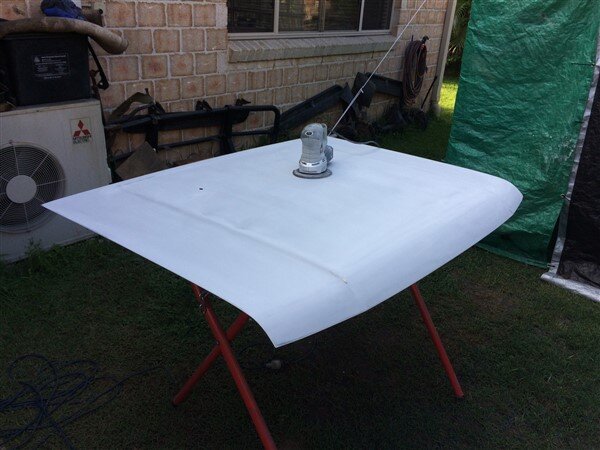
I sanded LJ's original bonnet down and finally decided to fix the dent it sustained in the roll over in Wales all those years ago. :shifty:

View attachment 136246

View attachment 136247

Then I hung everything up in the gazebo ready for the 2k primer.

View attachment 136249

And got some primer on them. :icon-cool:

View attachment 136250

View attachment 136251

View attachment 136252

Then it was time so sand them all down with wet n dry paper and get everything nice and smooth.

View attachment 136253

Catch a breath Ben, you’re wearing me out reading all this :lol:

The only problem with the dark blue is dust.

It looks dirty almost immediately after a wash, especially in the summer, otherwise I love it!
 
  • Like
Reactions: Ben
Catch a breath Ben, you’re wearing me out reading all this :lol:

The only problem with the dark blue is dust.

It looks dirty almost immediately after a wash, especially in the summer, otherwise I love it!


Try having 2 black motors :lol:

@Ben are you sure you don't have 30 hour days in Aus?

Lack of sleep will come in handy soon enough :sleeping-sleep:
 
:lol:

I wish! The limiting factor on my builds is time! :doh:

Yes I think my body clock will be useful with the baby. Bec is a night owl anyway so she can do the late feeds and I can do the early feeds and changes. :icon-biggrin:

Shes spent her entire working life doing shift work, so she can always get back to sleep easily. So I can just carry him in, put him on the boob and hold him while he has his feed and then after she can just roll over and go back to sleep. :shifty:

Just need to find a spot in the garage for the cot to sit while I'm working. :lol:
 
Don't like the adverts?  Click here to remove them
Hi Ben top job on the cruiser thanks for the pics love to see a top job :thumbup:
 
  • Like
Reactions: Ben
Just need to find a spot in the garage for the cot to sit while I'm working. :lol:
"Hand me that spanner son…"

It's going to be interesting watching this lad grow up. From Landcruiser baby grows, to seeing him start his first restoration project (age 5) to seeing him out weld and out build his pop (age 8)! This is going to be interesting, not least for the boy.
 
:lol:

Thanks guys. :thumbup:

Sory Rich, I forgot you had one in that colour! :shifty:

I thought now Chas had finally seen the light and had a re-spray, I could be honest about my thoughts on that colour. :lol:
 
:lol:

Thanks guys. :thumbup:

Sory Rich, I forgot you had one in that colour! :shifty:

I thought now Chas had finally seen the light and had a re-spray, I could be honest about my thoughts on that colour. :lol:
Keep diggin'…


:lol:

You think what you like Ben, it doesn't and shouldn't bother me. :)
 
:lol:

I wont mention that colour again. :shhh:

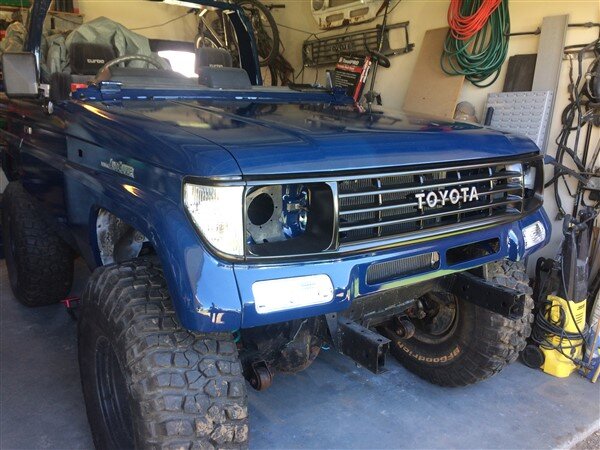
Update time! :dance:

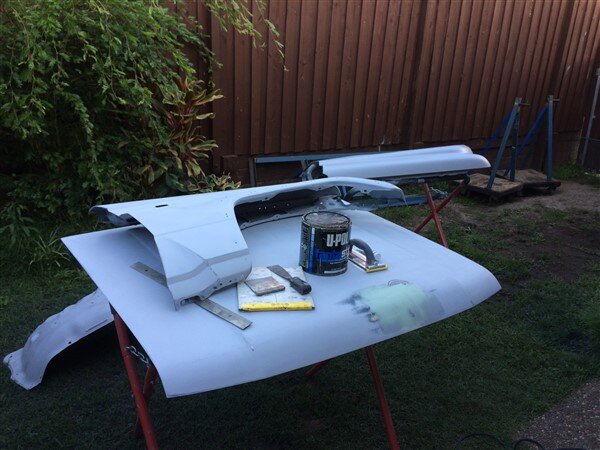
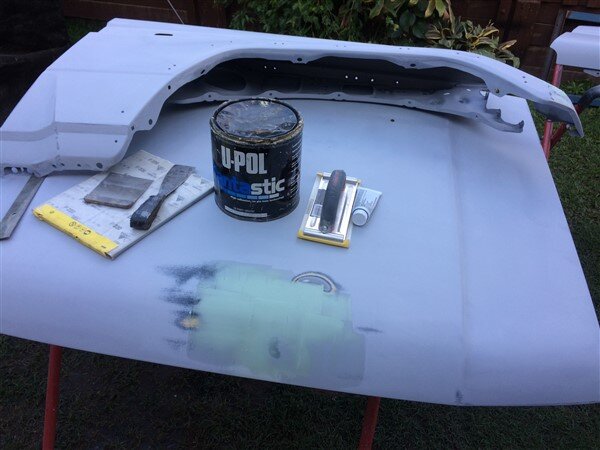
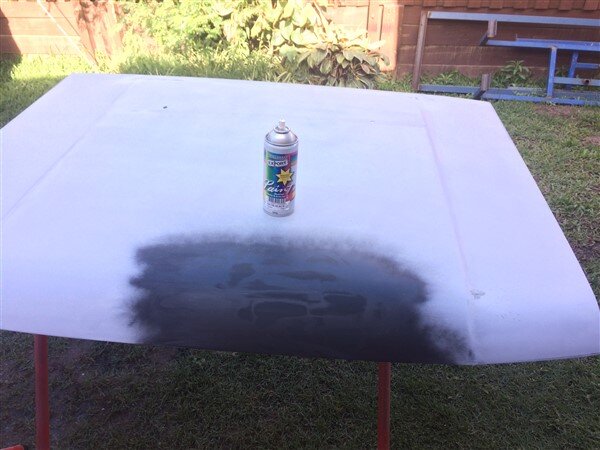
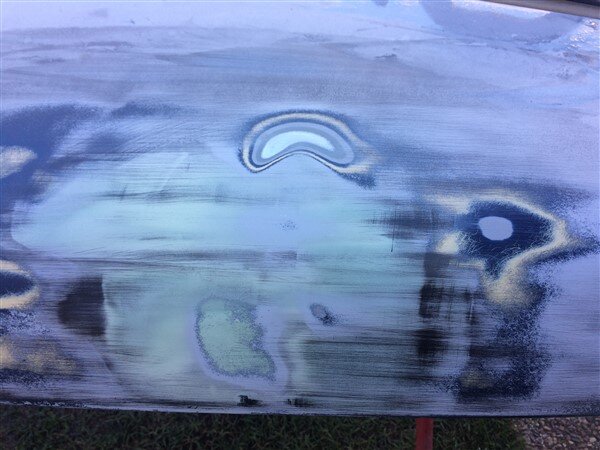
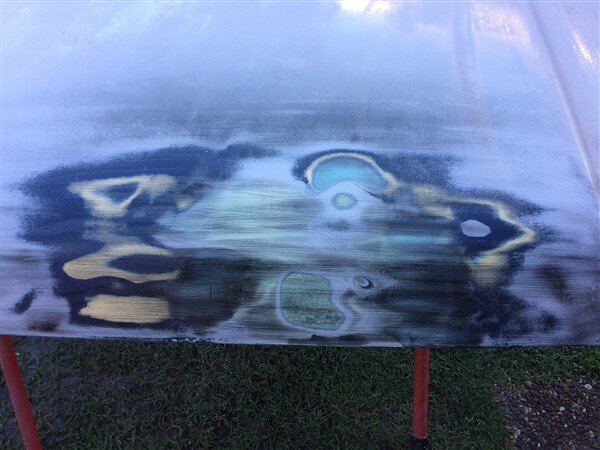
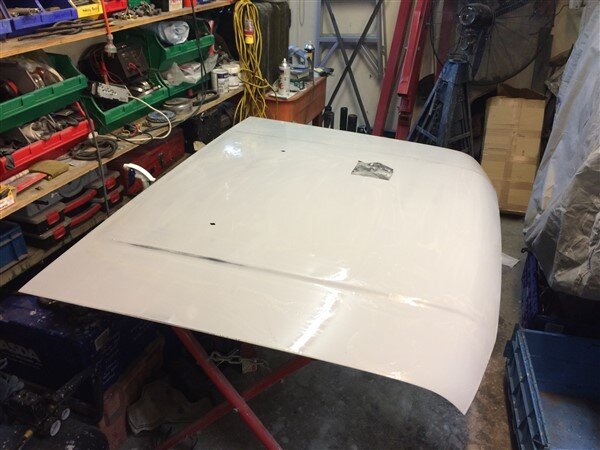
I did more sanding and filling on the dent in the bonnet.

And then gave it a coat of cheap spray paint.

IMG_4880.jpg

Then sanded it down to reveal any high and low spots.

IMG_4881.jpg

The shiny, bare metal high spot got tapped down with a body work hammer, before getting a thin layer of filler over it and then sanded down.

IMG_4882.jpg

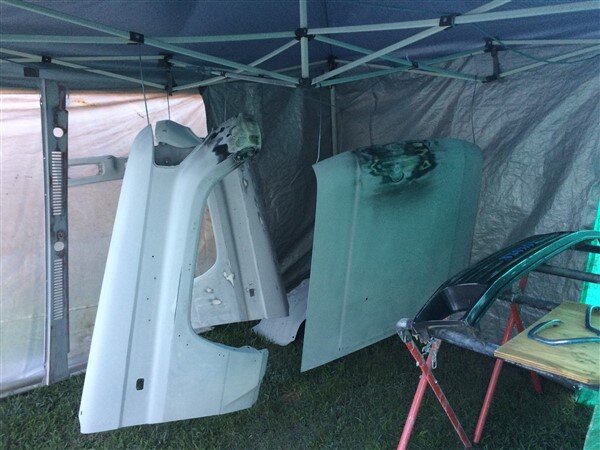
Then I could hang it up with the rest of the panels and get some primer on them! :D

IMG_4911.jpg

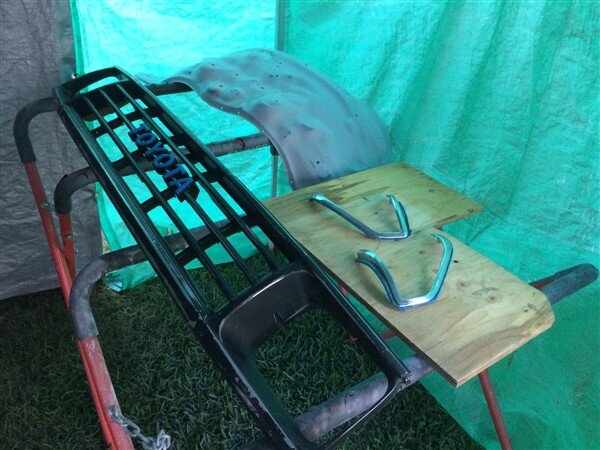
I also masked the Toyota lettering off on the grill, as well as the rubber seals on the edges of the side light surrounds.

IMG_4912.jpg

IMG_4913.jpg

IMG_4914.jpg

Gave all the panels a wipe over with a rag soaked in thinners followed by a tack cloth.

IMG_4915.jpg

IMG_4916.jpg

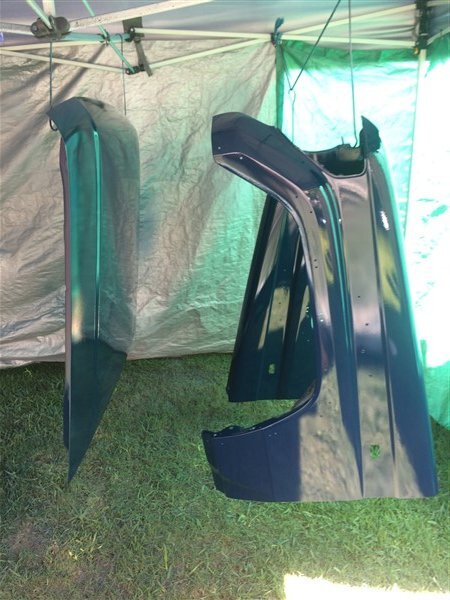
Then I hit it with a few coats of 2k primer.
IMG_4917.jpg

IMG_4918.jpg

IMG_4919.jpg

IMG_4920.jpg

The next morning I brought the panels into the garage one by one and started to wet n dry sand them down.
IMG_4921.jpg

IMG_4922.jpg

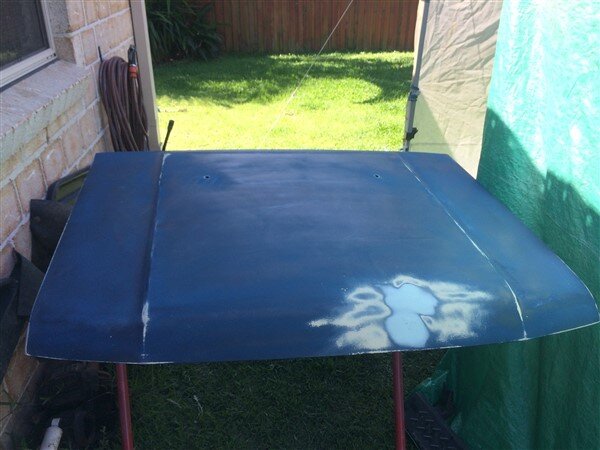
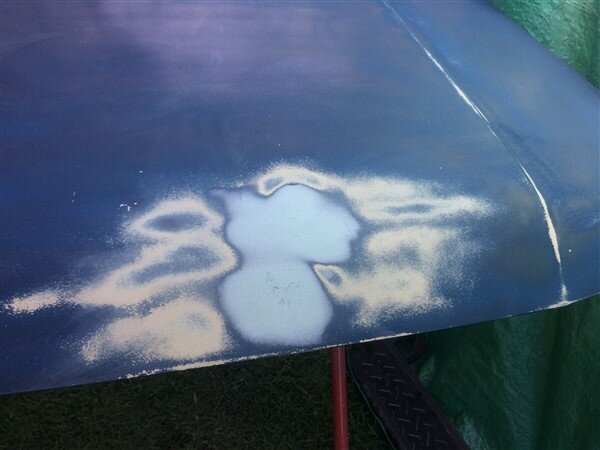
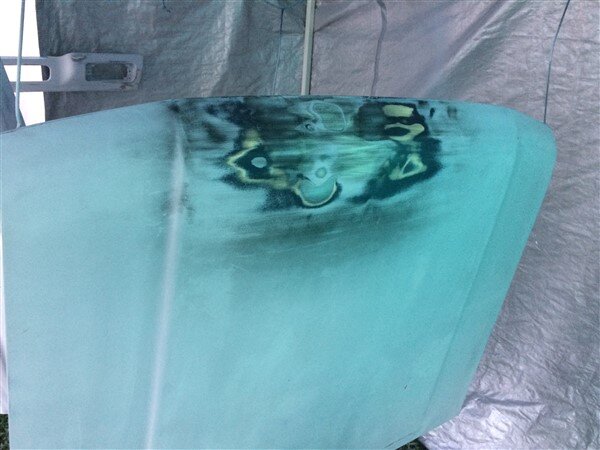
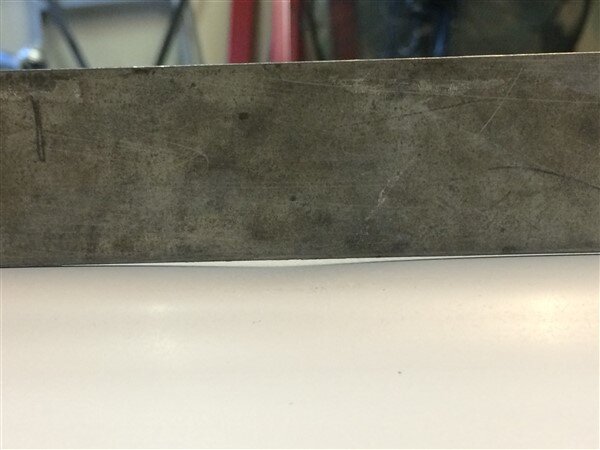
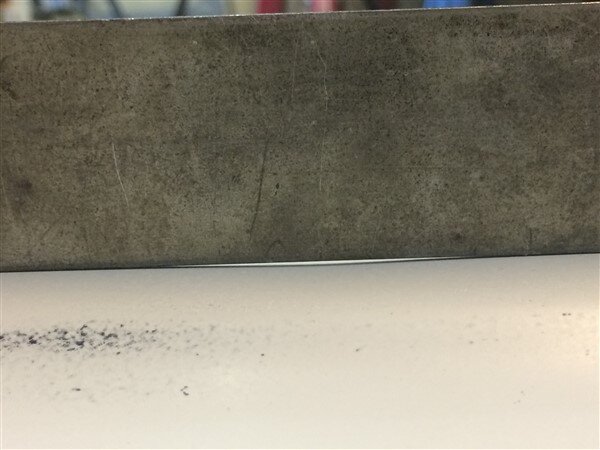
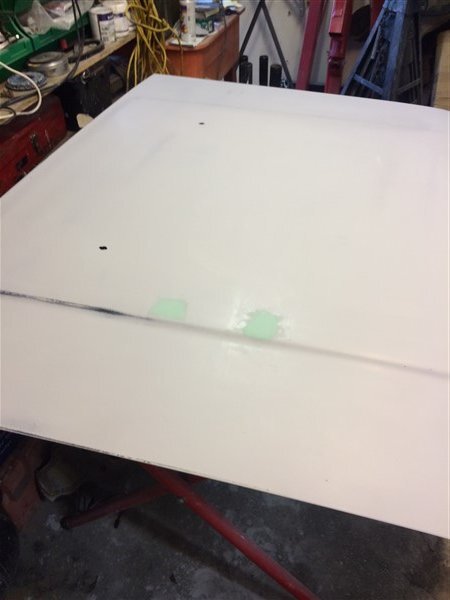
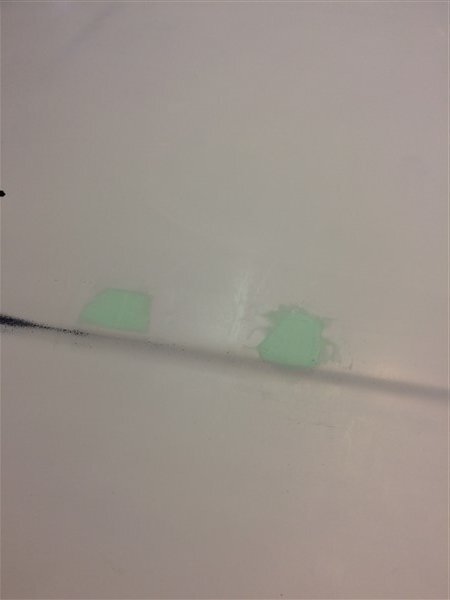
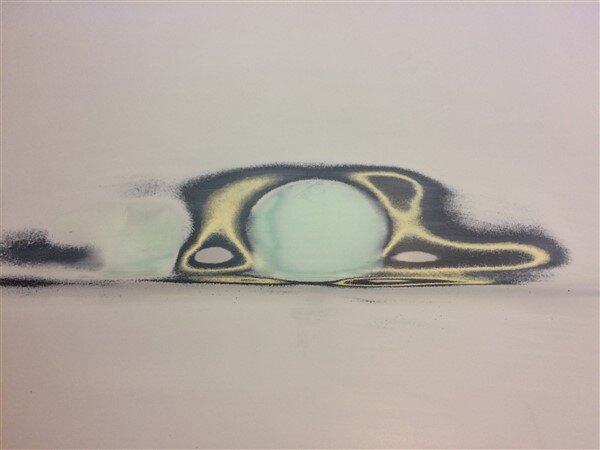
While getting the bonnet as smooth as glass I discovered 2 tiny dents I'd previously missed. :doh:

It wasnt possible to get a clear photo of them, but with a steel ruler held above them they are clear.
IMG_4925.jpg

IMG_4926.jpg

So they needed filling and sanding.

IMG_4927.jpg

IMG_4928.jpg

IMG_4943.jpg

I also found a few areas on the other panels that just needed a tiny little bit of the fine surface filler in places.

IMG_4930.jpg

IMG_4931.jpg

IMG_4932.jpg

And I then got the bonnet outside for a coat of primer over the area I had filled.

IMG_4944.jpg

IMG_4945.jpg

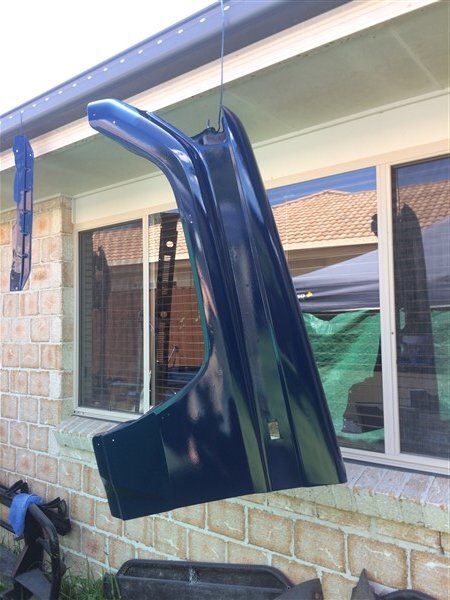
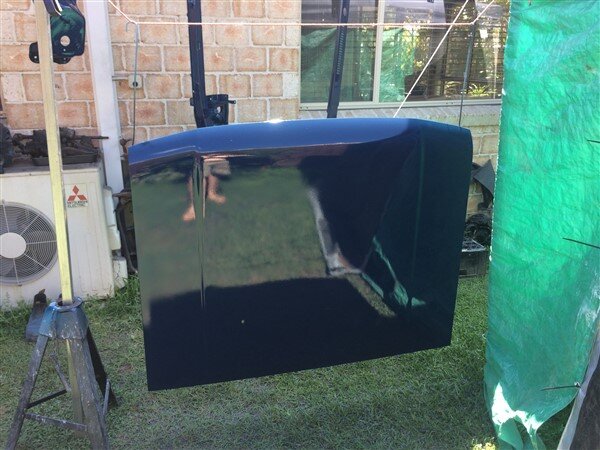
Once that had been sanded down with wet n dry paper it was time to hang everything back up ready for colour!

IMG_4947.jpg

IMG_4949.jpg

And a short time later.................

IMG_4950.jpg

IMG_4952.jpg

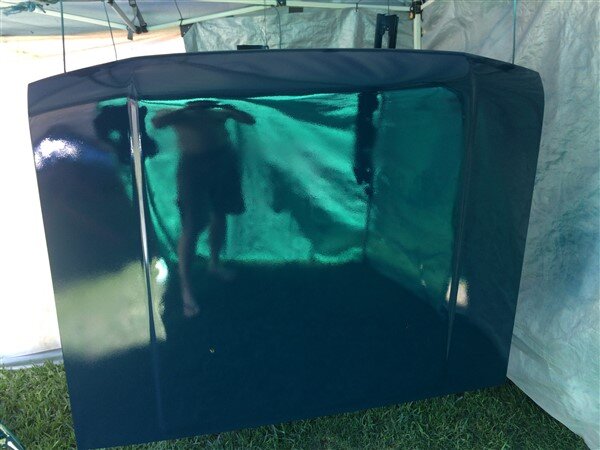
Perfect even paint work and not a single run anywhere! :dance:

IMG_4954.jpg
 
IMG_4959.jpg

IMG_4961.jpg

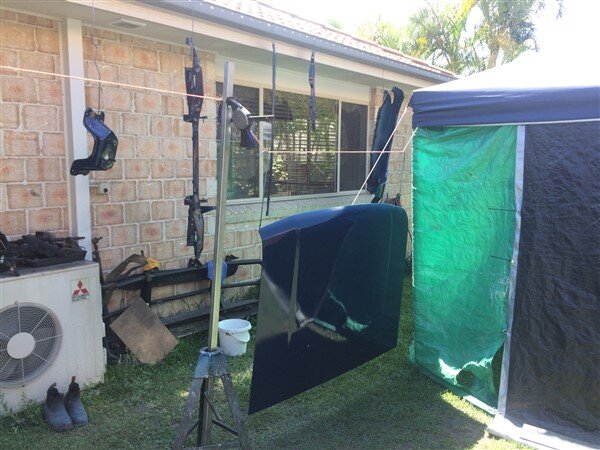
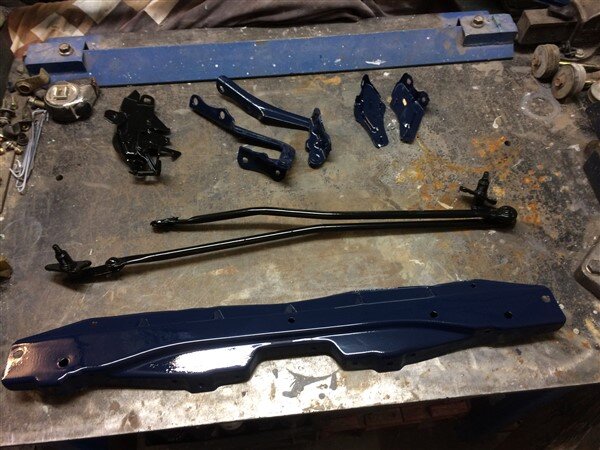
A few hours later I got all the panels out and hung them up out of the way, as I needed to do some 2k black painting.

IMG_4958.jpg

IMG_4963.jpg

IMG_4965.jpg

IMG_4967.jpg

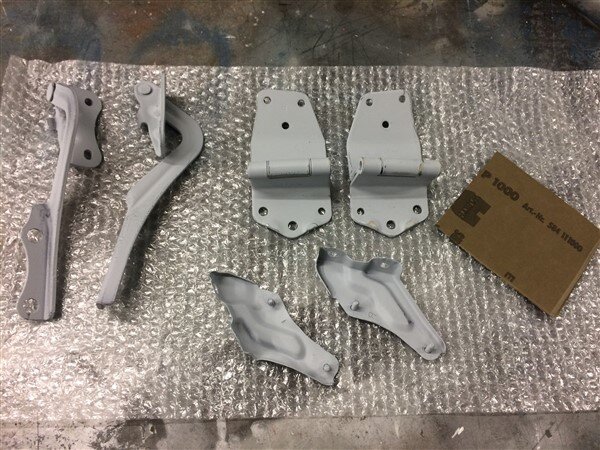
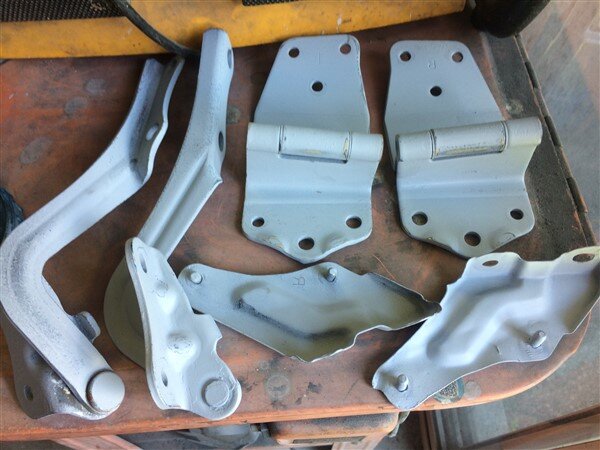
It was at this point that I realised I'd forgotten to paint the bonnet hinges, windscreen hinges and some brackets from the front. :doh:

IMG_4955.jpg

I'd also used the last of the blue paint. :icon-redface:

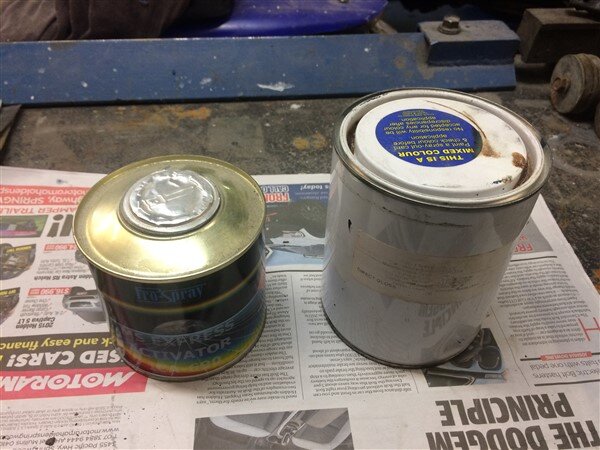
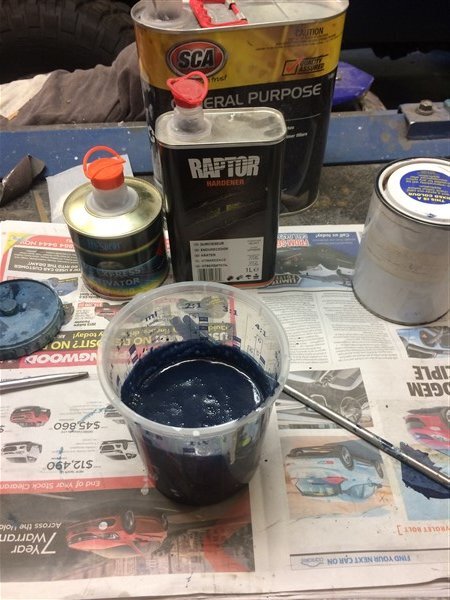
Then I remembered I still had some 2k Mid Night Blue paint left that I bought just before I moved from the UK, almost 5 years ago. :shifty:

IMG_4956.jpg

The hardener had predictably gone off.

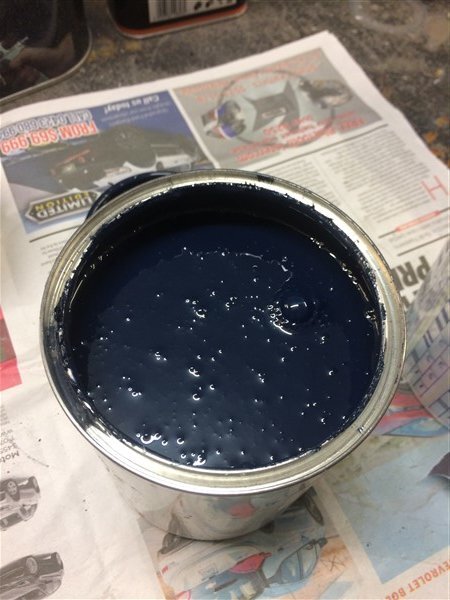
But the paint looked perfect still and there wasnt any lumps at the bottom of the tin. :dance:

IMG_4973.jpg

And luckily I still had some 2k hardener left from the Raptor Paint. :icon-cool:

IMG_4974.jpg

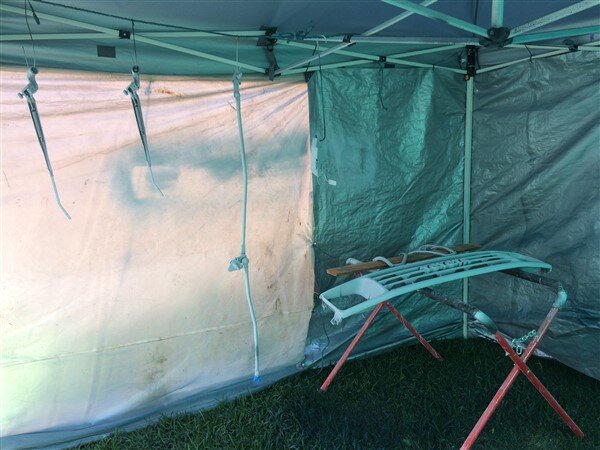
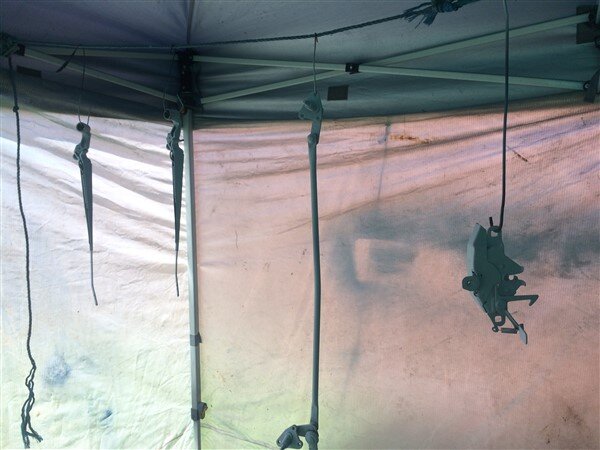
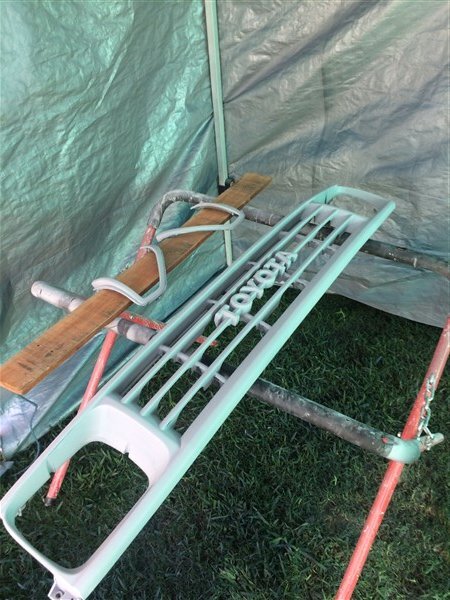
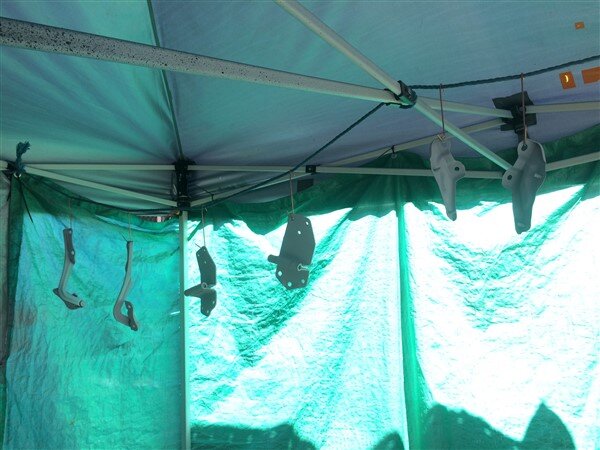
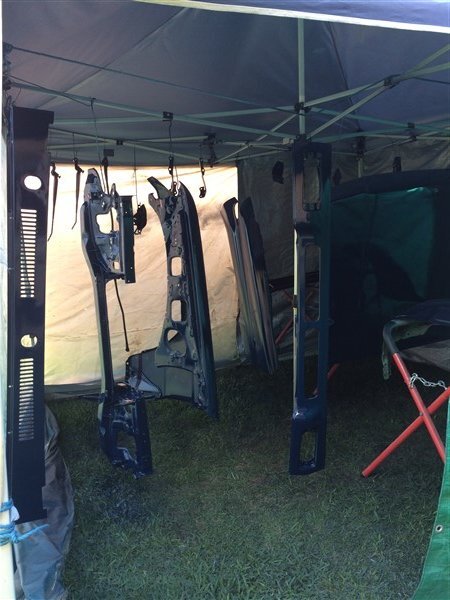
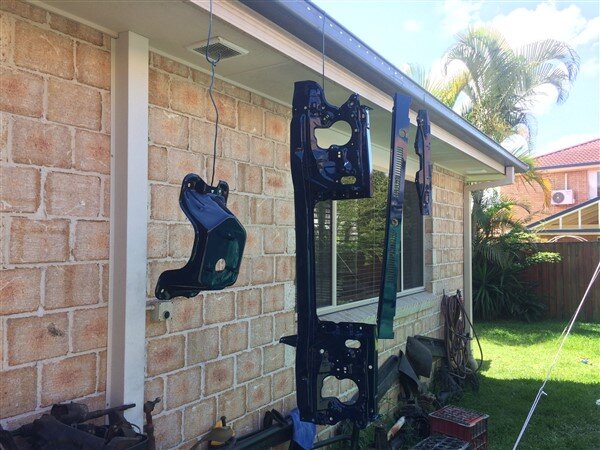
I hung everything up ready to paint, the things to be painted black on one side and the things to be blue on the other.

Black side.

IMG_4968.jpg

IMG_4969.jpg

IMG_4970.jpg

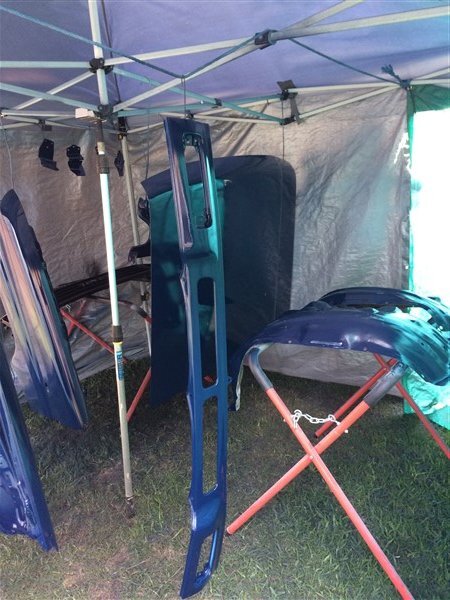
Blue side.

IMG_4971.jpg

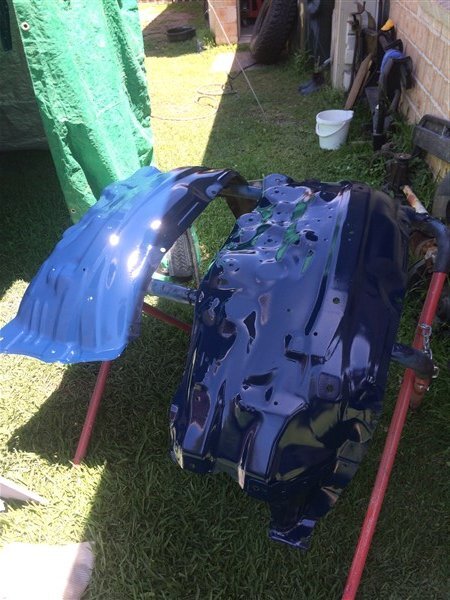
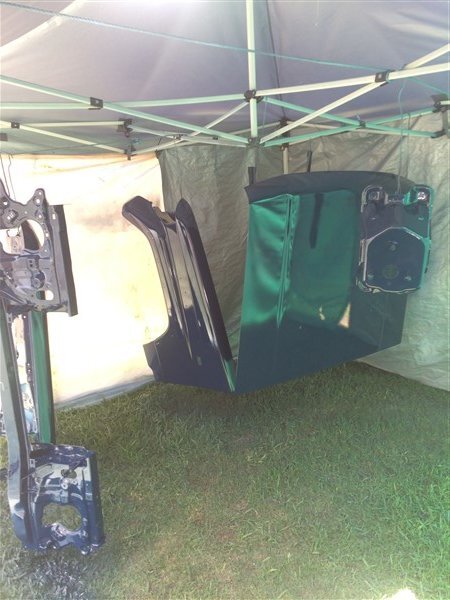
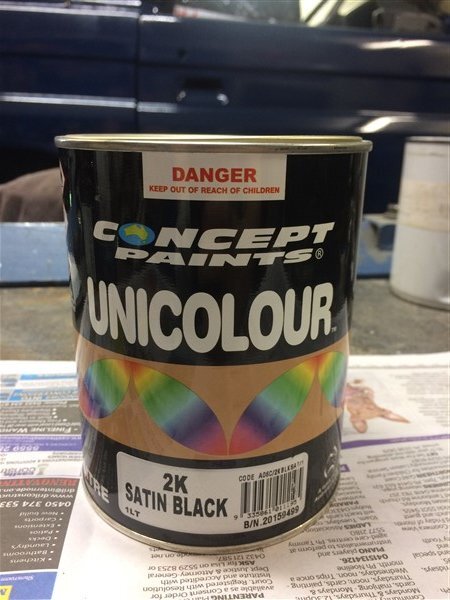
Painted all the blue parts, then mixed some of this satin black and painted the black parts.

IMG_4975.jpg

Later that day I got everything back into the gazebo to keep them protected overnight.

IMG_4976.jpg

IMG_4978.jpg

The next morning I was up at 2am, ridiculously excited about being able to start bolting the panels on! :crazy:

I quietly started bringing them all in to the garage.

IMG_4980.jpg

IMG_4981.jpg

IMG_4982.jpg

IMG_4983.jpg

I couldnt wait to start bolting them all back on! :dance:

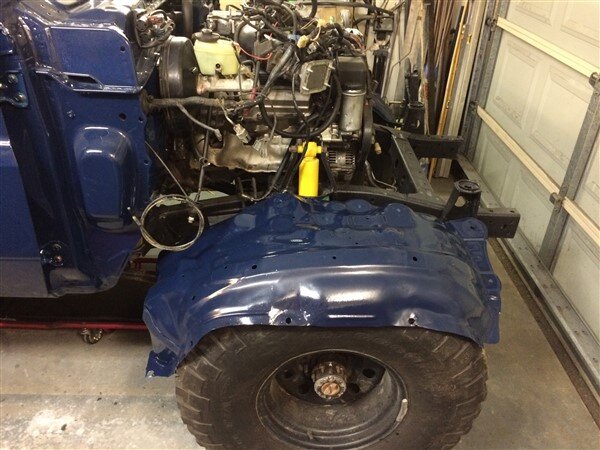
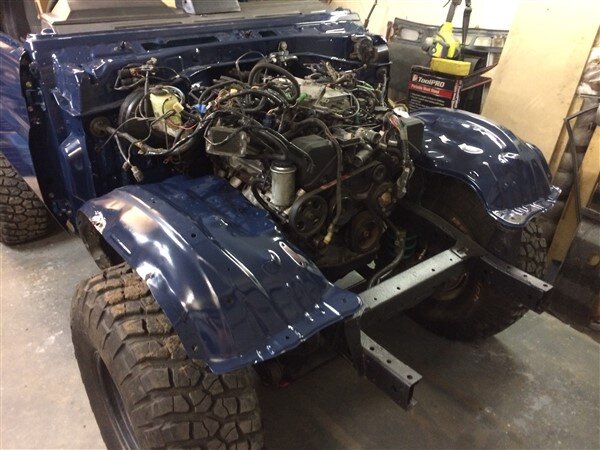
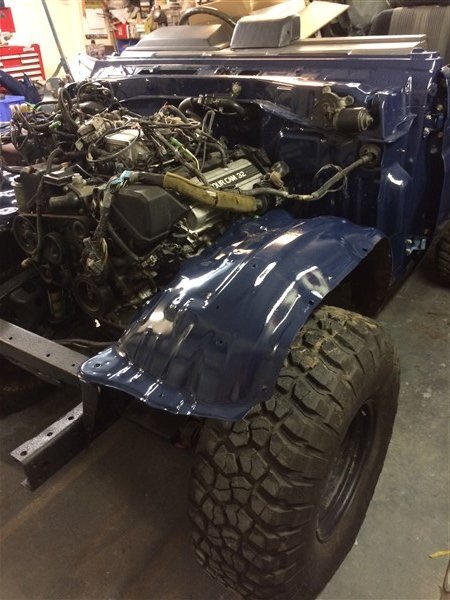
Inner arches went on first.

IMG_4985.jpg

IMG_4986.jpg

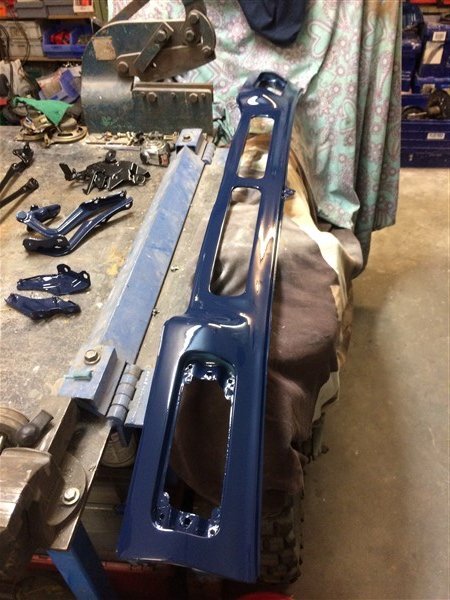
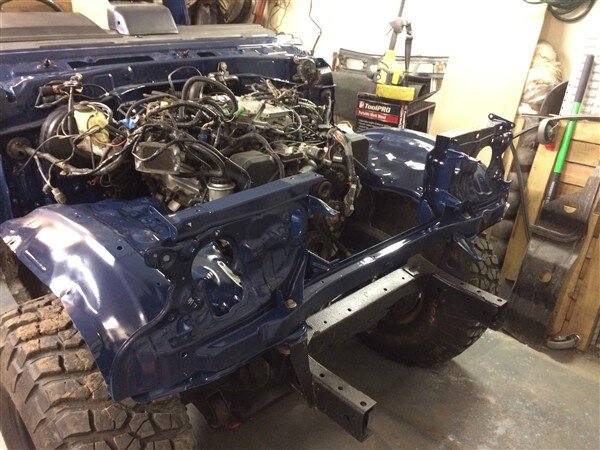
Followed by the radiator support panel.

IMG_4987.jpg

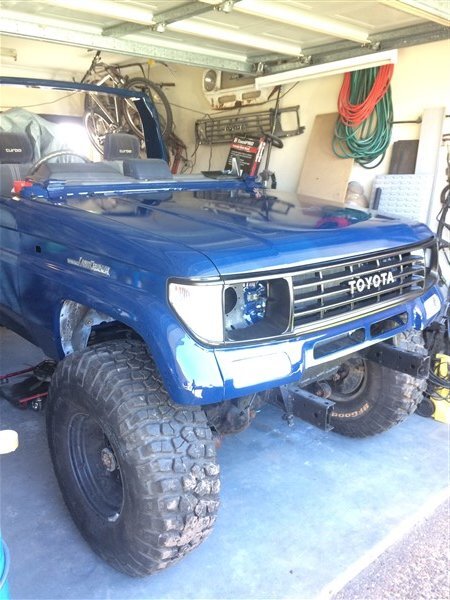
Fitted those sexy clear front indicators. :icon-cool:

IMG_4988.jpg

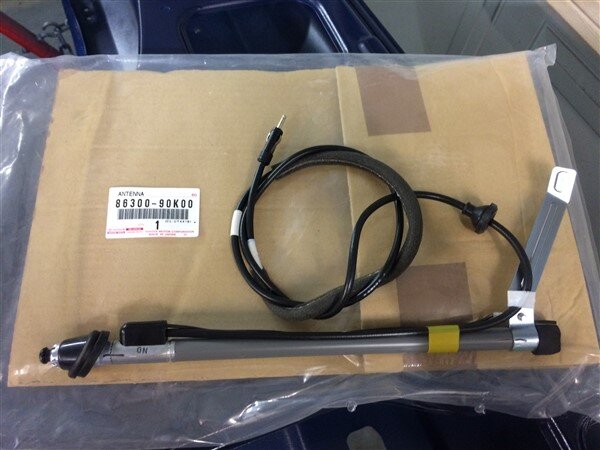
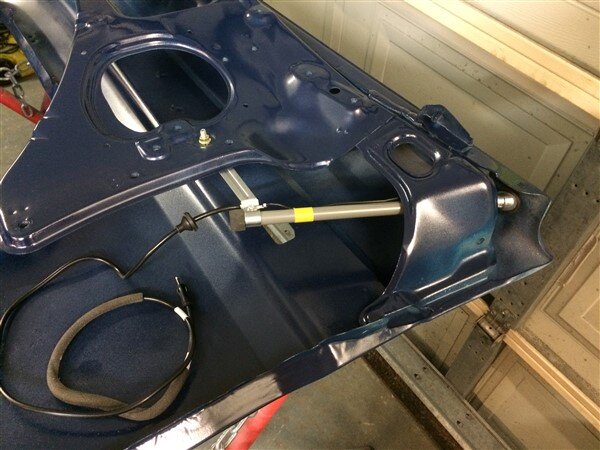
The new aerial needed fitting to the drivers side guard next.

IMG_4989.jpg

IMG_4990.jpg

IMG_4991.jpg

I couldnt bolt the guards on next as the doors needed moving back a bit but I was out of adjustment on the hinges and they needed the holes elongating slightly with the die-grinder, but as we have neighbours, die-grinding at 4:30am wasnt an option. :thumbdown:

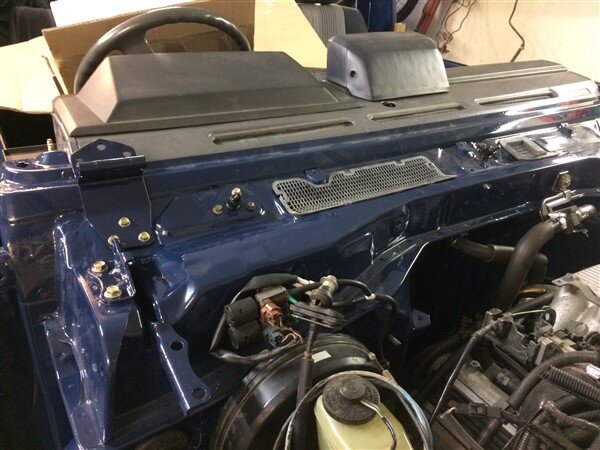
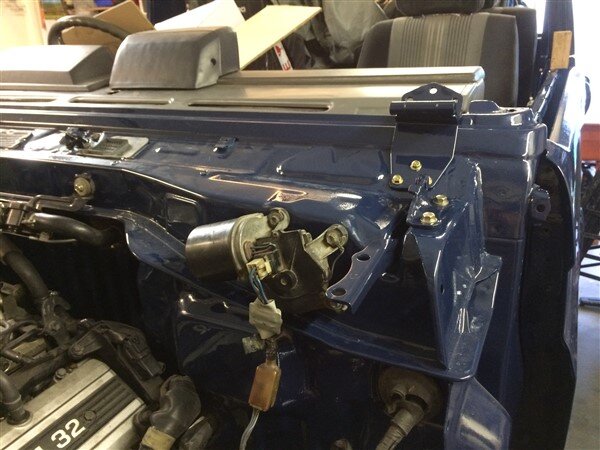
So instead I fitted the wiper linkage, motor, windscreen hinges and bonnet hinges.

IMG_4992.jpg

IMG_4993.jpg

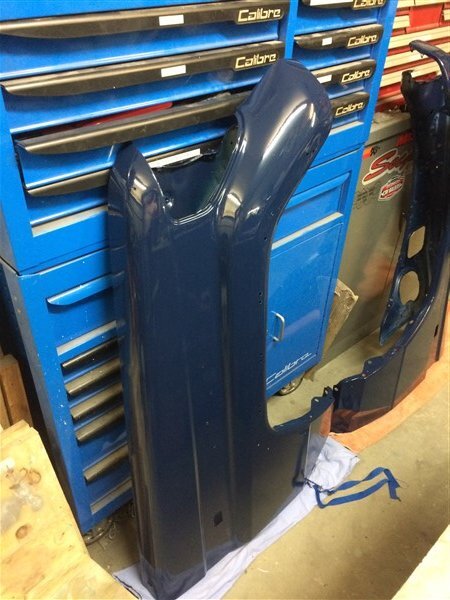
Then after work I die-ground the hinges out and moved the doors back slightly and was then finally able to get the guards on! :dance:

IMG_4995.jpg

The next day I had a lie in and didnt get out there until 2.45am! :sleeping-sleep:

IMG_4996.jpg

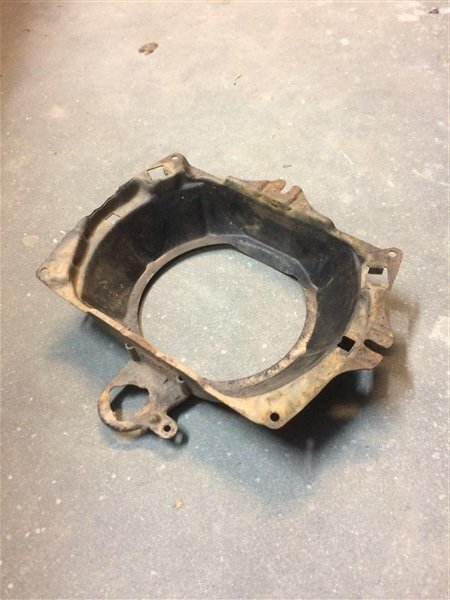
I wanted to fit the headlights next but discovered my new headlights dont fit the original, UK spec, electronically adjustable headlight mounts. :angry-screaming:

IMG_4997.jpg

IMG_4998.jpg

So new ones will have to be ordered.

I kept bolting more bits on and even managed to get the bonnet back on, on my own.

IMG_4999.jpg

IMG_5001.jpg

IMG_5003.jpg

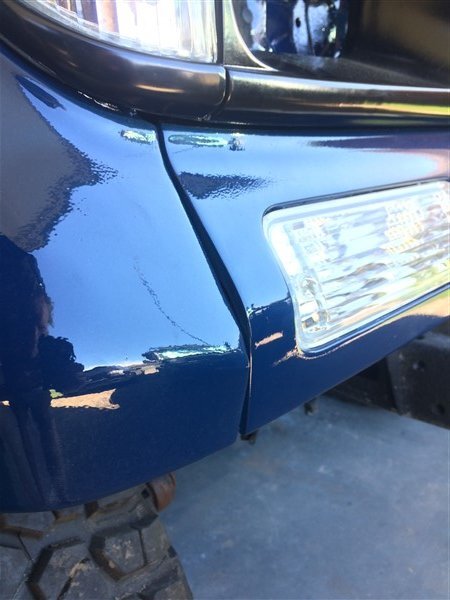
One area I managed to majorly f*** up was the front of the drivers side guard where I had to fill. I didnt even think to try it against the other panel when I was filling and sanding to see if I had the profile right. :icon-redface:

IMG_5005.jpg

So this area will need some more work.

IMG_5008.jpg

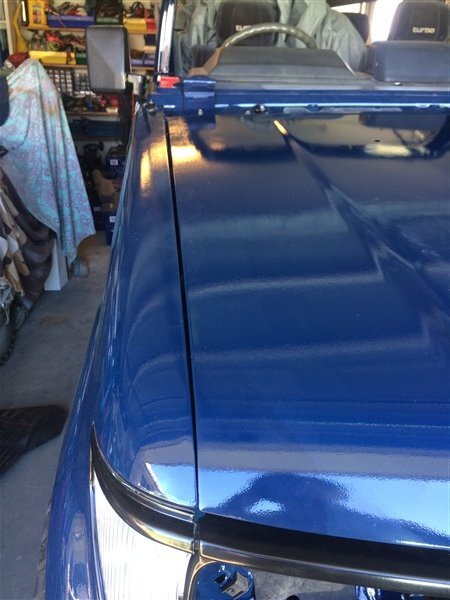
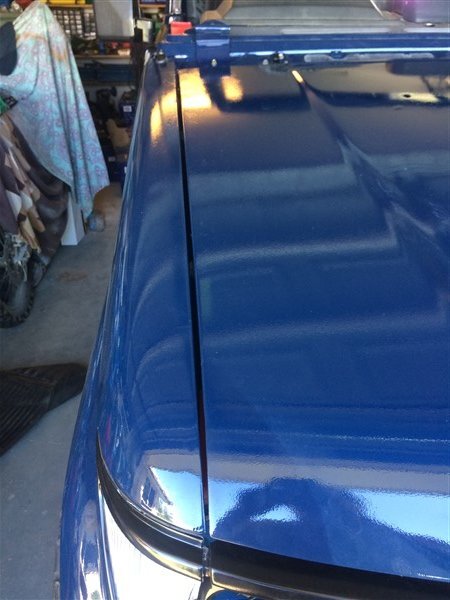
Another area that caused me dramas was the bonnet gaps.

To start with I couldnt manage to adjust the bonnet on the hinges to have a nice gap at the bottom, where it meets the drivers side guard. :thumbdown:

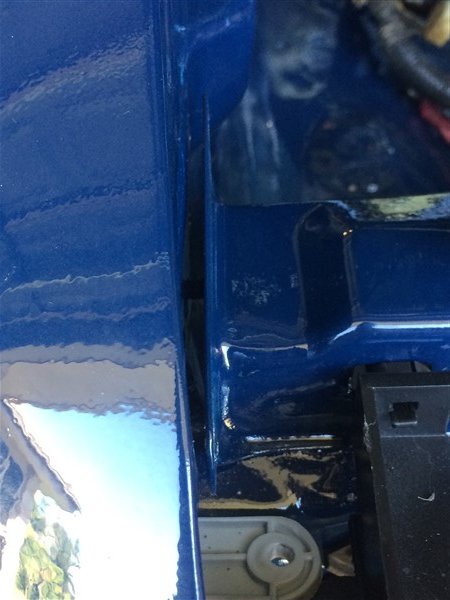
The bottom of the bonnet was actually 5mm over the bottom edge of the guard, the pic below is after removing the bolts I mention below. :|

IMG_5009.jpg

I had noticed when bolting this side to the rad support panel that it needed pulling in quite a bit when fitting it. So by undoing those bolts and allowing it to spring back out I was able to get good bonnet gaps. :shifty:

IMG_5011.jpg

IMG_5012.jpg

And I found that by inserting a 5mm packer.

IMG_5014.jpg

I was able to get a much better gap.

IMG_5013.jpg

After giving it some thought I remembered that this rad support panel came off a vehicle that had been rolled and had hit the passenger side guard, so this rad support panel is bent. :doh:

I will keep my eye out for another and change it at some point.

For now I will make a neat alluminium spacer, 5mm thick and the perfect shape, paint it blue and bolt that in. :shifty:

Next update is the big reveal! :dance:
 
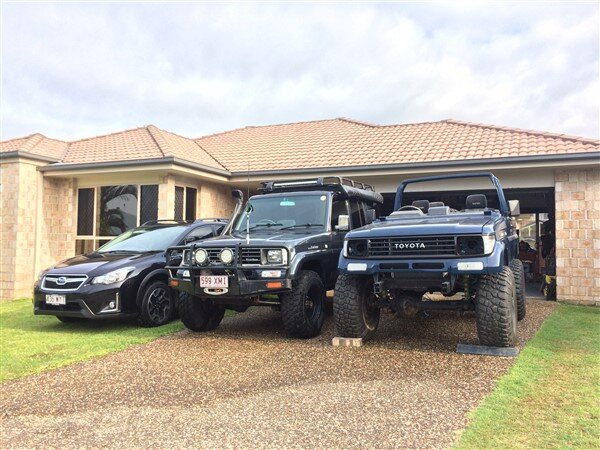
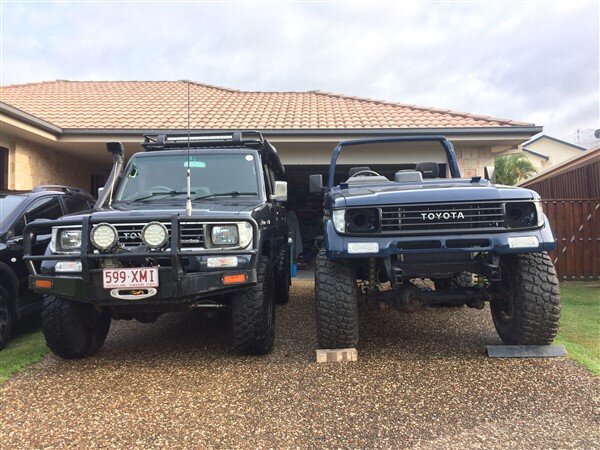
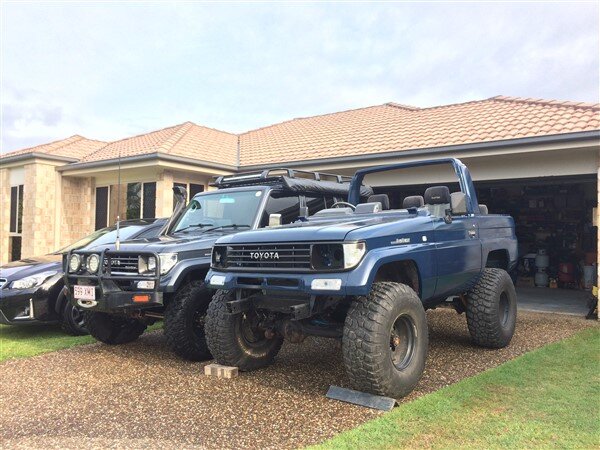
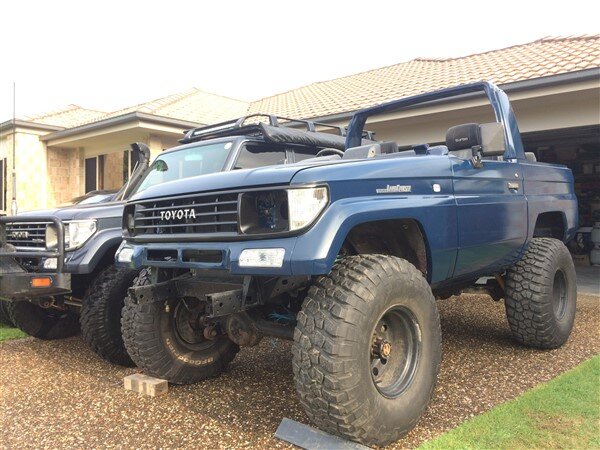
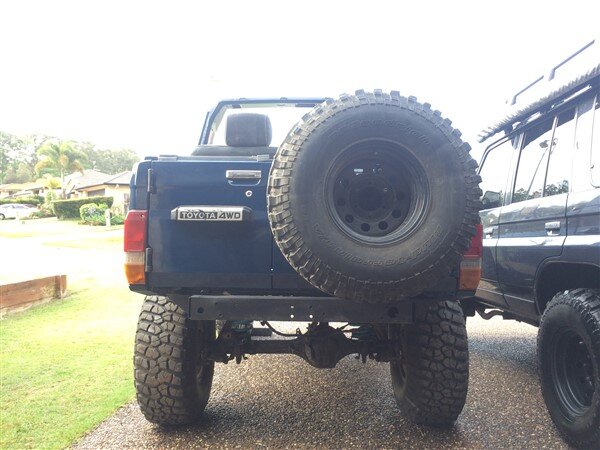
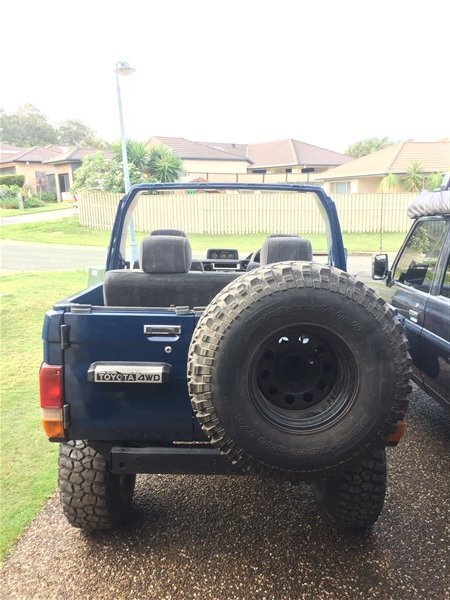
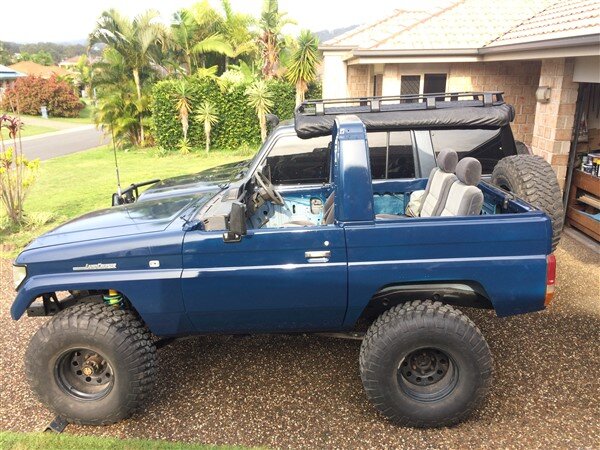
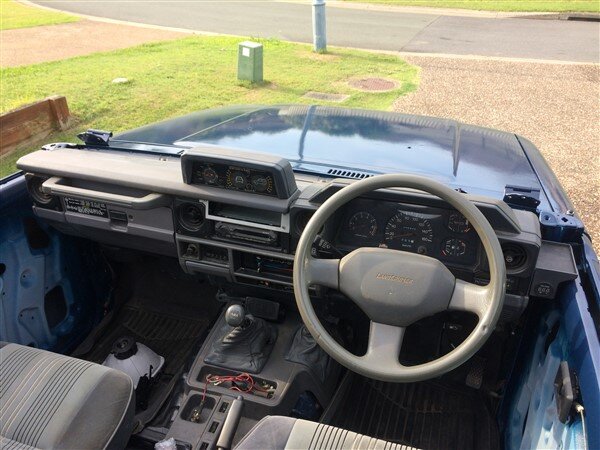
Saturday morning I got the rest of the fleet washed and then got LJ out for some photos. :banana-dreads:

IMG_5063.jpg

IMG_5039.jpg

IMG_5043.jpg


IMG_5040.jpg

IMG_5034.jpg


IMG_5046.jpg

IMG_5048.jpg

IMG_5064.jpg

IMG_5067.jpg

IMG_5050.jpg

IMG_5052.jpg

IMG_5053.jpg

IMG_5054.jpg

IMG_5055.jpg

IMG_5057.jpg

I then went out and picked up an essential item I still needed for this build. :shifty:

As I'm building this as a rock crawler theres a few essentials every road legal rock crawler needs. :icon-twisted:

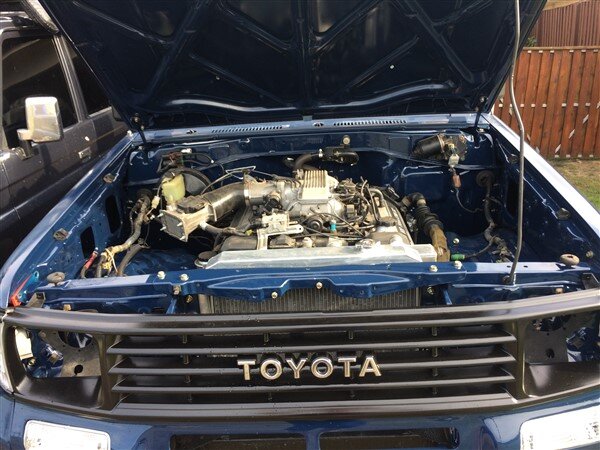
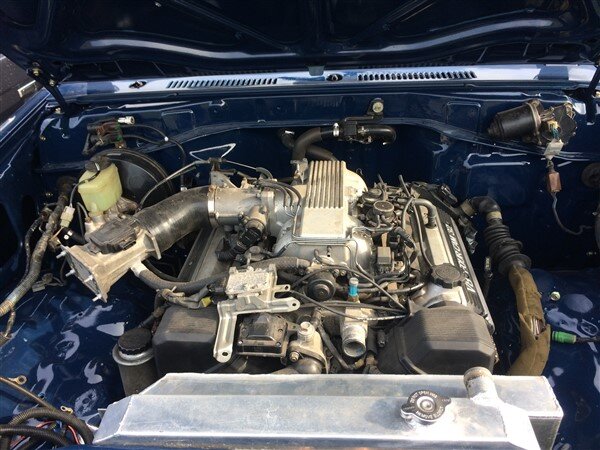
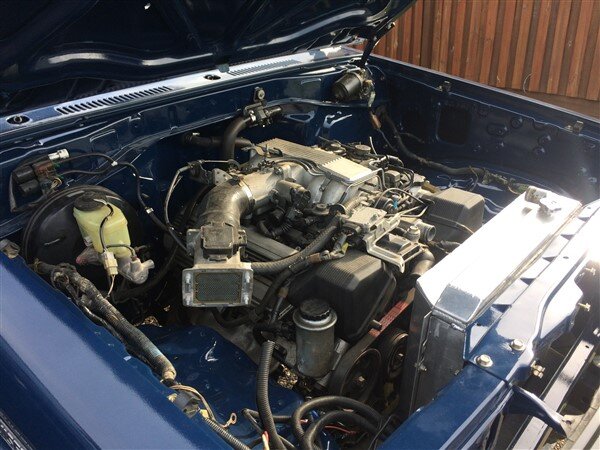
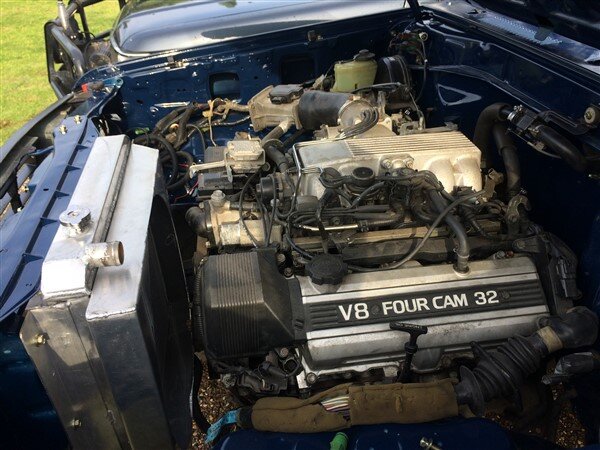
I already had big tyres, diff locks, a tricked up Warn 8274 winch and a nice powerful engine. :character-beavisbu:

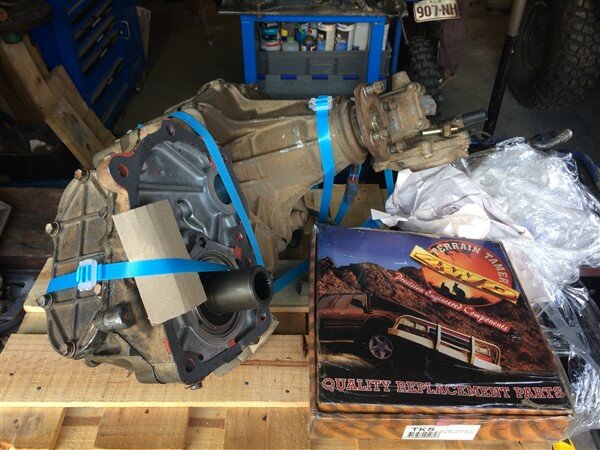
But I still needed lower low range gears in my transfer case.

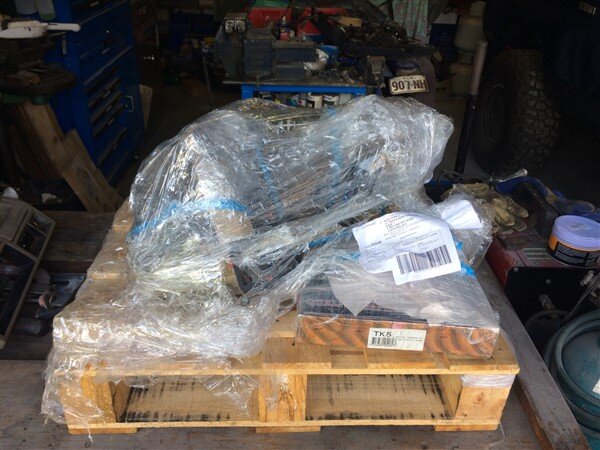
So I picked up a transfer case with Marks Adaptors 55% low range reduction gears fitted, so LJ will finally be able to crawl! :icon-cool:

IMG_5073.jpg

IMG_5074.jpg
 
Last edited:
Lookin' good Ben. I reckon 'Mini Me' will be late arriving, so you might have a bit more time than you thought. :) You'll be able to get some lay ins once he arrives. :lol:
 
Fcuking ICE COOL lad:character-blues::character-blues::character-blues::clap::clap::clap:. It's the type of truck you should enter into shows aswell. She'd clean up; a genuine hard core off roader that' looks like Mr toyota intended
 
Still no sign of the boy, which is frustrating because hes my ticket out of this place (work)! :shifty:

Due tomorrow, but potentially could be another week or 2 before they induce her. :doh:

With LJ almost assembled to a point where it can go into a container for the big move South and no sign of my son, I'm going to start repairing the windscreen surround today and other rotten soft top parts like the 2 roof sections that go between the A and B pillars and the tops of the front doors which I've found some rot in. :icon-biggrin:

Lookin' good Ben. I reckon 'Mini Me' will be late arriving, so you might have a bit more time than you thought. :) You'll be able to get some lay ins once he arrives. :lol:

Thanks mate. :thumbup:

Providing hes into the stuff I'm into...............

I will have him welding and driving by 12! :icon-twisted:

But then again, he could be into computer games and football and things like that, which is OK. :shifty:

If thats the case, hopefully boy number 2 will share my hobbies. I've told the Mrs we need 2 boys anyway, as boys do silly things and its important to have a back up! :lol:

Fcuking ICE COOL lad:character-blues::character-blues::character-blues::clap::clap::clap:. It's the type of truck you should enter into shows aswell. She'd clean up; a genuine hard core off roader that' looks like Mr toyota intended

Thanks mate. :thumbup:

Cant wait to get it finished! :dance:

Its going to look awesome when its finished with all the bar work and roll cage. :icon-twisted:

I entered LJ into the National Indoor 4x4 show in the UK years ago and got a prize. :icon-cool:
 
Good work Ben, looking fantastic! Just wondering what compressor and air gun do you use? The finish looks great...
 
I reckon the little man's arrived. Haven't heard a peep from @Ben all week. Mind you, he could just be full on cruiser building still! :think:
 
Back
Top