Don't like the adverts?  Click here to remove them

LJ70 Build Thread!

Long time no update.......................

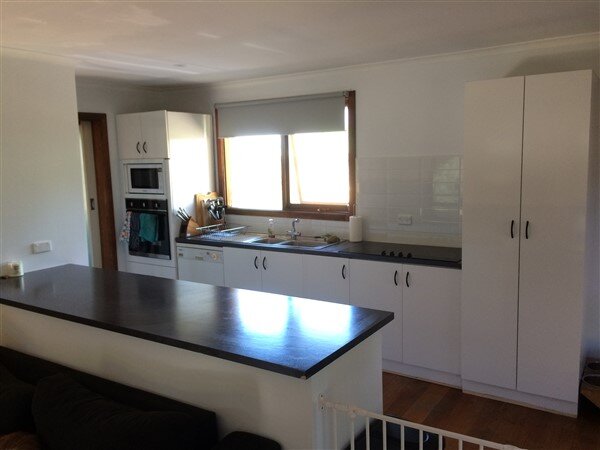
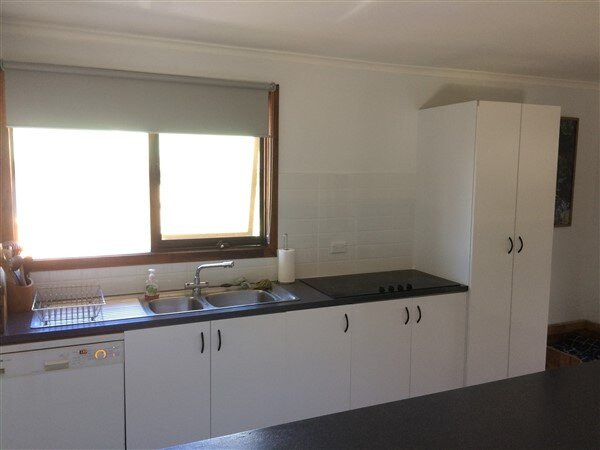
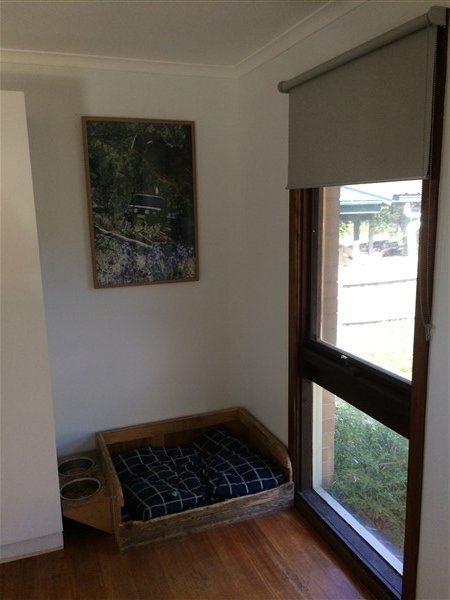
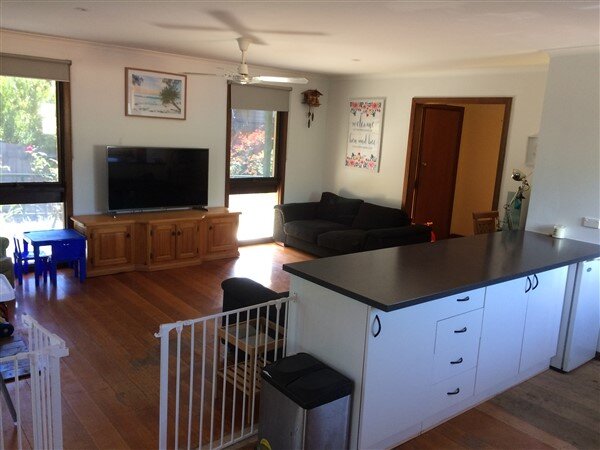
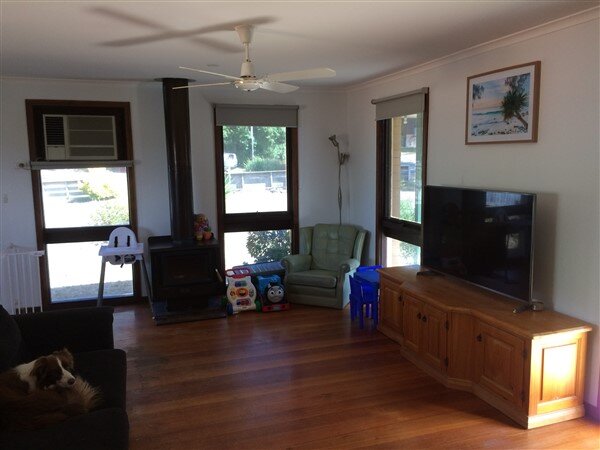
The kitchen is 99% finished and I've now decorated the lounge and kitchen. :icon-cool:

And tinted all the windows with mirror tint, no horrible net curtains here! :shifty:

IMG_5071.jpg

IMG_5073.jpg

IMG_5072.jpg

IMG_5076.jpg

IMG_5074.jpg

IMG_5065.jpg

I think its come up alright for an $800 second hand kitchen, obviously not perfect but its only got to last a couple of years hopefully. :icon-biggrin:

IMG_5070.jpg

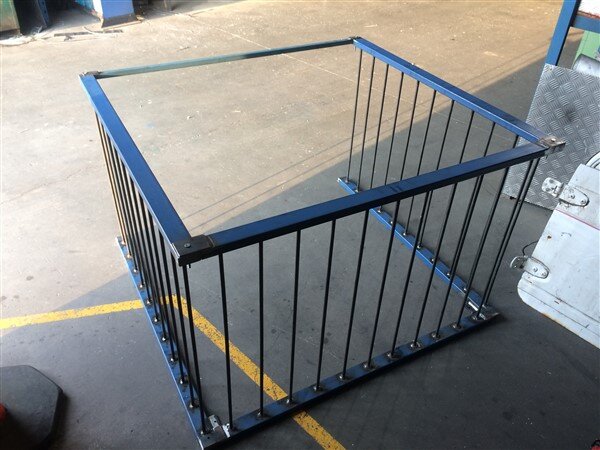
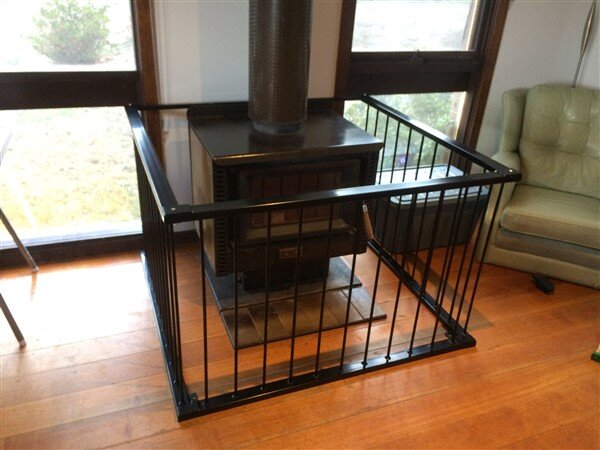
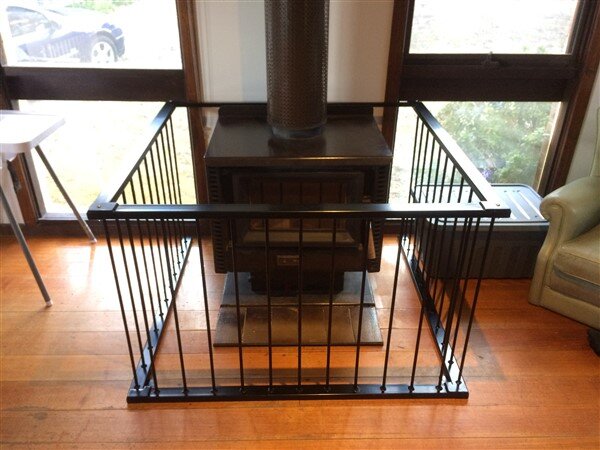
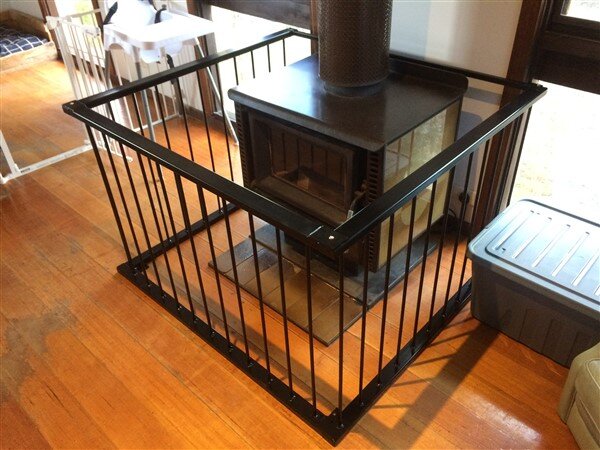
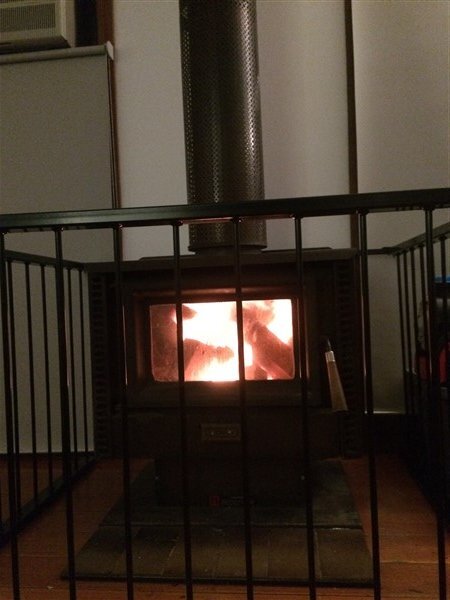
With Winter fast approaching I needed to make a fire guard to keep my little boy safe.

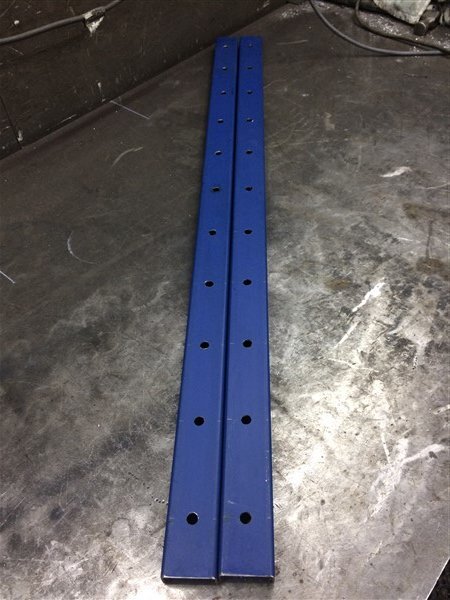
So I cut and drilled 6 lengths of box section steel.

IMG_5030.jpg

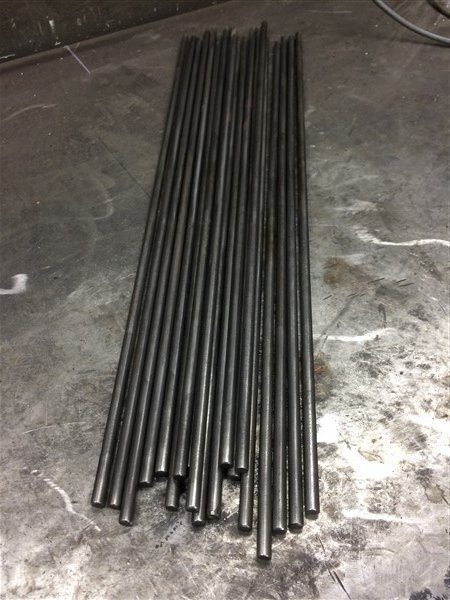
Cut a load of 1/2" rod.

IMG_5031.jpg

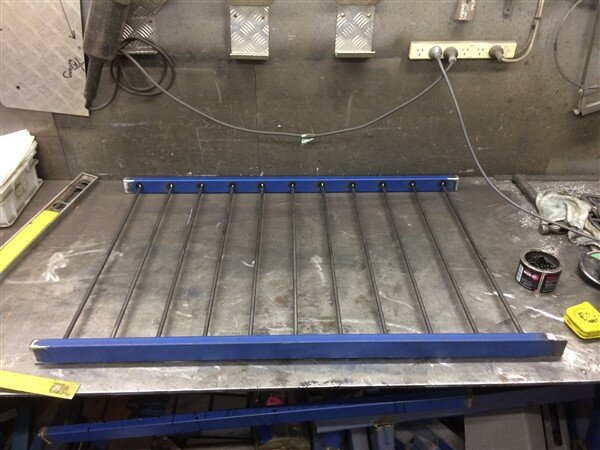
And welded it all together to make 3 panels.

IMG_5034.jpg

Which all bolt together to form a cage.

IMG_5047.jpg

I got them powder coated black and then screwed them in position.

IMG_5081.jpg

IMG_5082.jpg

IMG_5083.jpg

I bought a chimney brush and swept the flew and then it was just a case of waiting for some cold weather.......

Which came this weekend with Melbournes coldest May day in 40 years.

So this morning I finally got to light it! :icon-twisted:

IMG_5150.jpg

IMG_5148.jpg

Outside we've been waking up to some spectacular sun rises over the valley.

IMG_5058.jpg

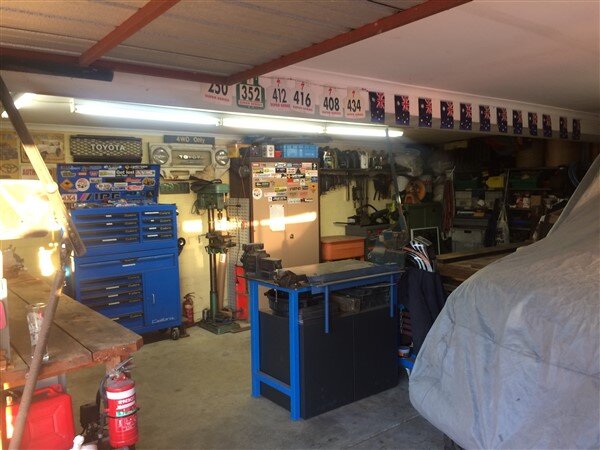
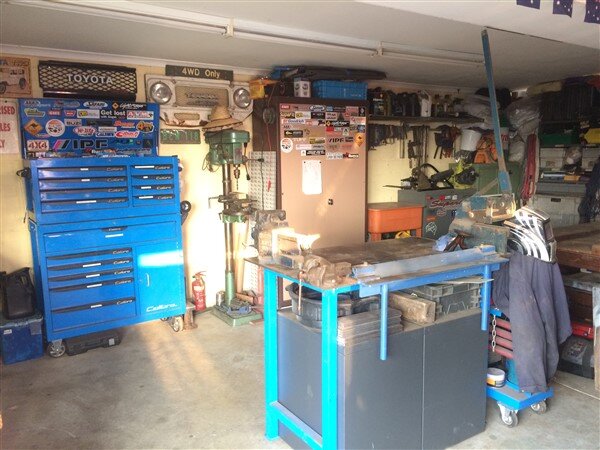
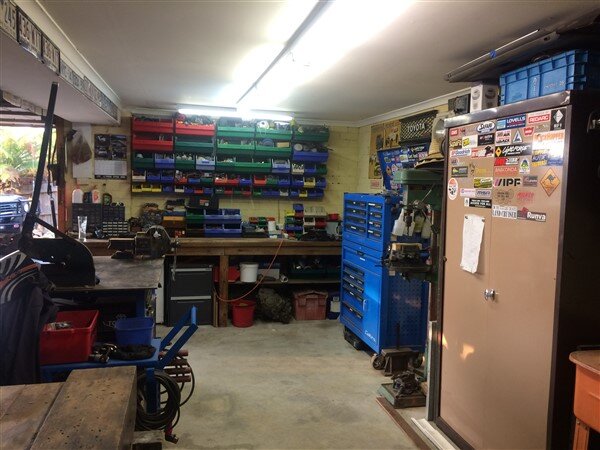
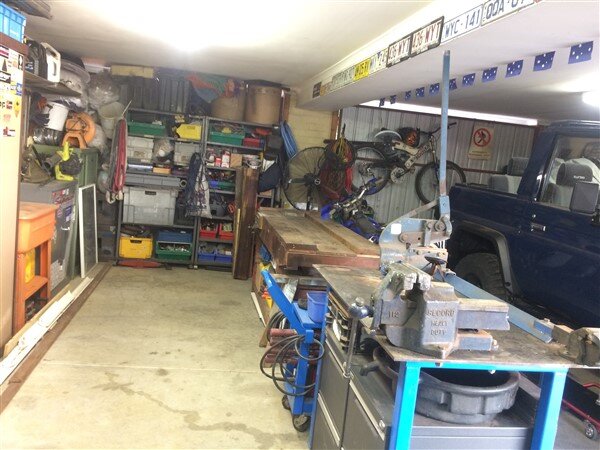
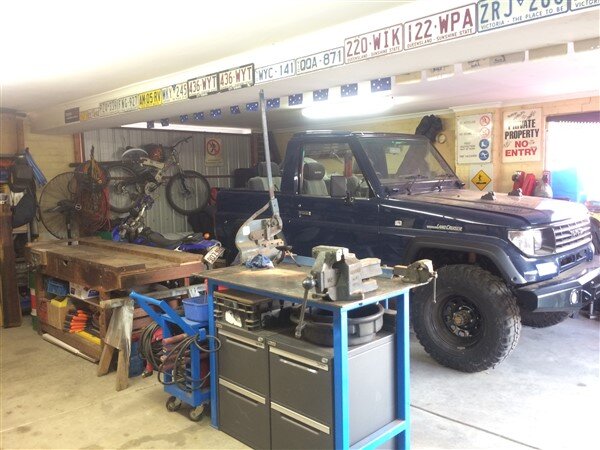
And the garage/workshop is really taking shape!

IMG_4610.jpg

IMG_4657.jpg

IMG_4656.jpg

IMG_4661.jpg

IMG_4663.jpg

IMG_4664.jpg

I've been doing a bit of work on LJ, but I will update on that next time when I hopefully finish it.

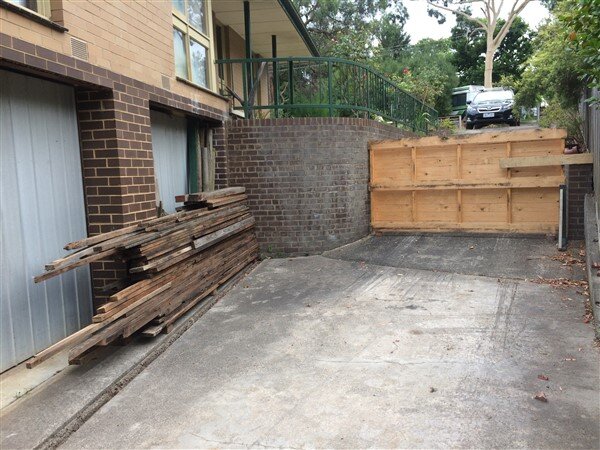
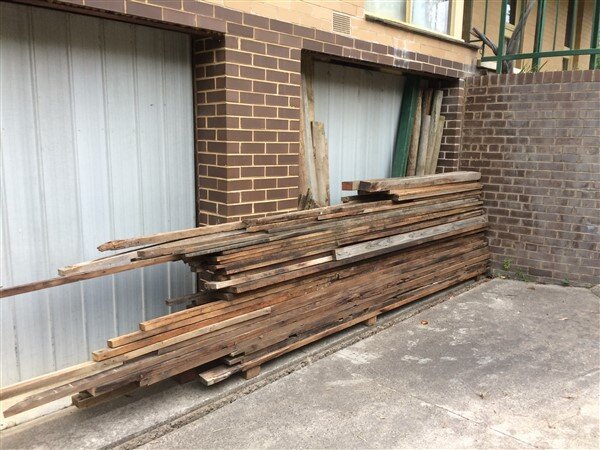
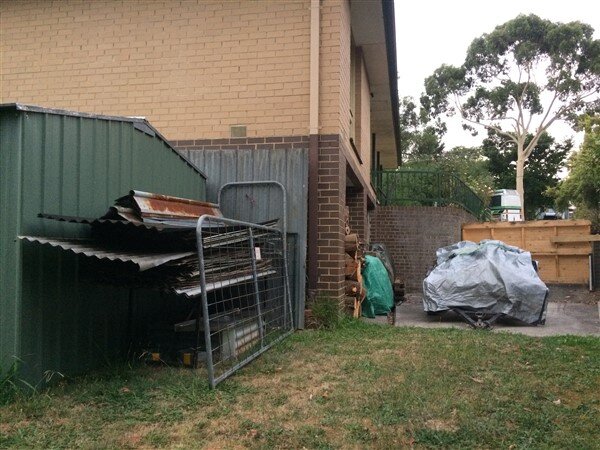
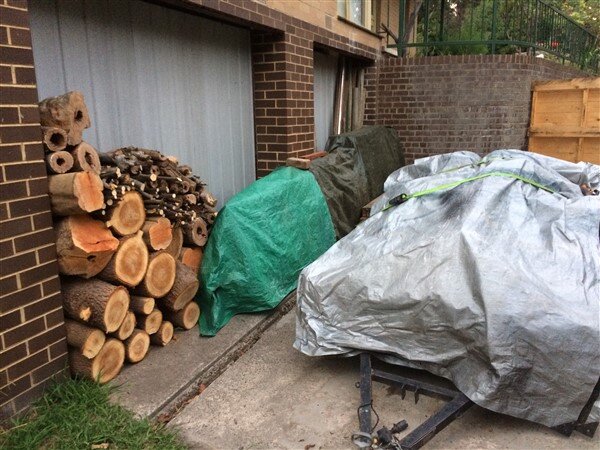
Round the corner from the garage I've stacked all the Australian hardwood that I salvaged from the old garage and sheds and then de-nailed.

That will get used to build a new garage down the garden over the next few months.

IMG_4085.jpg

IMG_4086.jpg

Thats all been covered with a tarp to keep it dry.

IMG_4285.jpg

And in front of that I've started stacking more fire wood. On the back of the new garage will be a wood shed so ultimately it will all get moved there and I can clean this whole area up.

It all looks a bit of a mess at the moment but I needed everything out of the garden so the retaining walls can go in and I needed to leave plenty of room for the trucks to tip the hundred+ cubic meters of dirt I will need.

IMG_4287.jpg

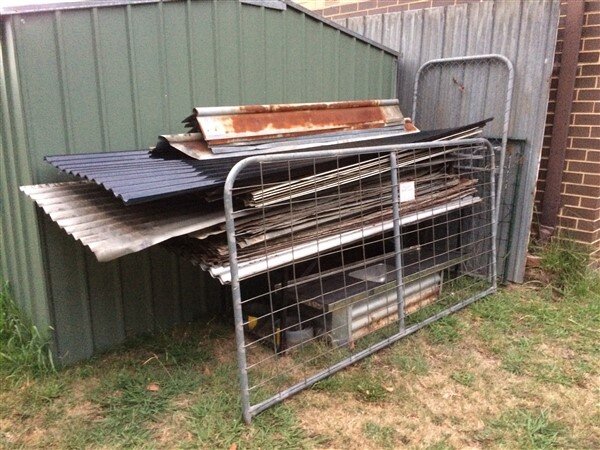
Behind that I've got all the tin sheets I salvaged from the old sheds and garage and a load of laser light I acquired, so I'm hoping I will have enough materials now to build a good size garage down the garden.

IMG_4286.jpg

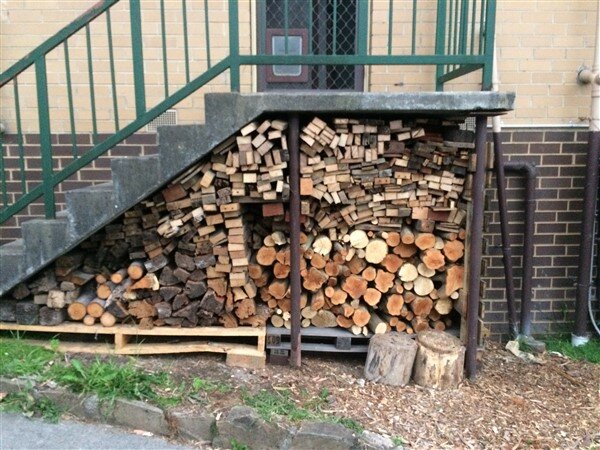
The wood store under the back steps is now full but that will all get burnt over the next few months.

IMG_4289.jpg

I've been busy making and selling more of the 1KZ engine conversion adapter kits which allow people to bolt a 1KZ engine straight into an LJ or RJ chassis without any welding, cutting or drilling.

I've sold about 10 sets now and have sent them all around the world.

IMG_3963.jpg

IMG_3967.jpg

I finally got myself an Aussie passport! :flags-australia:

IMG_5135.jpg

And it even has a 70 series LandCruiser on one of the pages! :icon-cool:

This really is LandCruiser country! :dance:

IMG_5133.jpg

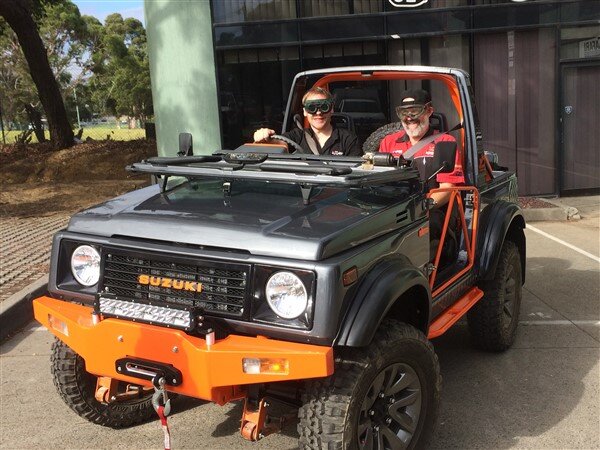
Some of you may remember the Suzuki Sierra (SJ413) I built last year as a display car.

We called it Jaffa as all the parts we make and sell we got powder coated a nice bright orange.

IMG_5108.jpg

We finally took it for a drive with the windscreen folded down this week.

IMG_5111.jpg

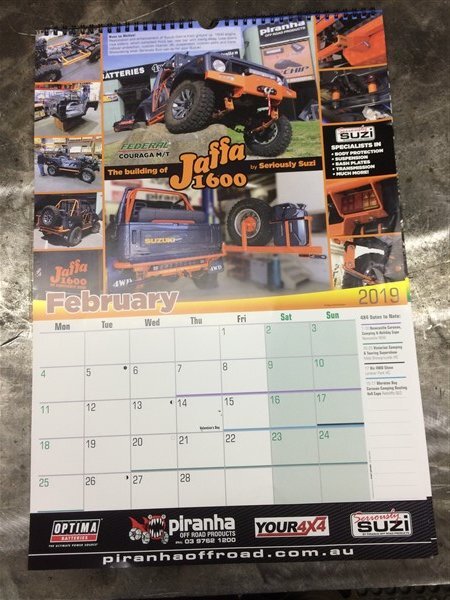
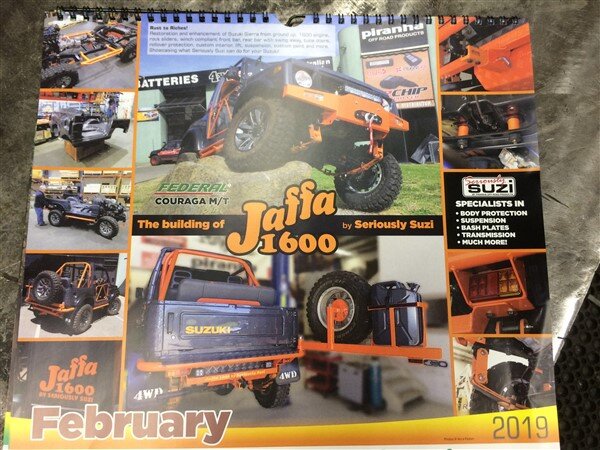
My boss was thrilled with how good it came up and it even made this years calendar!

IMG_5113.jpg

IMG_5114.jpg

Anyway.....................

We built it as a display car and we never had any intention of selling it but I knew we would have people coming in trying to buy it so I told my boss we needed to come up with a "We dont want it sell it price"

We settled on a crazy $30k!

Well this week it sold for $30k! :wtf:

Which will buy us one of the brand new ones when we can get one as demand worldwide has massively beaten supply so there is currently a 12 month + wait!

In the mean time we're already busy planning Jaffa II which we will start over the next few months. :icon-cool:

Work has been progressing very well on the airboat project but that demands an entire update all of its own, I've been doing that much work on it!

More soon. :thumbup:
 
Don't like the adverts?  Click here to remove them
Remind me not to show this thread to the wife, still haven't hung a picture she got last year :lol:

Great work as always, kitchen looks spot on.

:lol:

Thanks mate. :thumbup:

I'm really pleased with it and as I did everything myself, from plumbing, electrics, tiling, plastering, painting and obviously the carpentry, we saved quite a bit of money. :dance:
 
Remind me not to show this thread to the wife, still haven't hung a picture she got last year :lol:

Great work as always, kitchen looks spot on.
Not just me feeling a tad guilty then. Got lots of plans and just getting the enthusiasm to do something towards getting the inside of the bungalow done. The sun helps…a lot but then the truck calls with a bit to do so that’s getting its handbrake cranks freed off today.

Keep going at it Ben for once you stop it can be hard to get started again.

That’s a fabulous place you’ve got there. I’m really envious of that garage/workshop. And everything else for that matter. Hope you’ve got great neighbours, that really helps.
 
Air Boat Build

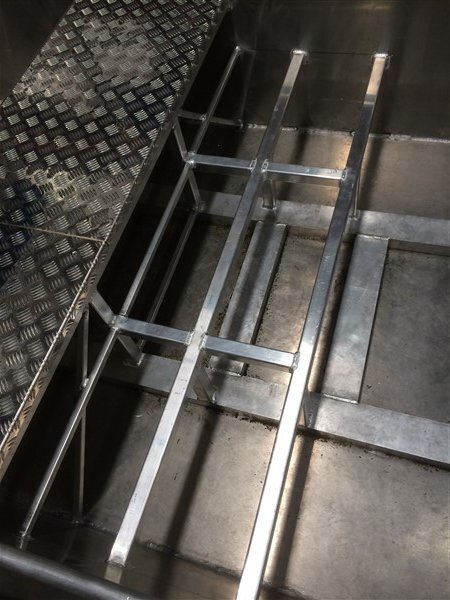
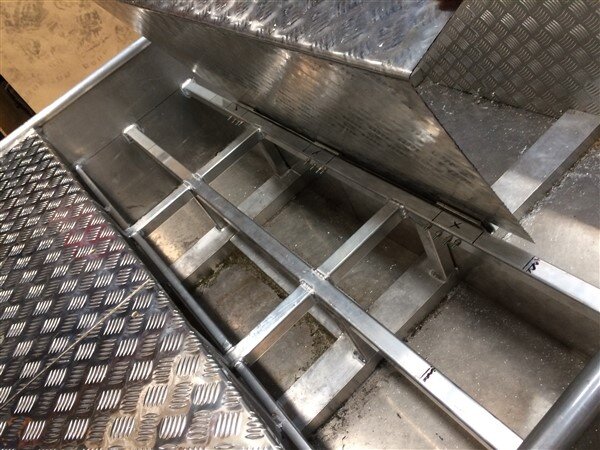
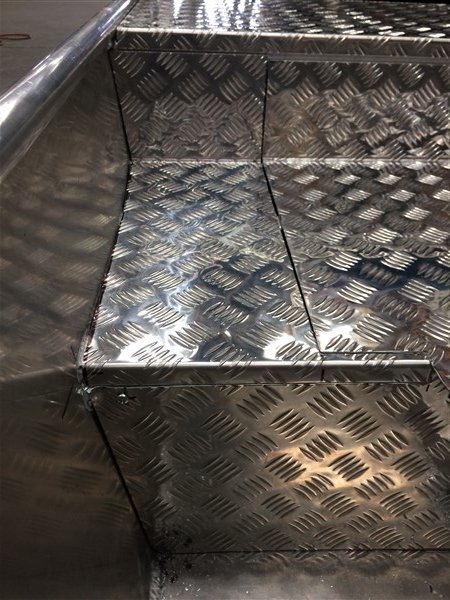
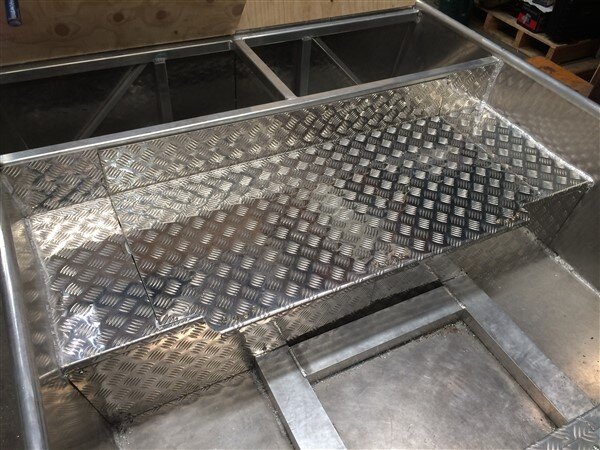
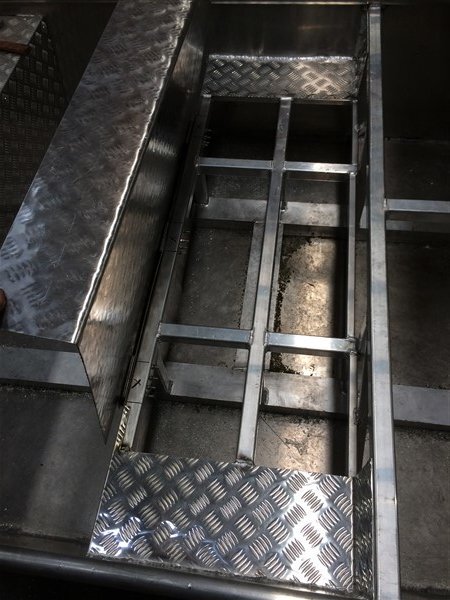
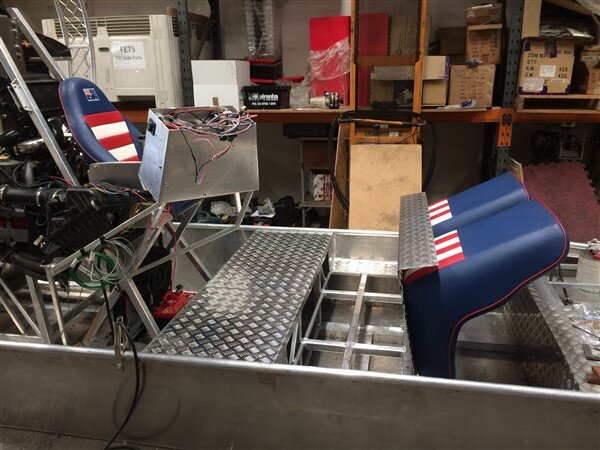
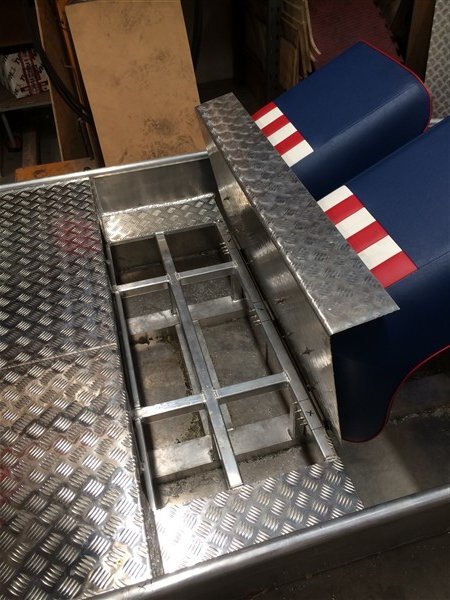
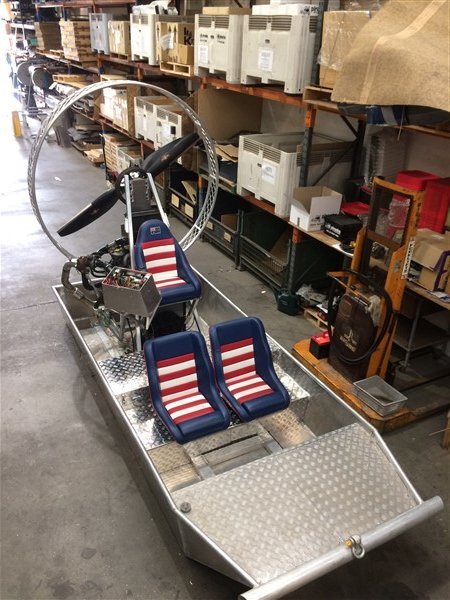
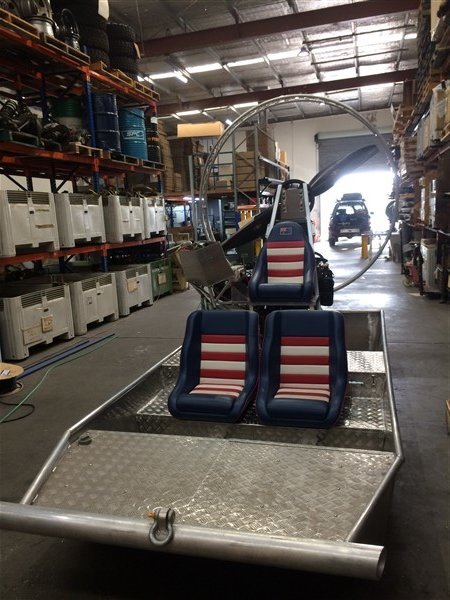
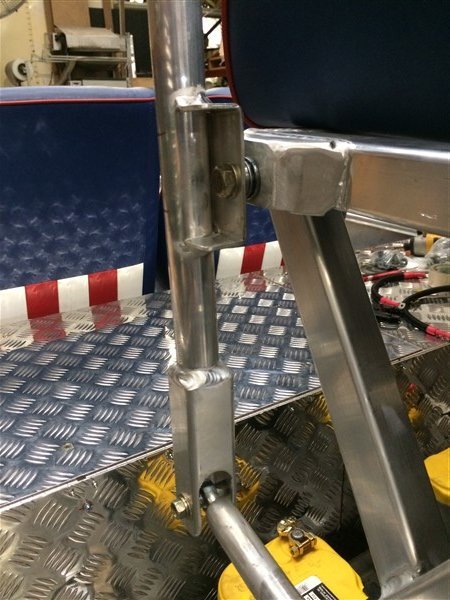
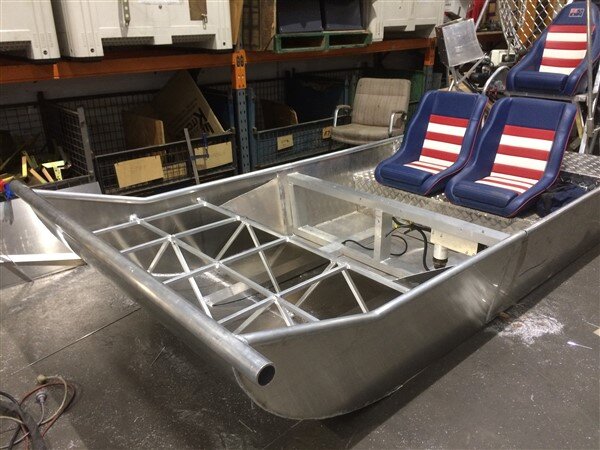
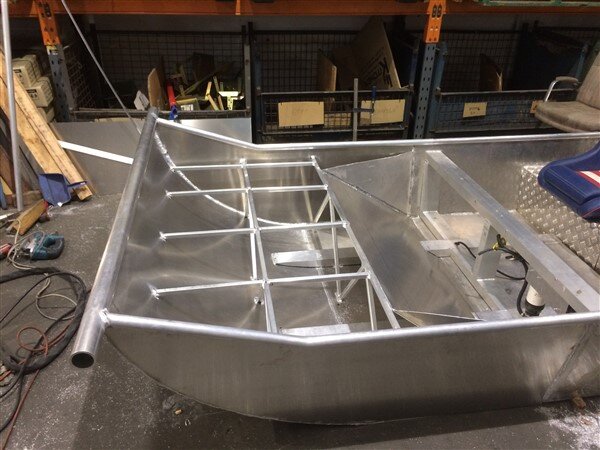
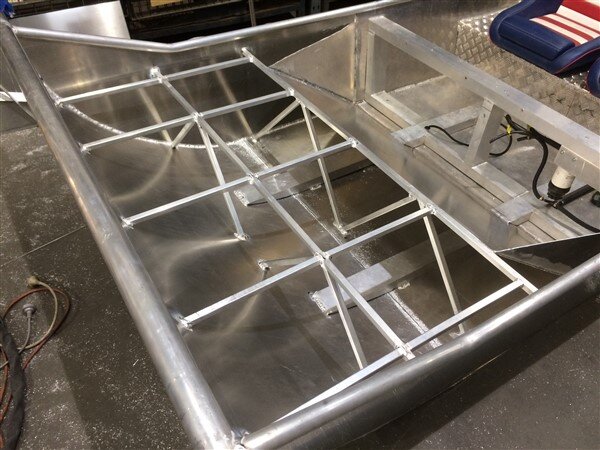
I built a structure in the centre of the hull to add a lot of strength and to help tie the sides of the boat together, but also for the front seats to mount onto, with storage below.

IMG_5006.jpg

IMG_5007.jpg

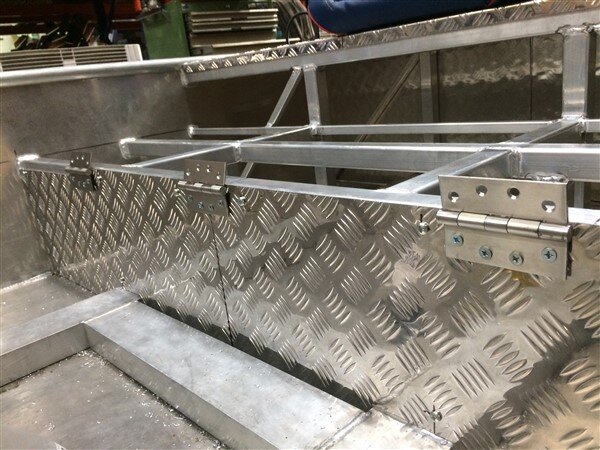
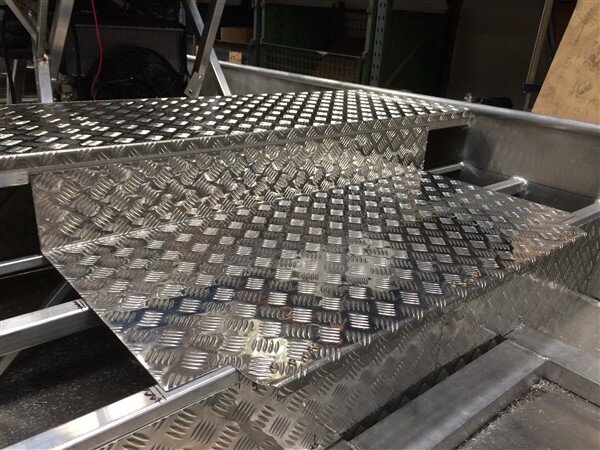
I added some checker plate and then bolted on some stainless steel hinges.

IMG_5010.jpg

And folded up some checker plate for the top which bolted to the hinges.

IMG_5012.jpg

IMG_5013.jpg

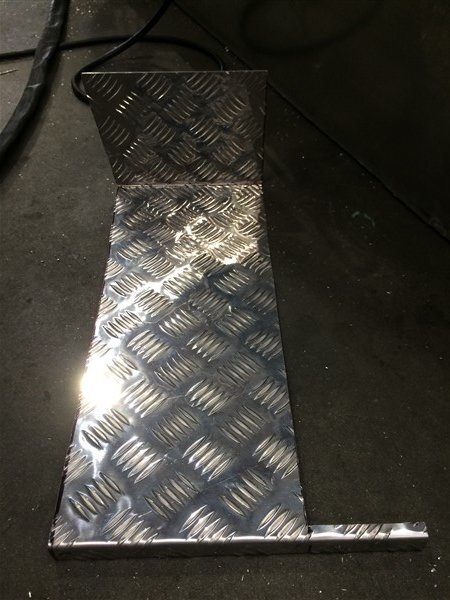
Cut and folded some checker plate for the sides.

IMG_5015.jpg

IMG_5016.jpg

IMG_5017.jpg

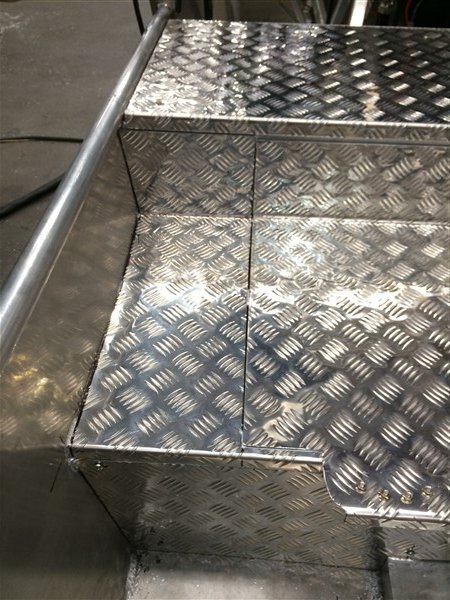
And welded them in.

IMG_5018.jpg

IMG_5019.jpg

IMG_5020.jpg

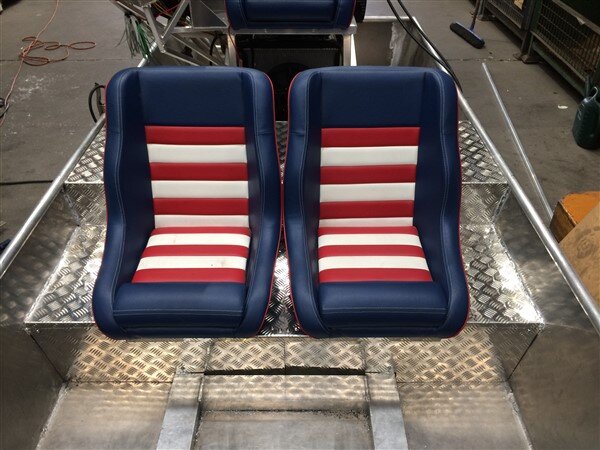
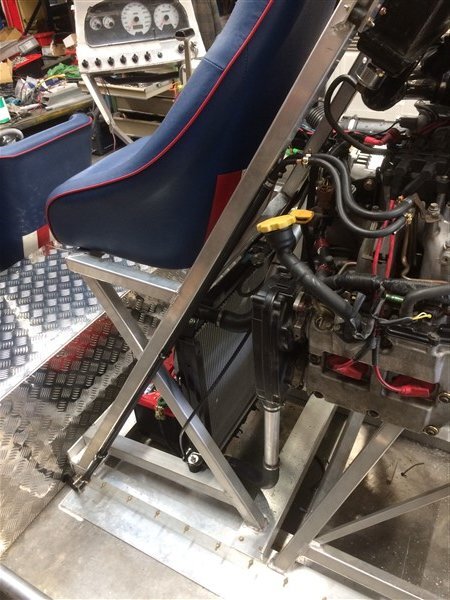
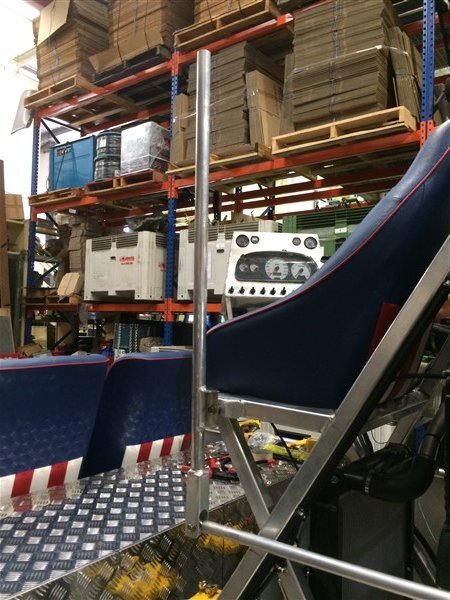
Bolted the front seats on.

IMG_5022.jpg

The fixed side sections will provide a useful step up to the captains seat.

IMG_5024.jpg

The front seats fold forwards to provide access to the storage box underneath.

IMG_5028.jpg

IMG_5027.jpg

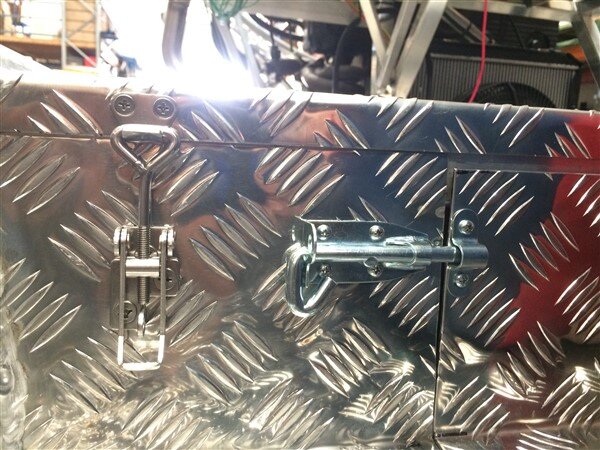
While catches and sliding bolts keep everything secured in position when moving.

IMG_5029.jpg

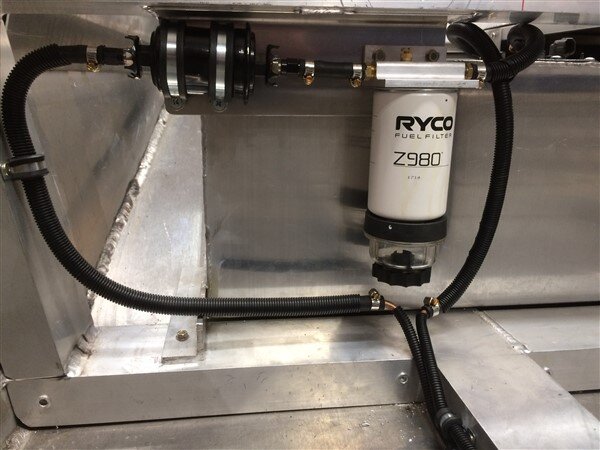
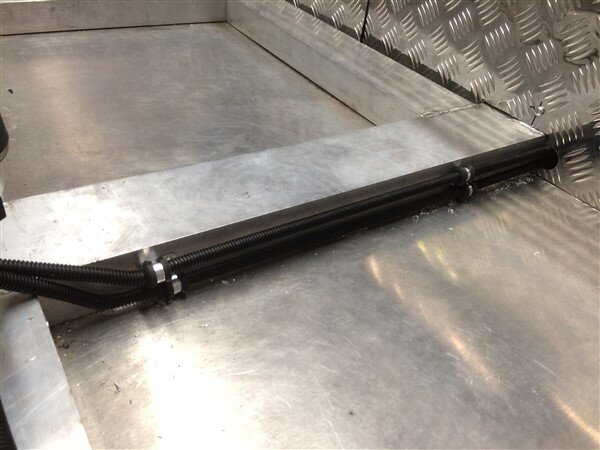
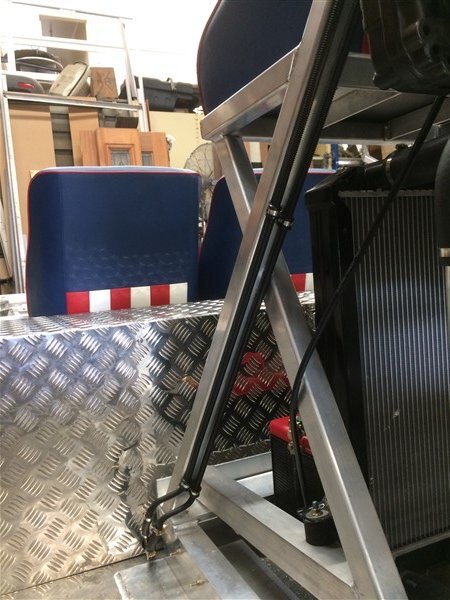
I mounted 2 fuel filters and ran hard fuel lines all the way back to the engine.

IMG_5036.jpg

IMG_5037.jpg

IMG_5039.jpg

IMG_5040.jpg

IMG_5041.jpg

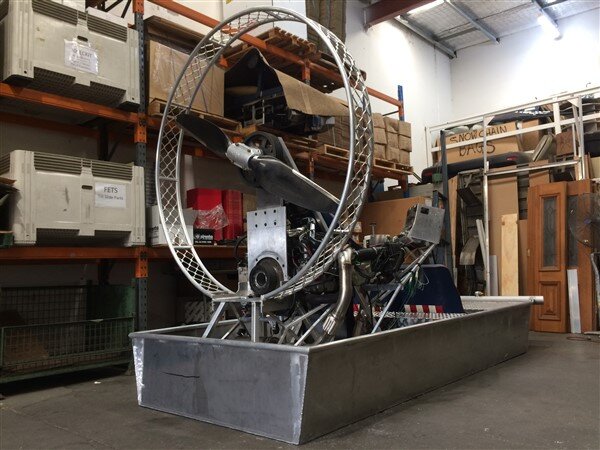
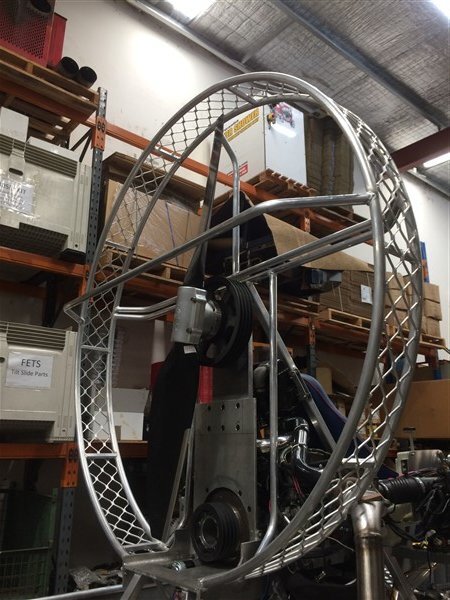
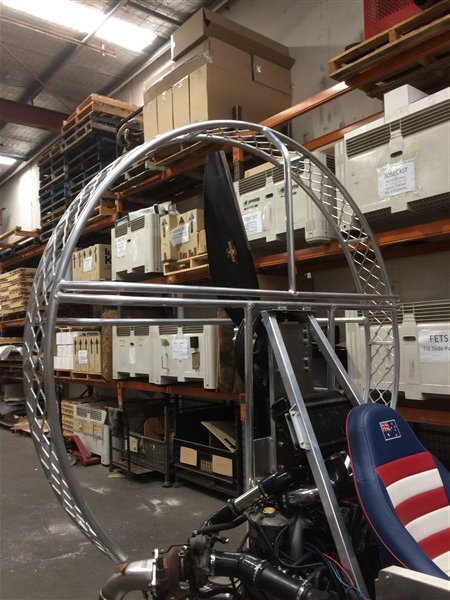
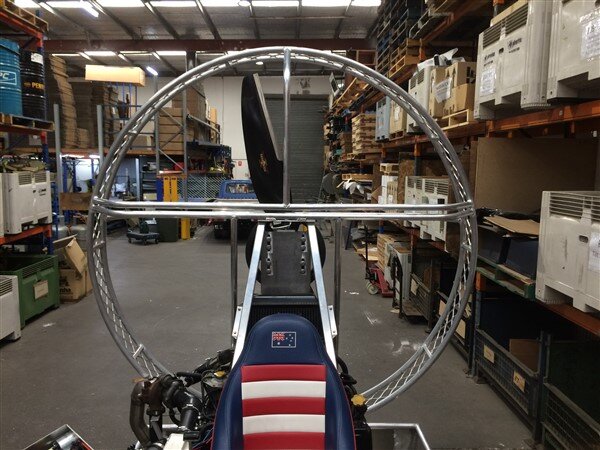
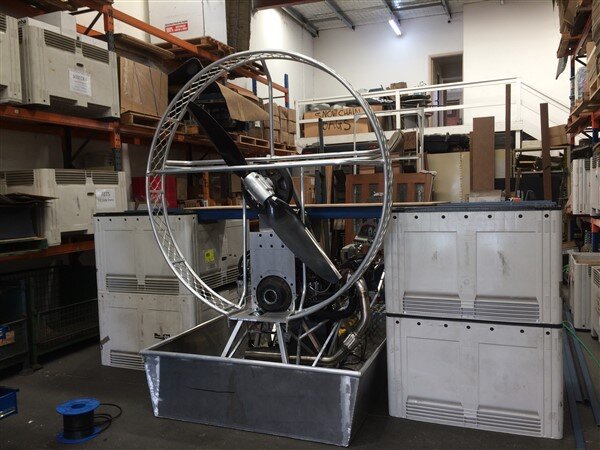
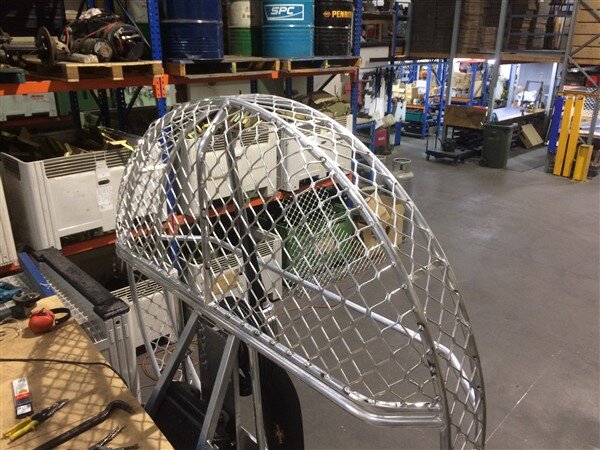
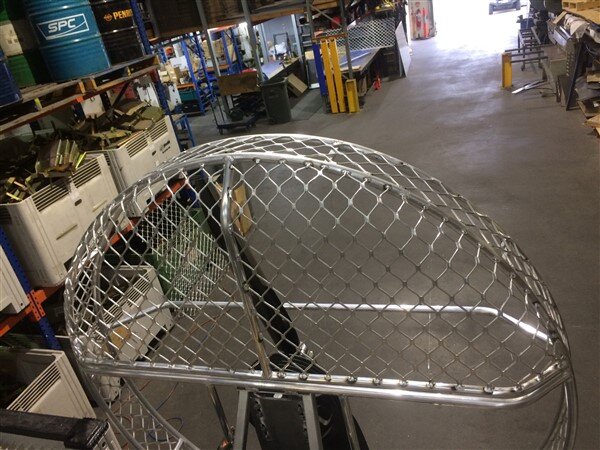
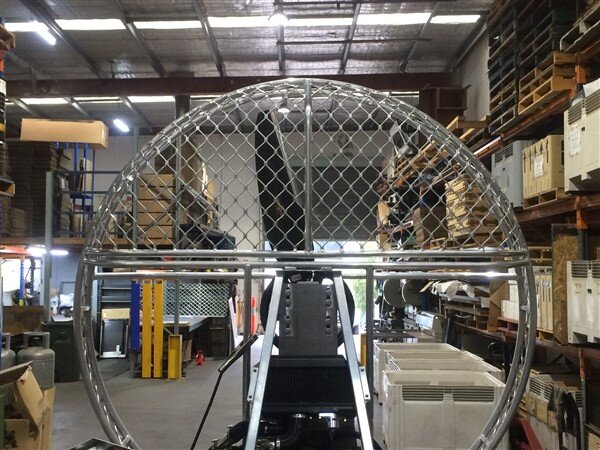
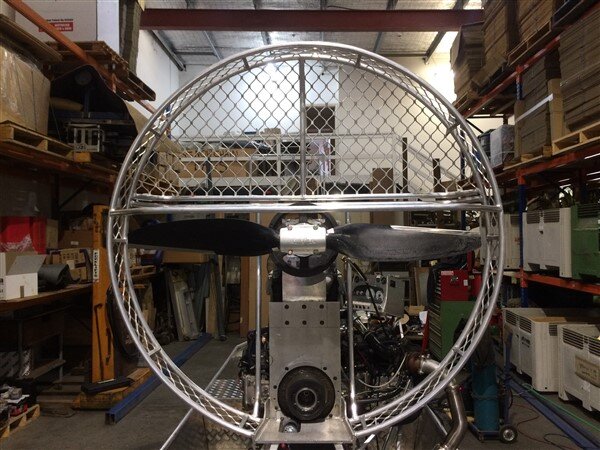
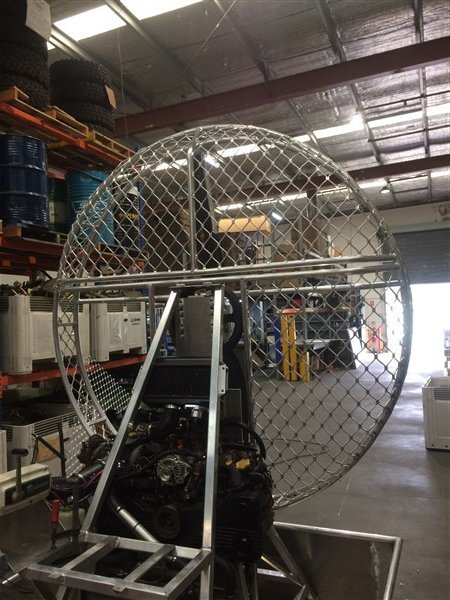
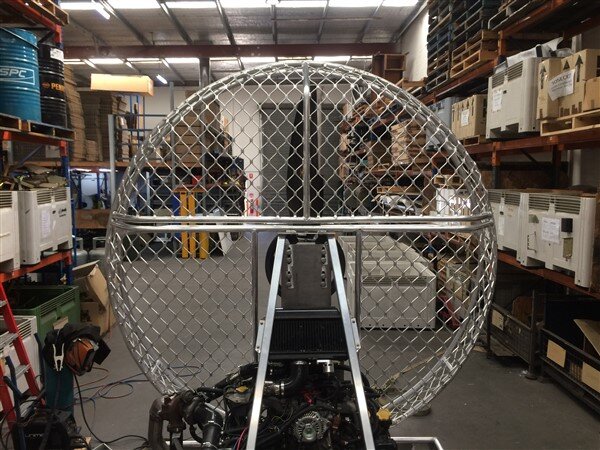
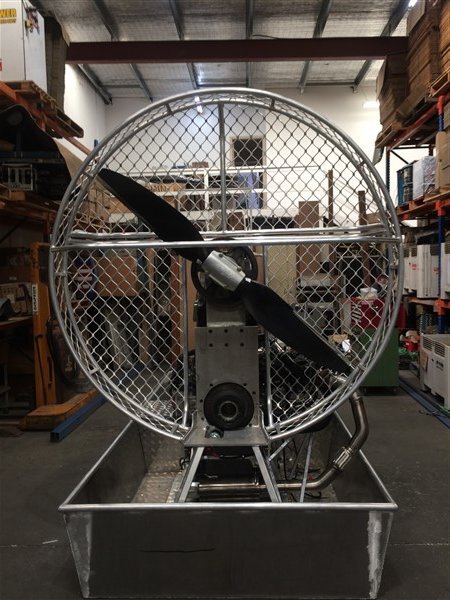
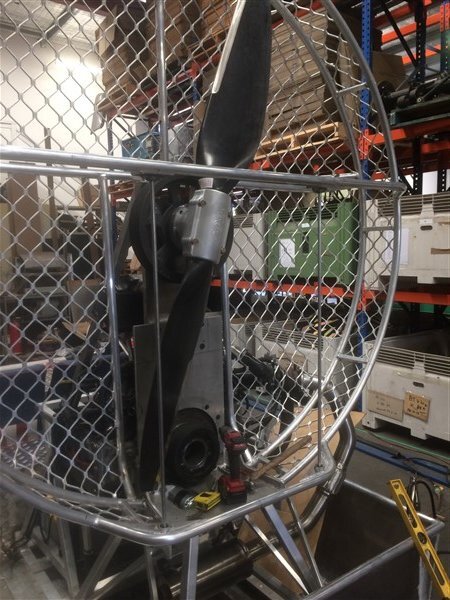
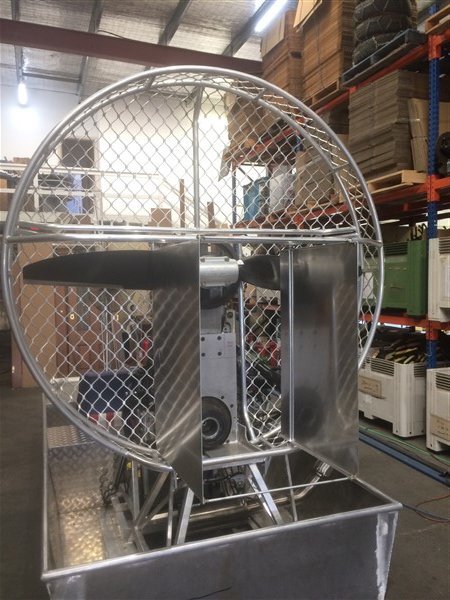
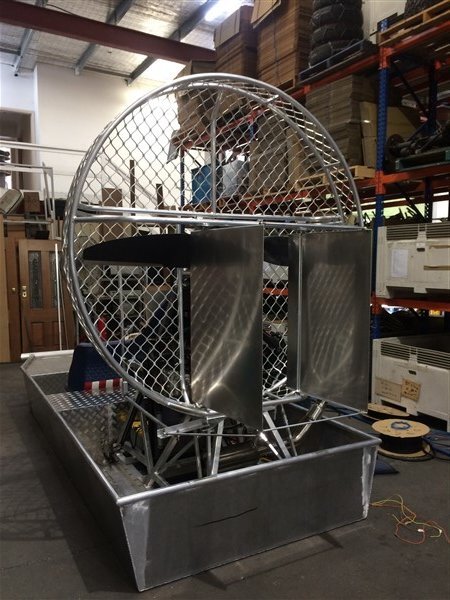
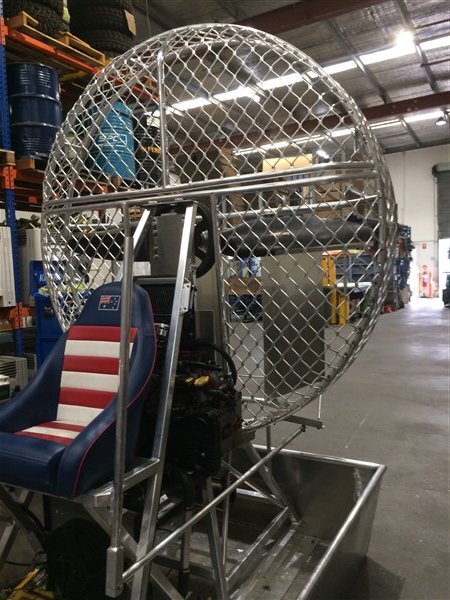
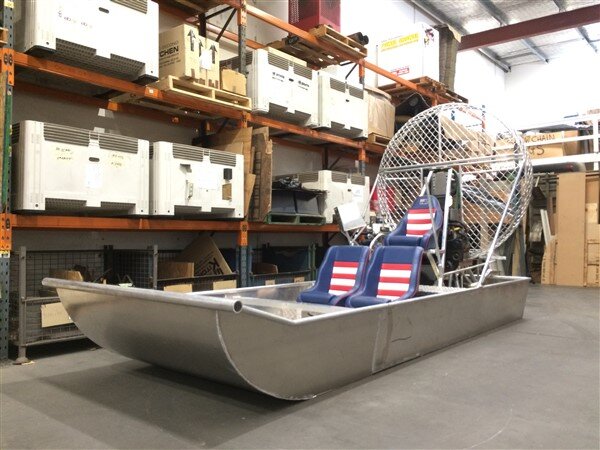
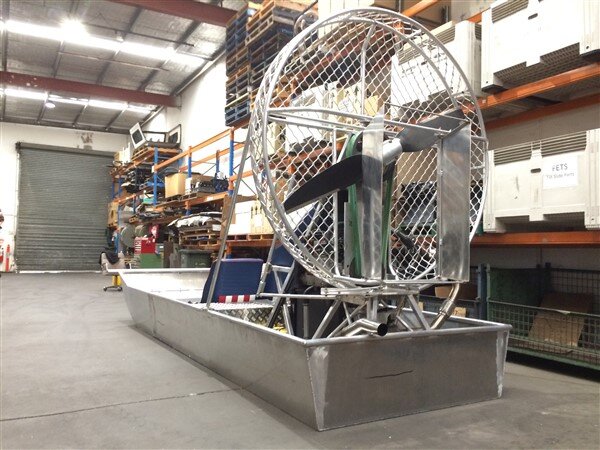
I rolled 2 full 6 meter lengths of 32mm alluminium tube into big hoops at a local 4wd fabrication business who specialise in roll cages.

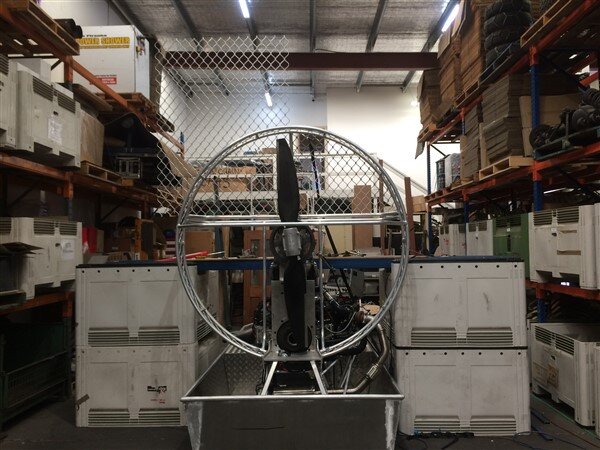
Then joined the 2 sections together with alluminium mesh and welded them on around the prop.

IMG_5043.jpg

The air boat was now starting to take shape.

IMG_5044.jpg

IMG_5045.jpg

I added more tube work to strengthen up the cage around the prop.

*The reason there are 2 tubes running horizontal one above the other is because that is where the cage will be cut so that during transport and storage the overall height of the vessel can be significantly reduced.

IMG_5088.jpg

IMG_5089.jpg

IMG_5090.jpg

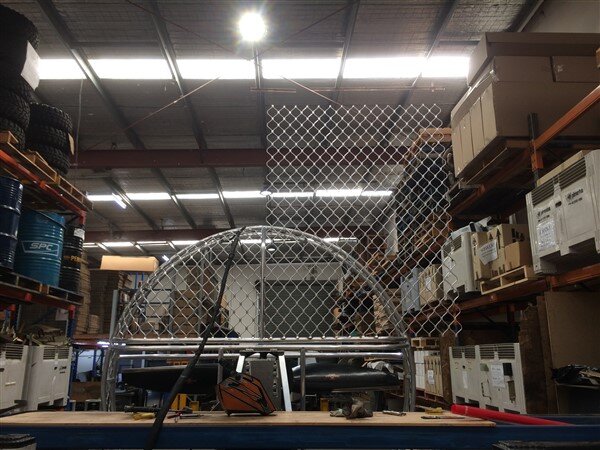
I set up some make shift scaffold.

IMG_5091.jpg

And began meshing the cage which proved surprisingly difficult because the mesh didnt want to bend in 2 directions as easily as I thought it would.

IMG_5092.jpg

IMG_5094.jpg

But eventually I got there!

IMG_5096.jpg

IMG_5097.jpg

IMG_5098.jpg

IMG_5099.jpg

IMG_5102.jpg

IMG_5103.jpg

IMG_5117.jpg

IMG_5119.jpg

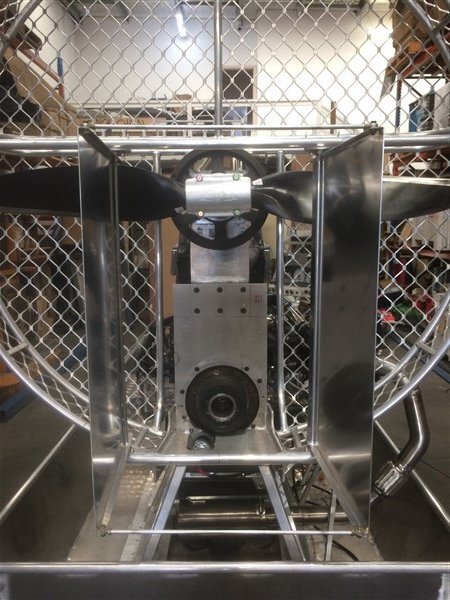
Next I needed to design and make the steering flaps.

With a few pics of US airboats and some youtube videos we came up with this:

IMG_5121.jpg

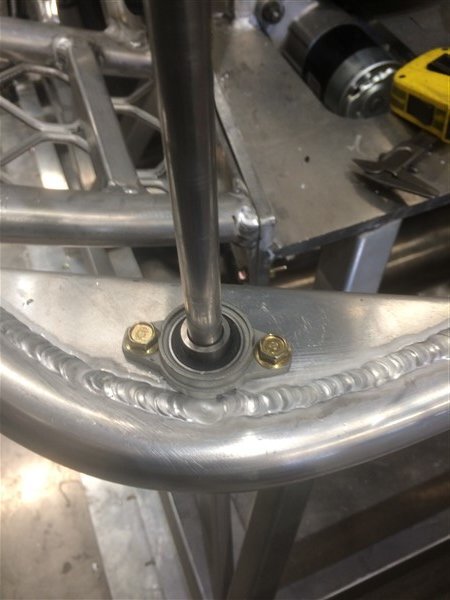
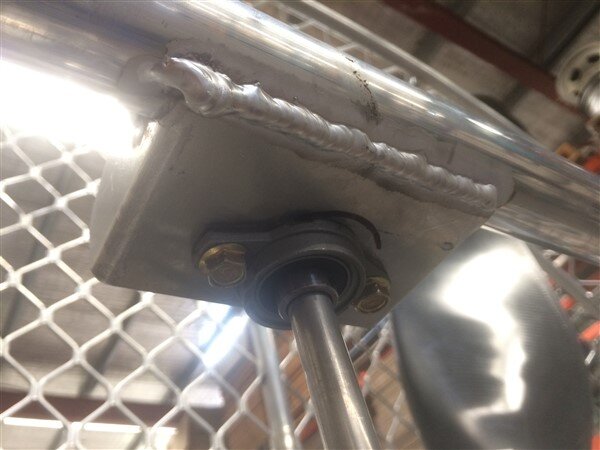
Bearings top and bottom with solid alluminium rod mounted between them.

IMG_5122.jpg

IMG_5123.jpg

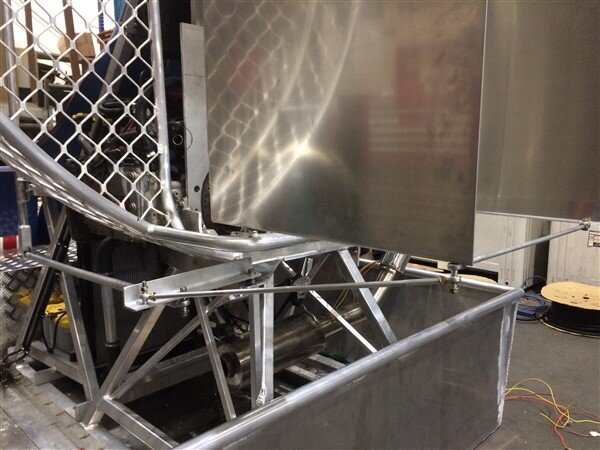
Sheets of 3mm alluminium welded to the rods and then more rods joining the flaps together with a rose joint on each end.

IMG_5126.jpg

IMG_5127.jpg

IMG_5128.jpg

IMG_5137.jpg

They're then linked by another rod with rose joints, to a piece of angle mounted on another bearing.

IMG_5139.jpg

With another rod then going from the angle to the steering pole at the front.

IMG_5143.jpg

IMG_5140.jpg

IMG_5141.jpg

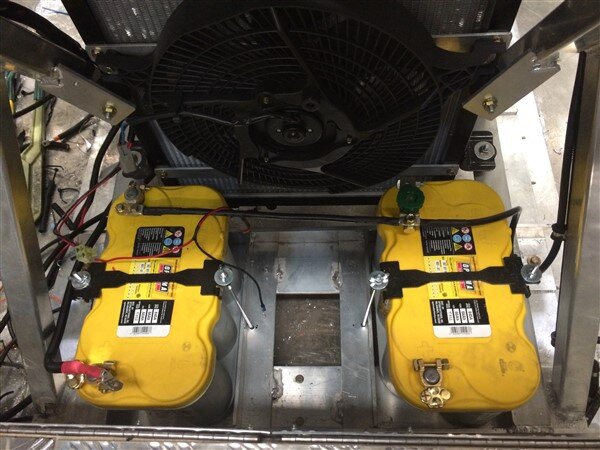
I also mounted 2x Optimas under the captains seat to power everything.

IMG_5142.jpg

Heres a little video showing the steering in action:


Next week we are hoping to begin water trials after finishing off a few final bits. :dance:
 
Not just me feeling a tad guilty then. Got lots of plans and just getting the enthusiasm to do something towards getting the inside of the bungalow done. The sun helps…a lot but then the truck calls with a bit to do so that’s getting its handbrake cranks freed off today.

Keep going at it Ben for once you stop it can be hard to get started again.

That’s a fabulous place you’ve got there. I’m really envious of that garage/workshop. And everything else for that matter. Hope you’ve got great neighbours, that really helps.

:lol:

Thanks Rich. :thumbup:

We're really lucky with our neighbours, they're both great and both LandCruiser families! :dance:

One side is an older couple with 4 grown up daughters and lots of grandkids. Hes a retired carpenter who used to own an 80 series and now owns a tricked up 200 series which he tows his caravan with twice a year.

Hes keen as to come away on a 4wd/camping trip with me and the guys.:icon-cool:

And the other side is again an older couple, but a bit younger and with 2 daughters still at home. He drives a pretty modified 80 when hes home as he works away a lot in the mines and big engineering projects all over Australia. :icon-biggrin:

We had a big house warming party last weekend and the neighbors were all there, drinking all my beer! :shifty:

It was a great opportunity to get to know them all and show them all the changes we've been making to the house and we all had a great time. :dance:
 
Congrats on the passport Ben. I know how much hassle goes into getting another one of those.

The ali on that swamp boat looks like a work of art - very impressive :)
 
DiOCPzBWsAAhmc4.jpg
Have you thought about 2 horizontal flaps on the steering ? This helps push the bottom of the boat down and reduces the turning circle.

I have only seen it on 1 hovercraft called the hoveraid it may be the design belongs to BAE but I am sure you will be ok. It makes so.much differeance to how they handle. This hovercraft was designed to travel up tight rivers like a proper boat. In the below picture you can just see the horizontal rudders behind the main vertical ones.
DiOCPzBWsAAhmc4.jpg
 
Thanks guys. :thumbup:

No Stu, I hadnt. But we actually found the steering works amazingly well and the boat will turn on the spot! :o

I will get an update up soon as we did a water test then brought it back and have had to make some changes. :icon-cool:
 
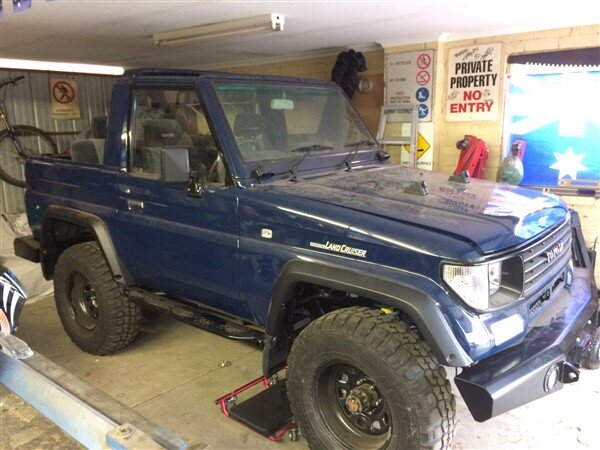
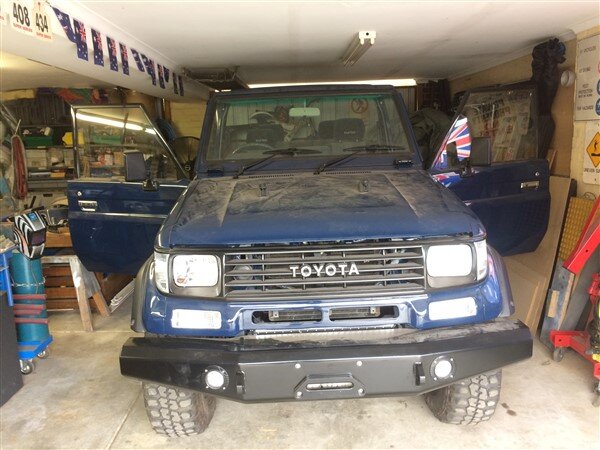
I've finally found/made some time to work on LJ! :dance:

As I'm getting close to the wiring stage I moved my work benches over a bit so that I could move LJ over in order to be able to fully open all the doors.

IMG_5200.jpg

IMG_5202.jpg

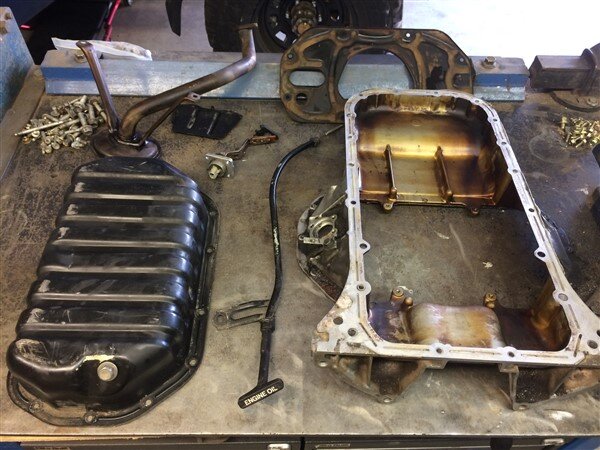
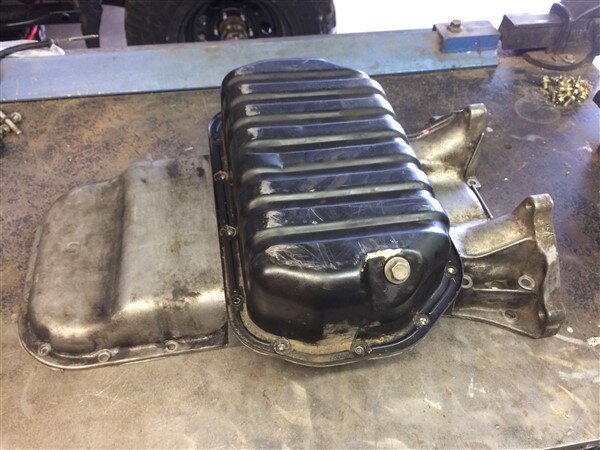
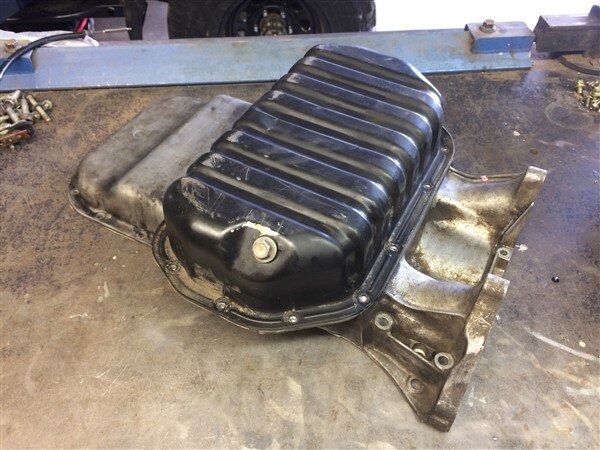
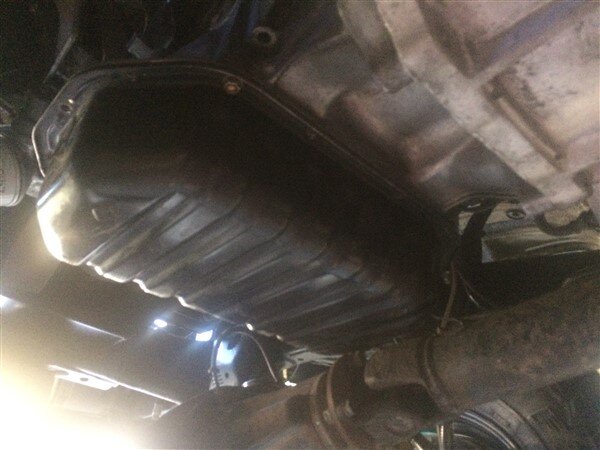
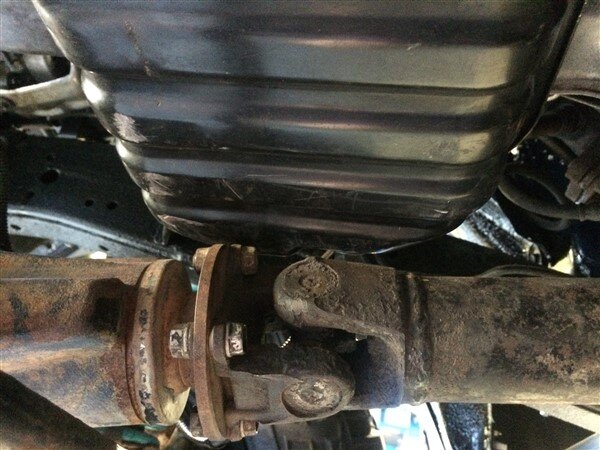
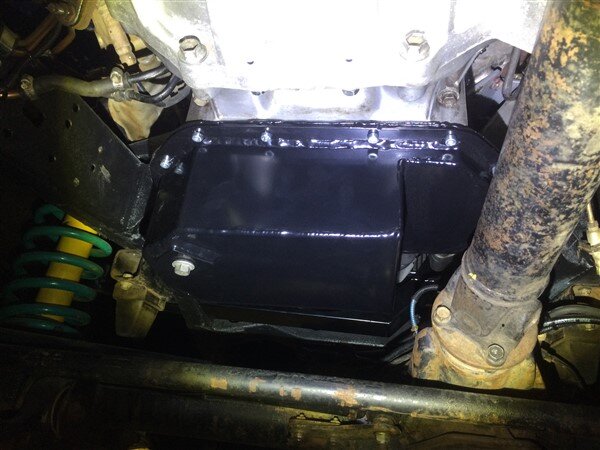
The 1UZ sump was an issue as it was very close to the front diff and prop shaft.

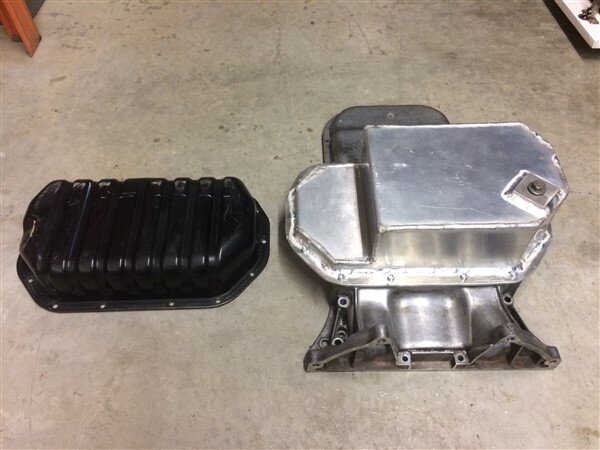
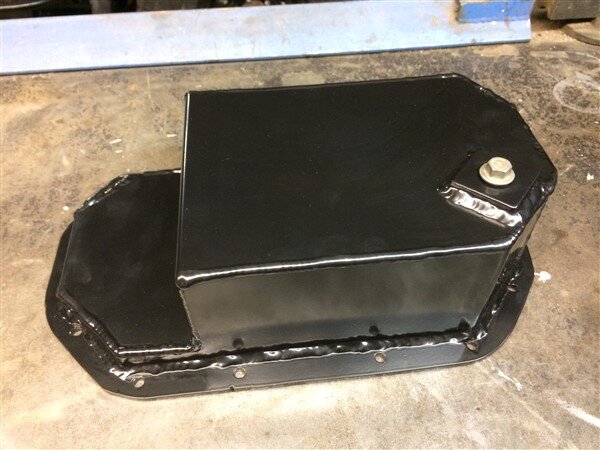
After lots of messing around, first making my own engine sump completely from scratch and then attempting to cut and modify the original Lexus LS400 one I gave up and bought a rear sump off a Toyoya Soarer. :shifty:

IMG_5203.jpg

IMG_5204.jpg

IMG_5205.jpg

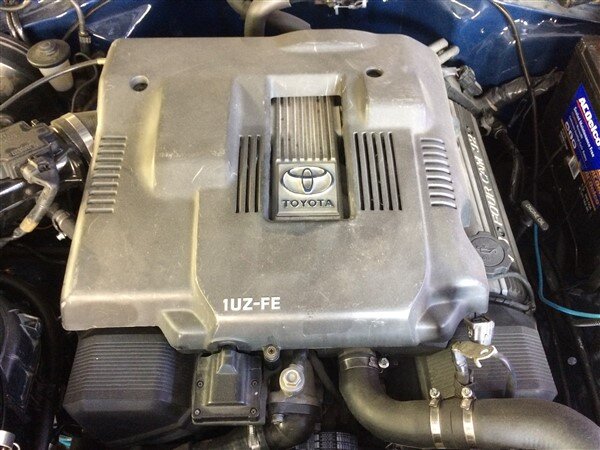
I also managed to get the engine badge that I was missing. Mine had a damaged Lexus one on it but I wanted a Toyota one, for that factory look.

IMG_5206.jpg

IMG_5207.jpg

Anyway back to the sump.......................

The sump bolted on fine and the oil pan cleared the front diff fine but not the prop shaft. :doh:

IMG_5214.jpg

IMG_5216.jpg

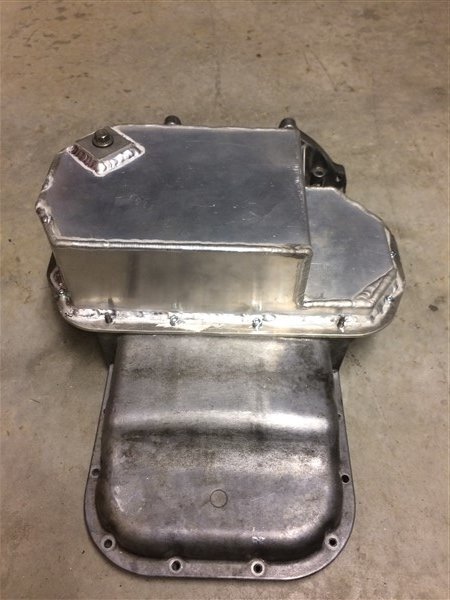
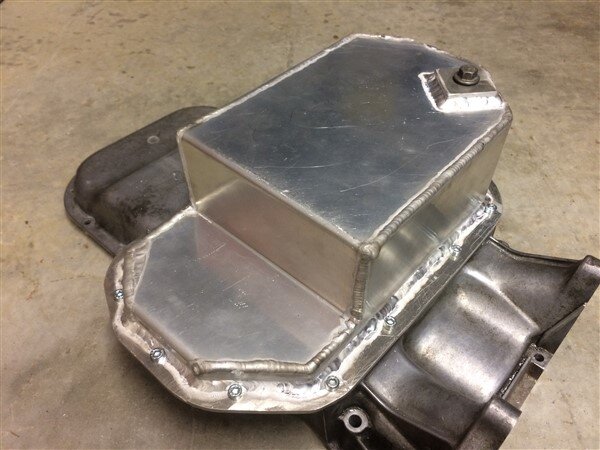
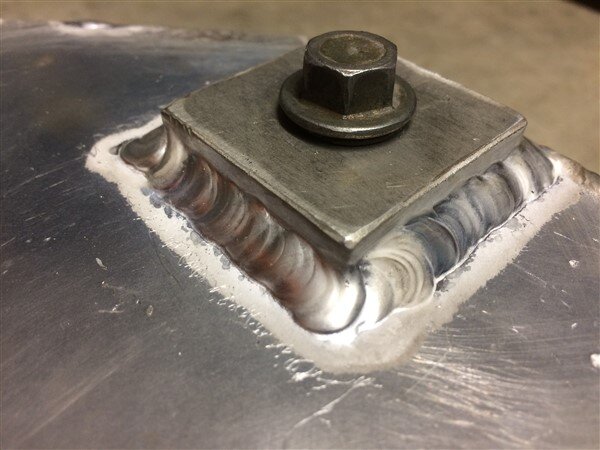
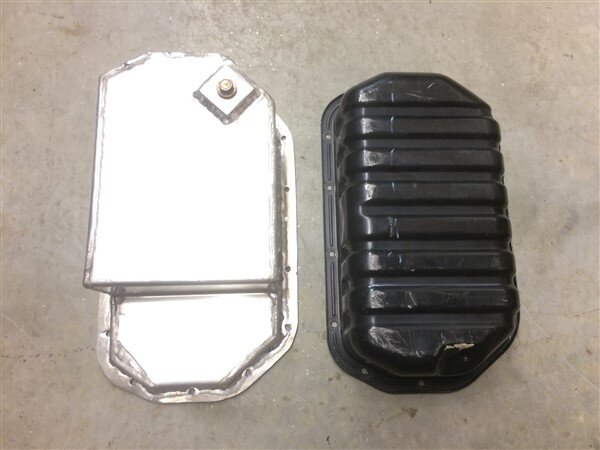
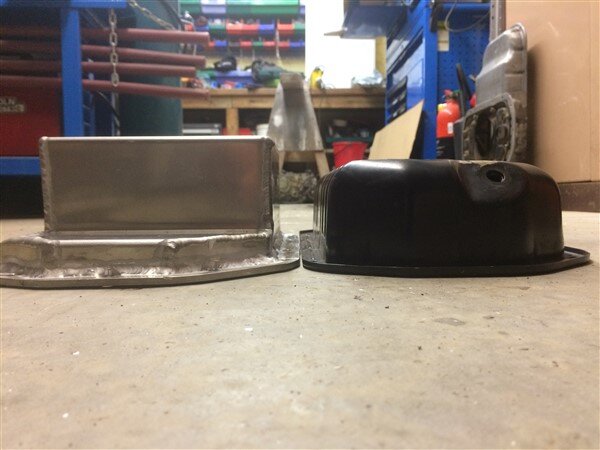
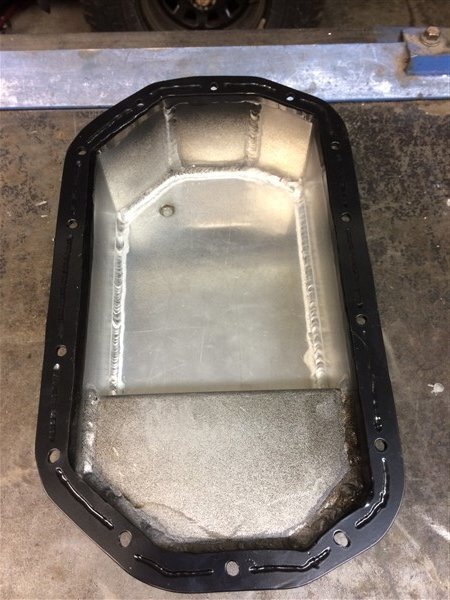
So I made my own out of 3mm alluminium. :icon-cool:

IMG_5230.jpg

IMG_5231.jpg

IMG_5232.jpg

IMG_5233.jpg

IMG_5234.jpg

I made it slightly deeper than the original so I could maintain the same oil capacity.

IMG_5235.jpg

IMG_5236.jpg

Got it powder coated satin black.

IMG_5301.jpg

IMG_5302.jpg

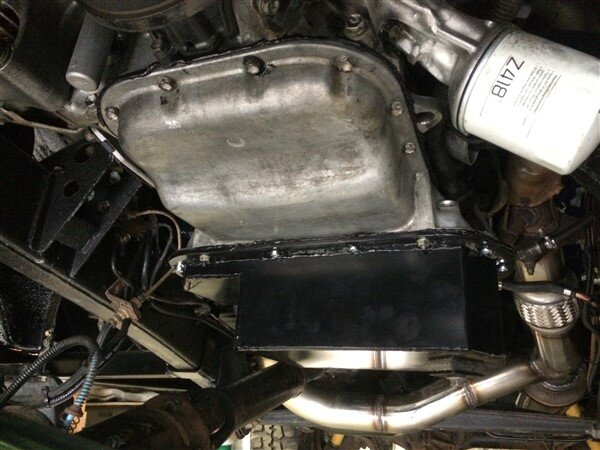
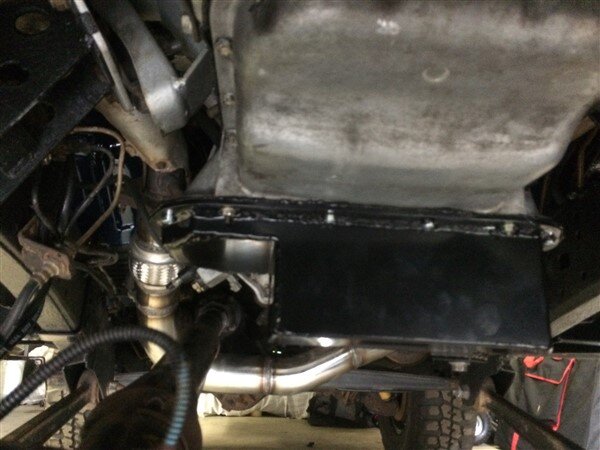
After applying a good bead of RTV sealant I bolted it on.

IMG_5519.jpg

It clears the prop shaft perfectly and with the bump stops spaced down slightly will never be able to hit it.

IMG_5520.jpg

IMG_5522.jpg

Interior next.........

The soft top that was sold in Australia for 2 years ago, right at the start of the 70 series existing, back in 1985-1986 was a very basic mode with a very basic interior.

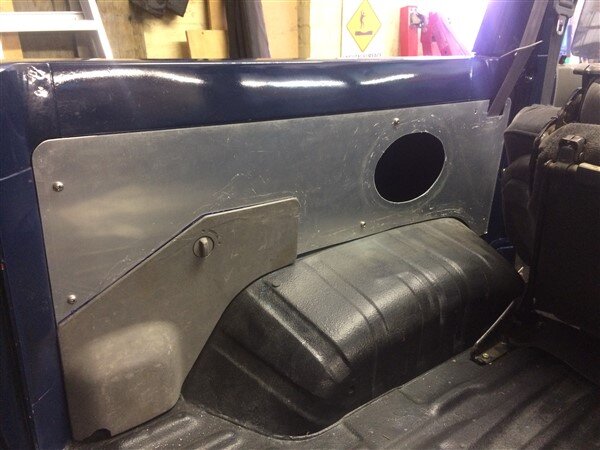
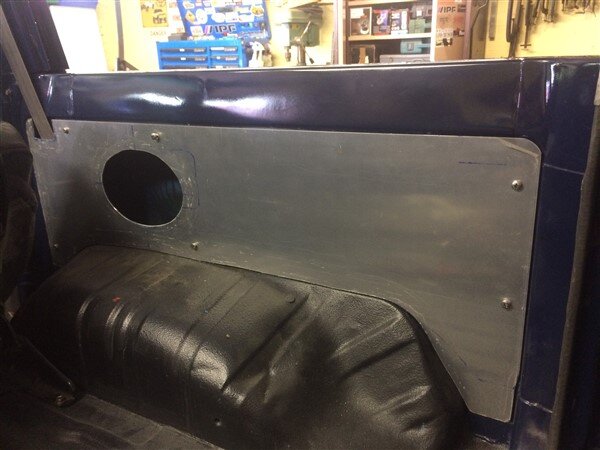
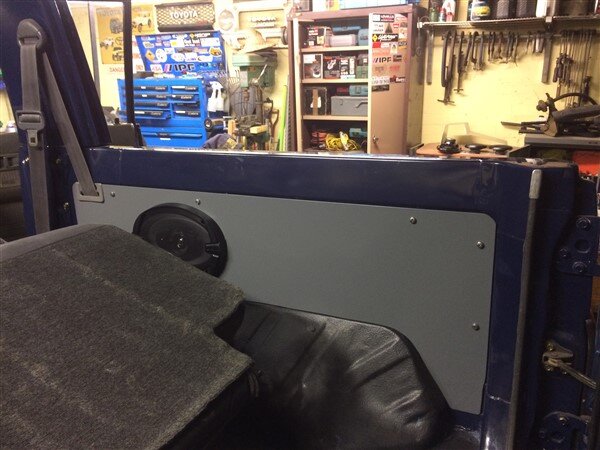
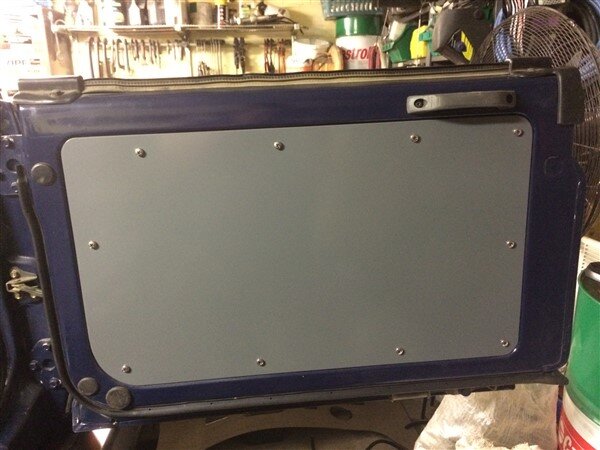
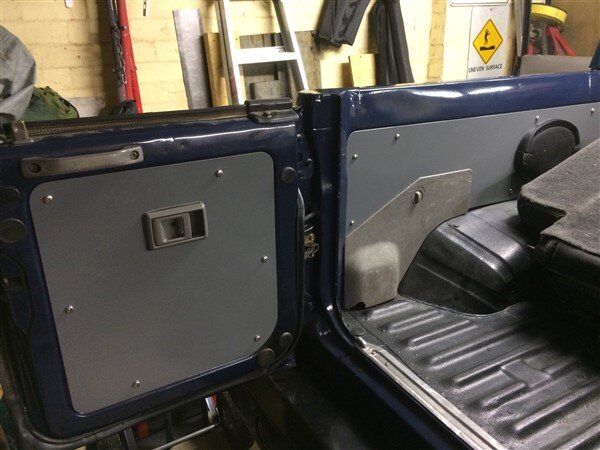
As I've fitted the VX interior from LJ's original UK body I needed some better door/rear quarter cards (rather than the bare hardboard/masonite ones fitted to Australian models.).

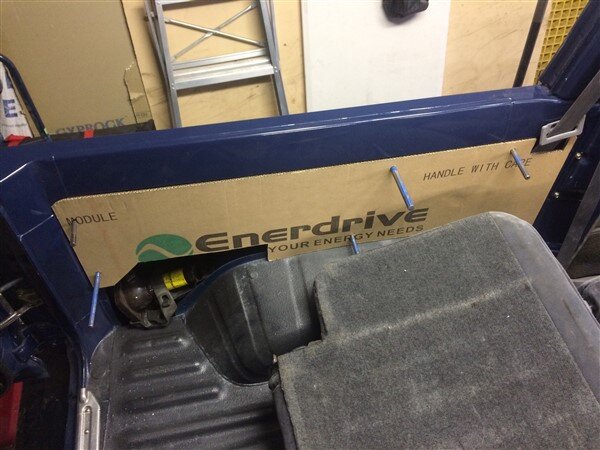
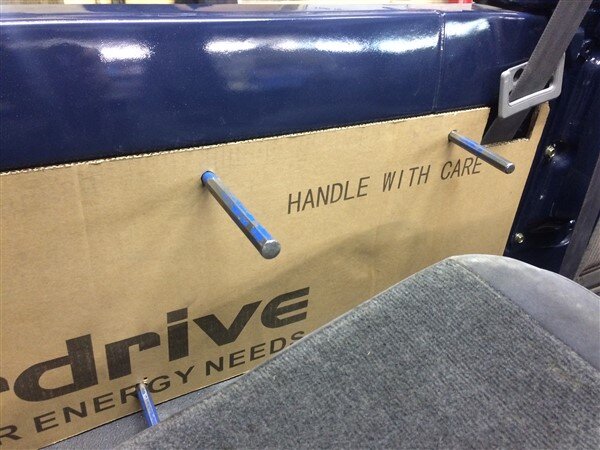
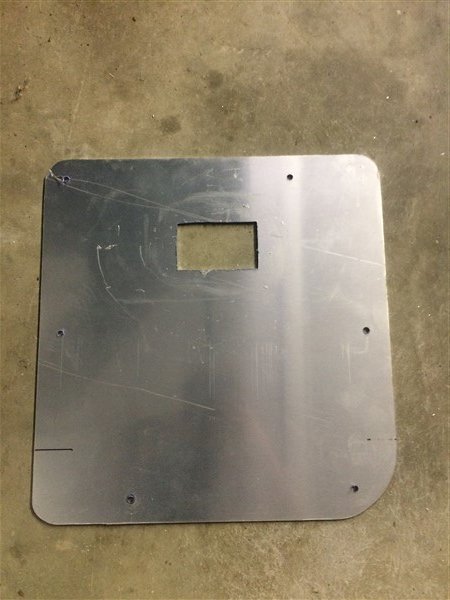
The first job was to make some cardboard templates because sadly the hard top 70 door cards are too long to fit or use as templates.

I used punches to push through the cardboard into the mounting holes in the body.

IMG_5248.jpg

IMG_5249.jpg

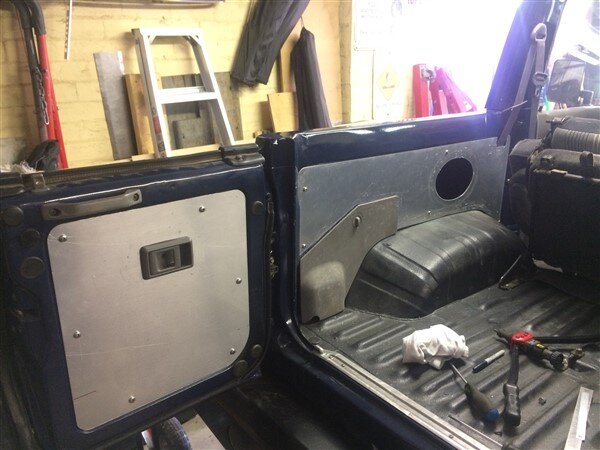
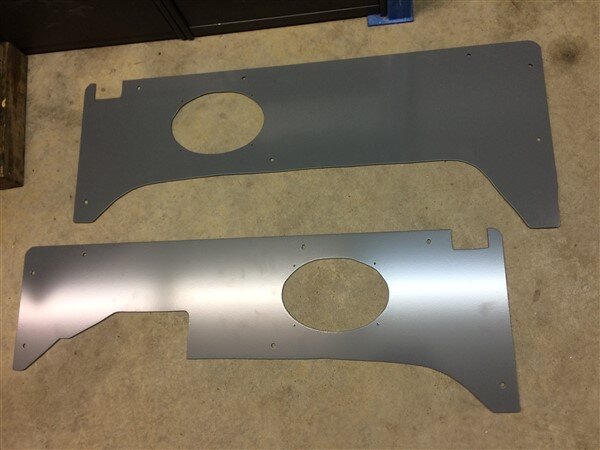
I drew around them onto 3mm alluminium, jig sawed them out and bolted them on to M6 rivnuts in the body.

IMG_5253.jpg

IMG_5252.jpg

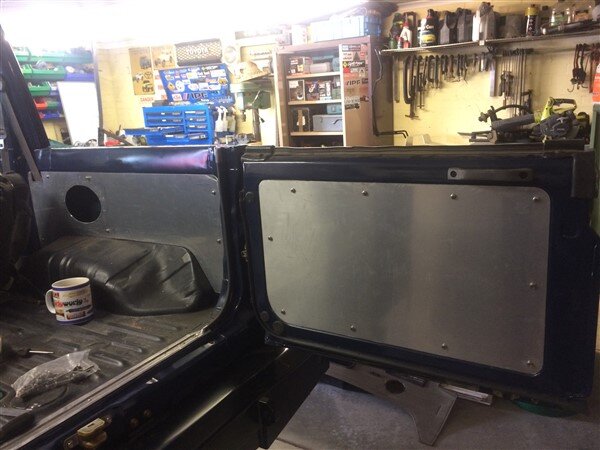
Rear doors next.

IMG_5255.jpg

IMG_5259.jpg

IMG_5258.jpg

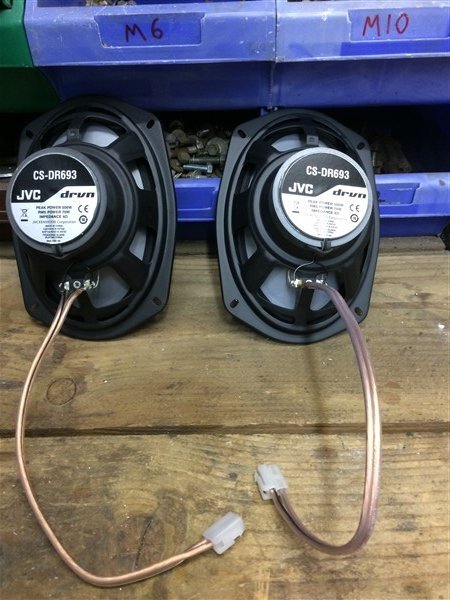
I hard wired the new speakers and soldered the wires on as I've had no luck in the past with the crimp on terminals they always fall off over time and rough roads.

This is a much more factory finish way of doing it.

IMG_5287.jpg

Ran the wires in split tubing up into the body.

IMG_5289.jpg

Got all the alluminium back from the powder coaters.

IMG_5290.jpg

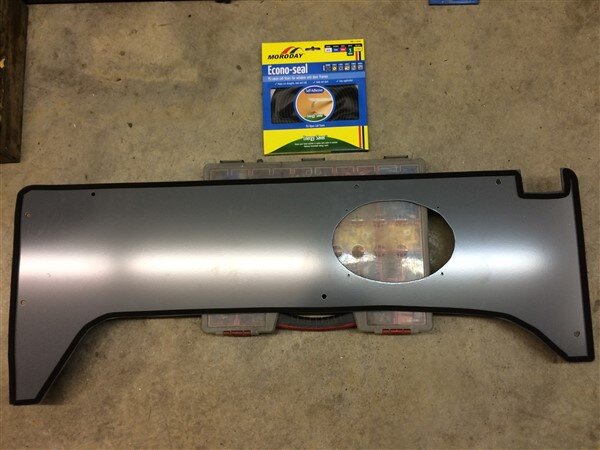
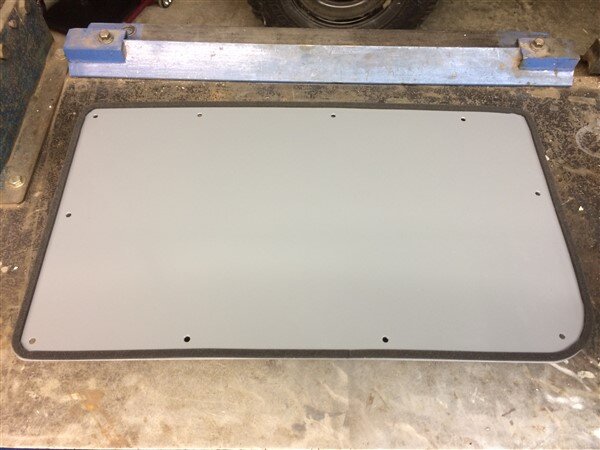
I stuck felt tape to the back to stop any rattles.

IMG_5291.jpg

IMG_5292.jpg

IMG_5293.jpg

And bolted them all on.

IMG_5294.jpg

IMG_5295.jpg

IMG_5296.jpg

IMG_5297.jpg

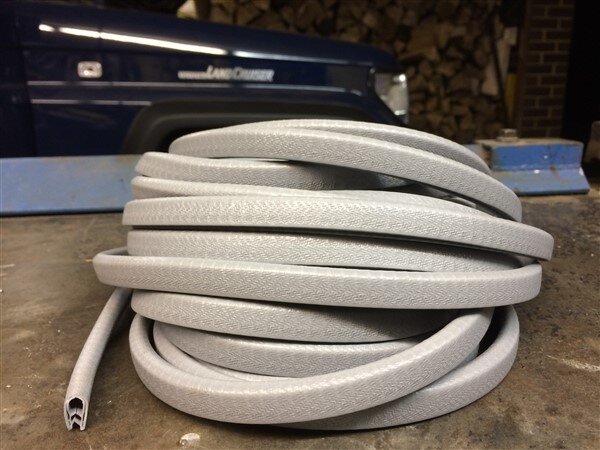
I bought some new pinch weld trim off ebay to replace the old, dirty, worn ones the soft top body came with.

IMG_5298.jpg

IMG_5299.jpg

IMG_5300.jpg

And the final big job is to wire the engine up which I've just started doing.

More soon. :thumbup:
 
Last edited:
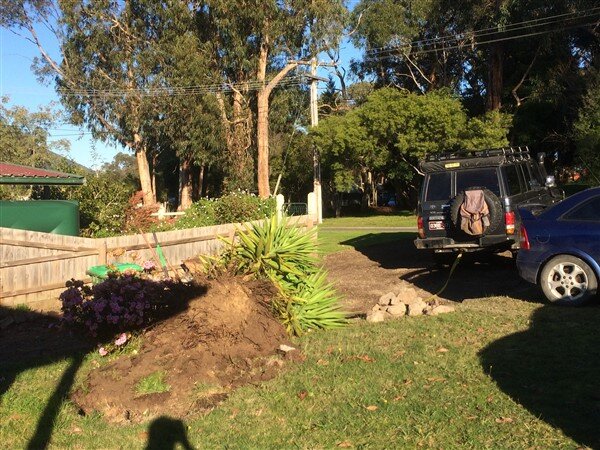
I've been busy working away in the garden.

I decided to change my plans slightly and decided rather than demolishing the old garage pad to continue the driveway down, I would keep it and open up where the other driveway originally went down the garden and then rather than build the garage down the bottom of the garden I will build it closer to the house.

First job was to cut down some trees, remove a fence and open up this area so the driveway can be continued down.

IMG_5220.jpg

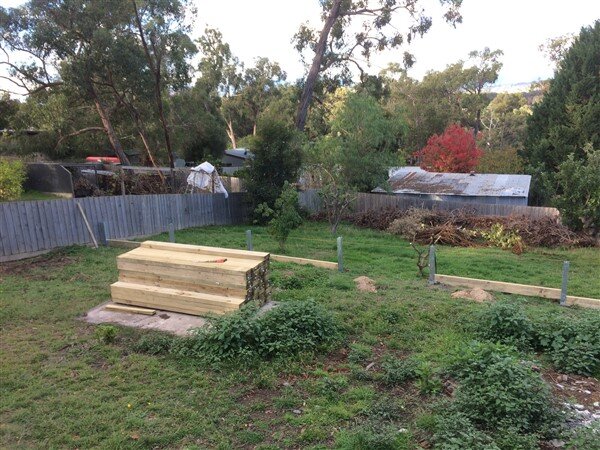
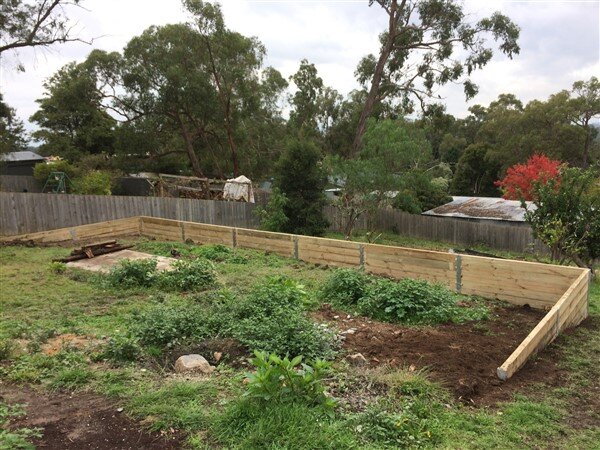
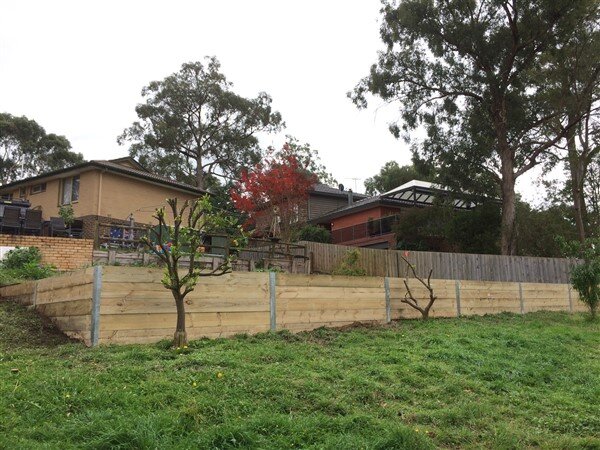
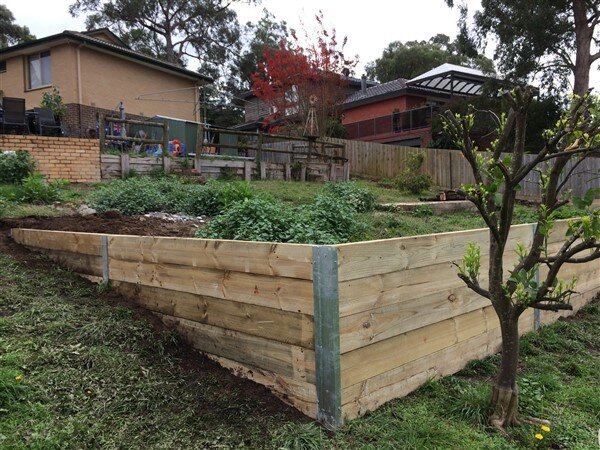
Next I had 50 x 2.7 meter lengths of 200mm x 75mm treated pine sleepers delivered for the first retaining wall.

IMG_5246.jpg

IMG_5247.jpg

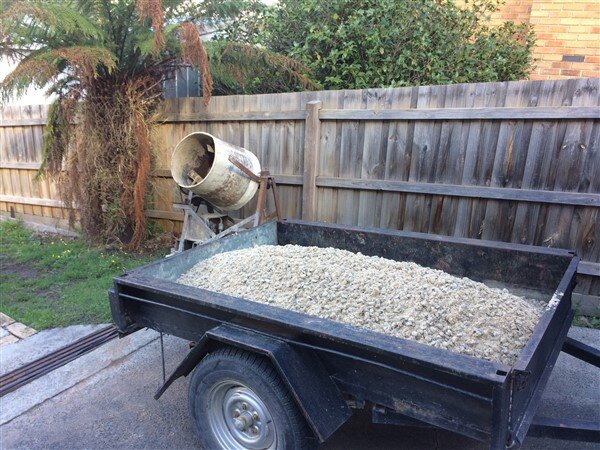
Then I bought a load of concrete mix (sand and stone mix) and a load of bags of cement.

IMG_5565.jpg

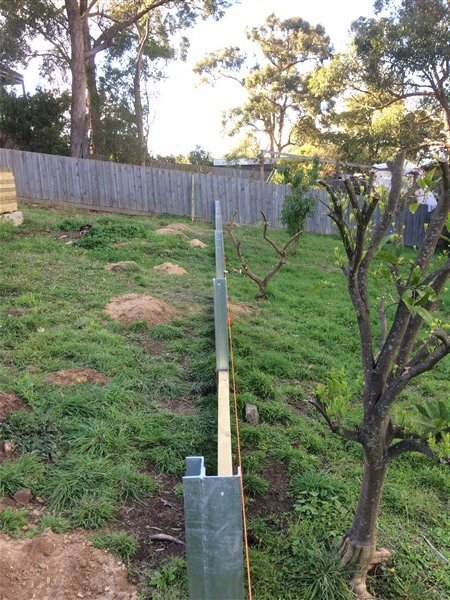
I picked up all the galvanised steel posts and started construction.

IMG_5568.jpg

IMG_5569.jpg

IMG_5570.jpg

IMG_5571.jpg

IMG_5572.jpg

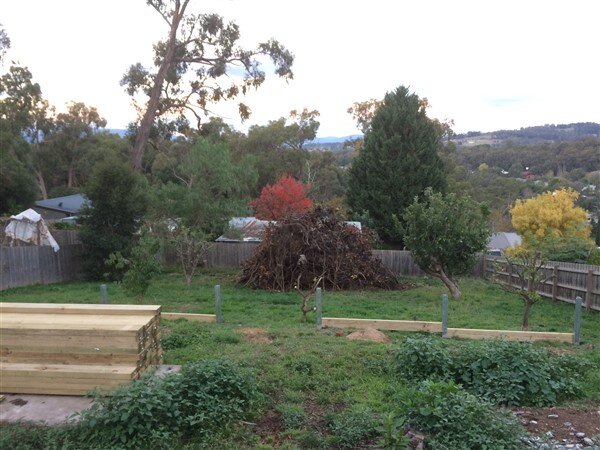
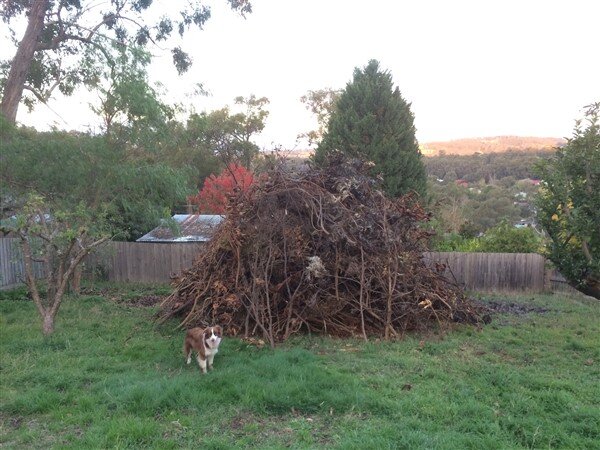
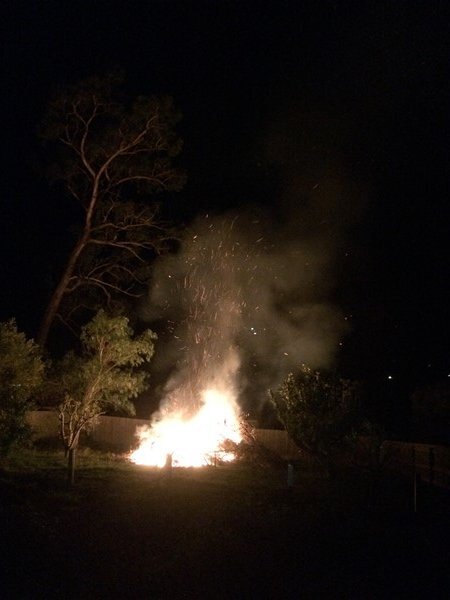
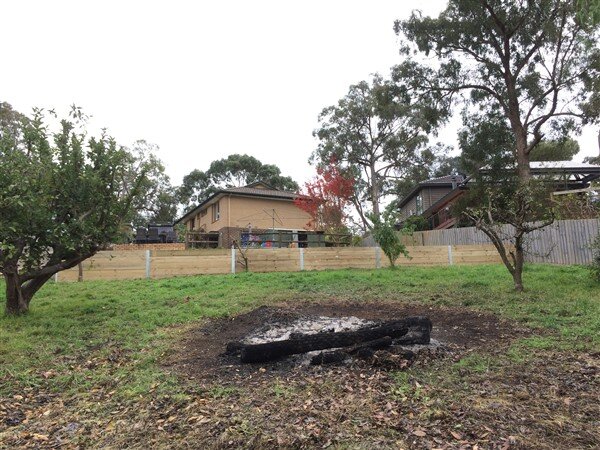
Fire restrictions finally ended, so I could finally build the bonfire.

IMG_5576.jpg

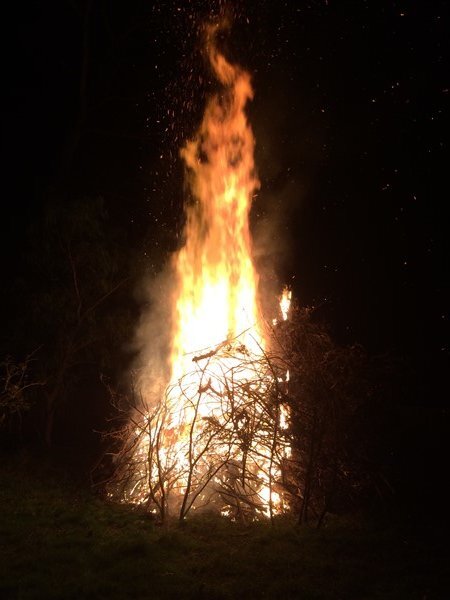
IMG_5574.jpg

Despite being quite wet from all the rain we've had lately, it went off!

IMG_5579.jpg

IMG_5587.jpg

The next day I finished the retaining walls.

IMG_5595.jpg

IMG_5596.jpg

IMG_5598.jpg

IMG_5597.jpg

IMG_5599.jpg

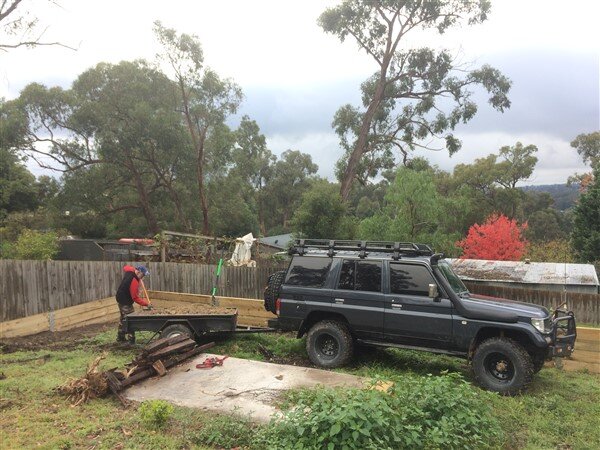
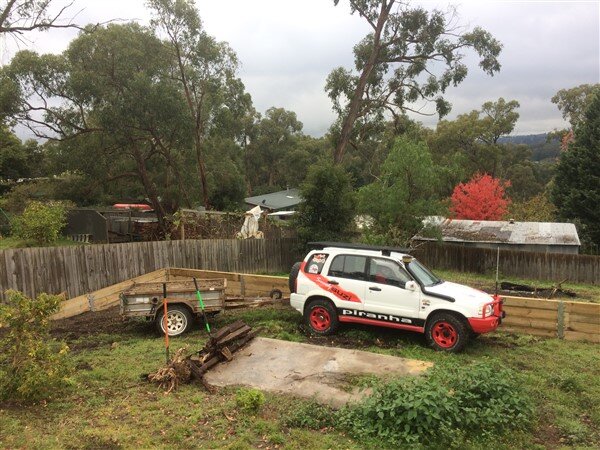
Yesterday we brought 4 cubic meters of dirt from my work mates house as he needed rid of it.

Obviously I need much more but its a start.

We had fun getting out of the back garden and almost ended u having to winch!

IMG_5651.jpg

IMG_5652.jpg

IMG_5653.jpg

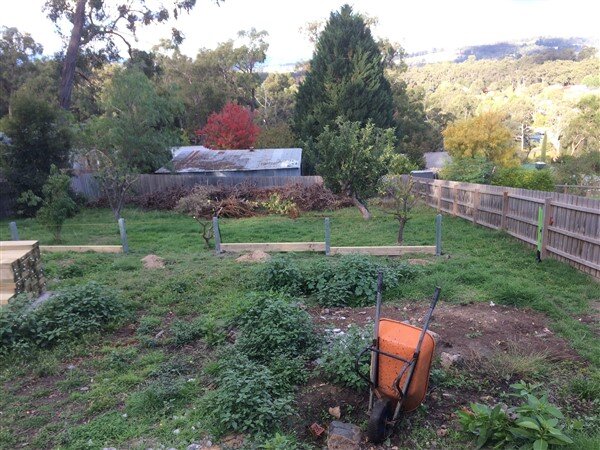
So looking down at the garden, the new garage will be constructed on the left and the rest will all be lawn.

I'm going to dig a load of dirt up out of the bottom of the garden to level up that area and that should almost be enough to fill in the top section.

I just need to hire a digger and a bobcat for a few days and get digging! I cant wait!!! :icon-twisted:
 
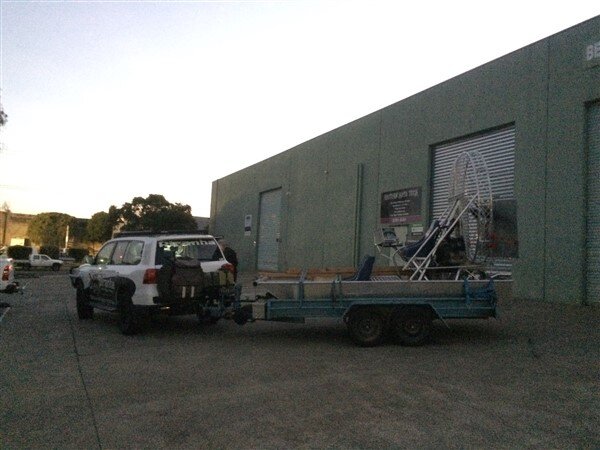
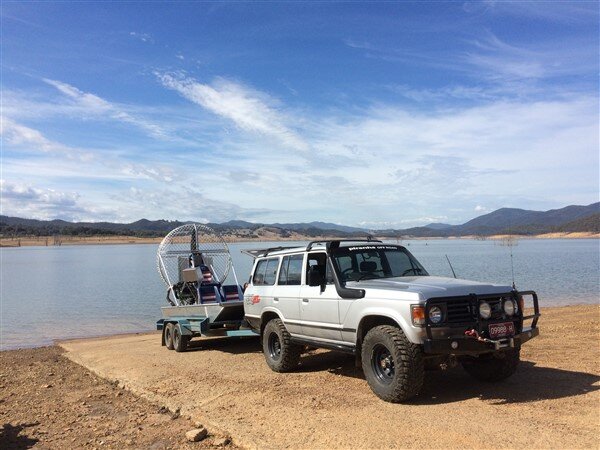
We loaded the airboat onto the trailer behind the 200 and towed it up to my bosses farm a few hours north of Melbourne.

IMG_5168.jpg

We then hooked the trailer up behind one of his 60's and took it to the lake for testing.

IMG_5179.jpg

IMG_5182.jpg

My charismatic boss said a quick piece to camera.


Unfortunately things didnt quite go to plan. :doh:

It turned and steered beautifully but we couldnt get the nose of the boat to come out of the water in fact the more we put the power on the more the nose would dive instead of lifting.
We aso broke 2 belts which went with a hell of a bang. :thumbdown:

Sadly I have no pics or video as I was on the boat with my boss during testing. :|

He said another quick piece to camera when we got back to his farm after testing.


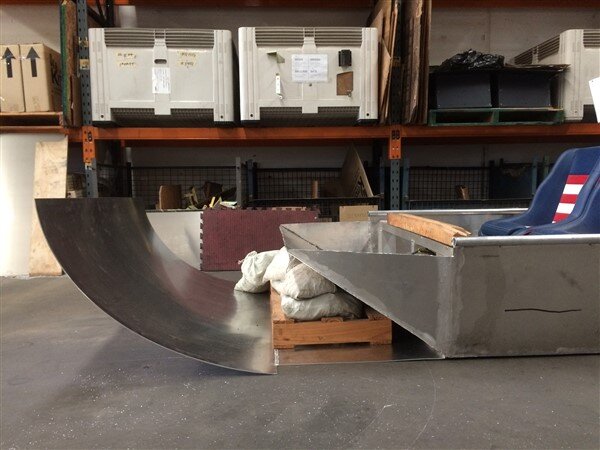
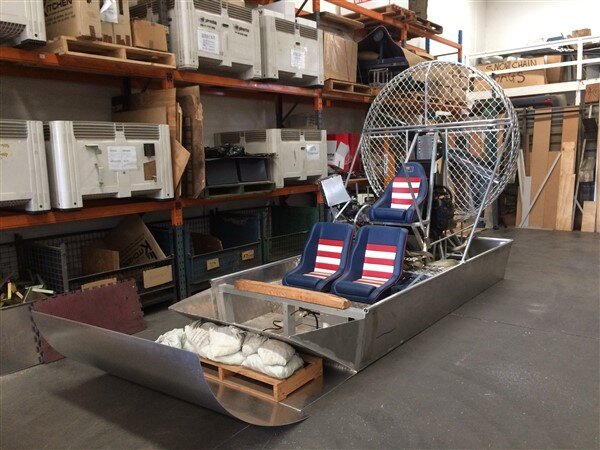
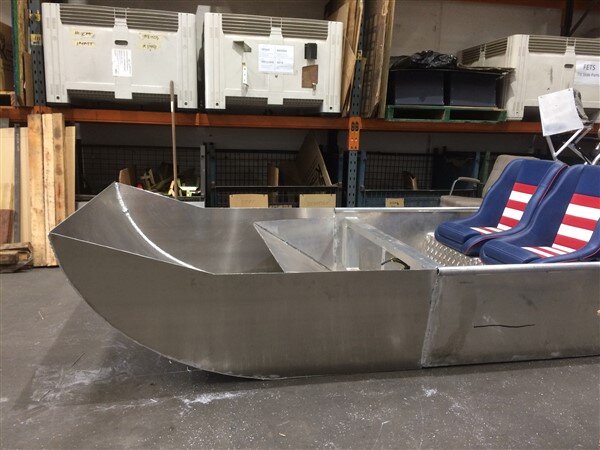
So we brought it back to Melbourne and decided to extend the boat to make it 1.2 meters longer and also change the shape of the front of the boat. :shifty:

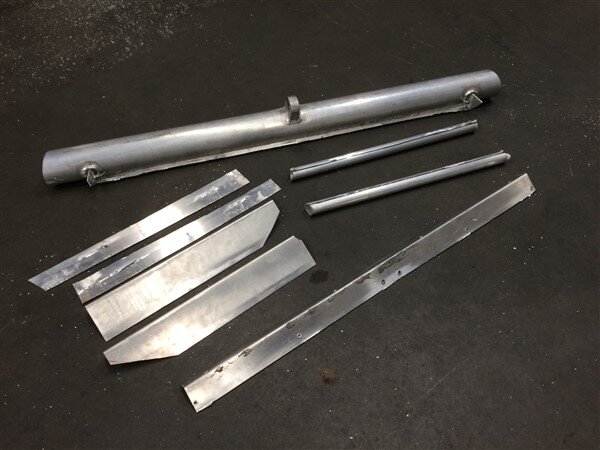
I cut these bits off.

IMG_5532.jpg

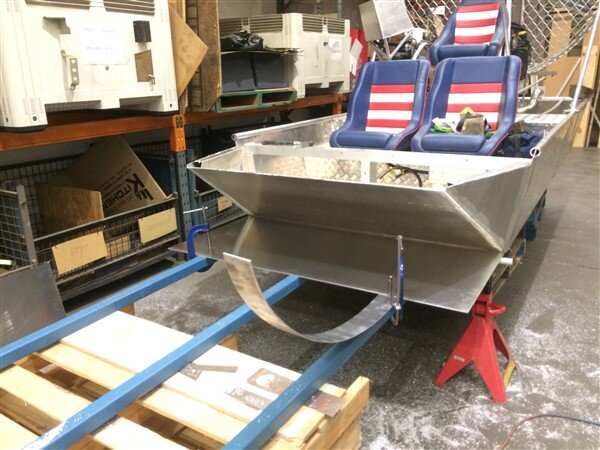
We decided to leave the existing hull intact and add an extension on the front, so in affect it will be a double hull on the front.

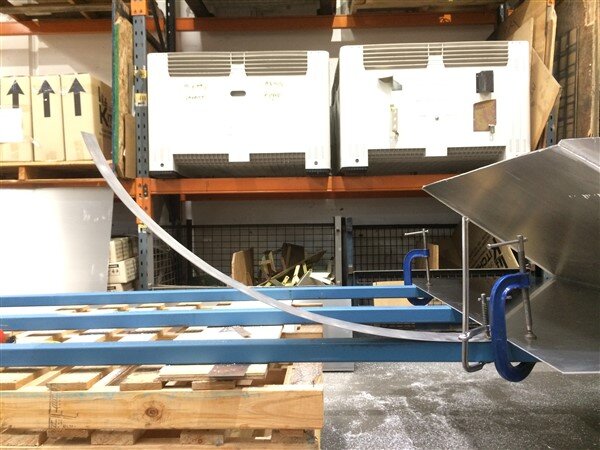
I rolled a piece of 2mm alluminium to work out the sort of curve I thought we would need.

IMG_5527.jpg

IMG_5528.jpg

IMG_5529.jpg

I got a piece of 4mm marine grade alluminium sheet rolled at a big engineering place and welded it on.

(The pallet and bags of snow chains are just there to help weight the sheet down and stop it distorting too much during welding.)

IMG_5545.jpg

IMG_5547.jpg

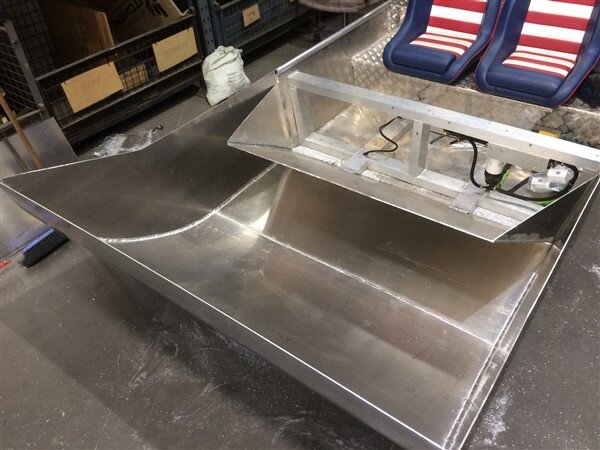
Cut and welded the sides on.

IMG_5616.jpg

Hours and hours on the TIG torch to weld everything both sides.

IMG_5617.jpg

Added lots of ribs on the inside and tube around the top.

IMG_5634.jpg

IMG_5635.jpg

IMG_5636.jpg

How it sits now, ready for its next water trial before we go any further.

IMG_5641.jpg

Note the new green belts, these are kevlar belts which are a lot stronger.

We've also adjusted the pulleys as they were 2mm out of alignment.

So hopefully we wont snap anymore belts.

IMG_5642.jpg
 
Long time no update...........................

LJ

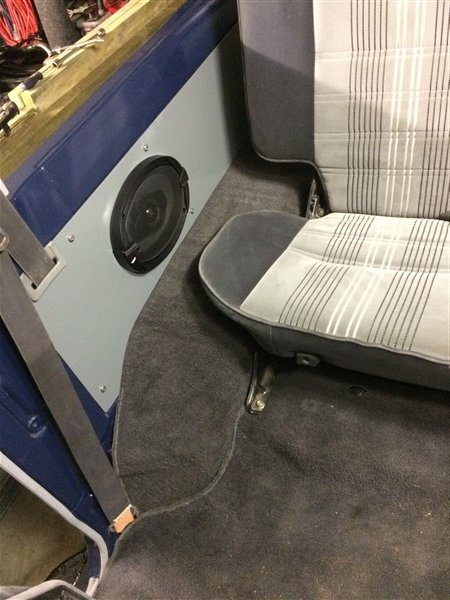
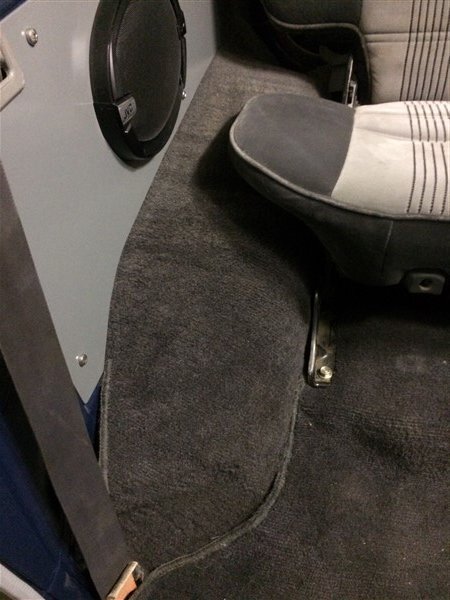
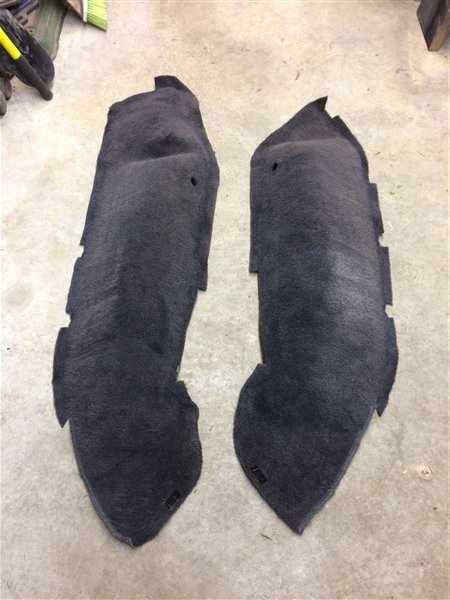
I brought back some more carpet for LJ when I was in the UK a few months ago.

This time I managed to find the pieces that cover the rear wheel arches out of a KZJ70.
IMG_5993.jpg

IMG_5994.jpg

IMG_5995.jpg

They finish it off nicely.

So its just the boot carpet I need now and a new jack cover and the interior is complete.

Sadly I havent been able to do work on it for months and have accepted the fact it wont be back on the road this year. :icon-cry:

Gates

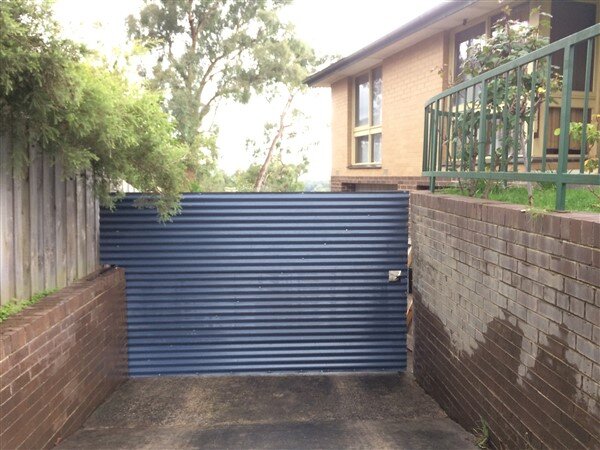
I needed to build a gate to secure the other side of our house on our second driveway.

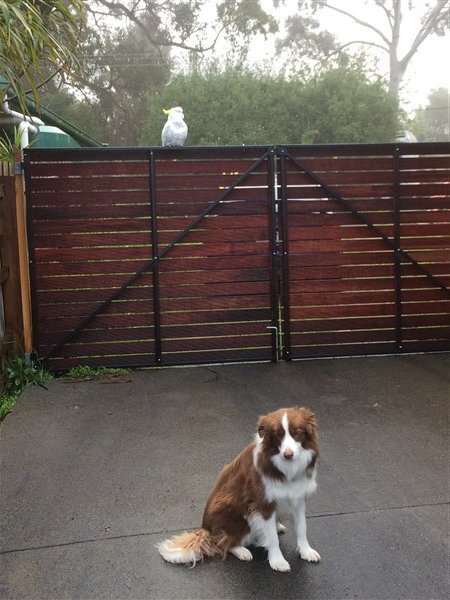
You may remember I built this set last year before we moved in.
IMG_6160.jpg

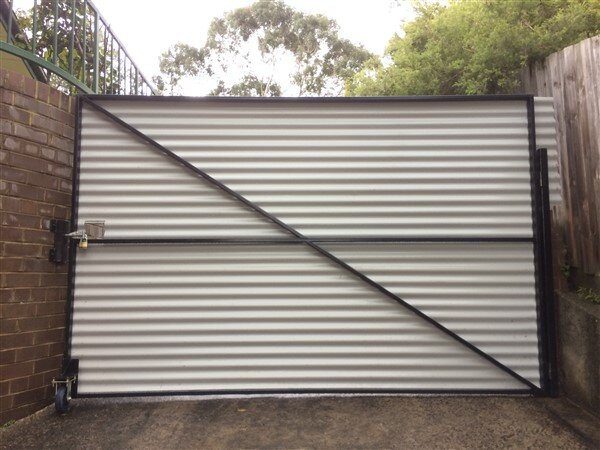
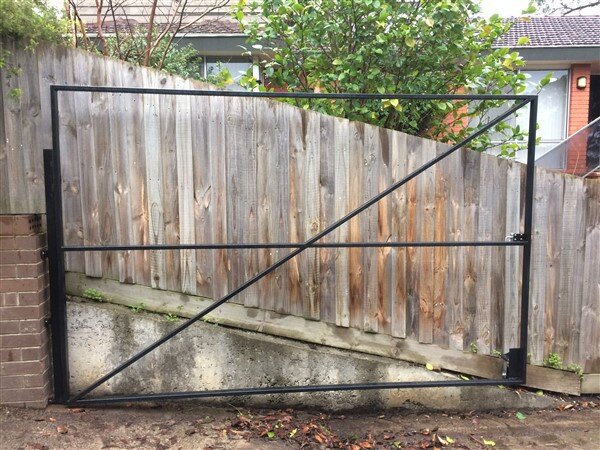
I decided to make this one a bit different as its not as visible from the road and wont be used everyday.

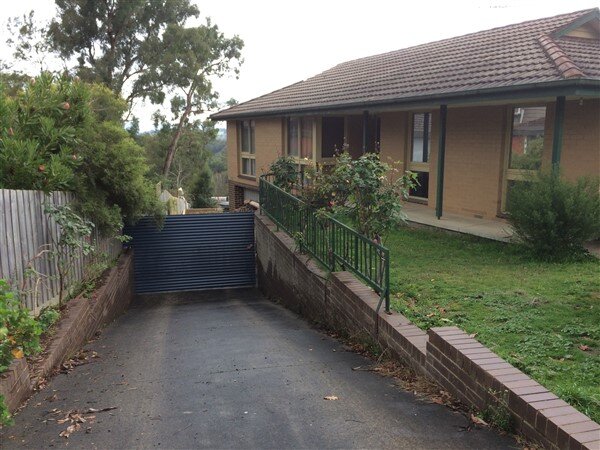
50mm x 25mm steel box section welded together at work, then brought home on the roof of The 78 and painted satin black..
IMG_6124.jpg

Which I then clad in some corrugated sheets.
IMG_6125.jpg

IMG_6126.jpg

IMG_6128.jpg

Garden Terracing

So the reason I havent posted in a long time or even been on the forum is the garden project that turned into a massive job!

My original thought was I will hire a digger and bobcat for a weekend, dig out the top of the garden and move that dirt to behind my retaining wall that I built and also dig out the very bottom of the garden to level that area up, move all that dirt up to behind the retaining wall, compact it down with the bobcat and job done! 1 weekends work! :think:

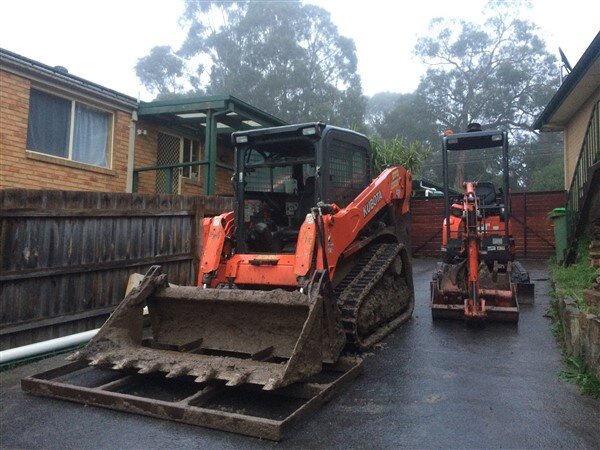
I hired a digger and a bobcat however there was a little bit of confusion as the hire company asked if they could drop the machines off early and did I have plenty of space.

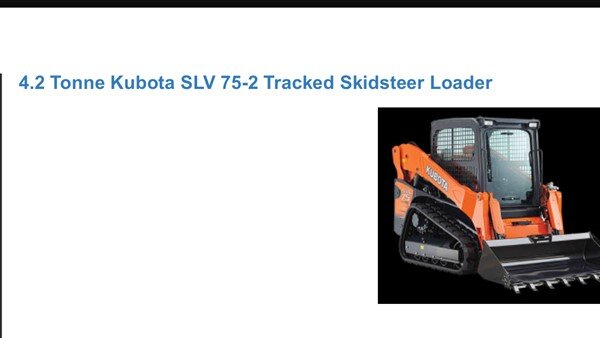
Well I thought he meant space to store the machines but he actually meant space to work as he didnt have any 1.5 ton bobcats left and wanted to instead upgrade me to a much bigger machine. :shifty:

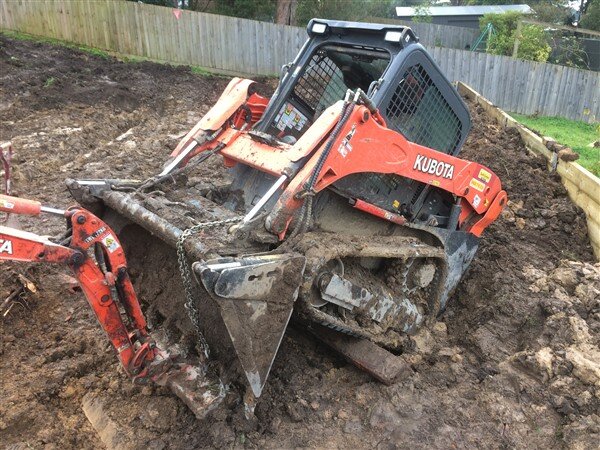
This is what got delivered! :wtf:

IMG_6163.jpg

It was an absolute monster and isnt even list on their website under Bobcats.
IMG_6161.jpg

Going back to my original thought of getting it all done in one weekend there was one thing I massively overlooked, in fact I didnt even consider it................

It was the middle of winter and how wet the ground would be. :icon-redface:

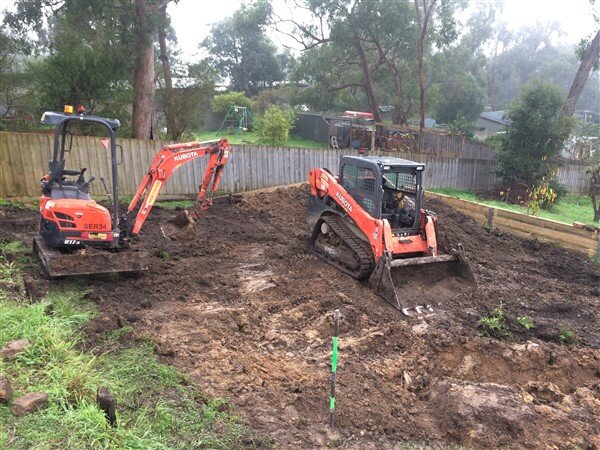
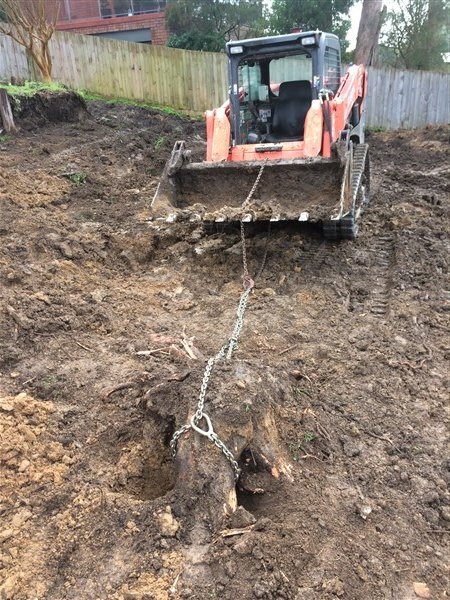
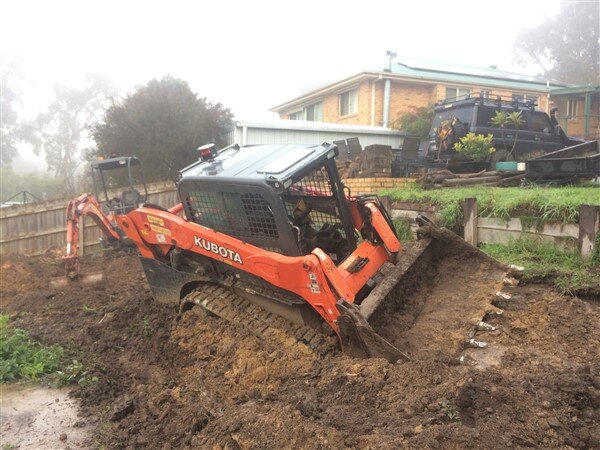
Suffice to say the bobcat was soon bogged as I got a little bit carried away pulling tree stumps out.
IMG_6170.jpg

IMG_6171.jpg

Thankfully my mate turned up to help and dragged the bobcat out with the little digger.

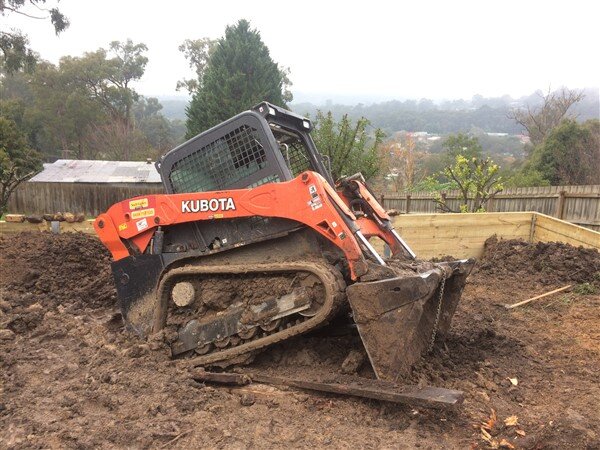
The bobcat was a real beast with a mountain of torque and power! It lifted and moved that old concrete slab that can be seen in the pic above, like it was made of paper! And some of the tree stumps it pulled out were huge! :icon-twisted:

IMG_6172.jpg

IMG_6173.jpg

But an hour later it was stuck again and this time much worse than the first time. :doh:

It took us 2 hours to get it out, by using the bucket to lift the front of the machine up and then putting timber underneath it to raise it up. :sleeping-sleep:

IMG_6174.jpg

IMG_6176.jpg

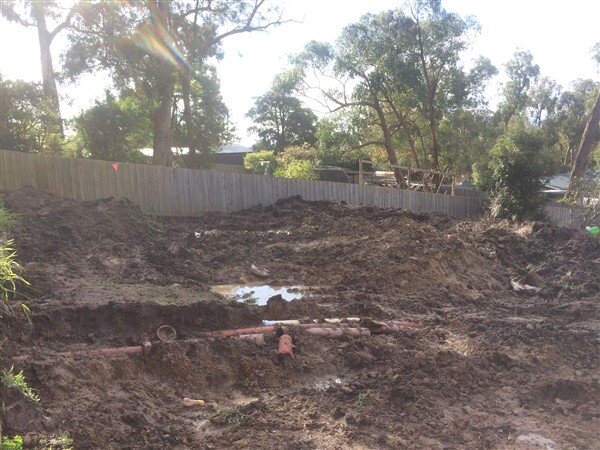
Eventually we got it out and I then pulled up and broke all the storm water pipe pulling a tree stump out that had grown around it. :shifty:


IMG_6181.jpg

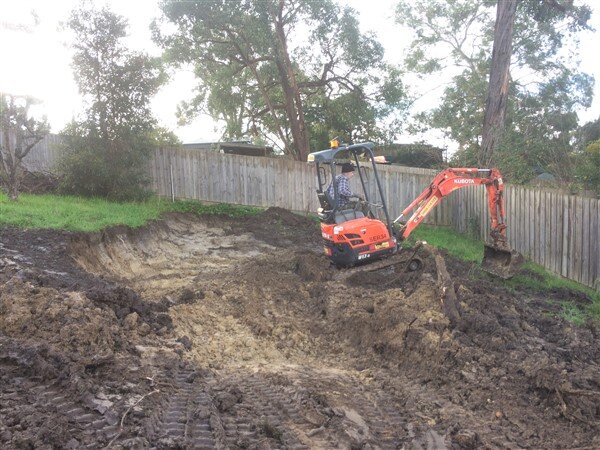
We did some digging down the bottom of the garden and I used the bobcat to dump that soil and clay up and over the retaining wall further up the garden.
IMG_6180.jpg

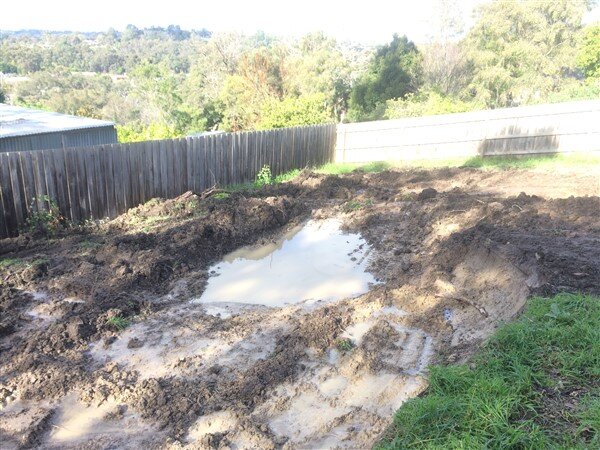
But that too soon turned into an impassable quagmire and the ground leading up the garden was becoming so slippery and not wanting to risk machines being stuck that far down the garden we had to abandon work in the back garden. :thumbdown:

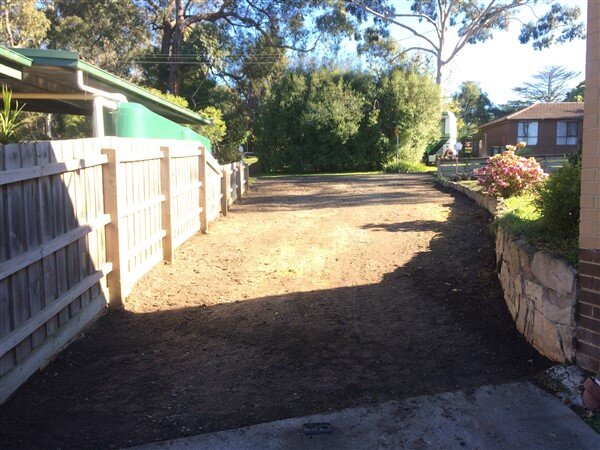
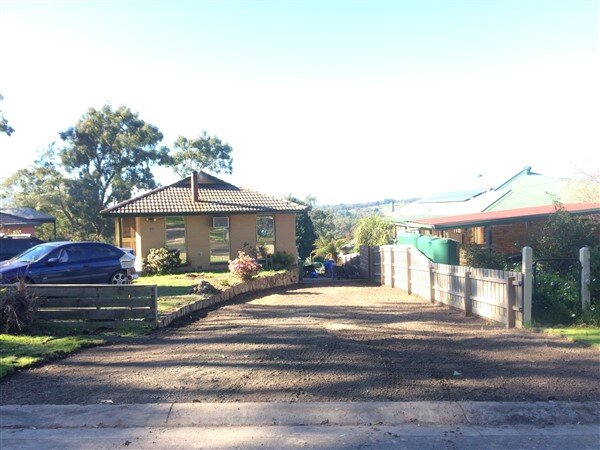
As it was Sunday afternoon by this point and I still had a few hours of light left I decided to widen and straighten the front driveway! :D

IMG_6190.jpg

IMG_6218.jpg

IMG_6219.jpg

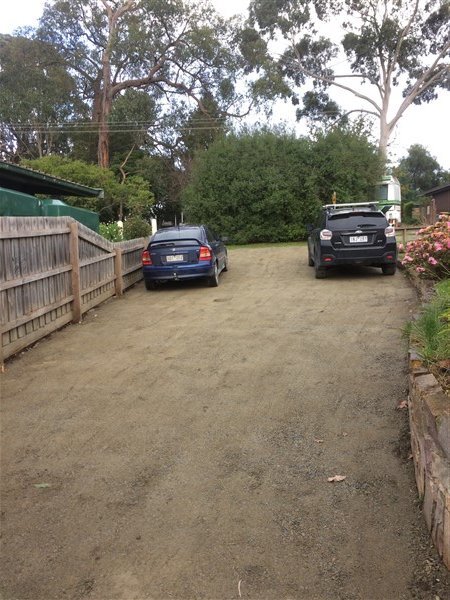
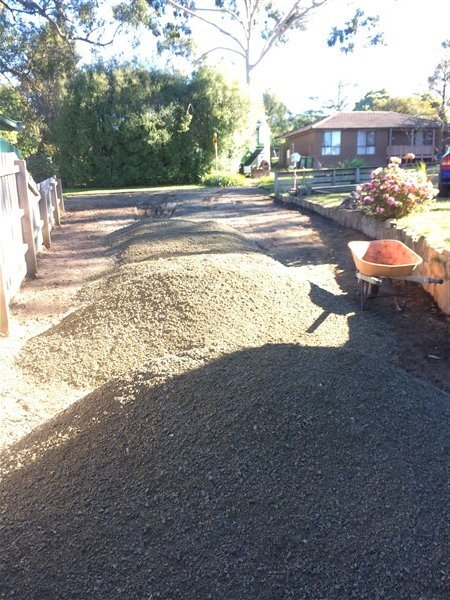
I got some crushed rock delivered and wackered it down. I'd like to concrete the whole thing really or go over it with some nice gravel but I want to give it time to all settle first.
IMG_6222.jpg

IMG_6231.jpg

Enough parking for lots of cars now! :dance:

IMG_6233.jpg

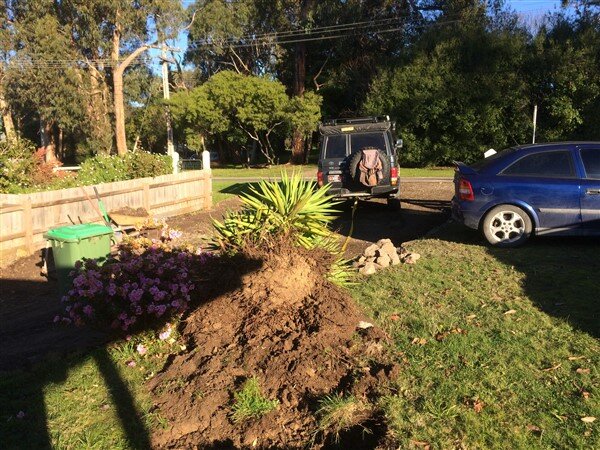
I used The 78 to drag a big palm thing out of the middle of the front garden as it was a pain to mow around and didnt really suit our garden as non of our other plants are tropical.

IMG_6215.jpg

IMG_6216.jpg

IMG_6217.jpg

We put it on facebook market place 'free to good home' and a women came and picked it up and as they had just built a house and this was the first plant in it she was going to build the rest of the garden around it. :icon-biggrin:

Back to the mess of the back garden..............

Looking around at the devastation it was a little overwhelming thinking where to start! :|

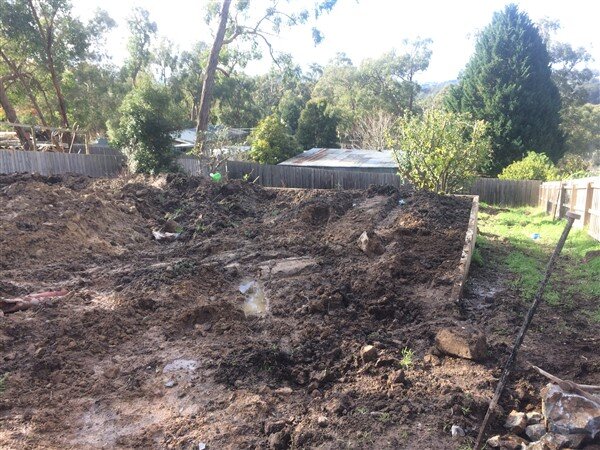
This is the mess I ended up with after the machines had had a weekend digging and moving dirt. :icon-rolleyes:

IMG_6250.jpg

IMG_6251.jpg

IMG_6253.jpg

IMG_6254.jpg

But I decided that I would just have to do as much as I could by hand as it would be months before it would dry up enough to get machines back in.

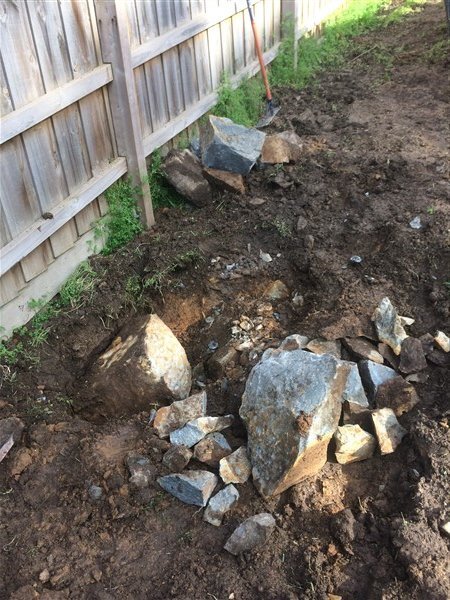
There were some big rocks that the digger couldnt wrench free from the ground so I broke them up and dug them out.
IMG_6247.jpg

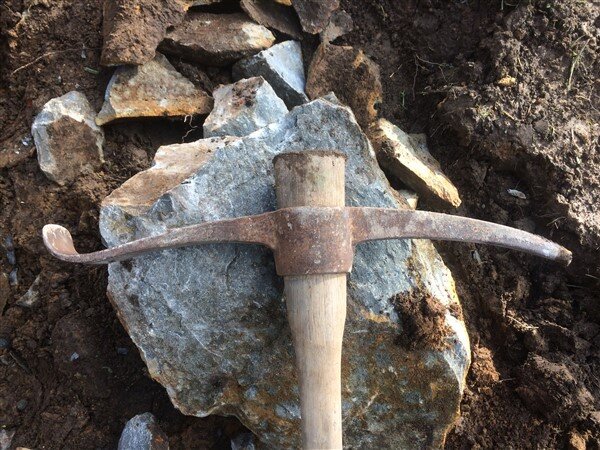
Damaged my favourite pick axe though. :doh:

IMG_6248.jpg


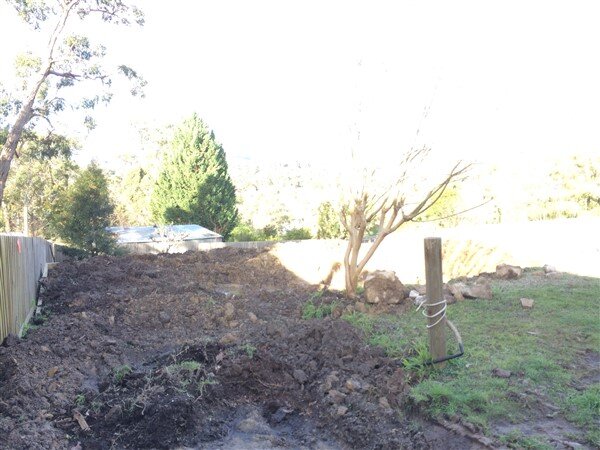
I didnt want to dump dirt here but after I dug out the driveway it had to go somewhere and I couldnt risk getting it any further down the terrace.
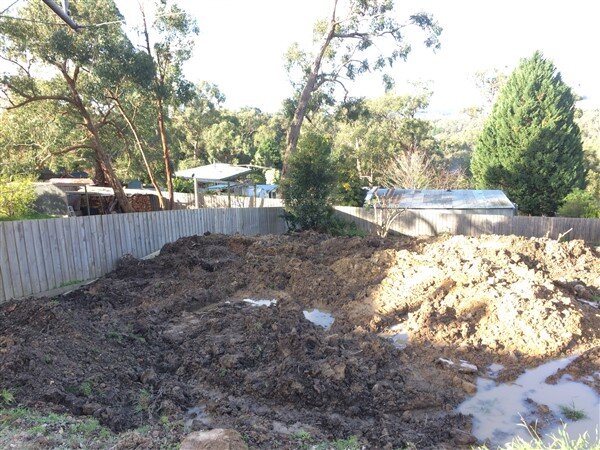
IMG_6257.jpg

IMG_6258.jpg

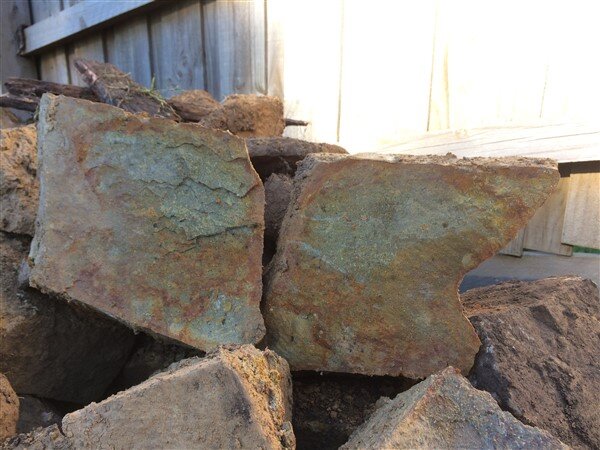
I had dug out and saved a lot of rocks.
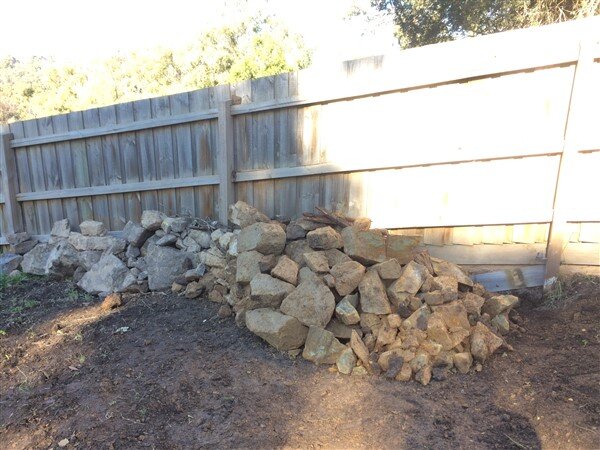
IMG_6273.jpg

I needed to dig down a couple of feet at the top of the terrace to make it level with my meter high retaining wall, but I hadnt counted on the storm water and sewage pipes being buried so shallow so they would both need lowering.

I made a start and dug out the section in front of the old garage base and had to dig and break my way through quite a bit of bed rock and clay.
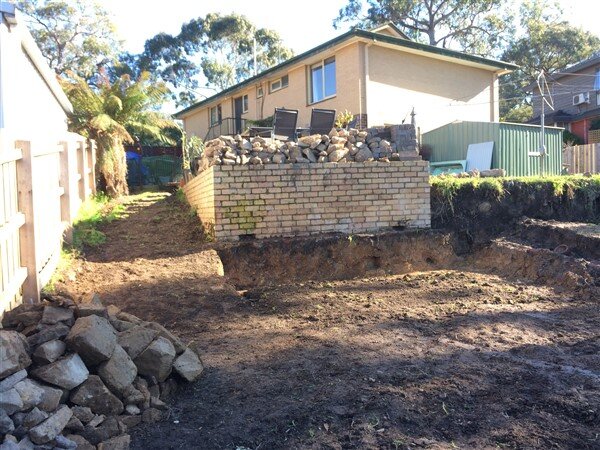
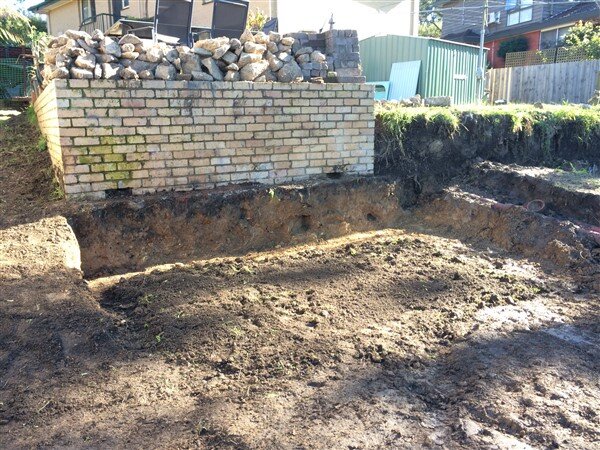
IMG_6274.jpg

IMG_6275.jpg

With all the rock coming out of the ground and the piles I already had I had the crazy idea of building a huge retaining wall out of it along the top of the terrace. :shifty:

For someone who has never built a wall out of anything other than timber and steel before I knew it wouldnt be easy but was confident I could do it. :icon-biggrin:

IMG_6277.jpg

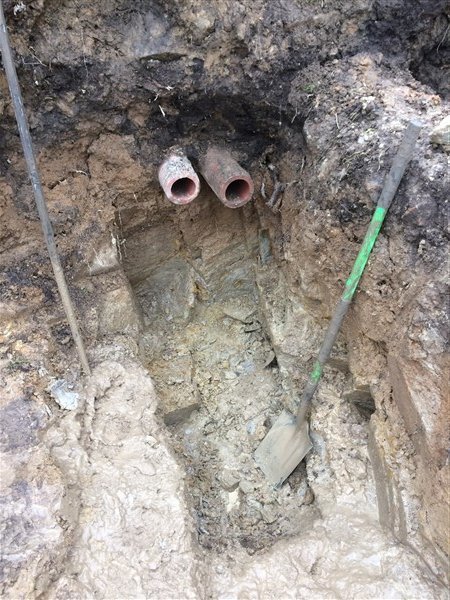
But first I needed to lower and repair the storm water pipes.

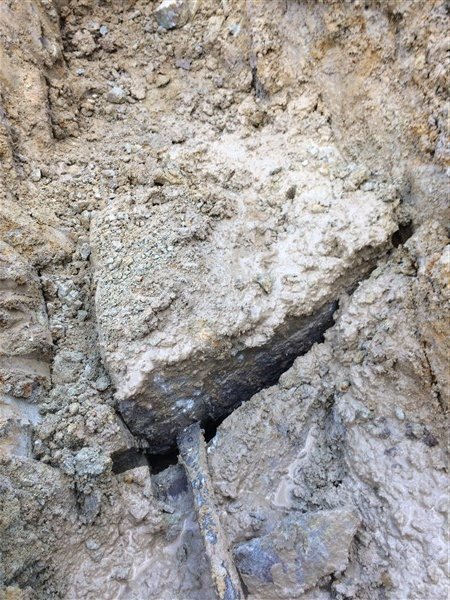
You can see in the pic below the solid bed rock I had to break through using nothing more than a 1.8 meter steel bar and a shovel.
IMG_6389.jpg

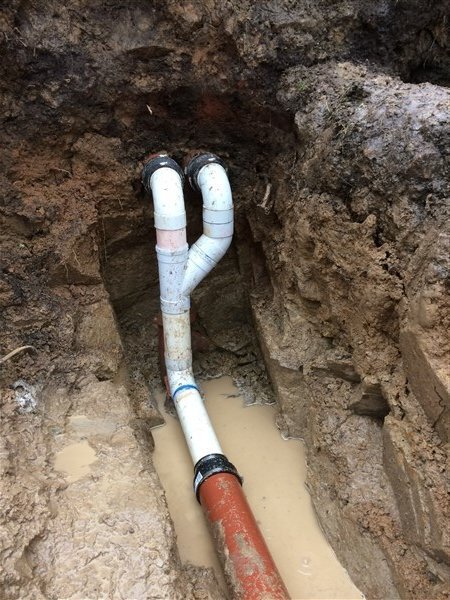
One of the storm water pipes was blocked lower down and as soon as I build the extension these will pretty much become redundant as one of the overlays on our property is to do with rain water run off and the council insisting that all storm water must now go into the storm water drains/pipes under the road, where as when our house was built it was just piped out into the garden and dumped in a soak away, so thats why I was happy to go 2 into 1 with the storm water pipes.

Pipes repaired and lowered.
IMG_6404.jpg

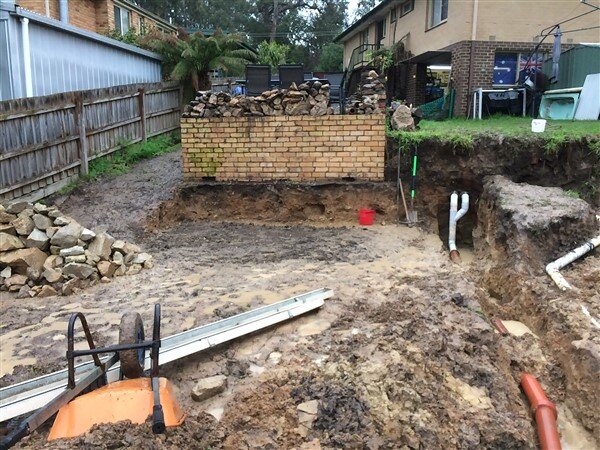
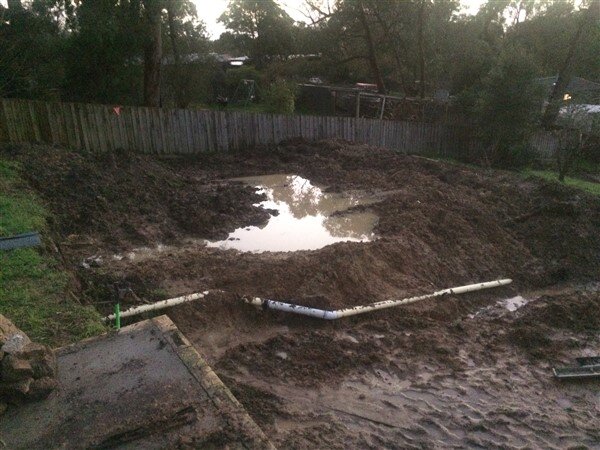
Next I needed to lower the sewer pipe that can be seen to the right of the storm water one, but first I would have to dig and move a few more square meters of clay and rock.
IMG_6408.jpg

IMG_6438.jpg

And as I dug the rock pile grew!

IMG_6440.jpg

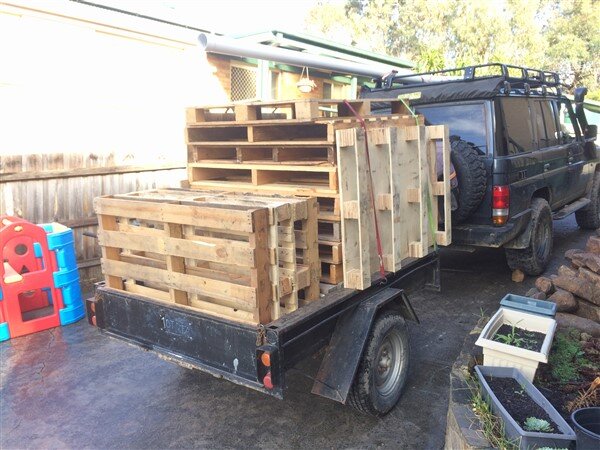
Working conditions were tough as it was a quagmire and the almost constant rain wasnt helping.

So I got a load of pallets to use as duck boards and they worked beautifully!
IMG_6446.jpg

Lots more bed rock was being broken and prised from the ground.
IMG_6447.jpg

IMG_6454.jpg

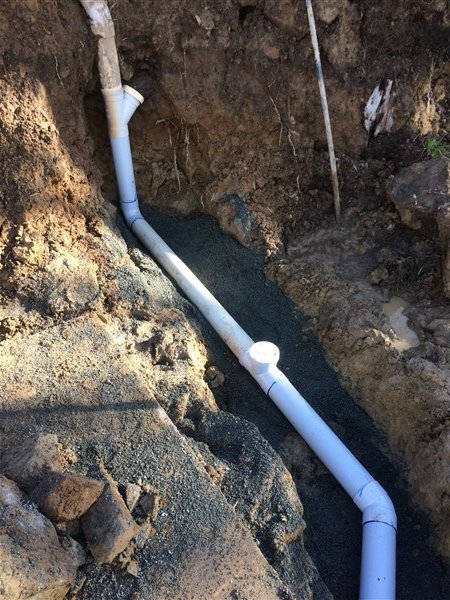
Sewer pipe lowered and extra roding/inspection points added.
IMG_6462.jpg

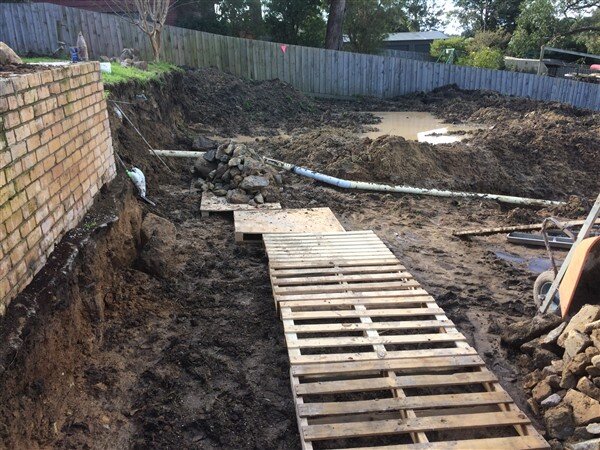
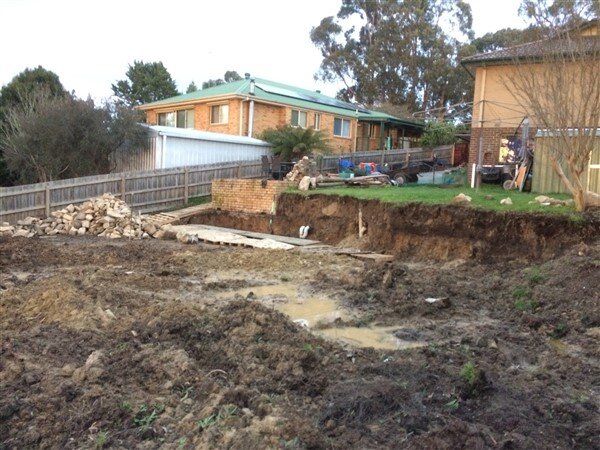
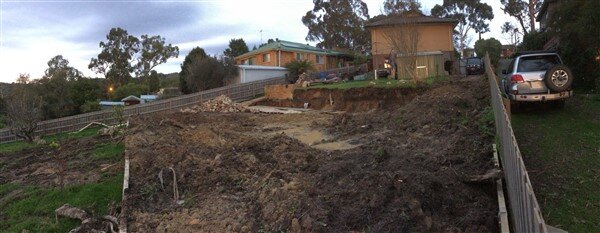
So with all the pipes now lowered and repaired and a load more clay and rock dug out the site was starting to take shape.
IMG_6464.jpg

IMG_6465.jpg
 
Last edited:
Back
Top