graysworld
Active Member
- Joined
- May 27, 2015
- Messages
- 98
I have the same problem but on the opposite side. A bodywork guy said it often happens after a new screen is fitted and they scratch the paint.
Graeme
Graeme


 2021-06-13 13.34.48 by Vc1r, on Flickr
 Gotta Flip that pumpkin for right side offset
 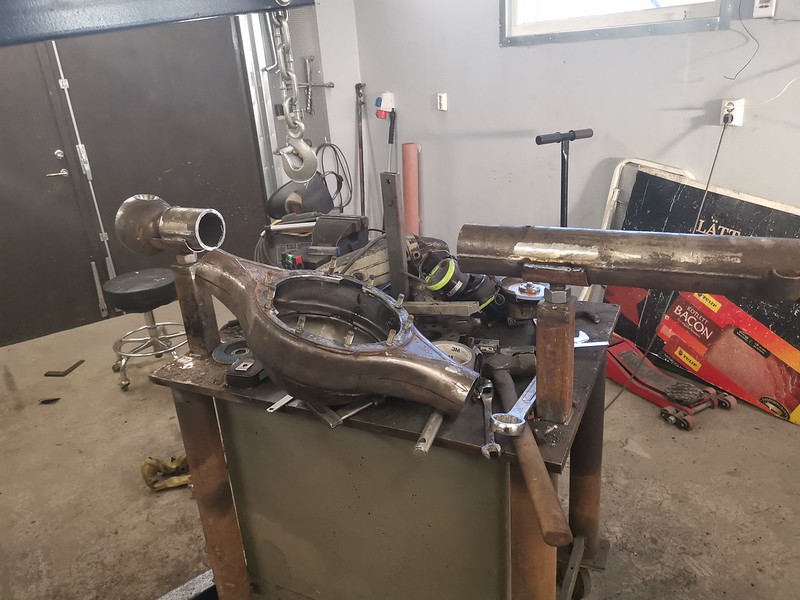 2021-12-19 13.04.54 by Vc1r, on Flickr
 Something weird there. Their tools section was kiddie in a sweet shop stuff.
I've broken about 3 or 4 Crown & pinions in my rear 8"rd now Ben, so you're not exclusive thereHowever mine is 5.29 instead of the stock 4.88, so one less tooth on the Pinion i believe..
Word on the internet is that crown/pinion is the weak spot in these axles, and that seems to be true, never had a driveshaft go out! And presumably the 9,5" suffers of the same things, Crown & Pinion goes wtfboom first..
So that's why i've just cut up a Hj60 9,5" front axle and mounting in the rear for 4ws
Great to see an update Ben.Looks like you’ve been busy.
We did get Bunnings here in the UK. We had one in Chichester. They had loads of great stuff. However they pulled out within a year.


A HD rear is definitely on my to do list!
Slightly off topic, I have been reading back through your 1kz installs, which radiator did you use in this build? Did you manage to get a KZJ78 one? I noticed the the LJ70 thread you used the 4Runner radiator with some spacers, which I will probably end up doing.


