Don't like the adverts?  Click here to remove them

My Rear Storage Thread

fridayman

Well-Known Member
Joined
Jun 25, 2010
Messages
1,578
Garage
I've looked at quite a few rear storage systems now, and I have decided that I am going to go for a removable metal cage, which will be bolted to the floor. The cage will house my 80l Engel on a slide, next to a drawer for tools and recovery gear, with a shelf above the drawer for my small Weber (if it fits). The frame will be made out of 20mm square tubing wrapped with 1/2" welded mesh. The top will be either chequer plate or perforated metal sheet - I think this will come down to whatever is cheapest. 2 large canvas boxes will sit on top of the cage. The fridge slide will probably be our of 2mm stainless (if this is strong enough). I'm not sure about the drawer yet... Might just make this out of 12mm ply.

Anyone have a 1m x 1m sheet of chequer plate or perforated sheet lying around?
 
I've been working on this all week and only today realised that I haven't taken any pics...

Most of the welding is done and the frame is almost ready for paint - I just need to weld on some tabs for the top ply deck. The mig welding has been a bit of a roller-coaster ride, and it was only half way through the project that I managed to find some consistency. Just when I thought I had the hang of it the wire ran out, and the new wire did not weld the same... Then the gas ran out, and the new bottle didn't flow at the same rate as the first one... I also bumped the wire speed knob without noticing (several times) :oops: And I initially tried flux core wire before switching to the correct wire for gas. I'm actually a little gutted that the welding is almost done now, as I am starting to enjoy it - I even ground out some of the first welds and re-welded them.

I changed my mind about the perforated sheet and the welded mesh - mainly because I've run out of time. Then instead of a drawer and a shelf, I am going with 2x drawers as I managed to get another suitable set of runners on ebay.

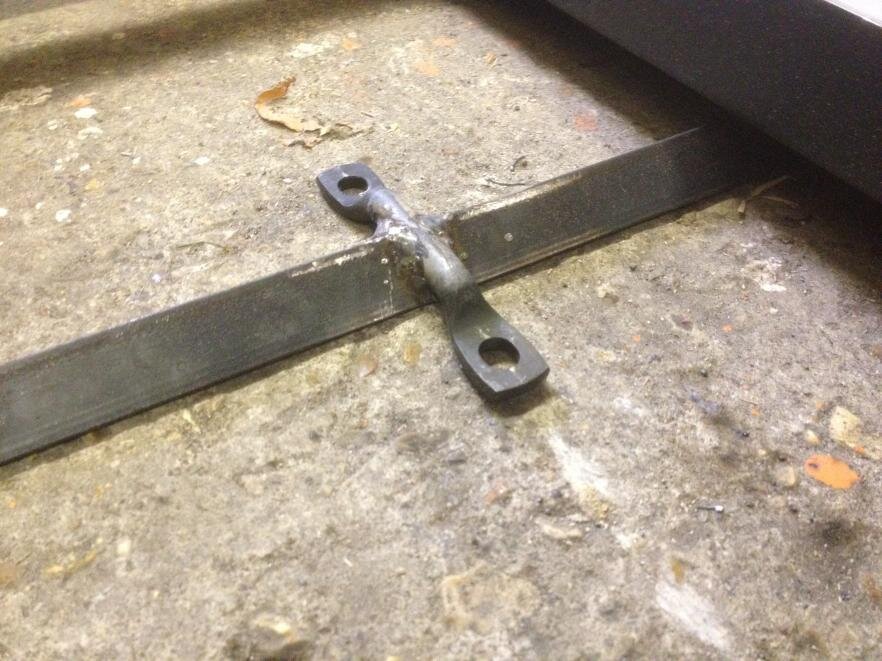
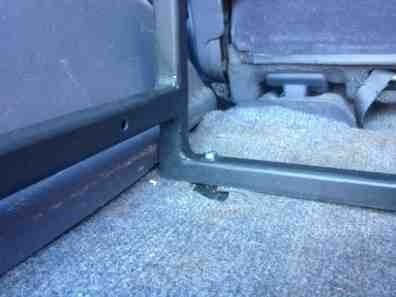
All the runners and the fridge tray are bolted to the frame - I'll take some pics tomorrow. The weight is really starting to add up - I'll probably re-assemble it in the back of the truck after painting. To secure the frame to the truck I have welded the 3rd row seat floor catches to the frame. I briefly messed around with the tie down points, but managed to break off 2 of the bolts... and it turns out they are not bolted to anything substantial anyway - definitely not suitable for any kind of load bearing.

This is the only pic I have of the frame at the moment (it is on its side - right is bottom):
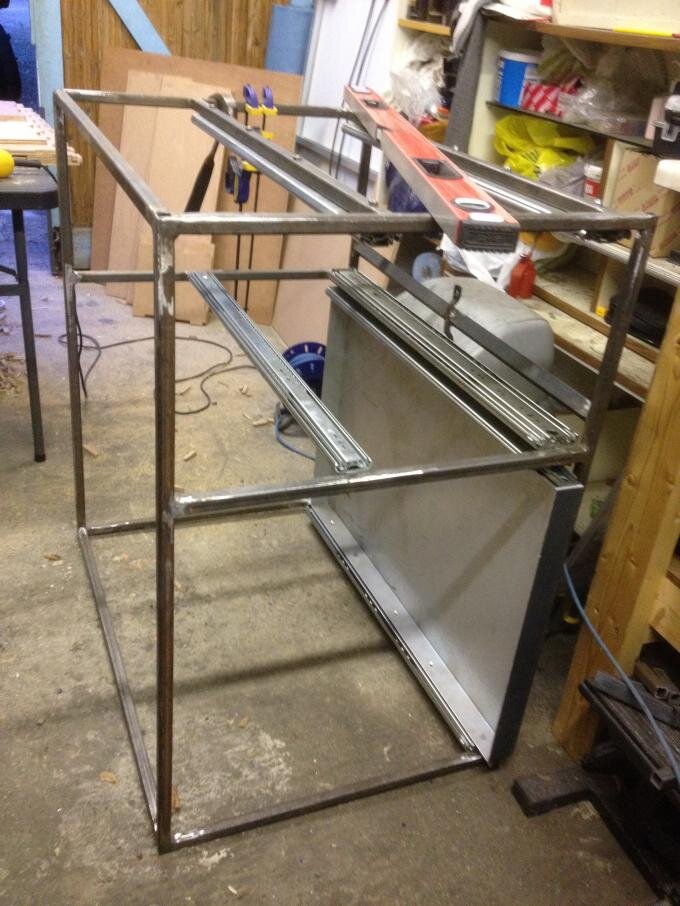
IMG_0720.jpg

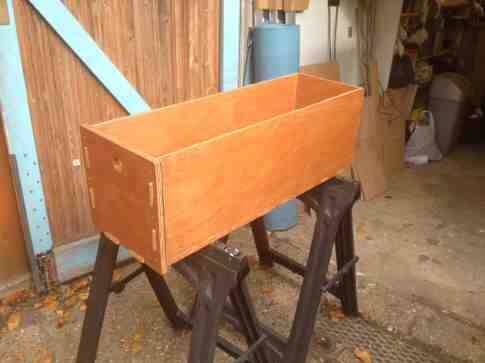
Today I was working on the 2 drawers. These are made out of 12mm ply and will be varnished (same as the rear door table). Both drawers are 300x300x900 and mounted on very heavy duty runners. I've done the odd wood working project in the past, but never tried proper joints. I considered dove tail joints for a brief moment, but (luckily) decided to use box joints instead. They were actually pretty easy to do, with the only challenge being the drawer faces being slightly wider than the rest of the drawer (to hide the runners). My dodgy shoulder (old bike related injury) has been acting up again which slowed things down a bit as well :(

All the drawers bits cut out and ready for glueing and screwing:
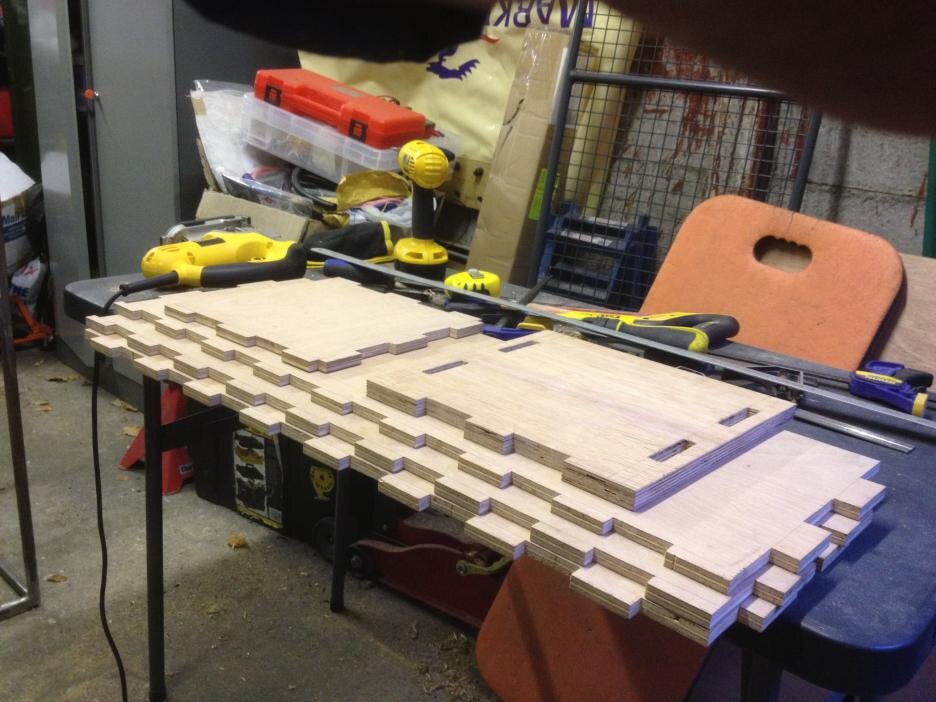
IMG_0719.jpg

Once all the bits were cut, the assembly doesn't actually take that long.
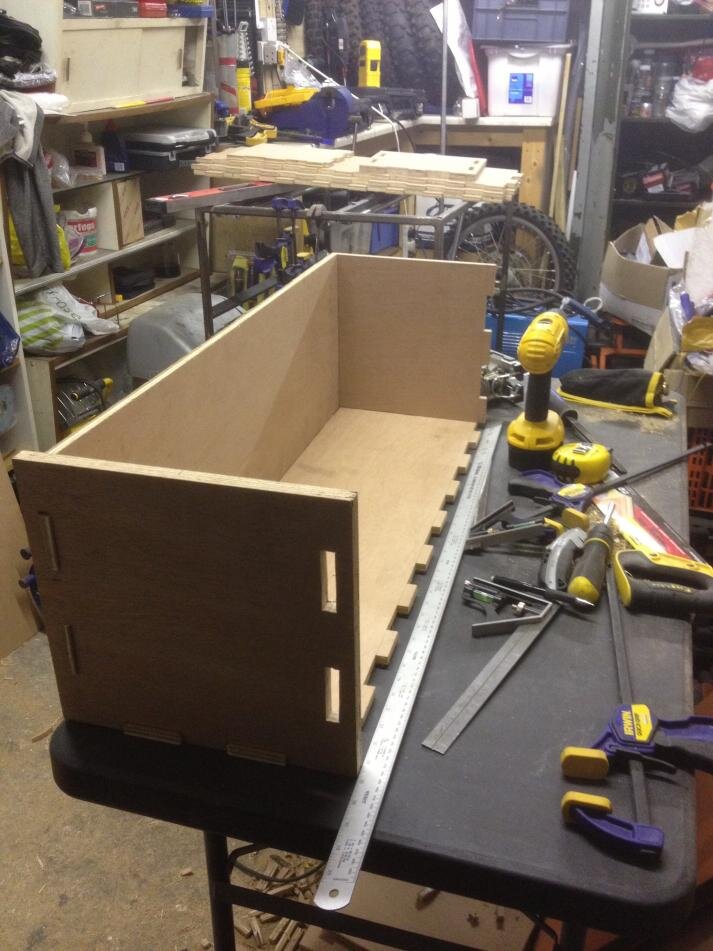
IMG_0722.jpg

One nearly finished drawer - just needs rope handle and varnish, and can then be mounted in the frame:
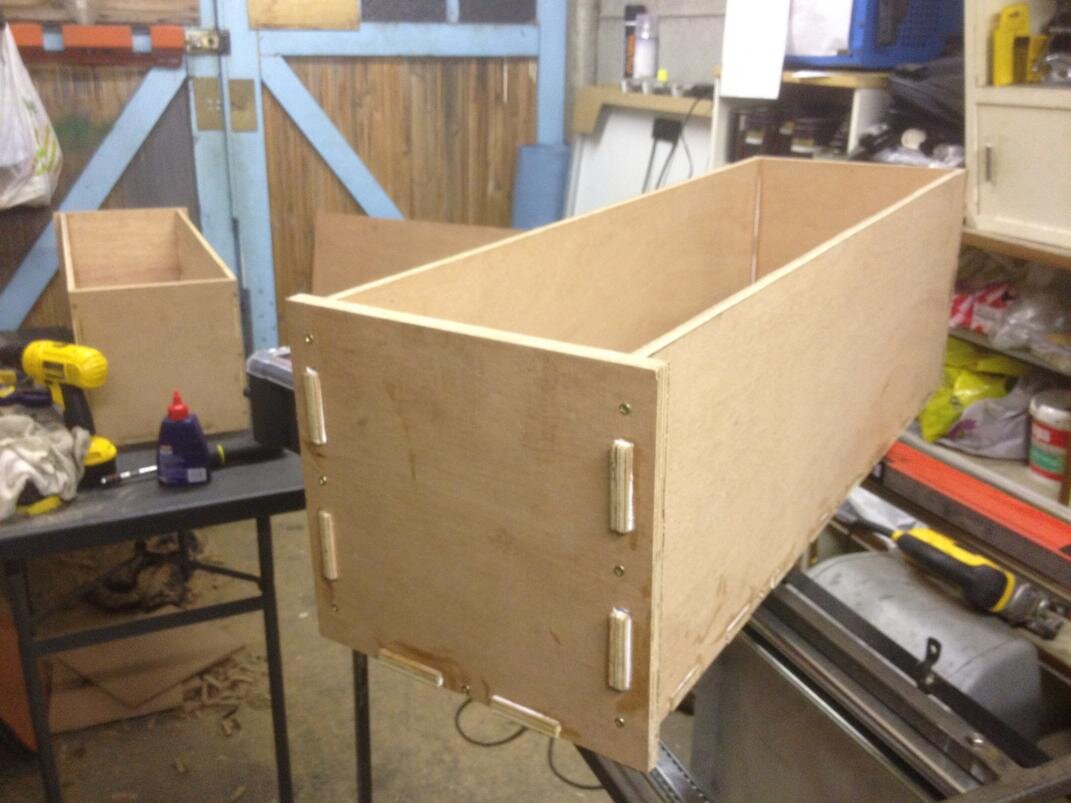
IMG_0727.jpg


I'm exhausted (don't know how Ben does it!?). Hopefully I can finish this and test fit this tomorrow (and take some more pics).
 
Excellent work. :clap:

Really like the joints on your wooden drawers, Should be nice and strong. :icon-cool:

I was working on my truck for 13 hours yesterday, but looking back through the pics I took, it doesnt look like i did that much. :oops:
 
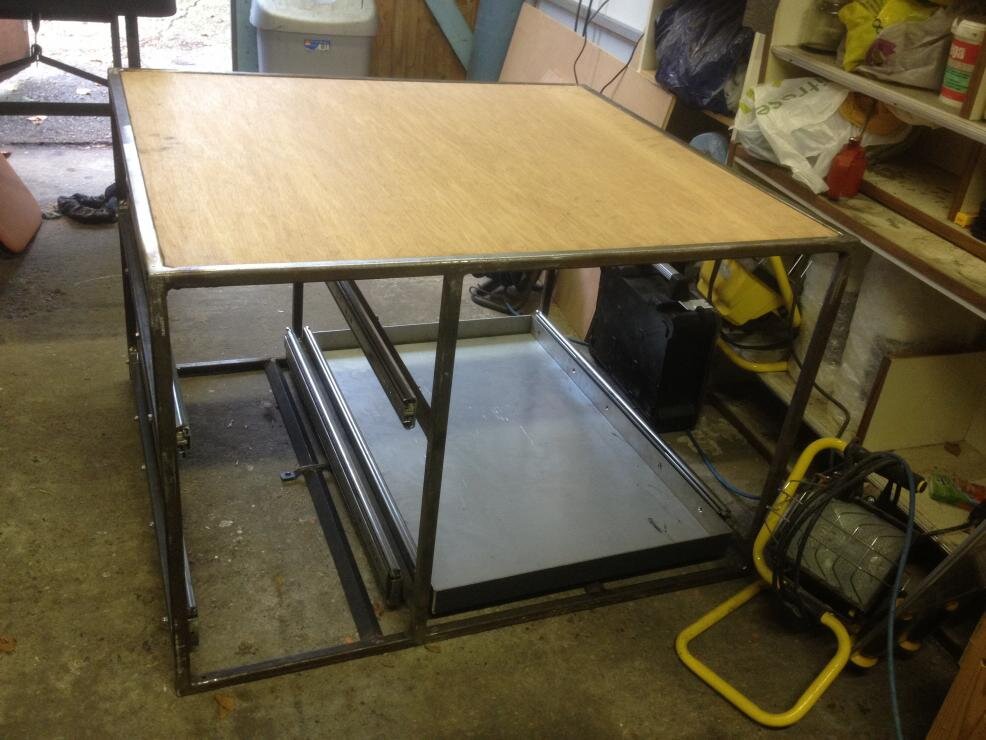
I started with an easy job this morning - welding on tabs and fitting the ply deck.

IMG_0729.jpg

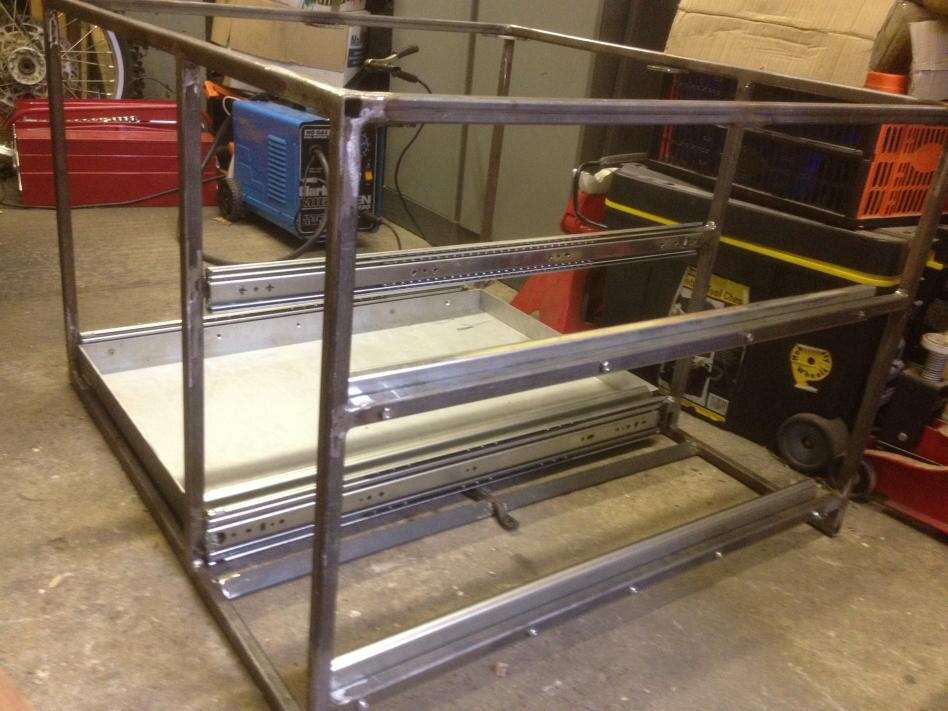
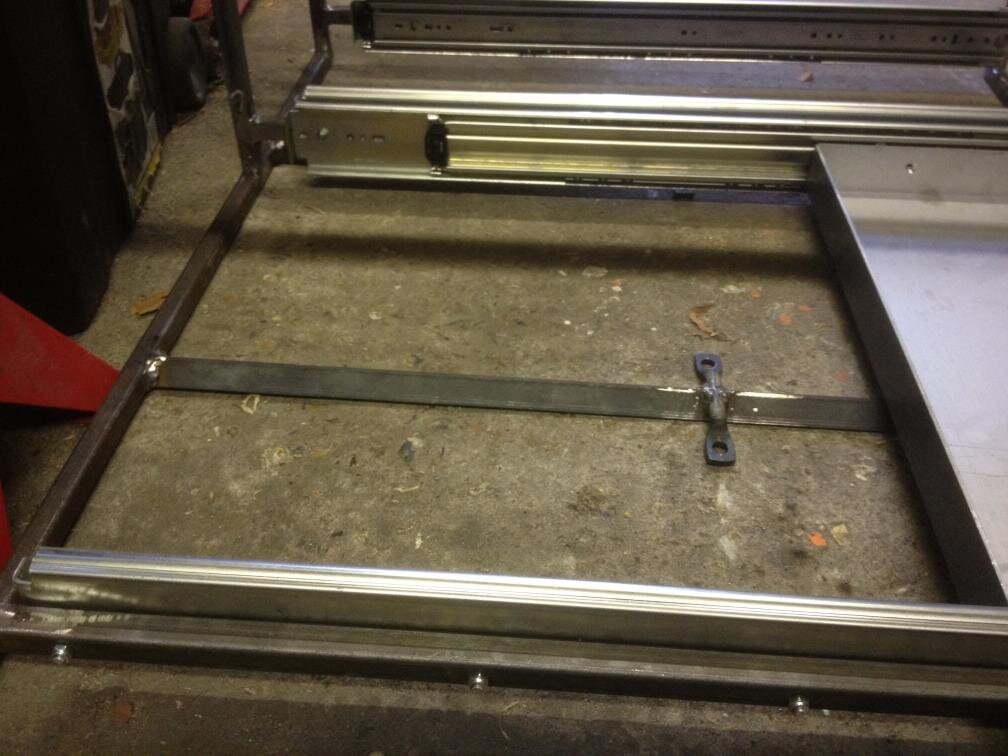
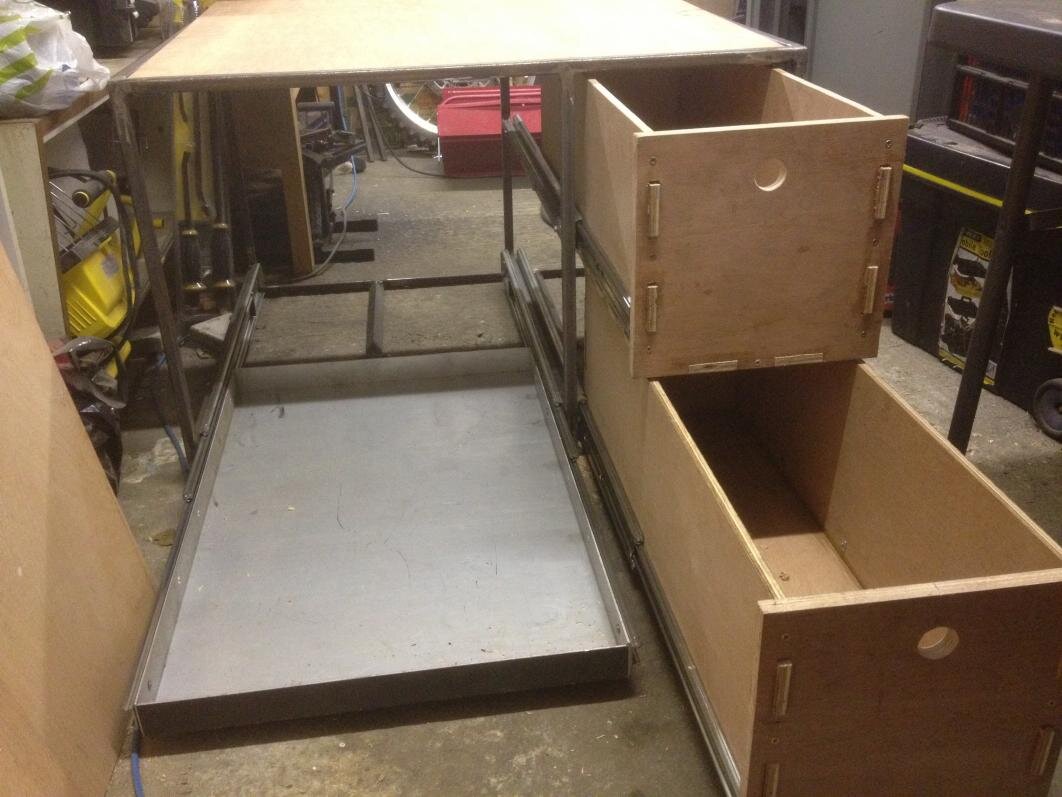
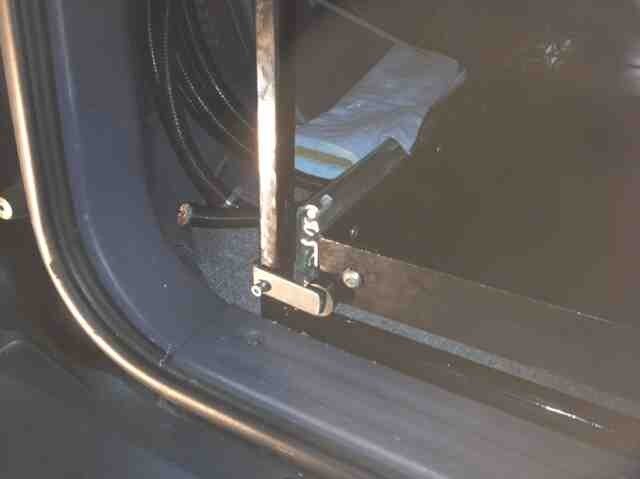
I also took a few pics of the frame with runners attached, and of the seat catches that I welded to the frame.

IMG_0736.jpg

IMG_0734.jpg

IMG_0735.jpg


Then I made a stupid mistake :doh: A couple of days ago I removed the guard from my grinder because a buffing disc would not fit with it on. Today I swapped back to a cutting disc and didn't put the guard back. Fortunately I was wearing gloves.
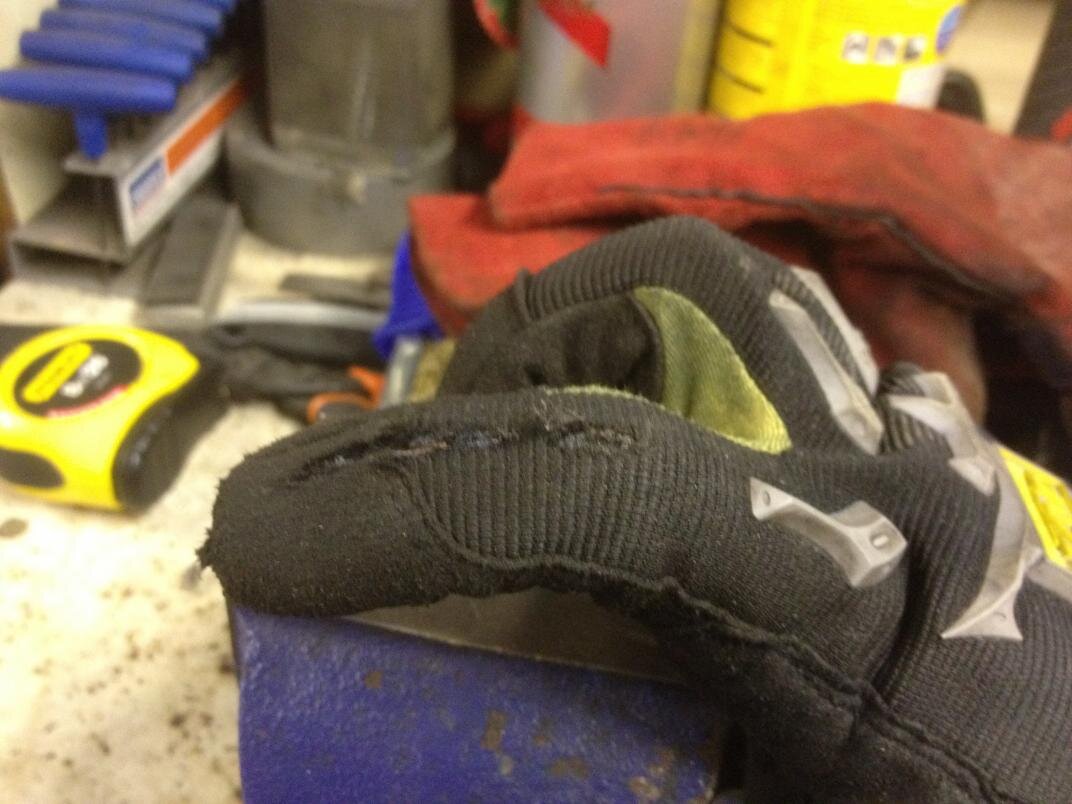
IMG_0737.jpg


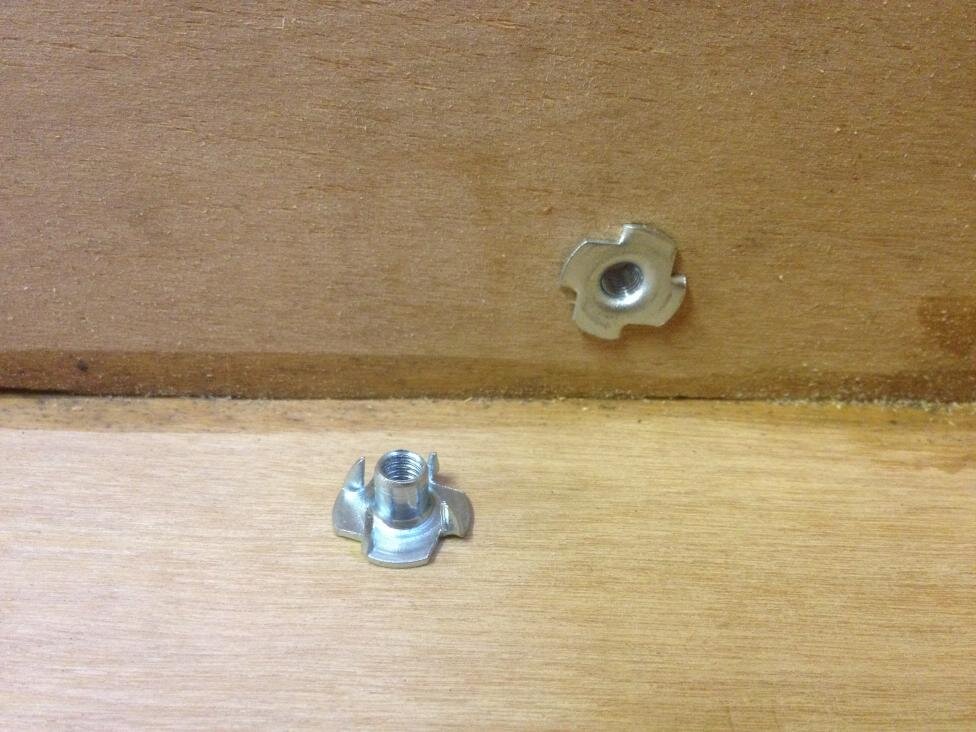
Next up was fitting the drawers. The runners must be bolted to the frame first, but I removed them to measure up the drawers. For the lower drawer that will be home to all the heavy kit like my toolbox, bottle jack, etc.. I used t-nuts.

IMG_0738.jpg

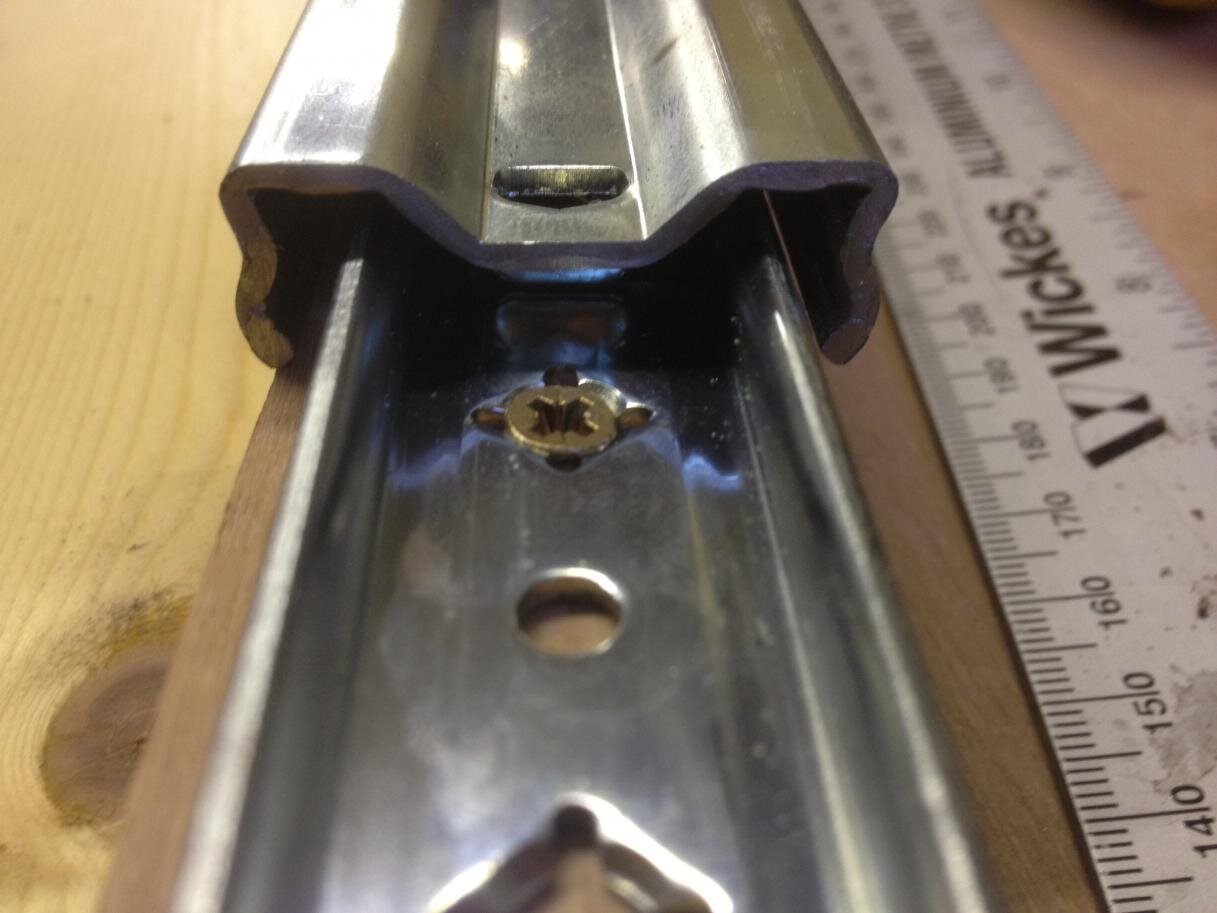
I wanted to use t-nuts for the top drawer too, but the runner is different to the bottom 2, and doesn't have a clear channel for the bolt heads like the other 2. Instead it uses very small counter sunk screws that sit flush with the runner surface. Very annoying, but not the end of the world I suppose. More annoying is that the little screws are 2mm too long and stick through on the inside of the drawer, so I will have to stick a something over them on the inside of the drawer.

IMG_0748.jpg

The second drawer went in pretty straight, but I must have made a small mistake with the first one somewhere as it isn't square in the frame.

IMG_0749.jpg

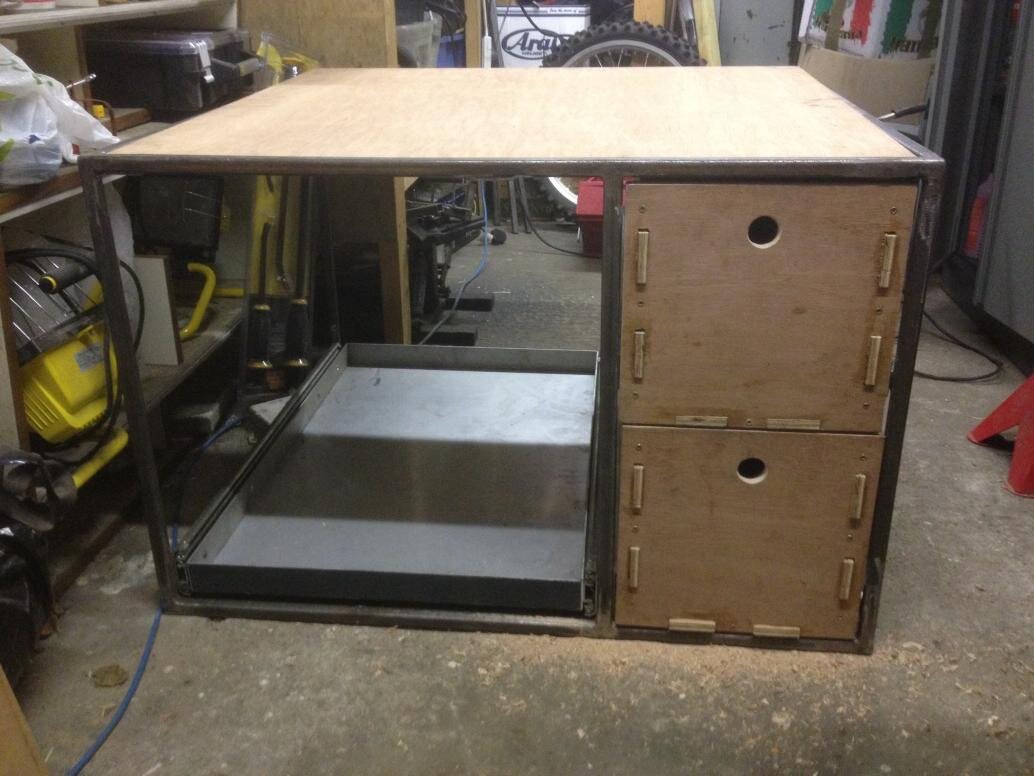
The last job for today was drilling a hole in each drawer to pull them out.

All done for today.

IMG_0750.jpg

IMG_0753.jpg
 
Good work
drawers look nice and strong
like those t-nuts not seen them before
 
Don't like the adverts?  Click here to remove them
Very nice work - looking good! :icon-cool:

Good thing you were wearing some decent gloves - that could've been very nasty! :shock:
 
Wow, close call with the finger.

Really now match against a spinning carbide disc.

Gra.
 
That's going to be quite a bit of kit when it's done. Top job so far
 
Nice bit of work there

I designed a full set of chequerplate boxes for my 110 Defender and had them made up.
 
Progress has slowed down recently but I have managed to give all the ply a coat of marine varnish.

ImageUploadedByTapatalk1352062892.428906.jpg

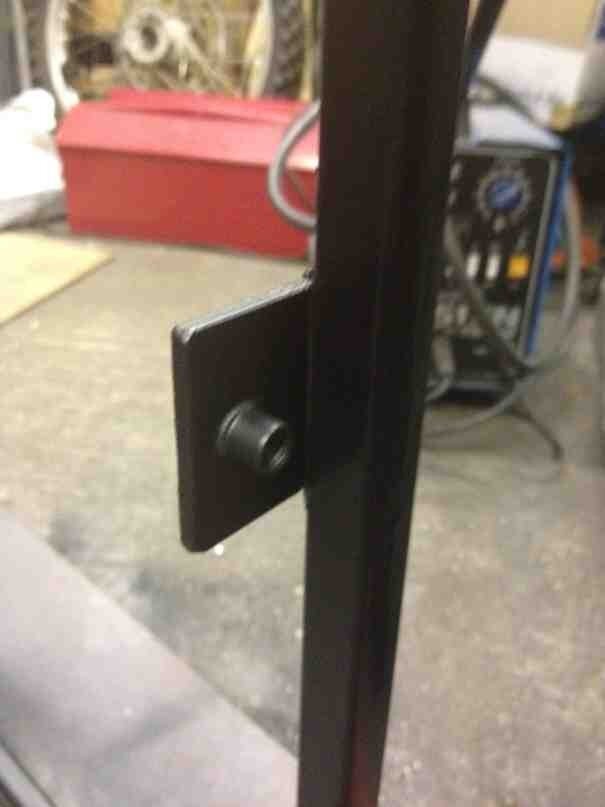
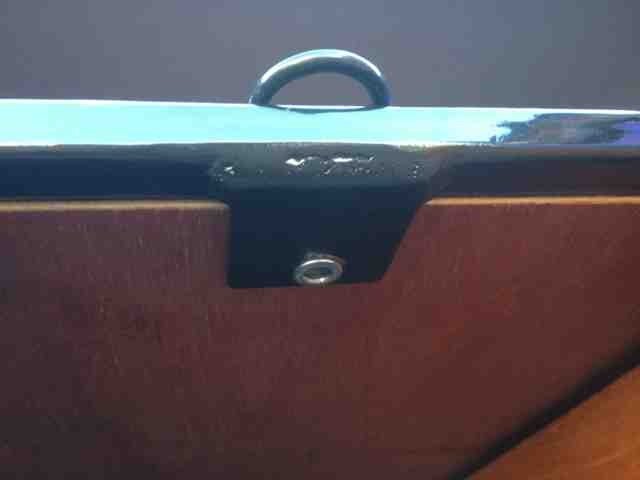
I also scratched my head for a bit deciding what to do about attaching the d-ring tie down loops. The loops have a 8mm mounting hole and I don't really want to drill 8mm holes in my frame which is pretty sturdy at the moment. In the end I decided to bolt them, through the deck, to the deck mounting tabs. I don't have much clearance under the tabs for a nut or bolt, so out with the rivnut tool again.

ImageUploadedByTapatalk1352063219.552011.jpg

The deck has holes drilled to fit over the 8mm rivnuts, and then the tie down loops will be bolted down from the top with dome head bolts (so that nothing catches on them). Couldn't take any pics as all the metal bits were painted and are still drying.
 
Really nice job. 2mm stainless will be fine for the fridge slide - that's what mine is and it's bullet proof. Drawers look great but aren't they really heavy?
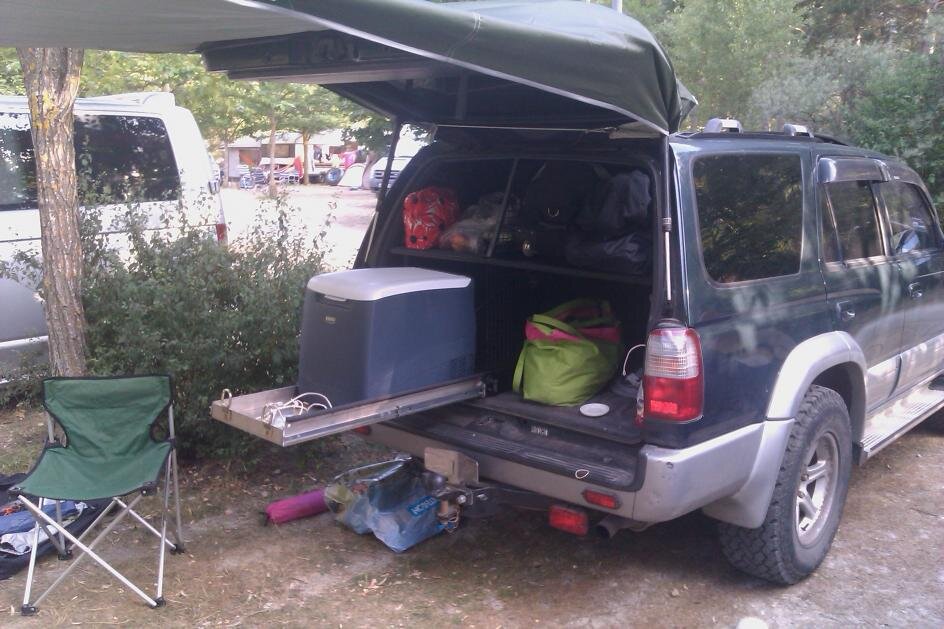
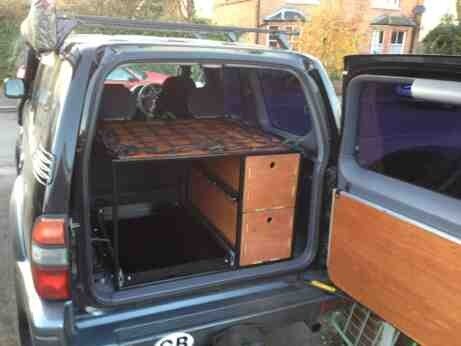
Attached pic of my storage system in the back of my Surf (sorry!). Same construction, 12mm box, 20mm weldmesh. Built around 4 plastic stacking boxes (the kind commercial office removers use) which are out of the vehicle in the pic. Built it 3 years ago and used every summer since - takes about 2 mins to fit / remove.
IMAG0037.jpg
 
That should have said 20 mins!

Really nice job. 2mm stainless will be fine for the fridge slide - that's what mine is and it's bullet proof. Drawers look great but aren't they really heavy?
Attached pic of my storage system in the back of my Surf (sorry!). Same construction, 12mm box, 20mm weldmesh. Built around 4 plastic stacking boxes (the kind commercial office removers use) which are out of the vehicle in the pic. Built it 3 years ago and used every summer since - takes about 2 mins to fit / remove.
View attachment 4465
 
The drawers themselves aren't actually that heavy. The 3 sets of runners are though, and easily make up half the weight of the storage system.

I think the fridge slide is made of 3mm aluminium - they had an off-cut at the fabricator which made the decision for me.

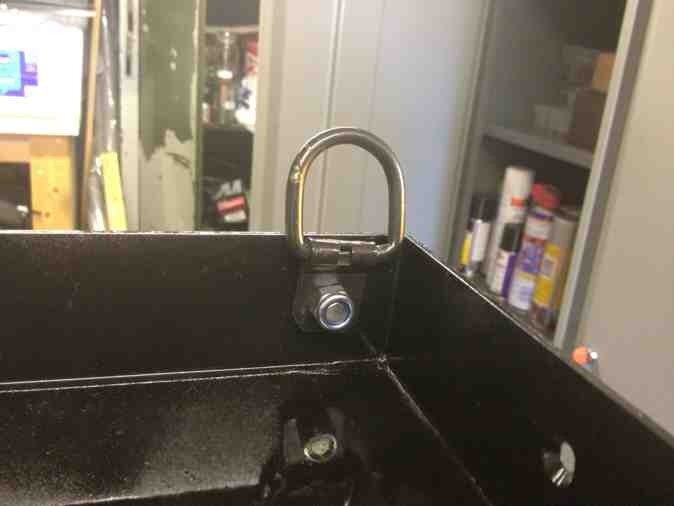
I made a lot of progress over the weekend. First I added 4 d-rings to the fridge slide for tying the fridge down with ratchet straps.

ImageUploadedByTapatalk1352765002.434133.jpg

ImageUploadedByTapatalk1352765018.516996.jpg

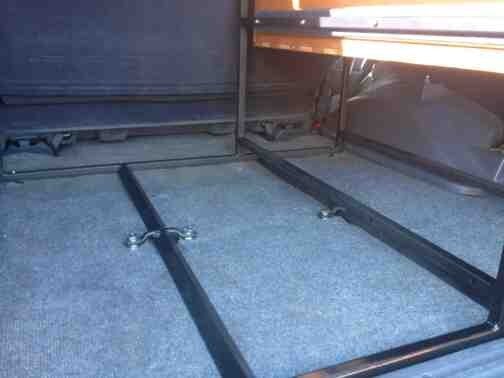
Then I put the carpet back and bolted the frame to the floor.

ImageUploadedByTapatalk1352765296.444399.jpg

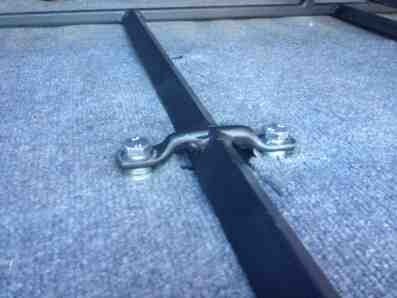
I used washers to fill the gap between the brackets and the floor so that there isn't permanent tension on the frame.

ImageUploadedByTapatalk1352765470.556385.jpg

The two brackets hold the frame pretty securely, but an 80l fridge full of beer on a fully extended slide is a hefty lever, so I also bolted the fame into the holes left by removing the crappy factory d-rings.

ImageUploadedByTapatalk1352765653.659110.jpg

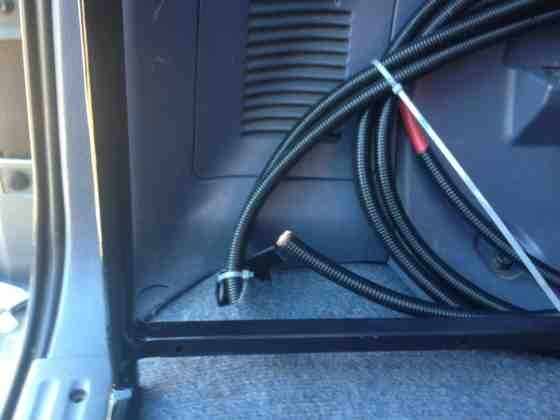
The 2x 40mm^2 cables from the leisure battery come up through one of the factory plugged holes in the floor - I used the rear left hole - and then lies flat under the carpet and exits just by the tool storage (for now). I'm probably going to have to finish the wiring in Brisbane.

ImageUploadedByTapatalk1352765873.196475.jpg

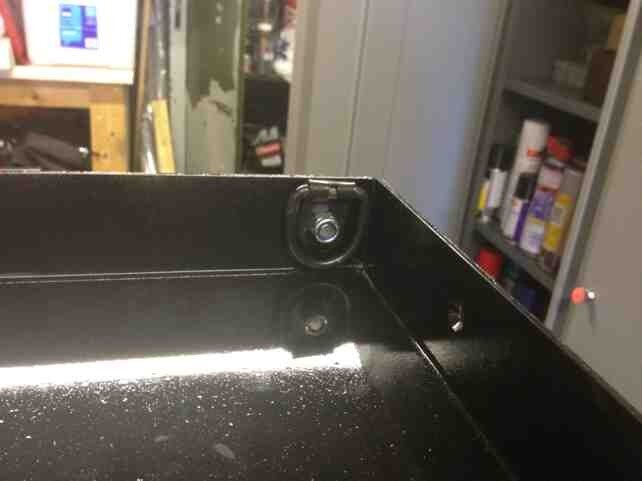
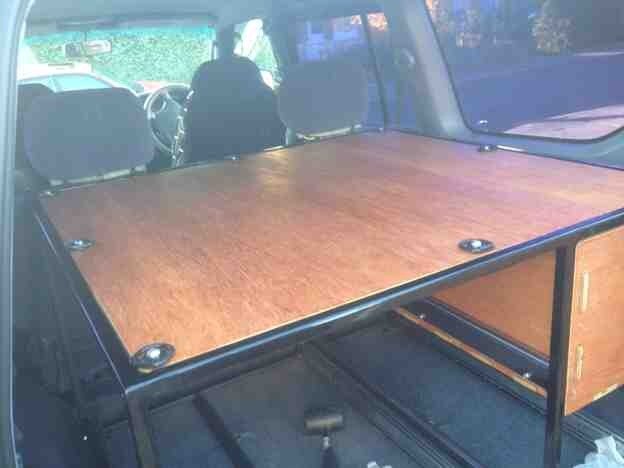
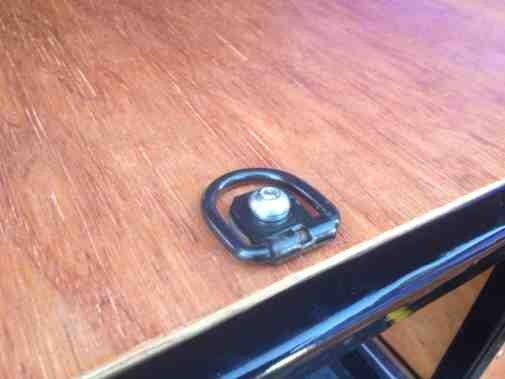
Next I bolted in the deck and 8 d-rings.

ImageUploadedByTapatalk1352765989.204153.jpg

Each d-ring is bolted through the deck into a rivnut fitted to a welded mounting tab.

ImageUploadedByTapatalk1352766084.479950.jpg

ImageUploadedByTapatalk1352766107.692475.jpg

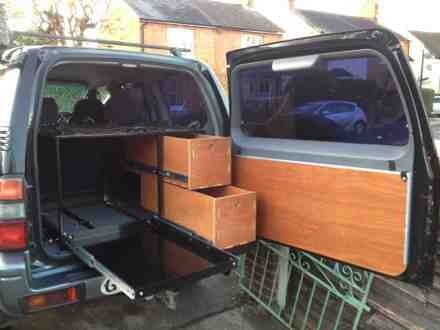
Here are the drawers and slide bolted in too.

ImageUploadedByTapatalk1352766219.999631.jpg

ImageUploadedByTapatalk1352766235.351889.jpg

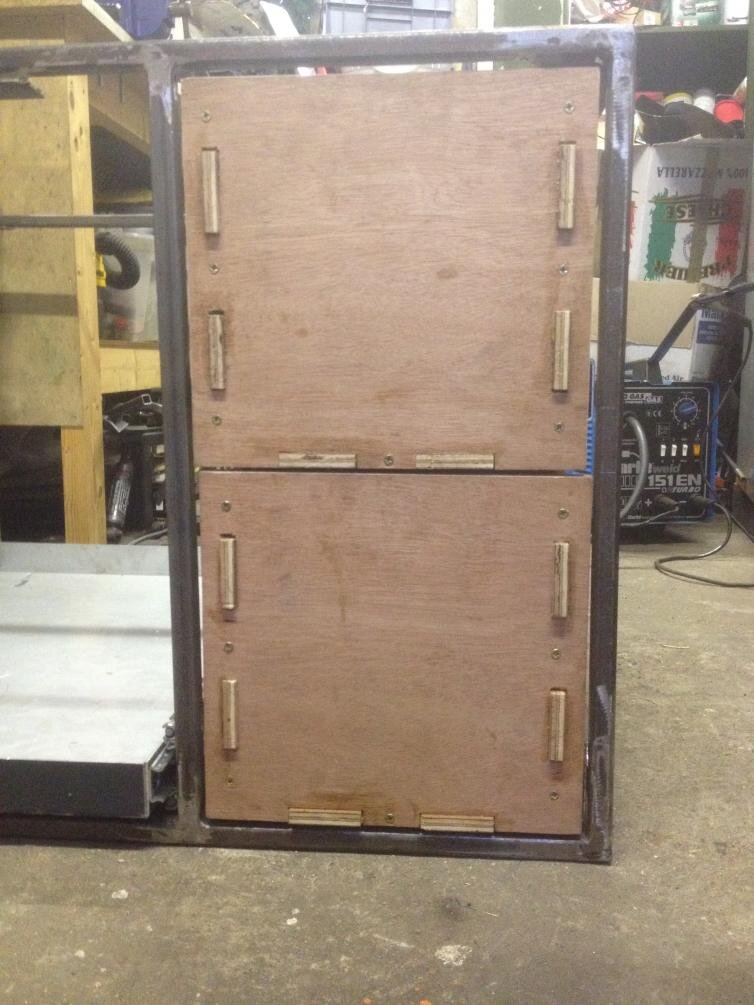
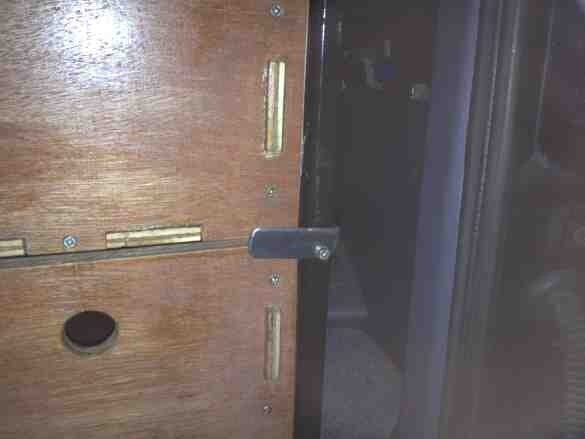
Last job for the day (as it was getting dark) was to quickly knock up some locks so that the drawers/slide don't bash into the door table when I pull away or drive up hills. I looked at a few sprung pull pin options, but wanted to keep it simple so stuck with some simple latches.

ImageUploadedByTapatalk1352766427.423100.jpg

ImageUploadedByTapatalk1352766438.283362.jpg

I'll make some better looking ones at some point, but was starting to freeze my nads off at this point.
 
Last edited:
That's Looking great. Like the door-table too. I'd think hard about a cargo guard above the rack to stop loose stuff flying around in an accident.
 
I have a Toyota cargo guard that I need to refit. But then I also have a safe to install over one of he wheel arches, and I might want to access it from rear seats (so that people don't see me putting stuff in it and draw attention)...
 
Back
Top