Don't like the adverts?  Click here to remove them

ORCA - build your own Lakelander canoe. Well I did!

That looks like a top job Chris. I'd love to have a go at something like that.

Sent from my SM-G900F using Tapatalk
 
Well there's two spaces left on this weekend's course. It's about time Trev did some work.
 
Thats awesome Chris, I love it! :thumbup:
 
Ben with your wood working skills, I could see yours being fit for sale! Working with wood is nice but there's a touch you need to make it really finessed. At least with metal you can weld up your mistakes.
 
Chris, really, mistakes? Nah, don't believe it. I was reading the last three words of the thread title with a Yoda voice! [emoji4]

ImageUploadedByTapatalk1459289539.308896.jpg
 
Hmm, weld up your mistakes you can.
 
Don't like the adverts?  Click here to remove them
Ben with your wood working skills, I could see yours being fit for sale! Working with wood is nice but there's a touch you need to make it really finessed. At least with metal you can weld up your mistakes.

Thanks. I do feel inspired to build one now Chris. :thumbup:

But I'm under strict orders from the Mrs that the only woodworking project I should be doing is building us a bed for the king size mattress we bought last year, which were still using on the floor! :icon-rolleyes:

I do have a couple of technical questions for you....................

Roughly how many sheets of ply did it use?

And what sort of glue did you use, PVA, polyurethane which expands like expanding builders foam or something completely different? :icon-ugeek:
 
In total there are 4 sheets of marine ply for the sides. I don't have the precise sheet size but they had to be around 8 x 4 to be able to get planks around 7 ' long. It's a std size isn't it. Then there is the hull base which must be another 2 sheets. Thing is, I didn't cut out the blank sheets and I rather think that whilst 8' long, they were only a couple of feet wide because they would not have fitted on the bench. There are three profiles to be cut out as the boat is built of three layers. Hmm, this isn't making much sense is it.

OK there's the base board. 2 sheets cut in triangles with the bases together to make a huge diamond. Then the sides in three layers are all made from 4 identical pieces in each layer cut in a stack. The shapes were drawn onto the top sheets of wood hence it being vital that the cuts were vertical so that all three shapes resulted in 4 identical planks per set. As you can see the flat planks are cut in a curve so that when bent they form a curved hull. Just like a flat map of the world if you like, ends up round when you fold it.

Once it's boat shaped and you've packed it here and there, you paint the joints with resin and lay fibreglass tape on the seams then paint them in with more resin. The nose and stern though aren't taped. You can't get in there. That's where we used thick resin and hardener gobbed in. Very tricky. Personally I think expanding foam would have been a great idea.

Once that was set, the entire inside of the canoe was painted with a thin mix of resin and hardener to waterproof it. I think that to get a really perfect example, 4 days isn't enough. Prep is the key and because we had to reach particular stages at particular times some of the things that would make it better had to be rushed a little. I slapped resin all over the place thinking we'd be sanding it back, but we didn't. So the inside of mine looks very drippy. Tickling the planks right at the start to get them to meet without packing is important I think. Or you spend too much time sorting out the odd bits. Get it right and there's no tweaking to be done.
 
Nice one Chris. I've been after a canoe for a while. I like the Canadian style one. Whats kept me back is the roof tent. I dont know if mine will take the weight of the canoe on the top. I was considering the inflatable ones and spoke to Lorin about the Gumotex ones but am still undecided. Building a wooden one does look like fun though.
 
Looks like it was great fun, well apart from the weather...not sure I have the patience or skills but would love to try it.
 
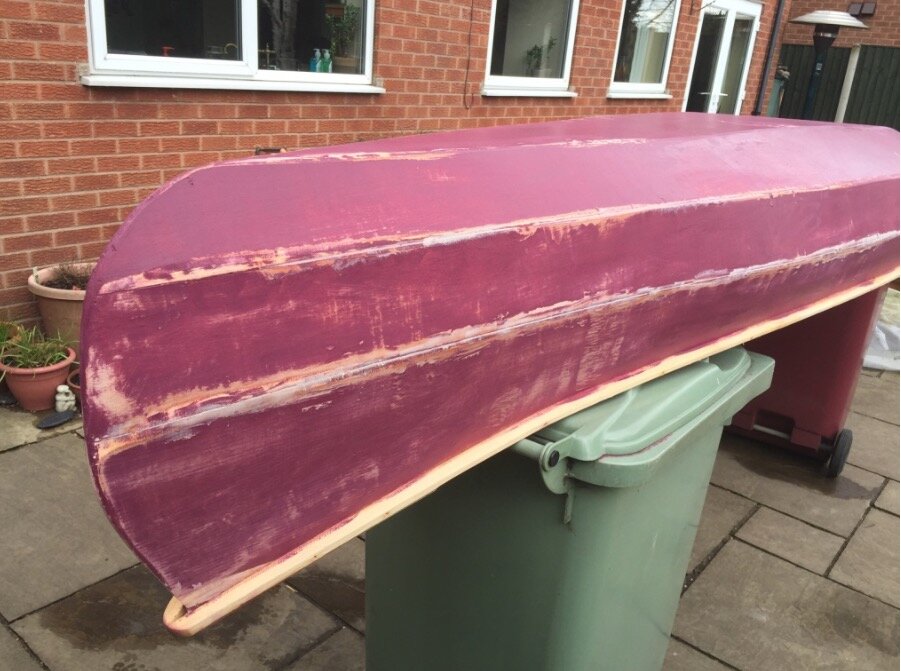
Incredibly, the sun came out yesterday so I propped the canoe up on our wheelie bins and set to sanding and filling. Got some more paint on and it's now really looking much better. Had to rush at the end on the course to be able to get it home. If I'd had another hour there I could have done all this. But locking the paint in the trailer meaning I lost an hour going back with the angle grinder to cut the lock of really cost me that extra time. A bit like car body work; the worse it looks in prep the better it will be when painted. All that sanding and filling really has improved the overall finish.

Screen Shot 2016-04-03 at 09.04.19.jpg
 
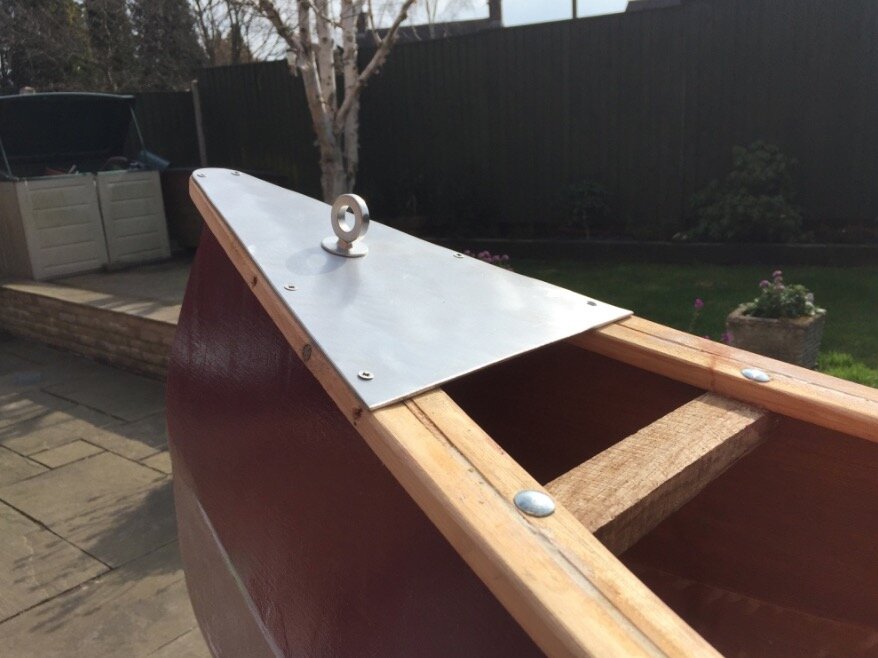
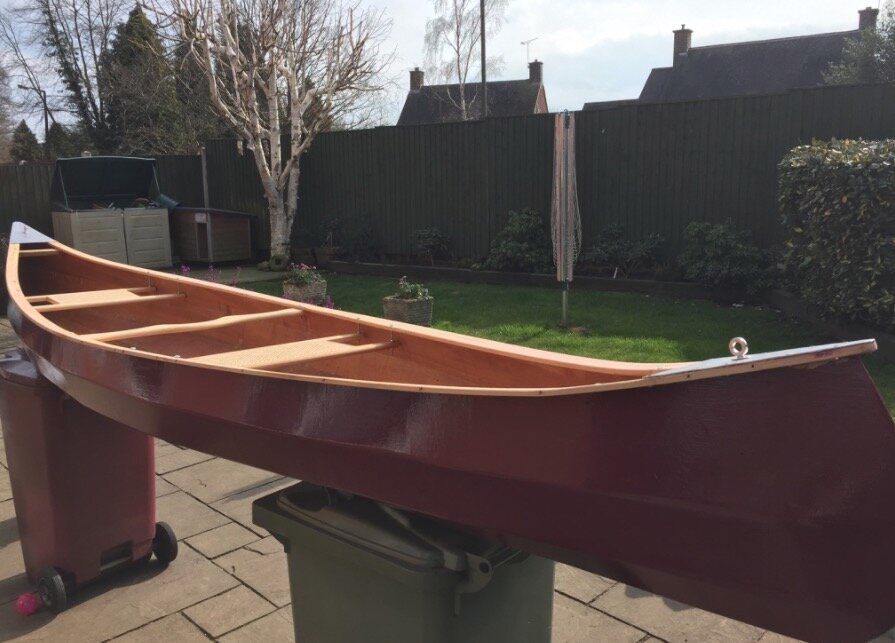
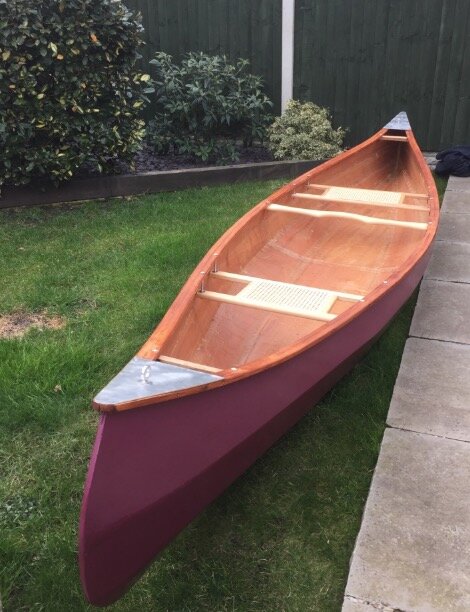
Well a busy day of sanding and filling got me pretty much over the line. Two coats of Valspar and a coat of exterior varnish, plus some stain in the gunwales got it all sealed. I then replaced the wooden deck ends with some brushed ally pieces which are bolted through with machine screws rather than the original small wood screws. This mean the mooring eye can now take some proper strain and can be used to hand the boat in my unit. When I get a moment I shall scallop the edge of that to make it a little more pleasing rather then just straight across.

Screen Shot 2016-04-03 at 19.38.48.jpg


Screen Shot 2016-04-03 at 19.38.58.jpg

Screen Shot 2016-04-03 at 19.39.09.jpg


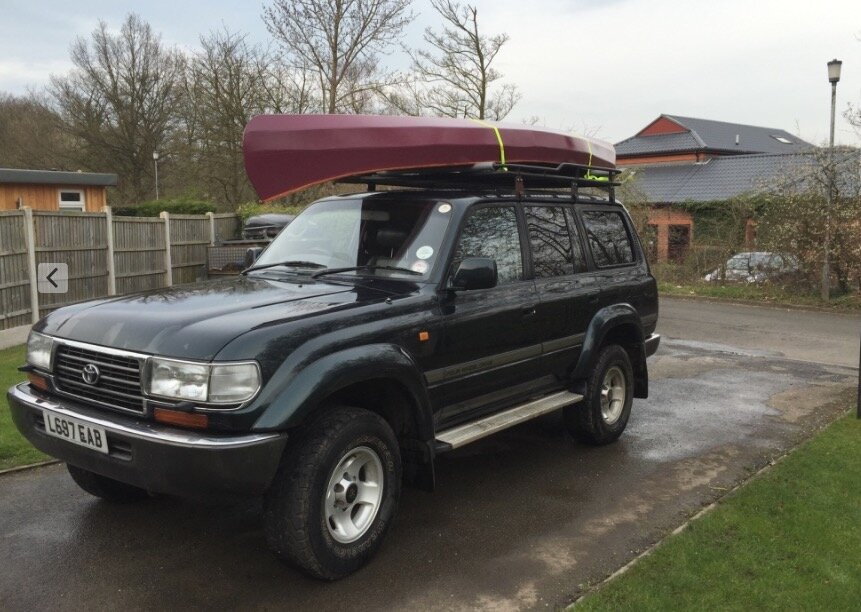
all I needed to do then was load it atop the 80 and stick it in the unit. Next stop open water I hope.

Screen Shot 2016-04-03 at 19.39.20.jpg
 
Back
Top