Amayama.
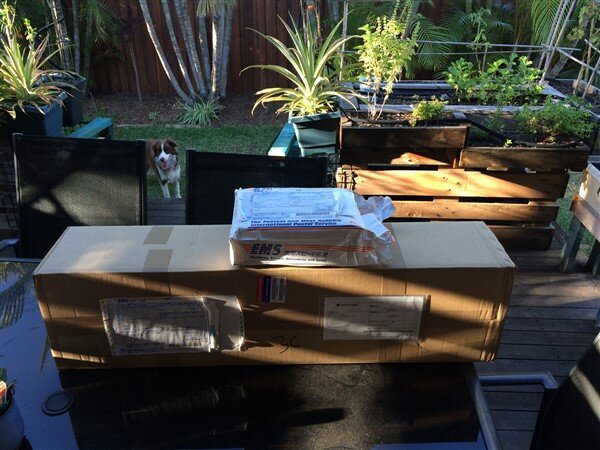
So I got home to find 2 boxes from Amayama in Japan.

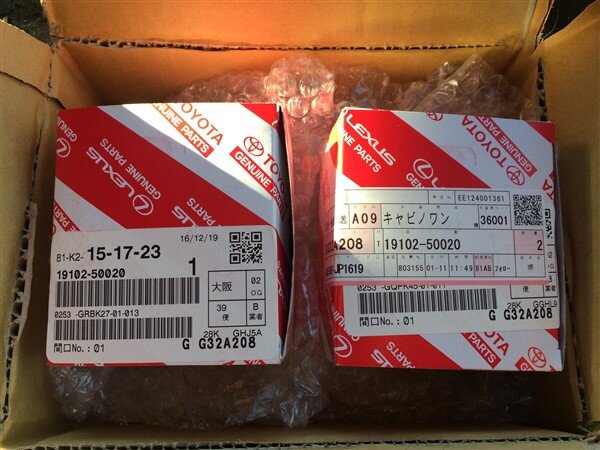
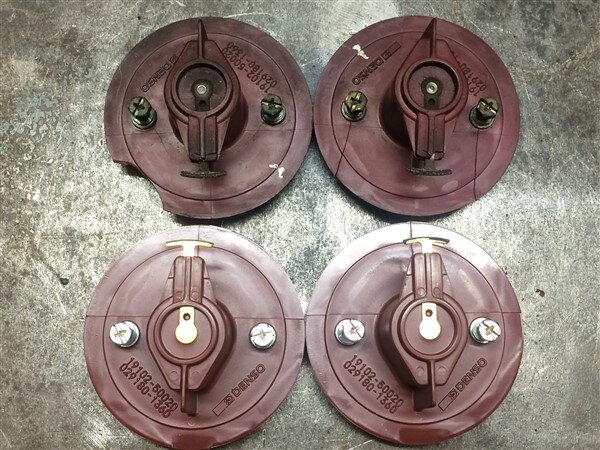
Ignition rotors in one.
And interior trim in the other.
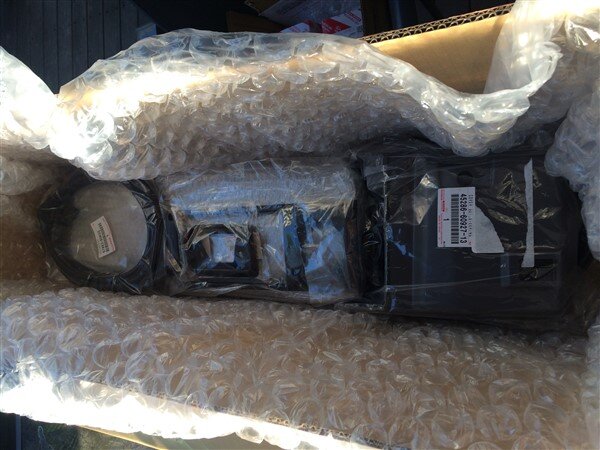
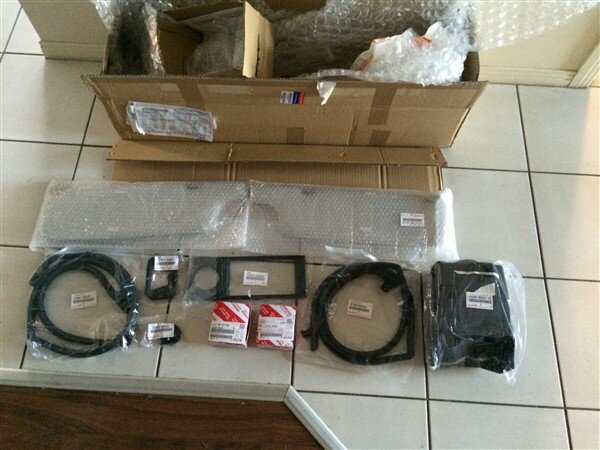
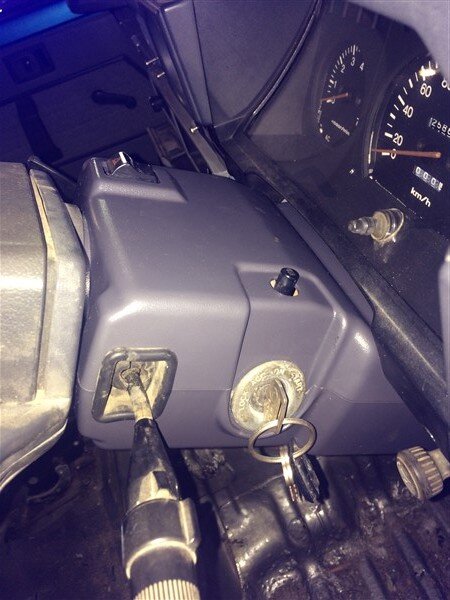
Ignition cowl.
I tried sourcing a second hand one in Australia but sadly most of the early 70's got fitted with that horrid shit brown interior.

They also tend to go very brittle and are often broken.
So a nice new grey one.

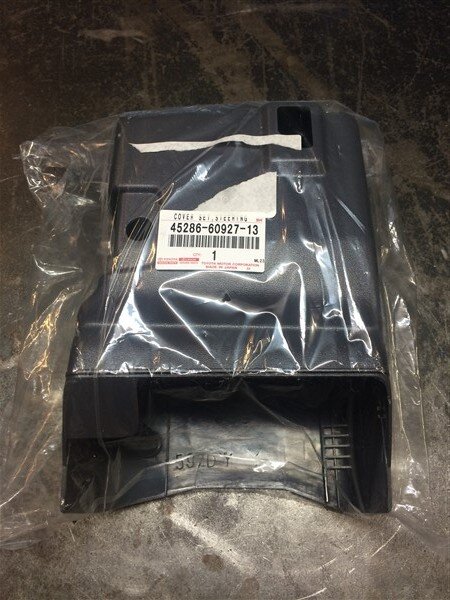
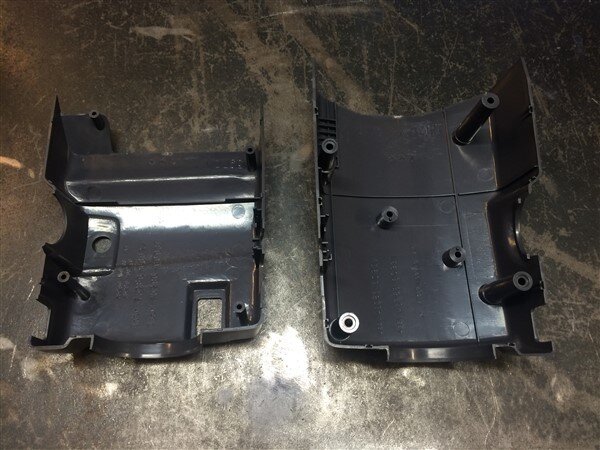

Fitted perfectly!
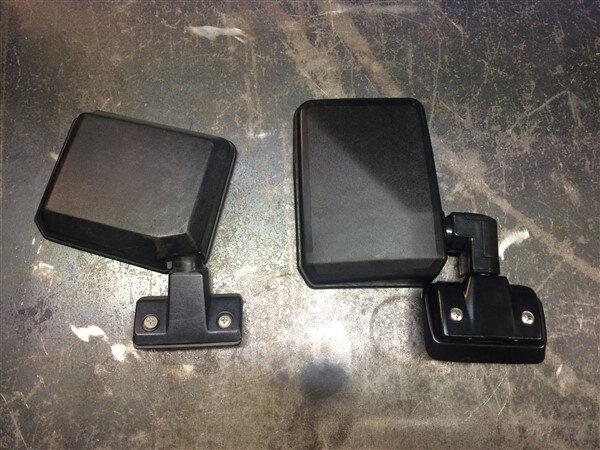
Rubber for the later style (much better looking) mirrors!

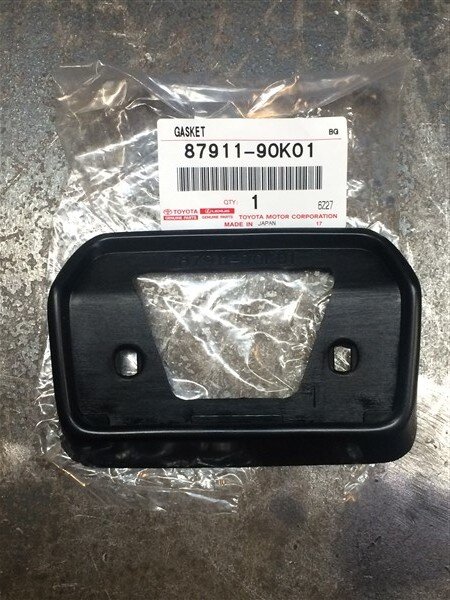
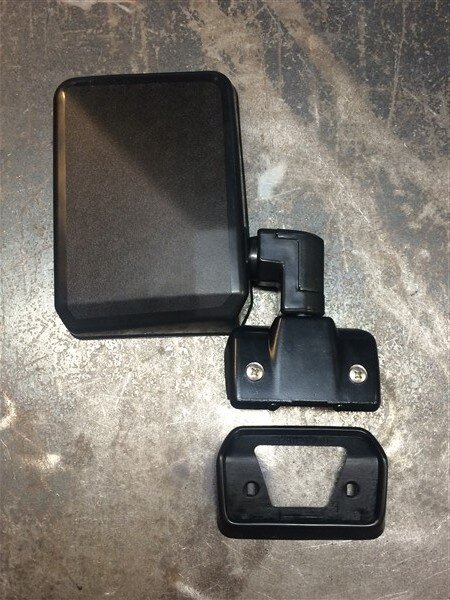
Meaning I could do away with the little ones which I hate and fit my other later one.

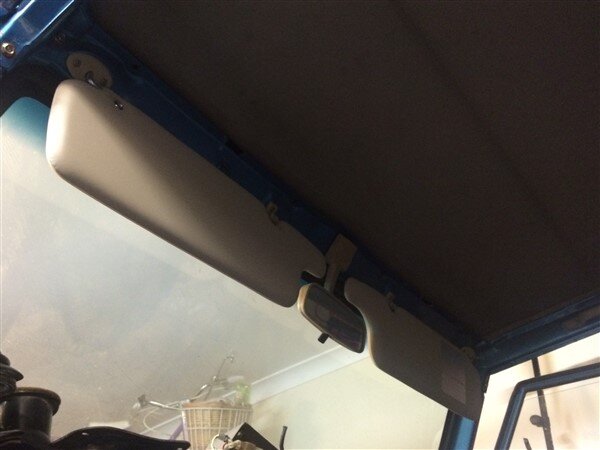
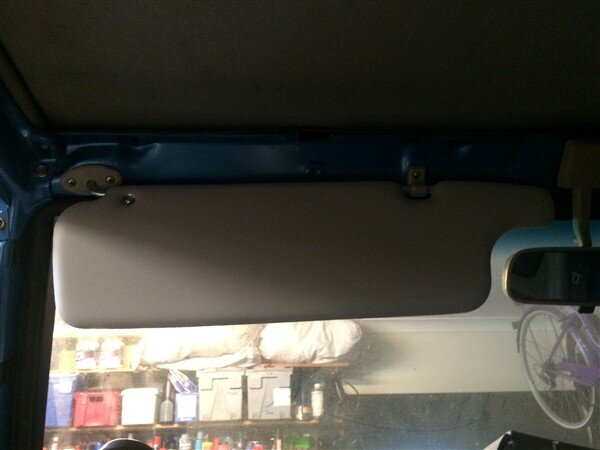
New sun visors next.
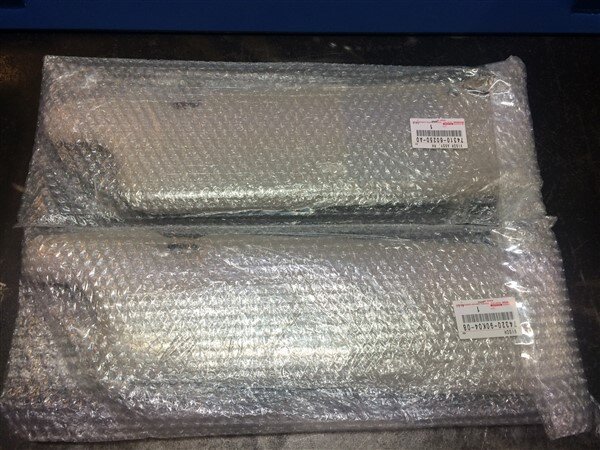
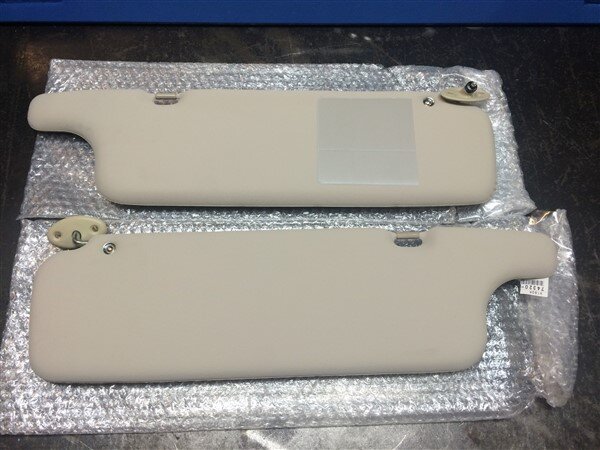
I chose ones without a mirror fitted as I dont want to get blinded by the sun driving along with the windscreen folded down.
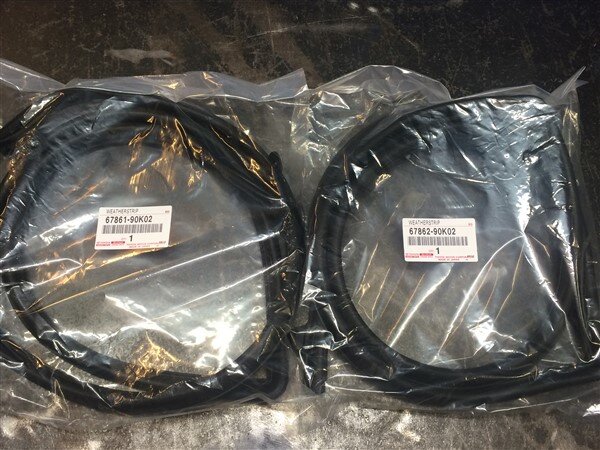
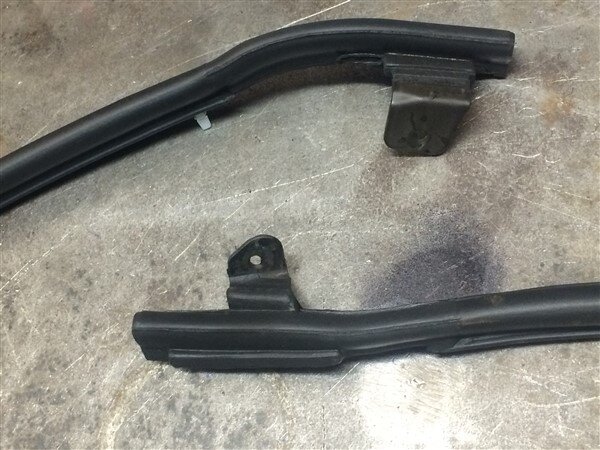
New rubber door seals for the tops of the front doors.
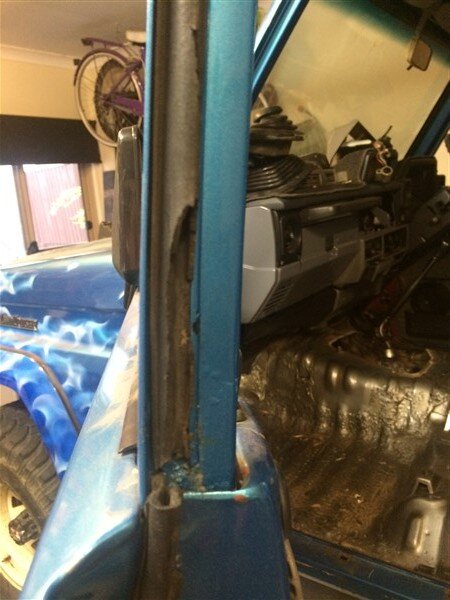
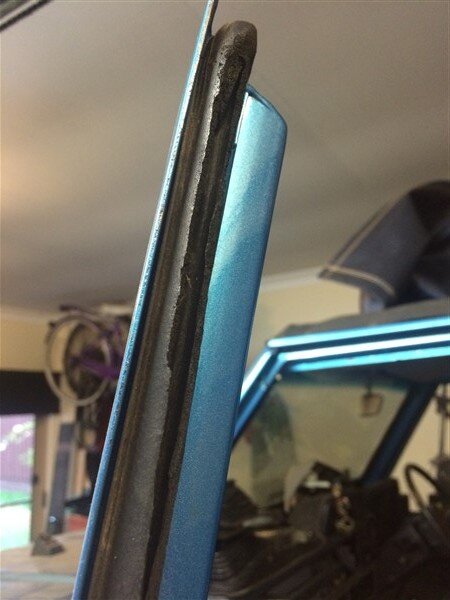
As the tops of the front doors unbolt these seals fit over the lower seals and screw in place.

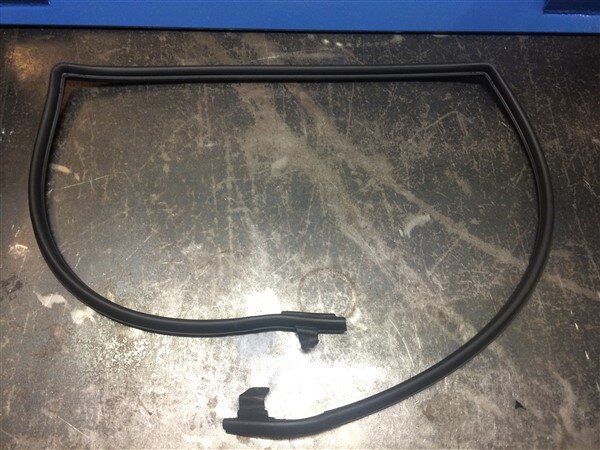
The 30 year old ones were shot!
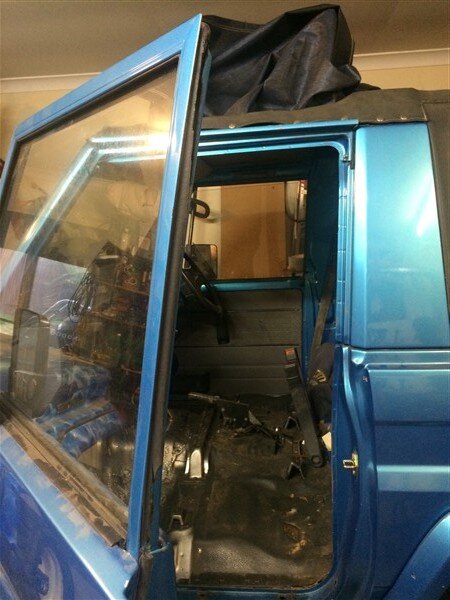
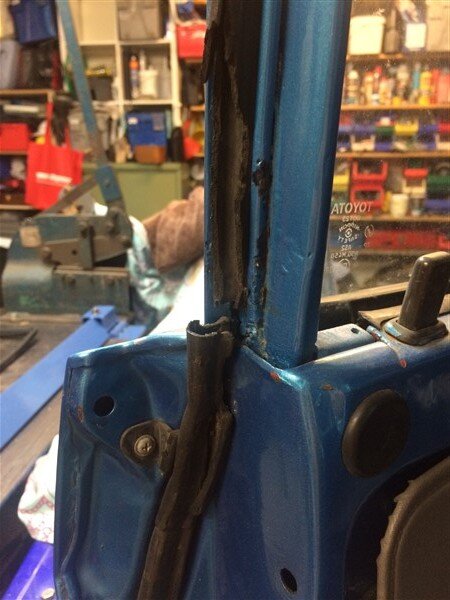
New seal fitted.
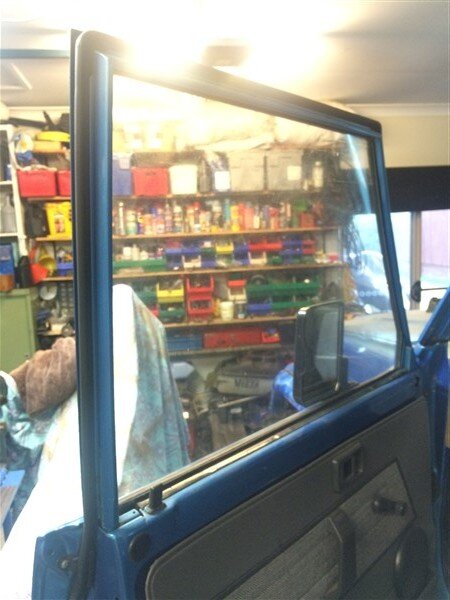
And screwed in position.
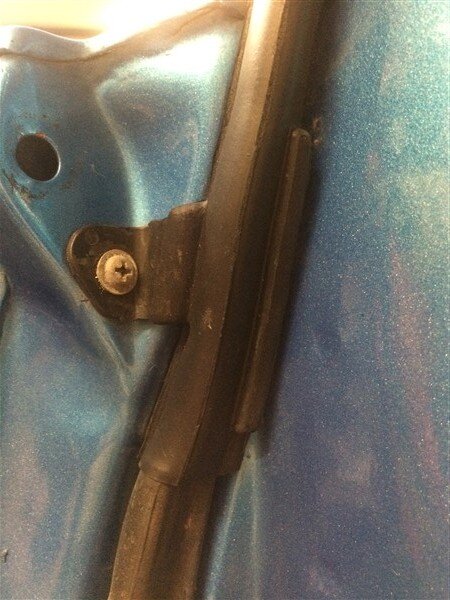
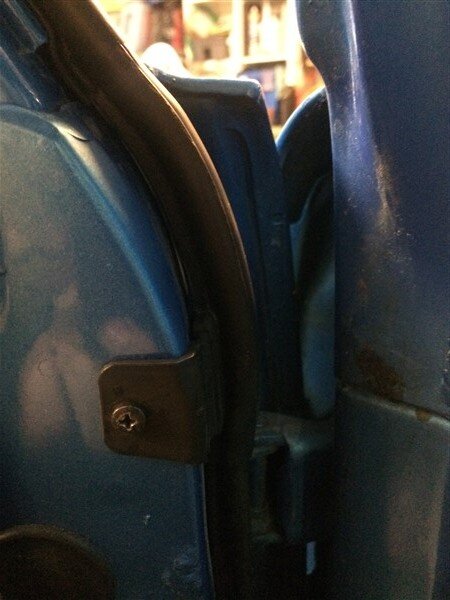
New rubber gear stick boot.
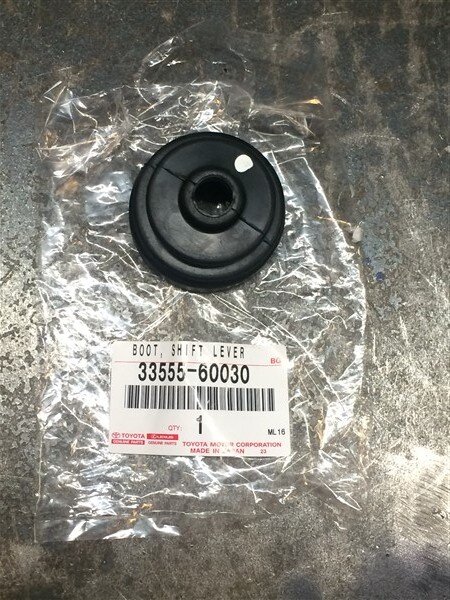
As the old one was completely buggered and would have been letting dirt and water into the box.
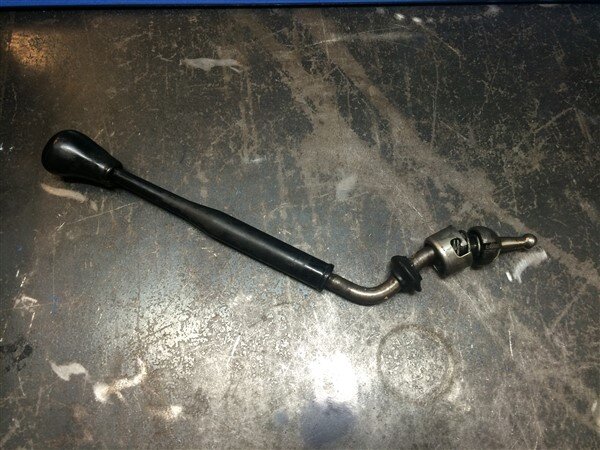
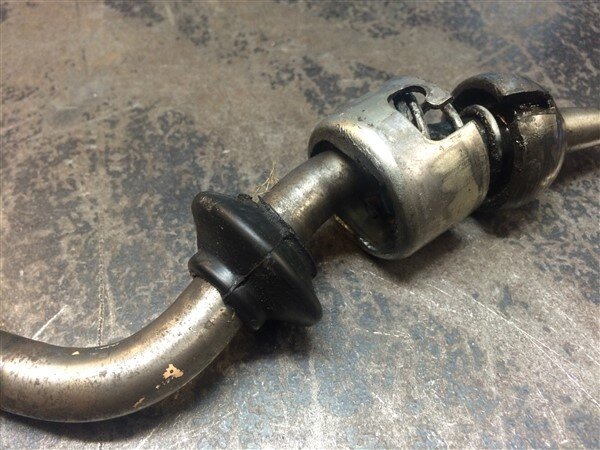
Old versus new.

The new rubber pushed straight down the gear stick with a bit of WD40 to help it along.
New ignition rotors next.
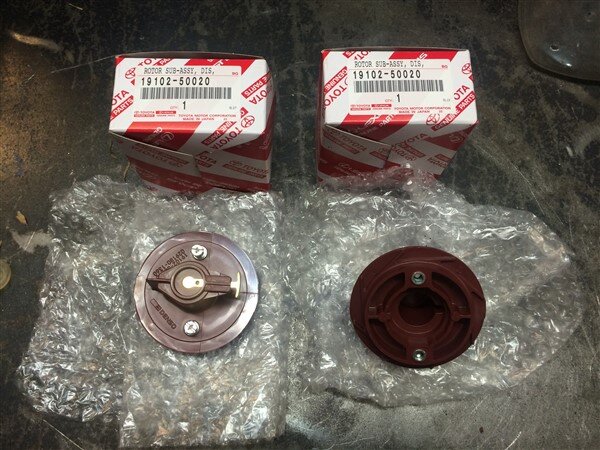

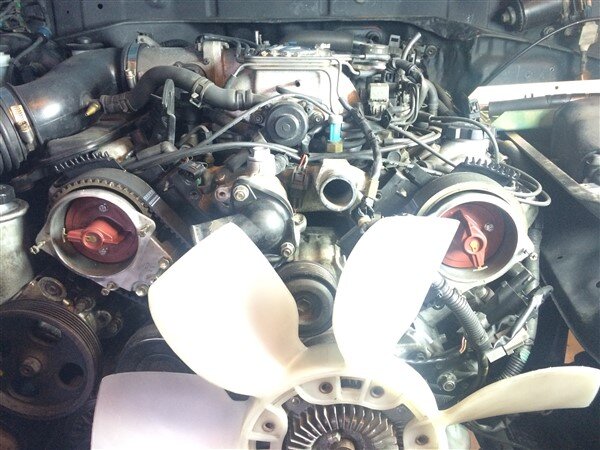
Fitted.
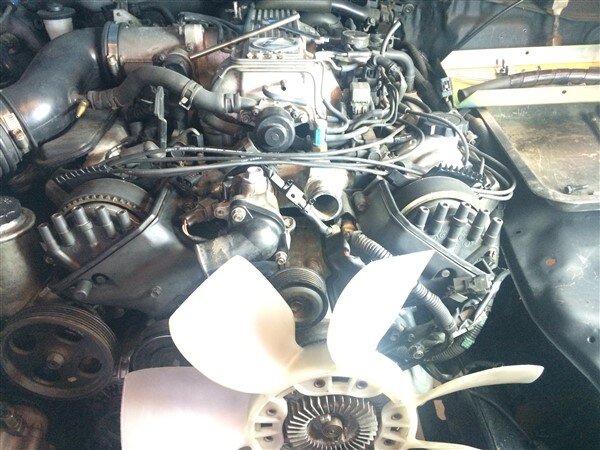
Followed by the distributor caps.
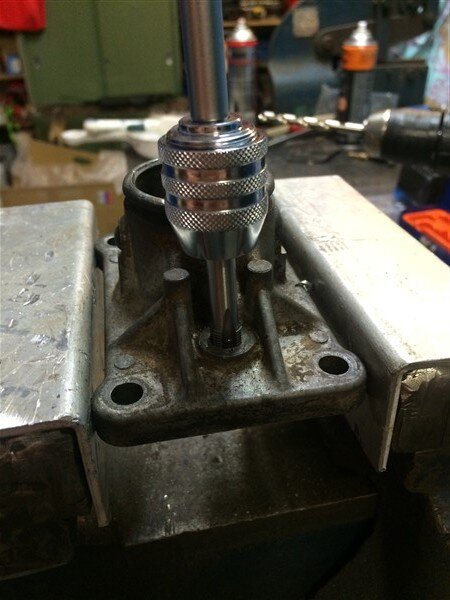
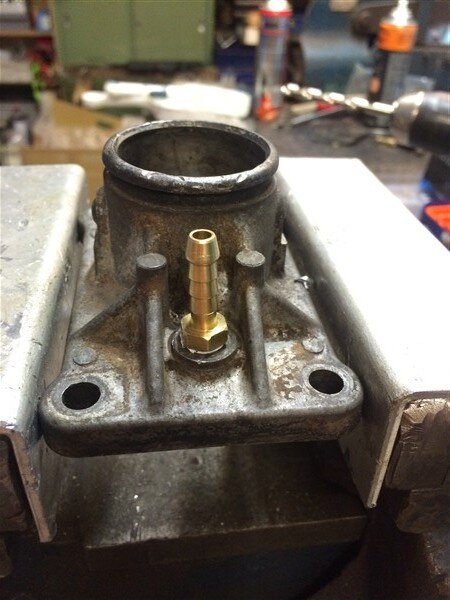
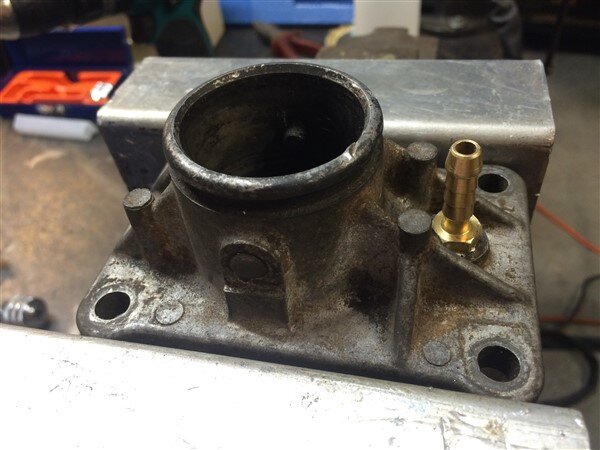
 Gearbox Breather.
I meant to add brass fittings to both the gearbox and transfercase before I fitted it to the car but I forgot.

Gearbox one is easy enough to do, as the top plate unbolts.
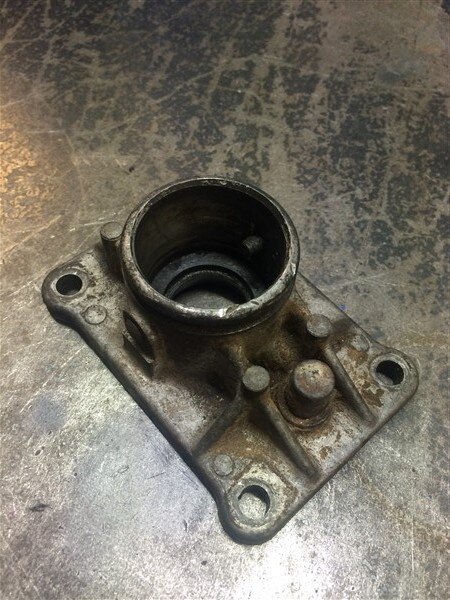
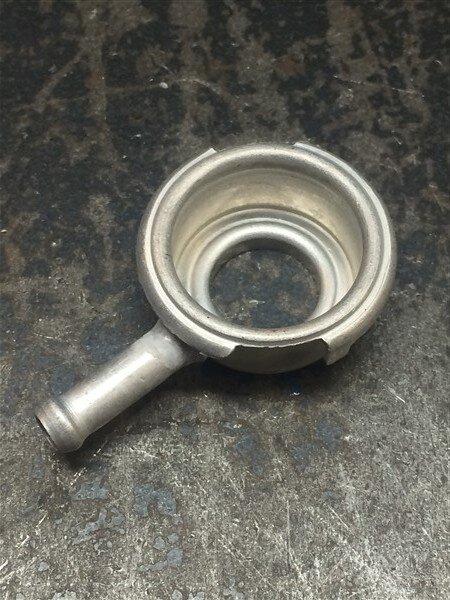
The standard breather is the little cap on the back, but they arnt very waterproof.
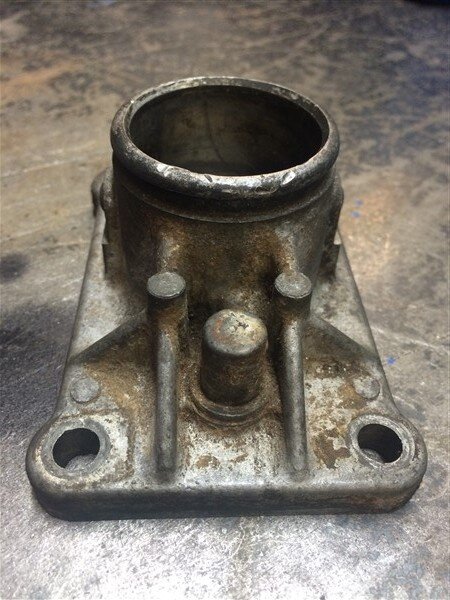
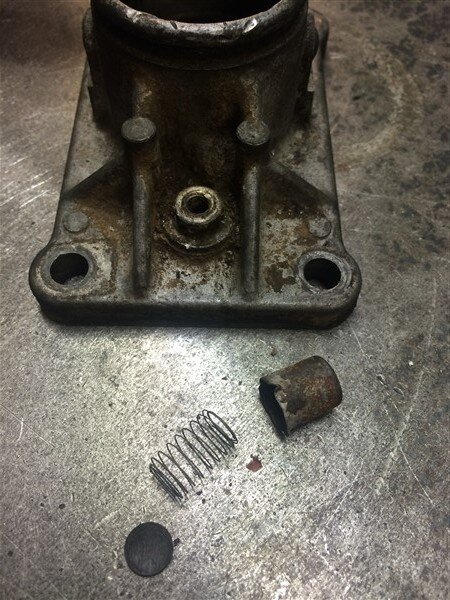
Levered the old one off.
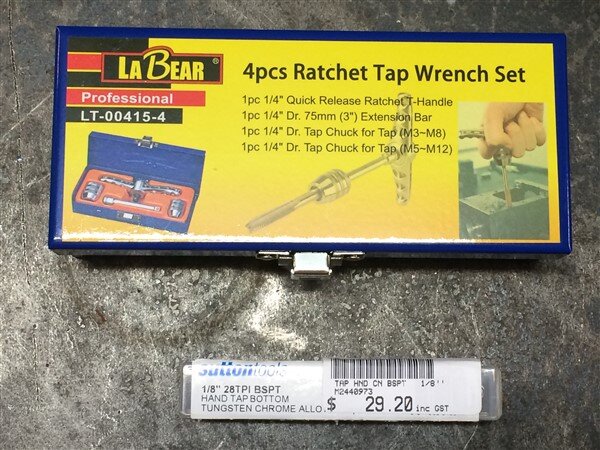
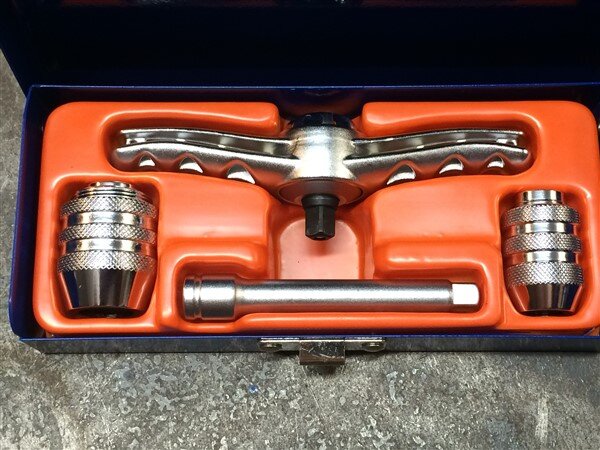
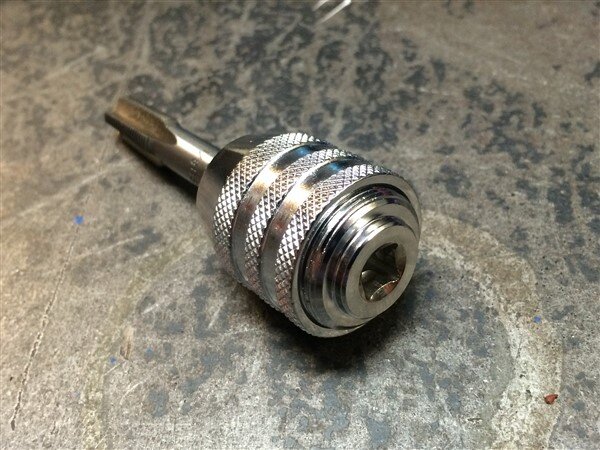
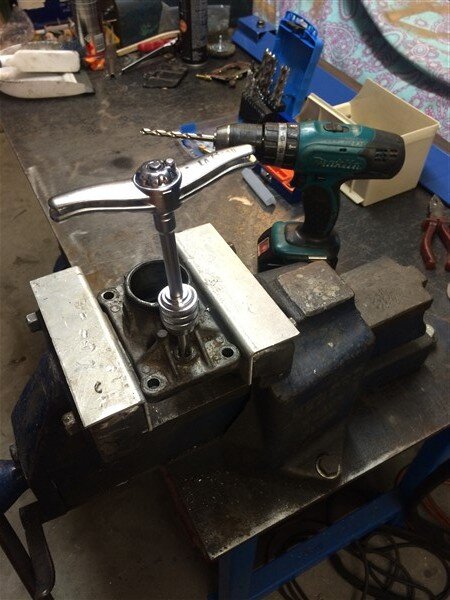
Picked up a tap and a cool tap wrench set that uses little 1/4" drive chucks, so I can use a normal 1/4" ratchet if space is limited.

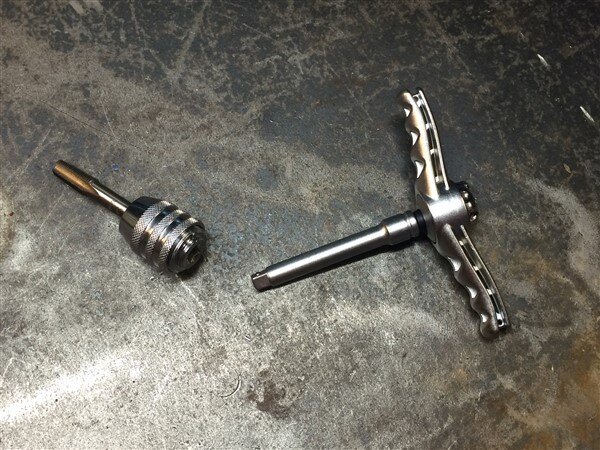
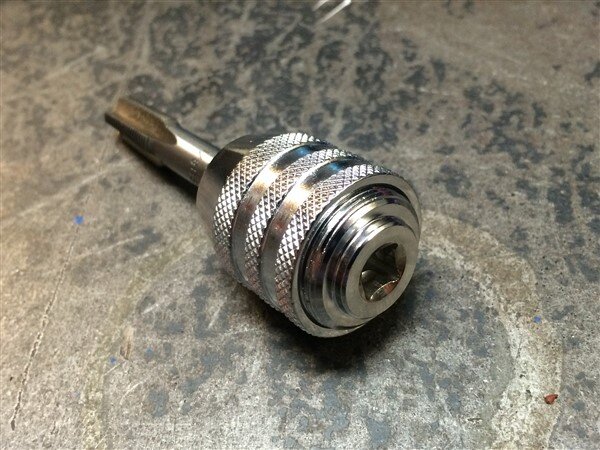
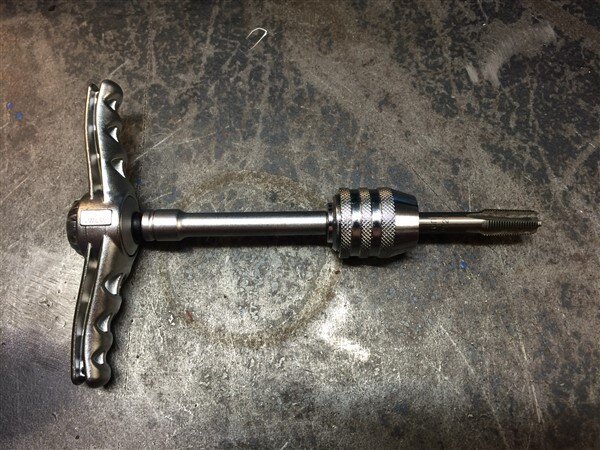
Drilled a suitable size hole.
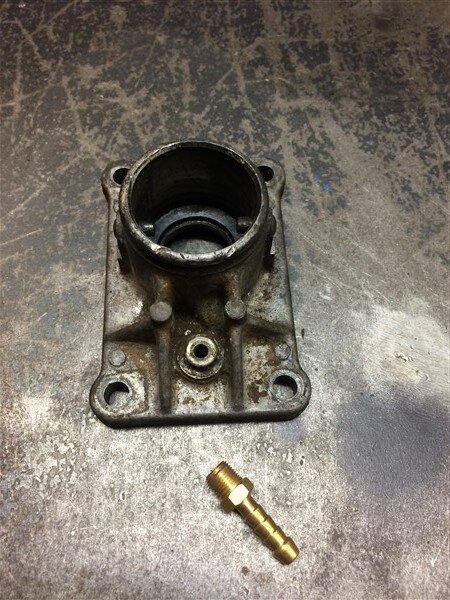
Wound the tap through it.
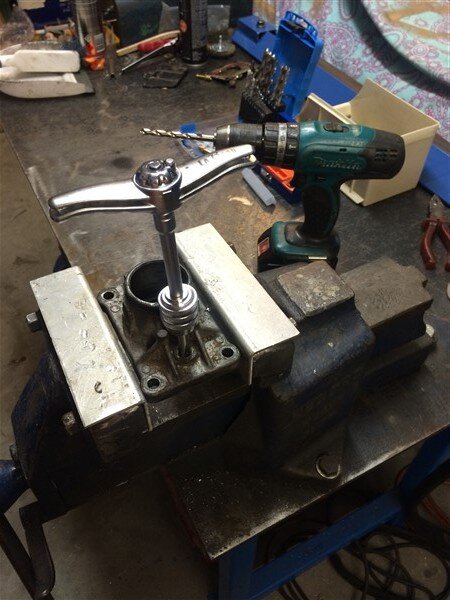
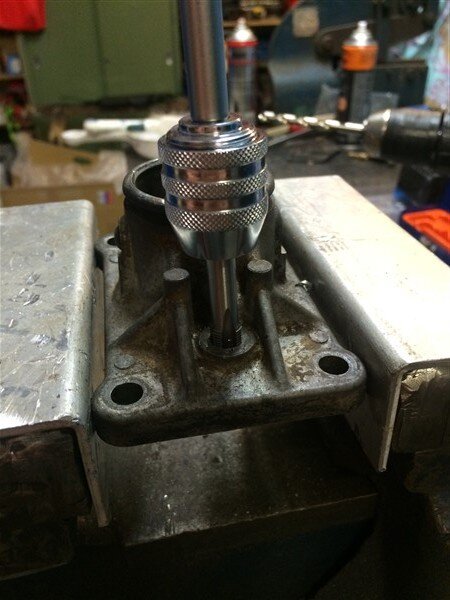
And screwed the fitting into it.
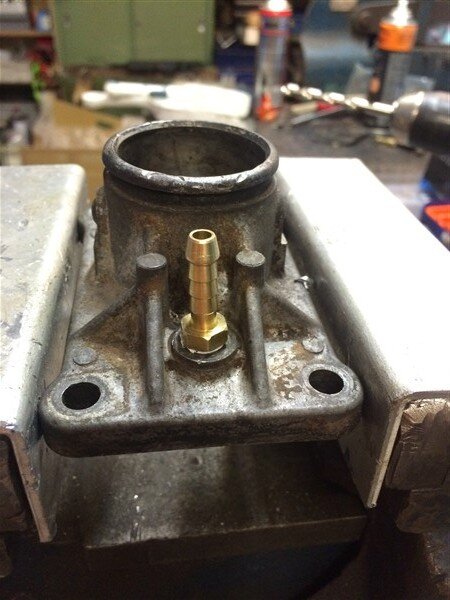
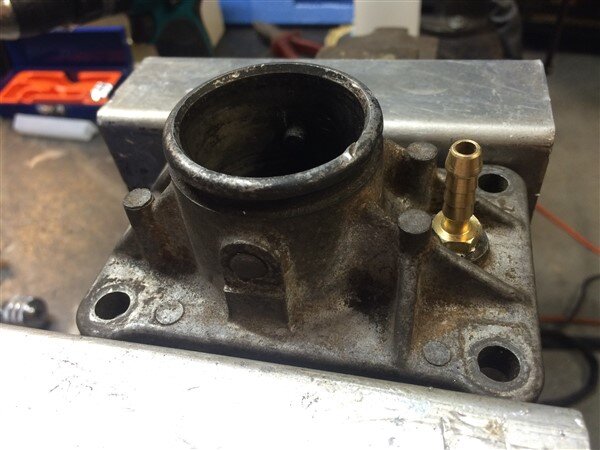
I dont plan on fitting a permanent snorkel, but I will be fitting diff breathers to both axles and the G & T boxes and I will probably make a temporary snorkel that can be carried in the vehicle and quickly fitted for the very rare occasion when I might need to cross a deep river or creek.
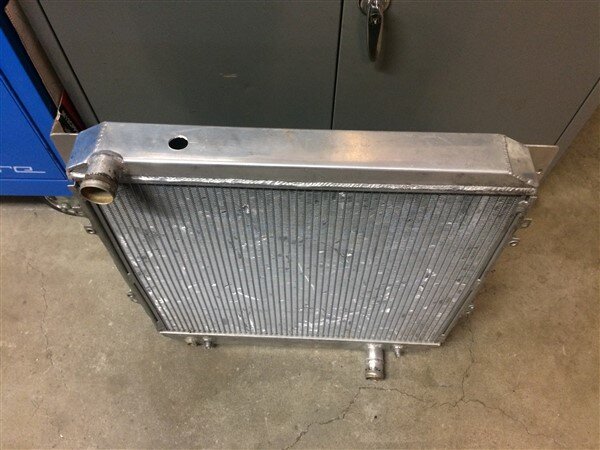
 More Radiator Modifications.
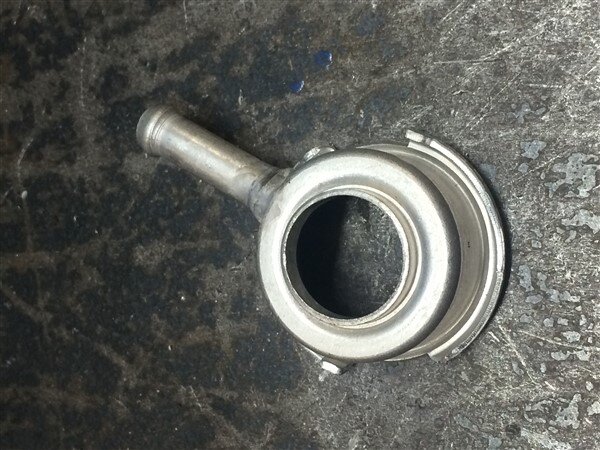
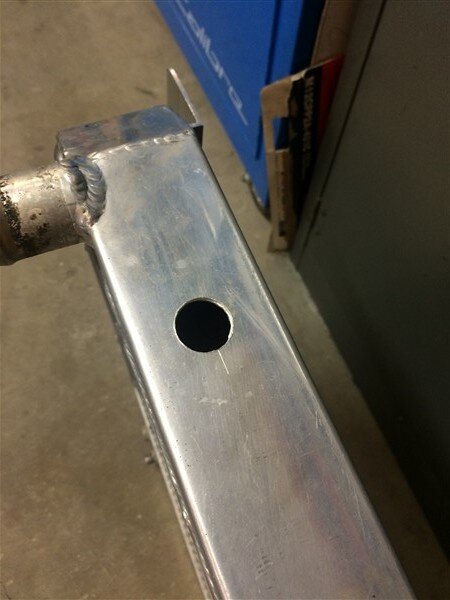
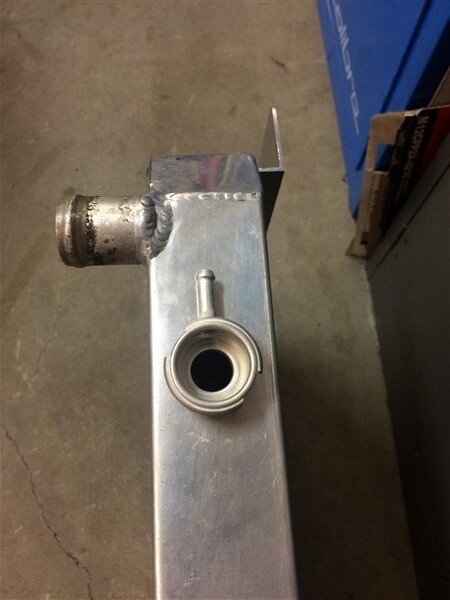
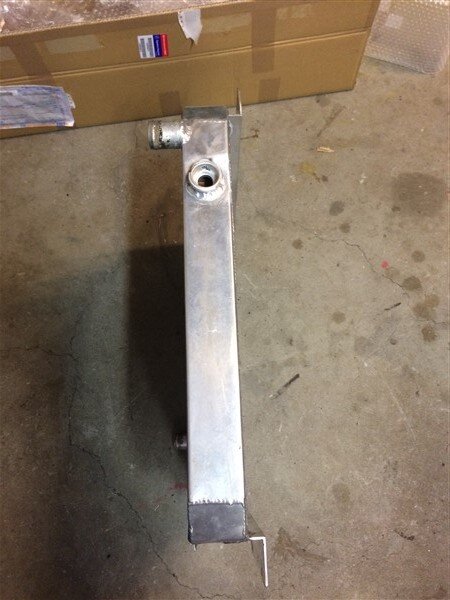
The bargain $3.50 delivered, radiator neck finally arrived from China.

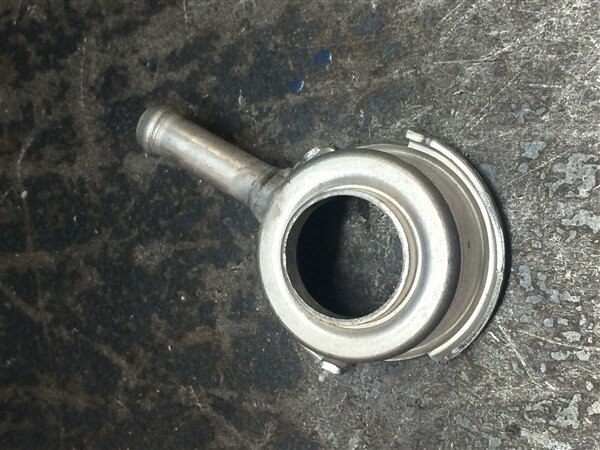
Worked out where it should go.
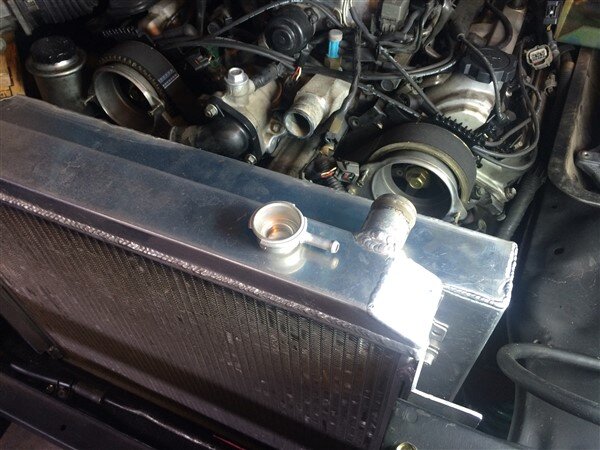
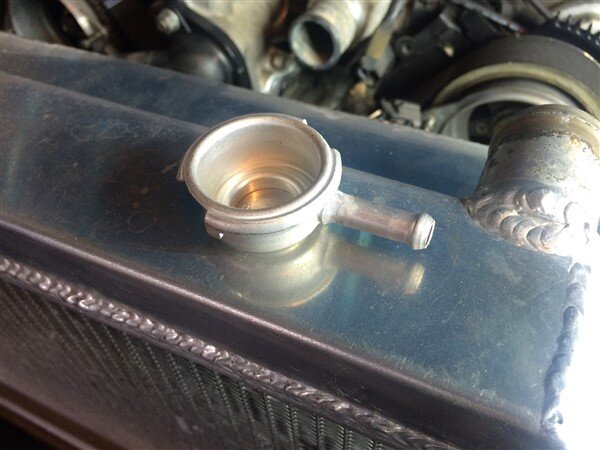
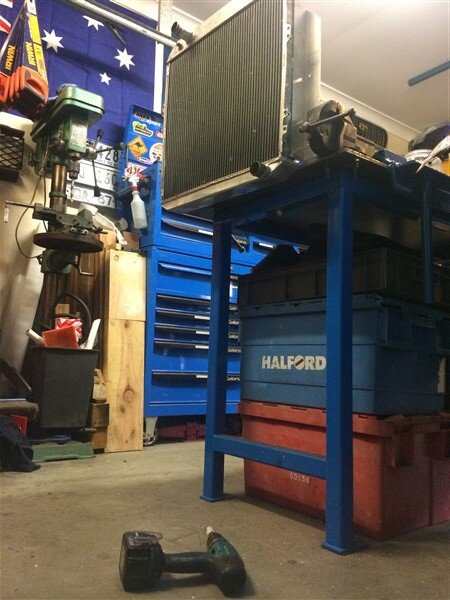
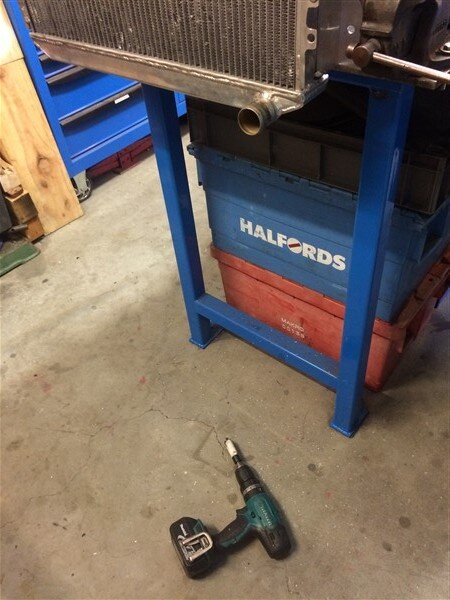
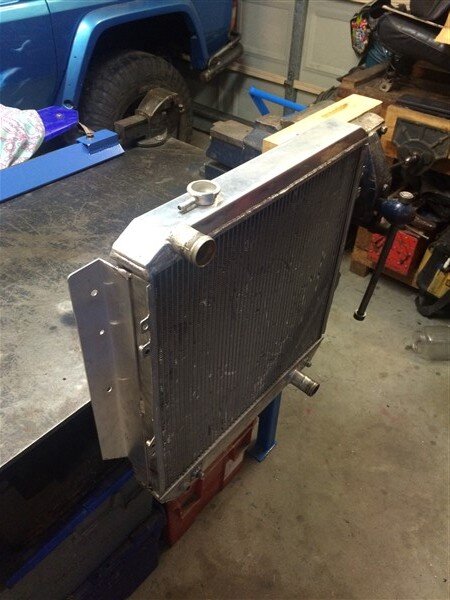
Got the rad in the vice.
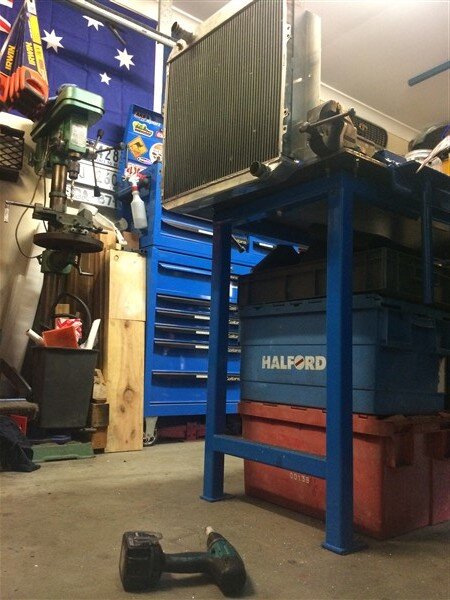
And drilled up from below with a step drill, to minimise swarf going inside the rad.
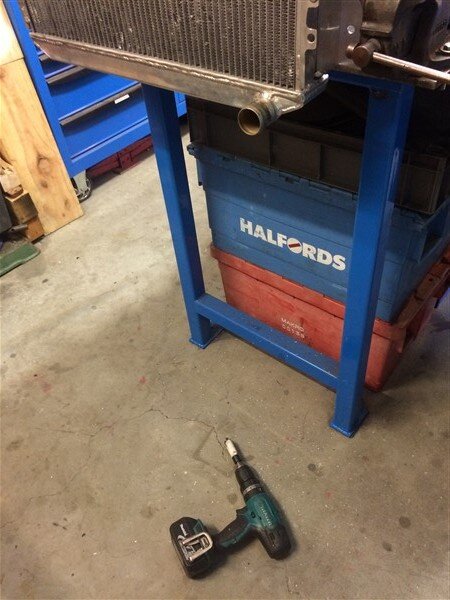
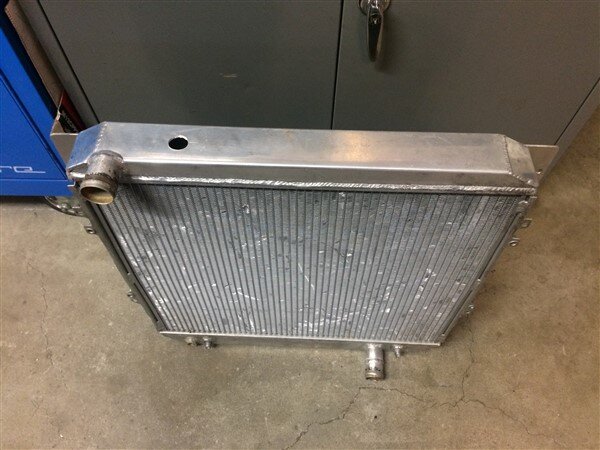
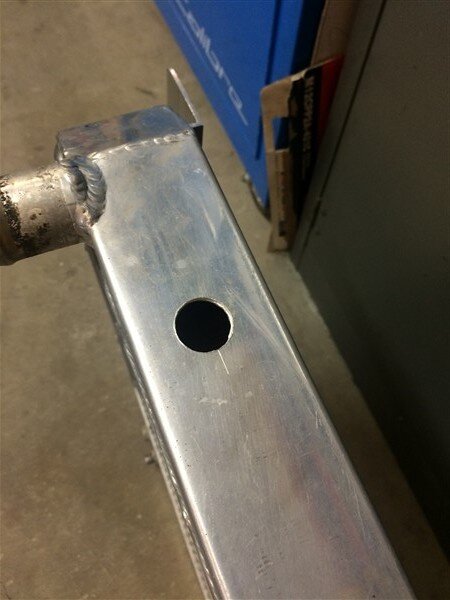
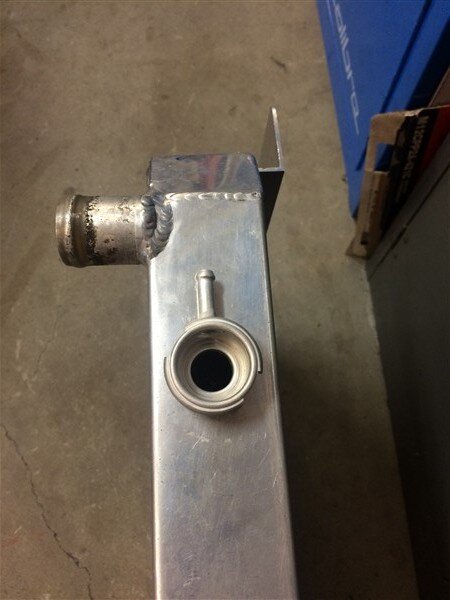
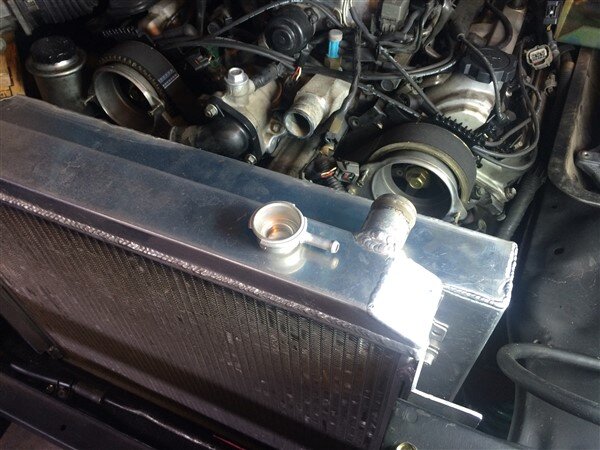
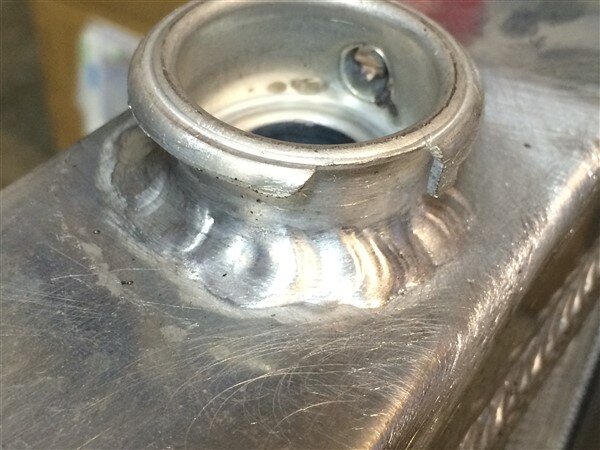
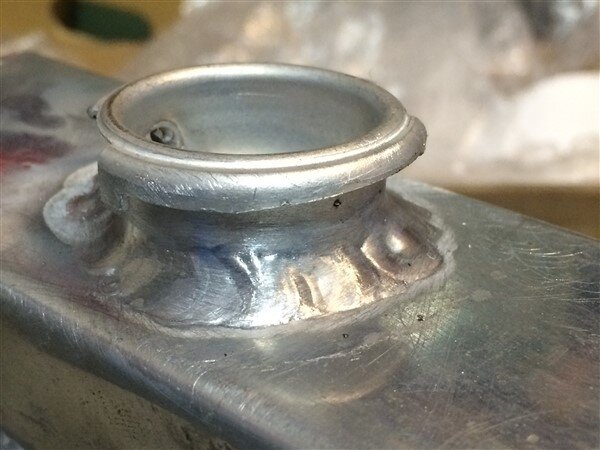
Welded it on.
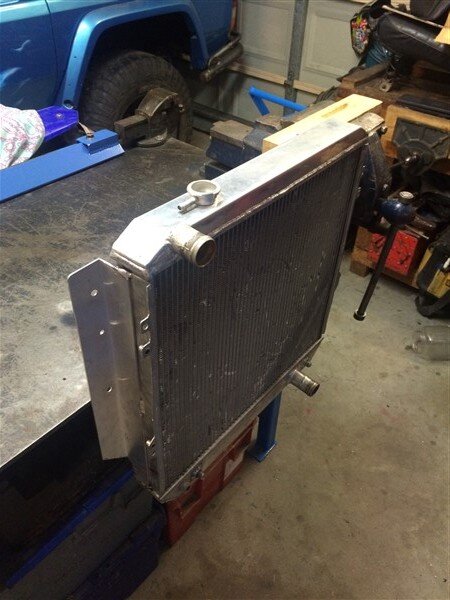
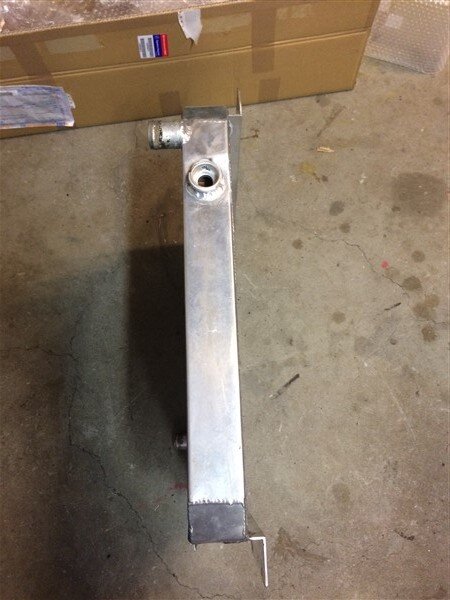
Which went well.

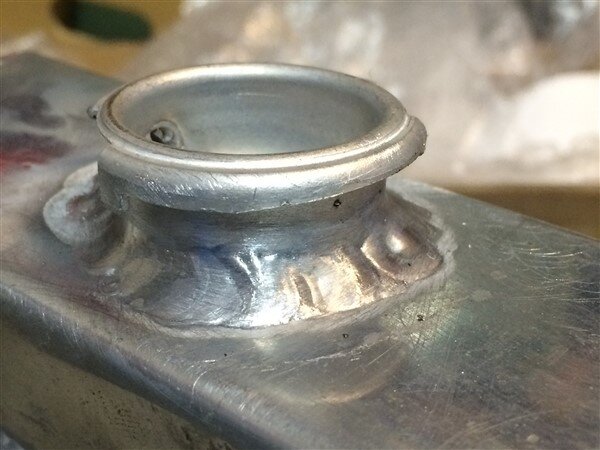
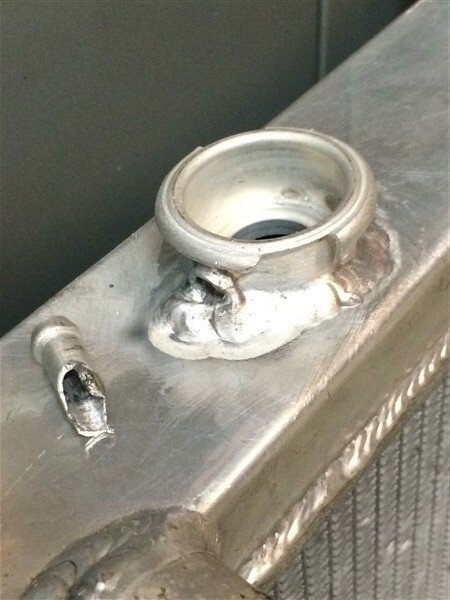
Until I got to welding underneath the overflow outlet and put too much heat into it and melted the fitting off!

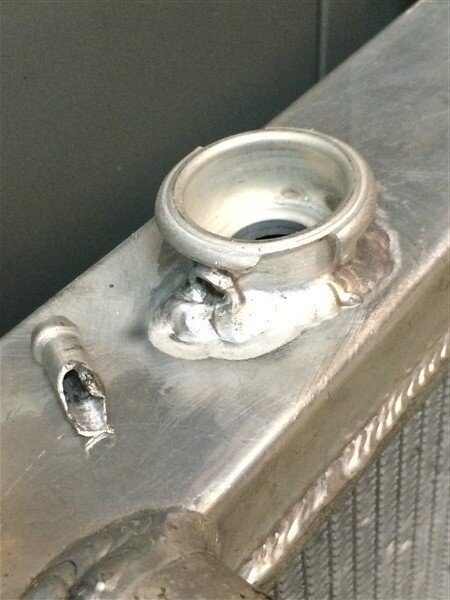
So new 8mm weld on aluminium fitting ordered from Melbourne and hopefully that will fix it!
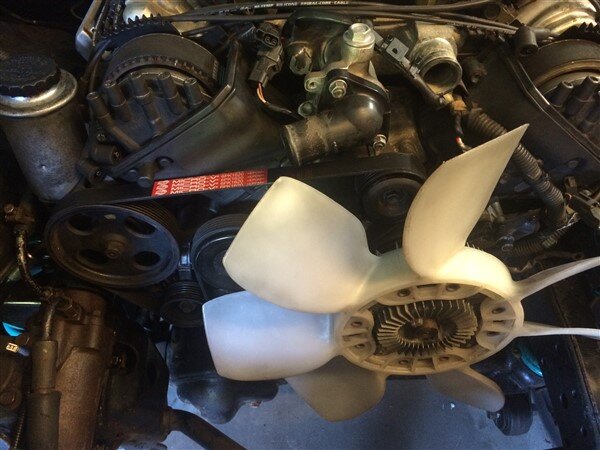
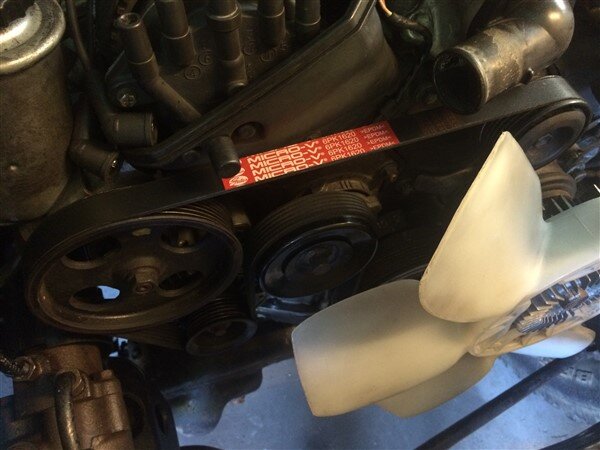
 Fan Belt.
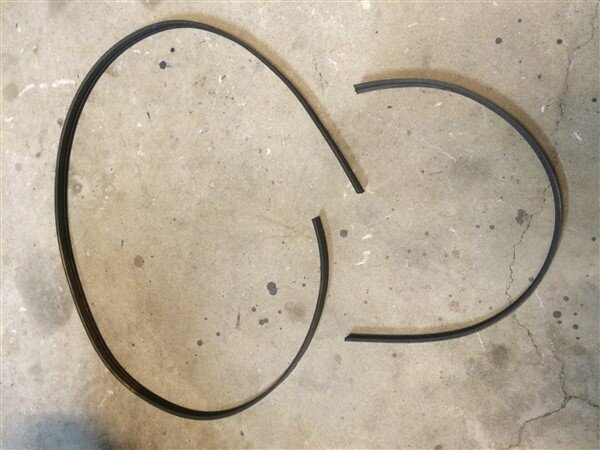
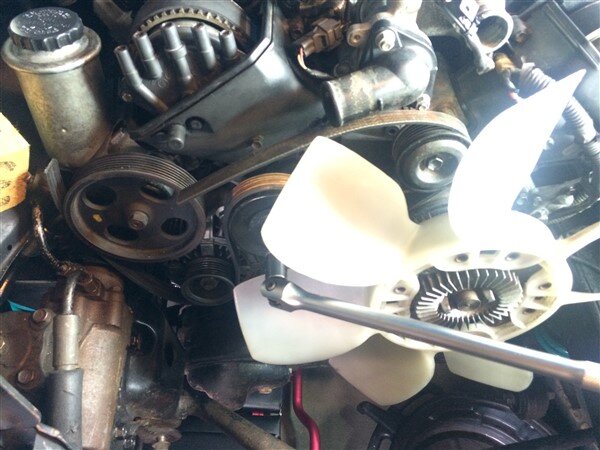
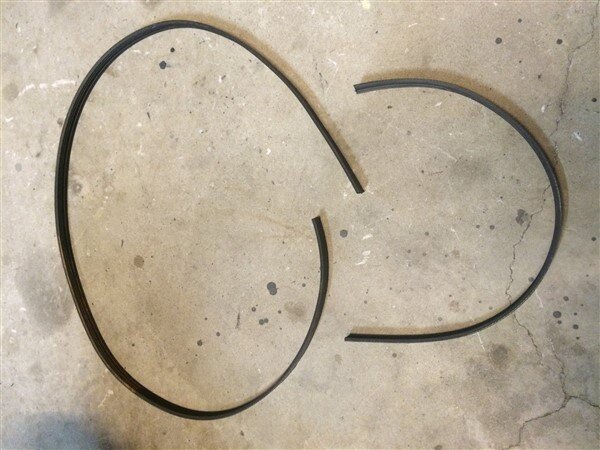
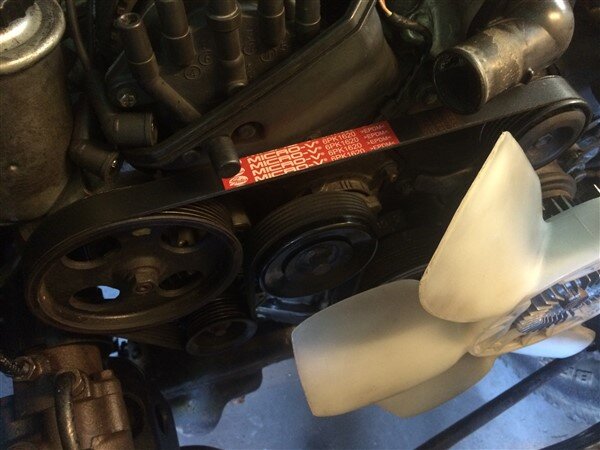
I measured up for a new belt, now I've deleted the aircon pump from my engine.
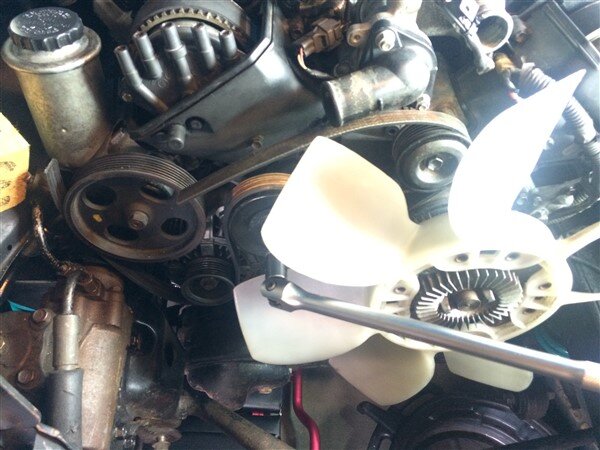
Cut my old belt and used that to help me measure.
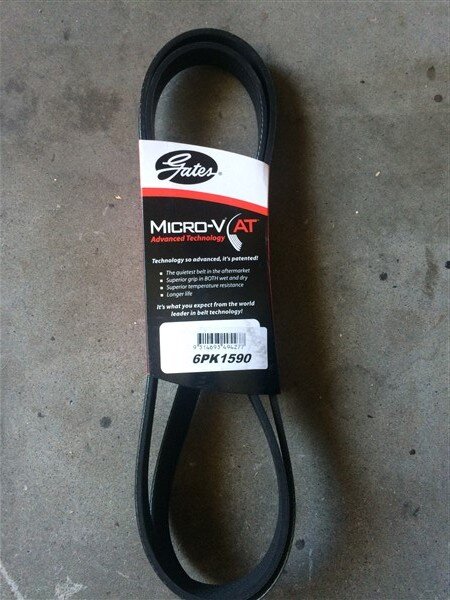
Picked one up.
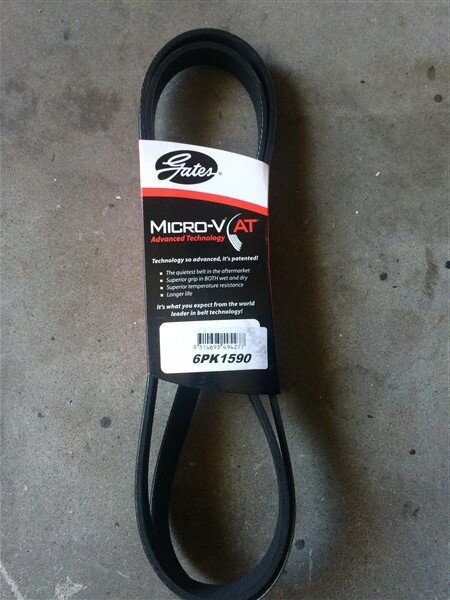
But that one was just too small.

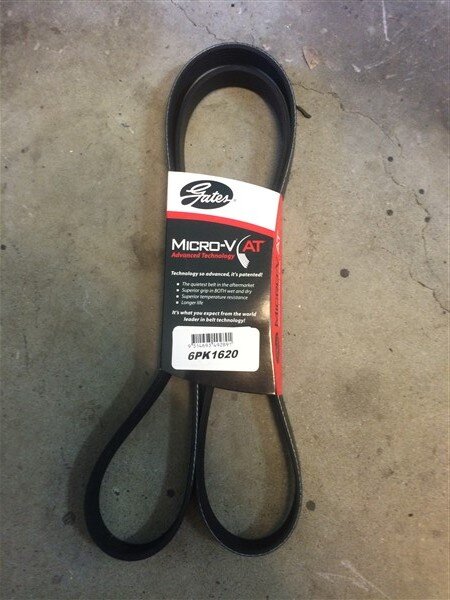
So I took it back and swapped it for a slightly bigger one.
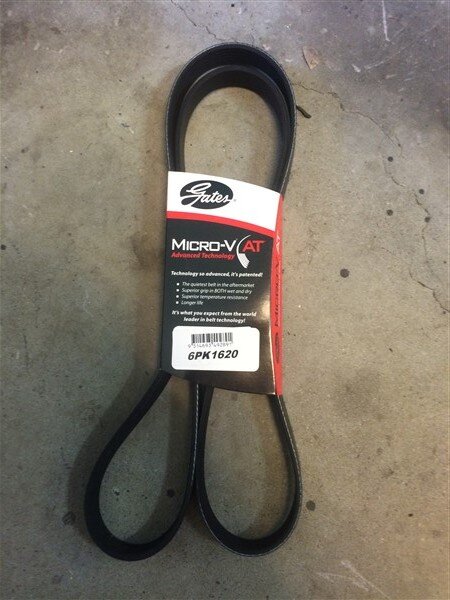
Which fitted beautifully!

 Anti Roll Bar
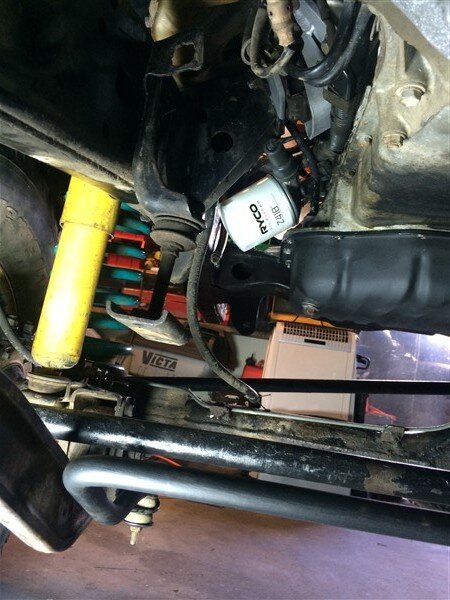
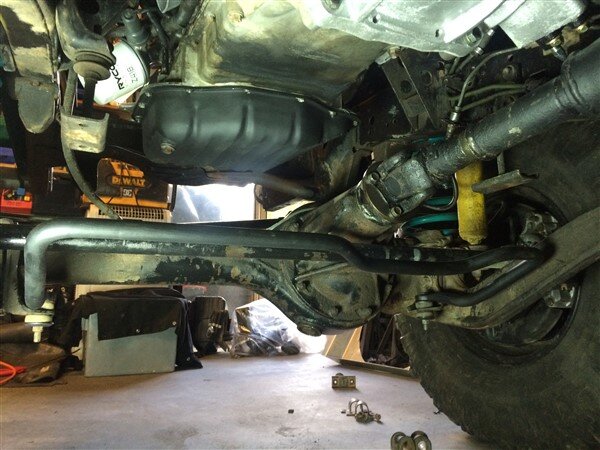
I bolted the freshly painted ARB on.
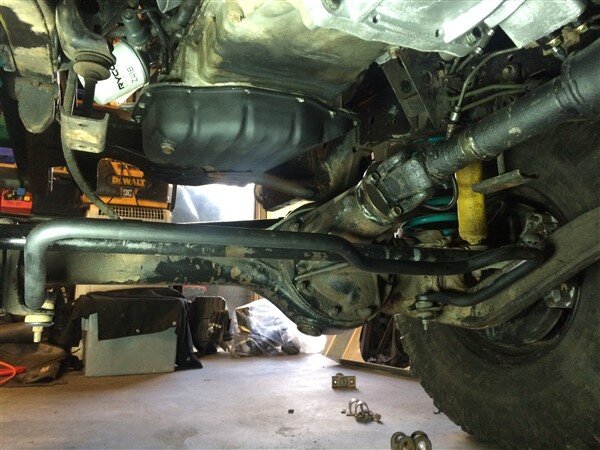
But I'm going to have to either make some spacers, or cut and shut the chassis brackets slightly for the 4" suspension lift.

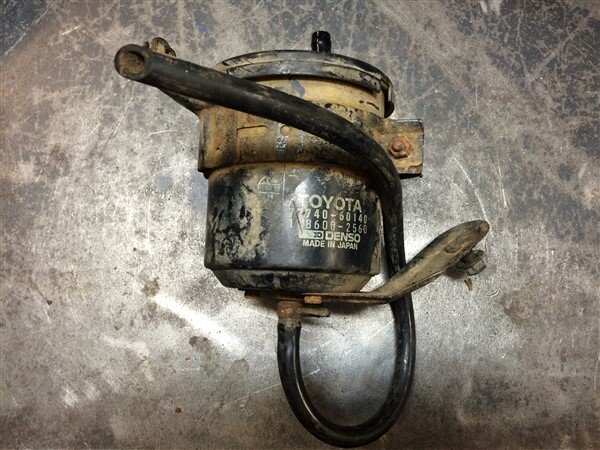
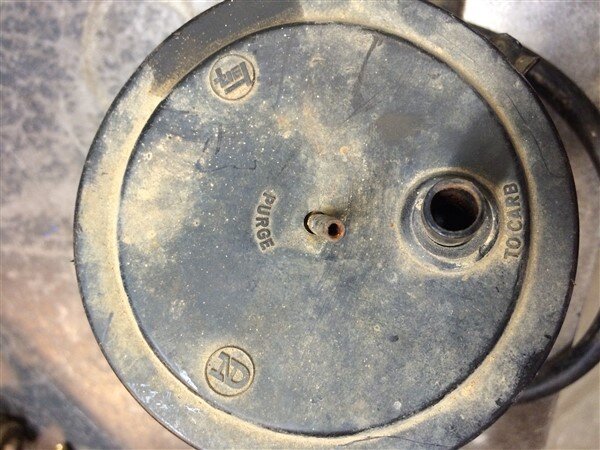
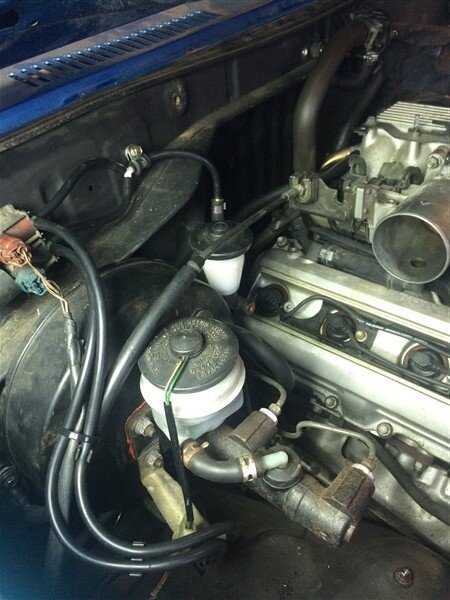
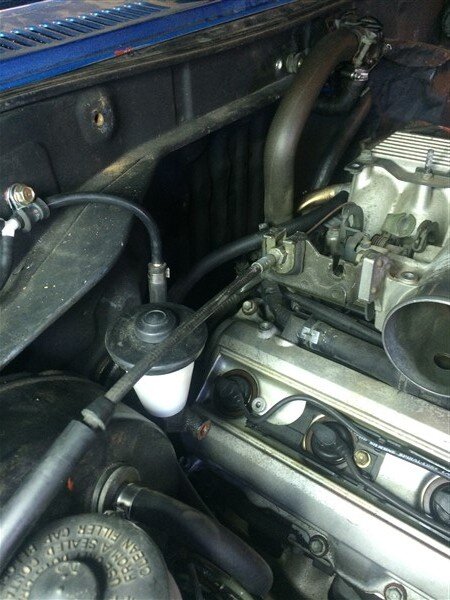
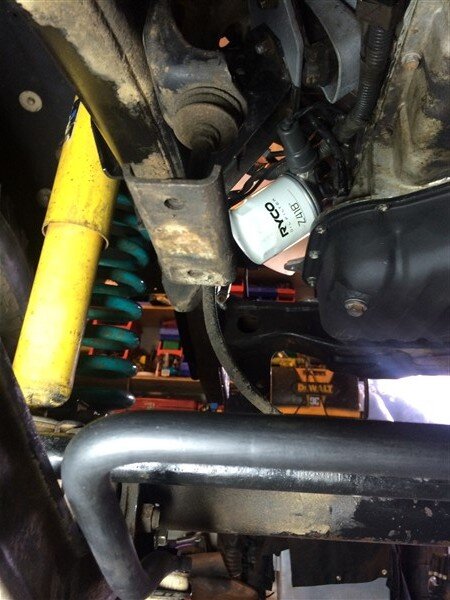 Charcoal Canister
I spotted something online about the fact technically I should be fitting a charcoal canister as if I ever choose to get it engineered, to make it fully road legal, it will probably need one.
Not a problem, RJ came with one.
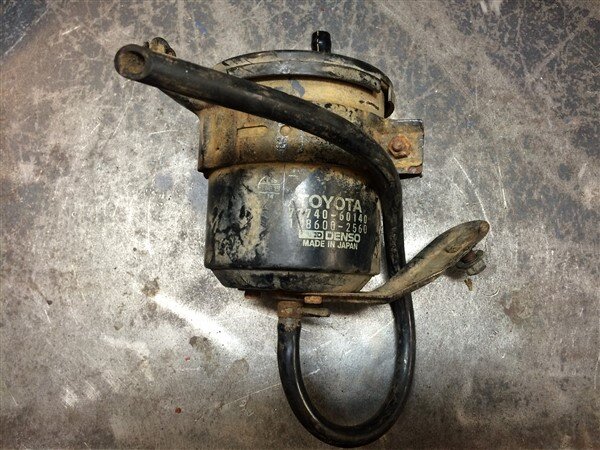
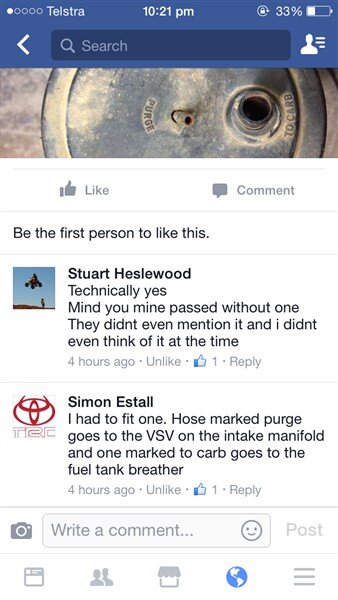
I wasnt sure how to connect it to a fuel injected car.
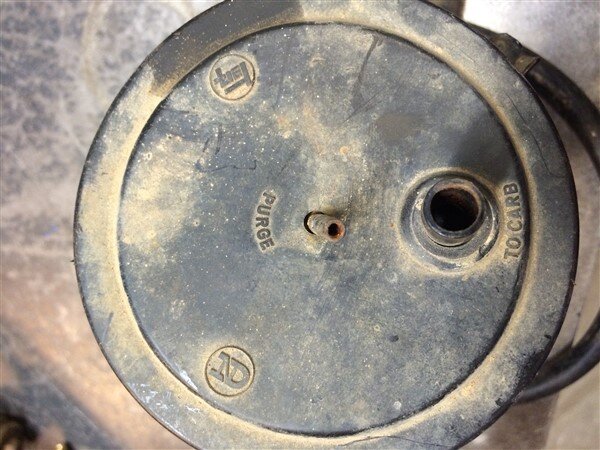
but a quick question on the 1UZ facebook page and I soon had an answer!

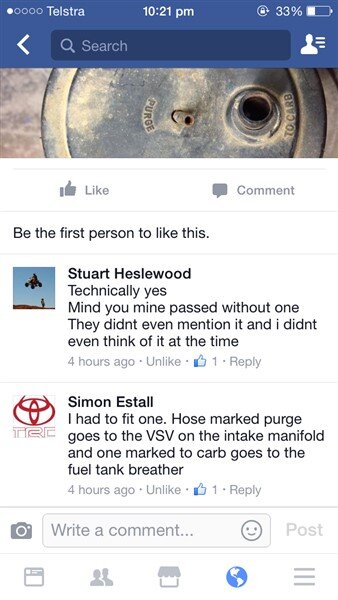
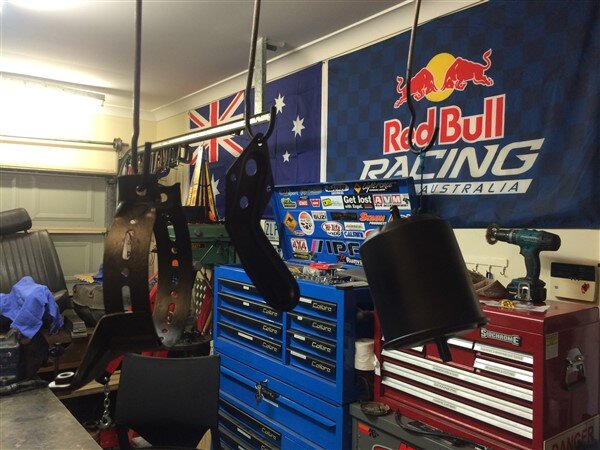
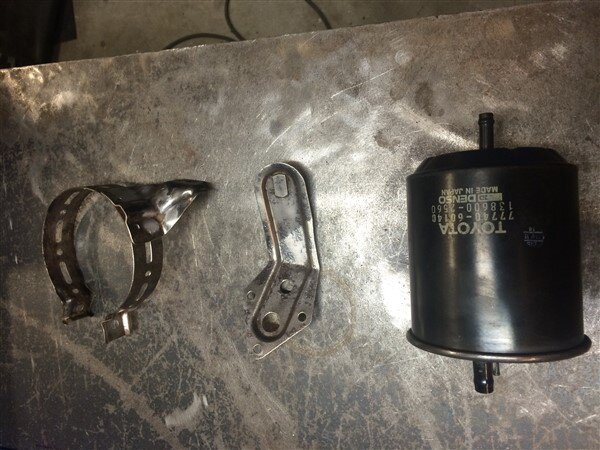
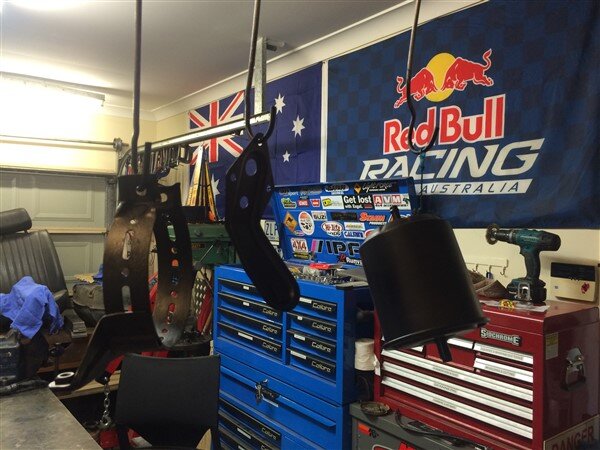
I cleaned all the surface rust off it.
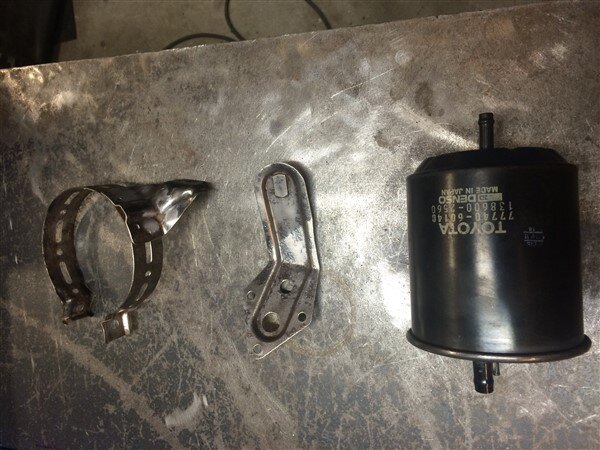
And hung all the bits up and gave them a coat of rust convertor.
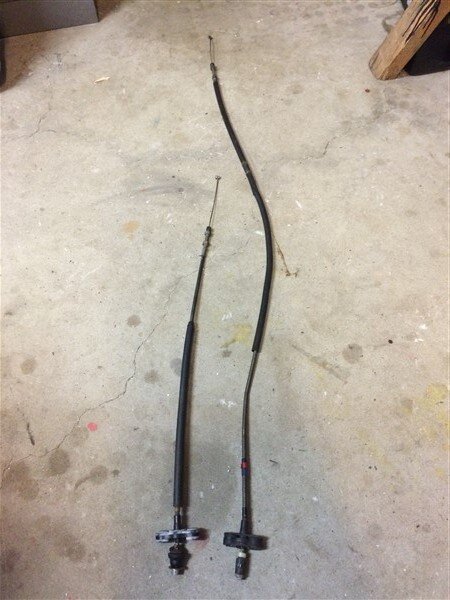
Throttle Cable, Vacuum Hoses & Heater Tap
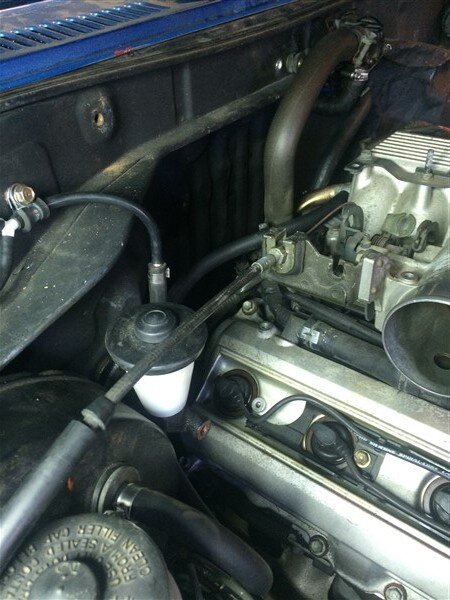
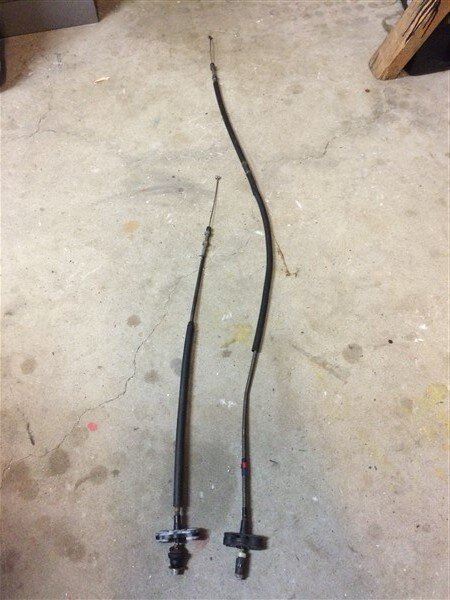
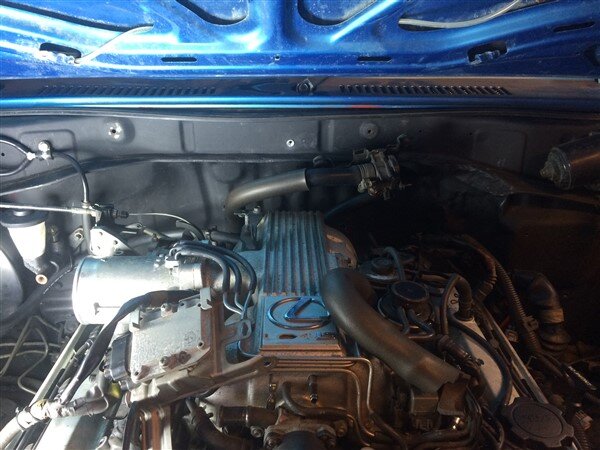
I decided to fit the much shorter LS400 throttle cable as the one fitted to RJ, which I'm not sure if it was for the 2lt or 22r was far too long.
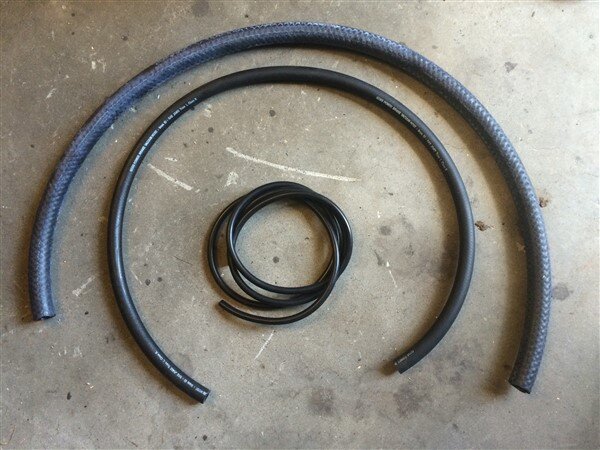
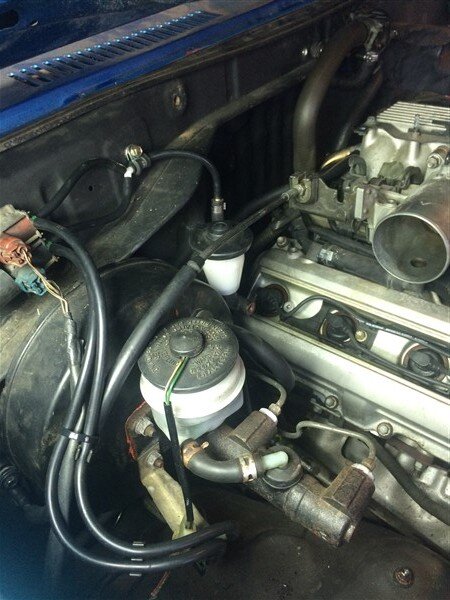
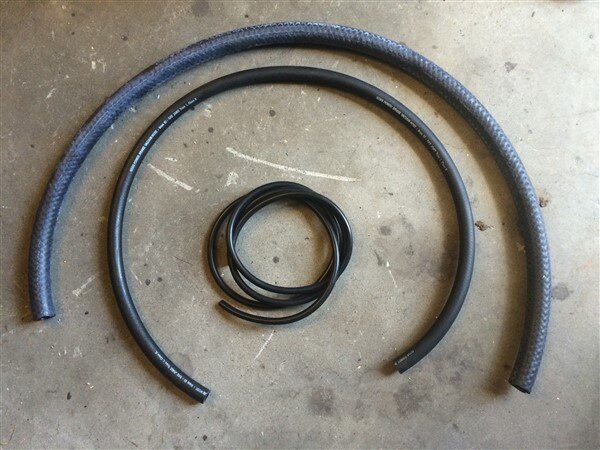
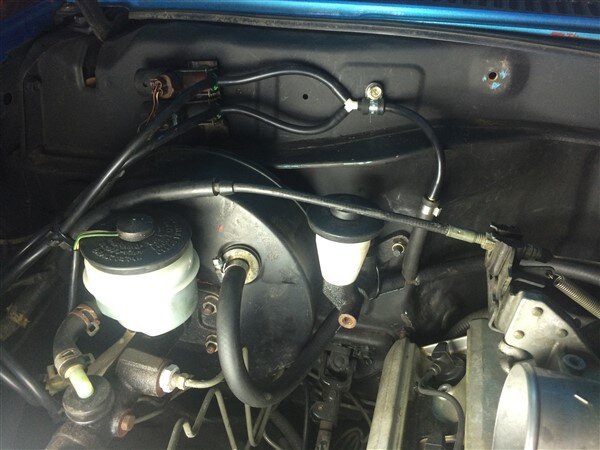
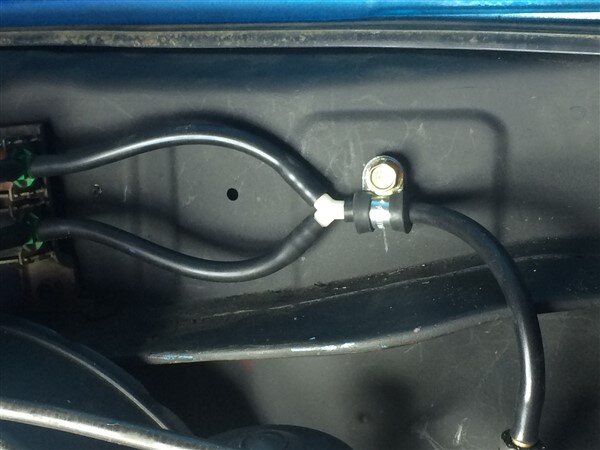
I also picked up some vacuum hose for the 4wd high range solenoids and the brake booster.
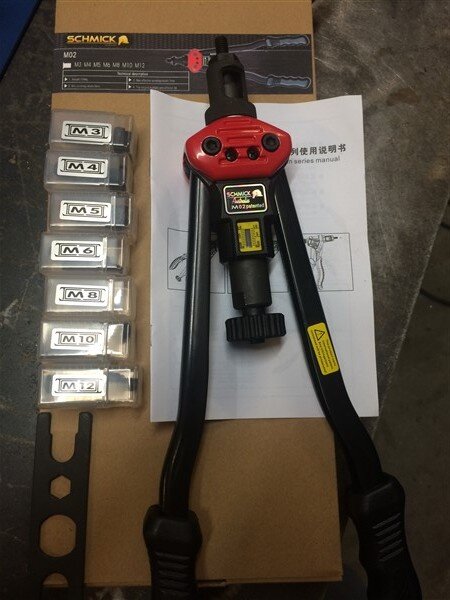
I finally got myself a rivnut tool and went for a good one that does from M3 all the way up to M12!

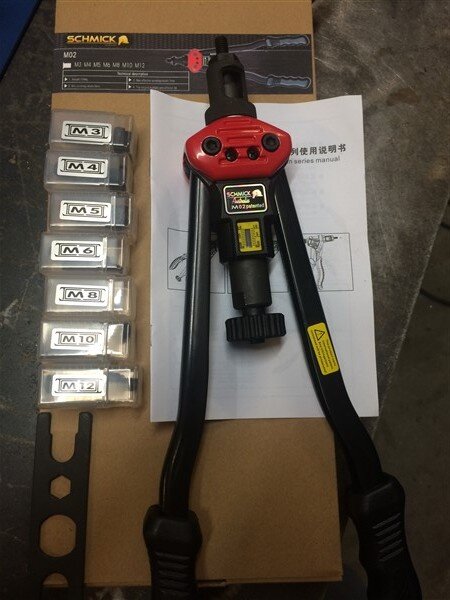
This meant I could put rivnuts in the bulk head where required to make for a really neat look.
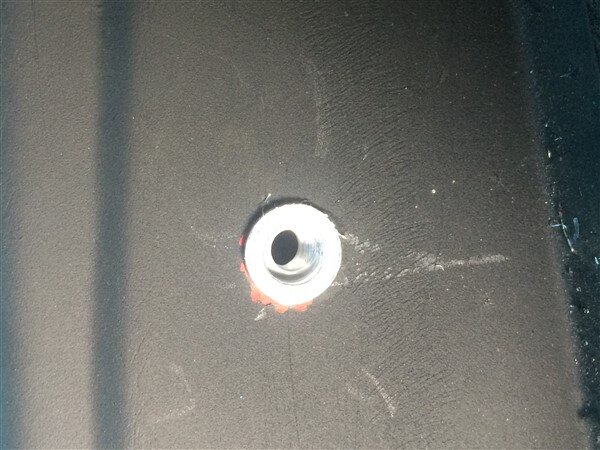
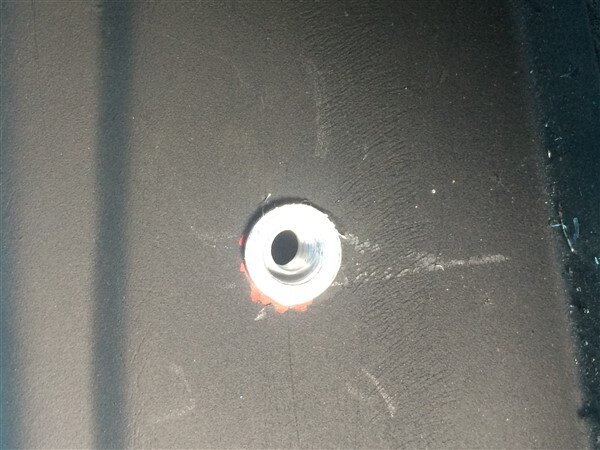
Put a rivnut in to secure the new vacuum hoses for the 4wd high range solenoids to the bulk head.
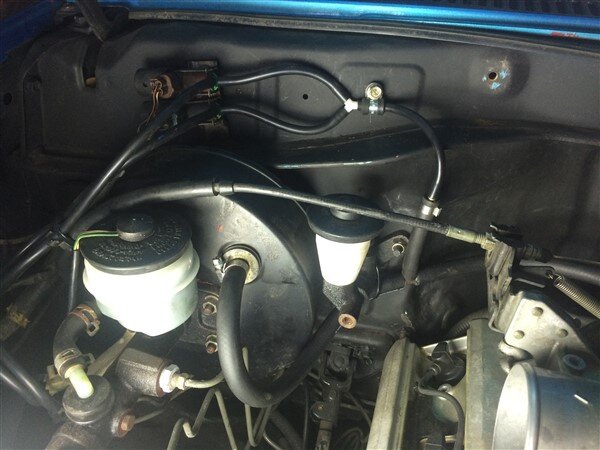
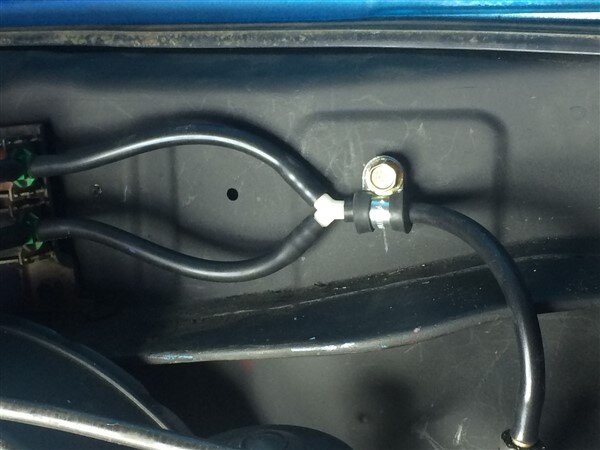
I secured the LS400 heater tap to the bulk head next and plumbed it into my heater matrix.
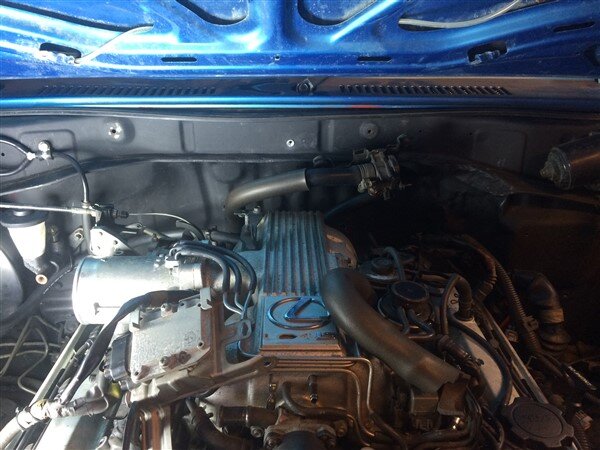
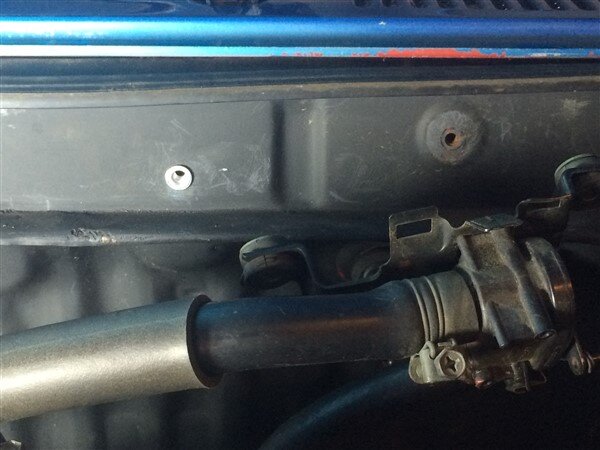
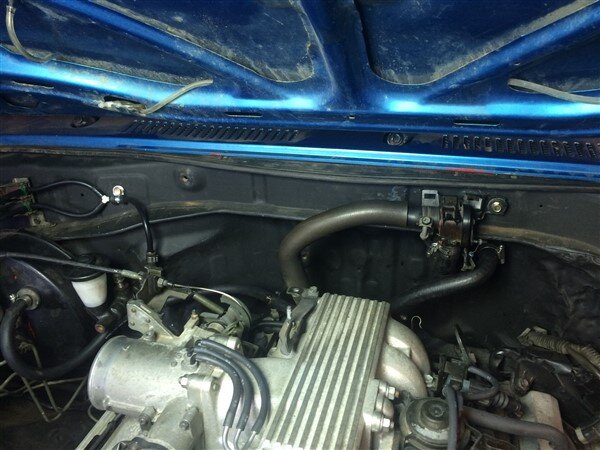
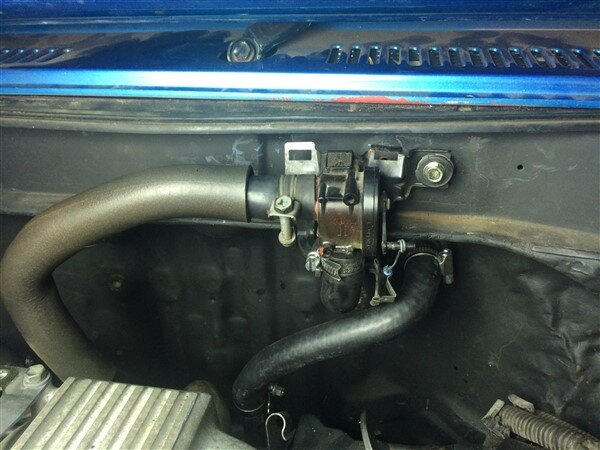
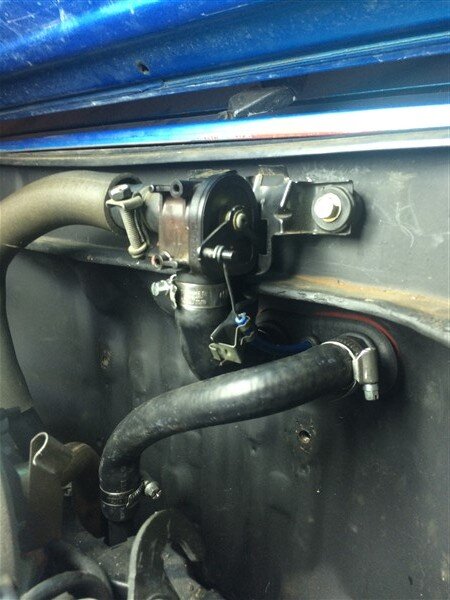
So thats those 3 connected up.
 Speedo Cable
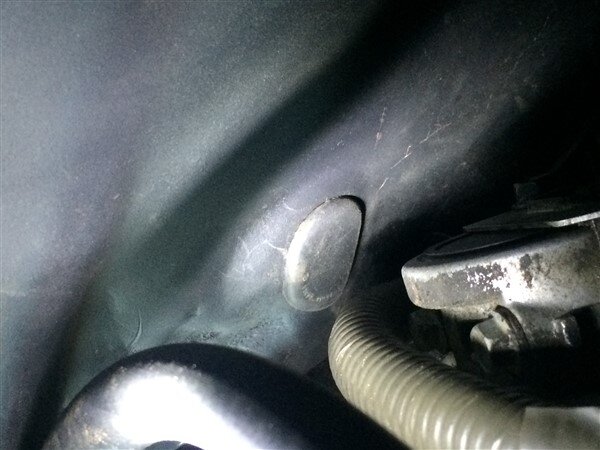
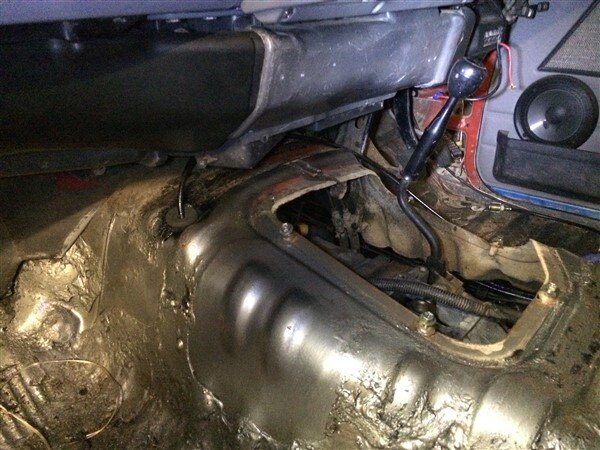
I wasnt happy with the way the speedo cable had been run on RJ, I'm not sure if it was factory but I didnt like it.
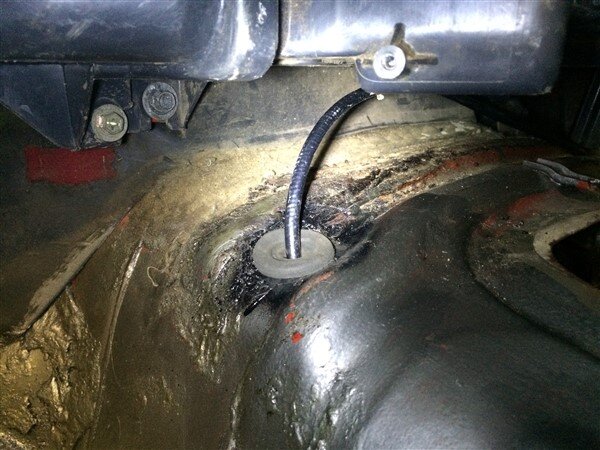
It came through the bulkhead very close to the engine, so I fitted a rubber grommet in that hole to blank it off.
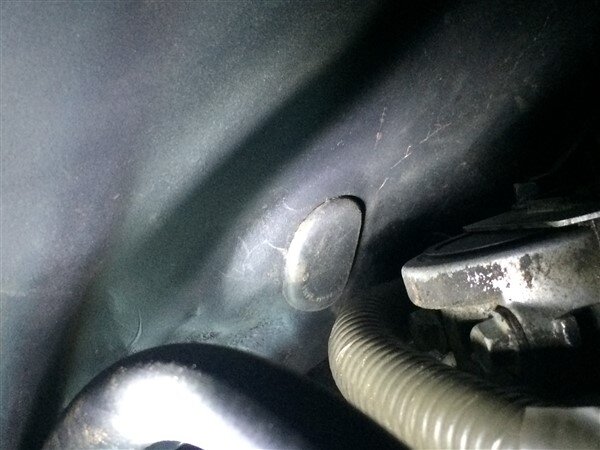
And instead ran it through a hole I put in the transmission tunnel, the same as the later 70's (like my LJ).
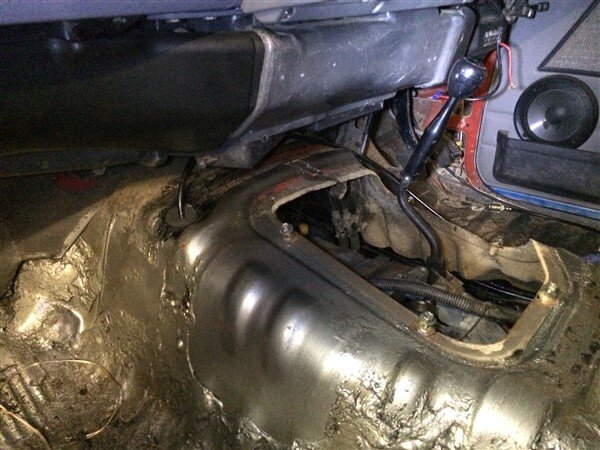
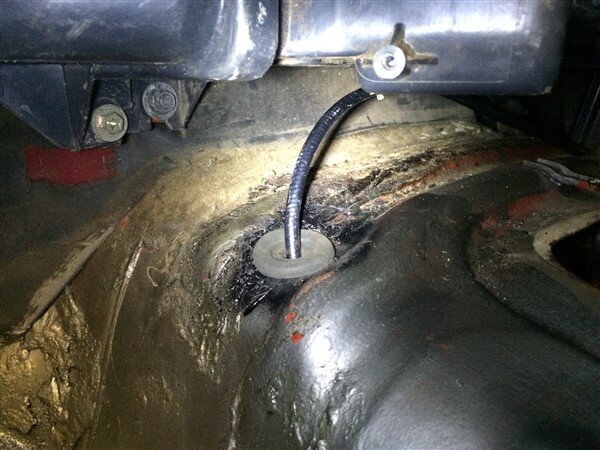
Added a couple of brackets to secure it nice and high away from where the exhaust will run.
(Apologies for the terrible pics

)

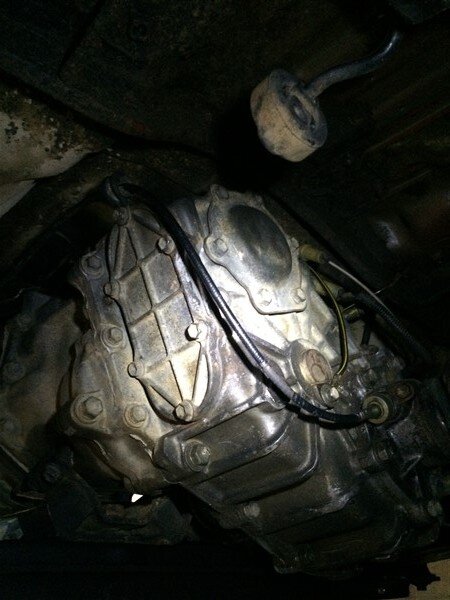
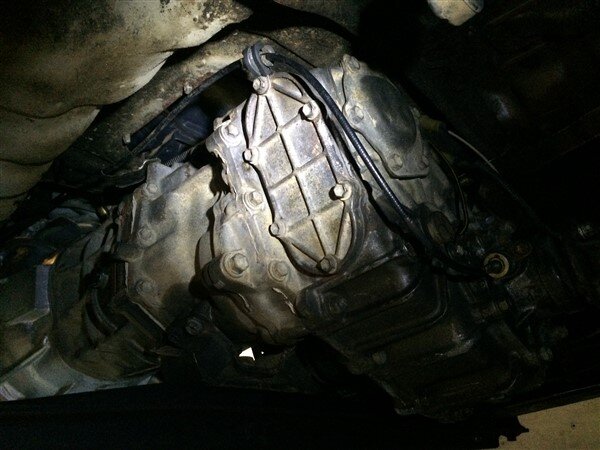
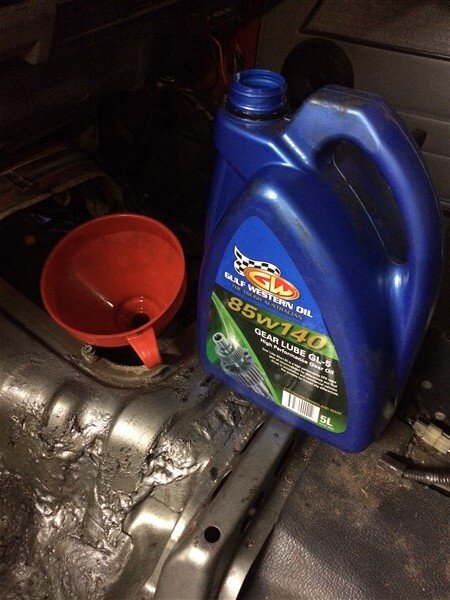
I decided to fill the gearbox the easy way, before the gear stick gets bolted back on.

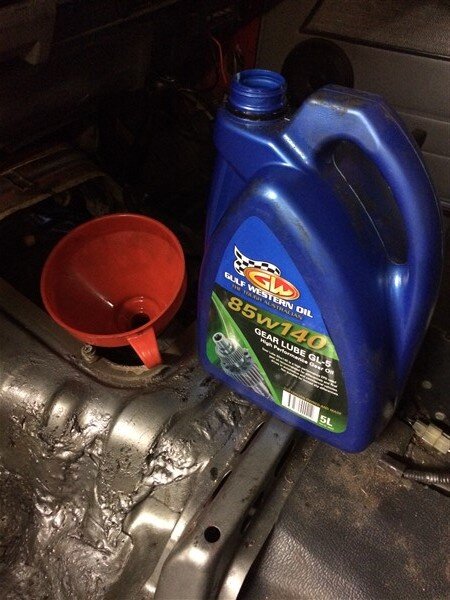
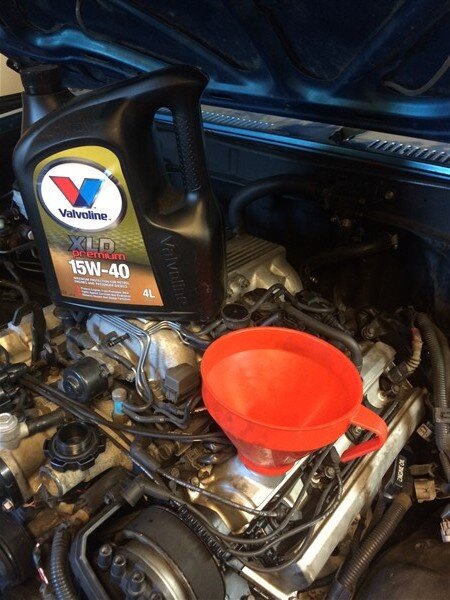
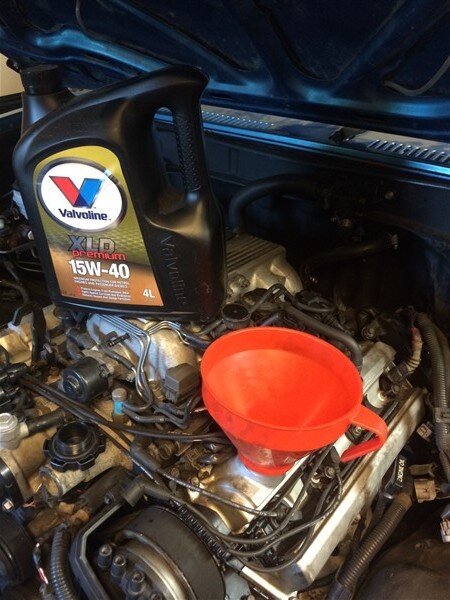
While on the subject of oil, I also filled the engine sump up.
 Air Intake/Air Box
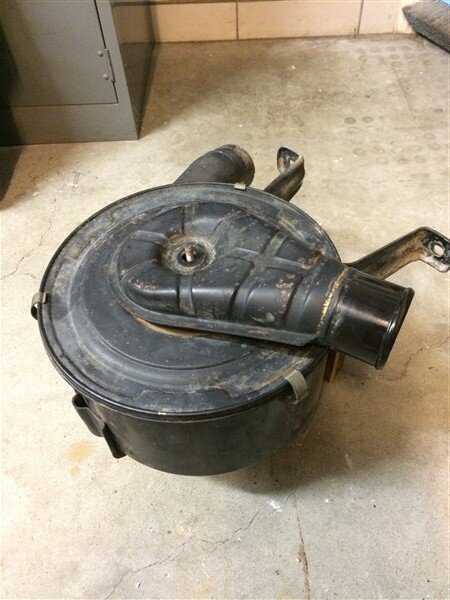
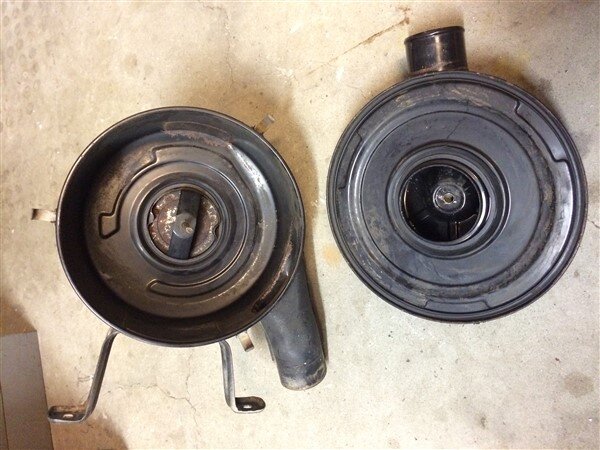
I picked up a 60 series airbox at the weekend while I was out picking that I hoped I could use.
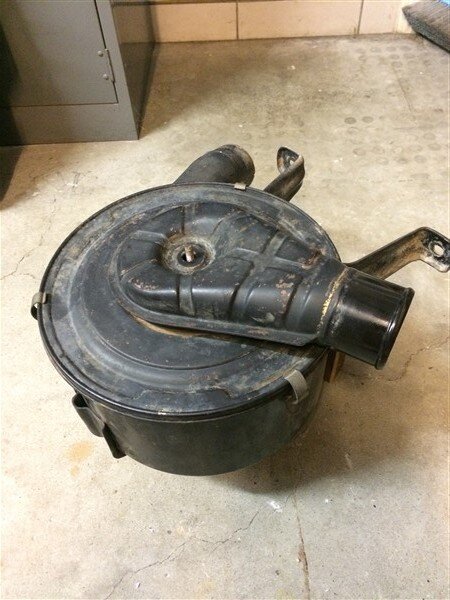
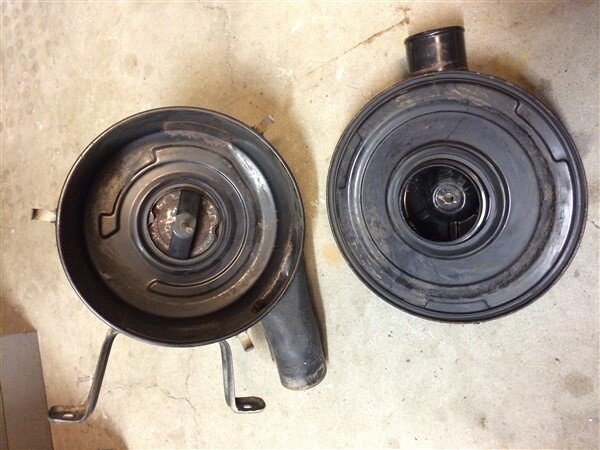
But it is too big to fit in the space in the engine bay and I was worried it might restrict the engine too much.

So I gave it a lot of thought and after lots of googling I think I've come up with a really neat solution that should work well and be far neater than any of the other conversions I've seen.

I want my conversion to look as factory as possible, so I'm trying to avoid using universal parts and bright blue silicon bends everywhere from the intake to the rad like most people do.

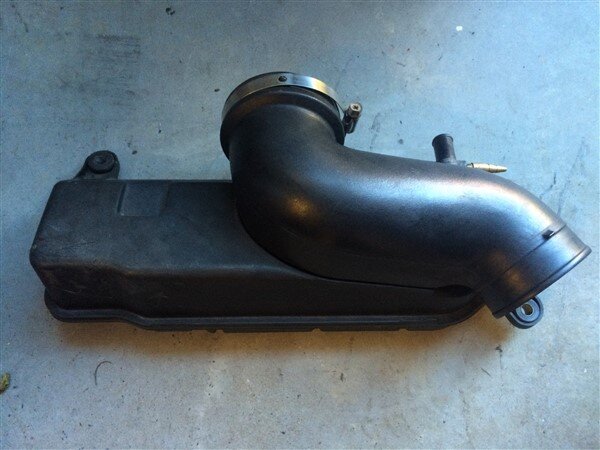
So I'm going to delete this plastic box completely!
It will make for a neater install and help with clearance issues.
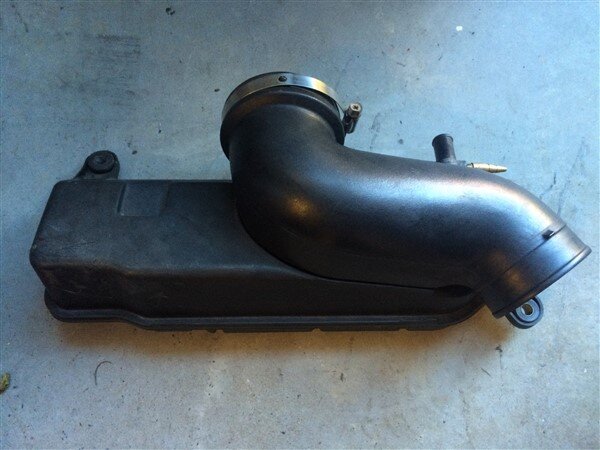
Only issue with that is it has a 15mm/5/8" breather hose going to it.
Most people have to 2 silicon hoses to get around this so they can fit a boss to mount it to, but I decided to do it differently so I will only need 1 silicon bend.

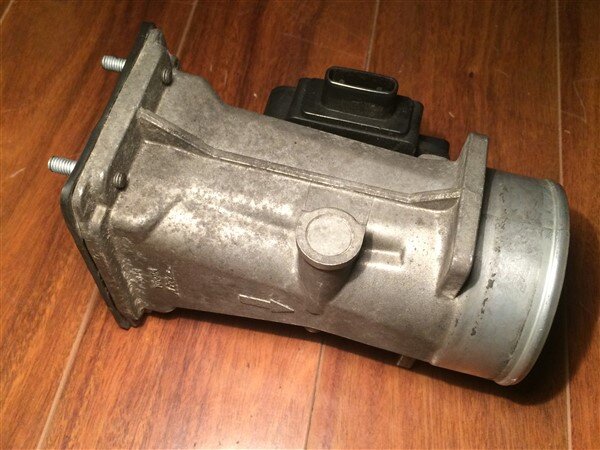
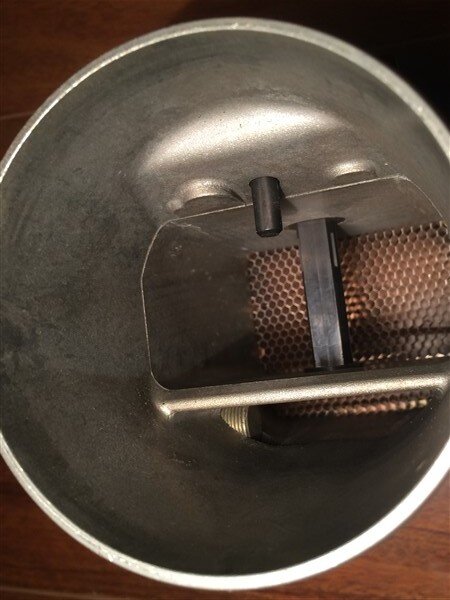
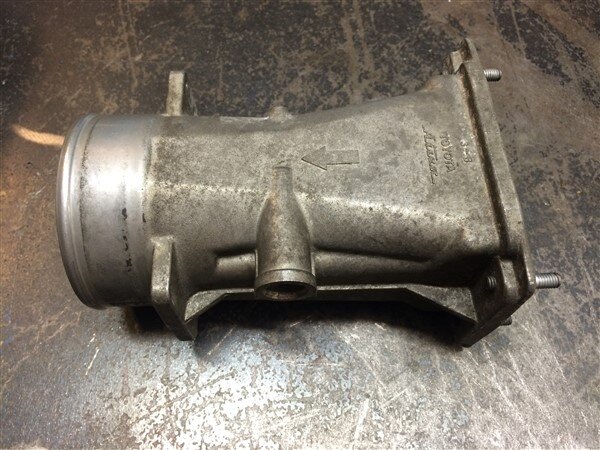
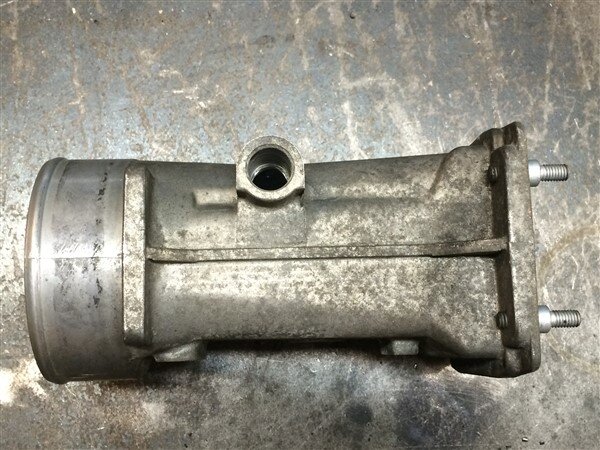
I was looking at the alluminium MAF housing.
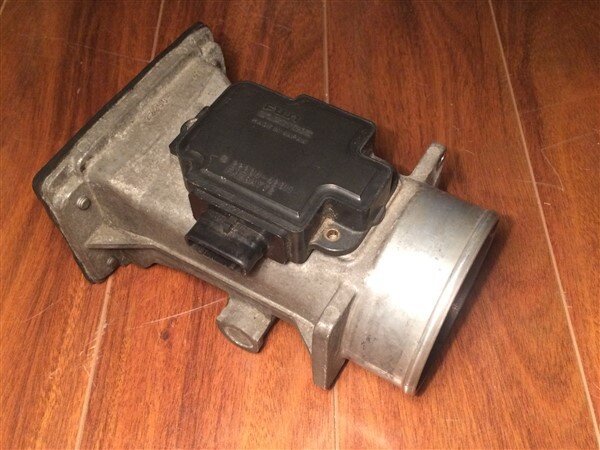
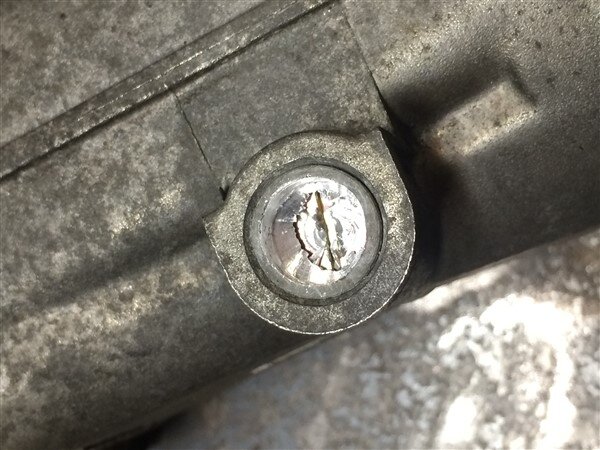
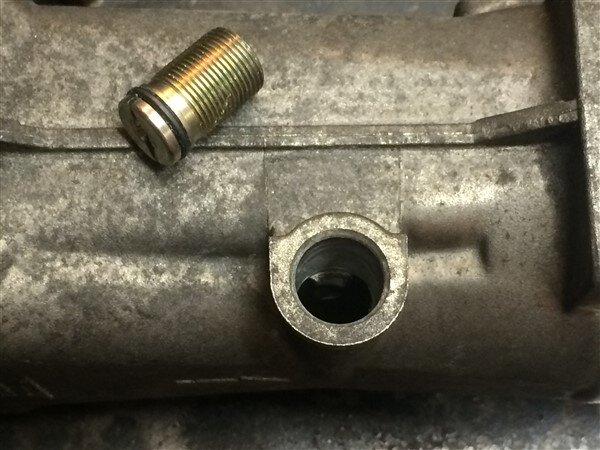
And spotted it had a boss in it that had been capped off.
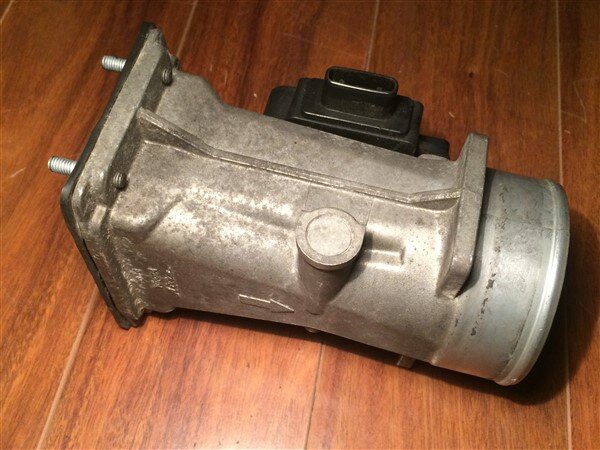
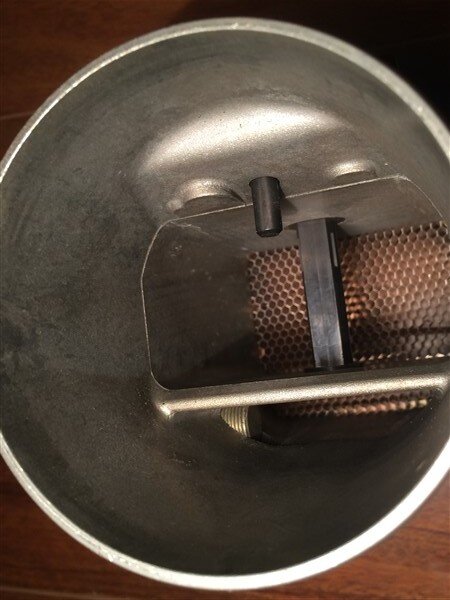
Looking down inside I saw it was even threaded and sits below a sort of bridge separating it from the sensor above.

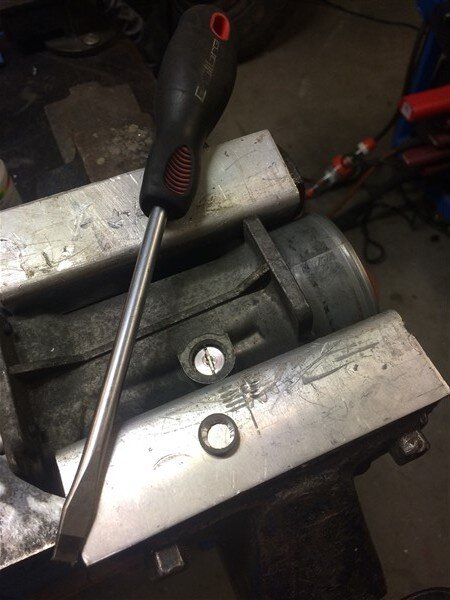
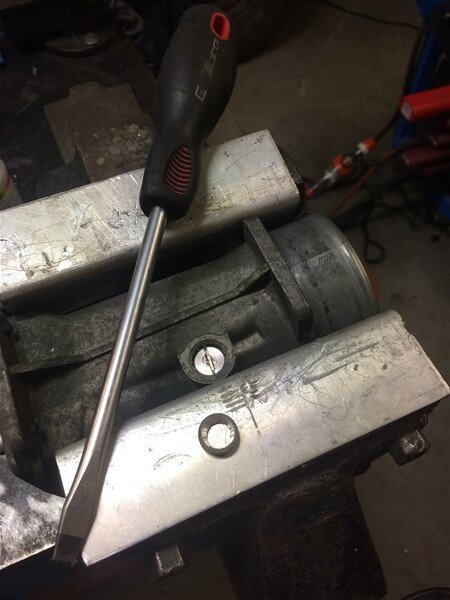
I began drilling through the aluminium bung on the outside and soon went through it and found a slot headed bolt below.
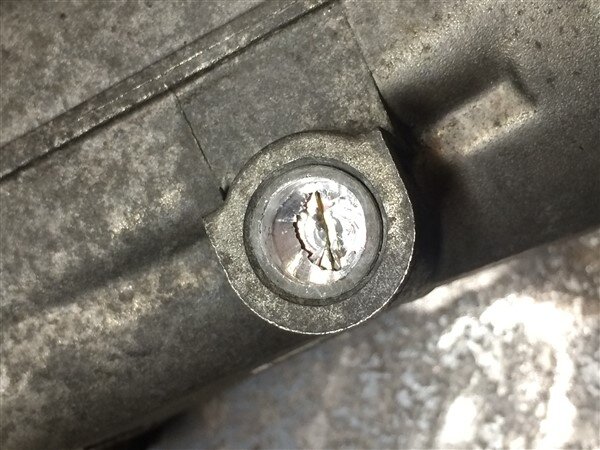
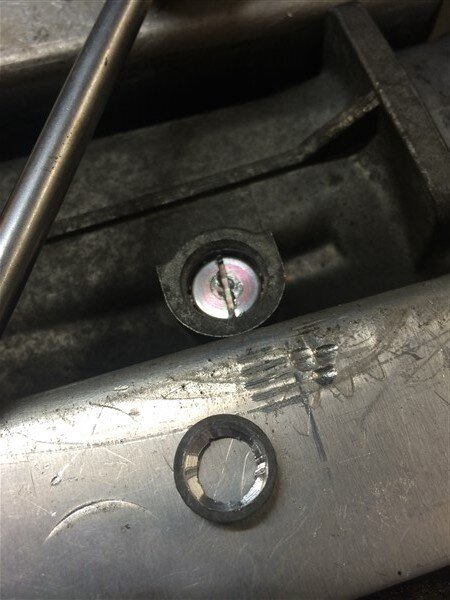
Prysed the remains of the aluminium bung out to fully reveal the bolt below.
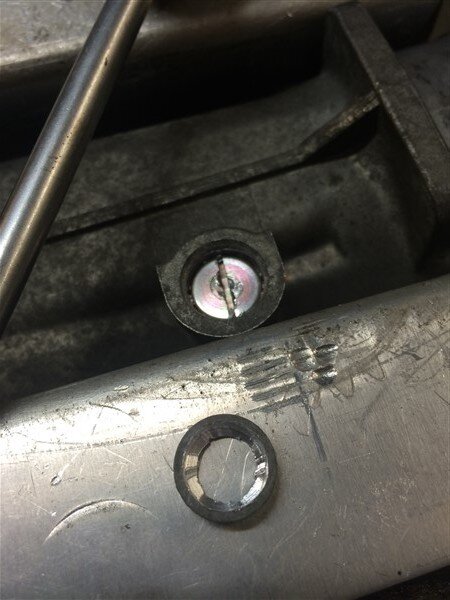
Wound it out.
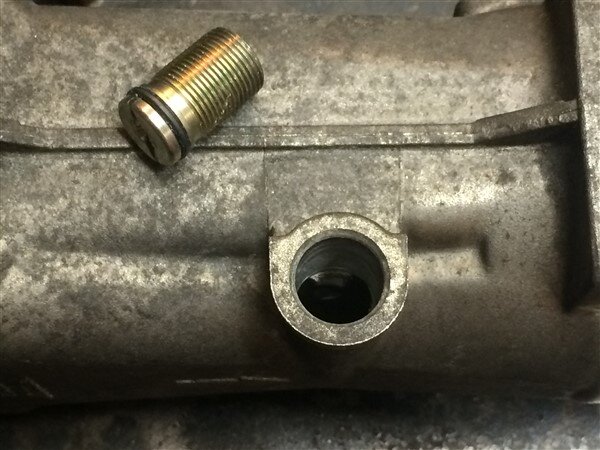
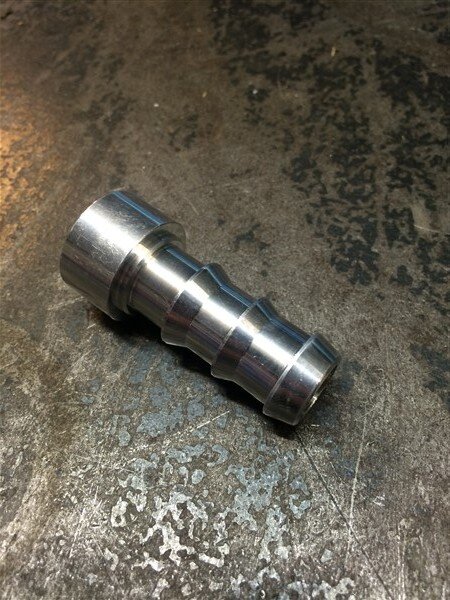
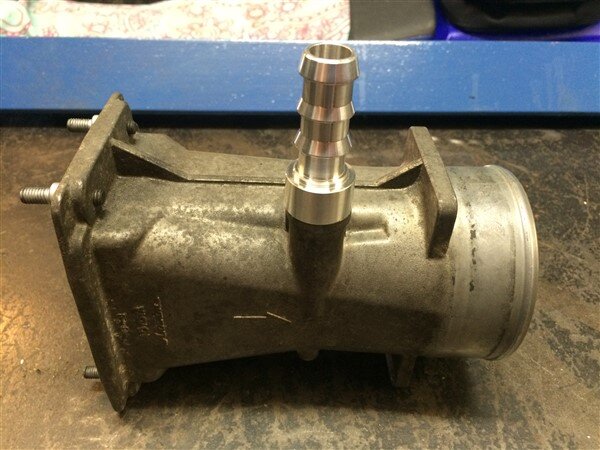
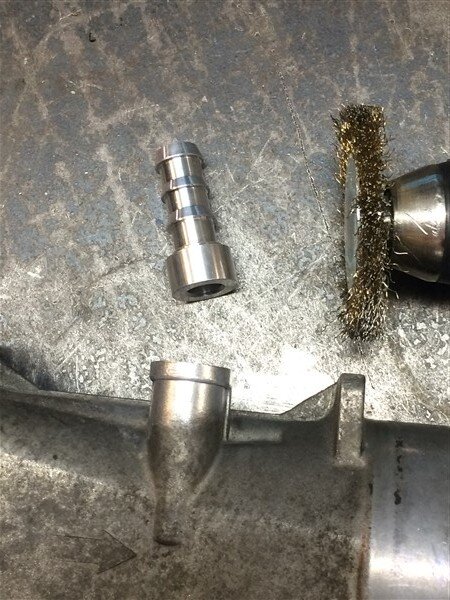
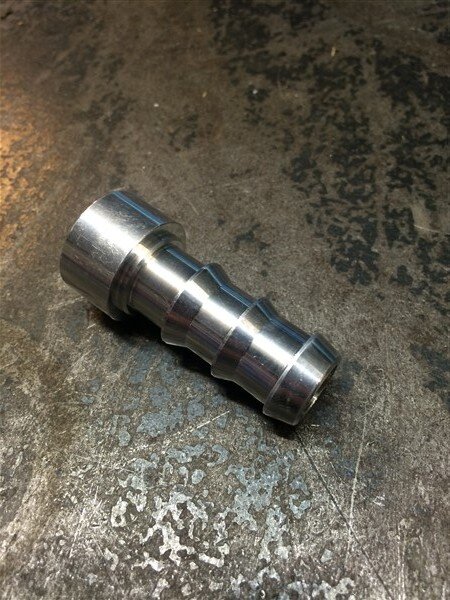
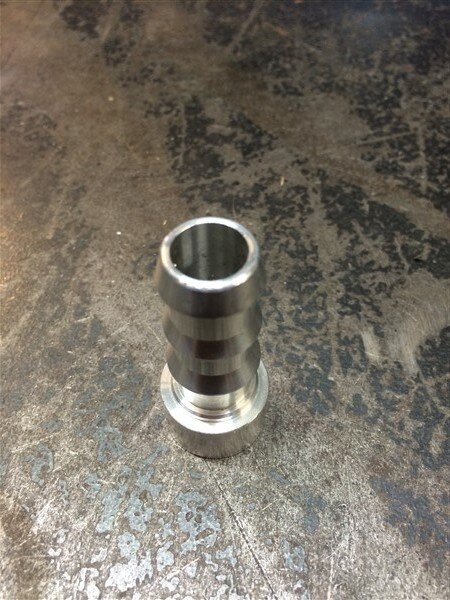
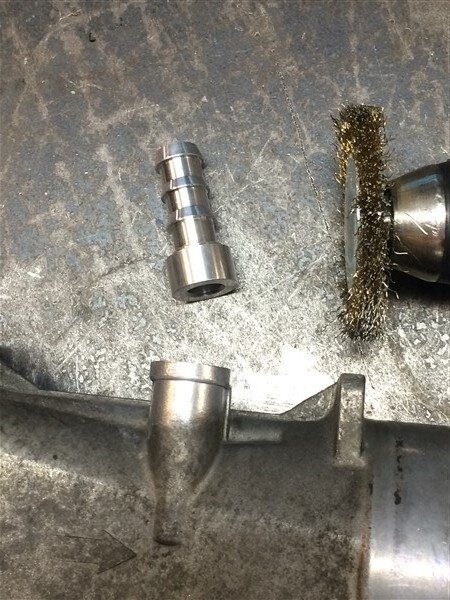
Ordered an aluminium weld on 5/8" fitting off ebay.

Removed the MAF sensor from the housing ready for welding.
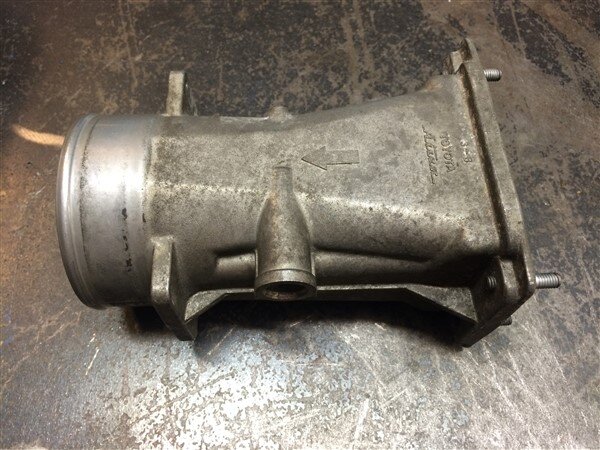
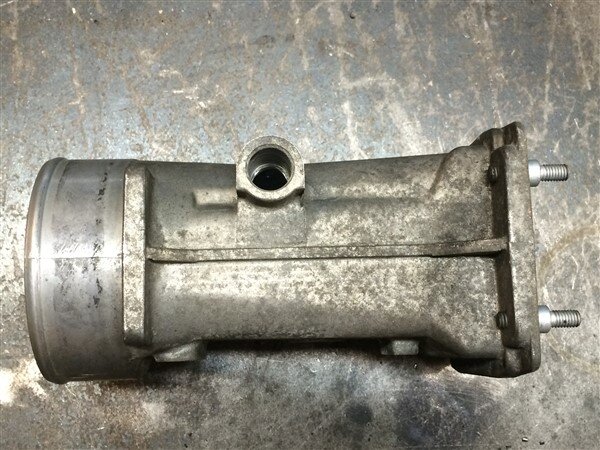
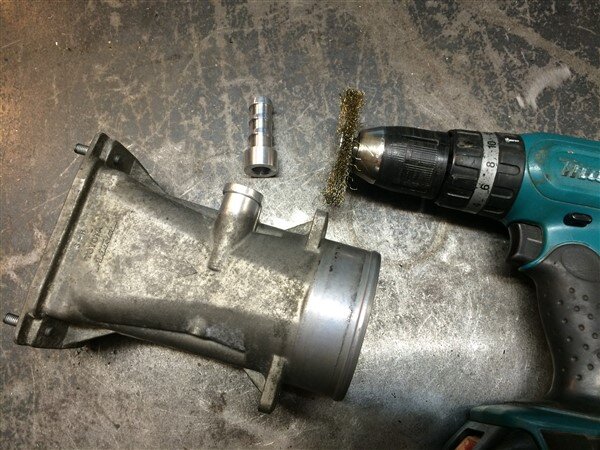
The boss was exactly the same diameter as the weld on fitting which was nice.

Cleaned up the dirty housing with the wire wheel in the drill ready for welding.
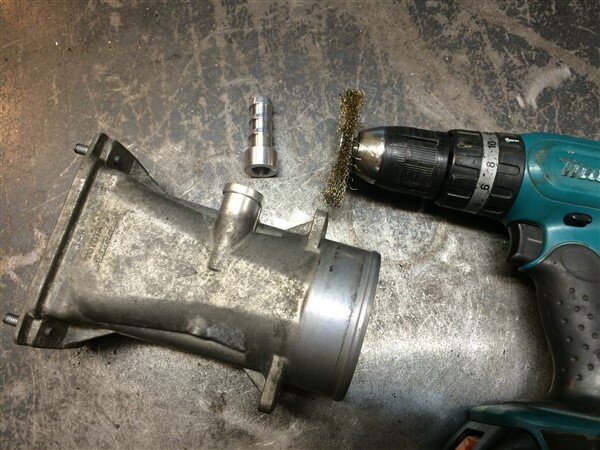
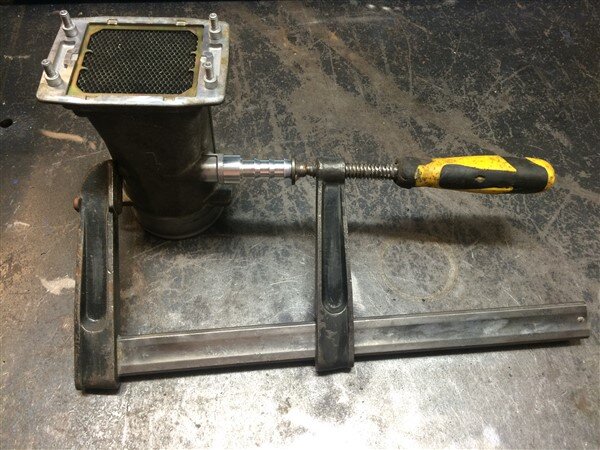
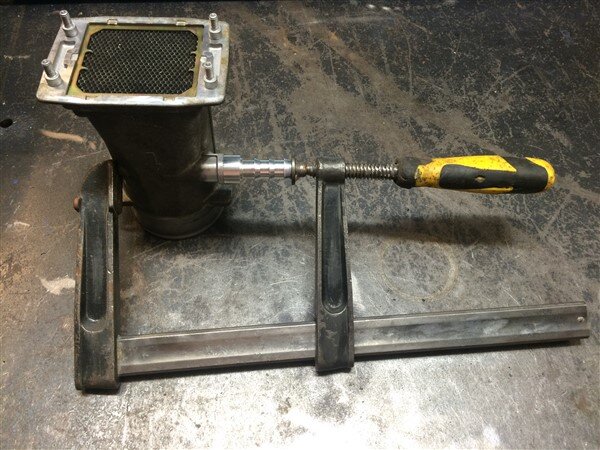
Clamped it in position.
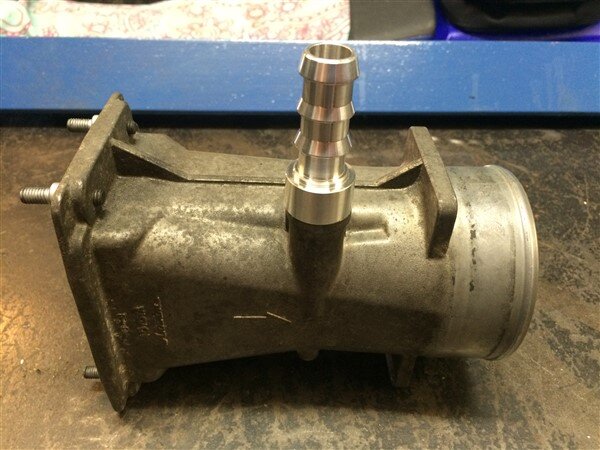
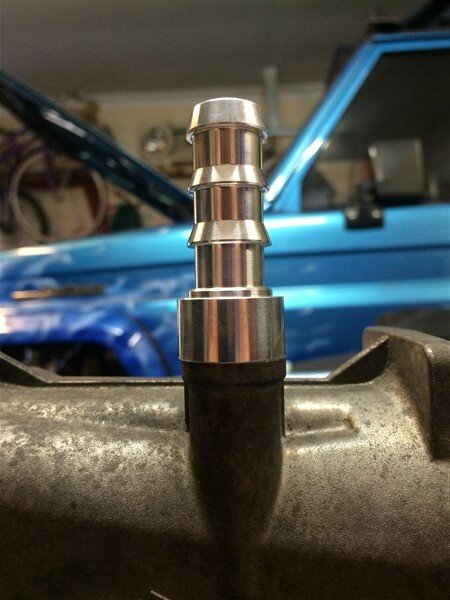
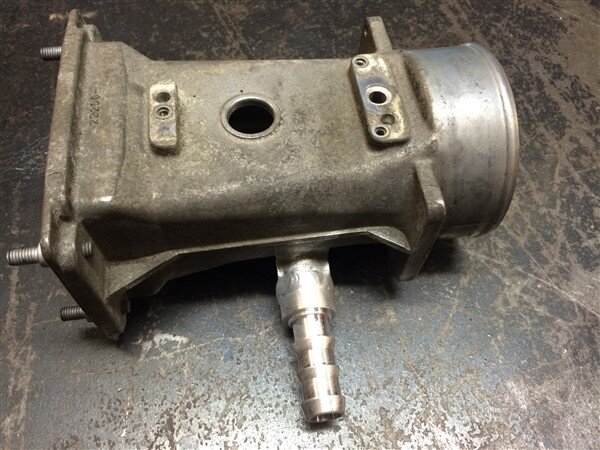
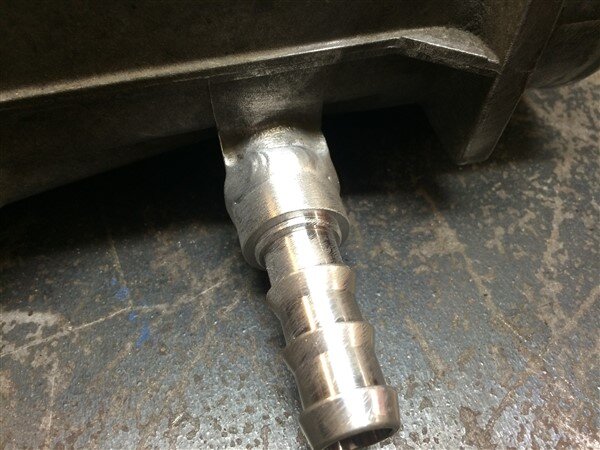
And welded it on.
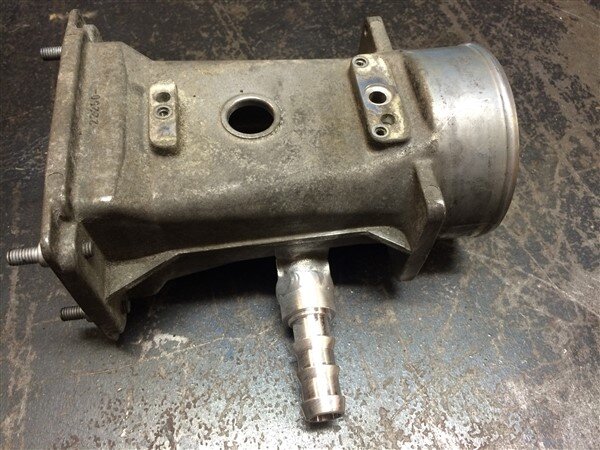
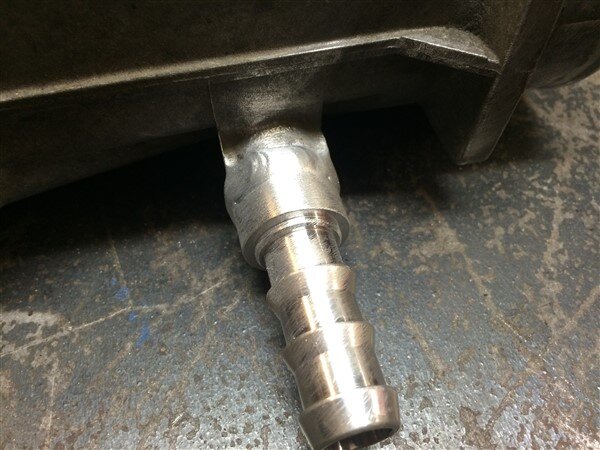
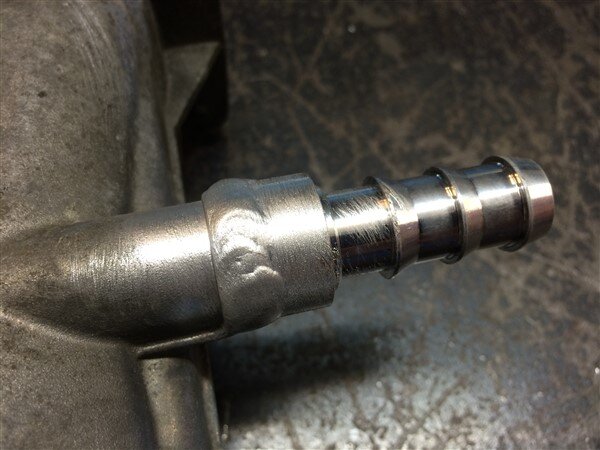
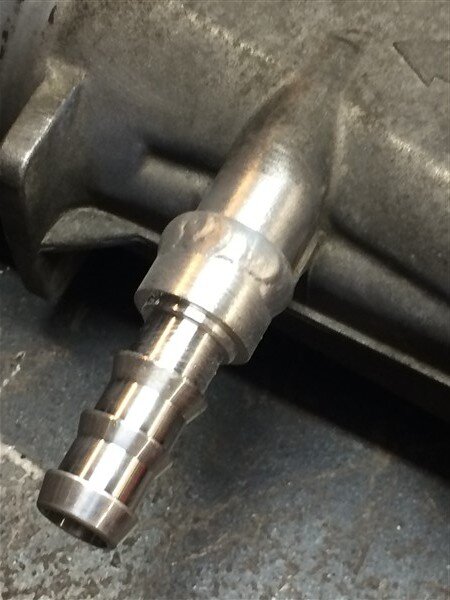
Now I'm not certain adding this fitting so close to the MAF wont cause turbulence and upset it, but after asking on the 1UZ page I did find one other person who had done it and said it worked fine and never upset the MAF.

I've ordered one black 45 degree silicon bend that will go from the engine to the MAF housing and an aluminium air box that will bolt to the other side of the MAF housing.

This is the airbox/air filter I've ordered.
http://www.ebay.com.au/itm/172441591873?_trksid=p2060353.m2749.l2649&ssPageName=STRK:MEBIDX:IT
Its very similar to the Pipercross Venom one I wanted in that its a sealed box, but this one is much cheaper and its aluminium meaning I can weld all my own mounts to it to securely mount it.

I'm also going to order some aluminium 3" mandrel bends so I can make a cold air feed straight from the front of the car, which I also want to make a temporary/emergency snorkel for.

Once thats done I will get it powdercoated black.

I picked up a new metal working machine this week so I can modify the fuel tank to mount the Lexus pump, but more on that next time.

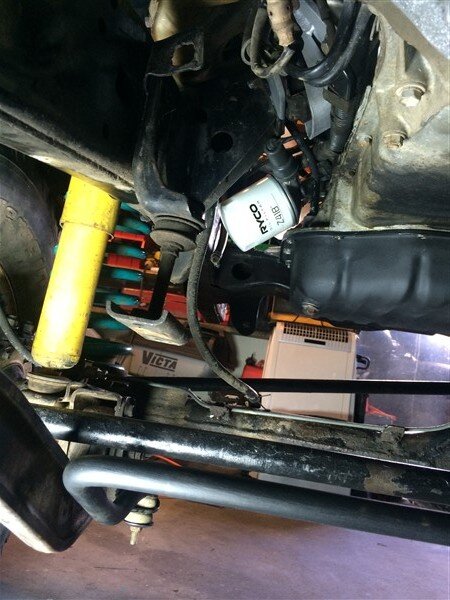
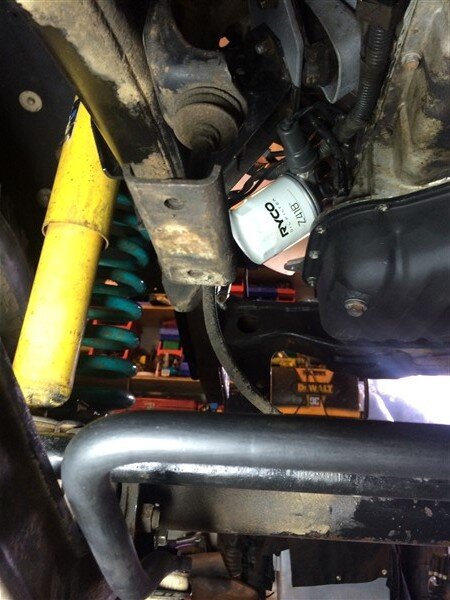
FFS!

The pics below shouldnt be there and I cant delete them as they keep re-appearing.
 @Crispin
?






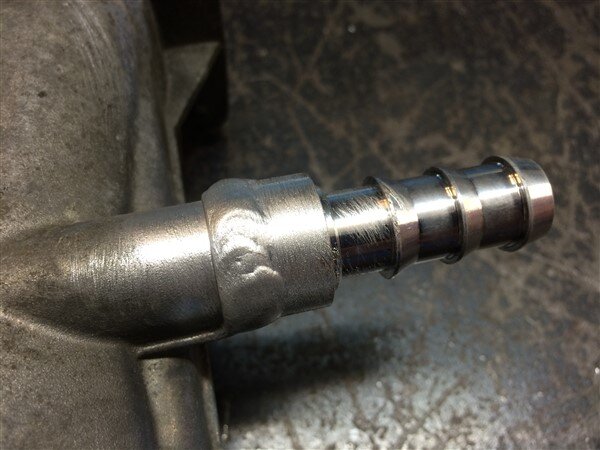
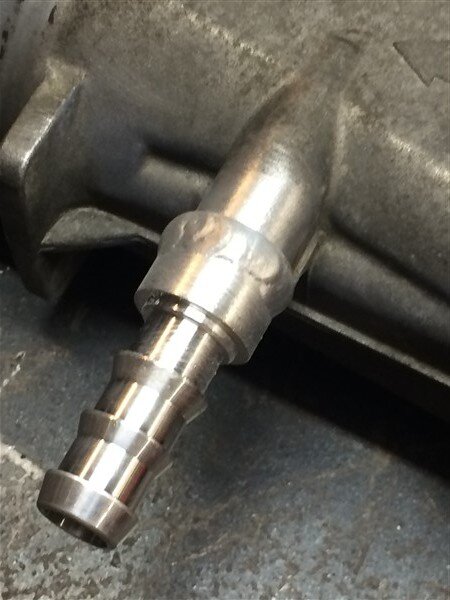


![IMG_5125[1].JPG IMG_5125[1].JPG](https://www.landcruiserclub.net/community/data/attachments/113/113292-3bb39d8d4197c46a7746c0ff71a9d40f.jpg?hash=O7OdjUGXxG)
![IMG_5124[1].JPG IMG_5124[1].JPG](https://www.landcruiserclub.net/community/data/attachments/113/113293-6a1547fb3f92159936a234c82e73a9bf.jpg?hash=ahVH-z-SFZ)