Don't like the adverts? Click here to remove them
You are using an out of date browser. It may not display this or other websites correctly.
You should upgrade or use an alternative browser.
You should upgrade or use an alternative browser.
TLC HJ61 total reconditioning
- Thread starter oding
- Start date
Jente
Active Member
- Joined
- Jun 10, 2014
- Messages
- 83
- Country Flag
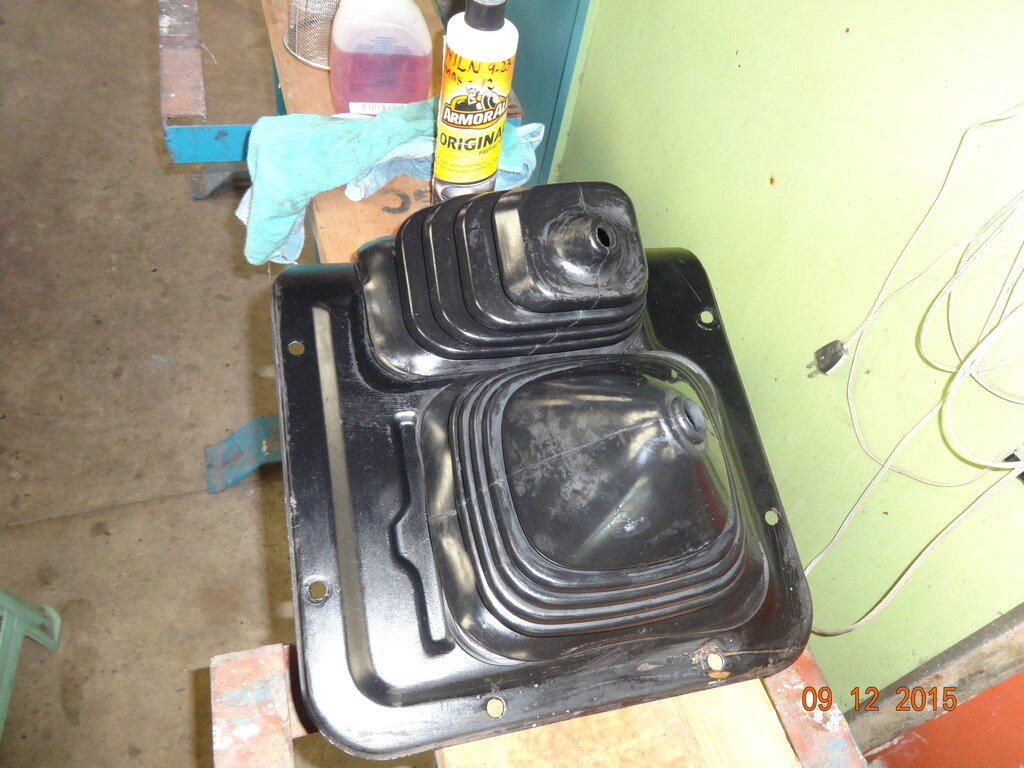
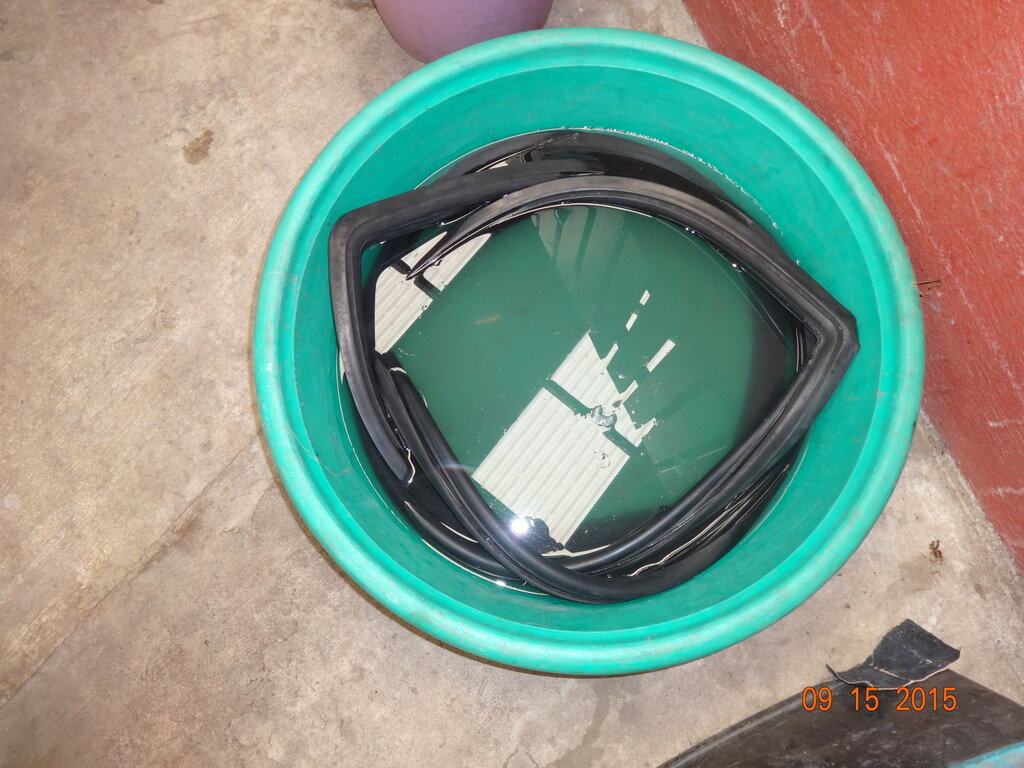
That's true. I have been searching on how to rejuvenate rubber. The rubber gasket has shrunk through the years and I had a difficult time making it fit. It is really a good idea to fit all parts first before the final installation. Jente, do you have any suggestions on rubber reconditioning? I tried castor oil. Soaked the gasket then place in a zip bag. Hope to get result tomorrow.
Hi Oding,
I cleaned all my rubbers using some kind of acid, cleaned with water afterwards and then applied vaseline on it. Helps making them softer and watertight.
Don't like the adverts? Click here to remove them
Wayne Sparham
New Member
- Joined
- Jul 29, 2014
- Messages
- 2
- Country Flag
Problems with coil
Hi everyone
I am a first timer and not too sure if the is the correct forum, but here it goes.
I have just finished rebuilding a 60 series beauty and i am having trouble with the coil. It keeps on getting hot. Can anyone offer a wiring diagram or other advice? It has the 3F gas guzzler under the bonnet.
Thanks,
Sparham
- Joined
- Feb 2, 2013
- Messages
- 17,108
Hi Wayne if you scroll to the top of the page there is a tab marked "forums" click that and you will see a page of different categories , about half way down is "introduce yourself" say hello there and you will likely get more replies as people will not want to divert attention from Oding's epic build thread by replying here .
oding
Well-Known Member
- Joined
- Jan 11, 2015
- Messages
- 423
- Country Flag
I can't believe you intend to sell itit would break my heart if i had done all that work to let it go , i can't help wondering if you will change your mind after the long drive planned on completion .
Hi shayne, I have been doing this for a long time and the sense of accomplishing something is already enough for me. It would be great to keep every unit that I restore, but because of space and financial, I have to let it go. But who knows, maybe I might change my mind. Hehehehehehe.
oding
Well-Known Member
- Joined
- Jan 11, 2015
- Messages
- 423
- Country Flag
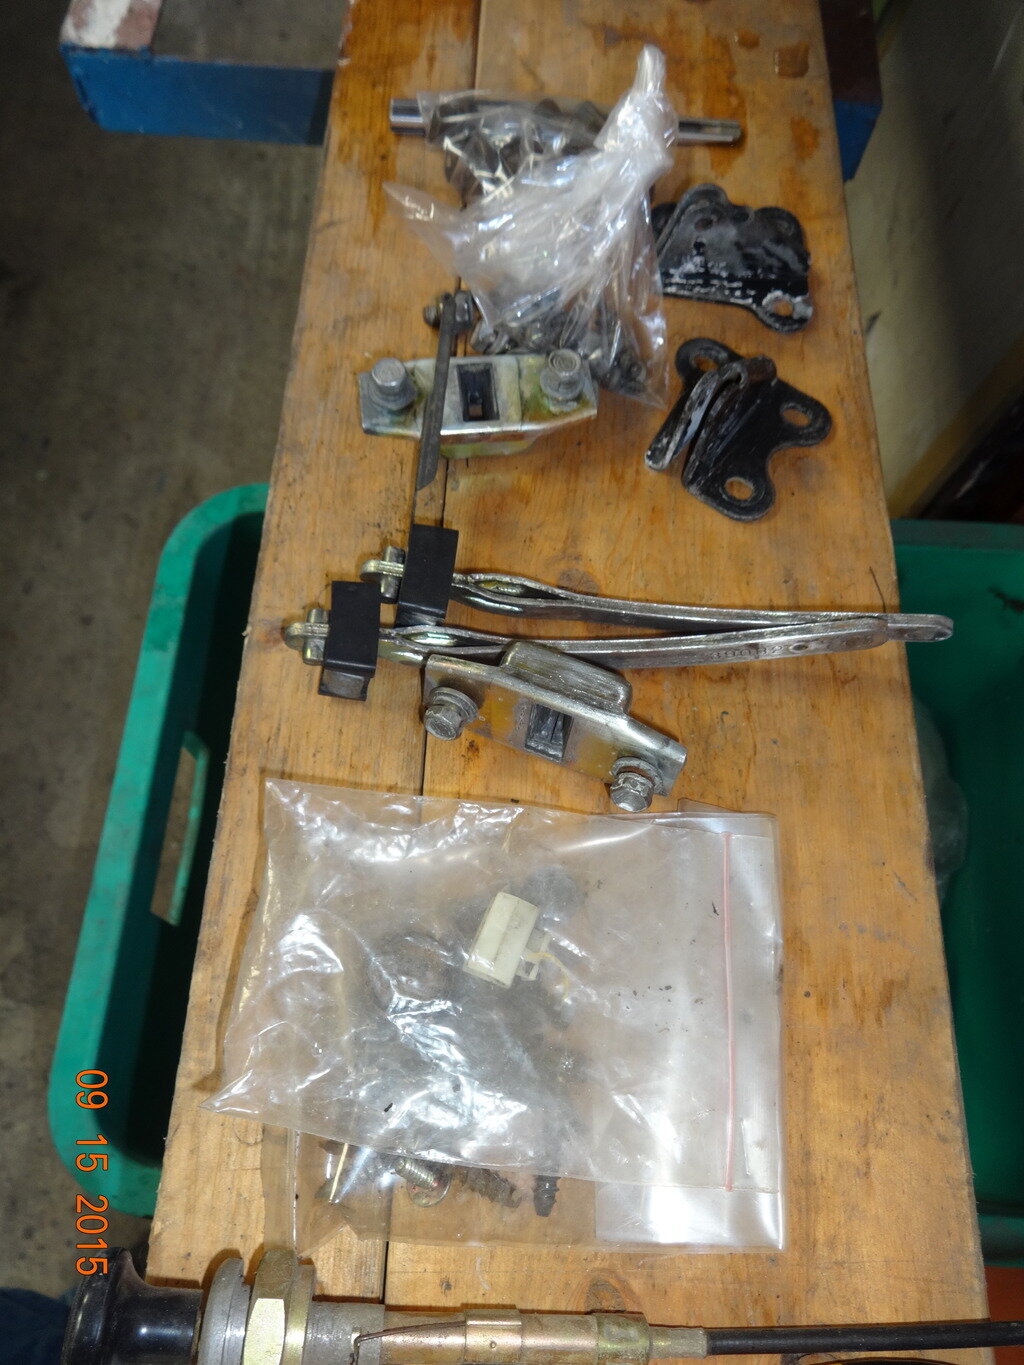
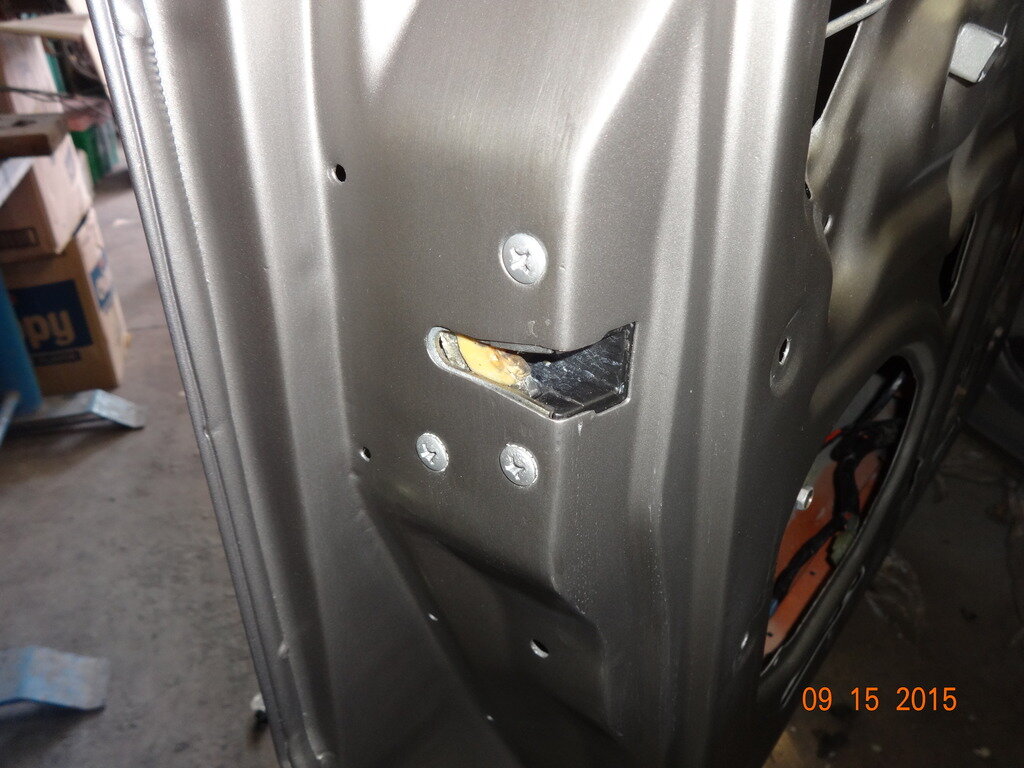
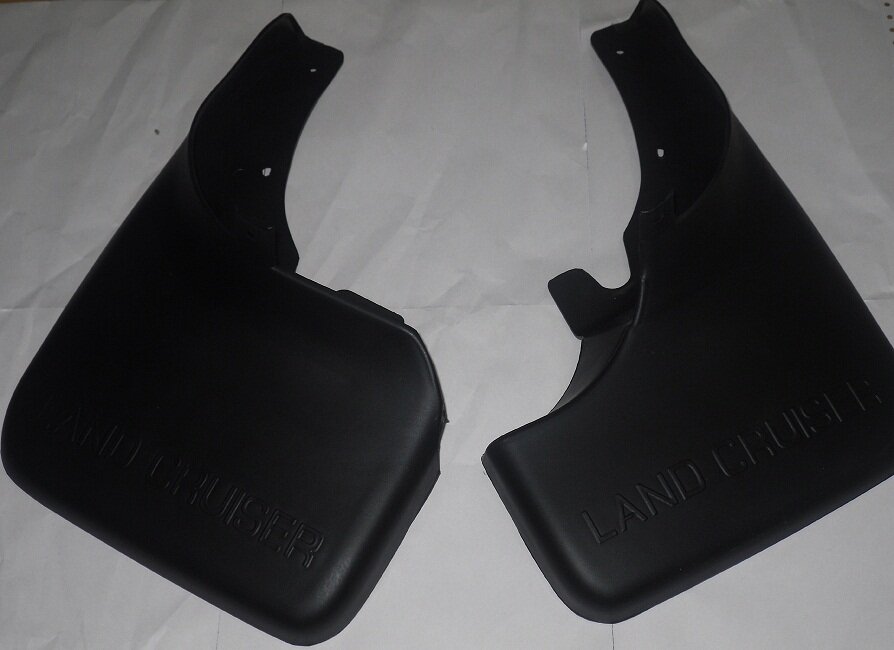
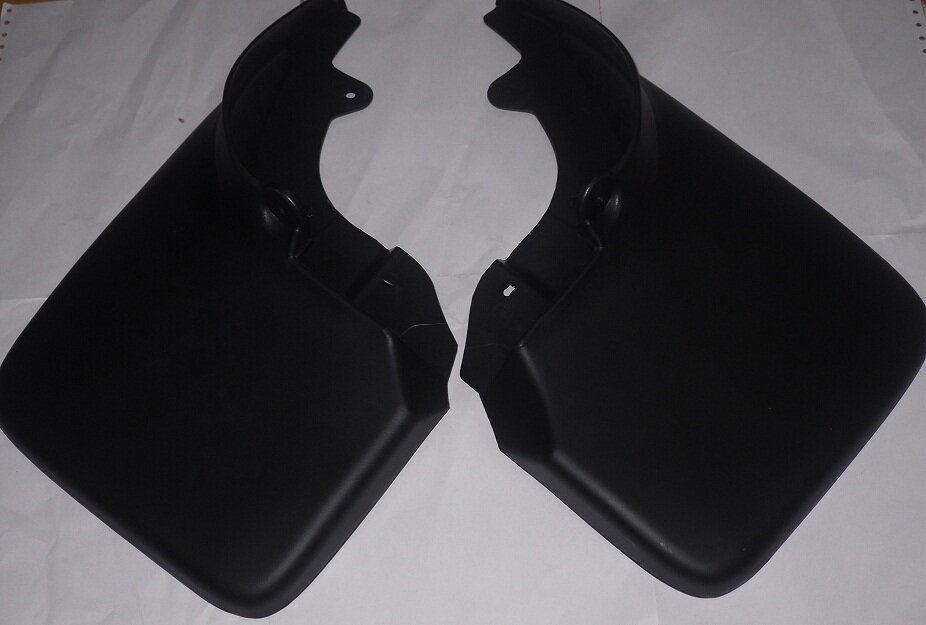
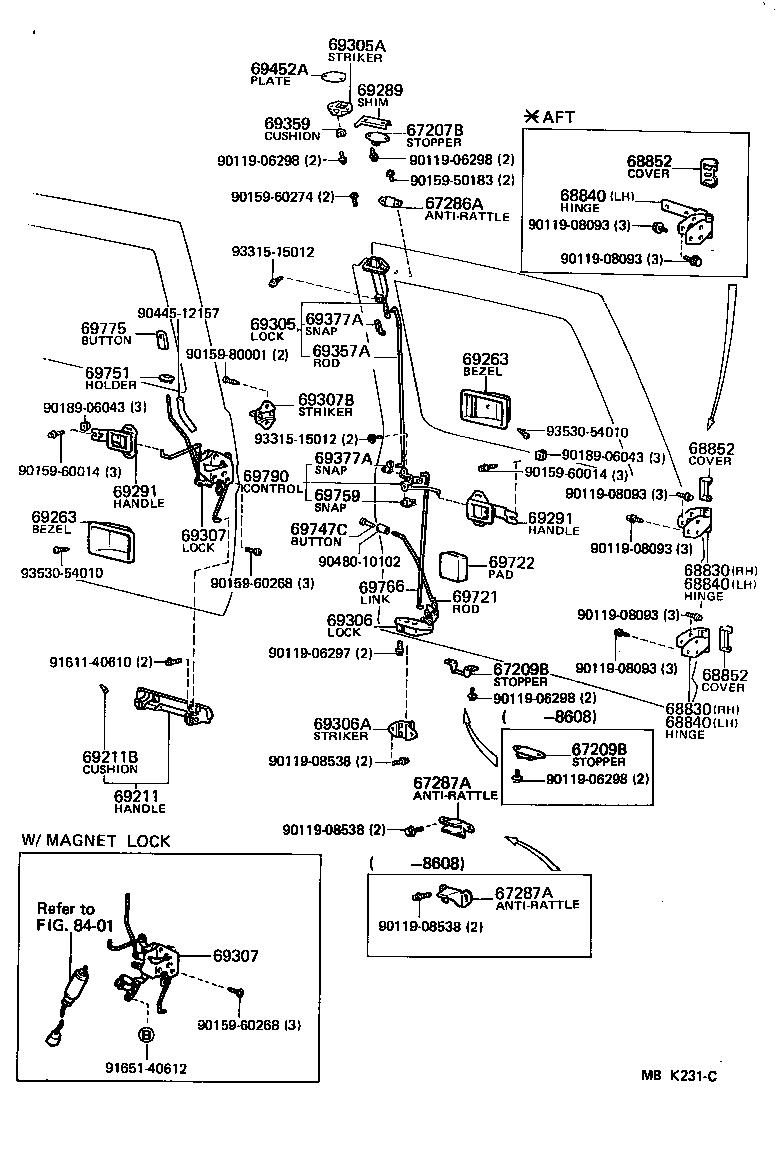
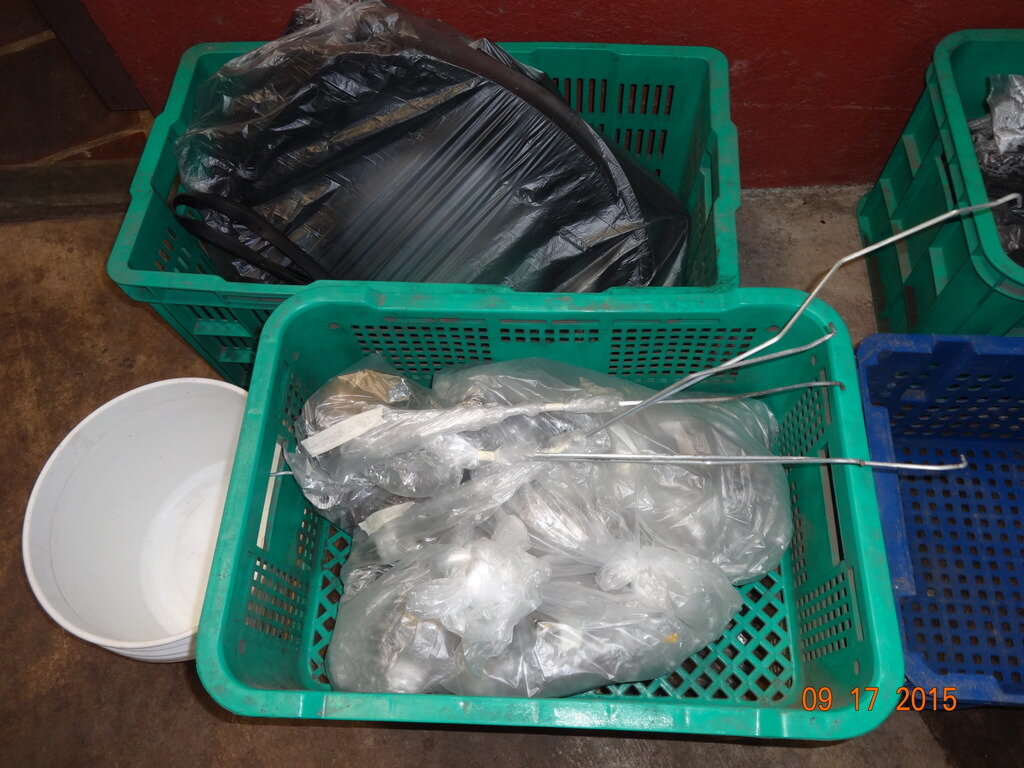
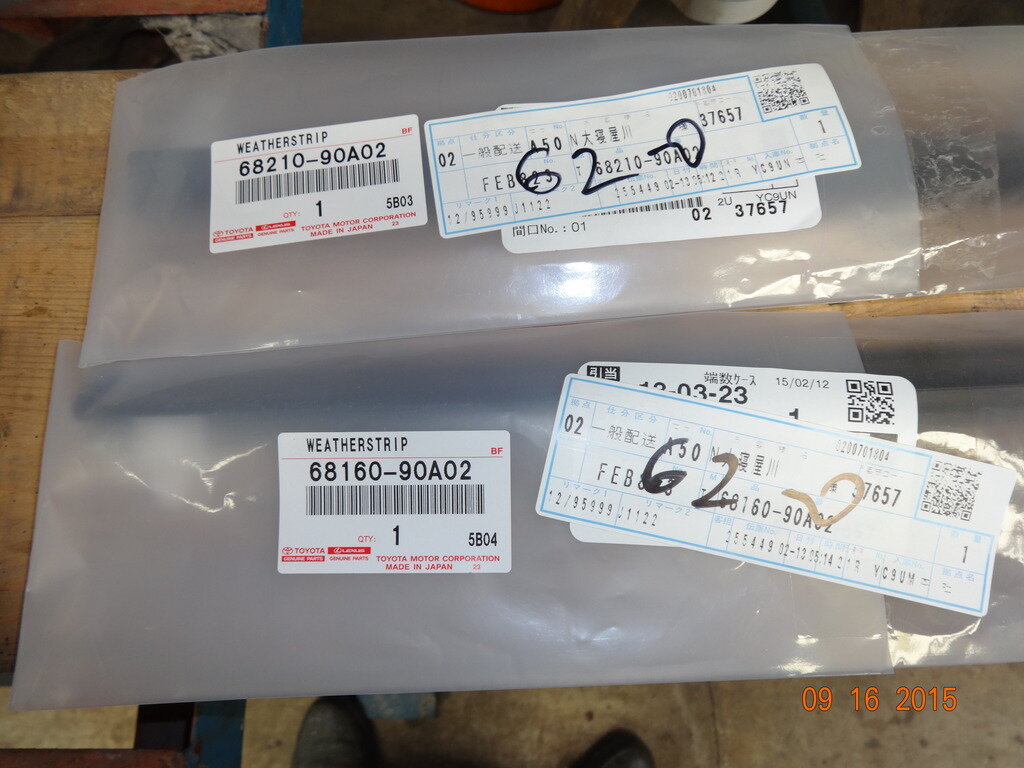
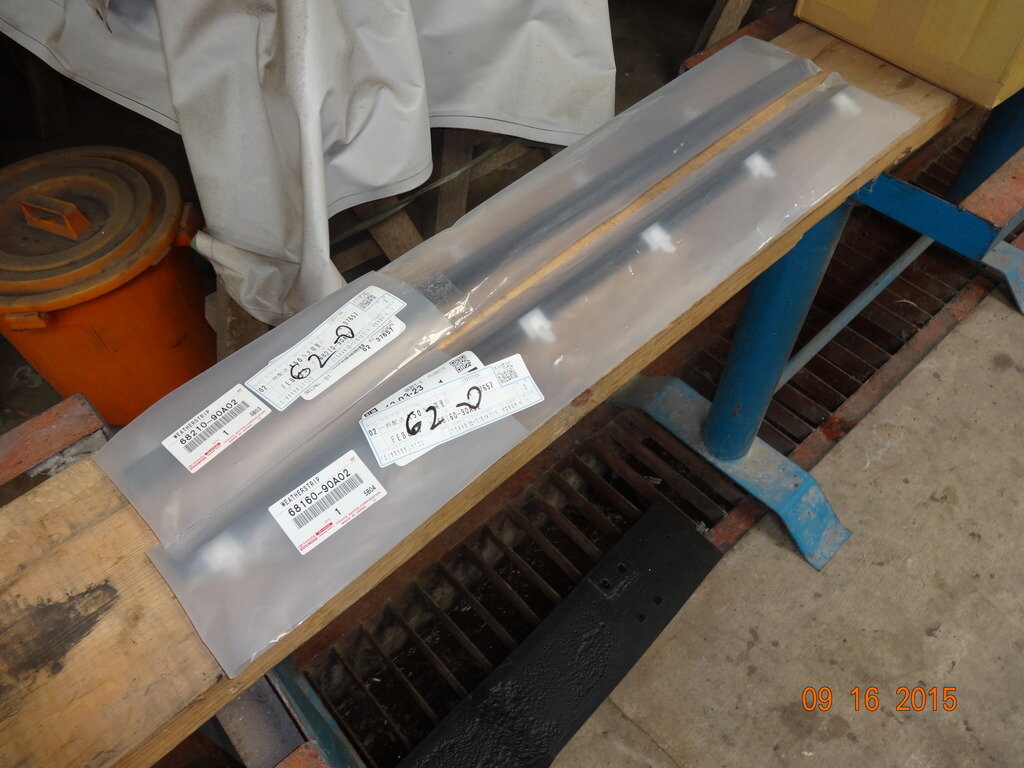
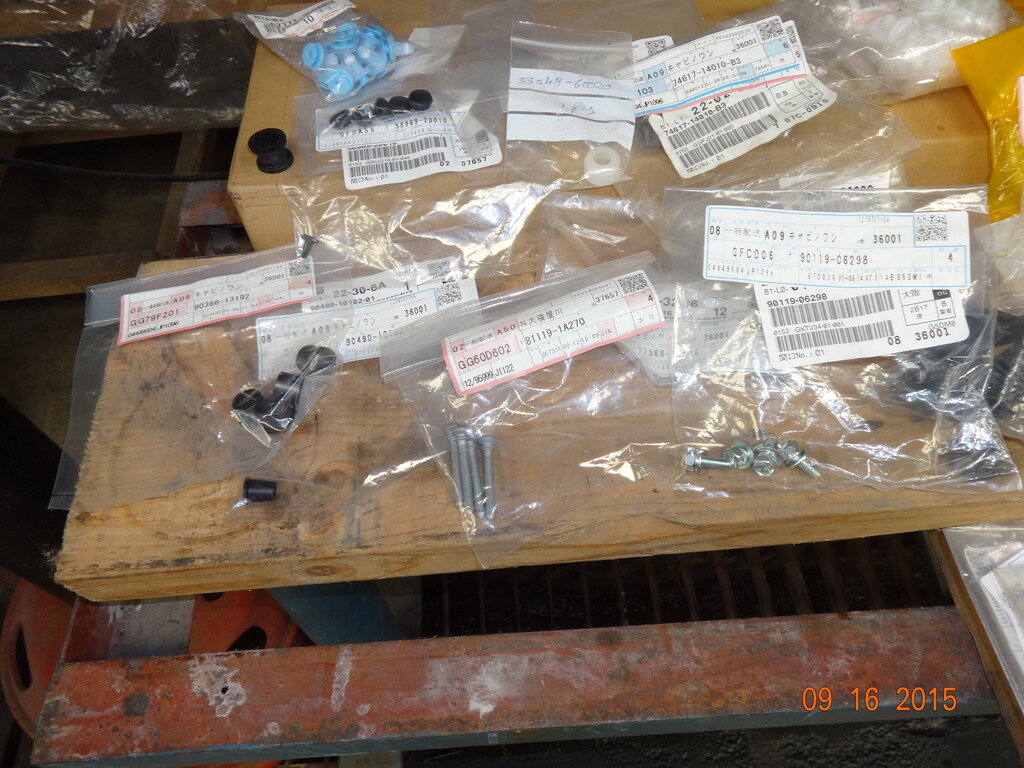
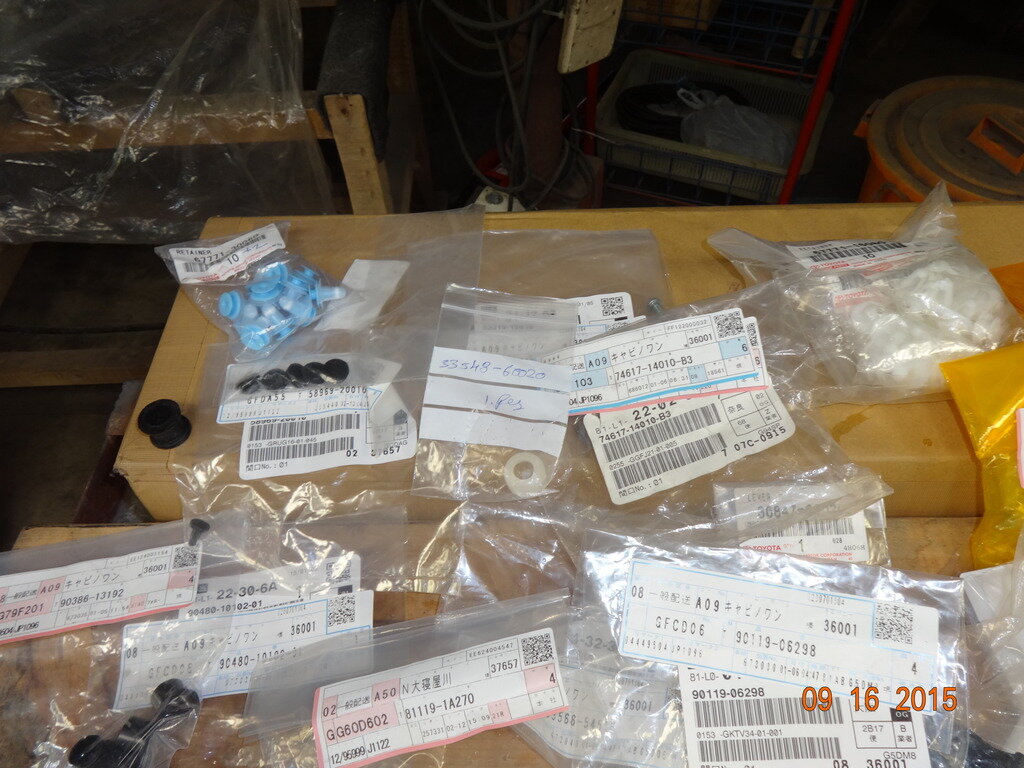
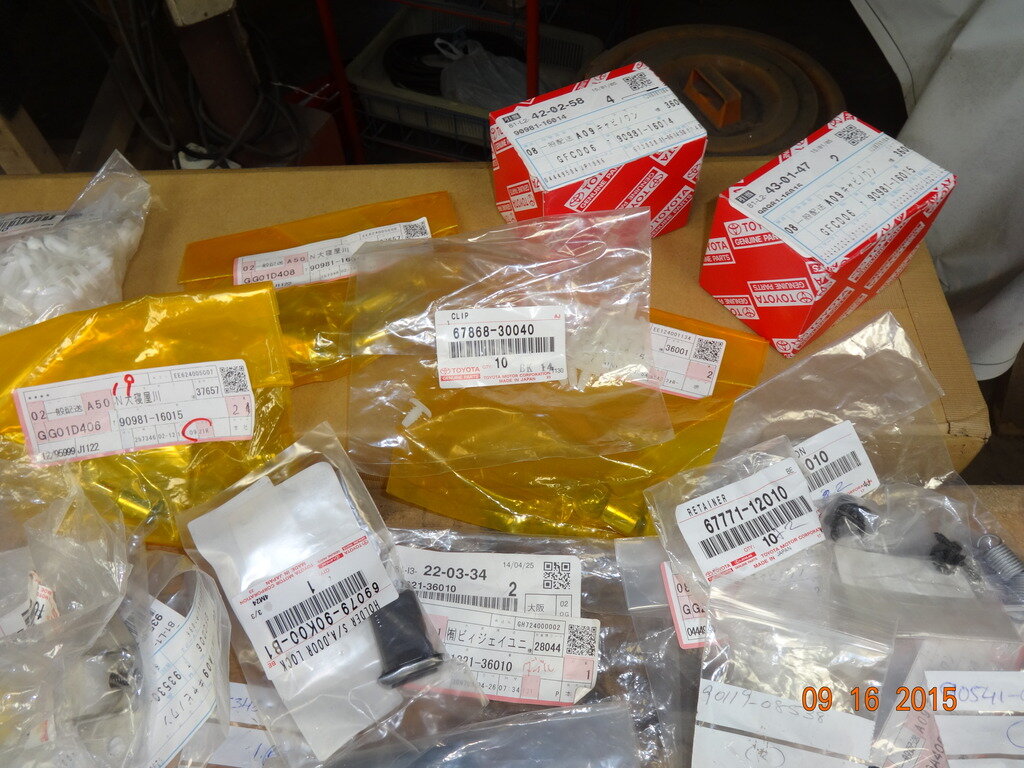
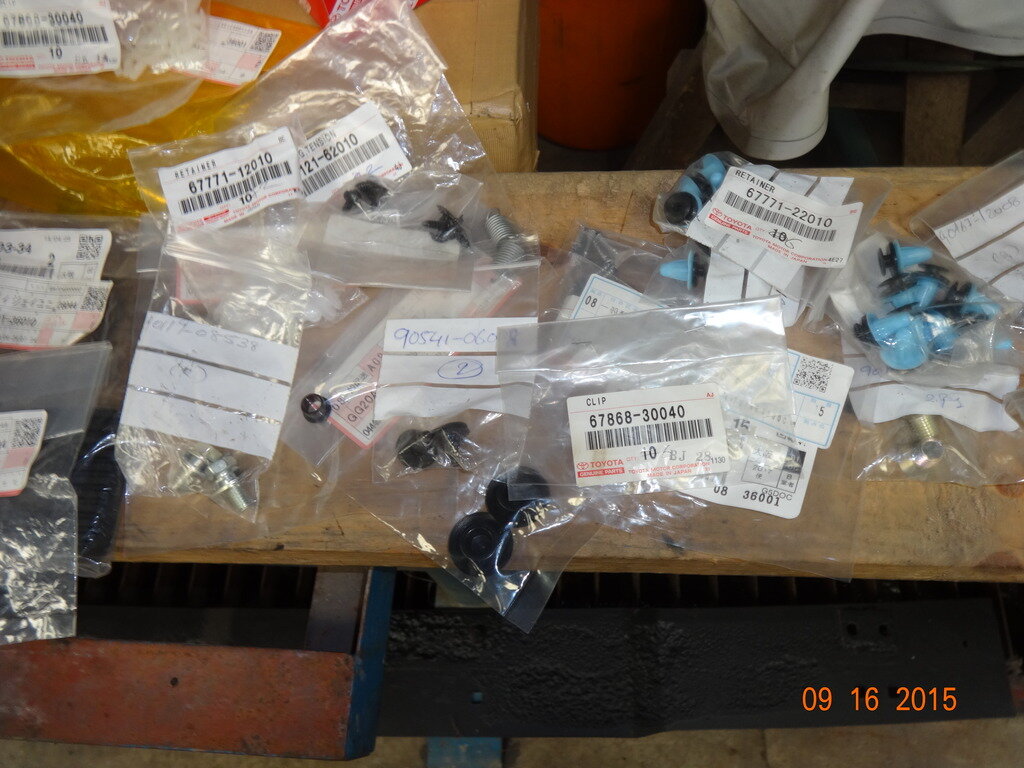
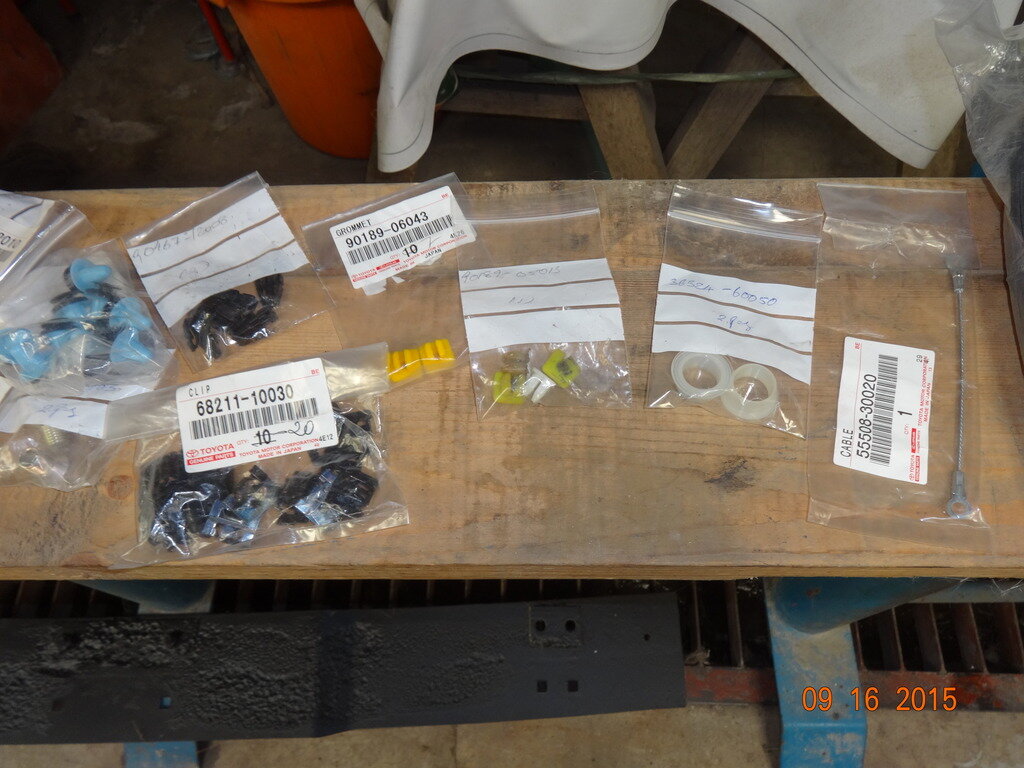
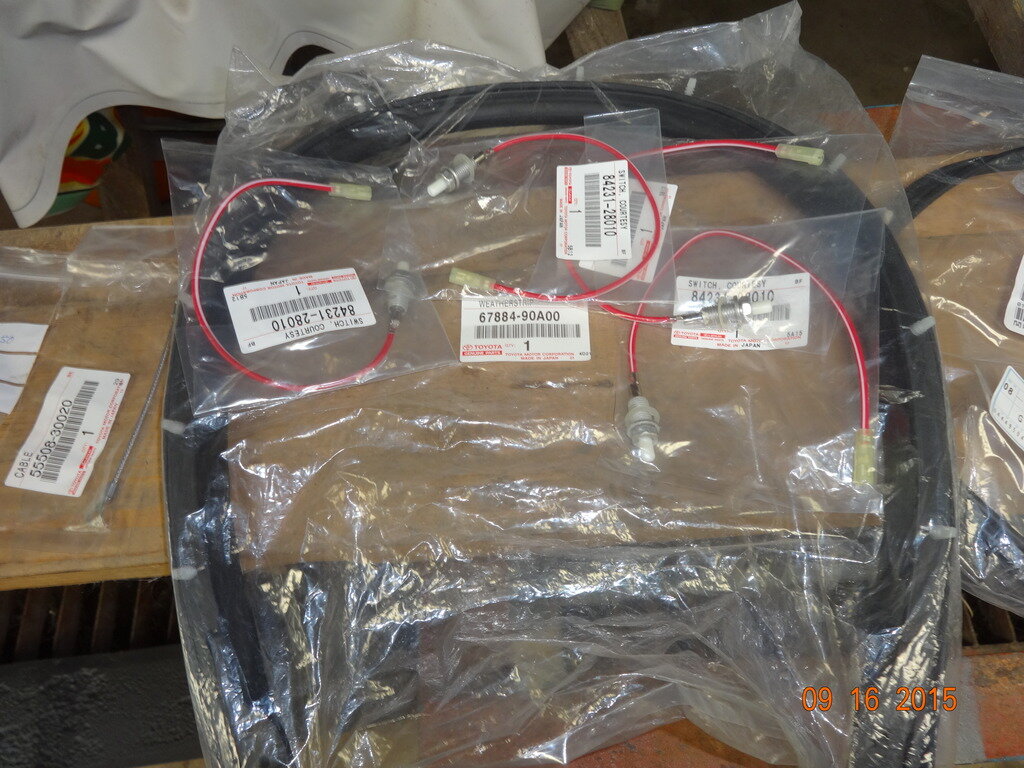
I get my parts from Japan, Thailand and Singapore. It would be very nice to order some parts from the USA. However,the price of shipment is just too high and only if I can not get some hard to get parts from nearby suppliers, then i go to ebay or amazon. Especially the 60 series, they have not been sold in the Philippines except only for the government. so parts are not that easy to get. Australia has a large inventory of the 60 series, again, the cost of shipment is sometimes the same as the cost of the parts. The following pics are all the parts I have ordered prior to the start of the reconditioning process.



Last edited:
oding
Well-Known Member
- Joined
- Jan 11, 2015
- Messages
- 423
- Country Flag
oding
Well-Known Member
- Joined
- Jan 11, 2015
- Messages
- 423
- Country Flag
oding
Well-Known Member
- Joined
- Jan 11, 2015
- Messages
- 423
- Country Flag
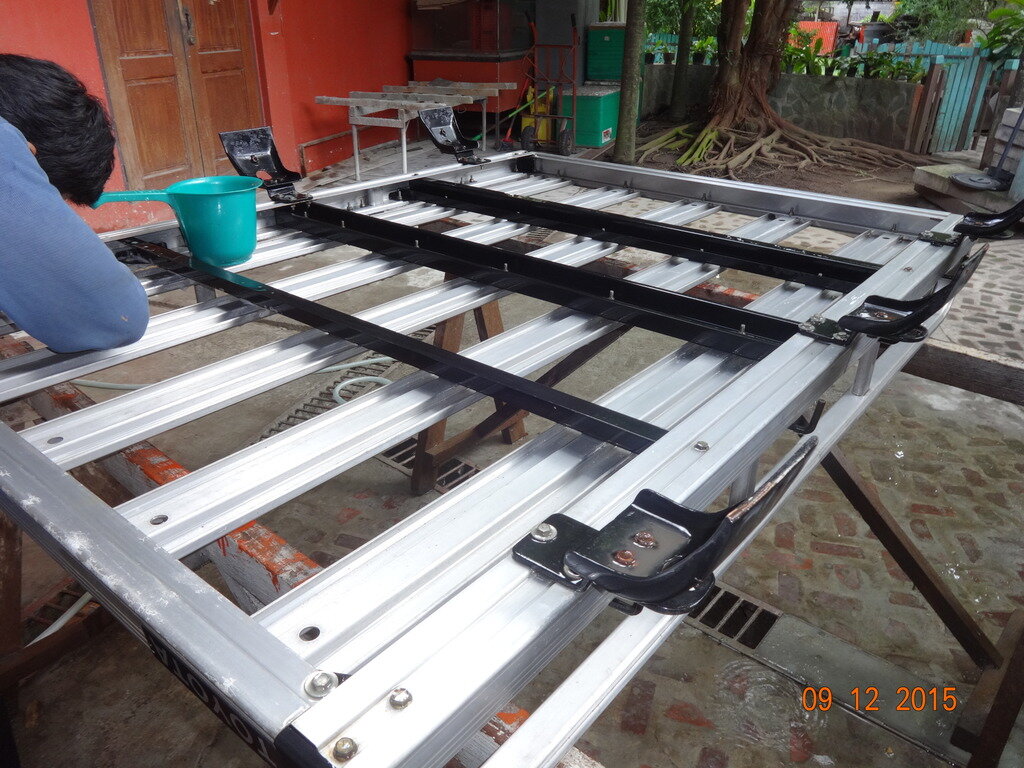
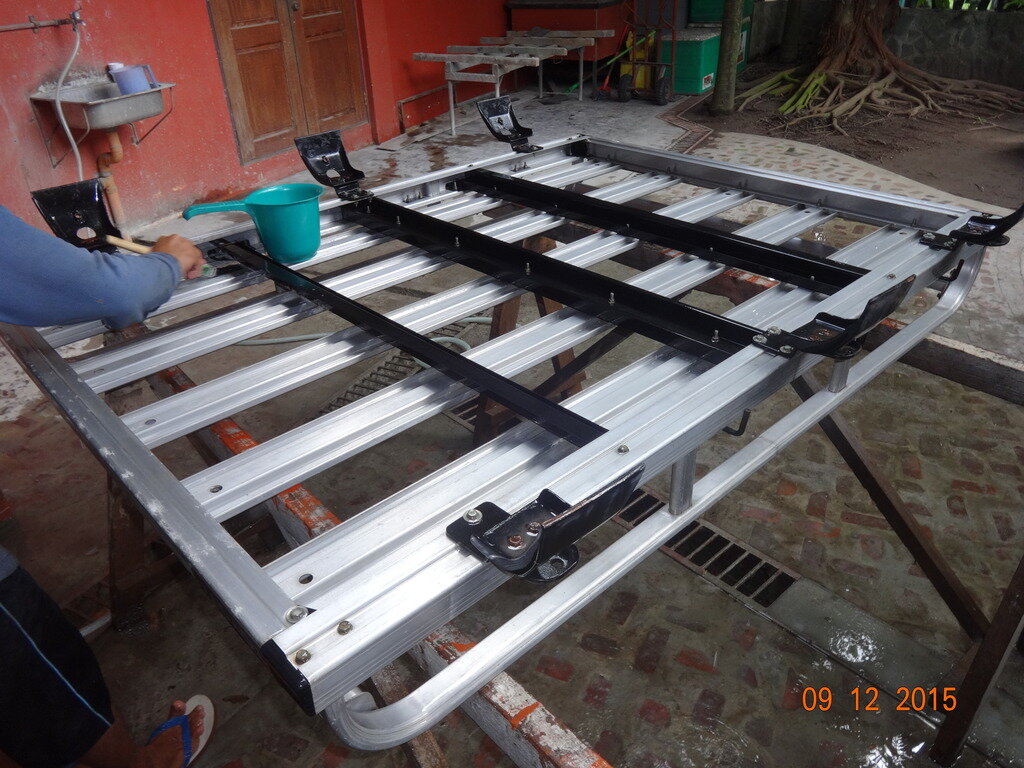
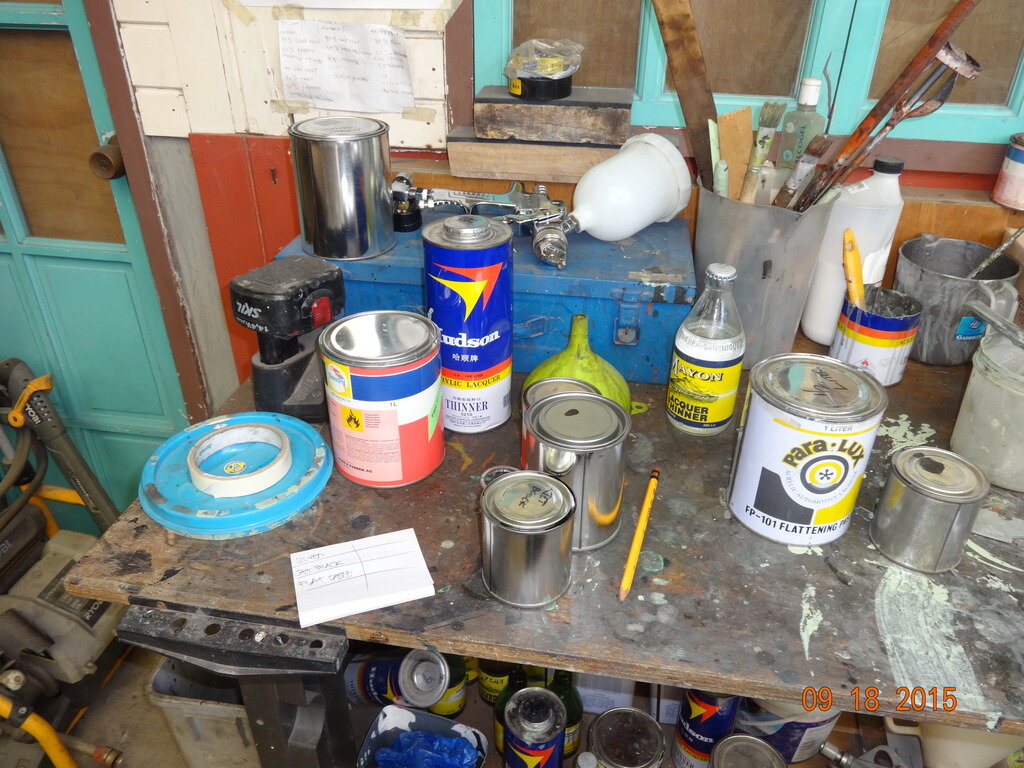
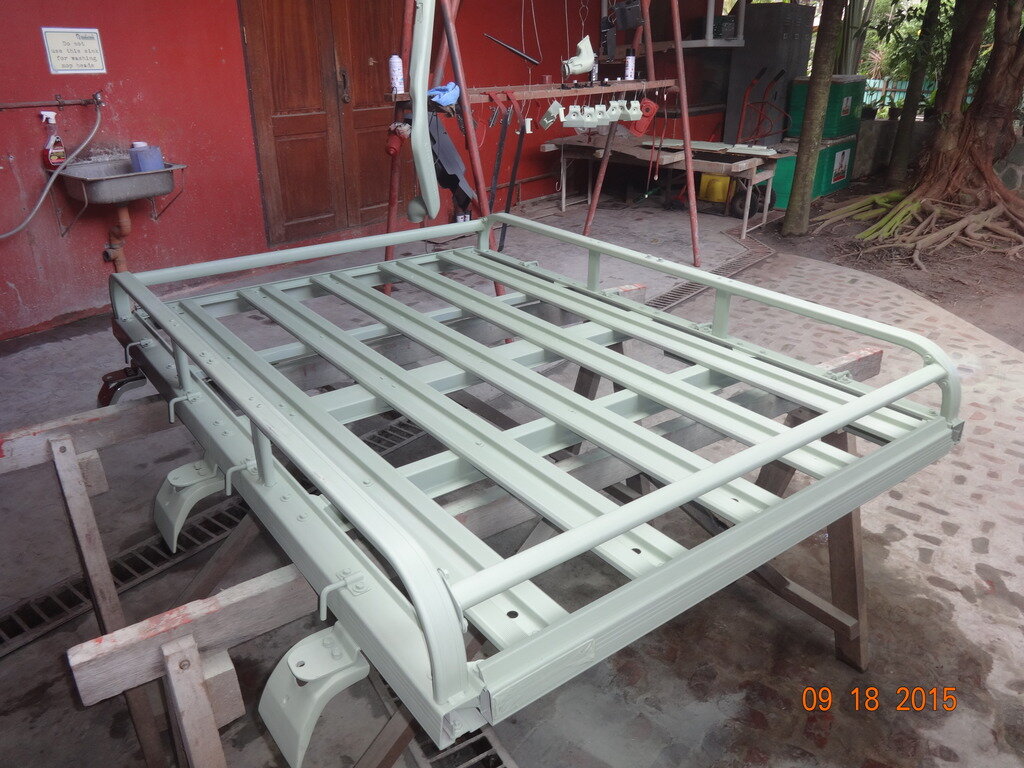
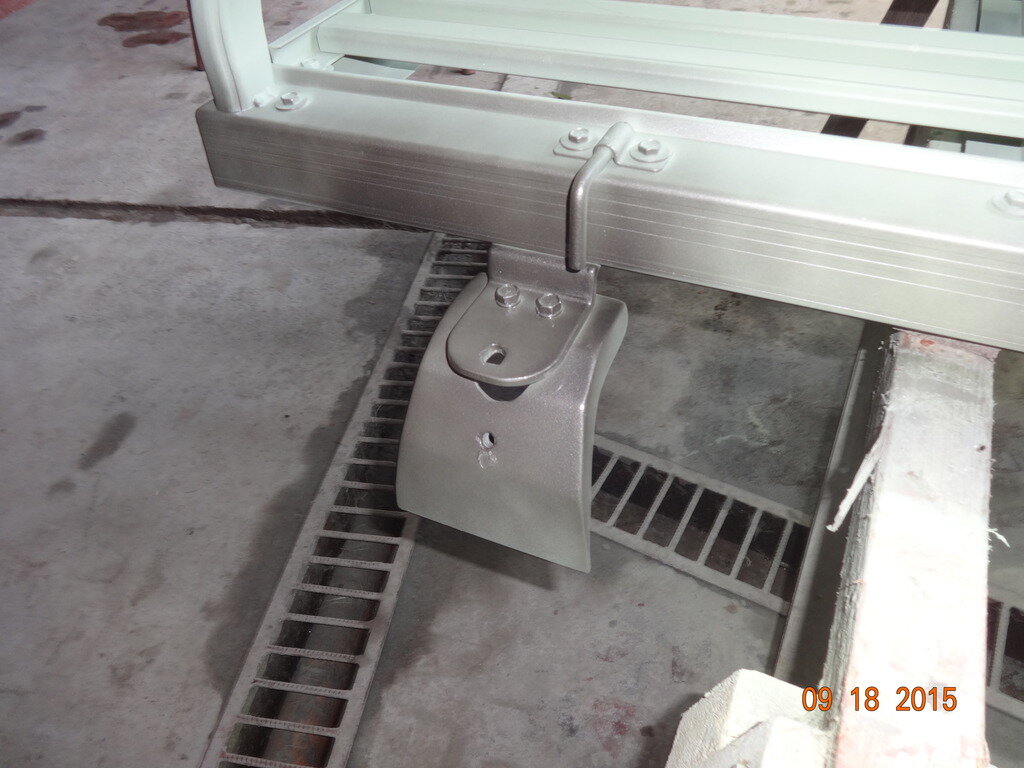
Began painting on the roof rack. Applied an epoxy primer / surfacer over the entire roof rack. Left it to dry for a few hours then sprayed a mix of 60% metallic silver, 40% jet black and 30% of volume with flattening paste. Came out pretty slick looking.
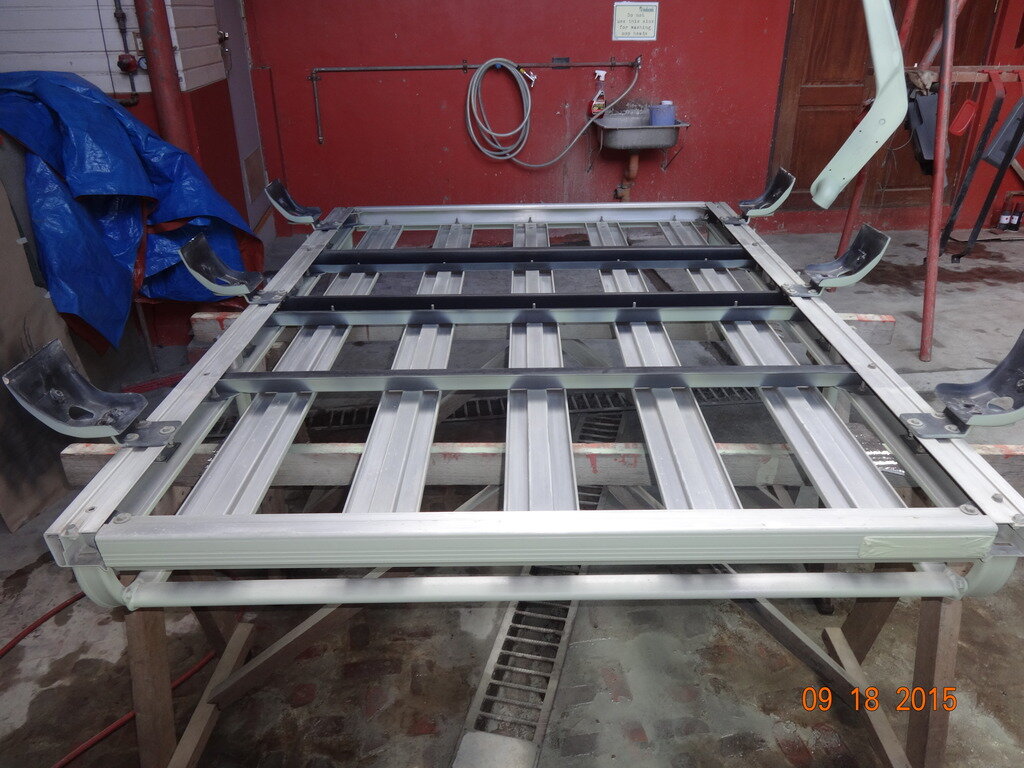
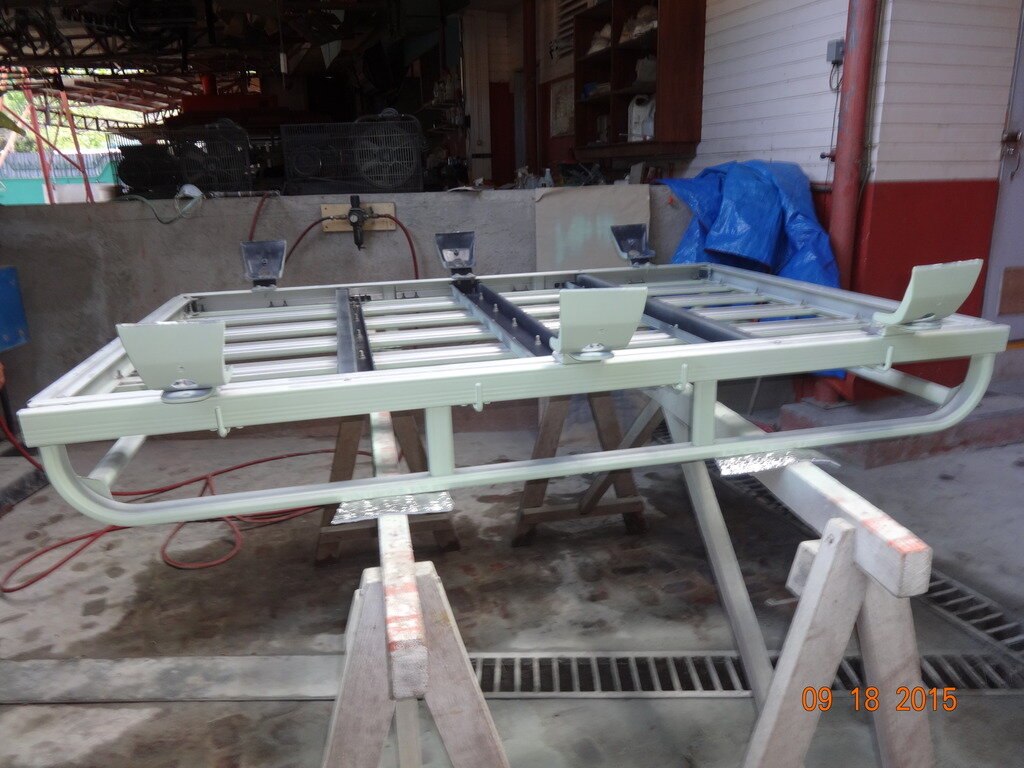
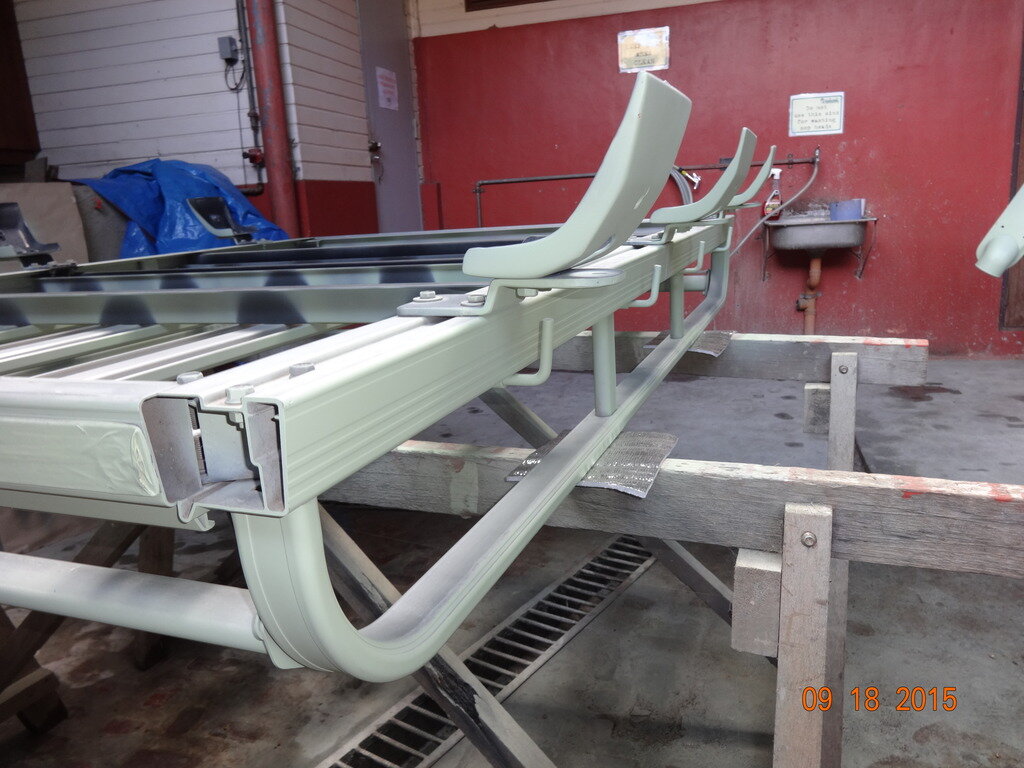
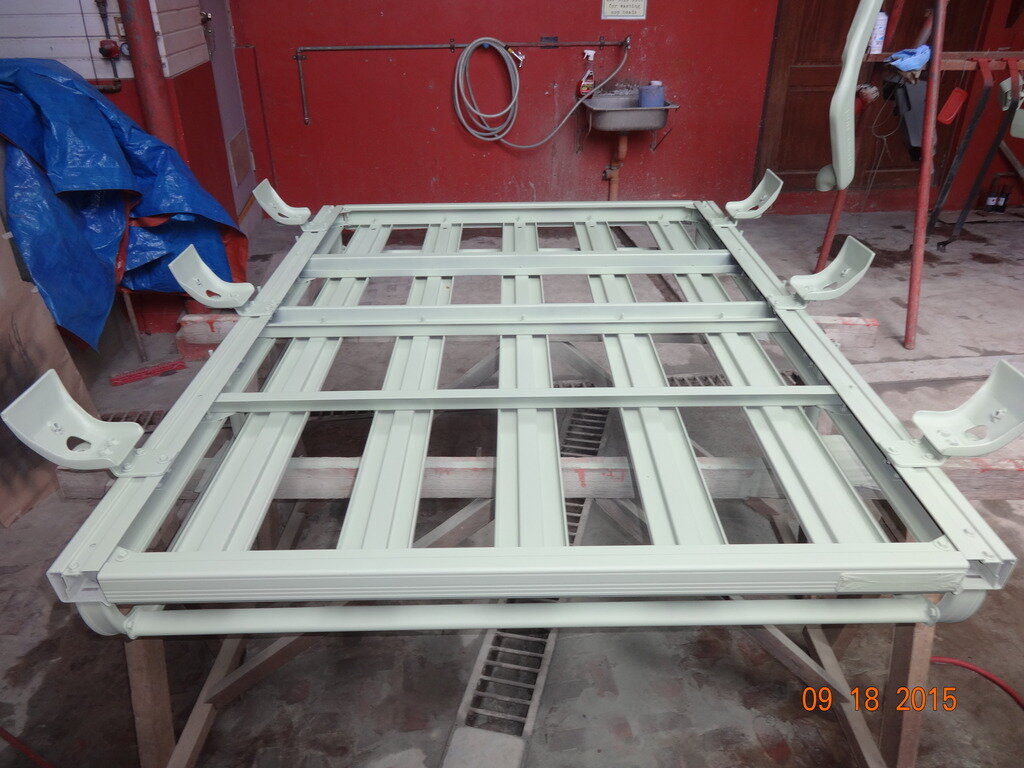
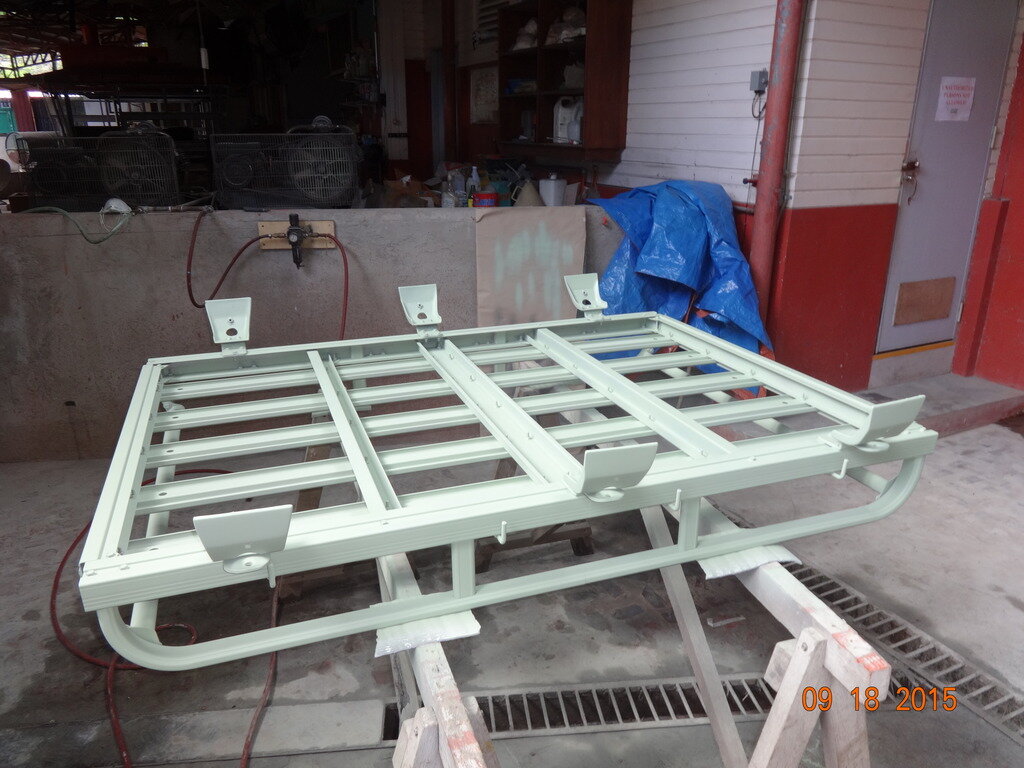
Ready for the first coat of paint.
A test on the shade of the paint mix.
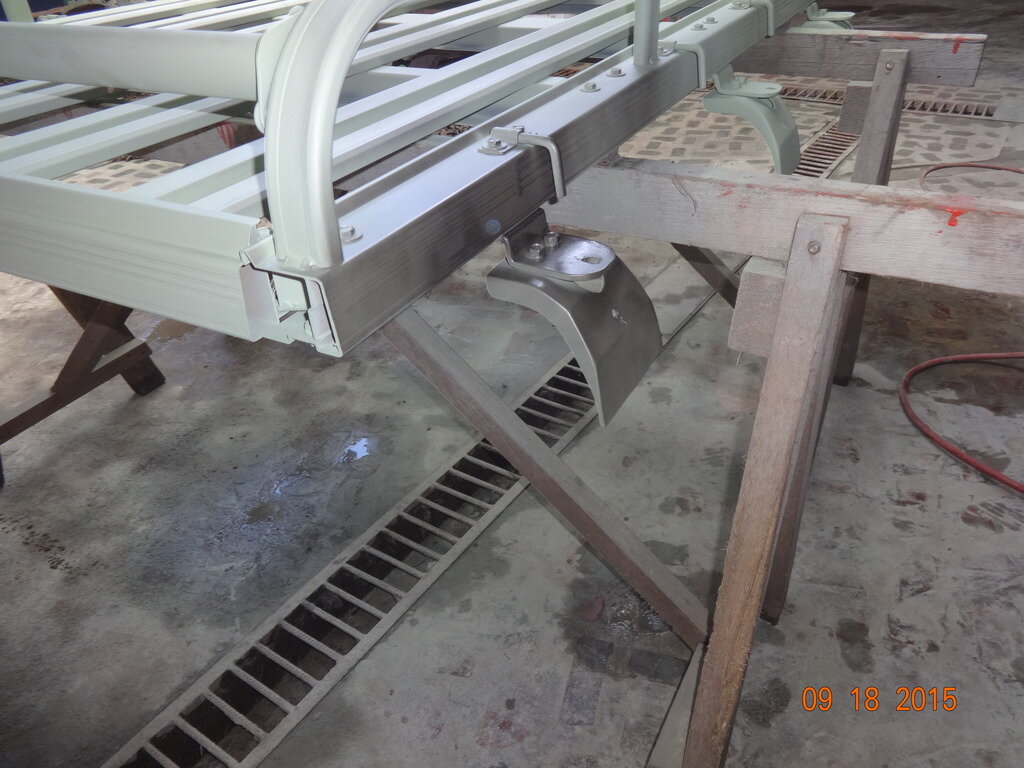

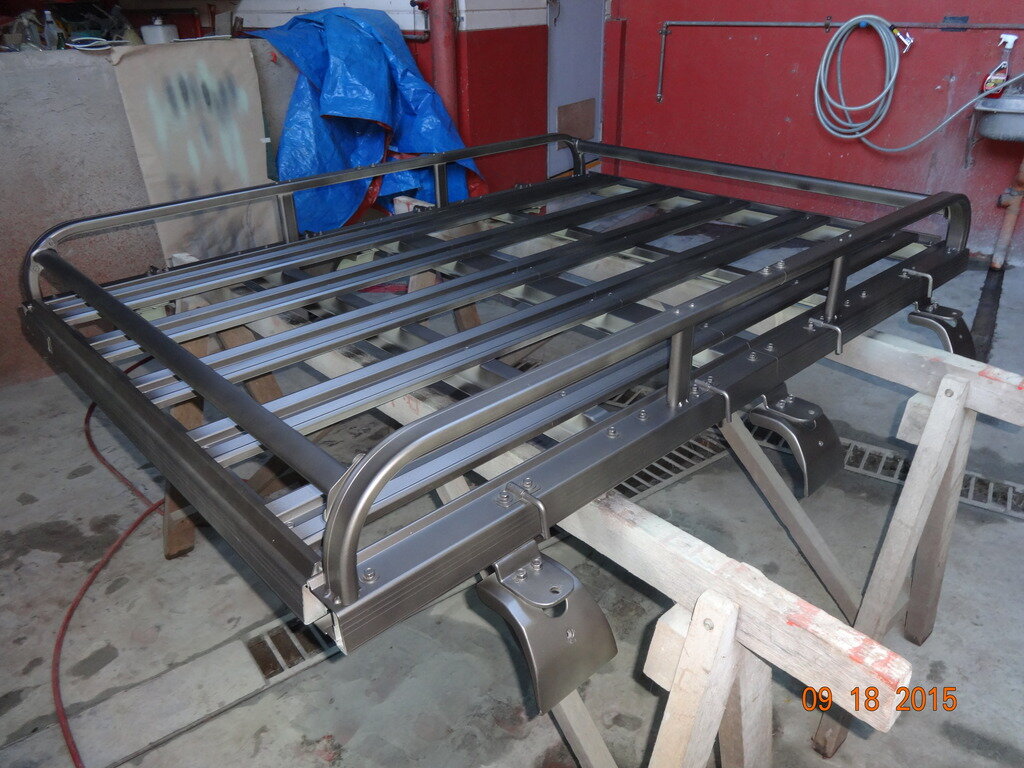
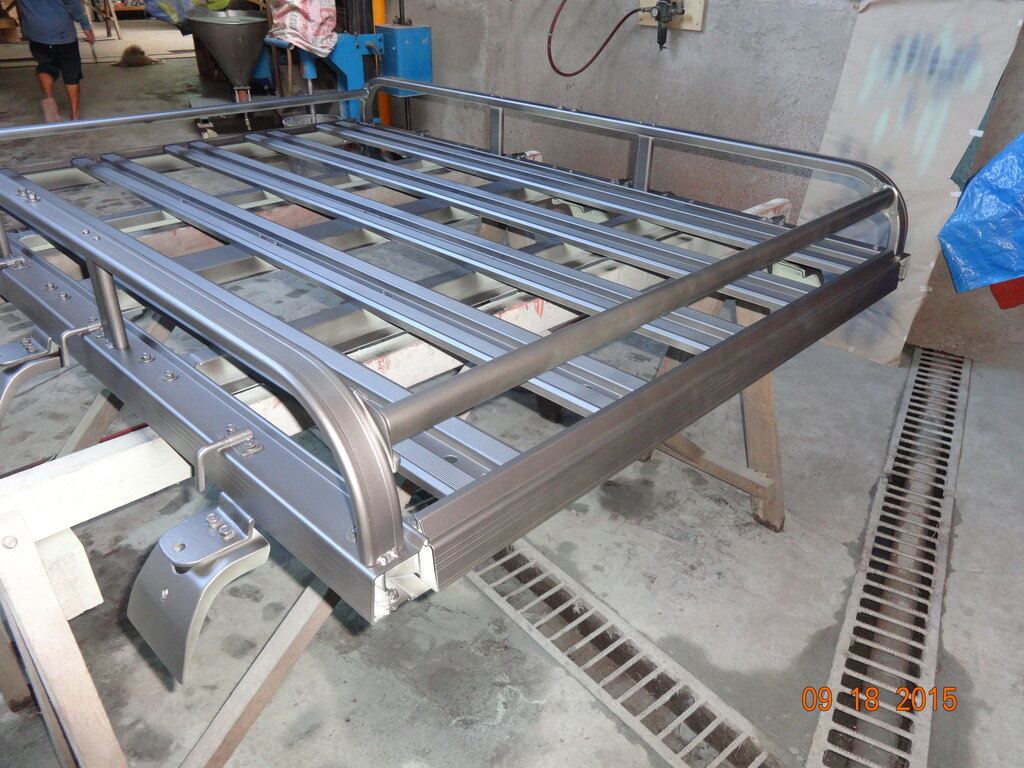
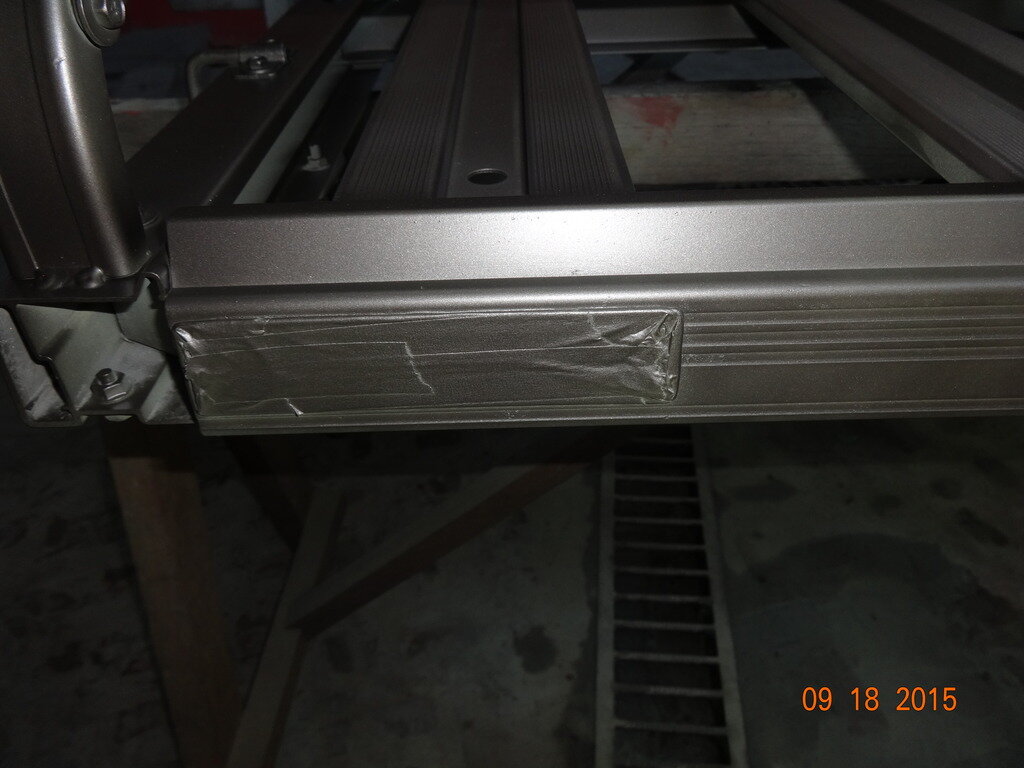
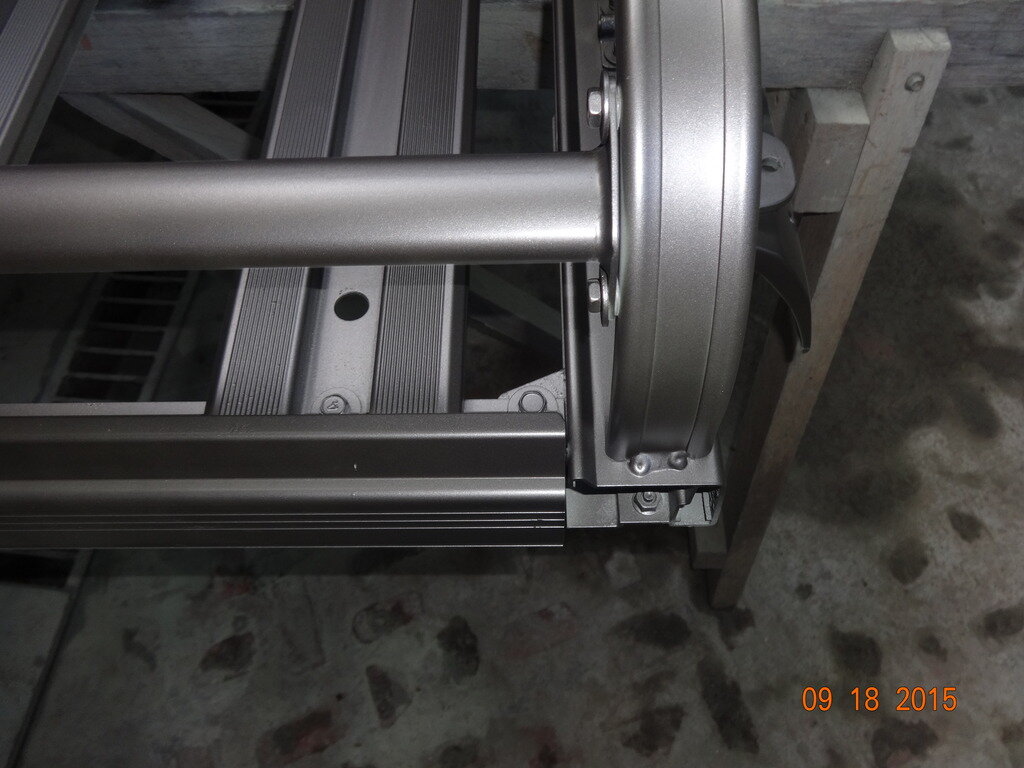
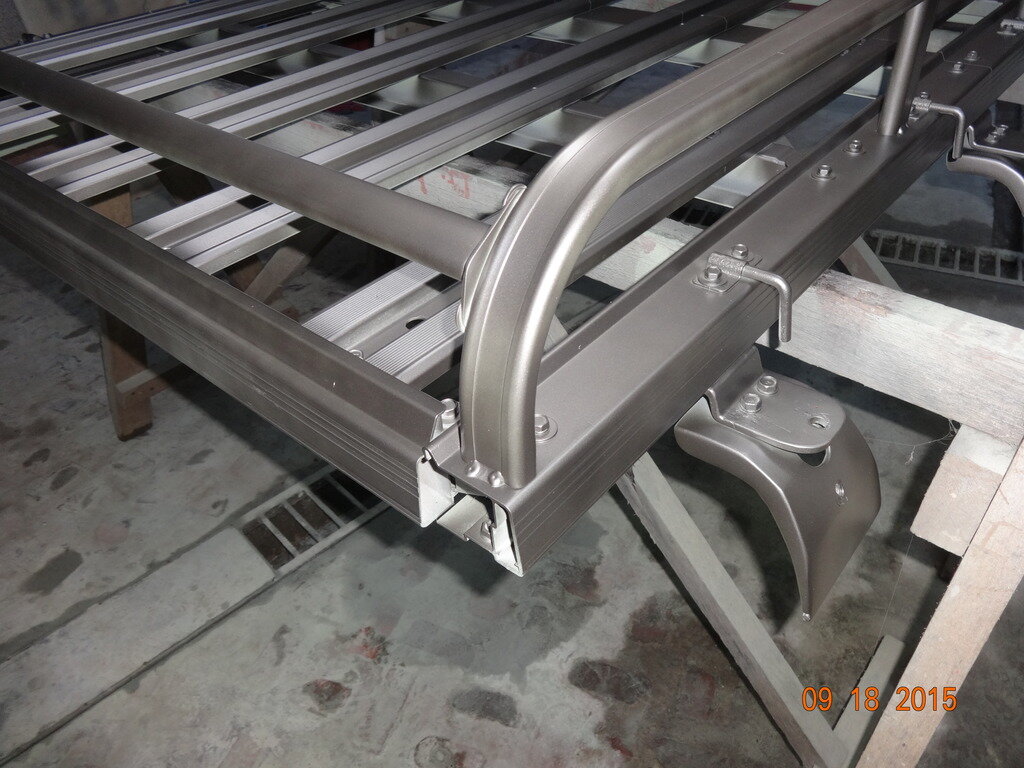


Ready for the first coat of paint.

A test on the shade of the paint mix.


Last edited:
oding
Well-Known Member
- Joined
- Jan 11, 2015
- Messages
- 423
- Country Flag
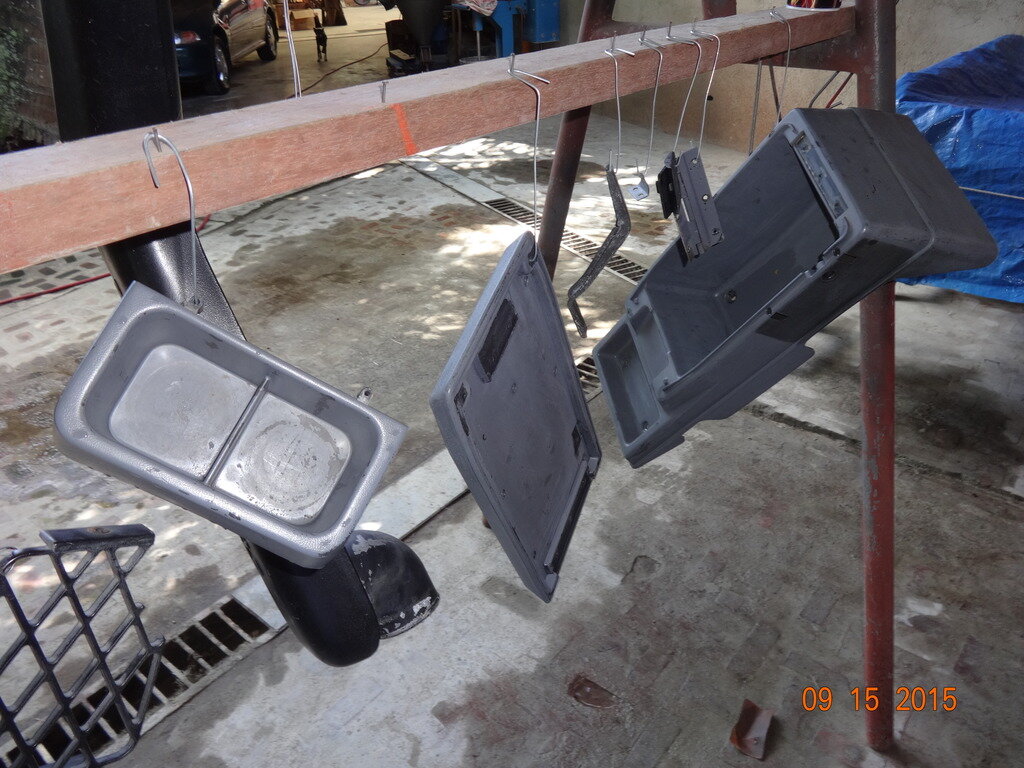
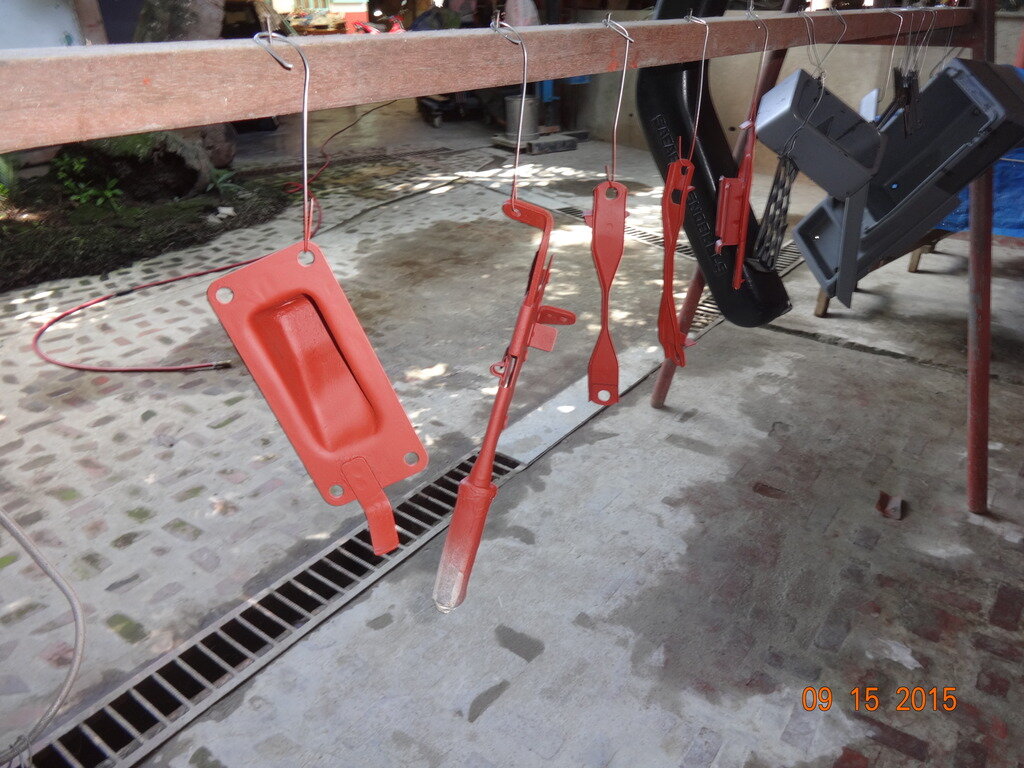
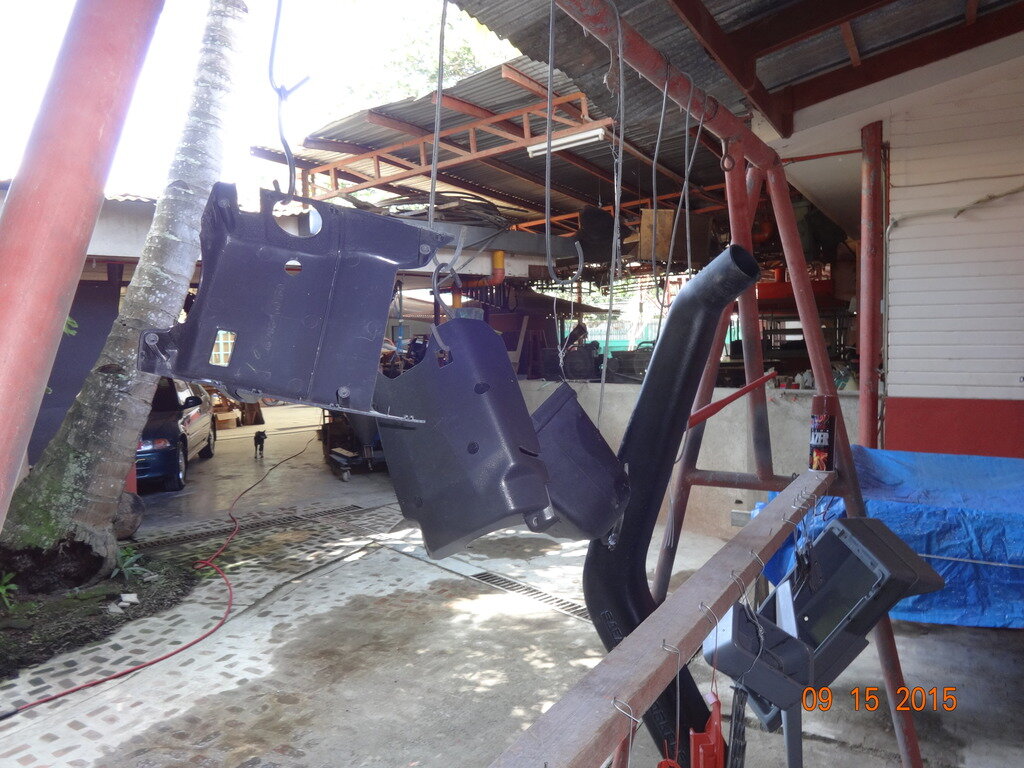
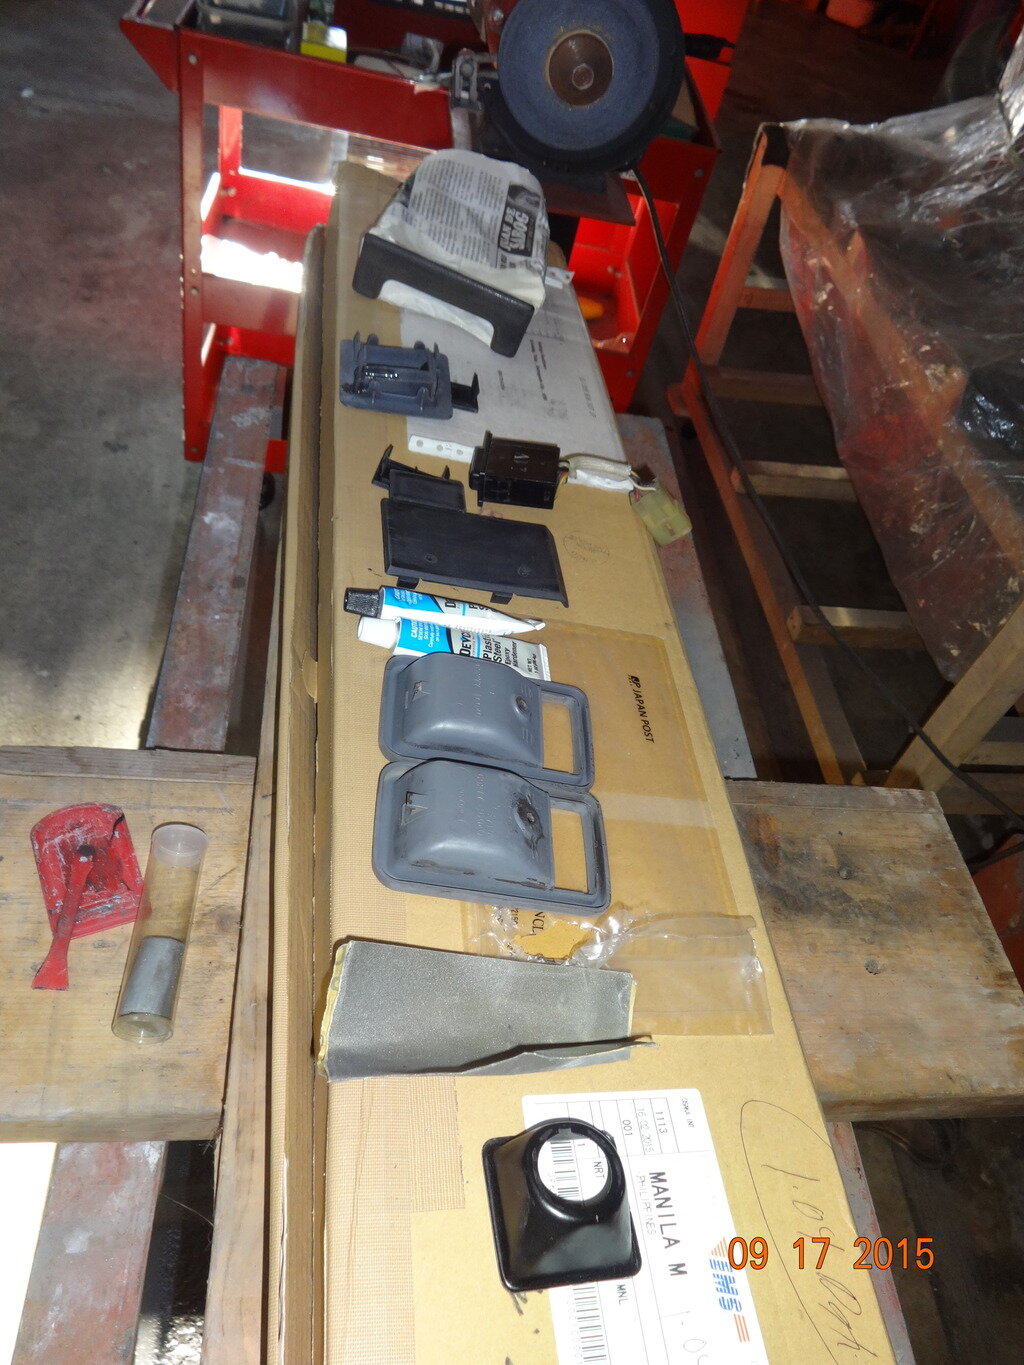
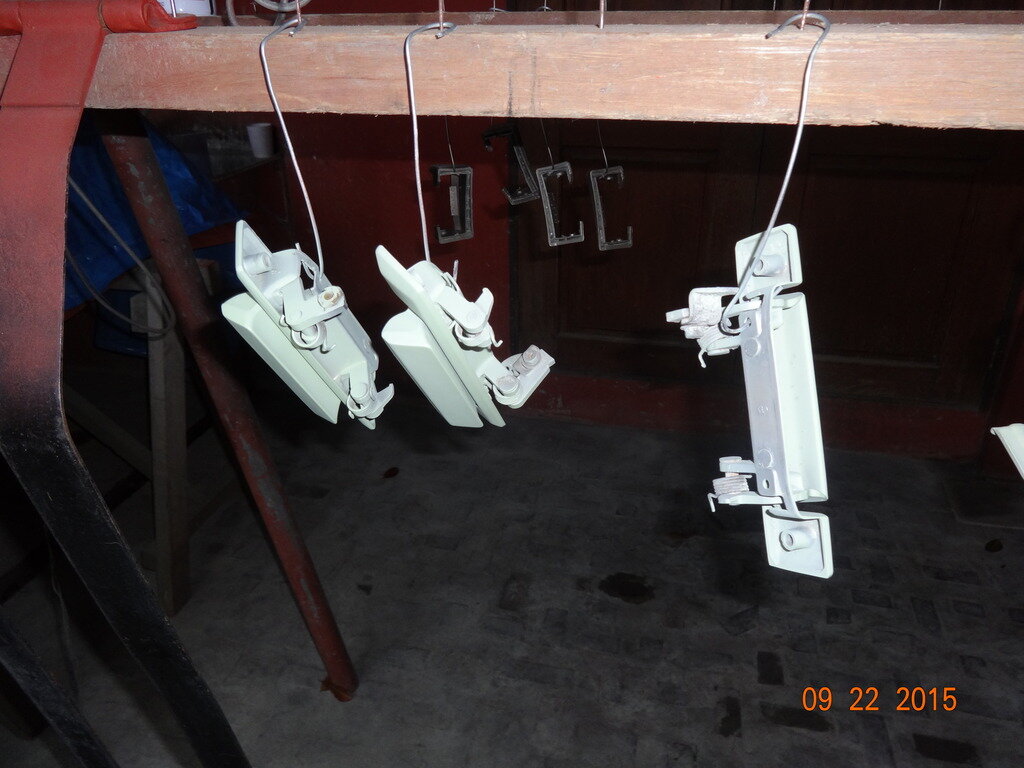
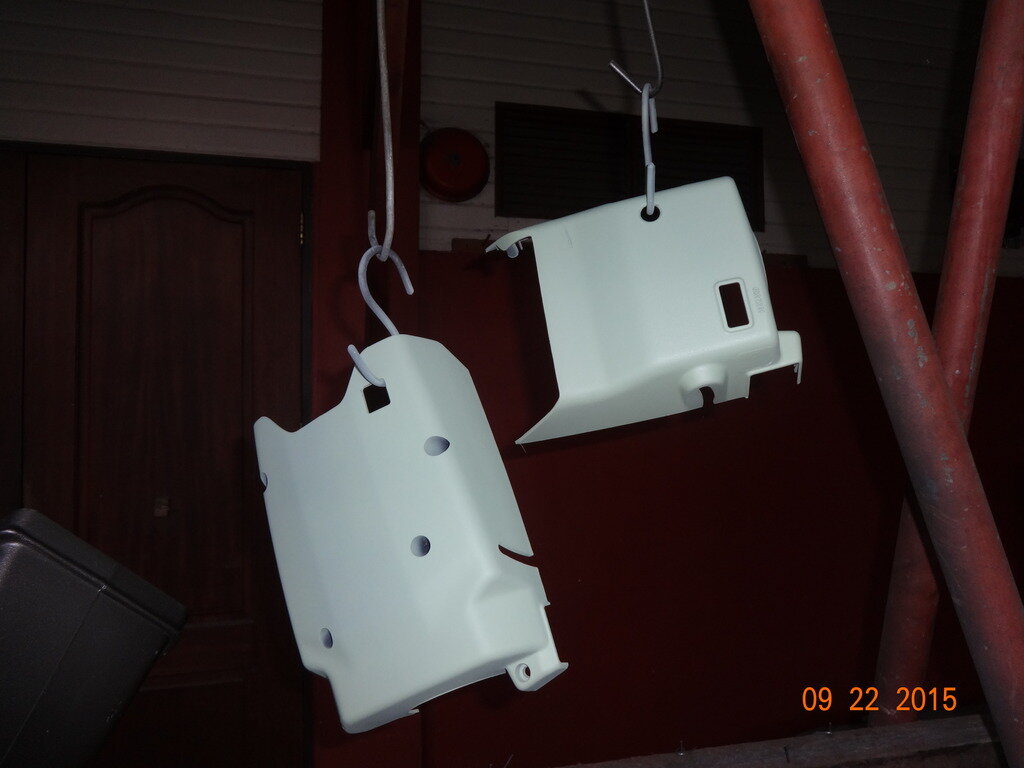
The grill and other components will also be a darker gun metal color. I just finished applying a coat of epoxy primer/surfacer to keep the surface hard and ready for the final color.
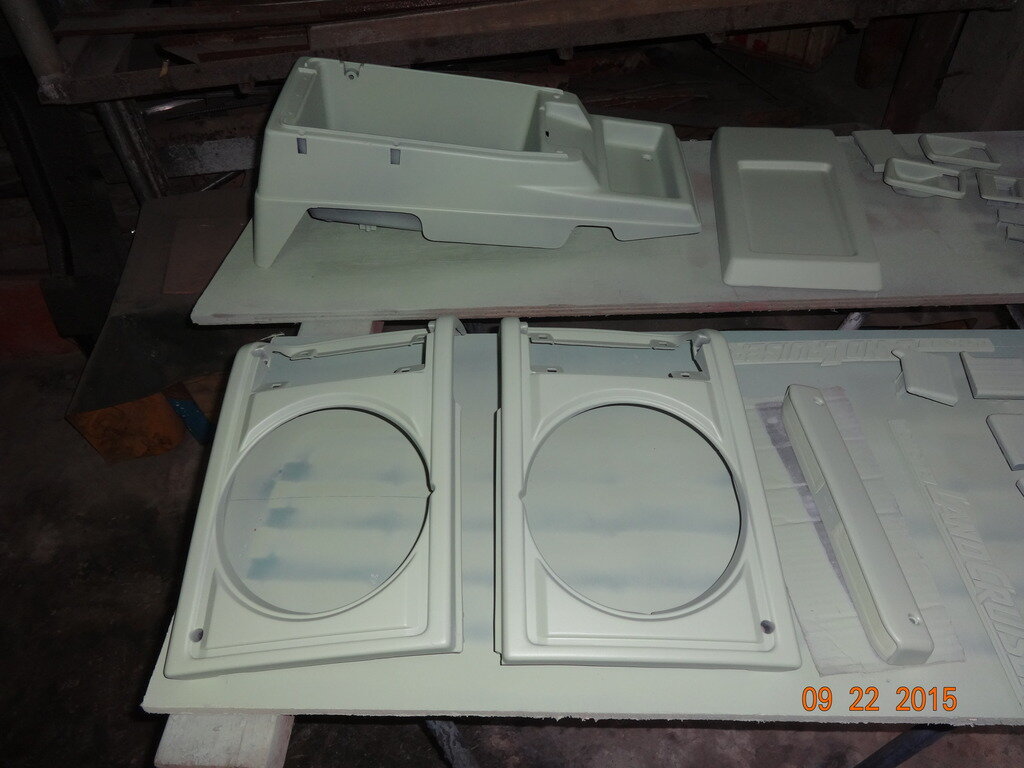
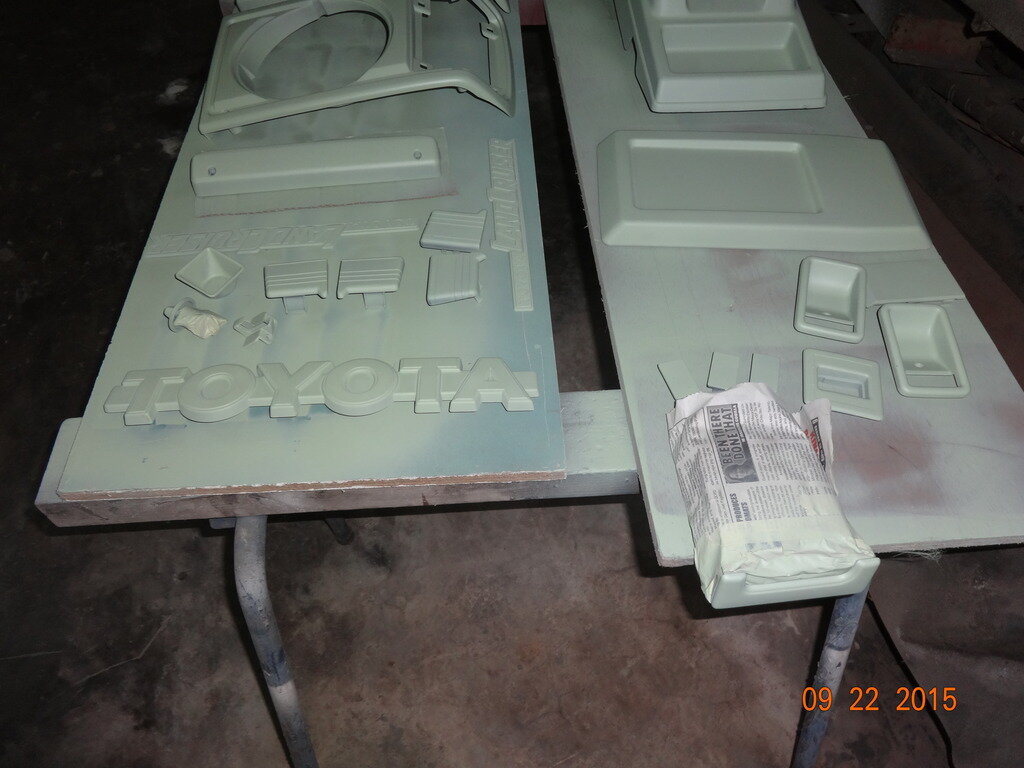
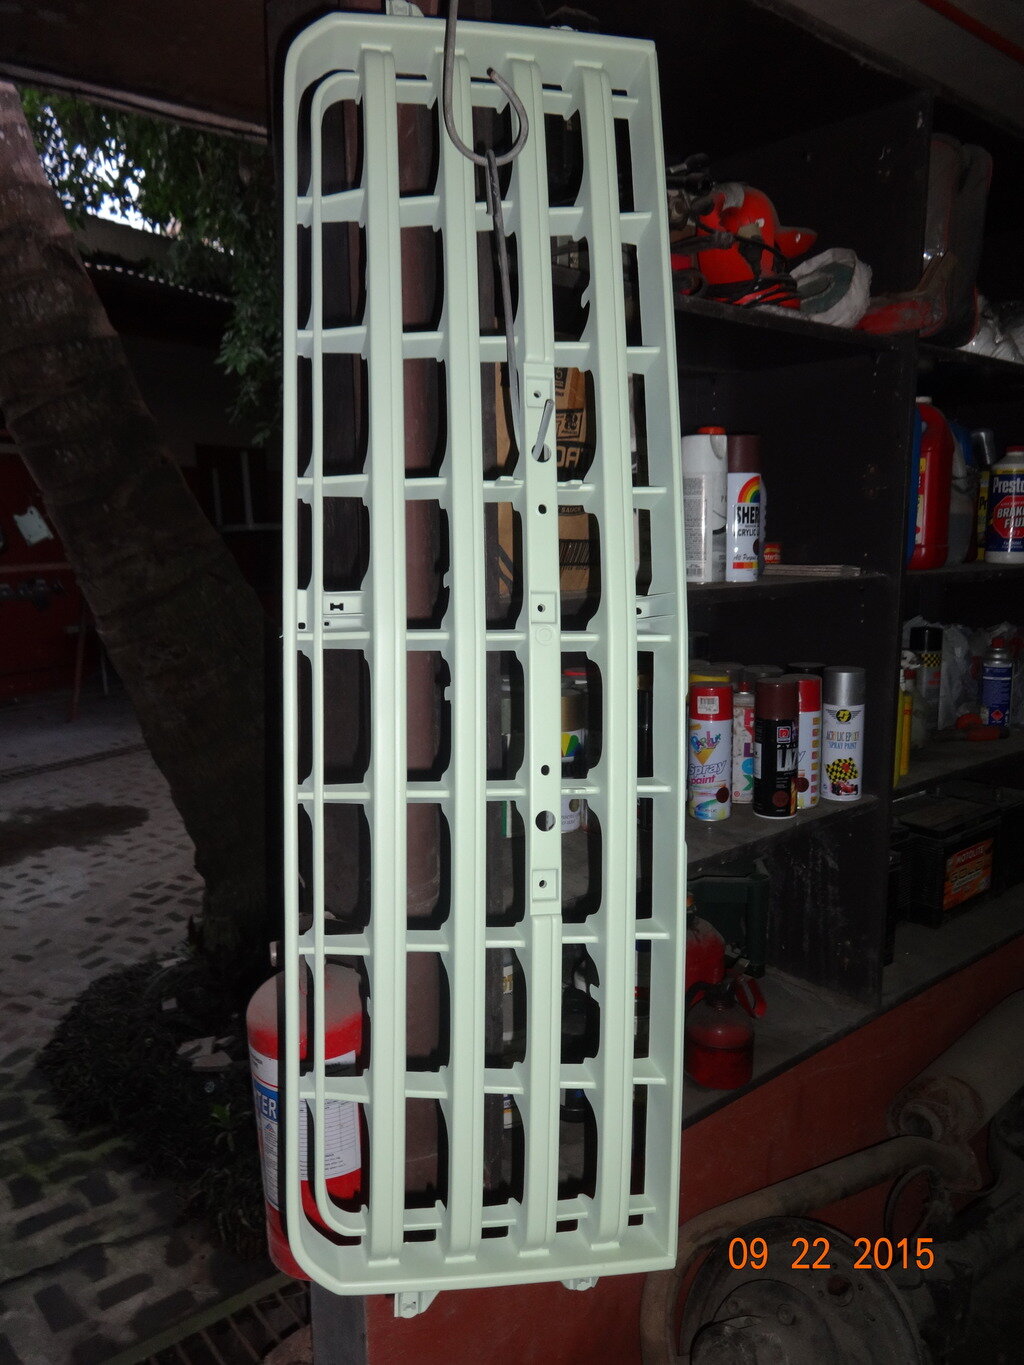
Door handles will have the dark color too.
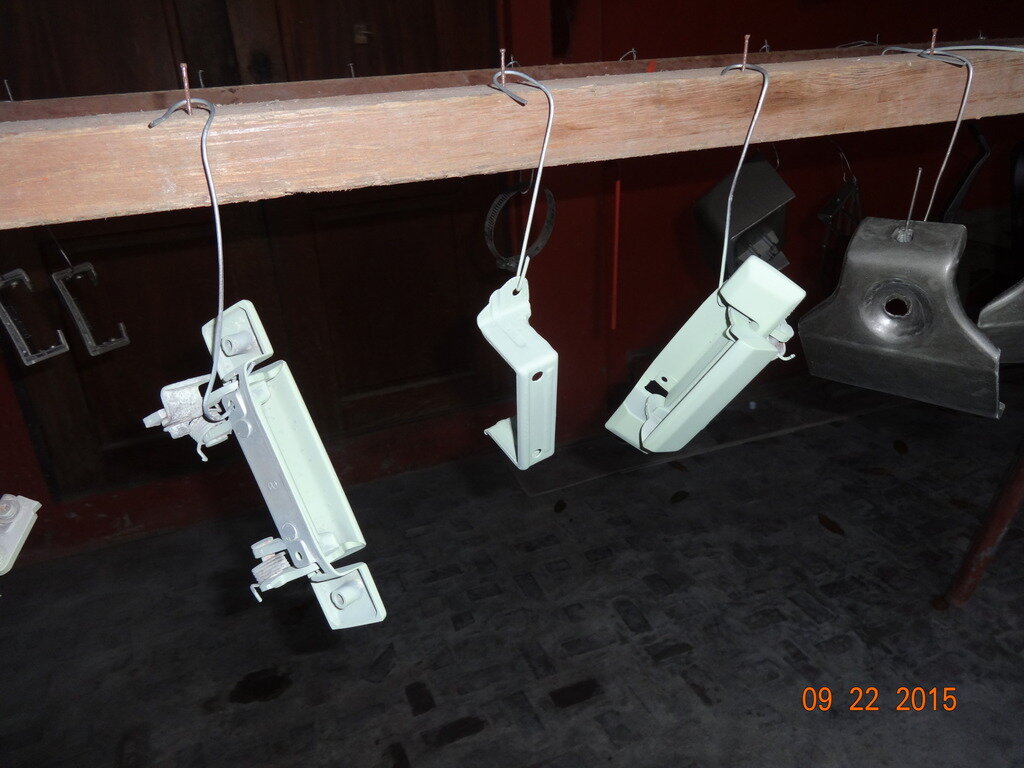
Steering column housing will also get the same tone.
Glove compartment door.
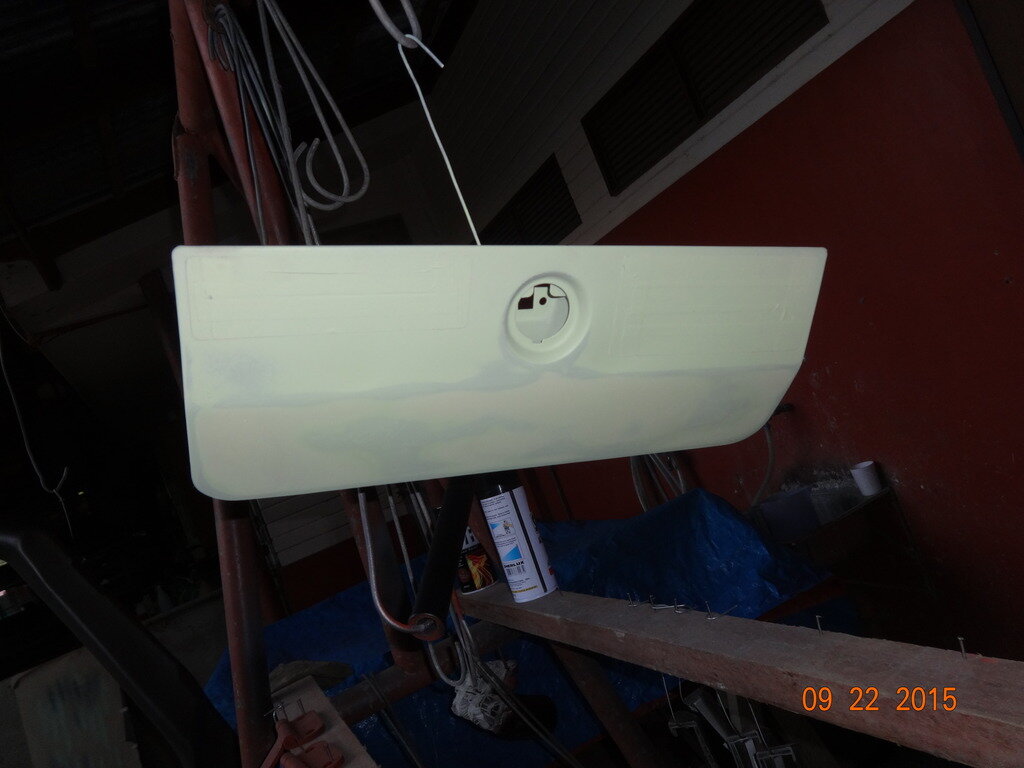
Center console .
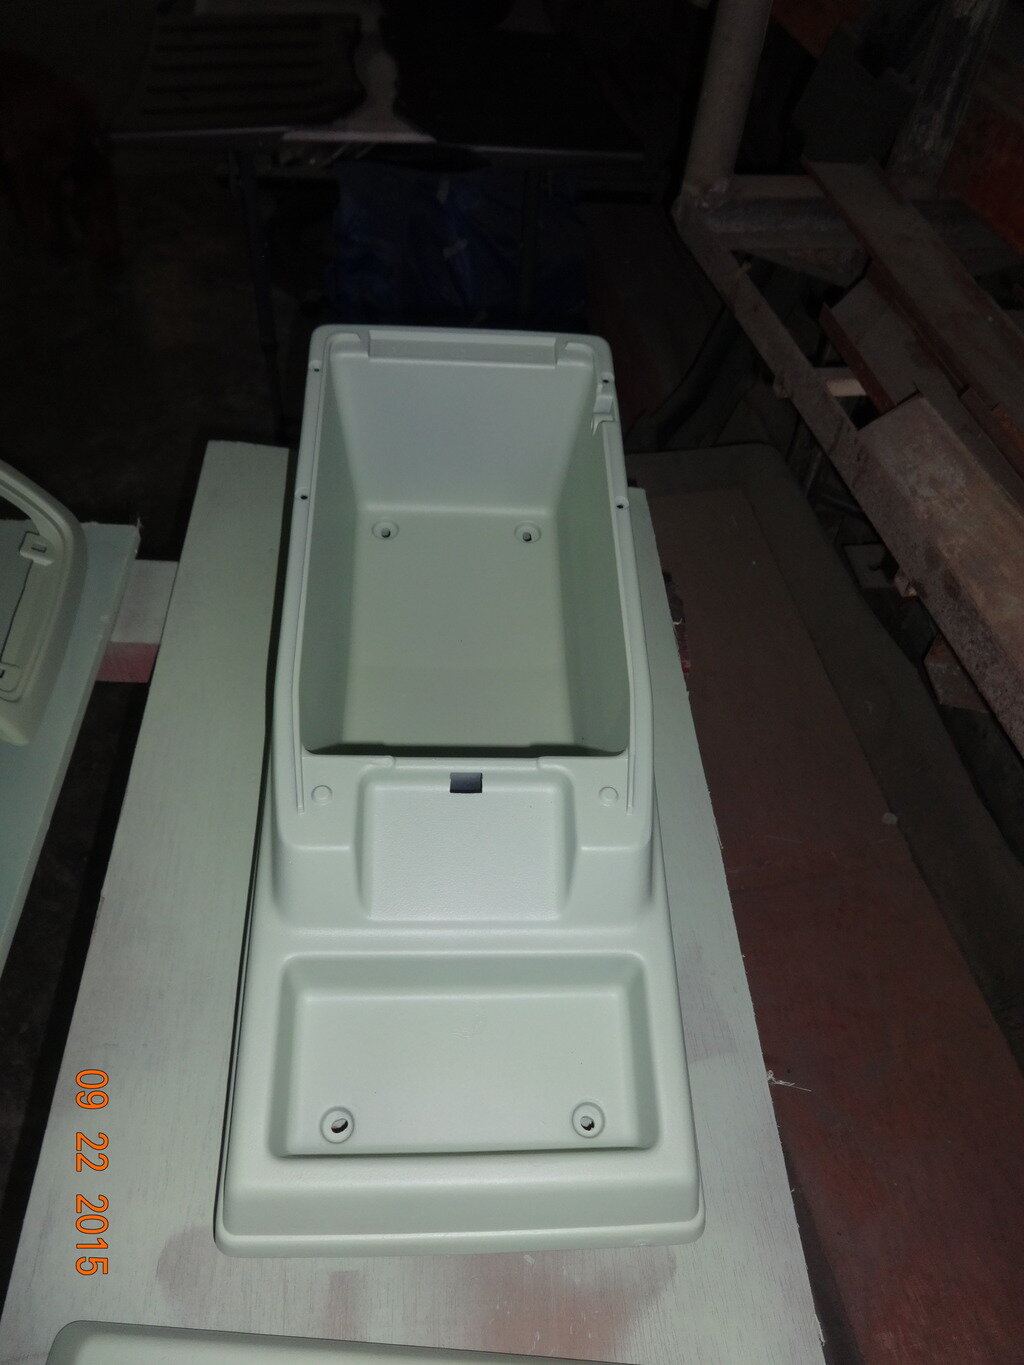


Door handles will have the dark color too.


Steering column housing will also get the same tone.

Glove compartment door.

Center console .

Last edited:
oding
Well-Known Member
- Joined
- Jan 11, 2015
- Messages
- 423
- Country Flag
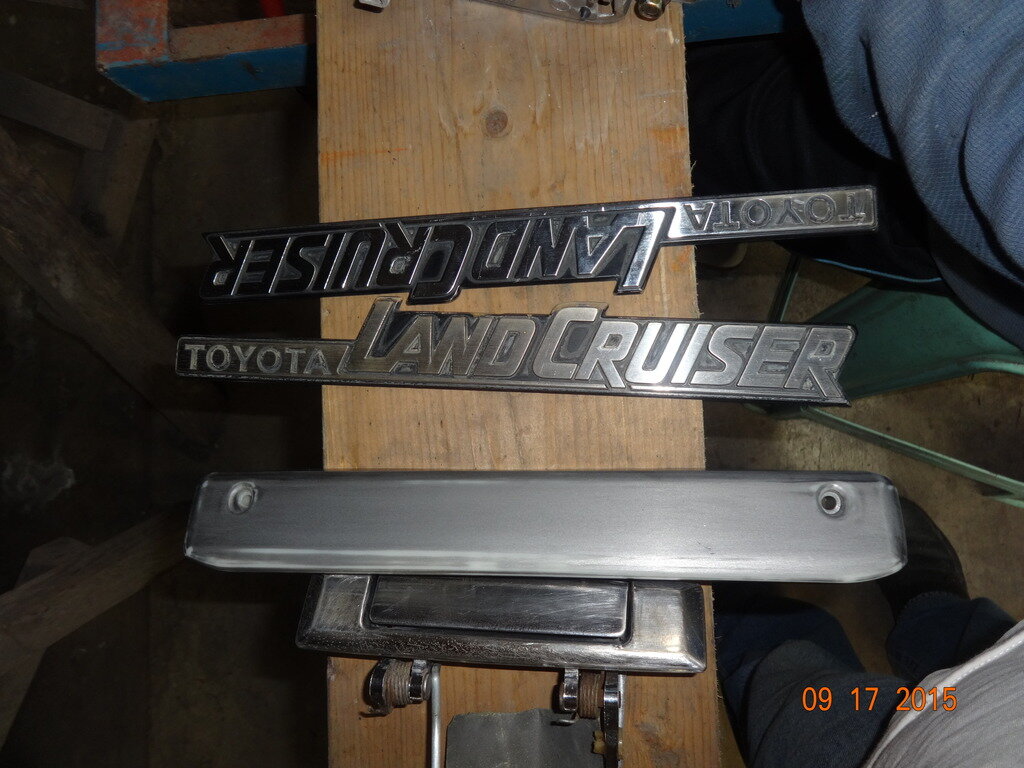
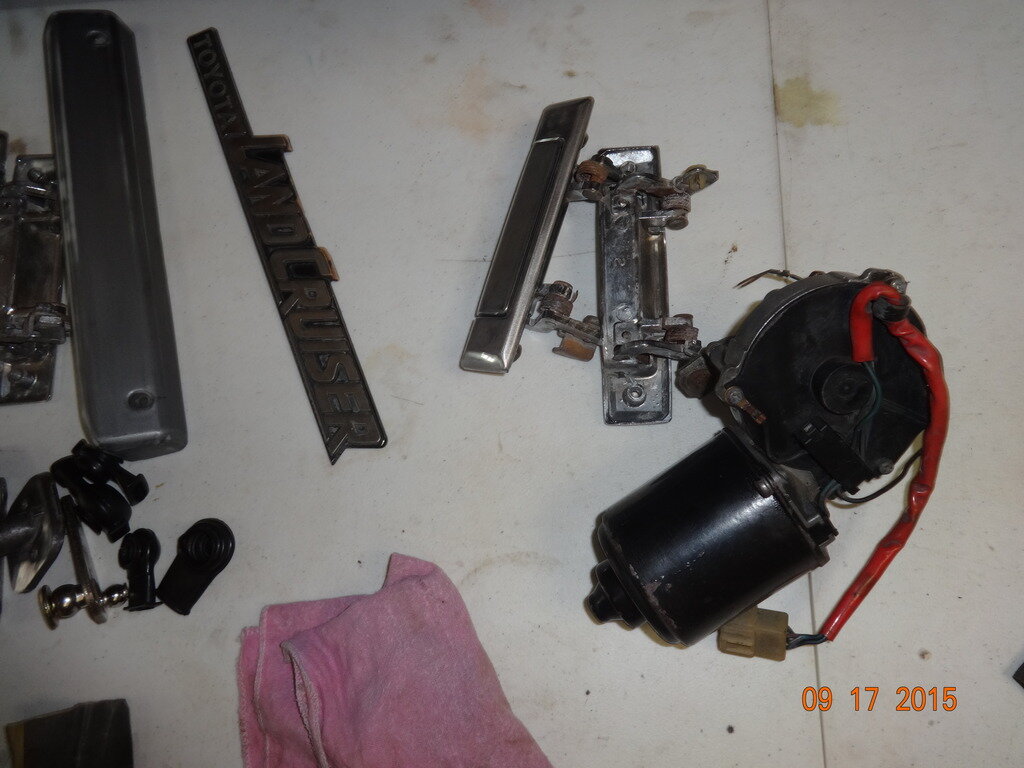
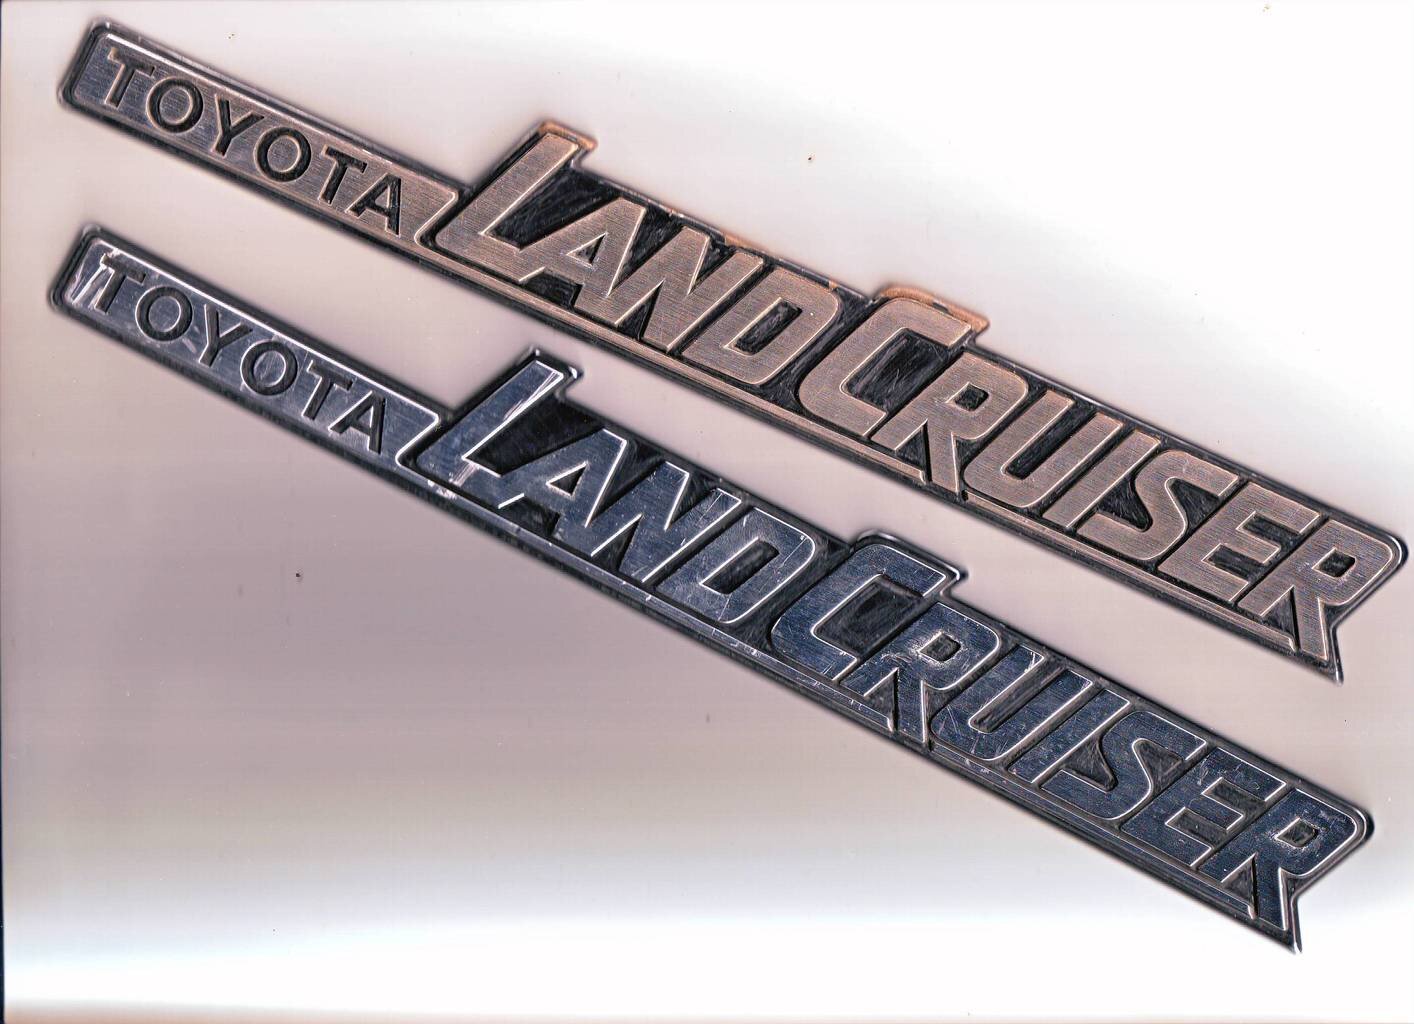
I got an idea on the radiator grille emblem. To make it consistent with the all gun metal color, the letters of the "TOYOTA" emblem will be on reflective sticker with a black or dark gray color.

So I scanned the original emblem on a scanner to get the exact measurement and had a print shop plot the letters so I could just peel and stick each letters on the embossed emblem.
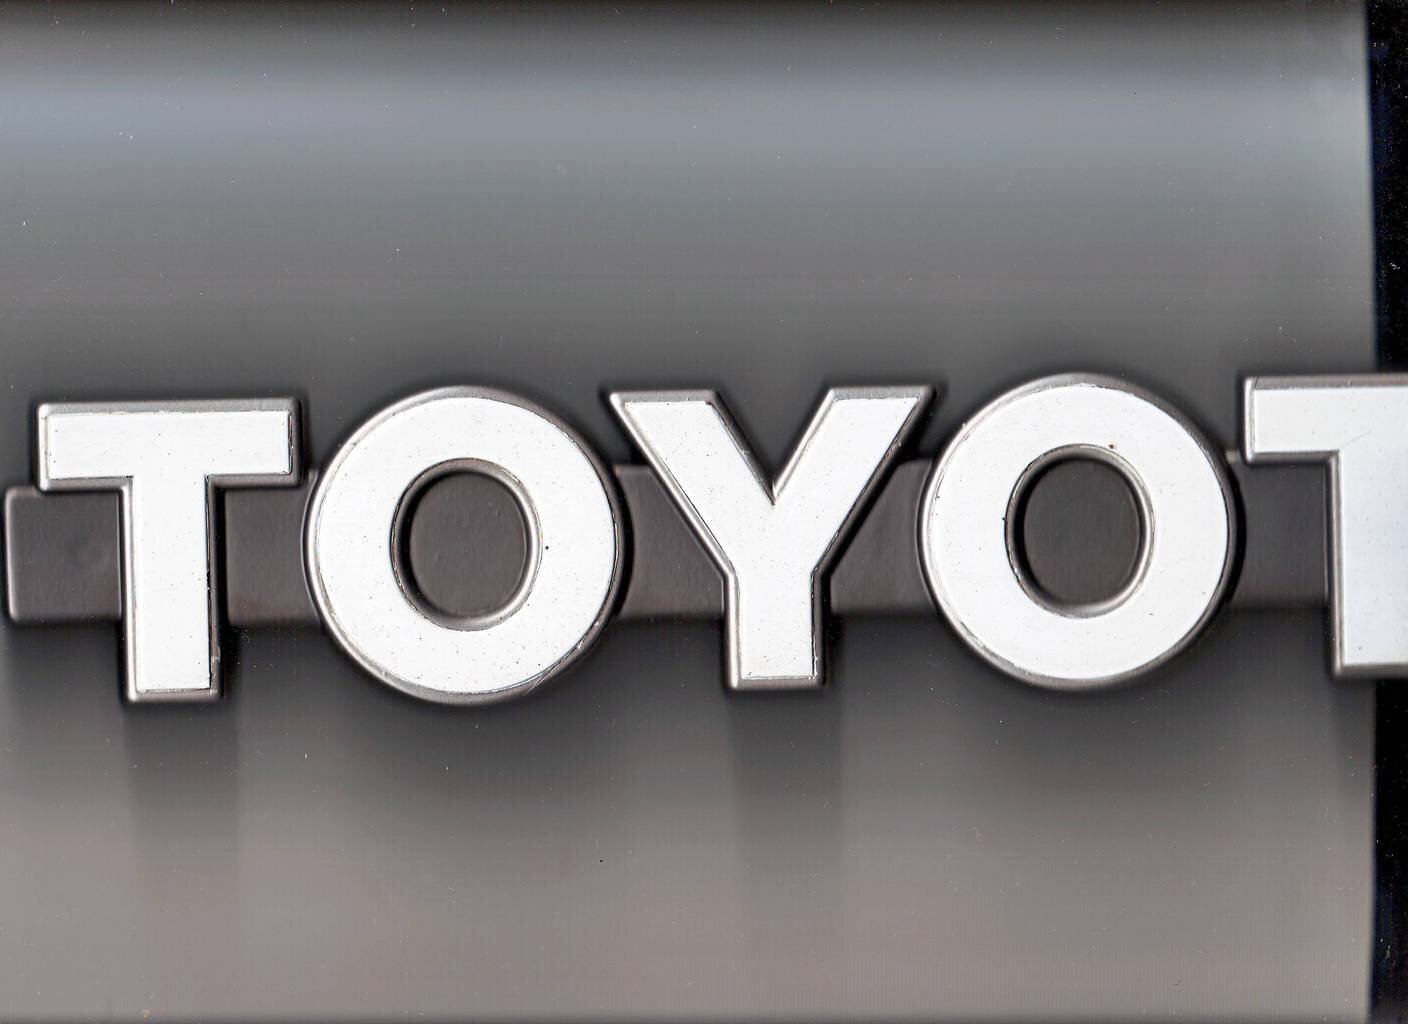
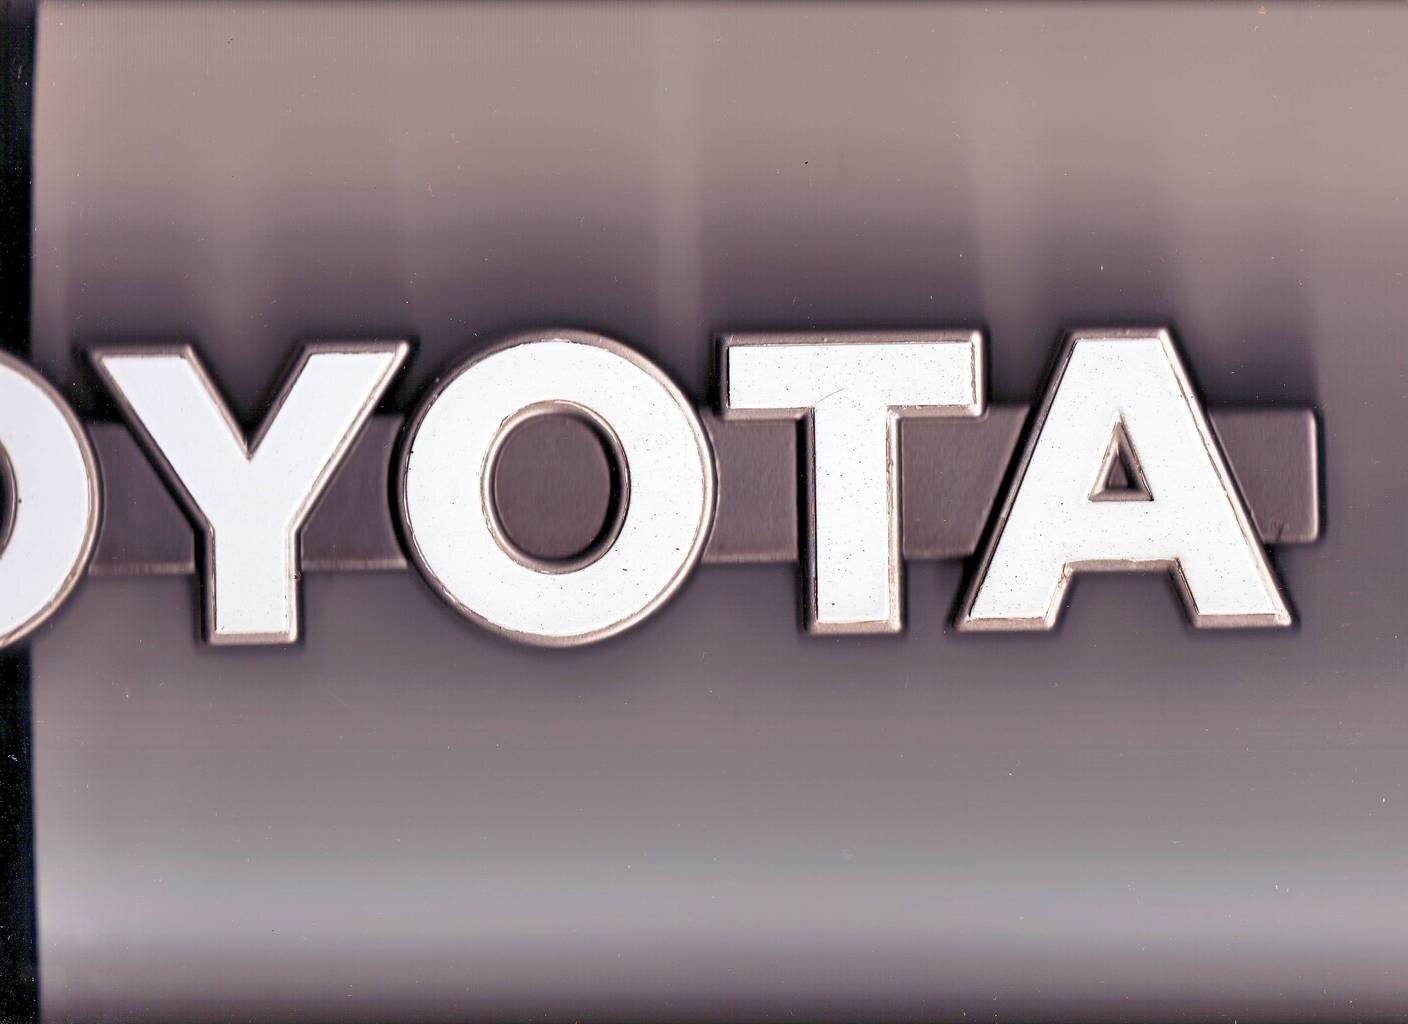
This will also include the emblems at the rear on both sides.

So I scanned the original emblem on a scanner to get the exact measurement and had a print shop plot the letters so I could just peel and stick each letters on the embossed emblem.


This will also include the emblems at the rear on both sides.

Last edited:


