Don't like the adverts?  Click here to remove them

Who is doing what maintenance today?

Hi Bert just so there's no mix up the truck should be unsupported (no jacks) when you tighten the lower shock bolt to 64Nm .
Cheers Shayne. It's scheduled for Wednesday barring any natural disasters......exciting
 
Can you see what it is yet . . . . . . :icon-question::icon-question:
(Probably a Non-PC quote these days).


DSCN7219_zpsomlbogkb.jpg

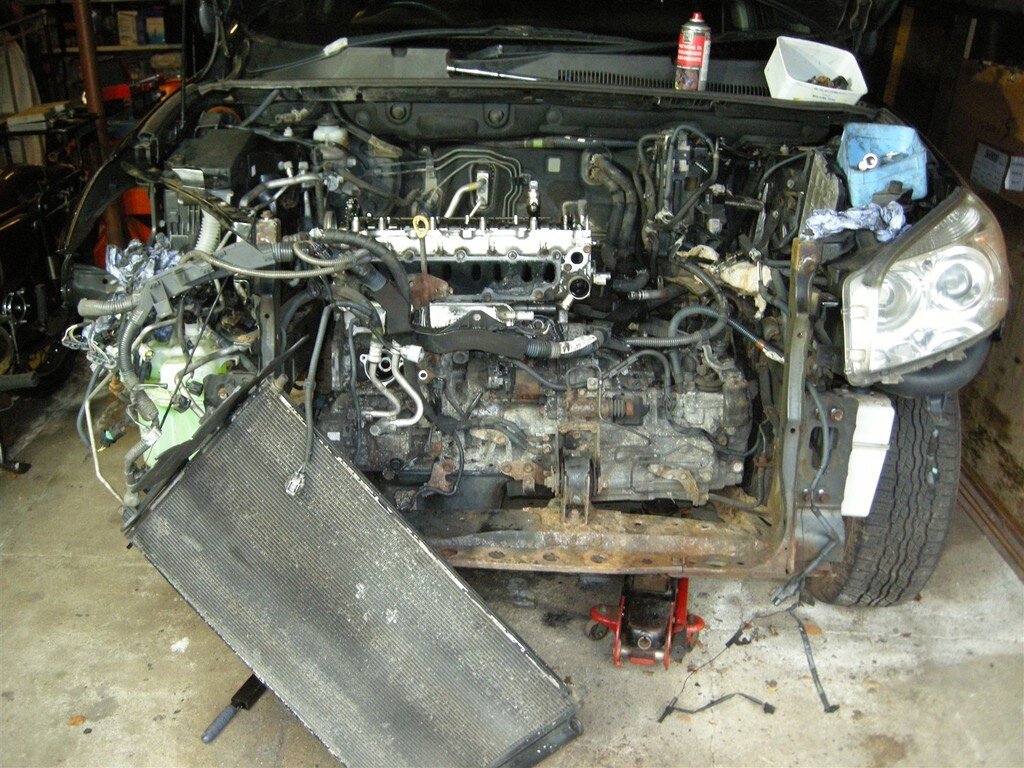
Basically its a very nice 2007 Toyota RAV4 with 165,000 miles on it and a knackered D4-D 2.2litre motor.

A job I've been dreading - but its taking over my life :angry-screaming:.

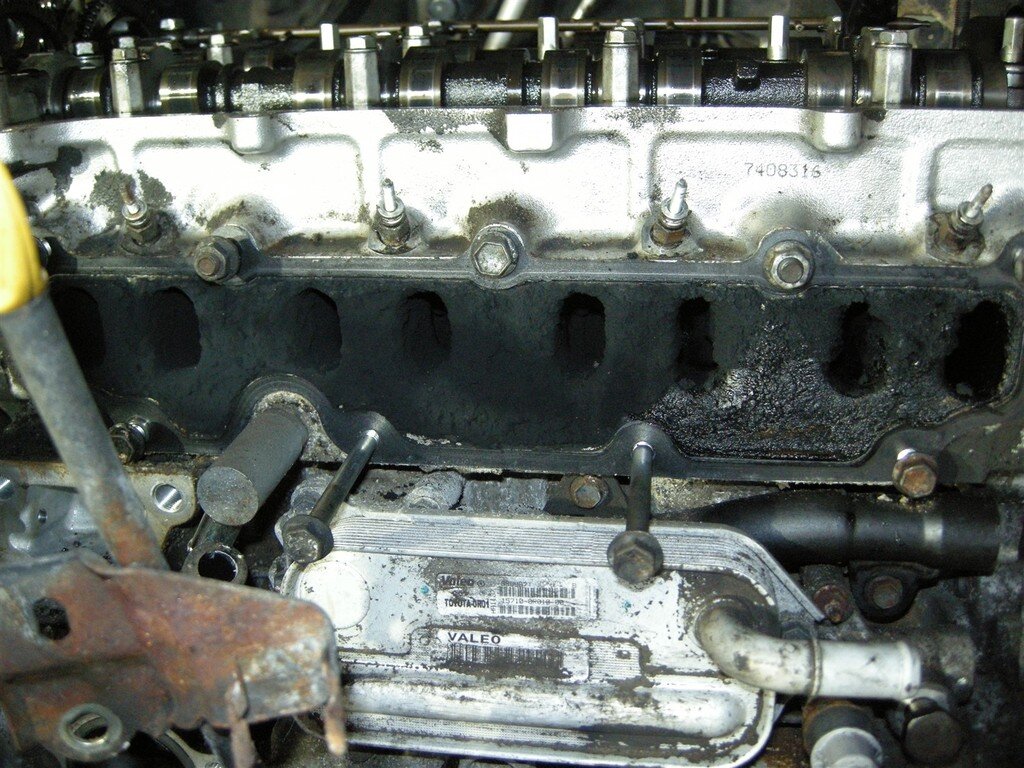
The inlet side is completely choked. I've been following the "EGR Blanking" debate closely and have made a blanking plate. I spent almost a full day cleaning-out the Inlet Manifold.


DSCN7222_zpsposw3gdu.jpg


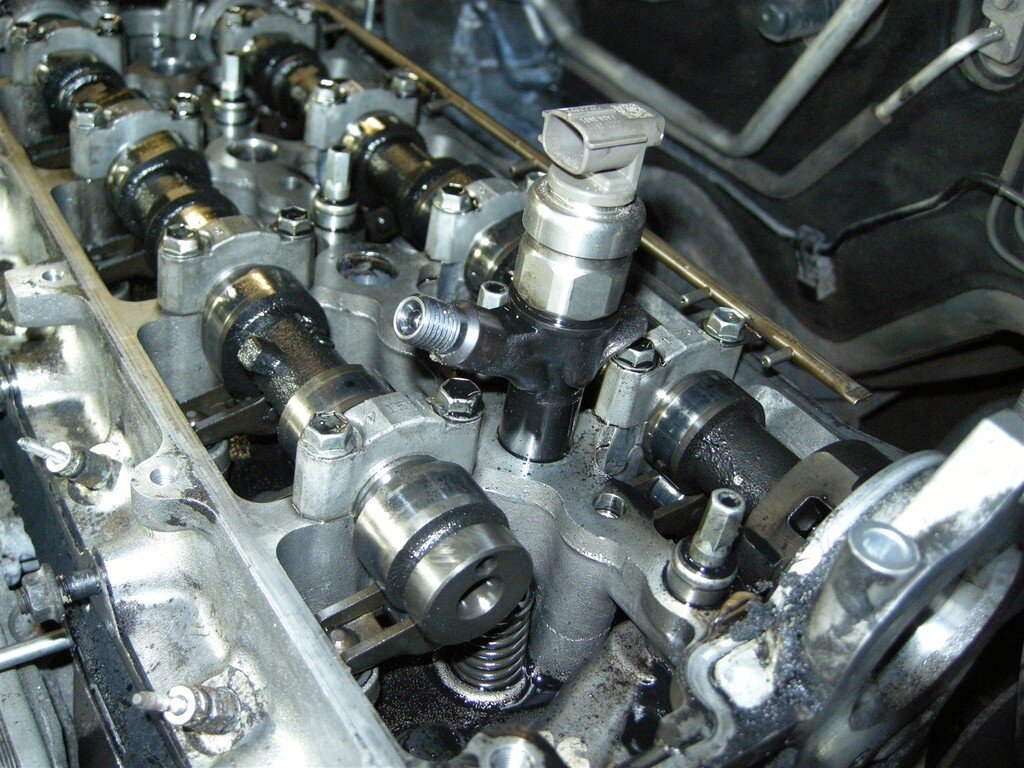
The head gasket has gone (or it may have a cracked head). Number-4 injector is seized solid but I managed to turn it enough (with heat) to get to the inlet camshaft bearing cap. Now I can remove the camshafts and get to the 10 head bolts.

I'm expecting N0. 4 cylinder to be a mess.


DSCN7224_zpsdjtv1h6d.jpg


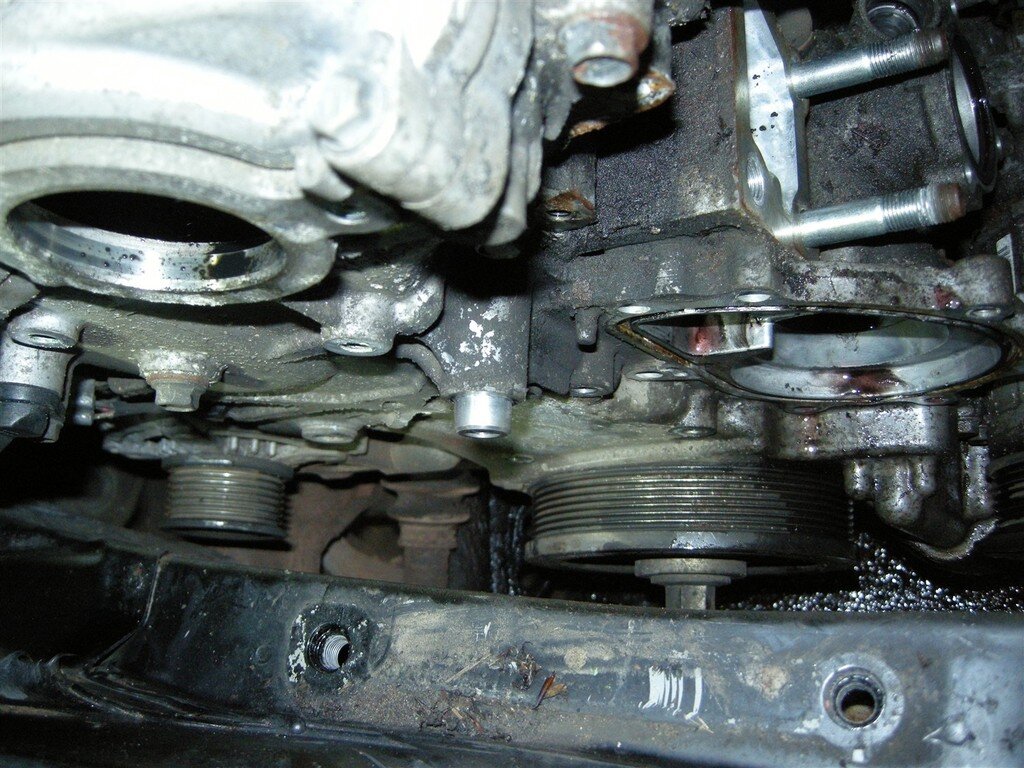
But first I have to remove the Timing Cover - which is glued to the sump - so I have drained the oil and the sump comes off tomorrow.

There isn't much room between the Timing Cover and the chassis, it is a bit like dismantling a "ship in a bottle". I should probably have removed the engine, but that looks like a lot of grief that I can do without.


DSCN6807_zpsrb1hactj.jpg


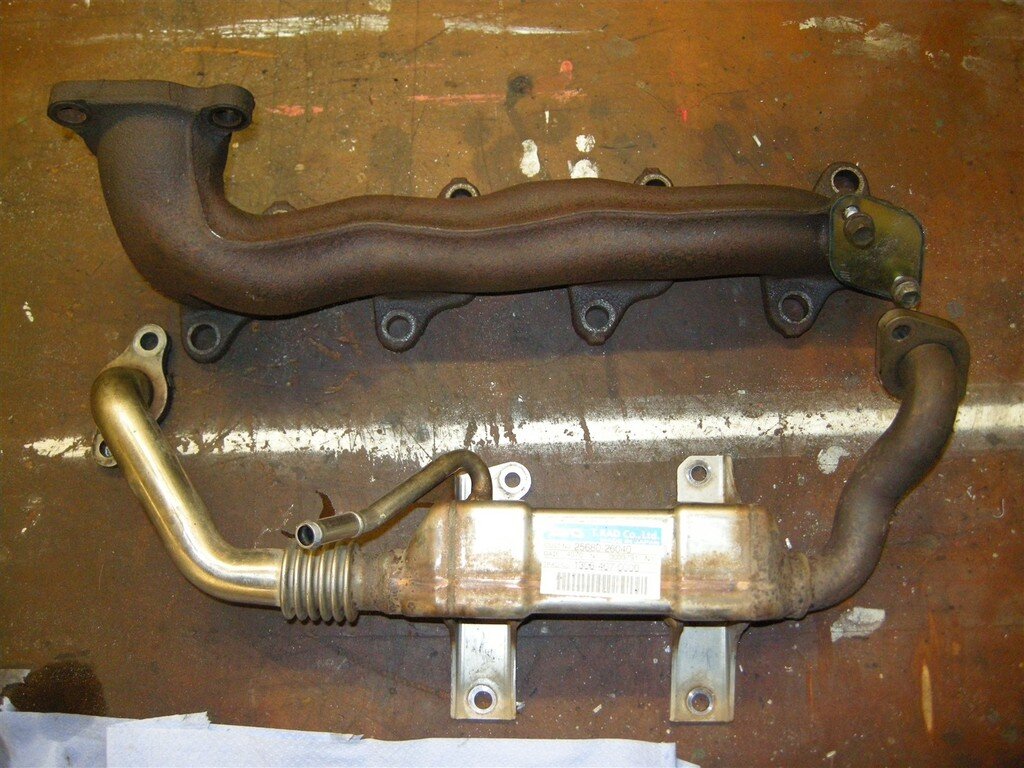
The exhaust is at the back, the EGR pipe comes off the O/S end and passes through a water jacket. The exhaust then passes through a gallery in the head to the front where it is piped (via all the electrical gubbins) to the Inlet Manifold.

The Turbo has a Waste Gate that dumps pressure into the exhaust header.

My blanking plate (un-drilled as yet) can be seen in situ.

DSCN7214_zpsxcr3wnee.jpg


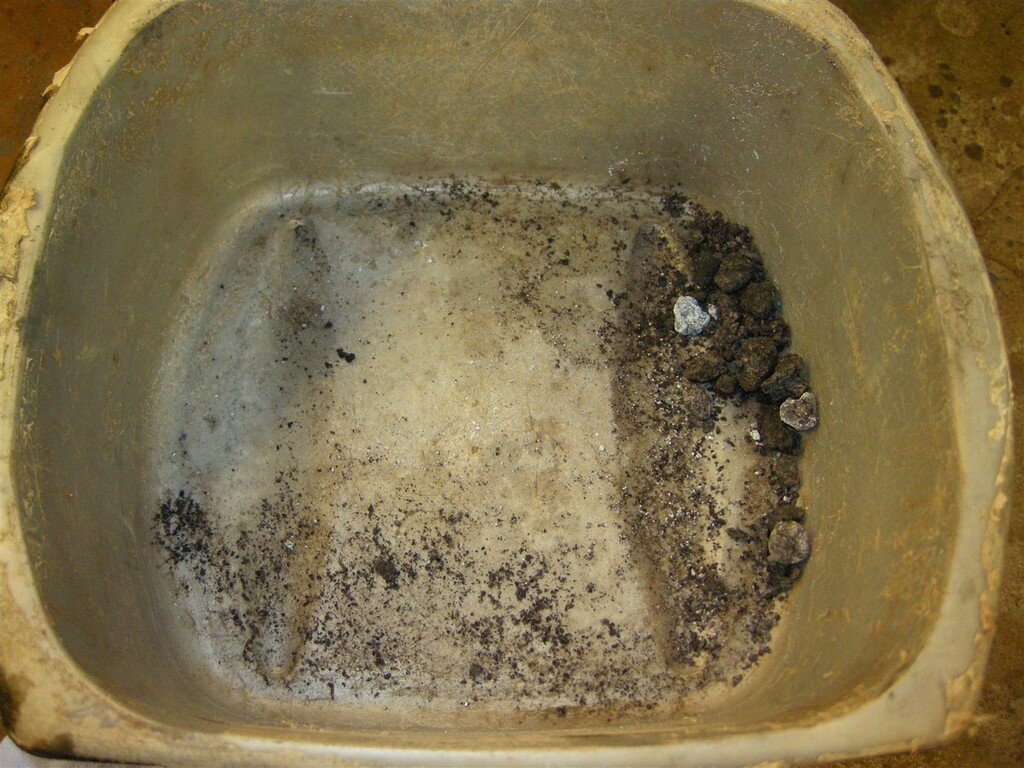
Warning - under NO CIRCUMSTANCES put "Steel Seal" into an engine cooling system expecting it to temporarily fix a head gasket . . .

I have washed these lumps of coal-like substance out of the radiator :shock:.

I'll now have to power-flush the block, head and heater matrix and replace the choked thermostat :icon-rolleyes:.

BAD mistake :icon-redface:.


DSCN7212_zpszmur0ttv.jpg


In the meantime No. 1 daughter has commandeered my 2003 Ford Focus Estate Diesel. A nice little car that I have had from new. She has put 3,000 miles on it in two months :doh:.

Not a Land Cruiser - sorry (but close :icon-wink:).

Bob.
 
Any reason why the motor went or did it just fail on you? That EGR water jacket, more commonly known as a EGR cooler can probably be eliminated all together, but I'm not sure what the computer will say... My VW 1.9tdi had the same and I removed it completely. You'll need to loop back the water inlet side though, and of course blank the two EGR sides. But I'm unfamiliar with this engine and just thinking out loud here...

Whats the chance that due to the EGR clocking up the intake, it was probably running richer and hotter and blew a gasket or worse cracked head.
 
The problem developed gradually. It started losing coolant and my daughter complained that the cabin heater wasn't working. She doesn't live at the family home so I don't see the car very often. After topping it up a few times (with Toyota Red) it was obvious it was going to need some serious attention.

Eventually it got to the point where there was combustion pressure & fumes coming out of the coolant overflow tank. I put Steel Seal in to try a 'quick fix' while I tackled my own jobs, but it overheated immediately and was pronounced not fit for purpose.

Daughter nicked my Focus and left me with the heap :doh:.

Access is very difficult and it has taken me a day to get a single seized bolt out at times. A long-term project I'm afraid.

Yesterday (13th of course) my wife lost her (my) Ford C-MAX Grand's driver's door mirror to a van driver on a narrow road (she had pulled over and stopped). Today has been spent corresponding with insurers to prevent the Van Driver claiming from me! No witnesses of course.

£87 for a new mirror!

Cars :angry-screaming:.

Bob.
 
It never rains but it pours Bob.

Couldn't you just have it nicked? :shifty:

(who said that??)
 
Don't like the adverts?  Click here to remove them
After waiting for the correct alignment of the sun, moon and stars, it was finally time to remove the old shocks and springs and replace them with a set of Pedders +2. We started this at 17:30 yesterday and completed by 20:50. Amazingly, we did not have to cut out the rear shocks but managed to unbolt them, though the drivers side one needed a little persuasion but we still unscrewed it in the end.

First, we tackled the rear shocks as these were likely to be the most difficult to change, so, lift up her ass.

upload_2017-2-16_9-43-51.png


It looks as though the rear springs may have been replaced at some point in the past as the level of surface corrosion was not as consistent with the rest of the chassis...
upload_2017-2-16_9-45-3.png


The access was very difficult as anybody else who has done this knows, but the top nut on the LHS shock came off in reasonable time. Basically, my friend (a very fantastic Mr Steve Twort) got a socket on the top and held tight, and with some twisting on both our parts (I was twisting the shock housing directly) we broke the tension and we got it unscrewed by my turning the shock body....

upload_2017-2-16_9-51-14.png


Rear shock removed.....

upload_2017-2-16_10-25-53.png


Out with the old spring, in with the new.....

upload_2017-2-16_10-26-39.png


The drivers side shock was even trickier for access because of the exhaust system, plus my mate is as large as Chewbacca with hands to match. However, no amount of twisting or turning was having any effect on the nut and it wouldn't break free. So, another angle of approach was required..........
upload_2017-2-16_10-29-32.png


The application of the clamp crushed the shock body, but it had the desired effect of providing 'flats' to get to grips with. So, renewed vigorous twisting ensued, and finally the tension broke and again we got the top nut off.
upload_2017-2-16_12-42-29.png


The corrosion on the upper shock mount does not look too bad, and for the first time I noticed that there are actually drain holes in them. Now I know they are there, I'll keep an eye on them and try to ensure they stay debris free......
Both rear shocks and springs successfully replaced in 2.5 hours. Now to the front suspension....
Truck off the ground, jacked up, axle stand in place, wheel off exposing the old shock....

upload_2017-2-16_12-44-58.png


A simple job to undo a few nuts with only one being a little rounded but still no real hassle, and job done.

upload_2017-2-16_12-45-27.png


So all in all a successful evenings work. Straight off the bat, the ride is a little stiffer, and she seems to handle the corners better. Now I have room to replace the tires next with AT 265/75 R16's. Happy days :)
 
Excellent, not even any blood or skin missing? :?
Funny enough, no. No skinned knuckles or pinched skin anywhere. I do think the application of penetrating oil well in advance helped greatly. Highly recommended. Been soaking the radiator bolts in anticipation of changing that out later in the year, when it's warmer :)
 
New front down pipe fitted today. Old one was suffering daylight transparency syndrome (holes)
Put a Milner part on. Fitted perfectly, look very well made. All quiet now. Couldn't be bothered to weld it for the cost of a new one. Removed it with angry grinder to make the whole job much quicker.

Then fitted two new window motors with regulators. Whilst Scott did put new rubbers in some time back IIRC, the motors were barely creeping. Makes car park ticket machines a bit of a trial. Bizzy Whizzy. Uppy Downy no worries. Nice. 15 mins per side.
 
Just sorted out my led headlight bulbs from Woodypeck. No main beam indicator on the dash (95 series). I had to fit resistors across both the main and dip + and - wires. Not ideal and the resistors get very hot, so care will be needed with mounting, but the bulbs are nice and bright.
 
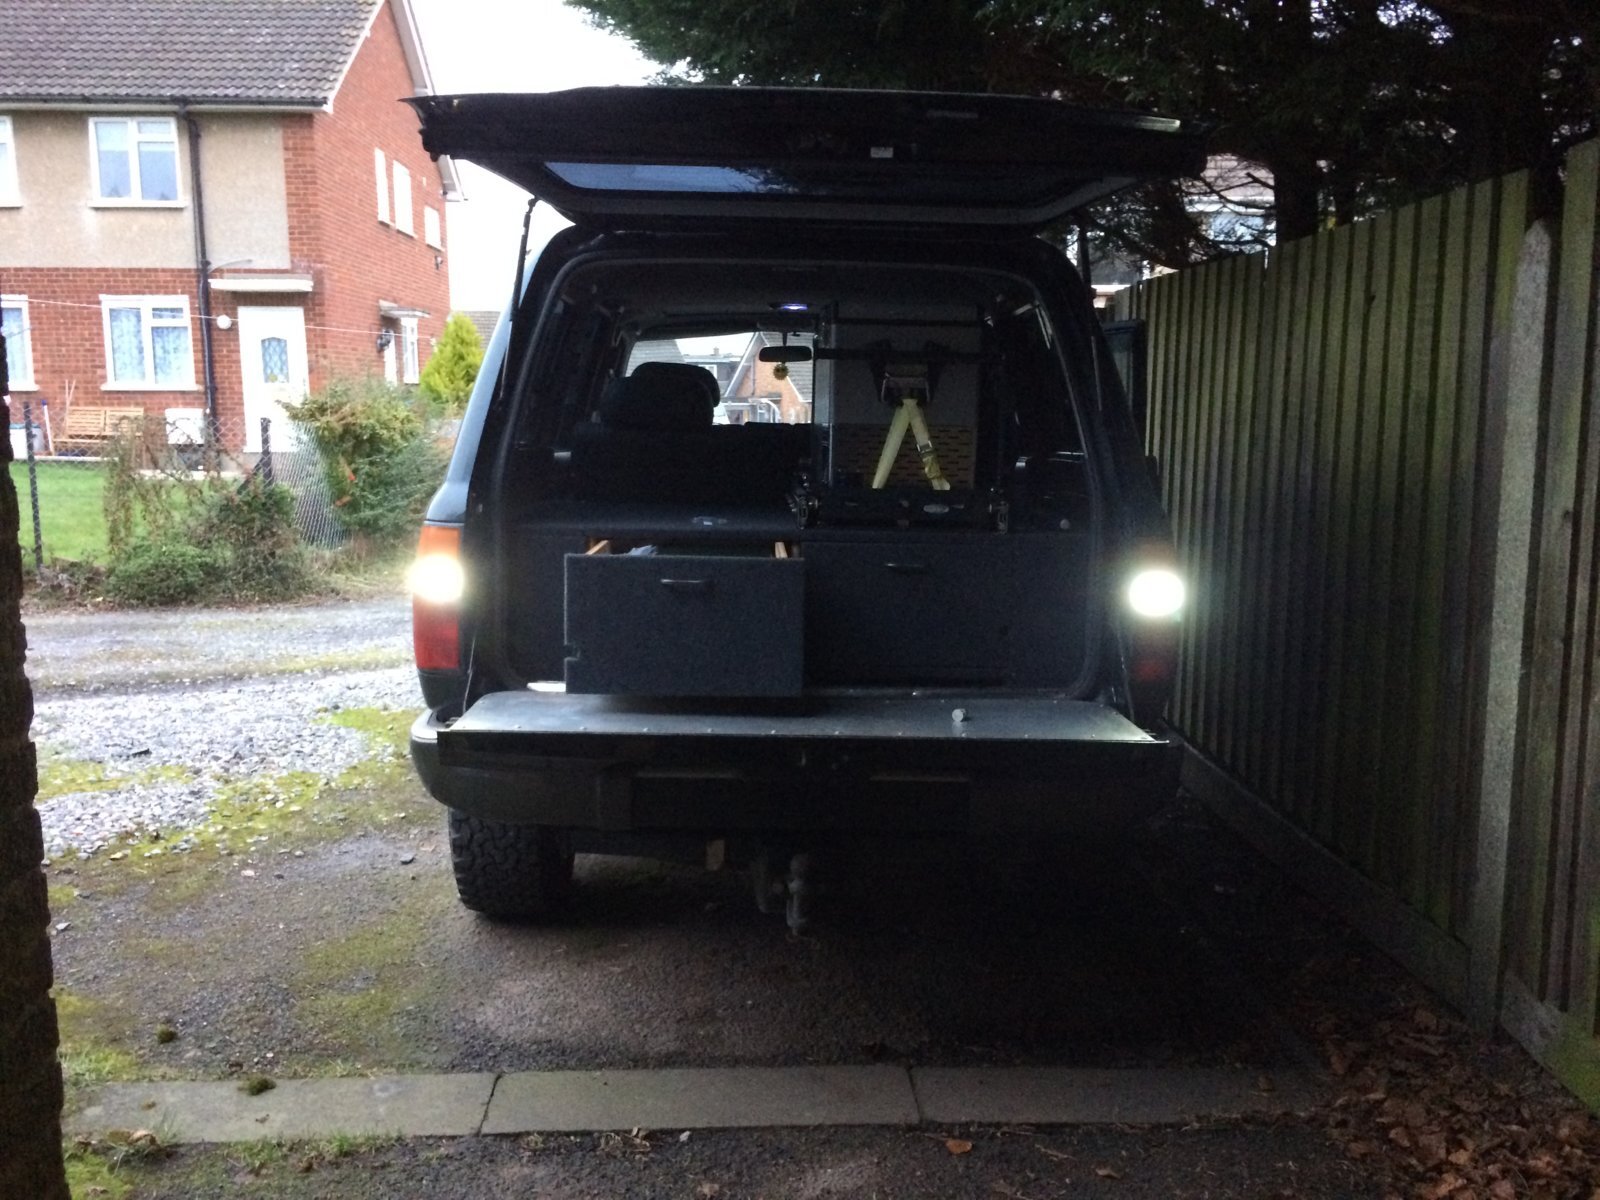
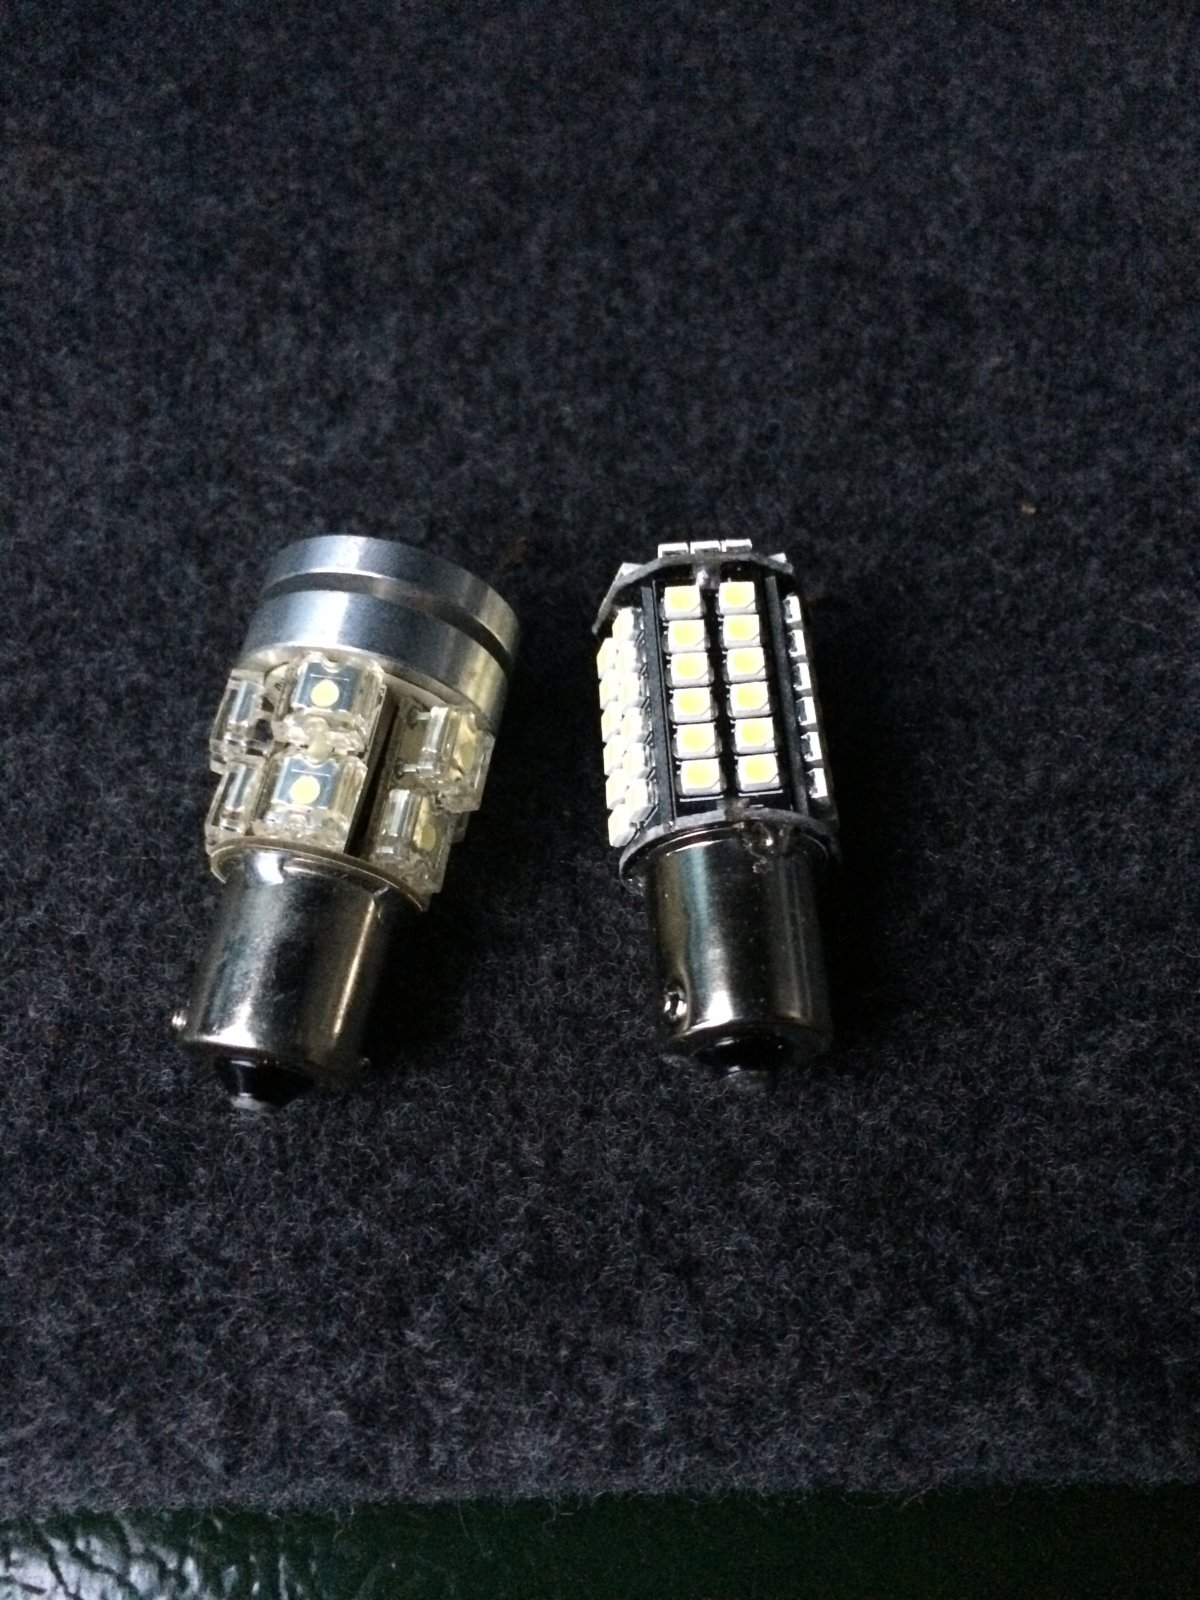
Just changed my reverse bulbs for ones I bought from Roy.
IMG_7235.JPG
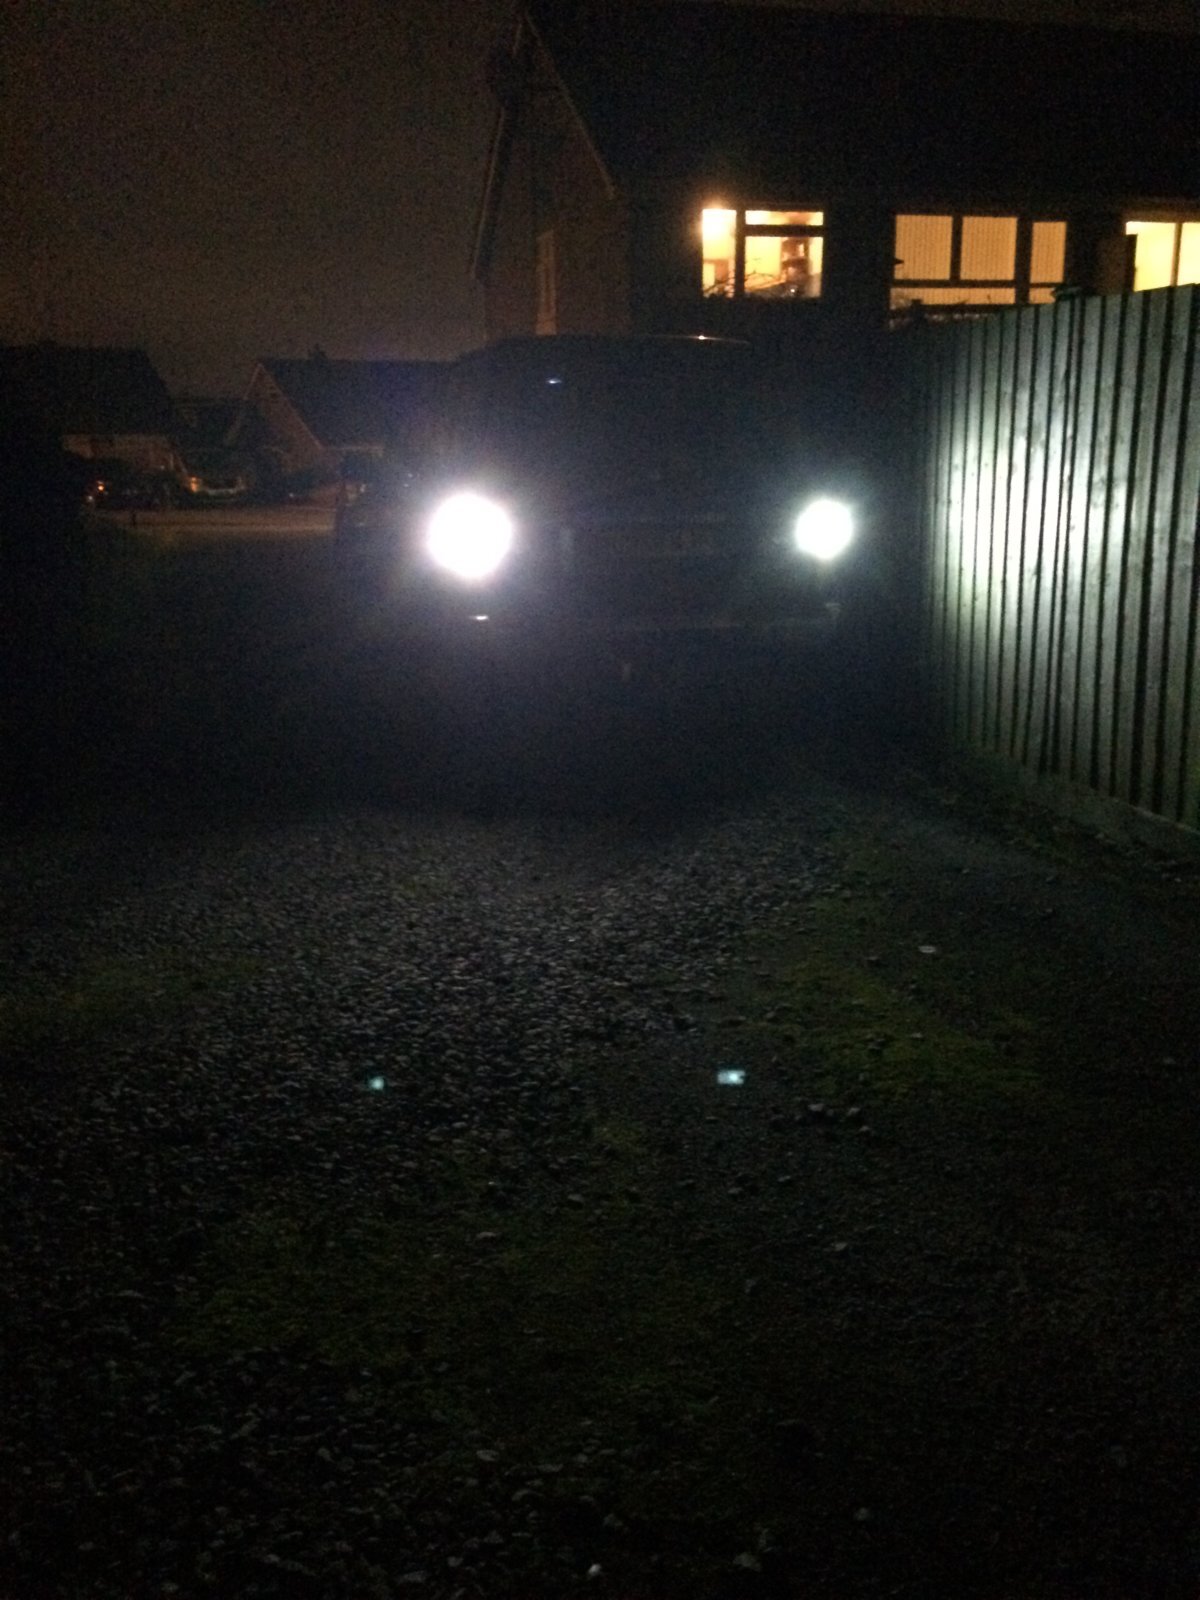
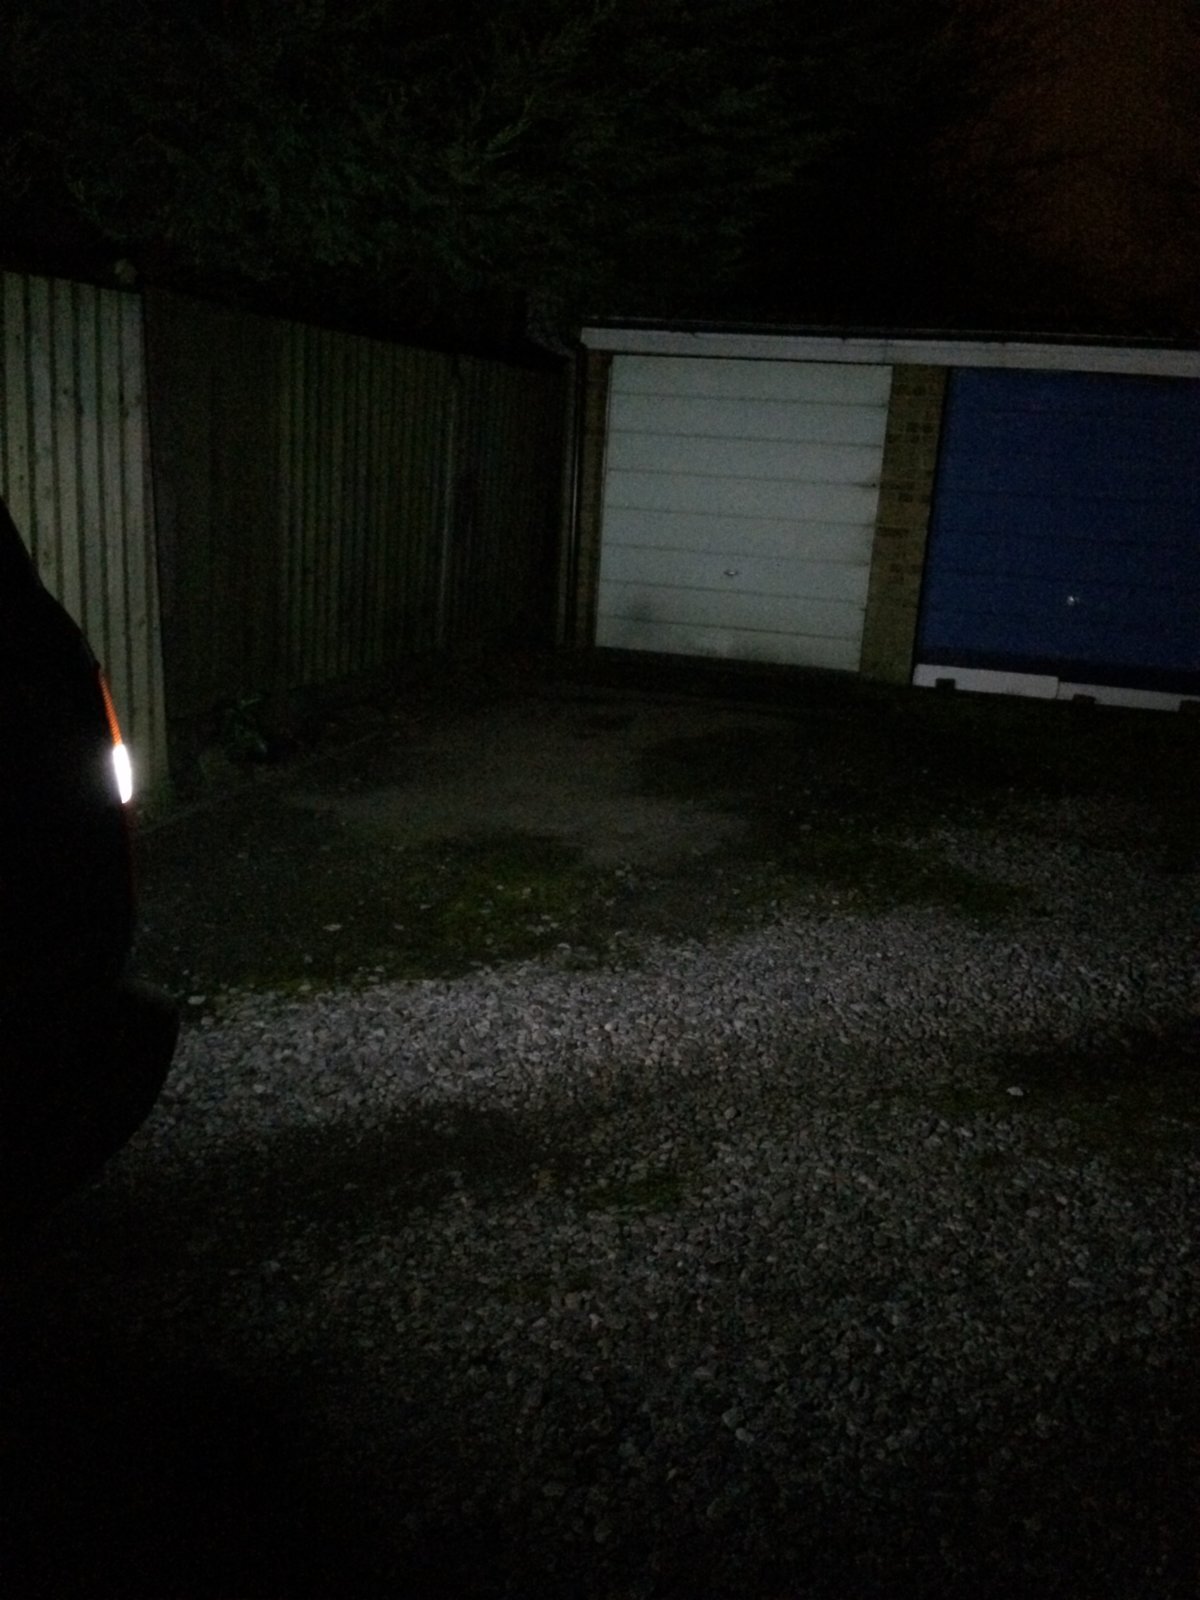
On the right is the new one and left the old one, looks brighter, shall report back when it's dark!
IMG_7236.JPG
On the left whatbwas already in there and on the right the new one.
Ps. I think @Chas will be along soon...
 
I'm using those (on the right) as front side-lights,there's 60 LED panels on each of those, they put out a great light. :thumbup:
 
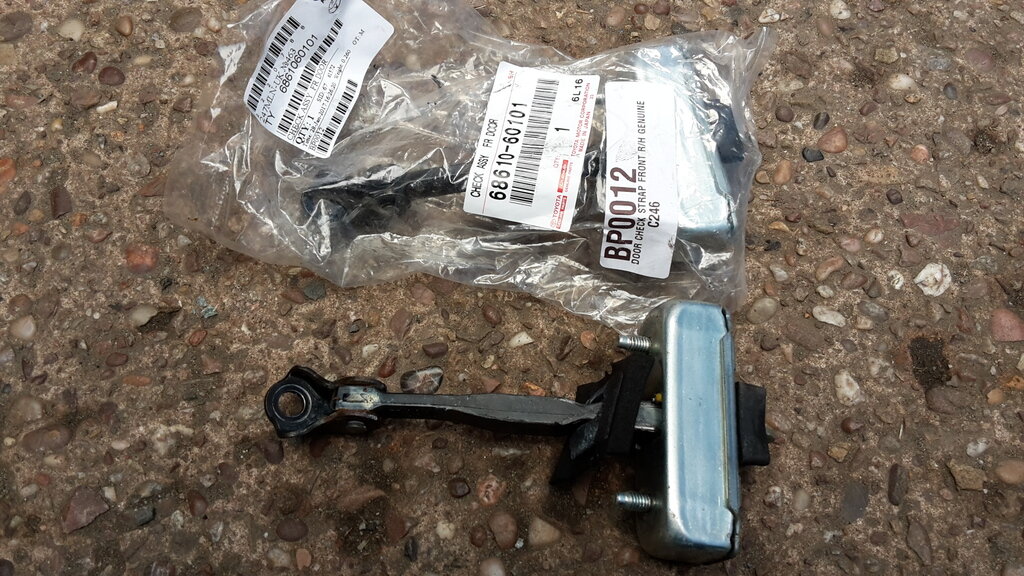
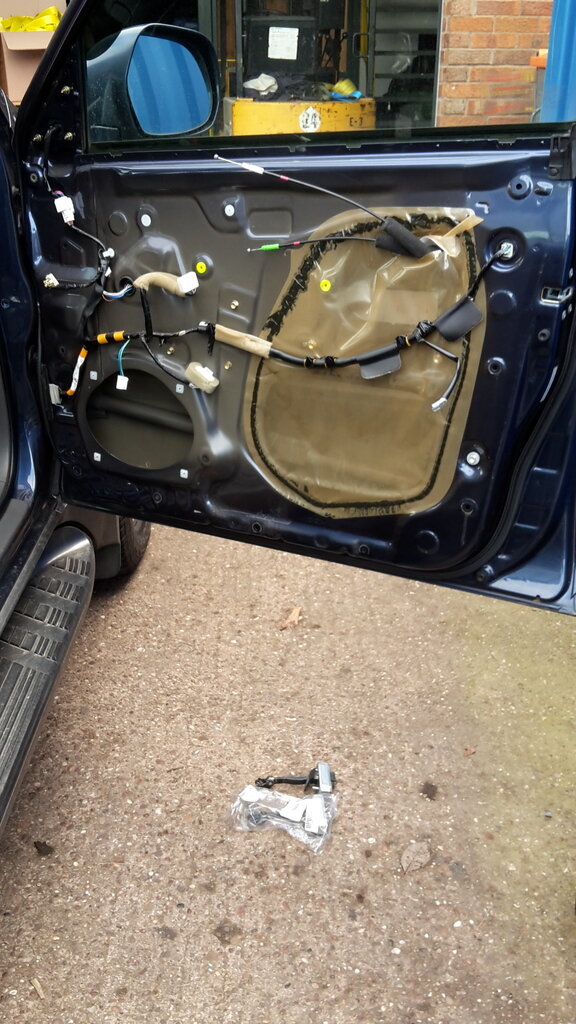
Changed the drivers front door check strap. It was worn on the hinge part and clunking loudly when opening and closing the door. Nice easy 20 minute job. Milner to the rescue...£45 for a new genuine one, local stealers wanted £116 +vat!
20170219_140018_zps9einq9jr.jpg
20170219_135947_zpsemxnlgxp.jpg
 
That's a very nice clean looking door interior!

My 80's doors are 9 years older admittedly, but they look very grubby in comparison. :thumbup:
 
Back
Top