Don't like the adverts? Click here to remove them
You are using an out of date browser. It may not display this or other websites correctly.
You should upgrade or use an alternative browser.
You should upgrade or use an alternative browser.
Who is doing what maintenance today?
- Thread starter warrenpfo
- Start date
Paint marker, something like this.
https://www.ebay.co.uk/ulk/itm/301907488024
https://www.ebay.co.uk/ulk/itm/301907488024
Paddler Ed
Well-Known Member
I think this should be attached to the car in a more permanent manner:

Oops... oh well, it doesn't sound too bad on cat only and then about 4' of exhaust...
Oops... oh well, it doesn't sound too bad on cat only and then about 4' of exhaust...
Sag
Well-Known Member
- Joined
- Aug 24, 2014
- Messages
- 756
This one I think it was buddy http://www.paint-markers.co.uk/shop...-tip-yellow/?gclid=CJ-y_auGoswCFckaGwodZn4M8g
Rob Cowell
Well-Known Member
- Joined
- Nov 15, 2011
- Messages
- 1,677
- Country Flag
I slap a bit of tape on and spray a black line , have you no sheep marker i've seen that in stick form and it should scrub off metal quite easy i would have thought .
Sheep marker stick is just a waxy crayon. Designed for short term marking, when you are trying to remember which sheep in a pen you have wormed, or such like. It rubs off hard surfaces quite (too) easily. I have plenty of spray on sheep marker, didn't think about that, might try on the other shaft, need to do the boot on that this weekend too. I will look at getting a few pens of the sort Sag and Silvercruiser have suggested though.
Don't like the adverts? Click here to remove them
Replaced the standard speakers in the 100 with some JL Audio ones, much better sound quality now.
Rob Cowell
Well-Known Member
- Joined
- Nov 15, 2011
- Messages
- 1,677
- Country Flag
Finished replacing both inner CVJ boots. The Roughtrax boots I got have terrible straps that pull the joint apart trying to get them tight and have no ears to fold over the bit of strap you pull to tighten. Looked on their site this morning and they've changed supplier so perhaps they had complaints. I have additional jubilee clips on mine for now. Also replaced the top wishbone on one side which was surprisingly simple. And it seems to have cured the knocking on rough tracks.
Gary820
Well-Known Member
Made a locking plate for the spare wheel on the kaymar, it didn't come with one and easy enough to make one.
Fitted a battery tray to the right side (thanks Karl) and started laying out for the split charge, routed a cable to the boot and need to decide where to fit the new fuse box (thinking on the back of the drawers out the way)
Need to find a home for the washer bottle now. Seems on the lhd models you relocate it further towards the bulkhead on the right side, have brake master cylinder in the way and cruise control! May have to go to the opposite side and make a mount to fit to the bulkhead
Finished replacing both inner CVJ boots. The Roughtrax boots I got have terrible straps that pull the joint apart trying to get them tight and have no ears to fold over the bit of strap you pull to tighten. Looked on their site this morning and they've changed supplier so perhaps they had complaints. I have additional jubilee clips on mine for now. Also replaced the top wishbone on one side which was surprisingly simple. And it seems to have cured the knocking on rough tracks.
You could get some from an electrical wholesaler who does stainless steel cable ties, though I doubt you would get one or two.
Marking- the standard is to use a centre punch and lightly tap to give a mark. That doesn't rub off. [emoji4]
Rob Cowell
Well-Known Member
- Joined
- Nov 15, 2011
- Messages
- 1,677
- Country Flag
Thanks. The FSM did explicitly say not to mark the driveshaft components with a punch. I suppose they're covering themselves from ham-fisted oafs. Like me.
Last edited:
It may be that hard that it's not possible to get a mark on a shaft, or it could end up being done where a seal goes or something so would need care. Paint marker is non damaging of course and far easier to apply.
Last edited:
Finally got round to freeing up my front pads and callipers. [emoji4] I did a quick check on them a while back and replaced the dust seals as they had got torn and found some of the Pistons reluctant to come out at the time. So finally bit the bullet and pulled them apart to replace the seals and clean them up. They split remarkably easily to be able to get at the pistons and I avoided any struggle getting them out by removing the pads, putting a sheet of paper between the pistons and the disks and pumping the brake pedal (down onto a block of wood to restrict its travel) until all four Pistons were in contact with the disk. This left them just captive enough not to fall out and out far enough to be removed by levering with a couple of screwdrivers in the slot.
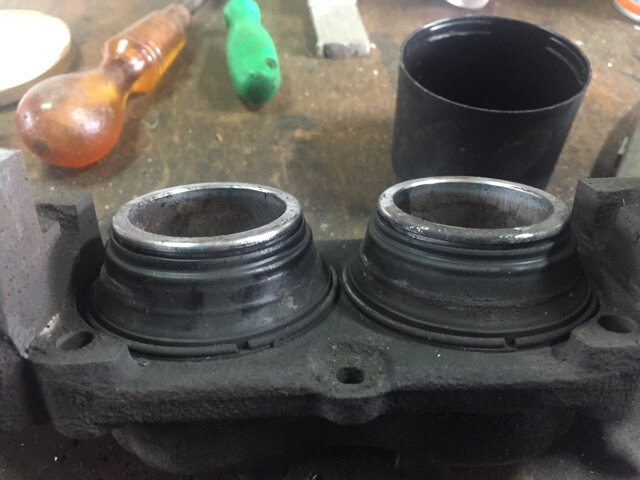
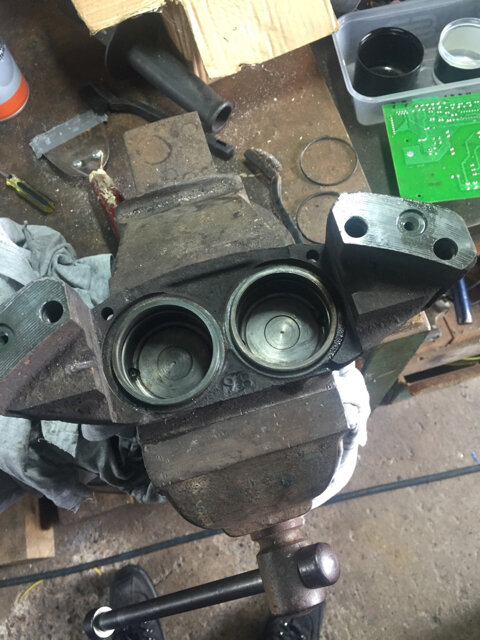
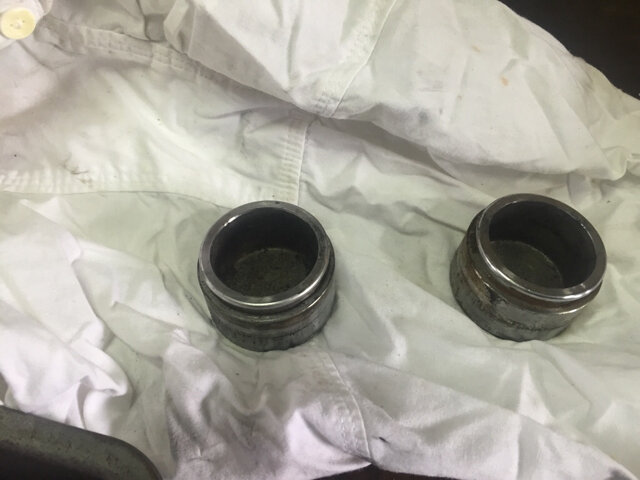
The bores were all nice and clean and the chromed pistons cleaned up a treat too.
Almost ran out of brake fluid when I put them back as the fluid in the front of the reservoir disappeared while I was watching the back. D'oh!! Think I caught it.


The bores were all nice and clean and the chromed pistons cleaned up a treat too.
Almost ran out of brake fluid when I put them back as the fluid in the front of the reservoir disappeared while I was watching the back. D'oh!! Think I caught it.
- Joined
- Mar 7, 2010
- Messages
- 983
- Country Flag
Fitted the speedo correction thingamyjig that my wife picked up for me when she was in Aus a couple of months ago, dead simple!
Then tackled the hand brake ( fitted the dog bone kit a while ago, but it still wasn't quite right) again as mot due in a few weeks time. Havnt had chance to test it yet.
Finished off fitting one of the rear seats & modifying the storage system in prep for Bad Kissengen at the end of the month as my son is coming with us this time & thought he better have a seat rather than a pile of sleeping bags to sit on!
Andy
Chas
Well-Known Member
Not today but last week and not by me but Julian V, I had an airline outlets fitted to front and rear bumpers, much more convenient than running the pipe from the tank. Plus new pads in front brakes, I nearly ran over a roundabout on my way to Julians, had a bit of trouble slowing down in time so Julian checked them and they were a bit thin.
Last edited:
I do not have much of a problem with these undo the nuts but leave them on the threds a few turns (to catch the cone washer when it pings out)After taking 5 min to get the front wheel off and cap and c clip its taken me the best part of an hour to get one of those bastard cone washers out. I don’t have a copper mallet and have decided that one is needed. Can anyone recommend a good all-round hammer for the job.
Next use a punch or dift punch the side wall of the flange adjasent to cone this will loosen the washers a treat even stubborn ones will shake loose after a few blows.
IIRC the Toyota method tells you to punch the end of the thread, I have found this can damage the thread even being very carefulHope this is of some help
Well, it was T belt replacement time, so the truck got a new belt and tensioner.
While that lot was off, a dribble of water was seen coming from the water pump, so a new one of them got added to the list.
Not related, but the PS return pipe let go a couple of weeks ago so that was repaired too.
My oil pressure sender died a while back, well I thought it had but on testing, they found it was the dash dial. So, being a bit of a nerd, I got them to fit an after market oil gauge (yes Chris, I know, something else to worry about when you don't need it ).
).
While fitting the oil pressure sender, he was calibrating it with a test meter, so he tested all sorts of stuff around the engine bay and found the alternator was struggling to produce much at all. It was only a 60 amp unit (thought it would have been bigger) so they've fitted a new 110 amp alternator.
I'd also lost all semblance of a handbrake, when it used to be reliable, so it was a new cable this time, new shoes and a leaking cylinder kit at the back.
While their hands were dirty, they changed the engine oil & filter, new air and fuel filter.
All this and a refil with Mr T coolant, new brake fluid and fresh ATF in the PS.
Quite a list, I must say and not much change from €1,000
The new alternator was a clencher, at €350 so all in all not so bad... Labour and VAT included.
While that lot was off, a dribble of water was seen coming from the water pump, so a new one of them got added to the list.
Not related, but the PS return pipe let go a couple of weeks ago so that was repaired too.
My oil pressure sender died a while back, well I thought it had but on testing, they found it was the dash dial. So, being a bit of a nerd, I got them to fit an after market oil gauge (yes Chris, I know, something else to worry about when you don't need it
While fitting the oil pressure sender, he was calibrating it with a test meter, so he tested all sorts of stuff around the engine bay and found the alternator was struggling to produce much at all. It was only a 60 amp unit (thought it would have been bigger) so they've fitted a new 110 amp alternator.
I'd also lost all semblance of a handbrake, when it used to be reliable, so it was a new cable this time, new shoes and a leaking cylinder kit at the back.
While their hands were dirty, they changed the engine oil & filter, new air and fuel filter.
All this and a refil with Mr T coolant, new brake fluid and fresh ATF in the PS.
Quite a list, I must say and not much change from €1,000
The new alternator was a clencher, at €350 so all in all not so bad... Labour and VAT included.
Towpack
Well-Known Member
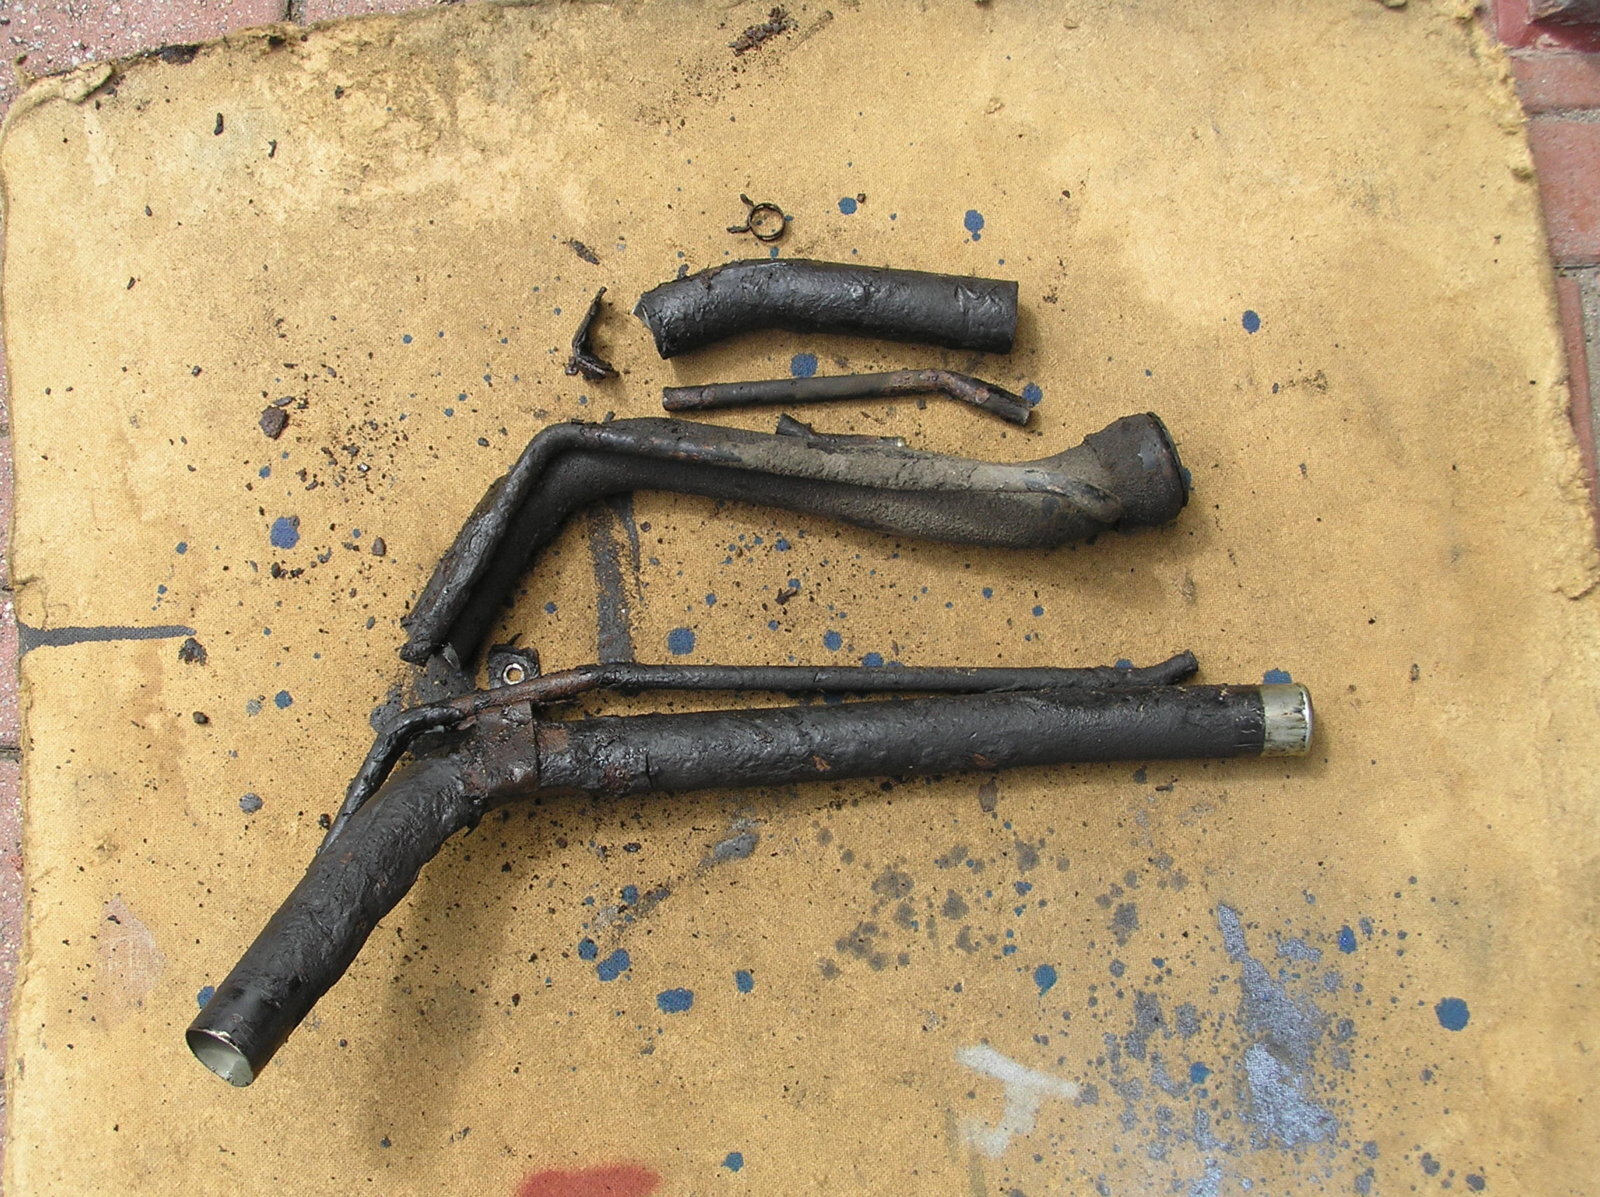
Replaced the leaking fuel filler pipe. Turned out it wasn't too bad overall except for the section round the body mounting point which had rusted badly and pinholed. As has been mentioned before replacement with another OE pipe in one piece is impossible without lifting the body, which was never going to happen, so opted for cutting it into two pieces and joining with rubber fuel hose.
View attachment 86961 View attachment 86977 View attachment 86941 View attachment 86949 View attachment 86961 View attachment 86977
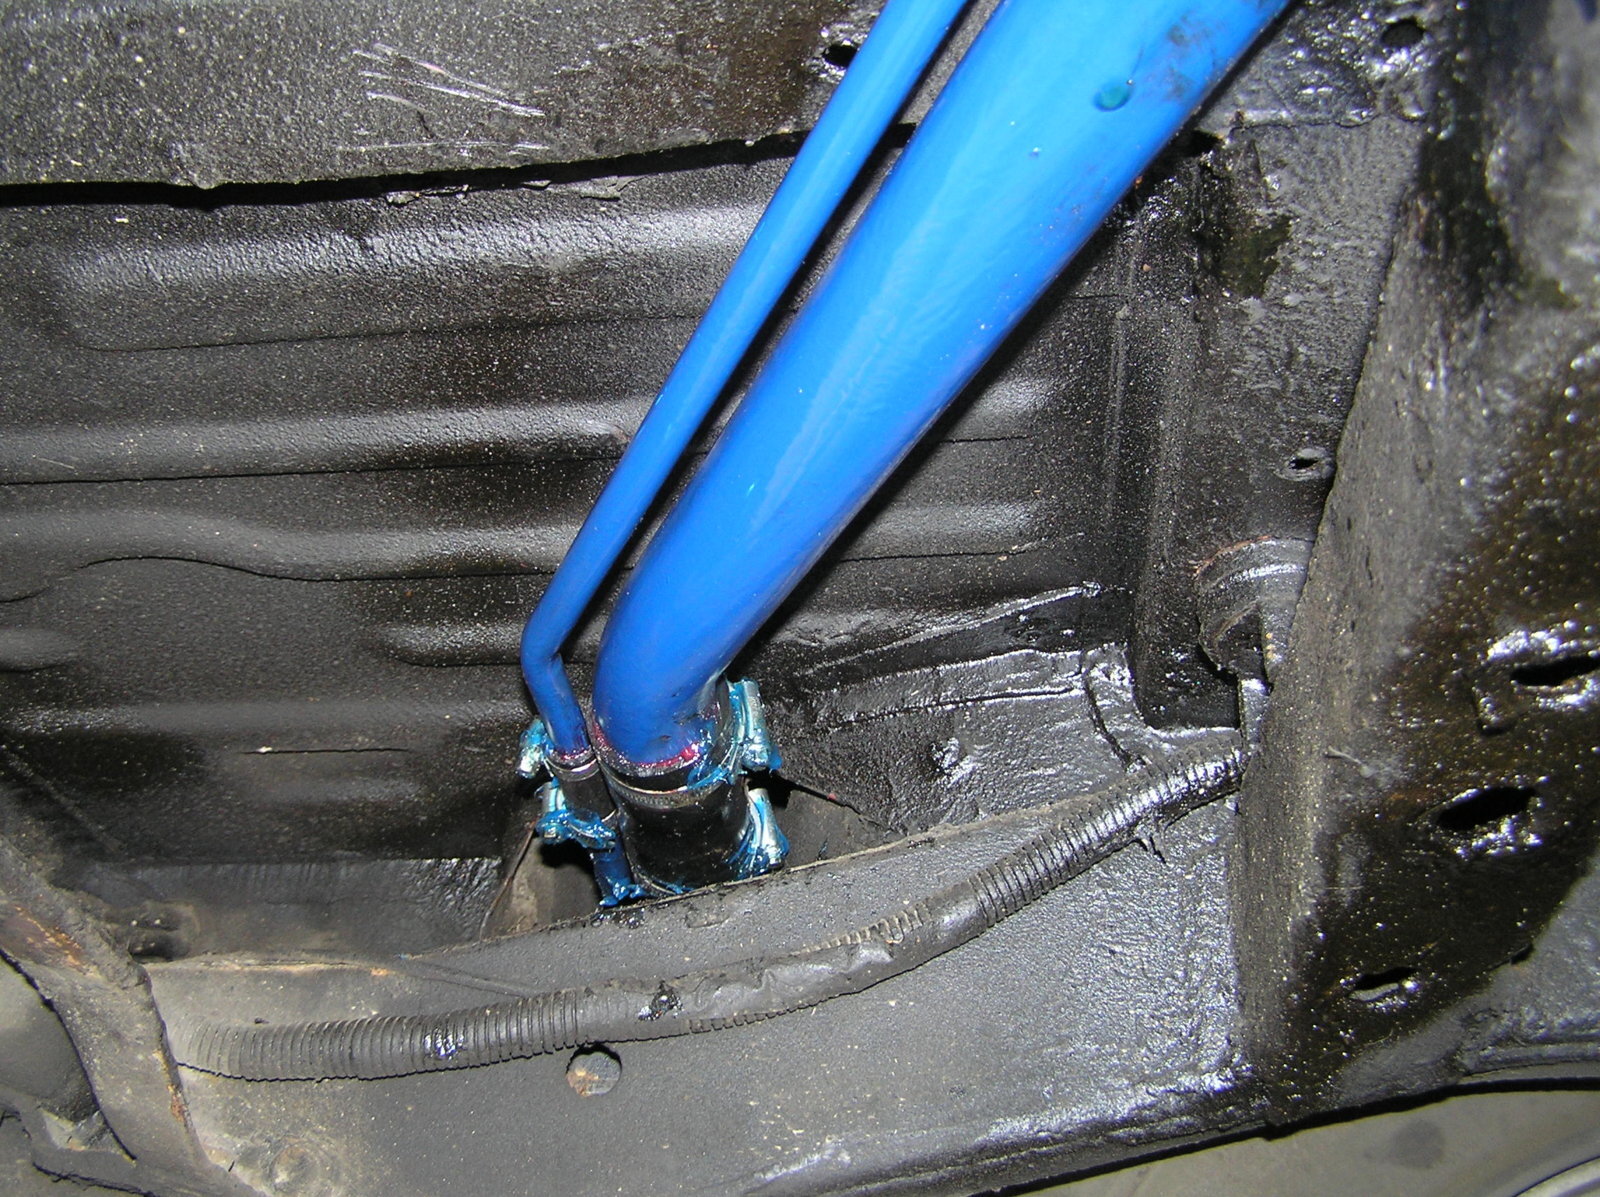
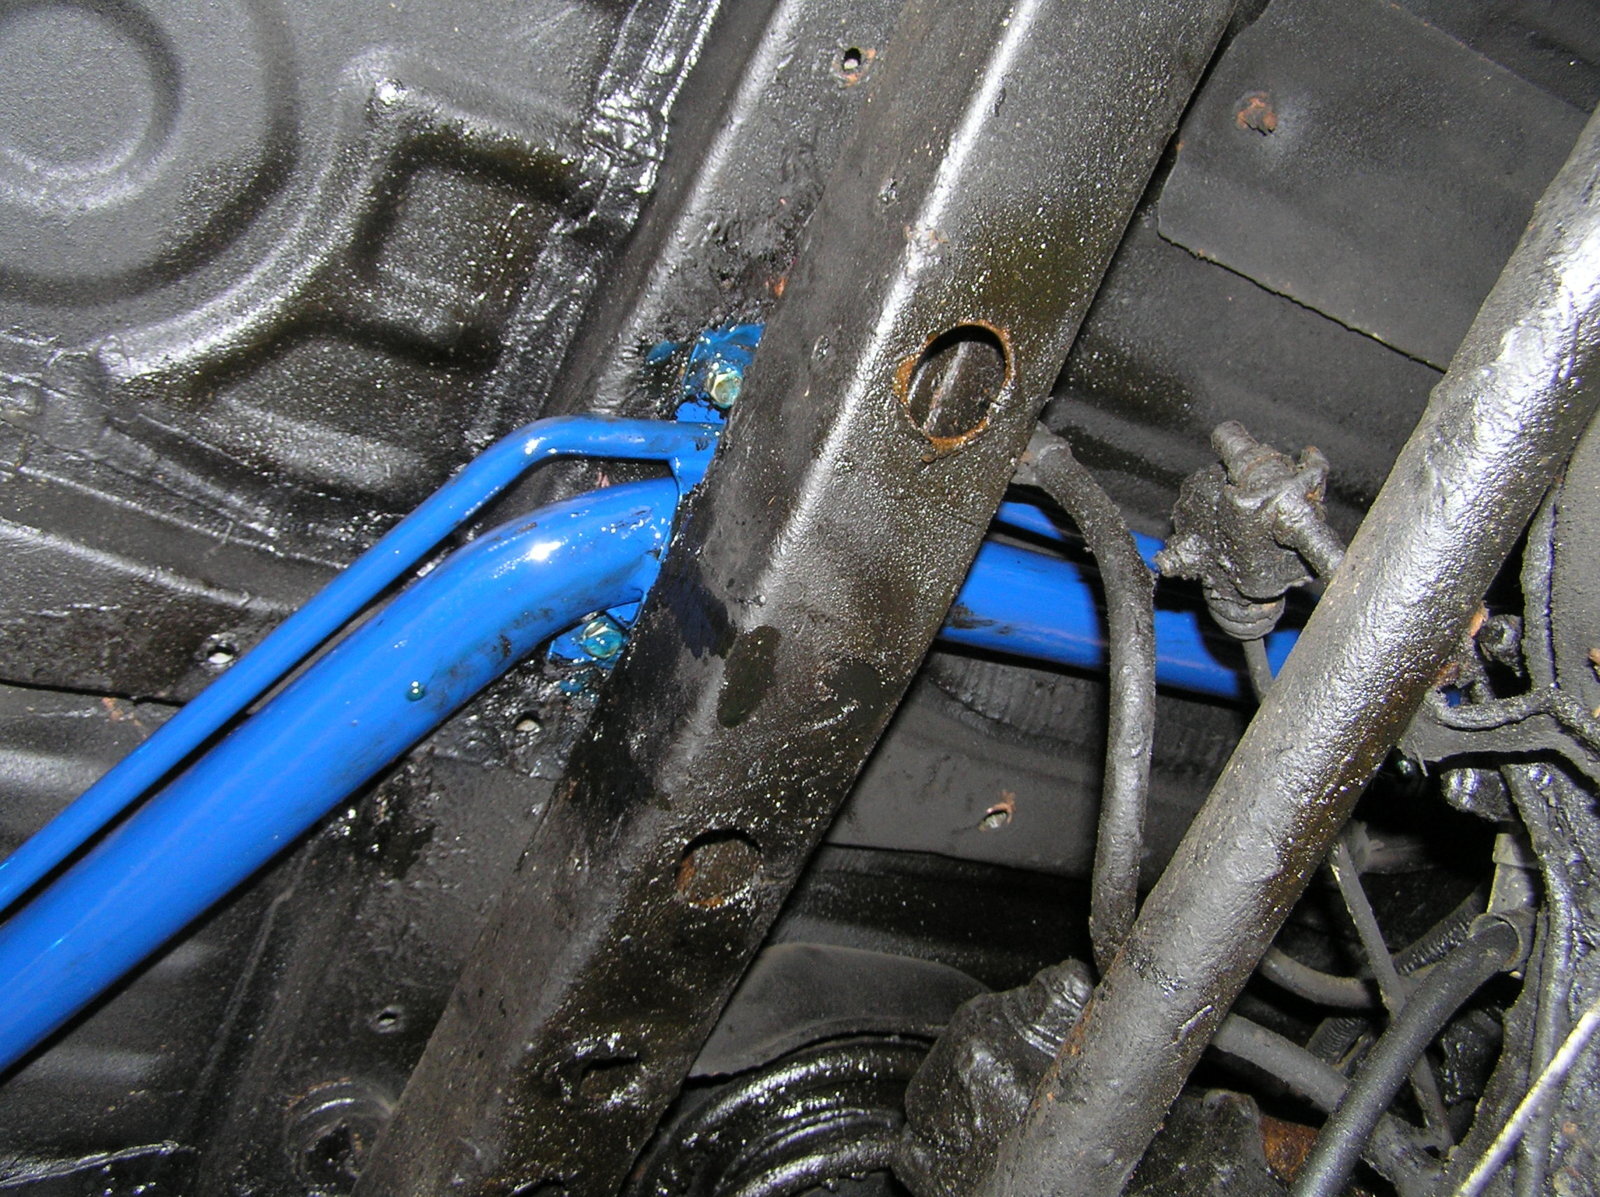
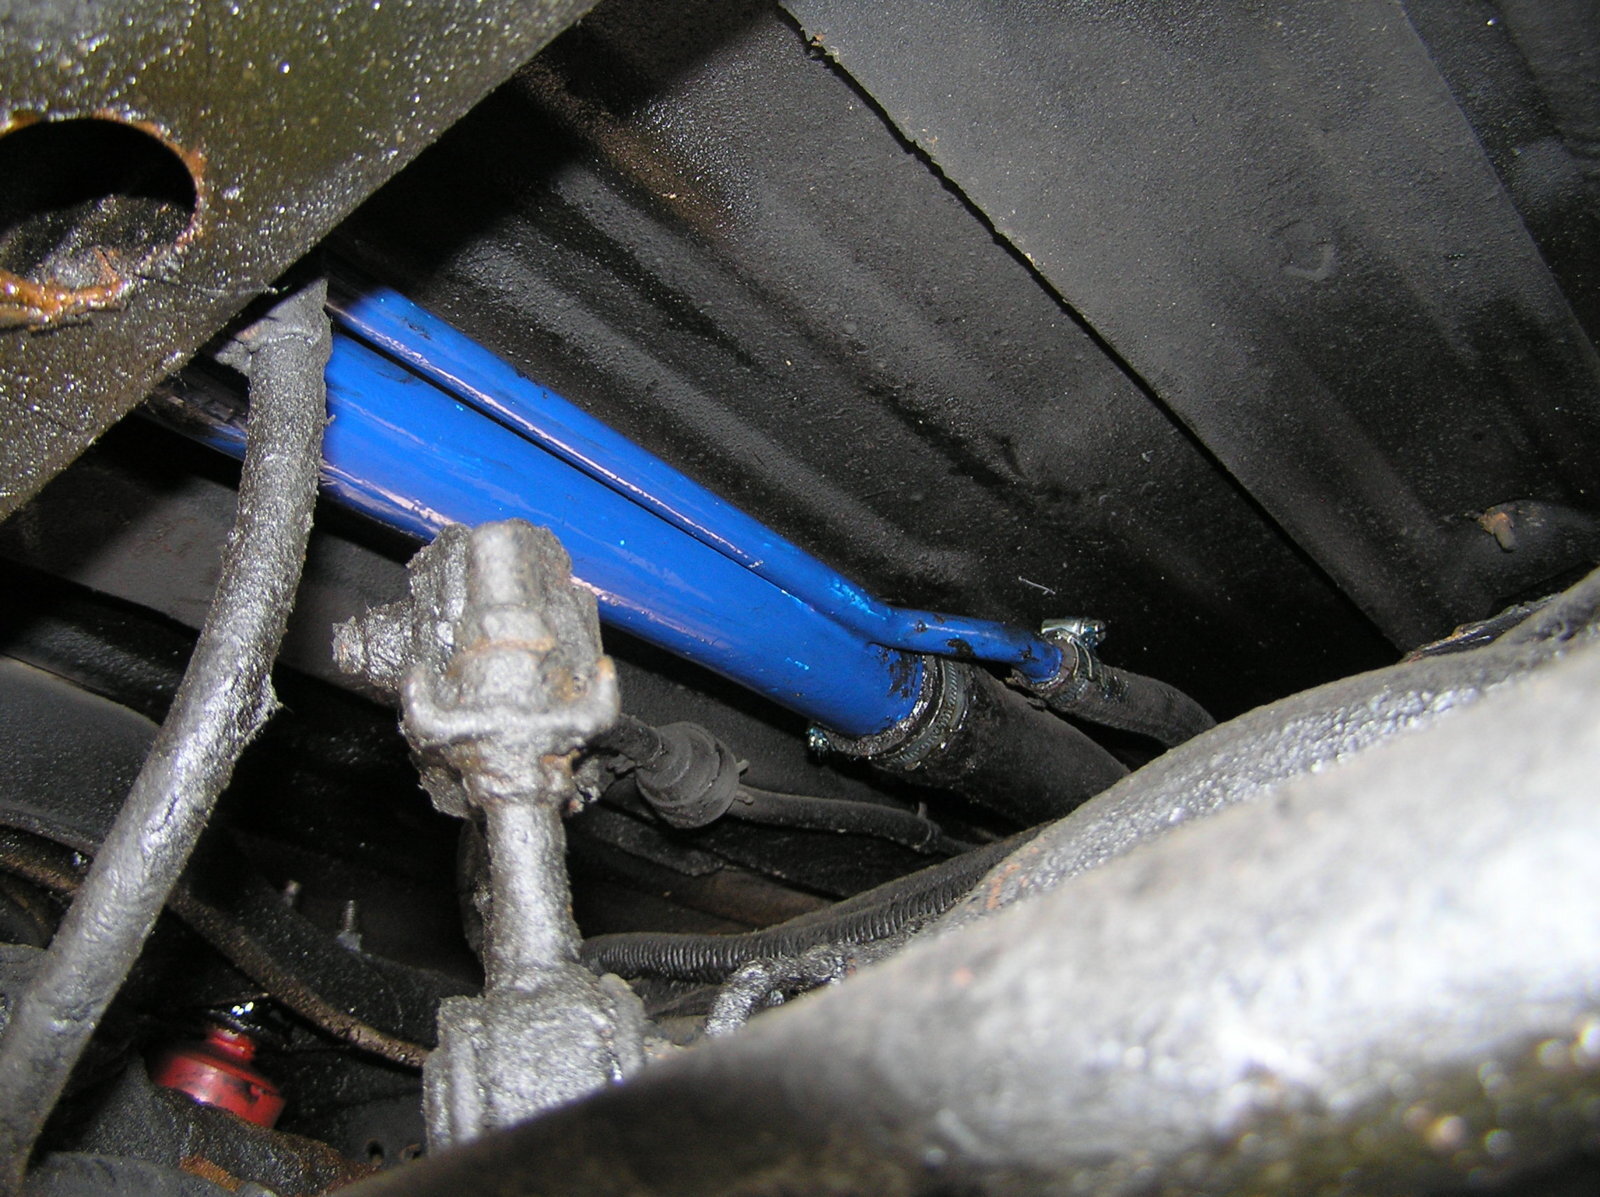
View attachment 86961 View attachment 86977 View attachment 86941 View attachment 86949 View attachment 86961 View attachment 86977


Last edited:


